8 Easy Ideas For Setting Up Your Hostas To Come Back Even Better Next Spring
Shade beds turn quietly rebellious on you each September. Crisp leaf edges and faded color trick you instantly. That slump isn’t judging your gardening abilities at all. Beneath the mulch, your roots are working overtime right now, unnoticed.
They’re quietly building reserves for your serious spring return. Cooler air signals a shift in your yard, not collapse or retreat. Careful choices you make today shape how lush spring looks.
Timing decides more than effort inside your narrow window. Gloves and sharp shears handle whatever specific tasks you prioritize today.
Coffee helps, though your patience carries the heavier workload. Your shady corner hasn’t given up, it’s simply recalculating.
Few chores demand more than a relaxed afternoon and steady hands from you. Spring favors you generously when you move with purpose now. Ignore this window and spring will show it.
1. Cut Back The Tired Leaves At The Right Time
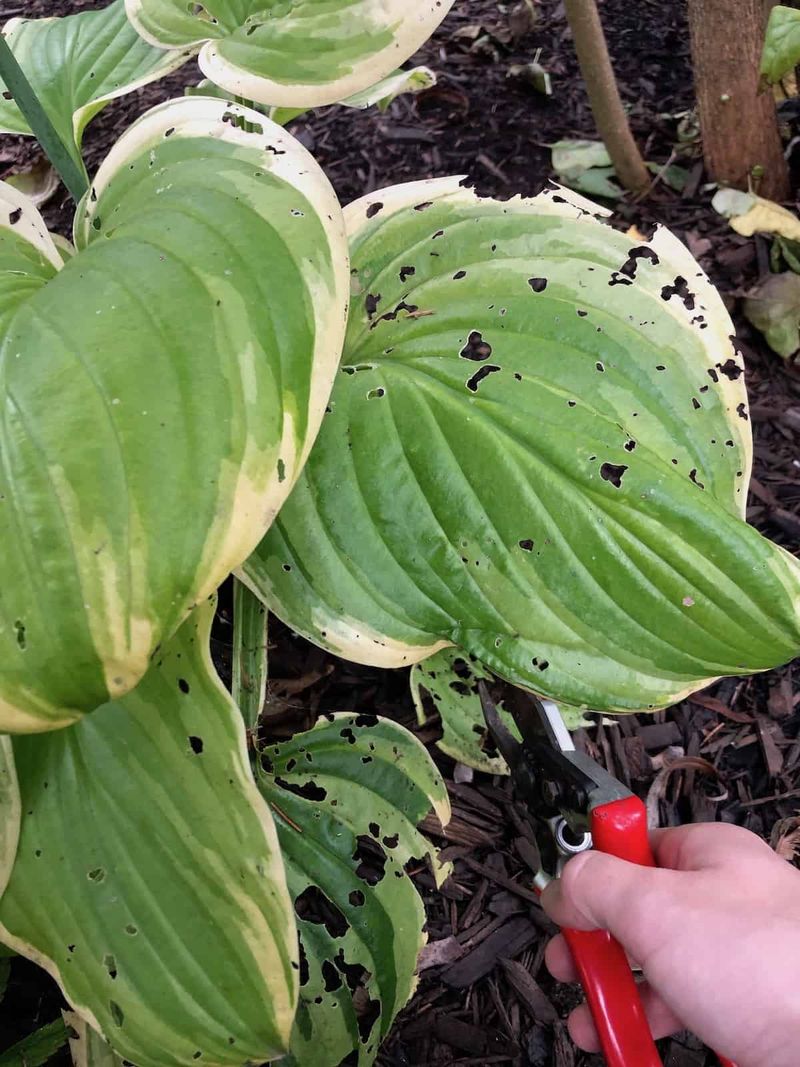
Those floppy yellow leaves are not trash yet, so resist the urge to snip too early. Foliage keeps feeding the crown until frost turns it soft and mushy.
Wait for a hard frost, which arrives at different times depending on your zone, often in October for many northern gardens. Once leaves collapse, they have finished their job and can go.
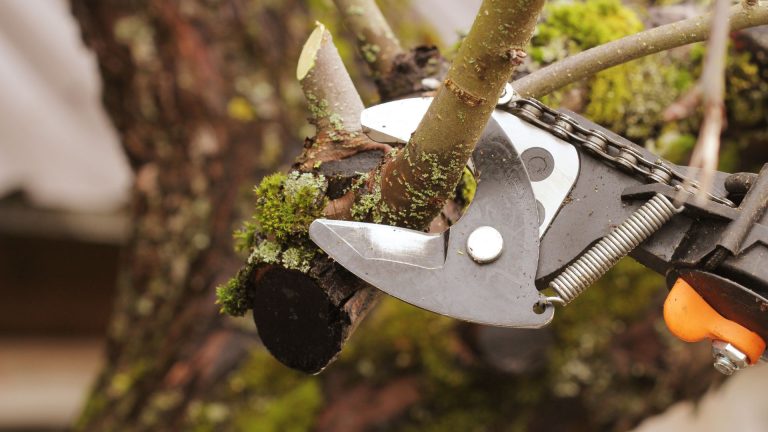
Use clean shears and cut stems about two inches above the soil line. Short stubs help you find the crown later without guessing.
Rip nothing by hand, since tugging can lift the crown and tear shallow roots. A quick snip protects growing points hiding just below the surface.
Toss cut foliage into the compost pile if it looks healthy and clean. Bag anything spotted, slimy, or chewed so problems do not overwinter nearby.
Gardeners in milder zones can wait until leaves turn fully tan and limp. The plant decides the schedule, not the calendar hanging in your kitchen.
Cleaning up in fall also removes cozy winter shelter for hungry garden pests. Spring beds look tidy, and new spears push up without shoving old debris aside.
Fun fact: some growers leave stubs on purpose as tiny markers for early spring. Come April, those little sticks save a lot of accidental shovel damage.
Sharp tools matter more than fancy ones, so wipe blades between plants. A splash of rubbing alcohol keeps diseases from hitching a ride.
2. Feed The Soil With A Fall Layer Of Compost
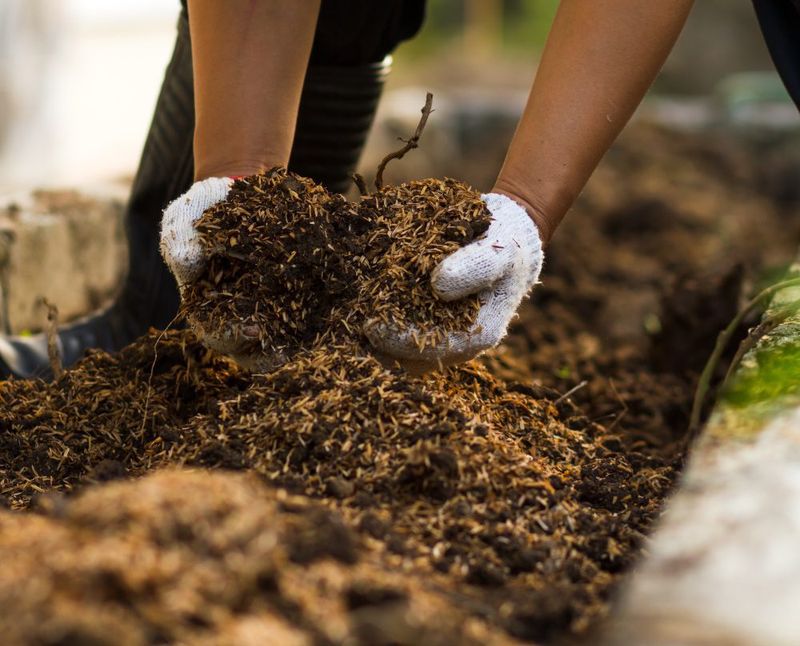
Hungry soil makes small leaves, and small leaves make a sad shade border. Autumn is prime time to fix that quietly.
Spread one or two inches of finished compost around each clump. Keep the crown itself clear so moisture does not sit against it.
Earthworms handle the mixing for you over the next several damp months. By April, that layer has become dark, crumbly food for roots.
Skip heavy nitrogen fertilizer now, because it pushes tender growth before cold weather. Slow compost feeds gently without rushing anything.
Aged manure works too, as long as it has mellowed for at least six months. Fresh manure can burn roots and carries a strong, unpleasant odor.
Leaf mold is the cheapest option, and you probably have bags of raw material. Shredded leaves break down much faster than whole ones.
Test the soil every few years if growth seems stuck despite good care. Slightly acidic to neutral ground, around pH 6 to 7, suits these plants.
Compost also loosens heavy clay and helps sandy beds hold water longer. Better soil structure means fatter crowns and thicker spring shoots.
Water the compost in lightly so it settles instead of blowing across the yard. A gentle soak also wakes up soil microbes before winter.
Come spring, skip the guesswork and simply repeat the routine after shoots appear. Your hostas answer with wider clumps and richer color.
3. Divide Crowded Clumps While The Ground Is Still Warm
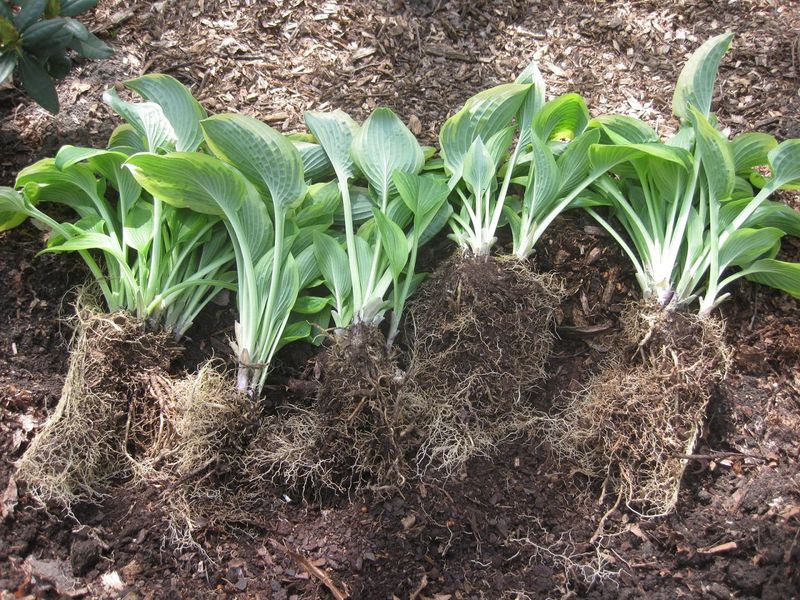
A clump that pushes up skinny leaves in the middle is begging for elbow room. Early September gives roots six warm weeks to settle.
Water the plant deeply a day before digging so the soil holds together. Damp roots slide apart with far less tearing.
Slide a spade around the drip line and lift the whole mass out. Shake off loose soil to see the tangled crowns clearly.
Cut the clump into sections with three to five eyes each. Smaller pieces survive, though they sulk for an extra season.
A serrated bread knife works shockingly well on stubborn root masses. Old gardeners swear by it, and the kitchen rarely notices.
Replant at the same depth, with crowns level with the surrounding soil. Burying them too deep invites rot and weak spring growth.
Space new divisions eighteen to thirty inches apart, depending on mature size. Giants like Sum and Substance need real room to stretch.
Water every few days until the ground cools and rain takes over. Roots keep growing while soil stays above fifty degrees.
Trim a third of the foliage to reduce stress on fresh roots. Less leaf surface means less moisture lost on sunny afternoons.
Free plants are honestly the best part of this chore. One overgrown clump can fill a shady corner or bribe a neighbor.
4. Water Deeply Until The Ground Freezes
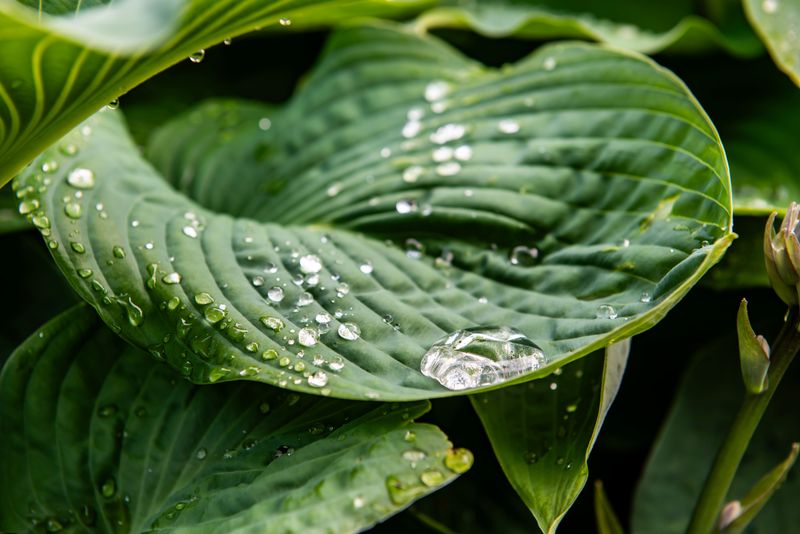
Thirsty roots head into winter weak, and weak roots wake up slowly. September rain often looks generous while soaking barely an inch down.
Check moisture by pushing a finger three inches into the soil. Dry and crumbly means it is time to drag out the hose.
Aim for about one inch of water per week through fall. Slow, deep soaks beat quick daily sprinkles by a mile.
Morning watering lets leaves dry before the cool evening arrives. Damp foliage overnight invites fungal spots and slimy visitors.
Soaker hoses deliver water right where roots live, with little waste. Set one on a timer and forget about it.
Plants under tree canopies dry out fastest because roots compete underground. Maples especially drink everything within reach.
Keep watering until the ground actually freezes, not just when leaves drop. Roots quietly grow long after the show above ends.
Newly divided or transplanted clumps need the most attention this season. Their root systems are still small and easily stressed.
A deep drink before the first hard freeze helps crowns endure frost heave. Moist soil holds temperature better than dry, cracked ground.
Think of it as sending the plant to bed with a full glass. It wakes up rested instead of parched.
5. Clear Away Hiding Spots For Slugs And Snails
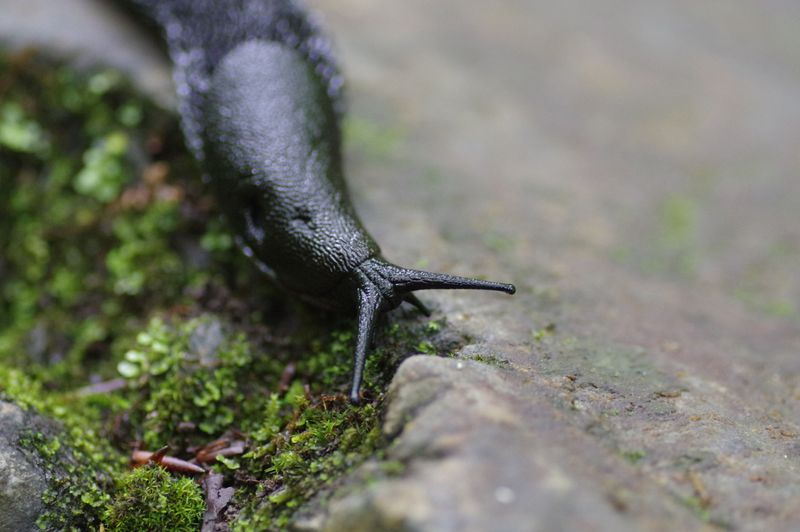
Holes in leaves start long before spring, right in the cozy debris of autumn. Slugs lay eggs in damp litter and wait patiently.
Rake out fallen leaves, old stems, and mushy foliage around each clump. Fewer hiding places mean fewer chewers in May.
Flip over boards, pots, and forgotten saucers sitting near the bed. Those dark, moist spots are basically slug hotels.
Pull weeds that crowd the crowns and trap moisture at soil level. Airflow keeps leaves drier and far less appealing.
Some gardeners scatter a thin ring of crushed eggshells or diatomaceous earth when pressure is high, though results are inconsistent. Reapply after heavy rain, since both lose effectiveness when wet.
Shallow dishes of beer still work, oddly enough, and cost almost nothing. Sink the rim level with the soil for best results.
Copper tape around containers is said to give pests a mild shock, though results vary by gardener. Many container gardeners still swear by it season after season.
Avoid piling mulch right against the crown, which creates a perfect hideout. Leave a two inch gap for breathing room.
Thick-leaved varieties with heavy blue coating resist chewing better than thin ones. Consider swapping problem plants for tougher cultivars.
One tidy afternoon now saves dozens of frustrated evenings later. Your leaves stay whole, and the slugs relocate somewhere else.
6. Mulch After The First Hard Frost
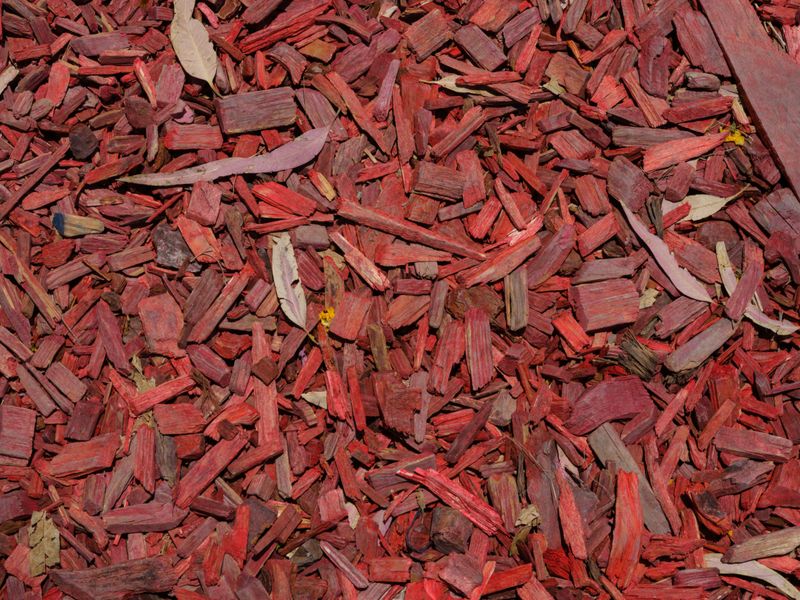
Timing beats enthusiasm with mulch, and early piles cause more harm than good. Warm mulch keeps soil cozy, which encourages growth at the wrong moment.
Wait until the top inch of ground freezes, often mid to late November. Cold soil signals dormancy, and mulch then locks that in.
Spread two to three inches of shredded bark, pine straw, or chopped leaves. Keep the layer light and airy rather than packed down.
Pull mulch back a couple of inches from each crown. Direct contact traps moisture and invites crown rot.
The real trouble is freeze and thaw cycles that shove crowns upward. Steady cold is safer than a bouncing thermometer.
Whole maple leaves mat into a soggy blanket, so shred them first. A lawn mower makes quick work of the pile.
Zone 3 and 4 gardeners can go a bit thicker for insurance. Milder regions rarely need more than two inches.
Rake mulch off gradually in early spring as shoots begin poking through. Leaving it too long delays warmth reaching the crowns.
Mulch also feeds the soil slowly as it breaks down. Free fertilizer while protecting roots counts as a bargain.
Skip fresh wood chips straight from a chipper, since they steal nitrogen. Let them age a season in a corner pile.
7. Mark The Crowns So Spring Digging Stays Safe

Every gardener has sliced a sleeping crown with a shovel in April. The plant hides underground, and memory is not a reliable map.
Push a small stake, plant label, or painted rock beside each clump. Cheap insurance against your own enthusiastic spade.
Write the cultivar name in pencil rather than marker, oddly enough. Pencil survives sun and rain far better than most ink.
Snap a photo of the bed before cutting back the foliage. A picture on your phone beats any handwritten plan.
Sketch a rough map showing spacing, names, and leaf colors. Future you will appreciate the effort next March.
Metal markers last longer than plastic, which goes brittle after two winters. Copper labels age into a handsome green patina.
Leaving two inch stem stubs also acts as a natural marker. They stay visible until new spears finally emerge.
Markers help enormously when tucking bulbs among the clumps in fall. Daffodils and hostas share space beautifully when nobody gets stabbed.
Labeling matters most if you collect named varieties. Sixty lookalike blues get confusing fast without a system.
Come spring, you dig with confidence instead of holding your breath. That alone makes the ten minute chore worthwhile.
8. Move Struggling Plants To A Better Shaded Spot
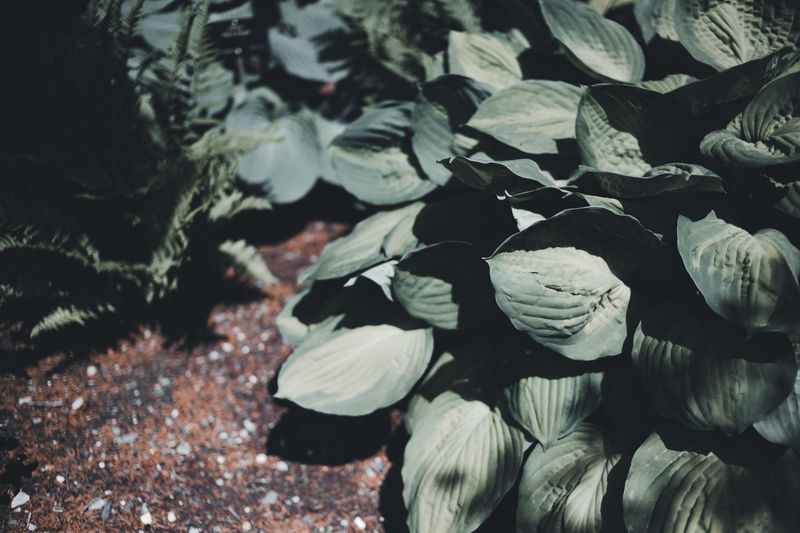
Brown, crispy leaf edges all summer usually mean too much afternoon sun. Fall is the kindest time to relocate a struggling clump.
September soil stays warm while the air cools, which suits root growth. Transplants settle in without the stress of July heat.
Scout your yard during midday and note exactly where shadows fall. Morning sun with afternoon shade is the sweet spot.
Dig a wide hole, wider than deep, and loosen the sides. Roots spread outward far more than they travel downward.
Lift the plant with as much root ball as you can manage. Carry it on a tarp to avoid breaking the mass.
Set the crown level with the soil surface, then backfill gently. Firm the soil with your hands, not your boots.
Water thoroughly and keep the spot damp for three or four weeks. New roots need steady moisture to anchor themselves.
Gold and chartreuse types tolerate more light than deep blue varieties. Blues lose their waxy coating quickly under harsh rays.
Expect the plant to look unimpressive for the rest of autumn. Judgment should wait until leaves return next May.
Give it one full season, and the difference is remarkable. Same plant, happier address, roughly twice the leaves.