10 Easy Steps To Grow Basil From Seed In California For A Summer-Long Harvest
Fresh basil has a way of disappearing fast once it’s in the kitchen. One day the plant looks full, the next you’re down to a few stems and wishing you had more ready to go.
Growing it from seed in California gives you a steady supply, but getting there takes a bit more than just sprinkling seeds and hoping for the best.
Some gardeners end up with thin, weak plants or slow growth that never quite catches up. Others figure out a rhythm that keeps basil coming in strong all summer.
It usually comes down to how those early steps are handled and how the plants are guided along the way.
A few simple moves can set everything up for fuller plants and more leaves when you need them most.
1. Start Basil Seeds Indoors Or Direct Sow After Frost Risk Passes
Timing is everything when it comes to basil, and getting your start right makes the rest of the season so much easier. In many parts of California, the last frost date varies widely by region, often ranging from late winter in mild coastal areas to spring in inland and higher-elevation regions.
Gardeners in coastal areas like Santa Barbara or San Francisco can often start earlier than those in higher-elevation spots like Fresno or Sacramento.
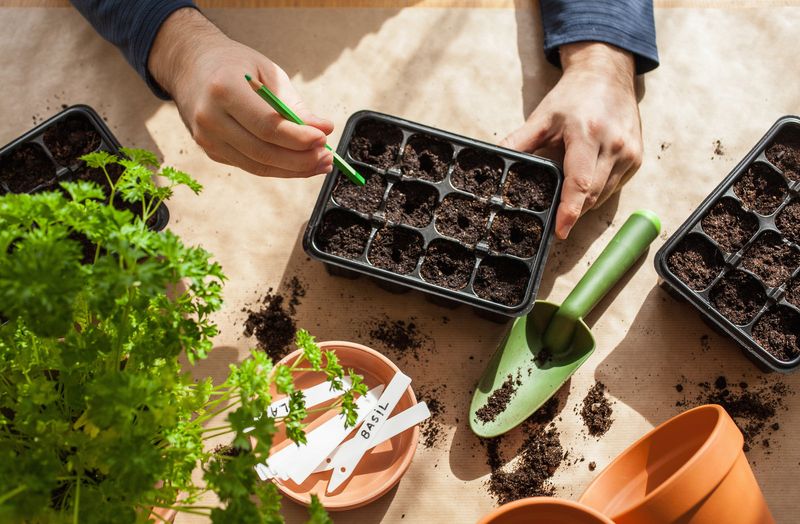
Starting seeds indoors about six to eight weeks before your last expected frost gives your plants a real head start. Use small seed-starting trays or biodegradable pots filled with a quality seed-starting mix.
Press two or three seeds about a quarter-inch deep into each cell, cover lightly with soil, and mist with water.
If you prefer skipping the indoor setup, direct sowing works great in California too. Wait until nighttime temperatures stay reliably above 50 degrees Fahrenheit before scattering seeds directly in your garden bed.
Either method works well across the state, so choose whichever fits your schedule and space. Getting this first step right sets you up for a strong, productive growing season from the very start.
2. Use Warm Soil Around 70°F For Best Germination

Basil is a heat-loving herb, and its seeds are surprisingly picky about soil temperature. If the soil is too cool, germination slows down or may not happen at all.
The sweet spot for basil germination is between 70 and 75 degrees Fahrenheit, and keeping your soil in that range consistently can make seeds sprout in as few as five to seven days.
A soil thermometer is a cheap and handy tool that takes all the guesswork out of this step. If your indoor space runs cool, placing your seed trays on top of a seedling heat mat can make a big difference.
These mats sit under your containers and gently warm the soil from below without overheating anything.
In California, warm spring days can help naturally maintain soil temperature, especially in the warmer inland regions. However, even in coastal areas where mornings stay cool, a heat mat or a warm spot near a south-facing window can do the trick.
Once your seeds sprout, you can remove the heat mat and focus on providing plenty of light. Getting germination temperatures right means less waiting and more growing throughout the California summer season.
3. Provide Full Sun For Strong, Flavorful Growth
Sunlight is basically basil’s best friend. This herb absolutely loves soaking up the sun, and giving it at least six to eight hours of direct sunlight each day is what creates those bold, aromatic leaves you want in your kitchen.
Less sun means weaker stems, smaller leaves, and a flavor that just doesn’t hit the same way.
California is genuinely one of the best places in the country to grow basil because of its generous sunshine, especially from May through September. Whether you’re gardening in the sunny Sacramento Valley or the warm stretches of the Inland Empire, your basil plants will thrive in a spot that gets full sun for most of the day.
South-facing garden beds or patios are ideal placements.
If you’re growing basil on a balcony or in containers, position your pots where they’ll catch the most sun throughout the day. Rotate them occasionally so all sides of the plant get even light exposure.
Keep in mind that coastal California areas can have morning fog, so afternoon sun becomes especially important in those regions. Strong, consistent light is what turns a decent basil plant into a truly productive, flavor-packed herb that you’ll reach for all summer long.
4. Keep Soil Consistently Moist But Not Waterlogged

Watering basil correctly is one of those things that sounds simple but trips up a lot of gardeners. Too little water and the plants wilt and stress out.
Too much water and the roots get soggy, which leads to root rot and a plant that struggles to bounce back. The goal is to keep the soil feeling like a wrung-out sponge, moist but never wet or muddy.
In California’s warm summer climate, basil in garden beds may need watering every two to three days, while container plants can dry out faster and might need daily attention during heat waves. Stick your finger about an inch into the soil before watering.
If it feels dry at that depth, it’s time to water. If it still feels damp, wait another day.
Watering at the base of the plant rather than overhead helps prevent fungal issues, which can be a concern in humid coastal areas of California. Mulching around your plants with straw or wood chips helps retain soil moisture and keeps roots cool during hot spells.
Good drainage is just as important as regular watering, so make sure your containers have drainage holes and your garden beds don’t collect standing water after rainfall.
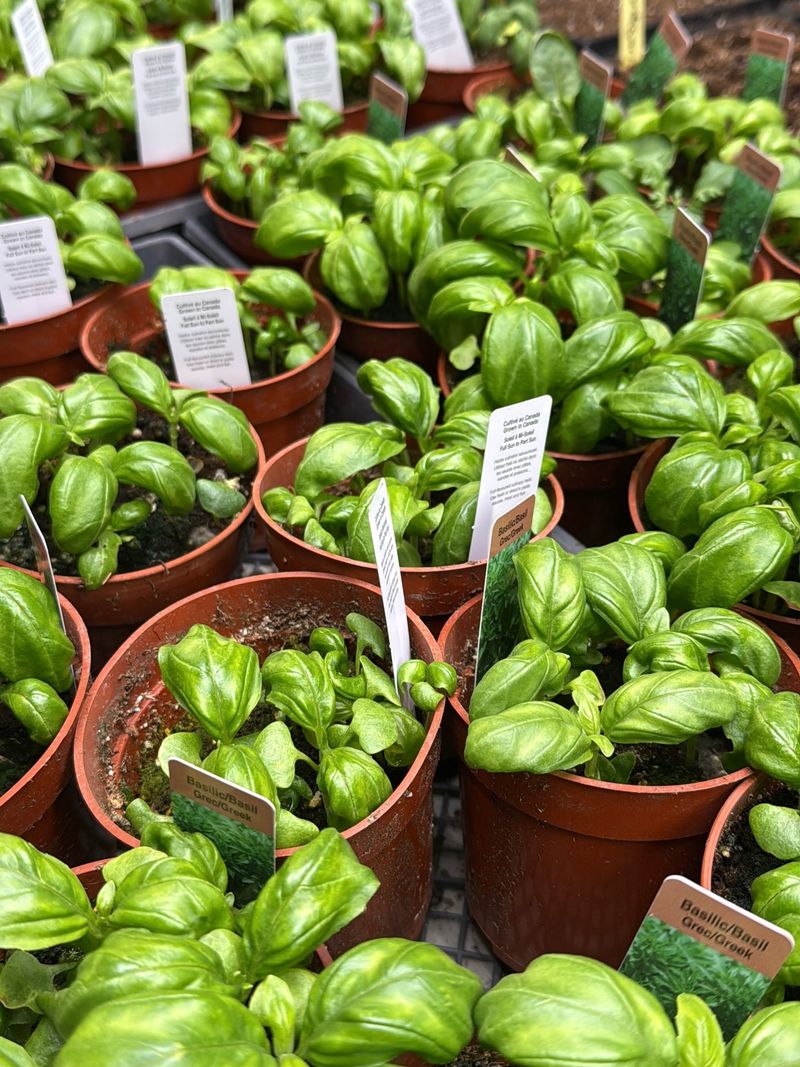
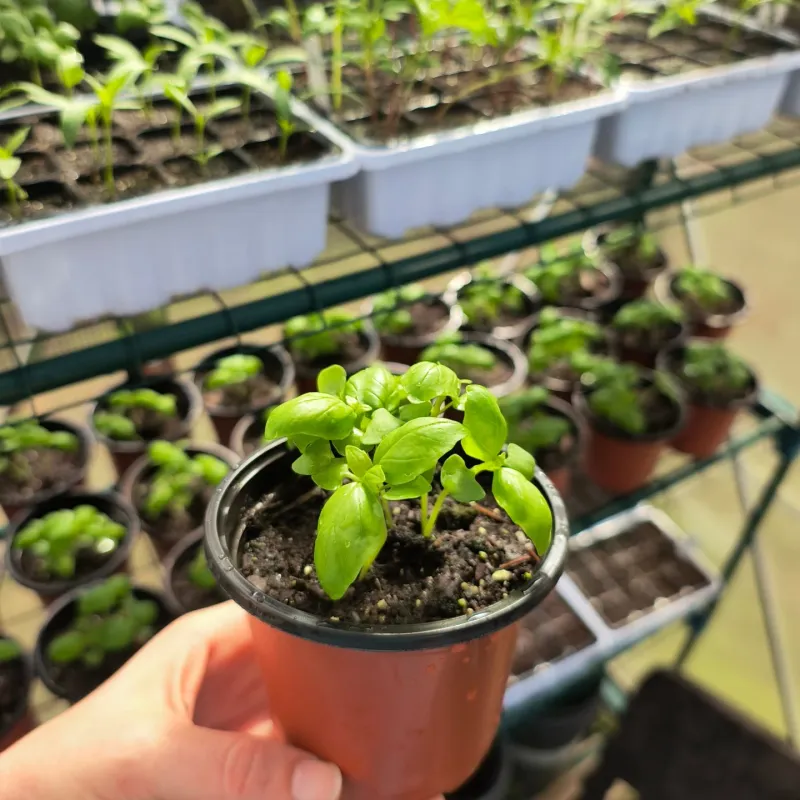
5. Thin Seedlings To Prevent Crowding
Crowded seedlings are one of the most common mistakes new basil growers make, and it’s completely understandable why. When you see all those tiny green sprouts coming up, it feels wrong to remove any of them.
But leaving too many seedlings in the same spot actually hurts all of them by forcing them to compete for water, nutrients, and light.
Once your seedlings reach about one inch tall, it’s time to thin them out. If you planted multiple seeds per cell or spot, keep only the strongest-looking seedling and snip the others off at soil level with small scissors.
Pulling them out can disturb the roots of the seedling you want to keep, so cutting is the better move.
For direct-sown basil in garden beds across California, aim to thin plants so they’re spaced about eight to twelve inches apart. This gives each plant enough room to spread out and develop a full, bushy shape.
Thinning might feel like a step backward, but it’s actually what allows your remaining plants to grow bigger and produce more leaves over the summer. A few strong, well-spaced plants will always outperform a crowded patch of struggling seedlings.
6. Transplant Only After Nights Stay Warm
Basil and cold nights simply do not get along. Even a brief exposure to temperatures below 50 degrees Fahrenheit can cause basil leaves to turn black and limp, setting your plants back significantly.
Waiting until nighttime temperatures stay consistently above 50 degrees before moving seedlings outdoors is one of the most important rules for growing basil in California.
In warmer parts of the state like Los Angeles, San Diego, and the Central Valley, this often means transplanting as early as late March or April. In cooler coastal zones or higher elevations, you may need to wait until May or even early June.
Checking a local weather forecast for your specific area helps you plan the right window.
When you’re ready to transplant, harden off your seedlings first by setting them outside in a shaded spot for a few hours each day over the course of a week. Gradually increase their sun and outdoor exposure so they adjust to the change without going into shock.
Transplant on a calm, overcast day or in the late afternoon to reduce stress on the plants. Water them in well after planting and keep a close eye on them for the first few days as they settle into their new home in your California garden.
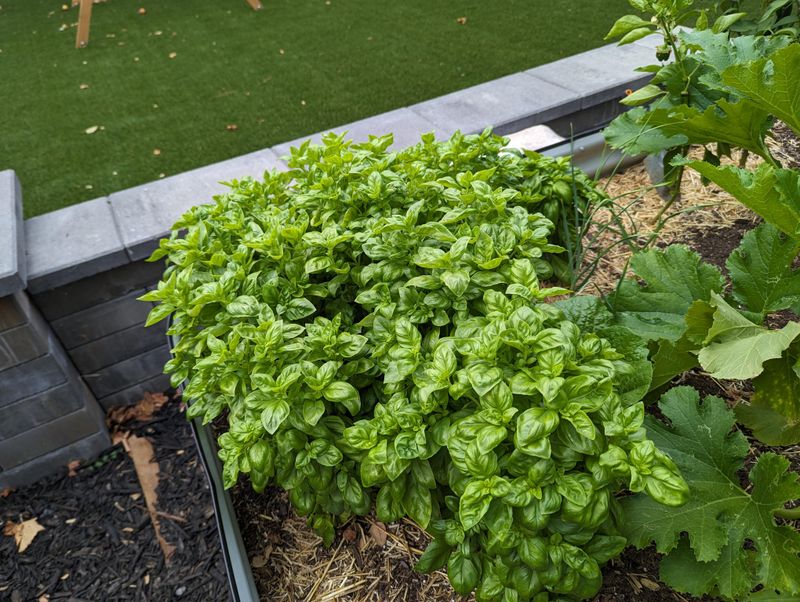
7. Pinch Back Early Growth To Encourage Bushier Plants
Here’s a little trick that experienced basil growers swear by: pinching. Once your basil plant has grown to about six inches tall and developed at least two or three sets of leaves, pinching off the top growing tip does something almost magical.
Instead of continuing to grow tall and leggy, the plant responds by pushing out two new branches from just below the pinch point.
Those two branches then grow and can be pinched again, creating four branches. Keep repeating this process throughout the season and you’ll end up with a wide, bushy plant covered in leaves instead of a single tall stem with very little to harvest.
More branches mean more leaves, and more leaves mean more basil for your kitchen all summer long.
This technique works especially well in California’s long, warm growing season because the plants have plenty of time to branch out and fill in before cooler fall weather arrives. Use clean, sharp scissors or just your fingernails to pinch just above a leaf node.
Do this every couple of weeks throughout the growing season. It takes less than a minute per plant and makes a huge difference in how much basil you end up harvesting from your garden beds or containers.
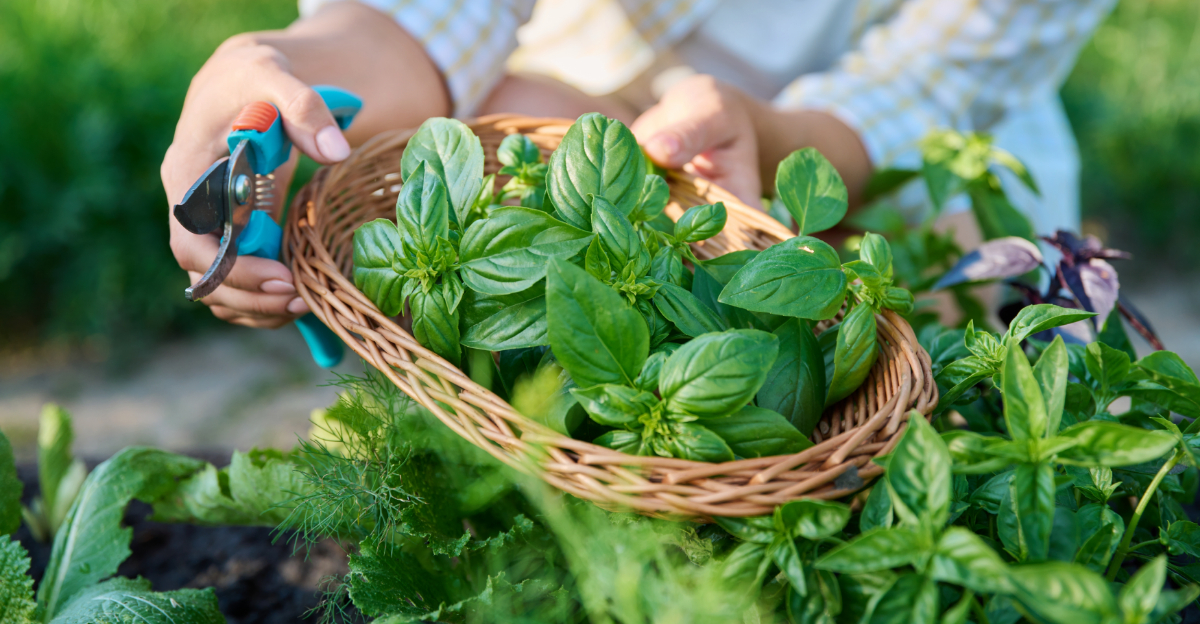
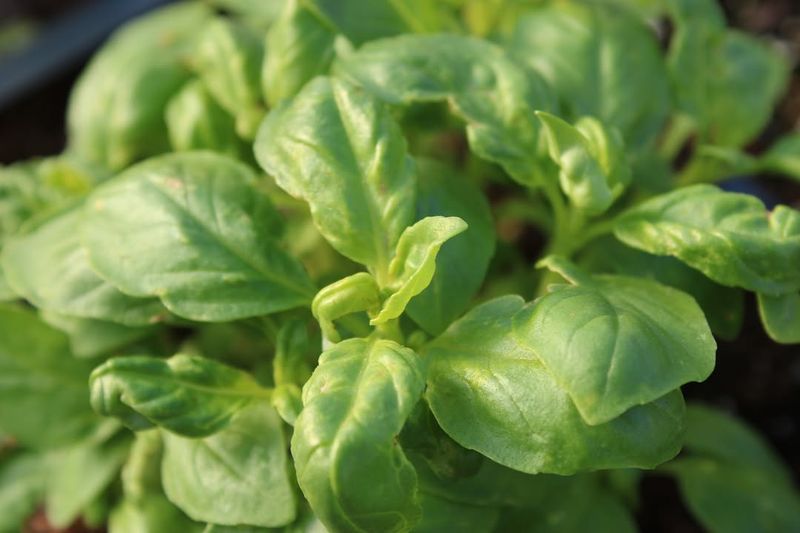
8. Harvest Frequently To Extend The Growing Season
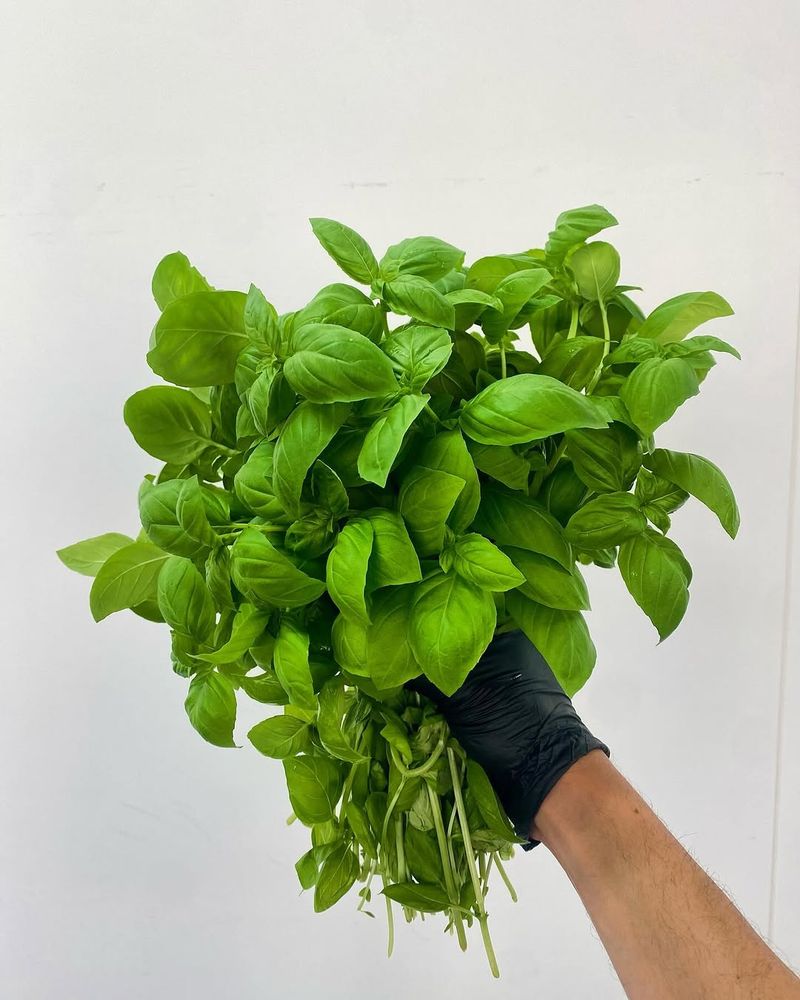
One of the most satisfying parts of growing basil is harvesting it, and the good news is that the more you harvest, the more the plant produces. Regular harvesting signals to the plant that it needs to keep making new leaves, which keeps it actively growing and productive throughout the entire California summer season.
Always harvest from the top of the plant, cutting stems just above a pair of leaves. This encourages the plant to branch out below the cut, just like pinching does.
Never remove more than one-third of the plant at a single harvest, as taking too much at once can stress it and slow down regrowth. A light, frequent harvest approach works much better than waiting and then cutting a lot at once.
Morning is actually the best time to harvest basil because the essential oils that give it flavor are most concentrated before the heat of the day kicks in. In California, where summer mornings are often warm and pleasant, a quick trip to the garden before breakfast to snip some fresh basil feels like a real treat.
Store freshly cut stems in a glass of water on your kitchen counter, away from direct sunlight, to keep them fresh for several days.
9. Remove Flower Buds To Maintain Leaf Production
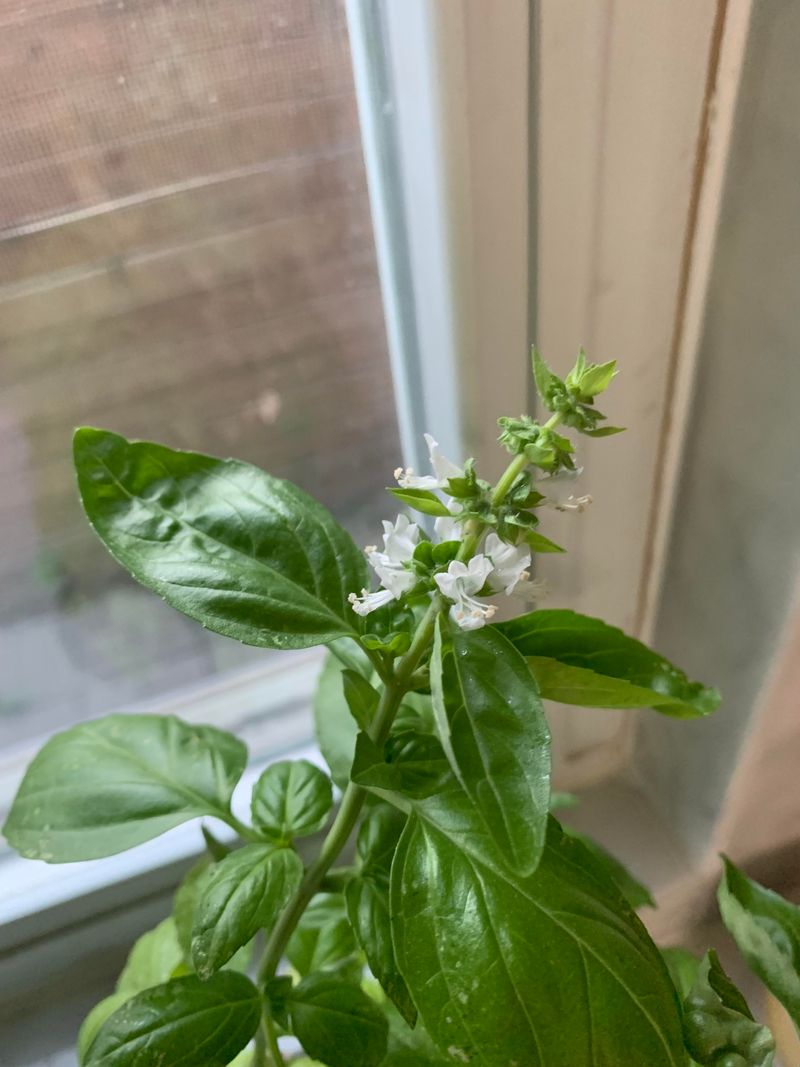
Basil has one goal once summer hits its peak: flower and produce seeds. From the plant’s perspective, that’s mission accomplished.
From a gardener’s perspective, it’s the beginning of the end for leaf production. Once basil starts flowering, the leaves become smaller, tougher, and noticeably more bitter in flavor.
That’s why removing flower buds the moment you spot them is such an important habit.
Check your plants every few days during the hottest part of the California summer, typically July and August, when bolting happens fastest. Flower buds appear as small clusters at the top of each stem.
Pinch them off as soon as you see them, cutting back to the nearest set of healthy leaves. This redirects the plant’s energy back into producing the big, flavorful leaves you want.
Some gardeners let one or two plants flower at the end of the season to collect seeds for next year, which is a smart and cost-effective move. But for the plants you want to keep producing fresh leaves, staying on top of bud removal is key.
Think of it as a quick, two-minute maintenance task each time you visit your garden. A little attention here goes a long way toward keeping your California basil harvest going strong well into fall.
10. Succession Plant Every Few Weeks For Continuous Harvest
Succession planting is the secret weapon of experienced herb gardeners, and it’s especially effective in California where the growing season stretches on for months. Instead of starting all your basil seeds at once, stagger your plantings every two to three weeks.
By the time your first batch of plants starts slowing down or bolting, your next round is just hitting its stride and ready to harvest.
Start your first round of seeds in early spring, then sow another batch a few weeks later, and keep going through midsummer. This creates a rolling supply of fresh, productive plants throughout the entire season.
For California gardeners with long, warm summers, succession planting can realistically keep fresh basil coming from April all the way through October in many regions.
Container gardening makes succession planting even easier because you can move pots around to optimize sun exposure and space as new plants come in. Label each batch with the sow date so you can track which plants are newest and plan your harvests accordingly.
Succession planting does require a bit more organization upfront, but the payoff is a kitchen counter that never runs out of fresh basil all summer long. Once you try it, you’ll never go back to planting just one round.