10 Easy Ways To Add A Bee Bath To Your Garden – And Why Your Pollinators Will Love It
A bee bath is a shallow water source specifically designed to help bees and other pollinators stay hydrated. Just like birds need birdbaths, bees need water too, especially during hot summer days when they’re busy pollinating your garden.
Creating a bee bath not only supports these essential creatures but also adds a charming element to your outdoor space. This guide shows you 10 fun, simple ways to add a bee bath to your garden—and turn it into a haven buzzing with life.
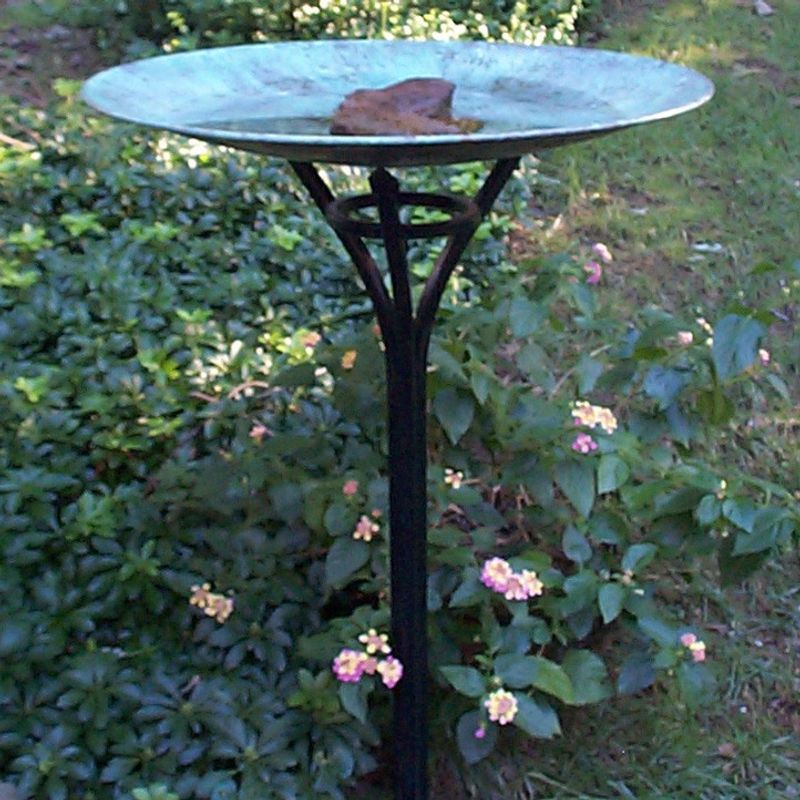
1. Choose the Perfect Spot
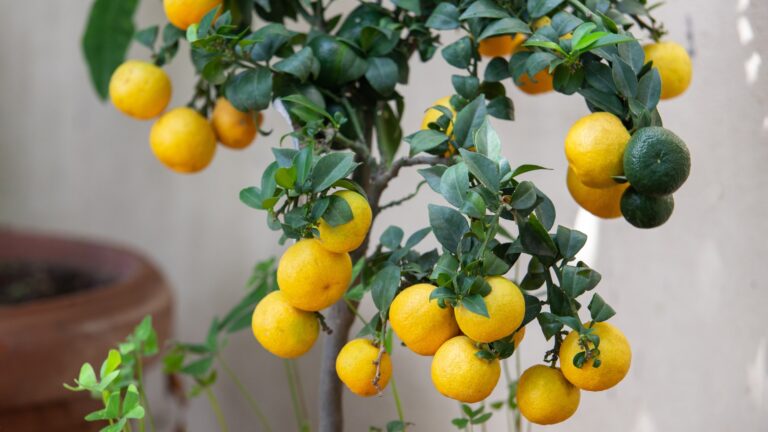
Bees love sunny locations where they can warm up while taking a drink. Place your bee bath in a spot that gets morning sunshine but offers afternoon shade to prevent water from evaporating too quickly.
Garden edges near flowering plants are ideal since bees won’t have to travel far between feeding and drinking. Remember that bees have excellent location memory – once they discover your bath, they’ll return regularly!
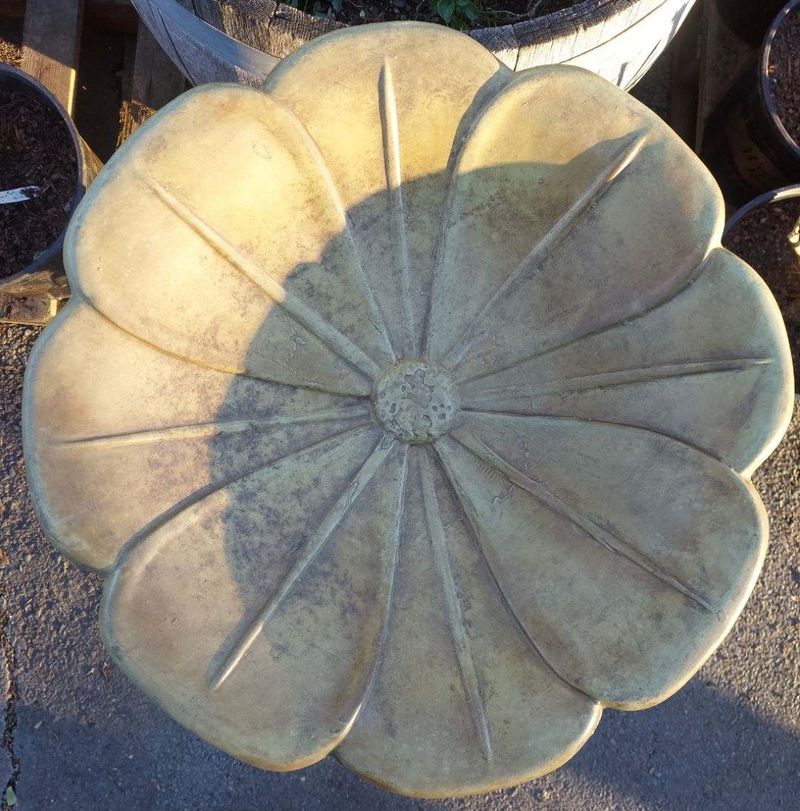
2. Keep It Shallow

Depth matters tremendously when creating a bee-friendly water source. Bees can’t swim and will drown in deep water, so your bath should never be more than an inch deep at its center.
The edges should be even shallower, allowing bees to approach safely and drink without risk. Many experienced gardeners use pie plates, shallow plant saucers, or even frisbees as perfect bee bath containers because of their gradual sloping sides.
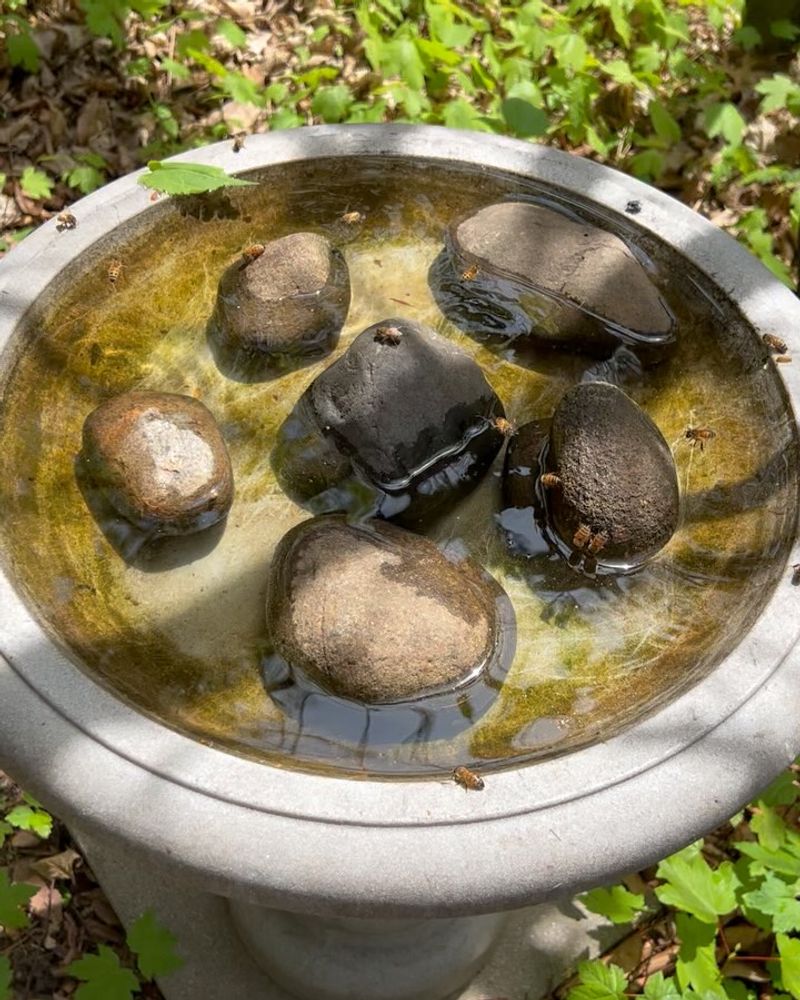
3. Add Landing Spots
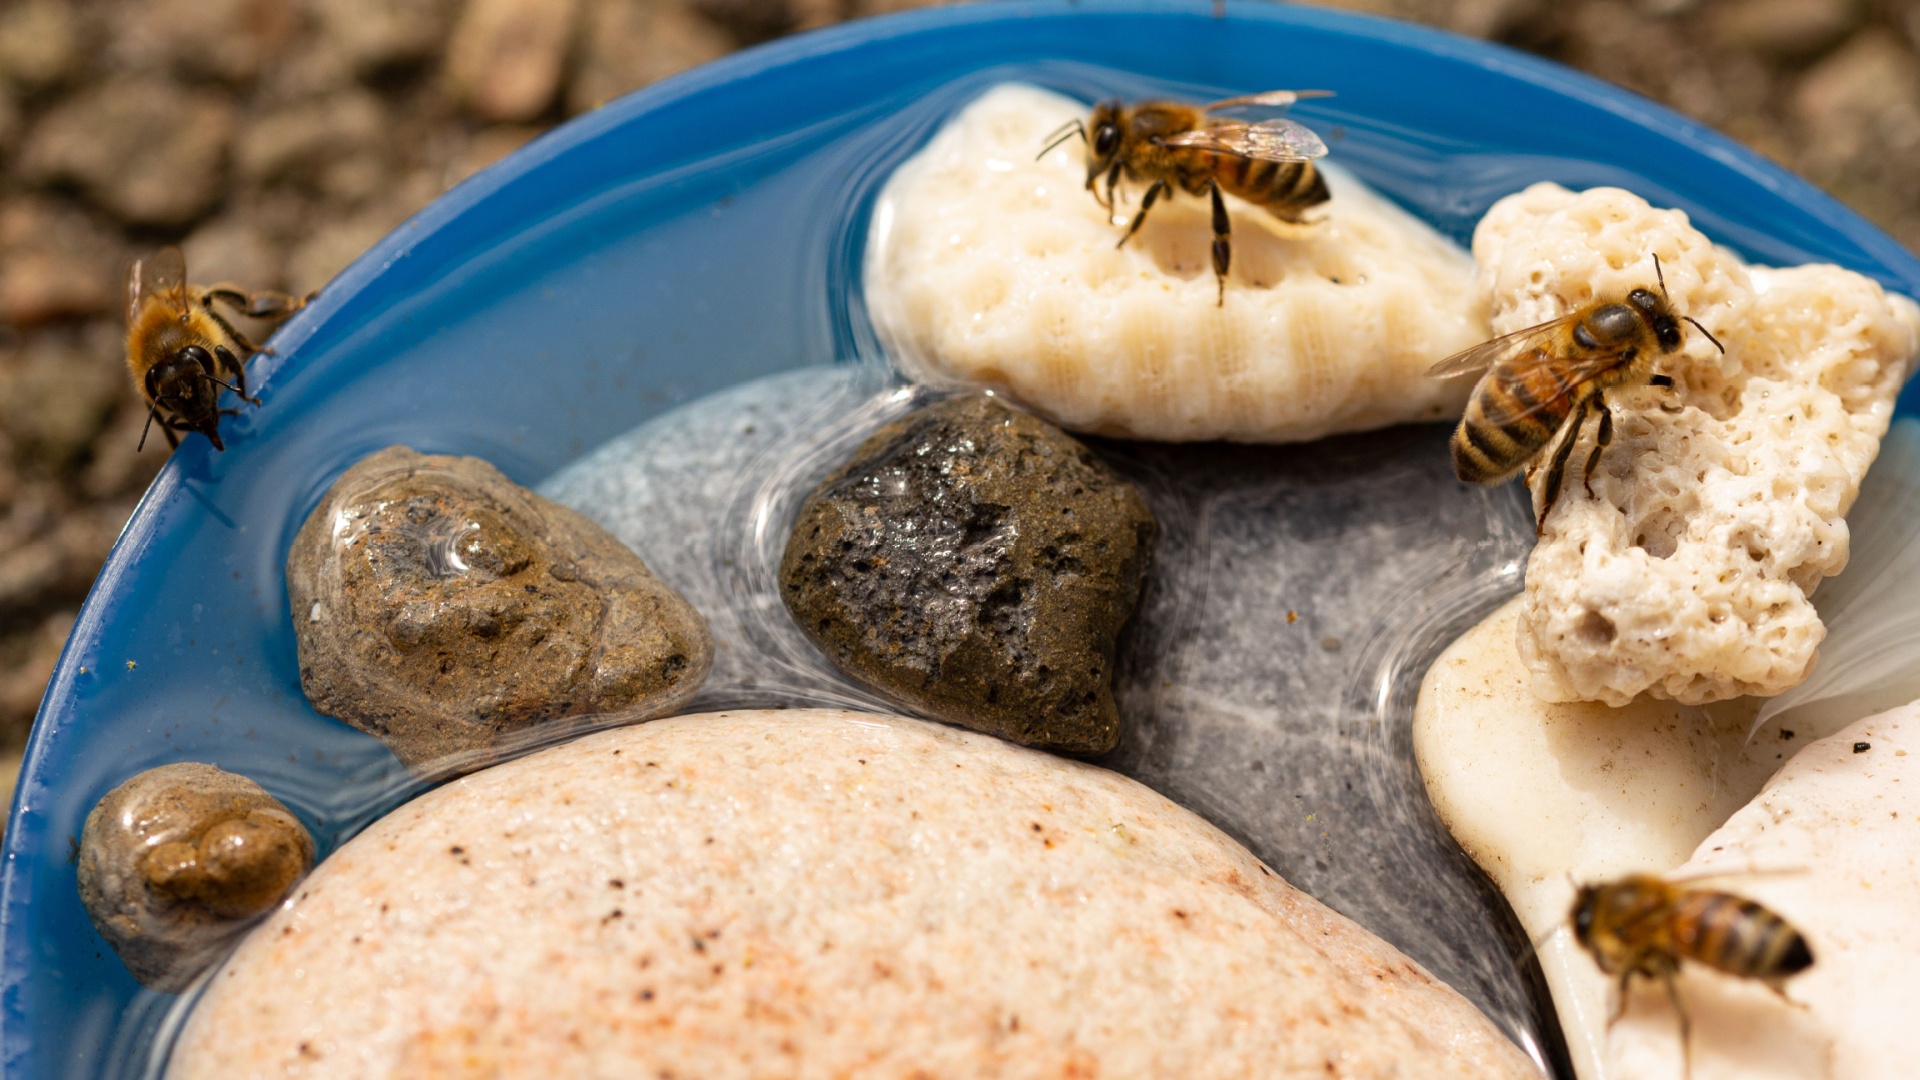
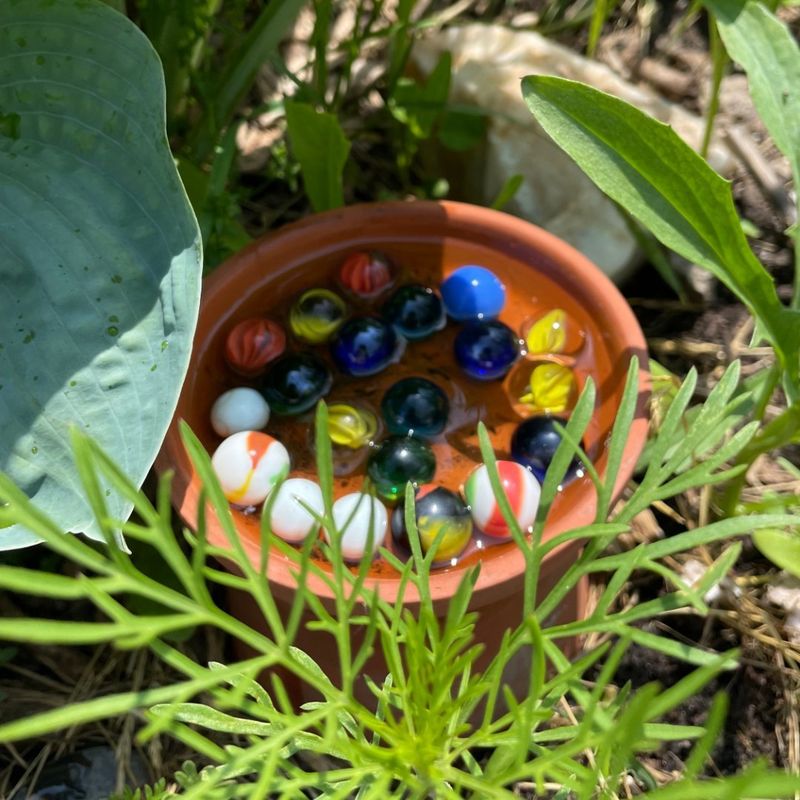
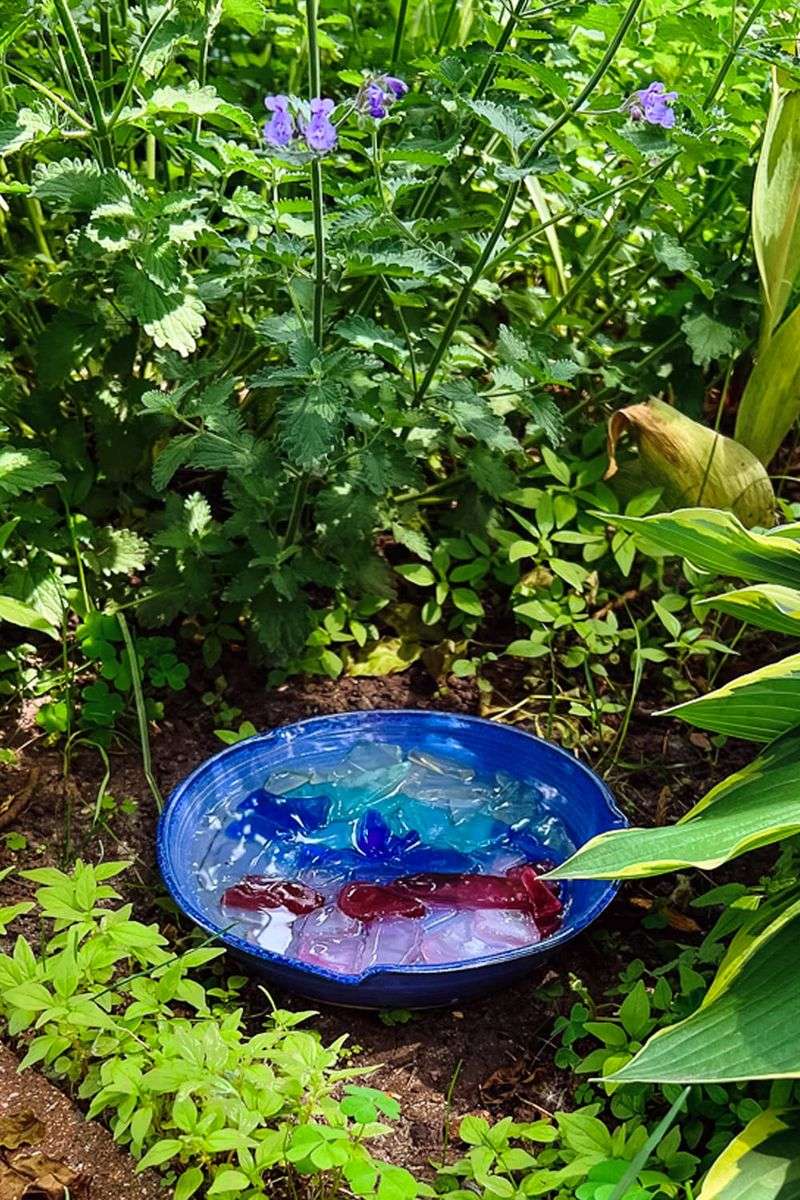
Bees need places to perch while they drink! Fill your bath with different-sized stones, marbles, or glass beads that rise above the water surface. These create perfect landing pads where bees can safely rest while sipping.
Cork pieces work wonderfully too and naturally float as water levels change. Arrange these materials so some parts remain completely dry, allowing tired bees to take a break between drinks without getting their wings wet.
4. Maintain Clean Water
Fresh water attracts more pollinators and prevents mosquito breeding. Change your bee bath water every 2-3 days, especially during hot weather when algae grows quickly. A quick rinse removes any buildup that might make the water less appealing.
Never use chemicals or soap when cleaning – even small residues can harm delicate bee bodies. During cleaning, check for any drowned insects and remove them. Your consistent maintenance ensures bees return to a healthy hydration station.
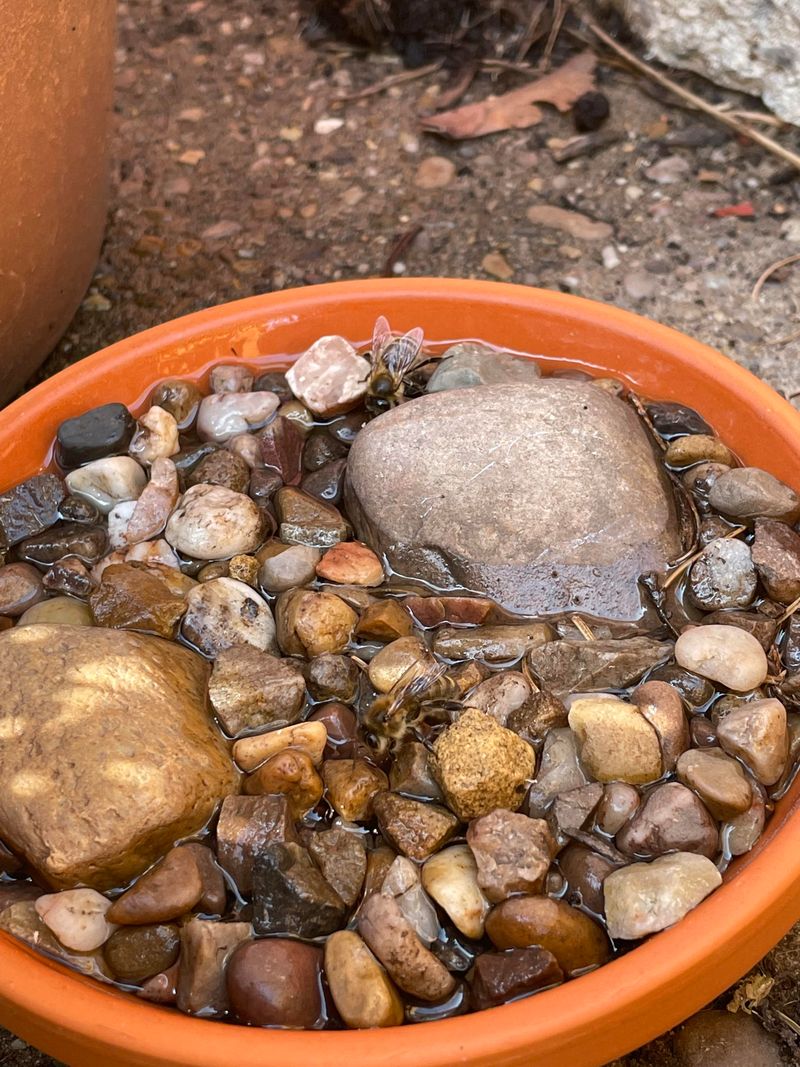
5. Create Multiple Water Levels
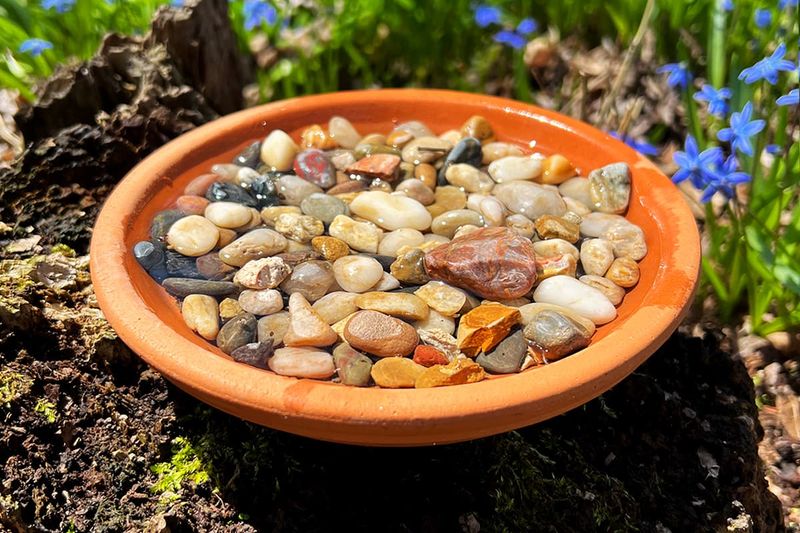
Not all pollinators prefer the same depth! Design your bee bath with varied water levels to accommodate different insects. Butterflies often prefer mud puddles at the very edge, while some bees might venture slightly deeper.
Arrange stones or pebbles to create a gradual slope from dry to shallow to slightly deeper areas. This microhabitat approach serves diverse garden visitors from tiny sweat bees to larger carpenter bees, making your bath a popular destination for all pollinator types.
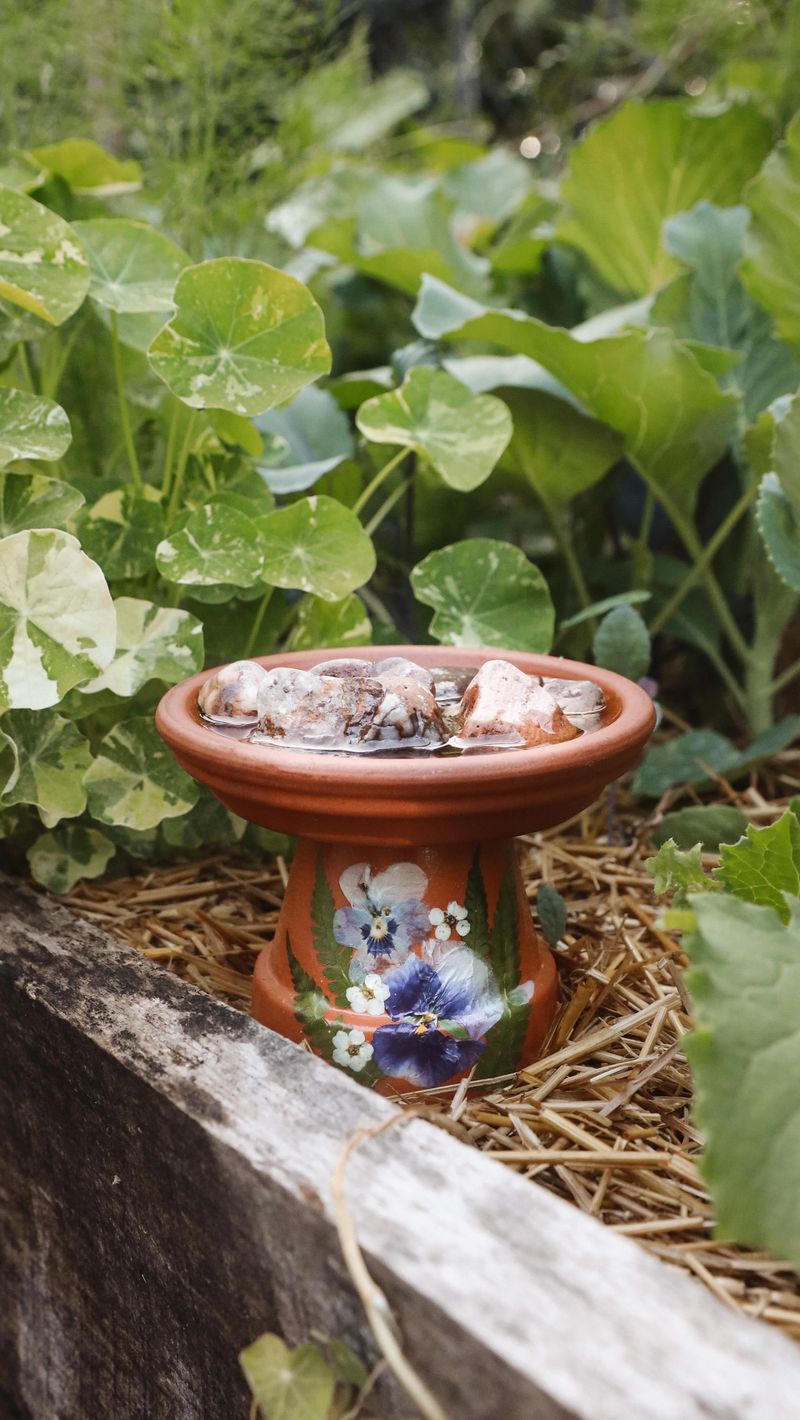
6. Incorporate Natural Materials
Native bees respond best to materials found in their natural environment. Consider using a hollowed tree stump, large leaf, or natural stone depression as your bee bath base. These options blend beautifully into garden landscapes while feeling familiar to local pollinators.
Wood slices with natural cracks make excellent water holders. Even large seashells can serve as charming mini-baths! The more your creation mimics natural water sources, the more likely shy native bee species will visit.
7. Position Near Mud Sources
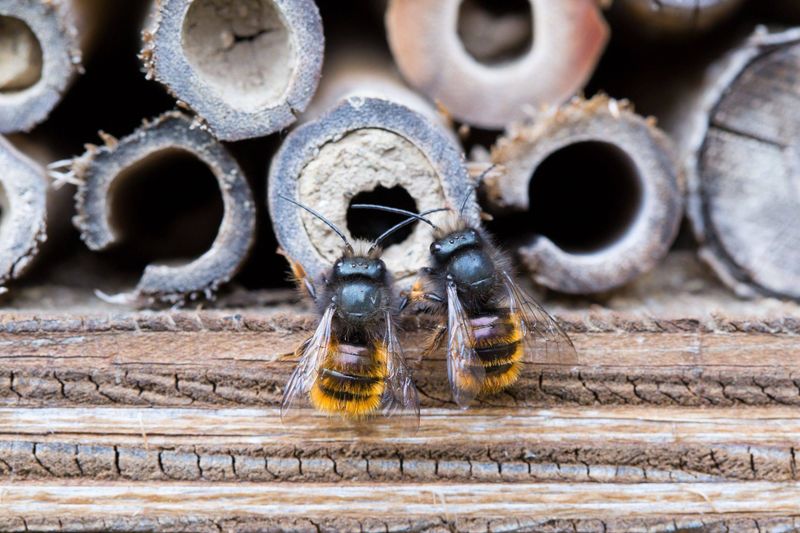
Many bee species, especially mason bees, need both water and mud to build their nests. Creating a muddy spot next to your bee bath gives these hardworking pollinators a one-stop resource center!
Simply keep a small patch of soil consistently damp near your bath. The bees will collect water from your bath and gather mud from this spot. This thoughtful pairing makes your garden exceptionally attractive to native bees looking for efficient resource gathering.
8. Provide Year-Round Access
Bees don’t only need water during summer! Many species remain active during mild winter days and emerge early in spring when few natural water sources exist. Consider how to maintain your bee bath beyond peak gardening season.
In cooler months, position the bath in full sun to prevent freezing. During winter in colder regions, replace your outdoor bath with a sunny windowsill option inside a screened porch. Your consistent water source becomes a crucial survival tool for early-emerging pollinators.
9. Create a Bee-Friendly Surround
The area immediately around your bee bath matters tremendously! Plant aromatic herbs like lavender, rosemary, and thyme nearby – their scent guides bees to both nectar sources and your water feature.
Low-growing groundcovers provide perfect landing spots for tired bees needing rest. Avoid placing your bath where pesticides might drift onto the water surface. This protective perimeter transforms a simple water dish into an integrated part of your pollinator habitat.
10. Monitor Bee Activity
Successful bee baths become buzzing hubs of activity! Watch which bee species visit and when they appear most frequently. Morning tends to be prime visitation time as bees prepare for a day of foraging.
Keep a simple journal noting visitor types and frequency. If you notice declining visits, try moving the bath closer to flowering plants or adjusting water levels. Your observations help fine-tune this garden feature while providing fascinating glimpses into pollinator behavior right in your own backyard.