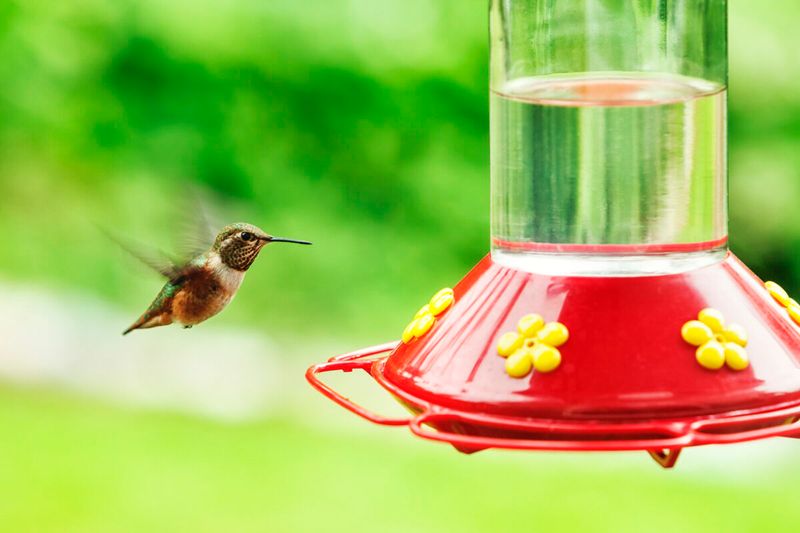
15 Easy Ways To Clean Your Feeder And Attract More Hummingbirds Fast
Dirty feeders drive hummingbirds away—fast. To keep them coming back for more, you need a clean, safe, and irresistible feeding station.
These 15 easy cleaning tips will help you maintain a healthy feeder that hummingbirds love. No fuss, no fancy tools—just simple habits that bring more wings to your yard, fast.
1. Empty and Rinse Daily
Giving your feeder a quick empty-and-rinse each day prevents sugar water from fermenting. Even in cool weather, nectar can spoil within 24 hours!
Simply dump any leftover solution, run hot water through all the feeding ports, and refill with fresh nectar. No soap needed for this daily maintenance – just clean water and a minute of your time.
Your hummingbirds will appreciate drinking from a fresh source every day, just as you’d prefer a fresh glass of water over one that’s been sitting out.
2. Scrub with Bottle Brushes
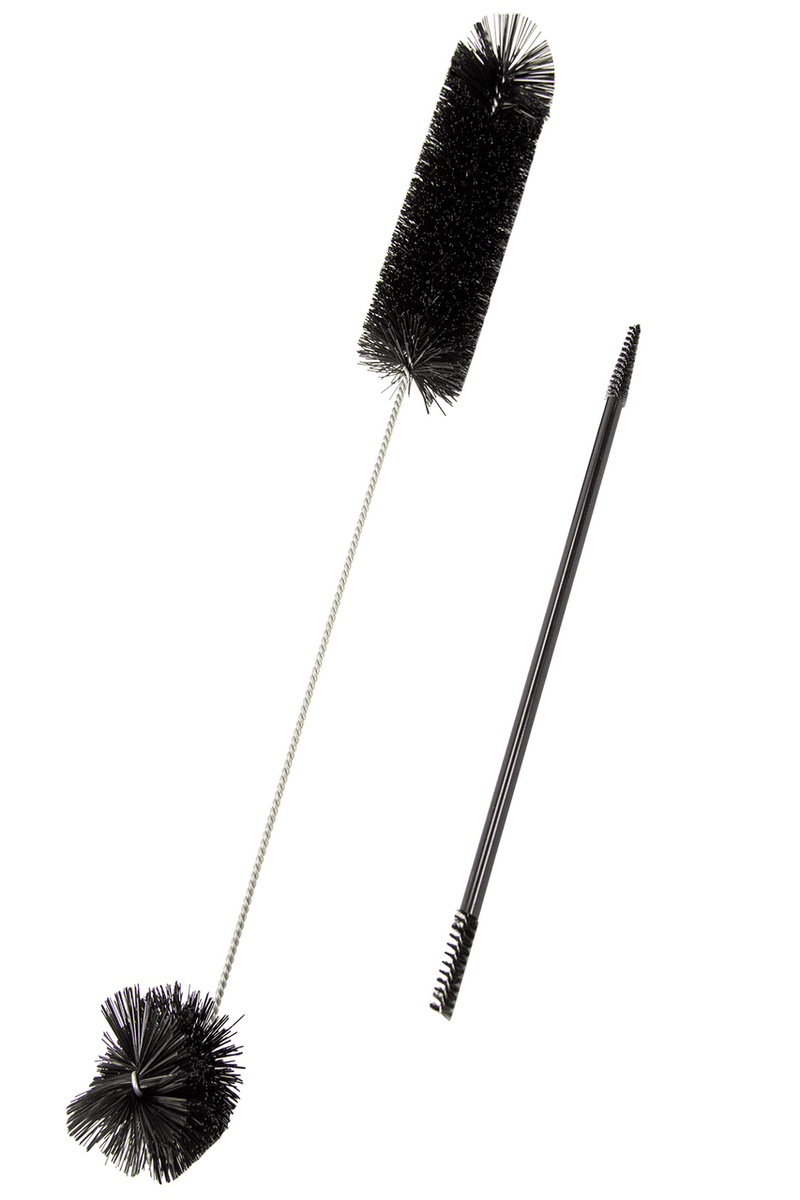
Narrow bottle brushes become your best friends when cleaning those hard-to-reach spots in hummingbird feeders. The tiny feeding ports collect sticky residue that regular washing can’t remove.
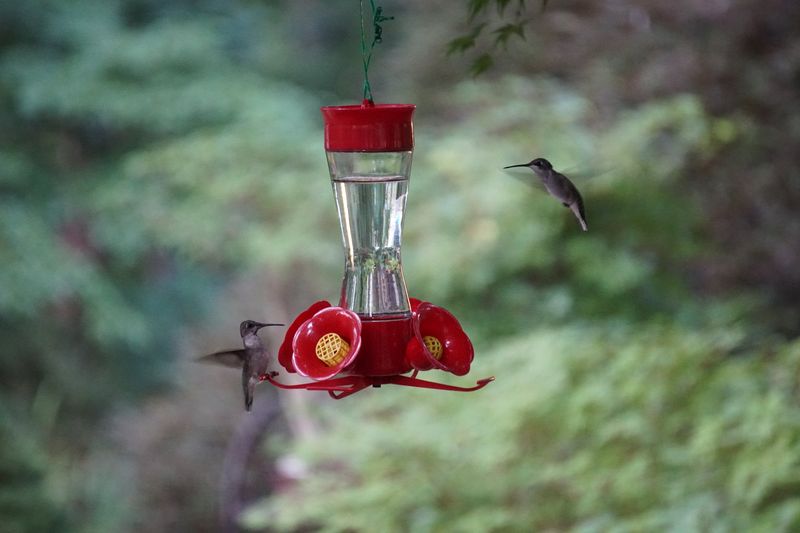
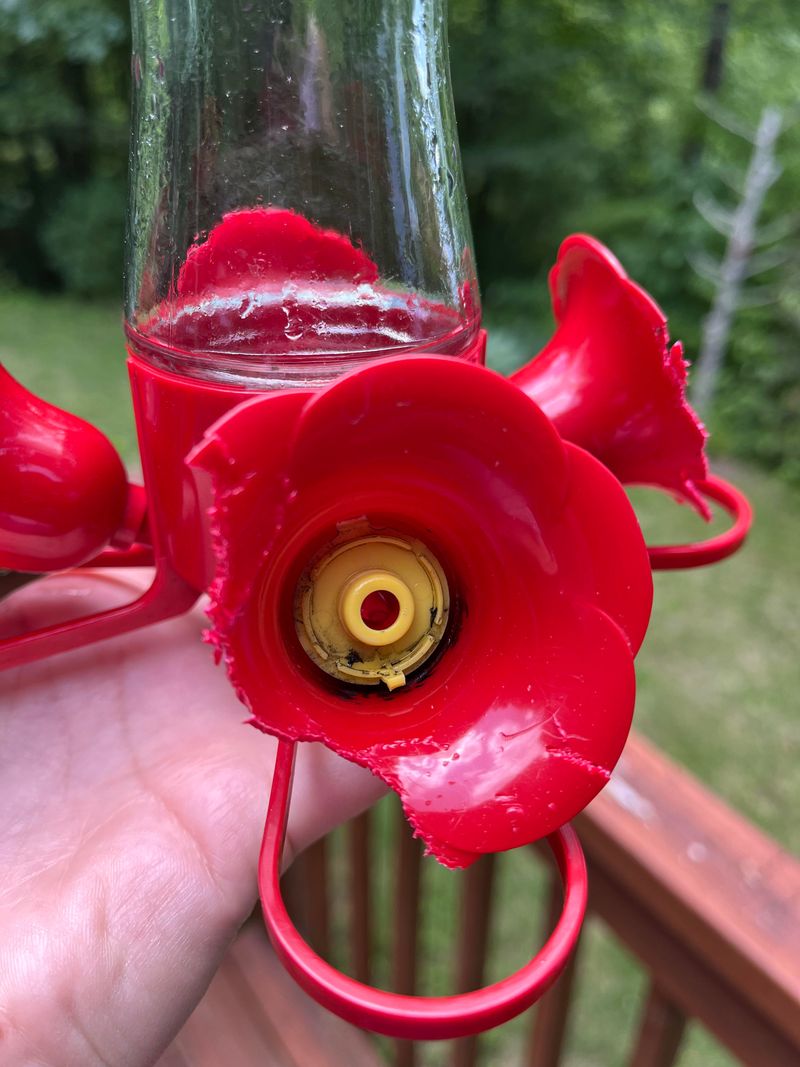
A set of different-sized brushes lets you scrub every nook and cranny where mold likes to hide. Pay special attention to the little flower-shaped ports where hummingbirds insert their beaks.
Regular scrubbing prevents blockages that might frustrate hungry hummers and sends them searching for cleaner dining options elsewhere.
3. Soak in Vinegar Solution
White vinegar works magic on stubborn mineral deposits and mold without introducing harmful chemicals. Mix one part white vinegar with four parts water in a bowl large enough to submerge your disassembled feeder.
Let the parts soak for at least an hour—overnight works even better for really gunky feeders. The acidic solution dissolves buildup that scrubbing alone might miss.
After soaking, any remaining residue should wipe away easily with a soft cloth or brush before thoroughly rinsing with clean water.
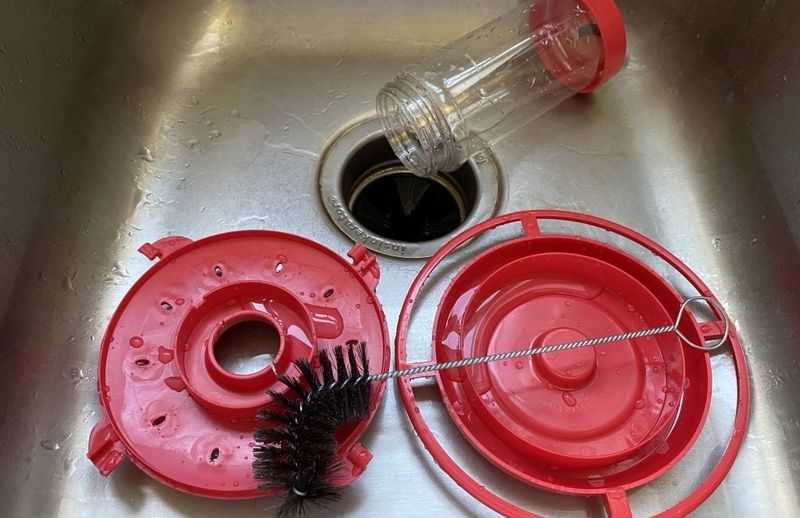
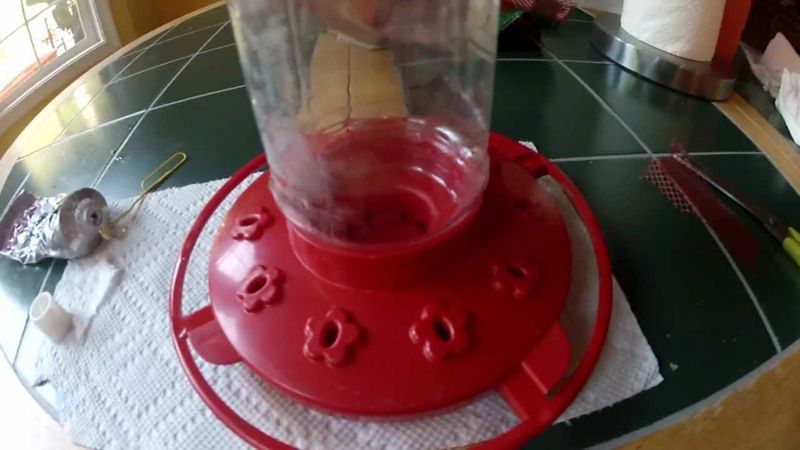
4. Take Apart Every Piece

Many hummingbird enthusiasts miss hidden dirt by cleaning their feeders without fully disassembling them. Modern feeders come apart completely—remove gaskets, caps, bases, and feeding ports.
Separating every component exposes areas where mold grows unnoticed. Those rubber seals and tiny crevices become perfect hiding spots for bacteria when ignored.
Keep track of small parts during cleaning by placing them in a shallow dish. Take a quick photo of the assembled feeder beforehand if you’re worried about remembering how it fits back together.
5. Avoid Harsh Detergents
Commercial dish soaps leave residues that might harm these tiny birds or alter the taste of nectar. Even trace amounts of detergent can repel sensitive hummingbirds from your feeder.
Stick with plain hot water for daily rinsing and vinegar solutions for deeper cleaning. If you absolutely must use soap, choose fragrance-free, mild options and rinse repeatedly until no bubbles appear.
Remember that hummingbirds can detect substances we can’t perceive—their survival depends on their sensitive taste receptors identifying safe food sources.
6. Use Old Toothbrushes for Ports

Retired toothbrushes make perfect tools for scrubbing those tiny feeding ports where hummingbird tongues reach for nectar. Their bristles fit perfectly into small openings and flower-shaped ports.
Keep a dedicated toothbrush with your bird feeding supplies rather than tossing old ones. Soft bristles remove mold without scratching plastic components that could later harbor more bacteria.
After brushing each port, flush with water to remove loosened debris and check that liquid flows freely through each opening—blocked ports prevent hummingbirds from feeding.
7. Sanitize with Diluted Bleach
Monthly sanitizing prevents stubborn black mold that can be deadly to hummingbirds. Create a mild bleach solution using one part bleach to nine parts water—stronger mixtures aren’t necessary and can damage feeders.
Soak disassembled parts for 10-15 minutes, no longer. Extended soaking can degrade plastic components over time. Never mix bleach with vinegar or other cleaners!
After bleach treatment, rinse thoroughly multiple times until no chlorine smell remains. Hang parts in direct sunlight to help neutralize any lingering bleach before reassembling.
8. Dry Completely Before Refilling

Moisture trapped inside feeders becomes a breeding ground for bacteria and mold. After cleaning, set all components on a clean towel in direct sunlight—nature’s disinfectant!
Allow parts to air dry completely before reassembling, which might take several hours on humid days. Resist the temptation to towel-dry, as cloth fibers can leave lint that clogs tiny ports.
Patience during this drying step pays off with healthier hummingbirds and less frequent cleaning, as properly dried feeders stay cleaner longer than those refilled while still damp.
9. Maintain a Cleaning Schedule
Successful hummingbird hosts live by a consistent cleaning calendar rather than cleaning “when it looks dirty.” In hot weather (80°F+), perform deep cleanings every 2 days. In milder temperatures, twice weekly works well.
Mark your calendar or set phone reminders so cleaning becomes routine. Many birders keep multiple feeders in rotation—one in use while the other is being cleaned and dried.
Regular maintenance prevents the nectar from fermenting or growing mold, which happens long before visible signs appear to human eyes.
10. Inspect Feeding Ports Regularly
Feeding ports often develop nearly invisible clogs from sugar crystallization or insect activity. Hold cleaned feeders up to bright light and look through each port to check for blockages.
Use a thin wire, like a straightened paperclip, to gently clear any obstructions. Ports that don’t allow free liquid flow will frustrate hummingbirds, who might abandon your feeder despite full nectar levels.
While inspecting, check for cracks or damage that might cause leaks or sharp edges that could harm the birds’ delicate tongues during feeding.
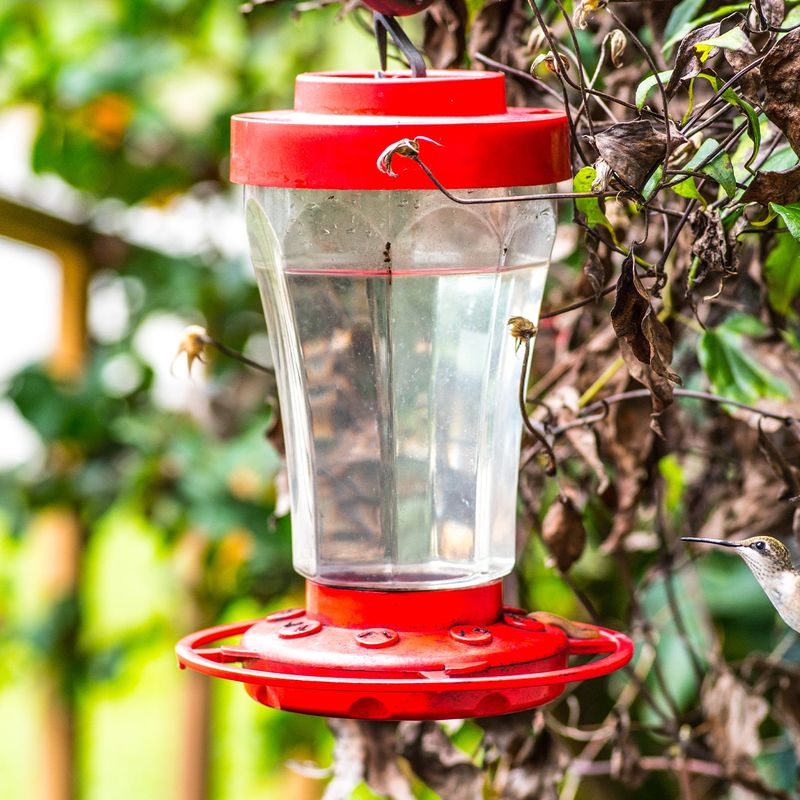
11. Clean Perches and Outer Surfaces
Don’t forget the outside of your feeder! Hummingbirds perch while drinking, and their tiny feet pick up dirt and nectar from these surfaces.
Wipe down external parts with a damp cloth or use an old toothbrush to scrub perches and decorative elements. Sticky residue on the outside attracts ants and other insects that deter hummingbirds from visiting.
Clean outer surfaces help maintain the feeder’s appearance and prevent the growth of mildew that might spread to feeding areas during humid weather.
12. Remove Rust from Metal Parts
Metal components like hanging wires, ant moats, or decorative elements can develop rust that contaminates nectar. Soak rusty metal parts in undiluted white vinegar for 2-3 hours to dissolve light rust.
For stubborn rust, gently scrub with a steel wool pad after soaking. Consider replacing severely rusted parts rather than continuing to clean them, as rust will keep returning.
Some birders coat metal parts with food-grade mineral oil after cleaning to create a protective barrier against moisture that causes rust.
13. Tackle Black Mold Immediately
Black mold appears as dark spots inside feeders and poses serious health risks to hummingbirds. At first sign of black mold, take immediate action rather than waiting for your next scheduled cleaning.
Soak affected parts in a solution of one part bleach to nine parts water for 30 minutes. Scrub vigorously with bottle brushes, focusing on corners and crevices where mold spores hide.
Prevention works better than treatment—more frequent cleaning during hot, humid weather stops mold before it starts growing in your hummingbird’s dining area.
14. Rotate Multiple Feeders
Smart hummingbird enthusiasts maintain a rotation system using multiple feeders. While one feeder is in use, others can be thoroughly cleaned and dried without leaving hungry birds without a meal.
This rotation method ensures you’re never rushed through the cleaning process. Having spares also means you’ll always have a clean feeder ready if you discover mold or fermentation in your active feeder.
Multiple feeders positioned around your yard also prevent territorial hummingbirds from monopolizing all the nectar sources.
15. Store Clean Feeders Properly

End-of-season storage requires extra attention to prevent mold growth during months of disuse. Clean feeders thoroughly with vinegar solution, rinse, then sanitize with diluted bleach before storing.
Ensure feeders are completely dry—leave disassembled parts out for 2-3 days in a warm, dry location. Store in breathable paper bags rather than plastic containers that trap moisture.
Label each bag with the feeder type and any special cleaning instructions you’ve discovered work best. Store in a climate-controlled area rather than damp garages or sheds.