17 Effective Tricks To Stop Creeping Buttercup From Invading Your Garden
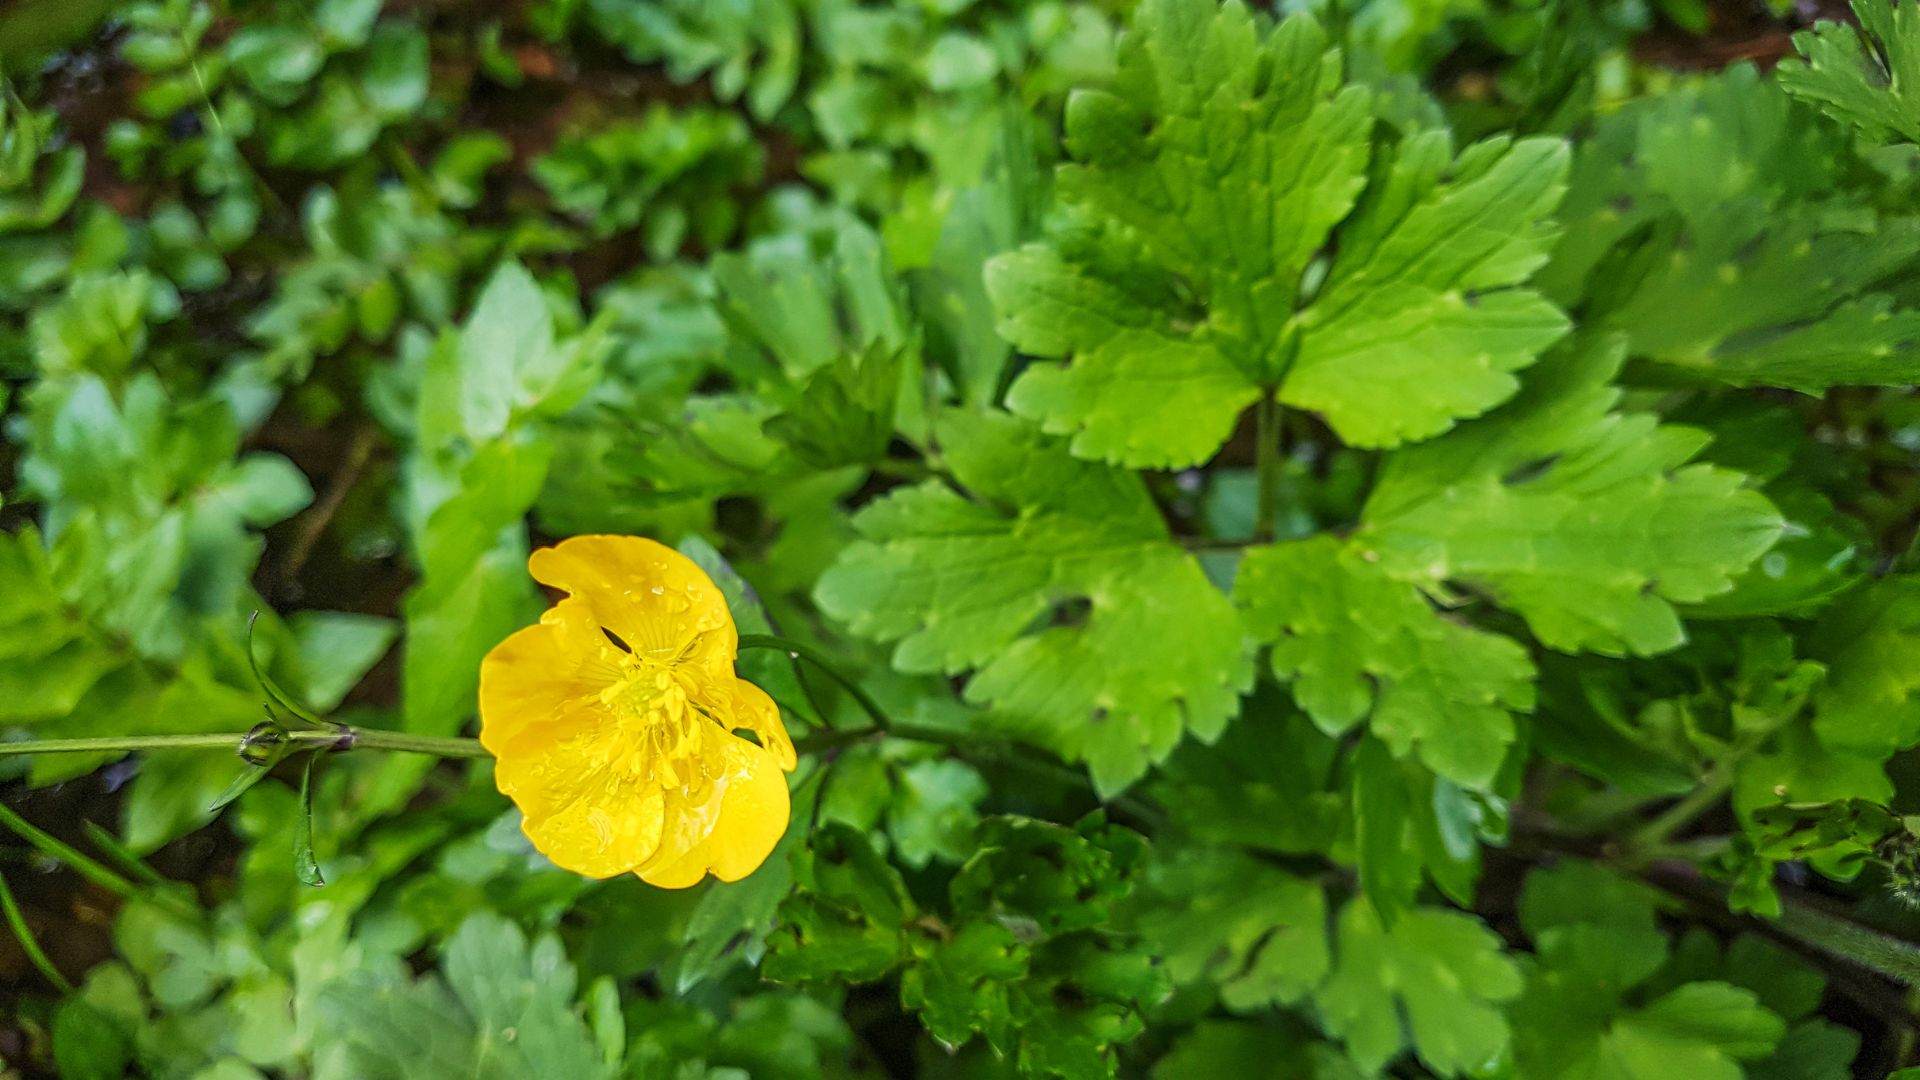
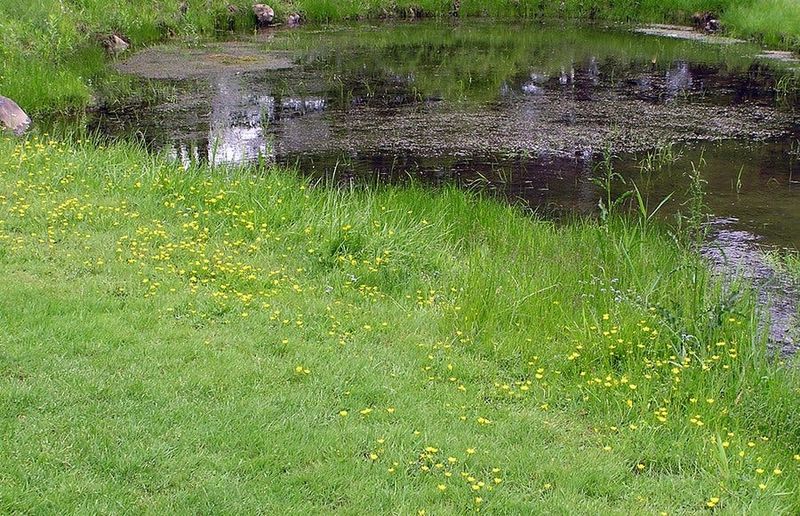
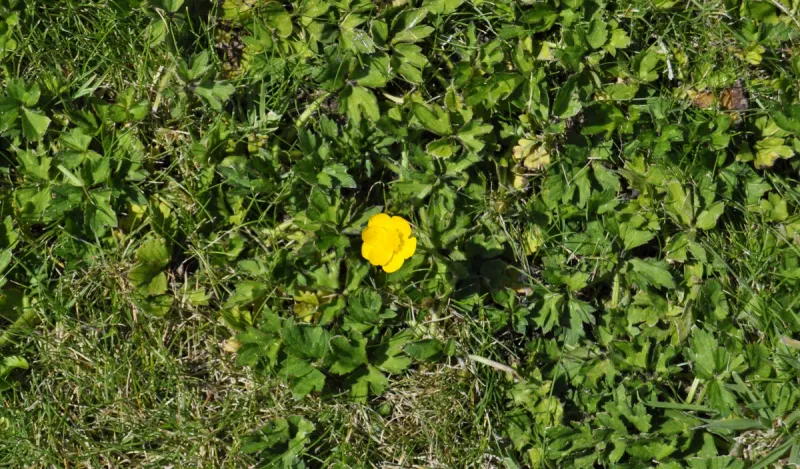
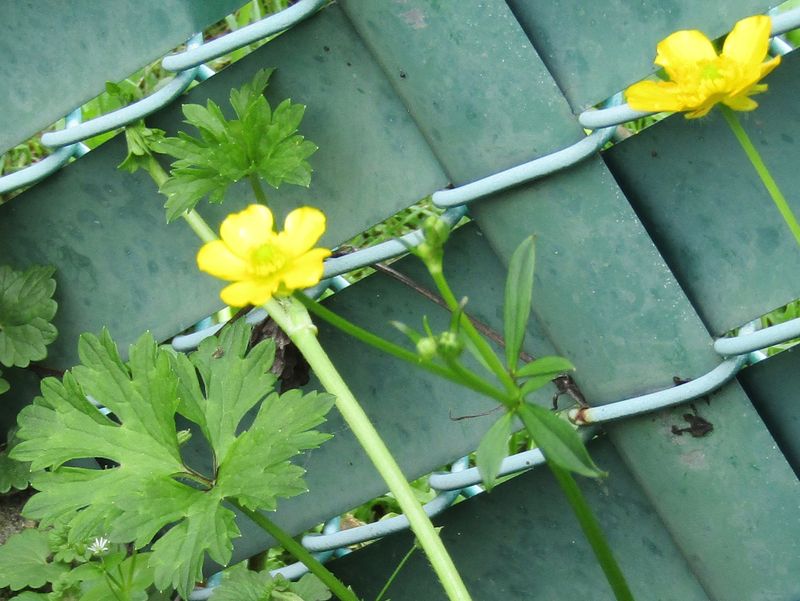
Creeping buttercup tricked me with its cute yellow blooms—I thought it added a wild, cottage feel to my garden. But before I knew it, it was popping up everywhere, even in spots I swore I’d cleared the week before. That cheerful look hides a seriously stubborn root system.
It doesn’t just spread through seeds—it creeps underground and even grows back from tiny root bits left behind. I’ve spent hours digging and still found more sprouting the next week. It felt like a never-ending game of whack-a-mole with a trowel.
What finally helped was a mix of smothering, hand-pulling (carefully!), and improving soil drainage, since buttercup loves damp, compacted soil. It takes time and patience, but your garden can bounce back from this sneaky invader.
1. Manual Removal During Wet Weather

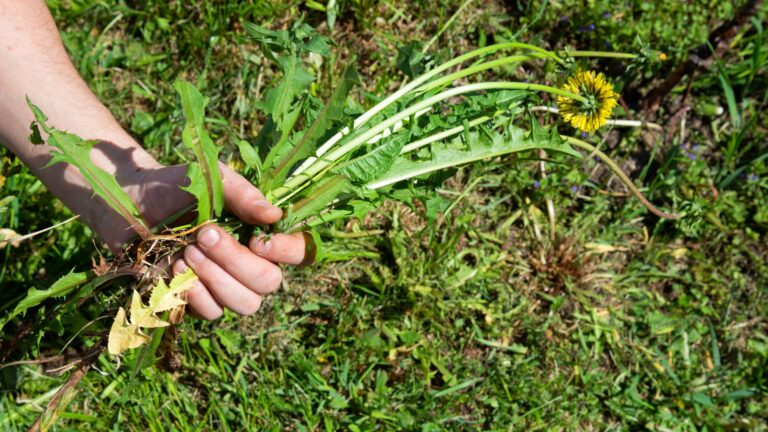
Tackling buttercup after rain gives you a serious advantage. The moistened soil loosens its grip on those stubborn roots, making extraction infinitely easier than during dry spells.
My neighbor ignored this timing trick and spent twice as long fighting with parched ground. Grab a garden fork to gently lift the plant, ensuring you get all the runners and roots underneath.
Remember to shake excess soil from the roots back into your garden bed. Toss the extracted plants into a garbage bag rather than your compost pile, as even tiny fragments can regenerate into new invasions.
2. Smother With Cardboard Barriers
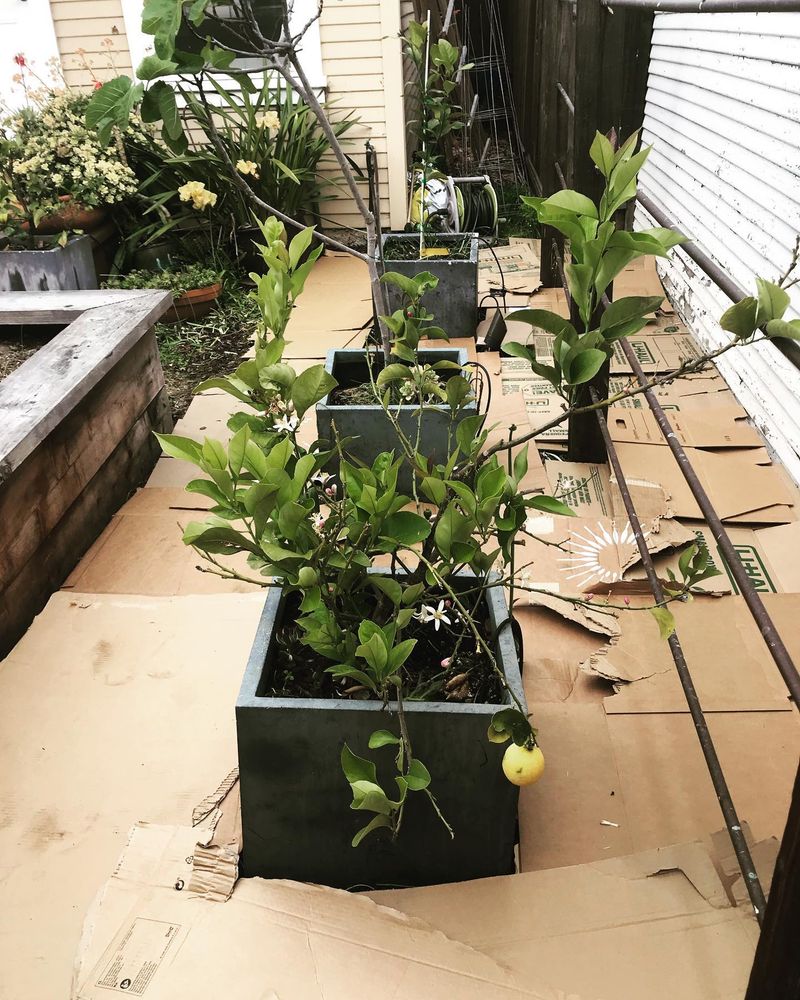
Lay flattened cardboard boxes directly over buttercup-infested areas, overlapping edges by at least six inches. The cardboard blocks sunlight while allowing water to penetrate, effectively suffocating the weed beneath.
Cover your cardboard with a thick layer of mulch to keep it in place and improve aesthetics. Last summer, I reclaimed an entire flower bed using this method without resorting to chemicals.
You’ll need patience—leave this barrier in place for at least three months, preferably longer. The buttercup underneath will decompose, and the cardboard eventually breaks down, improving your soil structure.
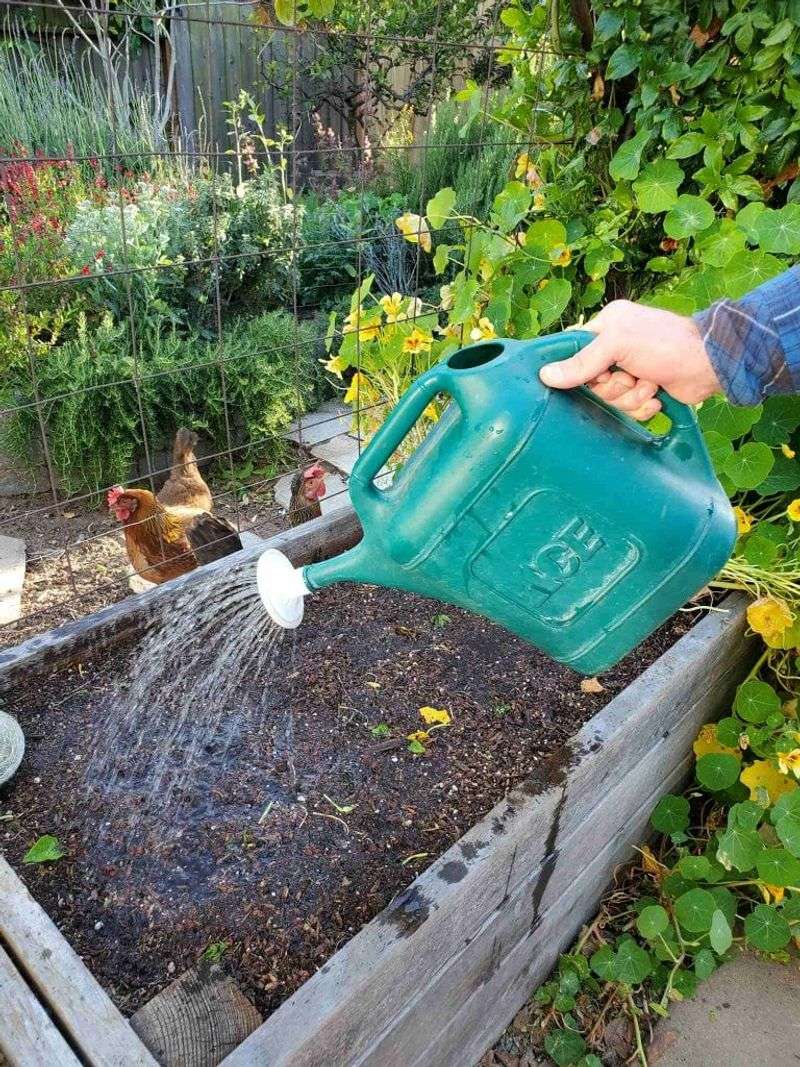
3. Improve Soil Drainage
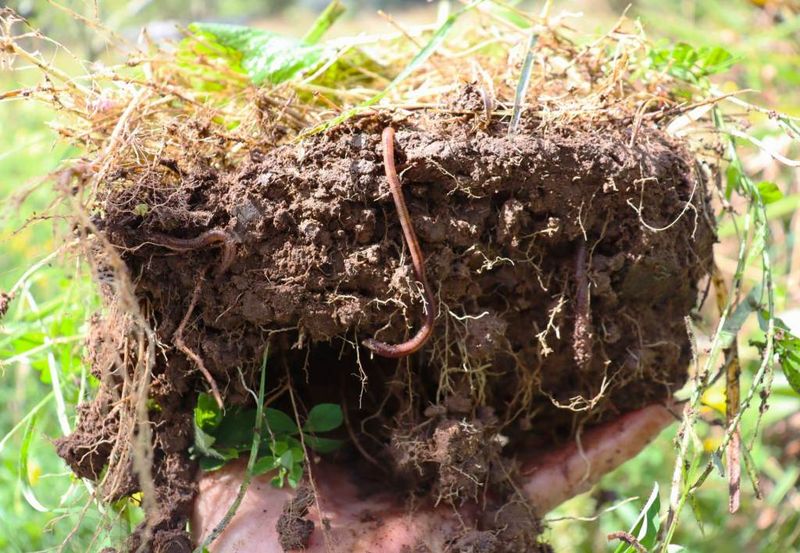
Buttercup thrives in waterlogged conditions where other plants struggle. Adding organic matter like compost or well-rotted manure raises soil levels and improves drainage, creating an environment less hospitable to this moisture-loving weed.
Working in a few inches of compost throughout your beds creates channels for water to flow through rather than pooling on the surface. The transformation in my side yard was remarkable after addressing the drainage issues.
Sand mixed with your soil amendments further enhances drainage in heavy clay soils. As your soil structure improves, you’ll notice buttercup becoming less aggressive and easier to manage over time.
4. Deploy Vinegar Spray Solutions
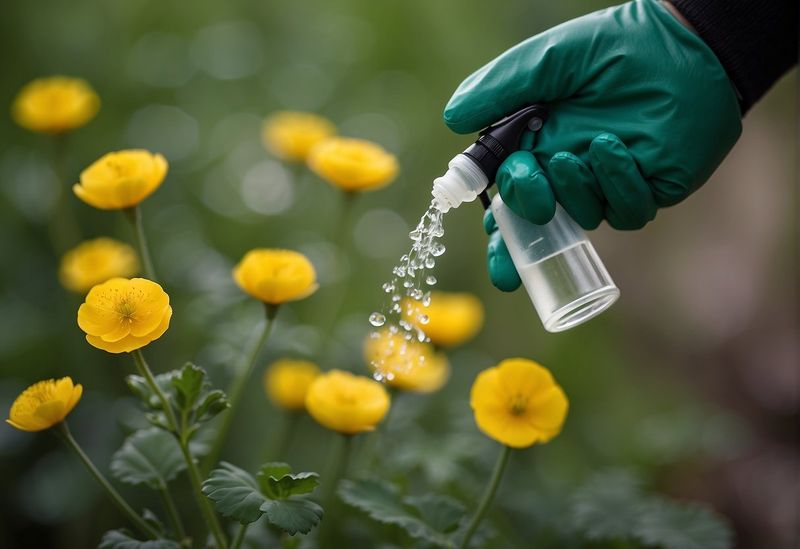
White vinegar creates an effective homemade herbicide when mixed with a tablespoon of dish soap in a spray bottle. The acidity burns buttercup foliage while the soap helps it stick to those waxy leaves.
Apply on sunny days when no rain is forecast for at least 24 hours. I’ve found morning application works best, giving the solution maximum time to work before evening dew dilutes it.
Multiple applications will be necessary, typically 7-10 days apart. While this approach won’t kill deep roots, it weakens the plants significantly, making them easier to remove manually later and preventing flowering and seed production.
5. Maintain Proper Mowing Height
Keeping your lawn at the right height creates strong grass that naturally resists buttercup invasion. Set your mower blade to 3-3.5 inches—this taller grass develops deeper roots and shades the soil, preventing buttercup seedlings from establishing.
Mowing too short stresses grass and creates perfect opportunities for weeds to take hold. My front lawn stayed buttercup-free after I adjusted my mowing habits, while my neighbor’s closely-cropped yard became increasingly yellow with flowers.
Regular mowing before buttercup plants flower prevents seed production and spread. Just be careful not to mow severely infested areas, as mower blades can scatter plant fragments that readily re-root.
6. Apply Corn Gluten Meal
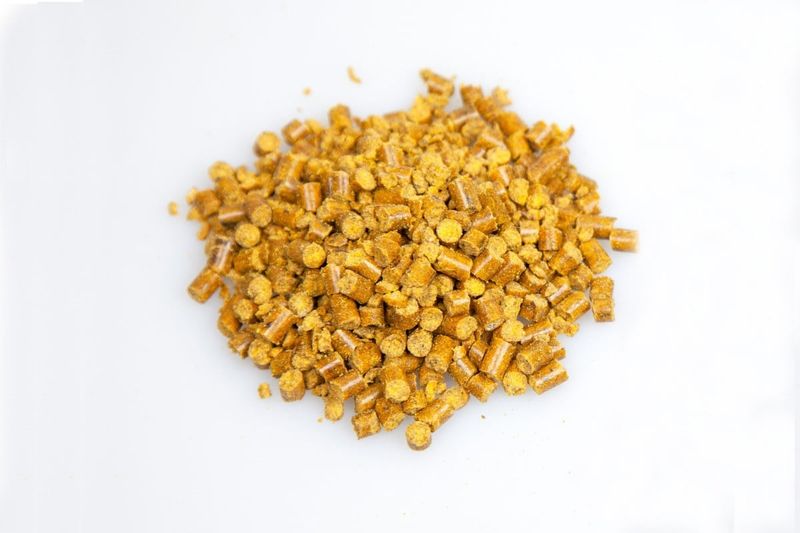
Corn gluten meal works as a natural pre-emergent herbicide, preventing buttercup seeds from successfully rooting while adding nitrogen to your soil. Apply it in early spring before buttercup seeds germinate for maximum effectiveness.
Spread at a rate of 20 pounds per 1,000 square feet, gently raking it into the soil surface. The timing surprised me—applying too late rendered it nearly useless, but when timed correctly, it reduced new buttercup by almost 60% in my test area.
Water lightly after application to activate the compounds, then avoid heavy watering for a few days. This natural approach works gradually over several seasons rather than providing instant results.
7. Introduce Competitive Ground Covers

Planting aggressive (but controllable) ground covers creates natural competition that helps suppress buttercup. Species like creeping thyme, ajuga, or sweet woodruff establish dense growth patterns that effectively crowd out unwanted weeds.
Ground covers work best in areas where buttercup has been mostly removed first. After clearing a particularly problematic section along my fence line, I planted creeping phlox and watched it successfully reclaim the territory.
Choose ground covers suited to your specific light conditions—shade-lovers in darker areas, sun-worshippers in bright spots. The initial investment in plants pays off through years of natural buttercup suppression with minimal additional effort.
8. Regularly Aerate Compacted Soil

Breaking up compacted soil with an aerator tool creates healthier growing conditions for desirable plants while disrupting buttercup’s shallow root system. The small cores removed during aeration improve air circulation and water penetration to grass roots.
Fall aeration followed by overseeding with grass strengthens your lawn’s ability to naturally outcompete buttercup. The transformation in my pathway areas after aeration was surprising—grass began thriving in spots where only buttercup had grown before.
Rent a mechanical aerator for large areas or use a manual tool for smaller spaces. Either way, this simple practice weakens existing buttercup while preventing new colonies from establishing in the improved soil.
9. Boost Calcium Levels

Buttercup thrives in acidic, calcium-poor soils—a useful indicator that your garden might need lime. Conducting a simple soil test can confirm your suspicions before treatment begins.
Agricultural lime gradually raises pH levels, creating conditions less favorable to buttercup growth. I’ve witnessed dramatic reductions in buttercup populations after addressing calcium deficiencies in several garden beds.
Apply lime in fall or winter, allowing it time to incorporate naturally before spring growth begins. Follow package directions carefully—typically 50 pounds per 1,000 square feet for moderate pH adjustment—and retest your soil after several months to monitor improvements.
10. Deploy Strategic Plastic Sheeting

Black plastic sheeting creates intense heat that effectively cooks buttercup plants and seeds beneath it. Clear plastic works too but allows some light through, potentially enabling stronger weeds to survive.
Secure the edges with rocks or soil to prevent wind from lifting your plastic. My experience shows this method works best during summer months when higher temperatures accelerate the killing process.
Leave the plastic in place for at least 6-8 weeks—longer is better. While not the most attractive temporary solution, the results justify the eyesore. After removing the plastic, you’ll find perfectly clear ground ready for immediate planting.
11. Fertilize Lawns Appropriately
Healthy grass naturally resists buttercup invasion through competitive root systems and dense growth. Regular fertilization—especially in fall—strengthens grass and helps it outcompete weedy invaders like buttercup.
Choose a balanced fertilizer with nitrogen, phosphorus, and potassium. Applying it when grass is actively growing gives your lawn the nutrients needed to fill in thin spots where buttercup might otherwise establish.
The difference between my regularly fertilized backyard and my neglected side yard became starkly apparent last spring—one lush and buttercup-free, the other struggling against yellow invaders. Even organic options like compost tea provide enough nutrients to give grass the competitive edge.
12. Harness Hot Water Treatments
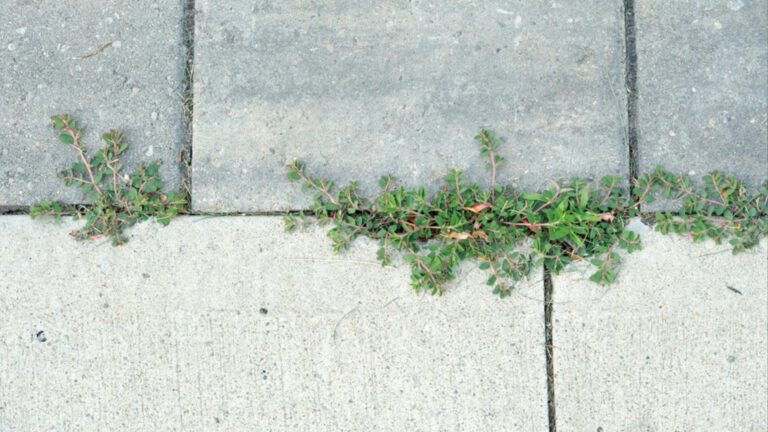
Boiling water delivers immediate results when poured directly onto buttercup plants, causing cellular collapse and death. This method works particularly well for isolated patches or plants growing in cracks where other methods prove difficult.
Exercise extreme caution to avoid splashing yourself or desirable plants nearby. I reserve this technique for stubborn buttercup growing between paving stones or along fence lines where precision matters.
Multiple applications may be necessary as boiling water doesn’t always penetrate to kill deep roots. The advantage lies in its immediate effectiveness and complete absence of chemicals, making it perfect for gardens where children and pets play.
13. Create Raised Garden Beds

Elevated planting areas provide perfect growing conditions for your desired plants while creating physical barriers against creeping buttercup invasion. The contained soil in raised beds warms faster in spring, drains better, and remains easier to maintain.
Line the bottom of new beds with landscape fabric before adding soil to prevent buttercup from growing up through the bottom. After struggling with persistent buttercup in traditional beds, my switch to raised gardening dramatically reduced maintenance time.
The defined edges of raised beds make spotting and removing any buttercup invaders much simpler. Regular monitoring of the perimeter prevents runners from crossing over and establishing in your carefully prepared soil.
14. Employ Salt Treatments Carefully

Common table salt dissolved in water creates an effective spot treatment for isolated buttercup plants. Mix one part salt with three parts water and apply directly to foliage using a spray bottle or carefully pour at the base of plants.
Use this method judiciously—salt can damage soil structure and harm beneficial organisms if overused. Reserve it for cracks in pavement or areas where you don’t plan to grow anything else for some time.
My driveway’s edge stayed buttercup-free for months after a single careful application. The salt disrupts the plant’s water balance, causing it to dehydrate and die within days, though persistent roots may require follow-up treatments.
15. Schedule Regular Inspection Walks

Dedicating just fifteen minutes weekly to patrol your garden for buttercup invaders prevents small problems from becoming major infestations. Carry a small bucket and garden tool during these walks to immediately remove any plants you spot.
Focus special attention on garden borders, fence lines, and areas adjacent to infested properties. Early intervention saved my vegetable garden last year when I caught runners creeping in from my neighbor’s yard before they established.
Morning light often makes the glossy buttercup leaves more visible among other plants. These regular inspections not only control buttercup but also connect you more deeply with your garden’s overall health and development throughout the growing season.
16. Introduce Beneficial Nematodes
Microscopic soil-dwelling nematodes feed on certain insect larvae that create soil disturbances favorable to buttercup establishment. Applying these beneficial organisms helps restore natural balance to your soil ecosystem.
Purchase nematodes from garden centers or online suppliers and apply according to package directions, typically by watering them into moist soil. While not directly attacking buttercup, they create healthier soil conditions that favor grass and garden plants instead.
My lawn’s overall health improved dramatically after nematode application, with fewer bare patches where buttercup could gain footholds. This biological approach works gradually but sustainably, supporting your garden’s long-term resilience against multiple pests.
17. Practice Crop Rotation Strategies
Varying plant families in your vegetable beds each season disrupts the environmental conditions that allow buttercup to thrive. Different plants extract and return varying nutrients, naturally balancing soil and reducing weed pressure.
Keep detailed garden maps to track what grows where each year. Heavy feeders like tomatoes followed by soil-building legumes create natural cycles that strengthen desired plants while weakening buttercup’s foothold.
The vegetable garden that once struggled with persistent buttercup remained nearly weed-free after implementing a three-year rotation plan. This traditional gardening wisdom proves particularly effective against persistent perennial weeds that rely on stable conditions to spread.