8 Fall Rose Care Mistakes That Set Your Bushes Up For Winter Damage
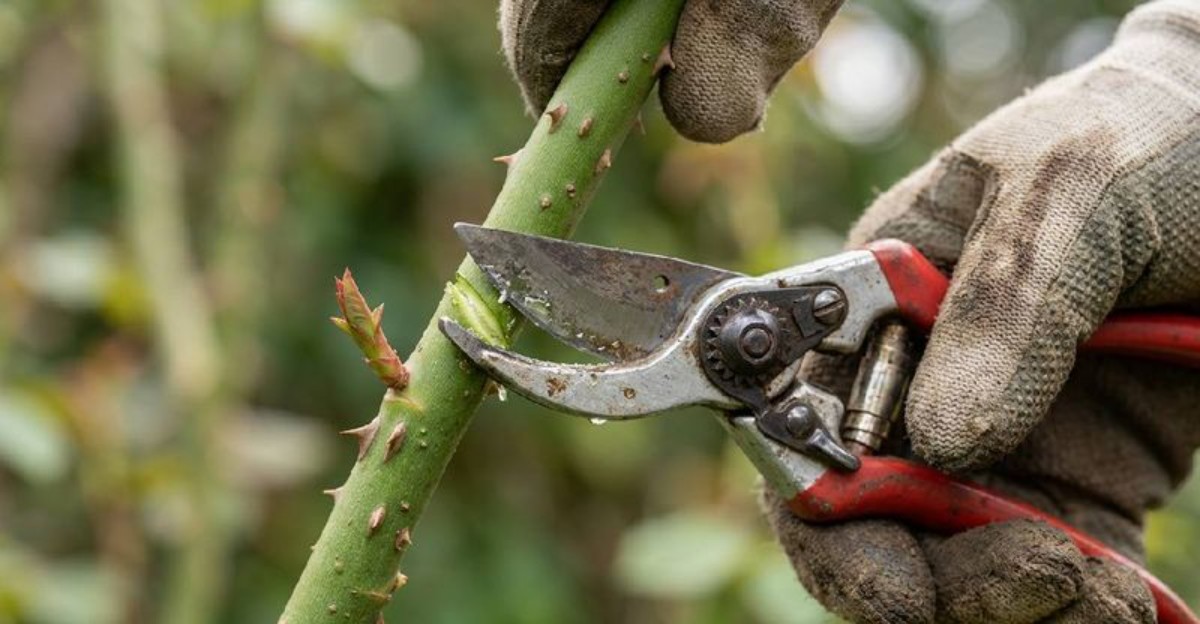
A generous autumn meal of fertilizer can push out soft new shoots that freeze solid within weeks. That kind gesture feels loving, yet it often leaves gardeners staring at blackened stems next spring.
Cold air is only part of the trouble, because dry winds pull moisture from canes all winter long. Repeated freezing and thawing can also crack tender tissue near the base, which surprises plenty of experienced growers.
I have to admit that I made a few of these slipups myself during my early gardening years. You might notice that the worst habits usually come from good intentions rather than laziness or forgetfulness.
October gives you a short, golden window to fix these habits before the first hard freeze arrives. So which of your favorite fall chores might quietly be sabotaging those prized thorny shrubs in your yard?
1. Pruning Rose Bushes Too Hard In Early Fall
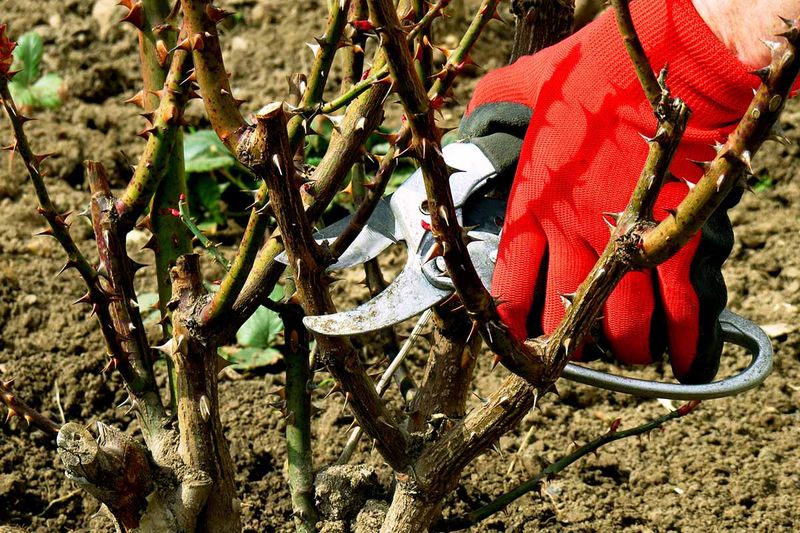
Those first cool mornings make me want to grab my shears and tidy every unruly rose cane in sight. Resist that urge, because heavy cuts in autumn can wake up buds that should be settling down.
Fresh shoots that sprout after a hard prune stay soft and green when the first frosts begin arriving. Those tender stems lack time to toughen, so cold nights often turn them brown and brittle quickly.
Open wounds add another problem, since late cuts may not seal properly before freezing weather settles across the garden. Unhealed stubs can invite canker fungi and further cane damage that shows up once spring finally returns.
For most hybrid teas and floribundas, the main structural pruning belongs in late winter or very early spring. Many extension services suggest waiting until buds begin to swell, which signals the worst cold has passed.
That does not mean your shears stay locked away all autumn long in the garage or shed. Removing broken or diseased wood is fine anytime you spot it during your regular weekend garden walks.
Extra tall canes can whip around in winter storms and loosen roots or snap at the base. I like to trim them back lightly or tie them together loosely with soft garden twine.
Think of fall pruning as a gentle haircut rather than a dramatic makeover for your favorite shrubs. Your roses will thank you with sturdier canes and far fewer brown surprises when spring arrives again.
2. High Nitrogen Fertilizer Fed To Roses Too Late
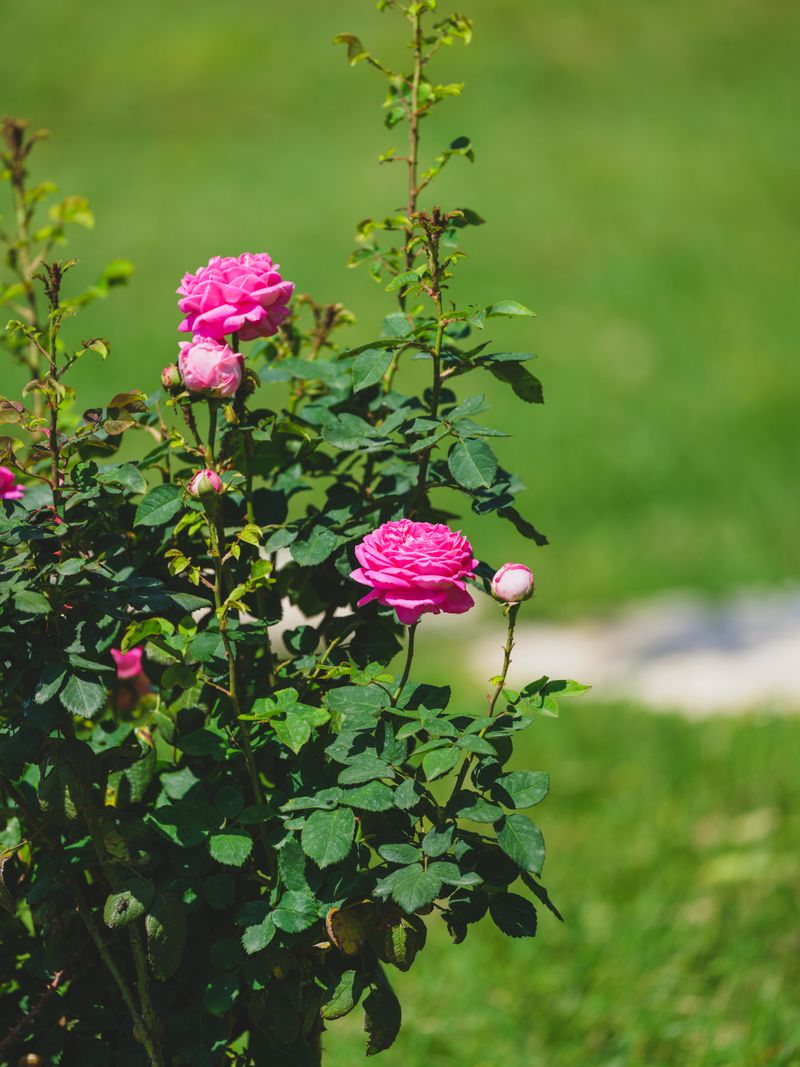
Nothing feels kinder than sprinkling one last scoop of rose food around the base before the season ends. Sadly, that thoughtful snack works like an alarm clock, telling the bush to keep growing instead of resting.
Nitrogen fuels leafy growth, so a late dose pushes out succulent stems and glossy new leaves in October. Those soft shoots have little chance to harden before freezing temperatures arrive and turn them to mush.
The plant also spends precious stored energy on growth it will lose, leaving less fuel for spring. Weakened bushes often wake up slowly and produce fewer flowers during the following year’s first big bloom flush.
Most rose experts recommend stopping fertilizer about six to eight weeks before your average first frost date arrives. In colder northern regions, that cutoff usually lands in August, while southern gardeners can feed a little longer.
You can check your local frost date through your county extension office or a reliable online lookup tool. I write mine on the garden calendar so I do not accidentally feed my roses out of habit.
If your plants truly need something before the cutoff, choose a low nitrogen option such as bone meal. Phosphorus supports root health without coaxing out the tender top growth that frost loves to damage.
Slow release granules applied in summer may still be feeding, so read the label before adding anything extra. Letting your roses go a little hungry now helps them slip into a calm and sturdy winter rest.
3. Dry Soil Leaves Roses Thirsty Before Winter
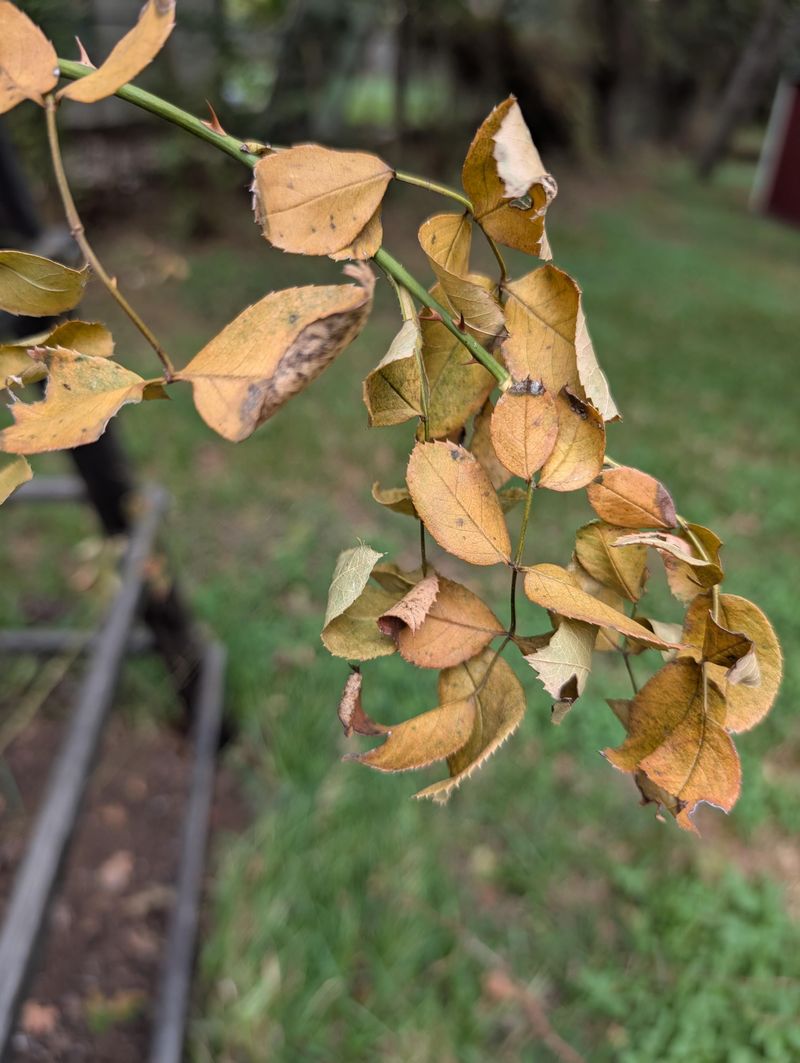
Cool weather tricks plenty of us into coiling up the hose a few weeks too early each autumn. Roses still drink in October, even when their growth slows and the leaves start turning yellow and dropping.
Winter burn is the sneaky culprit here, and it often catches gardeners by surprise in late spring. Cold, dry winds pull moisture from exposed canes faster than chilly roots can replace it from frozen ground.
Canes that lose too much water shrivel and darken from the tips downward, sometimes all the way down. Personally, I find this damage frustrating because it is so easy to prevent with a little extra effort.
Moist soil also holds heat better than dry soil, which helps buffer roots against sudden temperature swings overnight. Dry, crumbly ground lets cold reach deeper and can expose roots to harsh freeze and thaw cycles.
Keep watering deeply until the ground freezes, especially during dry spells when rainfall falls short for several weeks. A slow soak every week or two usually works well, depending on your soil type and local weather.
Aim the water at the base of the plant rather than spraying leaves from above with a sprinkler. Wet foliage in cool weather can encourage fungal problems like black spot, which nobody wants lingering into spring.
A soaker hose or watering wand makes this chore simple, and it takes only minutes per bush. You can push a finger two inches into the soil to check moisture before deciding to water.
4. Mounding Mulch Around Roses Too Early In October
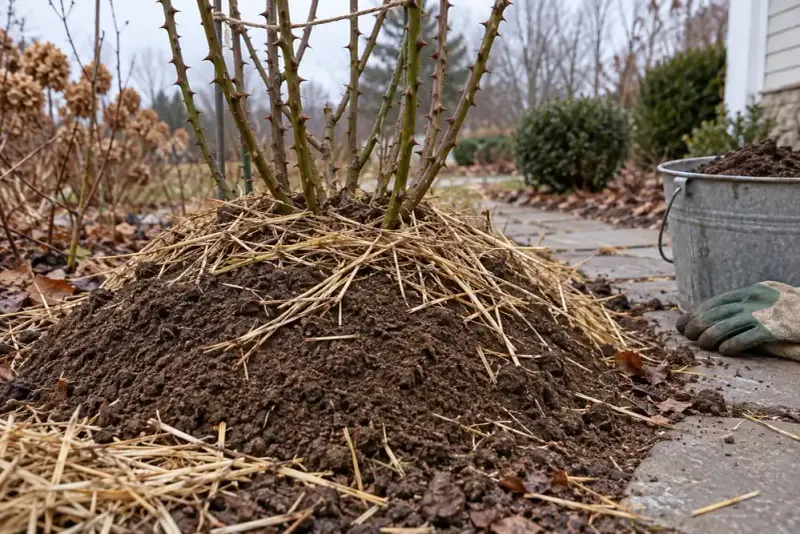
Bundling up roses the moment October turns crisp feels like tucking kids into bed on a chilly night. Unfortunately, rushing winter protection can trap warmth around the crown and confuse the plant about the season.
Many gardeners believe the goal is keeping roses warm, but that idea misses the real purpose of protection. Insulation is meant to hold temperatures steady and cold, which prevents damaging swings between freezing and thawing.
Warm soil under an early mound can encourage the bush to keep growing when it should be resting. Those fresh shoots then suffer badly once a true hard freeze finally sweeps through your yard later.
Damp, cozy pockets beneath early mulch can also encourage fungal trouble along the lower canes and crown. Mice and voles sometimes move into these sheltered spots and chew bark during the long winter months.
Wait until your roses have experienced two or three hard freezes and most leaves have naturally fallen away. In many northern gardens, that moment arrives in November, though timing varies widely across different climate regions.
Once dormancy sets in, mound loose soil or compost about six to twelve inches deep over the base. Bring soil from another part of the garden rather than scraping it from around the roots themselves.
Gardeners in mild southern areas may need little or no mounding at all, depending on their hardiness zone. I suggest checking with a local rose society, since members know exactly what works in your climate.
5. Diseased Rose Leaves Left Lying On The Ground
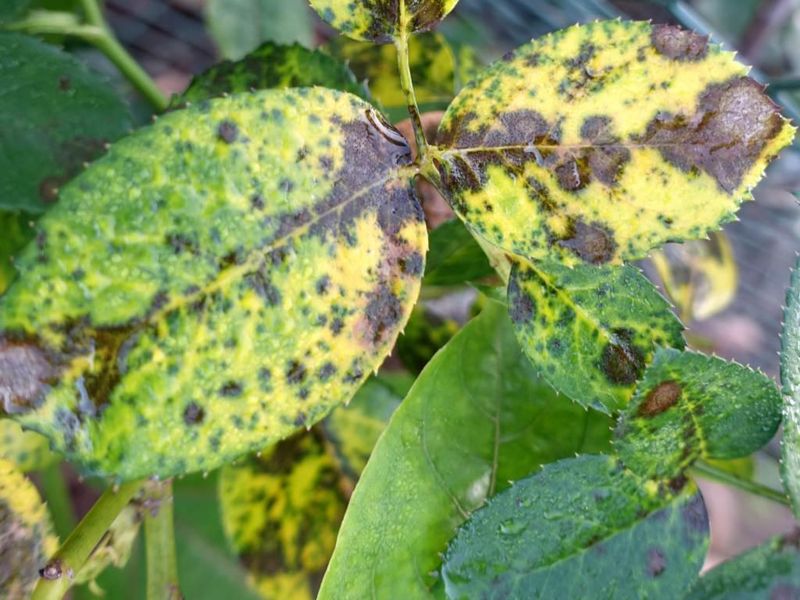
That pretty carpet of fallen rose leaves looks harmless, but it can hide a whole crowd of fungal hitchhikers. Black spot spores happily spend the winter in this litter, waiting for warm, wet weather to return.
When spring rain splashes onto infected leaves, spores bounce right back up onto fresh new foliage above them. Before you know it, the same disease you battled all summer is back for another round of trouble.
Rust and powdery mildew can also linger in garden debris, though their survival habits vary by region somewhat. Cleaning up removes a major source of infection and gives your bushes a fresh start next year.
I like to rake around each rose every week or so as leaves start dropping in October. Gather fallen petals and spent flowers too, since they can harbor problems just as easily as leaves.
Skip the compost pile for anything that looked spotty or diseased during the growing season this year. Most home compost piles do not heat up enough to reliably eliminate fungal spores, so bag them instead.
Pick off any spotted leaves still clinging to the canes, especially on varieties prone to black spot problems. This extra step takes a few minutes but can noticeably reduce disease pressure when new growth emerges.
Once the area is clean and your roses are dormant, a fresh layer of mulch can help block splashing from any remaining spores. You might be amazed how much healthier your roses look next June after a thorough autumn tidy.
6. Snipping Spent Blooms Instead Of Letting Rose Hips Form
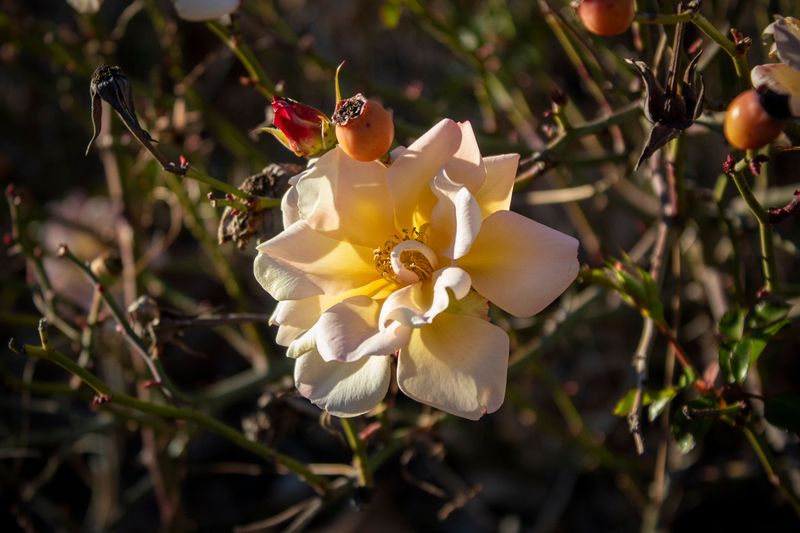
Plump orange rose hips glowing against bare canes ranks among my favorite sights in the late autumn garden. Those cheerful little fruits also do important work, telling the plant that the growing season is winding down.
Snipping off faded flowers keeps roses blooming all summer, and that habit is hard to break in fall. Continuing to remove spent blooms in October encourages the bush to keep pushing out new buds and shoots.
That fresh growth runs into the same problem as late fertilizing, since frost quickly damages soft tissue. Allowing hips to form shifts the plant’s energy away from flowering and toward settling in for winter.
Many rose experts suggest stopping the snipping about four to six weeks before your expected first frost date each year. Simply leave the last round of flowers on the plant and let the petals drop on their own.
Not every variety produces showy hips, and many heavily doubled hybrid teas set fruit only now and then. Many species roses and old garden types create especially large, colorful hips that brighten dull winter days.
Birds such as cedar waxwings and robins often snack on rose hips once colder weather settles over the area. I love watching them visit my garden on gray mornings when little else seems to be happening outside.
Hips are packed with vitamin C, and people have used them for teas and jams for centuries. Only harvest from roses that have not been sprayed with chemicals, and remove the hairy seeds before using.
7. Bare Graft Union Exposed At The Base Of Roses
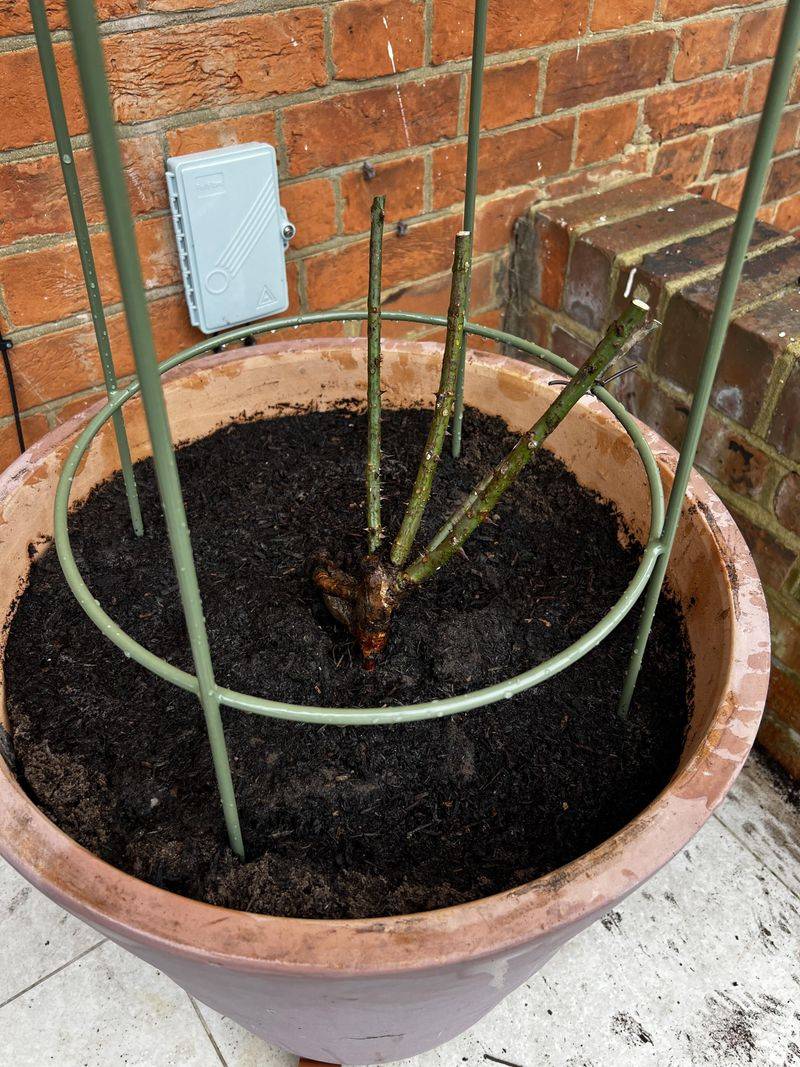
Look closely at the base of many hybrid teas and you will spot a knobby swelling just above the roots. That bump is the graft union, where a fancy flowering variety was joined onto a hardier rootstock.
Grafting helps nurseries produce vigorous plants quickly, but that joint is often the most cold sensitive spot on the bush. Repeated freezing and thawing can crack the tissue there, especially when the union sits above the soil line.
If the union is badly damaged, the top variety you picked may decline while the rootstock keeps growing. You might then see unfamiliar canes with different leaves and flowers popping up from below the old graft.
Once your rose is dormant and the ground begins to freeze, mound loose material right over the union. Six to twelve inches of soil or compost usually provides solid insulation in colder regions with harsh winters.
Check your plant tags or look for that swelling to learn whether each rose is grafted or on its own roots. Own root roses often recover from winter damage better because new growth comes from the same variety.
When planting grafted roses in cold climates, many experts recommend setting the union a couple inches below ground. In warmer areas, gardeners often keep it at or slightly above the soil line instead for better airflow.
I have to admit this tiny bump was something I overlooked for years in my own garden beds. Giving it a little attention this fall can save a beloved variety you might struggle to replace later.
8. Dull And Dirty Pruning Shears On Fall Rose Canes
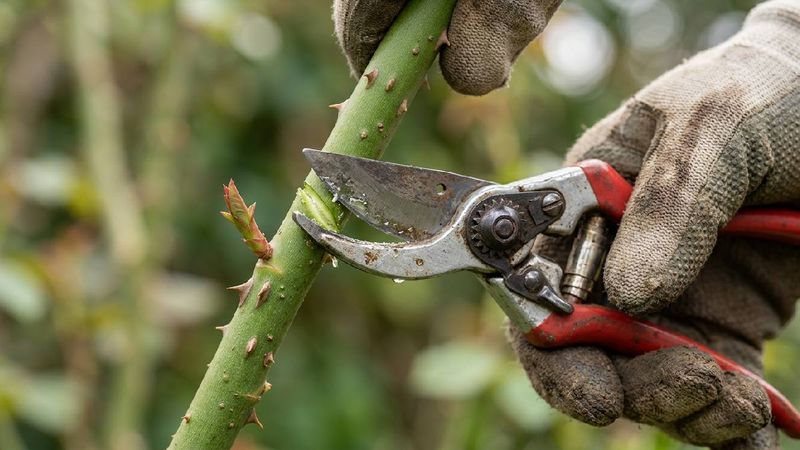
A quick snip with grimy, blunt shears seems harmless, but it can leave a rose cane looking chewed and ragged. Crushed tissue heals slowly, and those torn edges give fungi an easy doorway right before winter arrives.
Even light autumn cleanup, like removing a broken cane, deserves a sharp and clean pair of bypass pruners. Bypass blades slice like scissors, while anvil styles tend to pinch soft stems against a flat metal plate.
Dirty blades can carry diseases such as cankers from one plant to the next as you work down the row. You could unknowingly spread trouble across your whole bed while thinking you are simply helping your plants.
Wipe your blades with a household disinfectant or a diluted bleach solution before you start and between bushes. Rinse and dry tools afterward, since bleach can corrode metal if it sits on the blades too long.
Sharpening is easier than many gardeners expect, and a small handheld sharpener works well for most home pruners. Personally, I touch up my blades every few weeks during busy seasons and again before storing them.
Make each cut at a slight angle about a quarter inch above an outward facing bud or healthy wood. Clean, angled cuts shed water more easily and close faster than flat or jagged wounds on canes.
A light coat of oil on the pivot keeps blades moving smoothly through the colder months ahead. Well kept tools make fall chores quicker and give your roses a healthier start when spring rolls around.