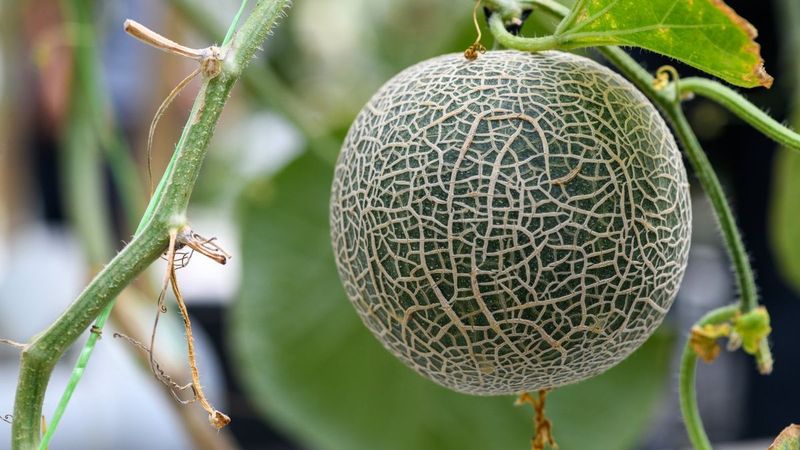
19 Fertilizing Tips For Melons That Guarantee Bigger, Sweeter Fruits
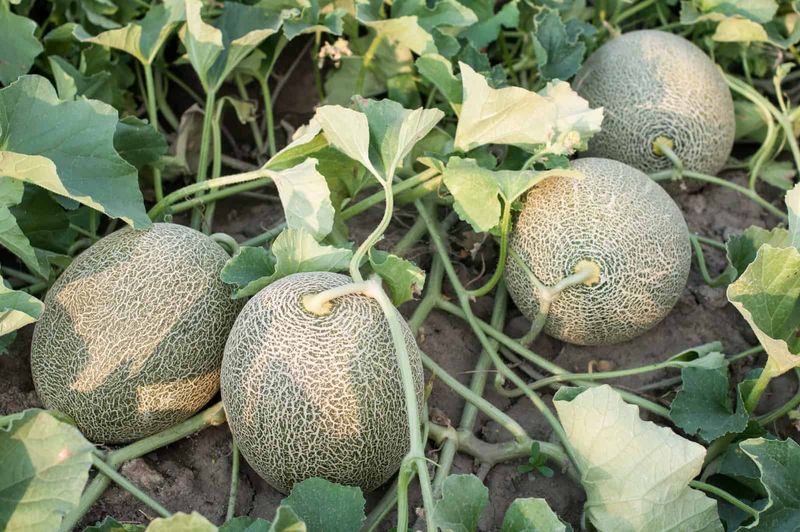
Growing juicy, sweet melons requires more than just regular watering and sunshine. The secret to those market-worthy cantaloupes and watermelons often lies in your fertilizing strategy. When I first started my garden, my melons were disappointing – small and bland compared to what I’d hoped for.
Proper nutrition makes all the difference between mediocre fruits and prize-winning produce. Each growing stage demands different nutrients, and knowing when and how to apply fertilizers can transform your harvest. Most gardeners focus solely on watering schedules while overlooking the critical role of balanced feeding.
The good news is you don’t need fancy equipment or expensive products to grow incredible melons. These fertilizing techniques have helped countless gardeners, including myself, achieve melon harvests worth bragging about.
1. Start With Soil Testing
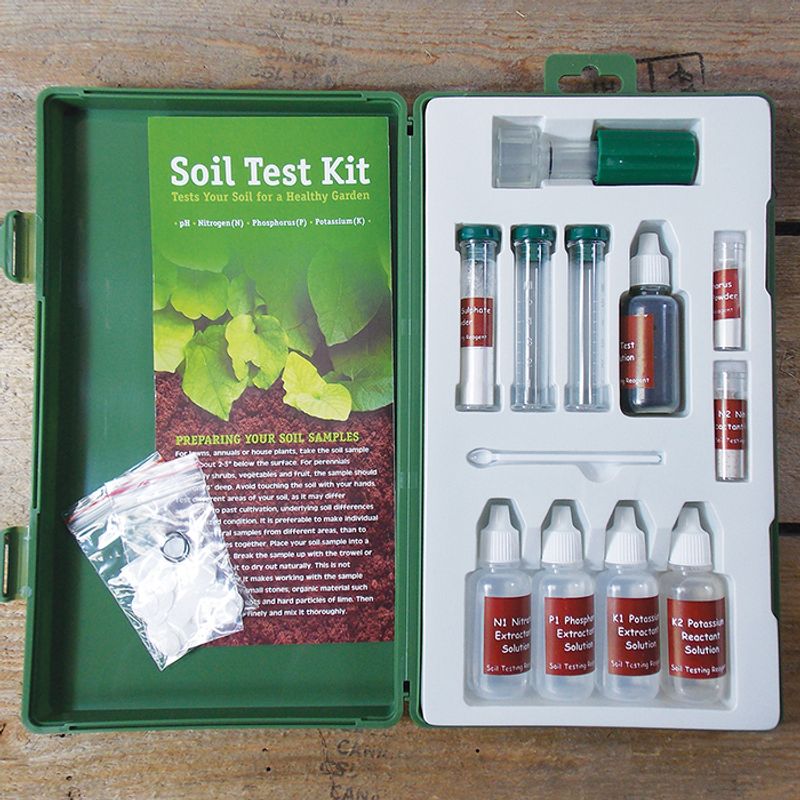
Before adding any fertilizers, grab a soil test kit from your local garden center. These affordable tests reveal exactly what your soil lacks or has in excess.
My garden’s sandy soil needed serious potassium and phosphorus boosting before it could support decent melons. Knowing your starting point prevents wasting money on unnecessary amendments and helps avoid nutrient imbalances that can harm plants.
Aim for slightly acidic soil with a pH between 6.0 and 6.8 – the sweet spot for nutrient availability in melon plants. Testing twice yearly (spring and fall) keeps you informed about changing soil conditions.
2. Prepare Beds With Compost
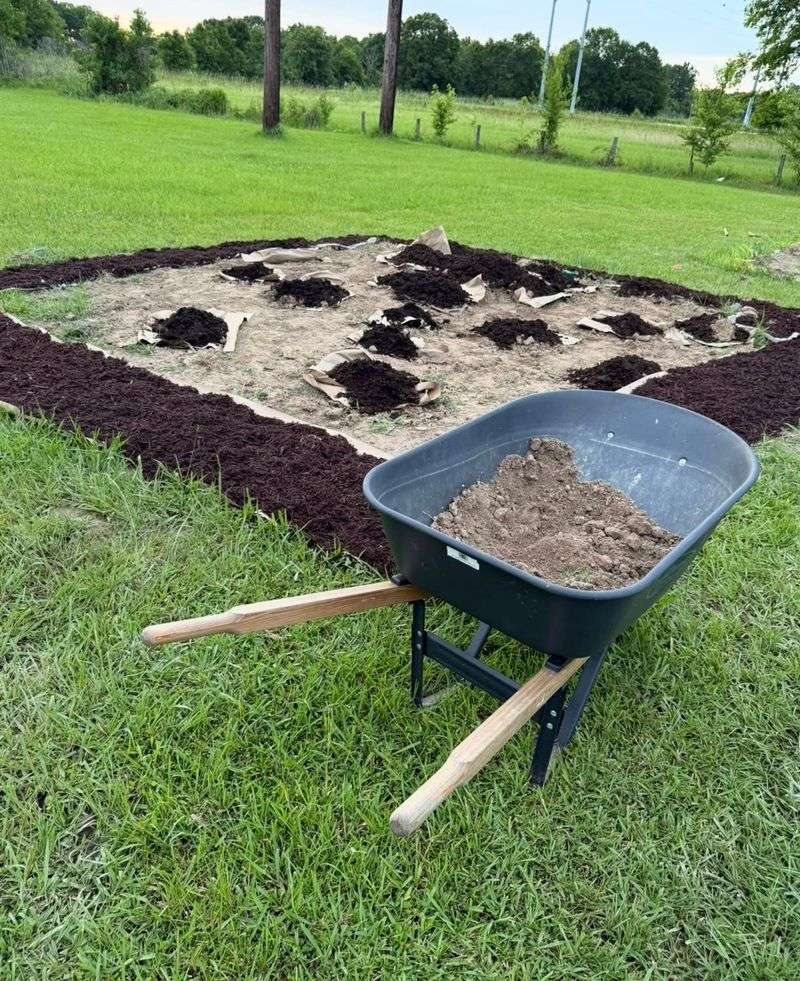
Working 2-3 inches of well-rotted compost into your melon beds about two weeks before planting creates the perfect foundation. Compost slowly releases nutrients while improving soil structure and water retention.
Last season, I mixed in homemade compost from kitchen scraps and yard waste, which gave my melons an incredible head start. The organic matter feeds beneficial soil microorganisms that help plants access nutrients more efficiently.
For clay soils, compost improves drainage while in sandy soils it helps hold moisture and nutrients that would otherwise wash away quickly. This amendment works like time-released nutrition for your growing plants.
3. Balance Your NPK Ratio
Melons need different nutrient ratios throughout their growth cycle. At planting time, choose a balanced fertilizer with equal parts nitrogen, phosphorus, and potassium (like 10-10-10).
Once vines begin to run, switch to a formula with less nitrogen and more phosphorus and potassium (like 5-10-10). Too much nitrogen produces lush foliage but fewer fruits. I learned this lesson after a season of beautiful vines but disappointing melon production.
The phosphorus supports root development and flowering, while potassium enhances fruit quality and sweetness. Reading fertilizer labels carefully ensures you’re providing the right balance for each growth stage.
4. Try Fish Emulsion For Seedlings
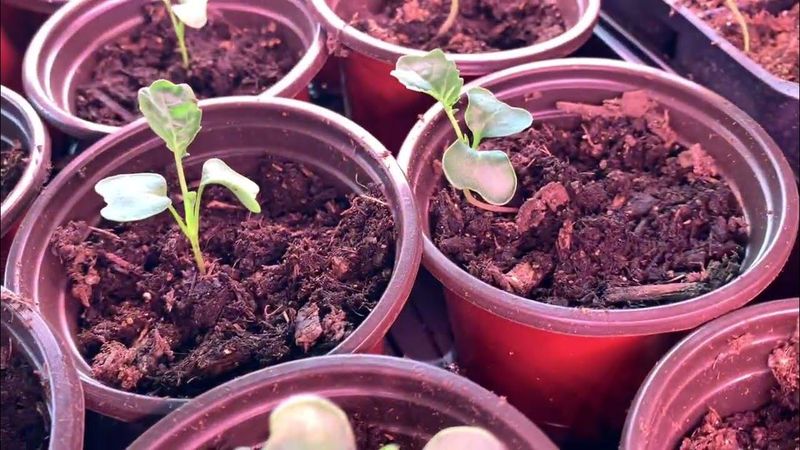
Young melon seedlings benefit tremendously from diluted fish emulsion, a gentle organic fertilizer rich in micronutrients. Mix it at half the recommended strength to avoid burning tender roots.
Apply this natural booster every two weeks during the first month after planting. The mild nitrogen boost helps establish strong stems and leaves without pushing excessive growth.
Fish emulsion smells unpleasant initially but the odor dissipates quickly. I’ve found it particularly effective for container-grown melons where nutrients deplete faster. The amino acids and trace minerals in this amendment give seedlings a noticeable vigor compared to synthetic fertilizers.
5. Side-Dress When Vines Begin Running
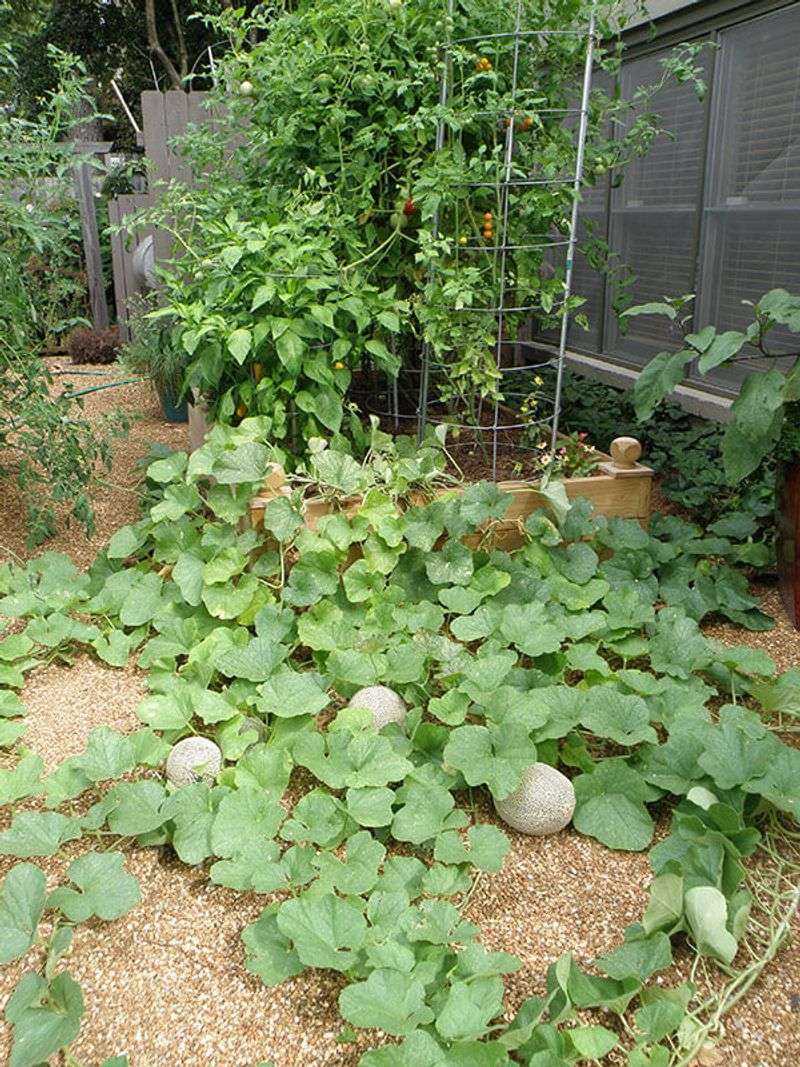
When melon vines start spreading (usually 3-4 weeks after planting), it’s time to side-dress with fertilizer. This technique involves applying nutrients in a narrow band about 6 inches away from plant stems.
Use a phosphorus and potassium-rich formula to encourage flowering and fruiting rather than more leaf growth. After side-dressing, water thoroughly to help nutrients reach the root zone without burning the plants.
My most successful harvests came after side-dressing with compost tea followed by granular organic fertilizer. The dual approach provides immediate feeding plus slow-release nutrition that carries plants through their heavy fruiting period.
6. Leverage Epsom Salts
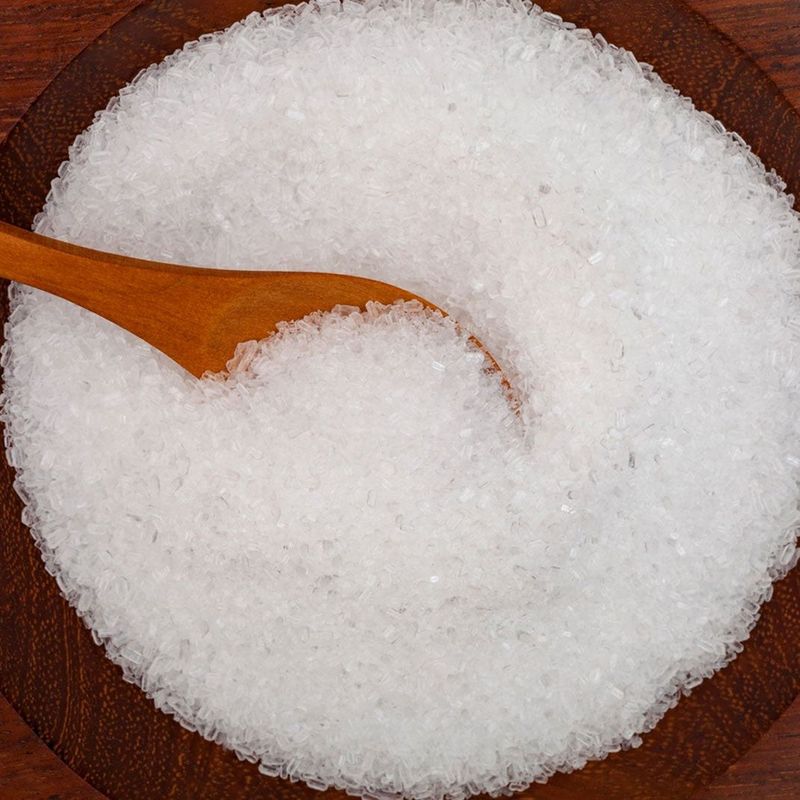
Magnesium deficiency often shows up as yellowing leaves between green veins, particularly in sandy soils. Epsom salts (magnesium sulfate) provide a quick fix that supports chlorophyll production and sweetness development.
Dissolve 1 tablespoon in a gallon of water and apply to plant roots monthly during the growing season. The sulfur component also helps plants produce amino acids and enzymes needed for robust growth.
After using this treatment last summer, my cantaloupe leaves greened up within days, and the fruits developed noticeably sweeter flavor. This household item makes an inexpensive supplement to your regular fertilizing routine.
7. Feed Through Drip Irrigation
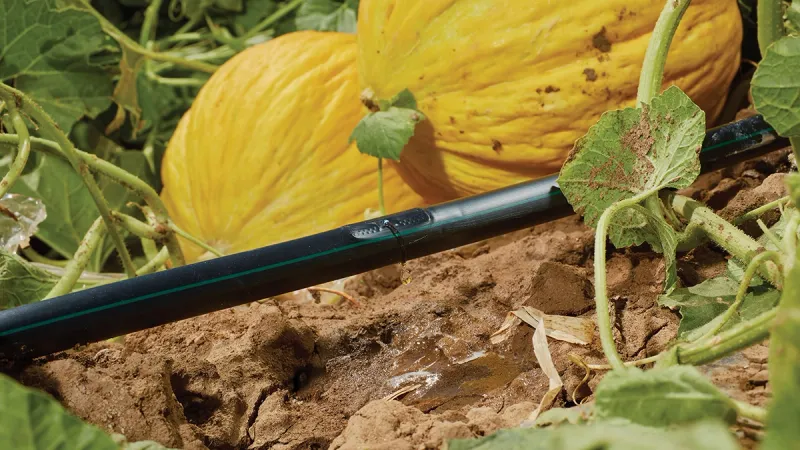
Connecting liquid fertilizer to your drip irrigation system (fertigation) delivers nutrients directly to roots while conserving water. This method prevents fertilizer from washing away and reduces nutrient loss.
Install a fertilizer injector or use a simple siphon mixer that attaches to your hose. Diluted seaweed extract works beautifully through this system, providing trace minerals and natural growth hormones.
I switched to fertigation three seasons ago and noticed my melons required 30% less fertilizer overall while producing more consistent results. The steady, small doses of nutrition eliminate the feast-or-famine cycle that can stress plants and reduce fruit quality.
8. Apply Calcium For Strong Cell Walls
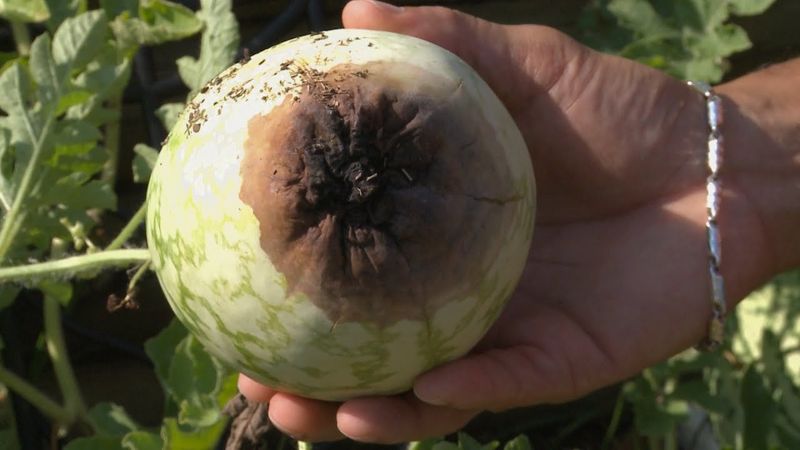
Calcium strengthens cell walls in melon fruits, improving shelf life and preventing blossom end rot. Crushed eggshells, gypsum, or agricultural lime can supply this vital nutrient.
Add calcium sources early in the season since this nutrient moves slowly through soil. Water consistently after application to help calcium reach developing root systems where it’s absorbed.
Garden lime raises pH while gypsum doesn’t, so choose accordingly based on your soil test results. My watermelons developed firmer flesh and crisper texture after I started incorporating crushed eggshells into planting holes. This simple addition makes fruits less prone to splitting and rotting during wet weather.
9. Brew Compost Tea For Micronutrients
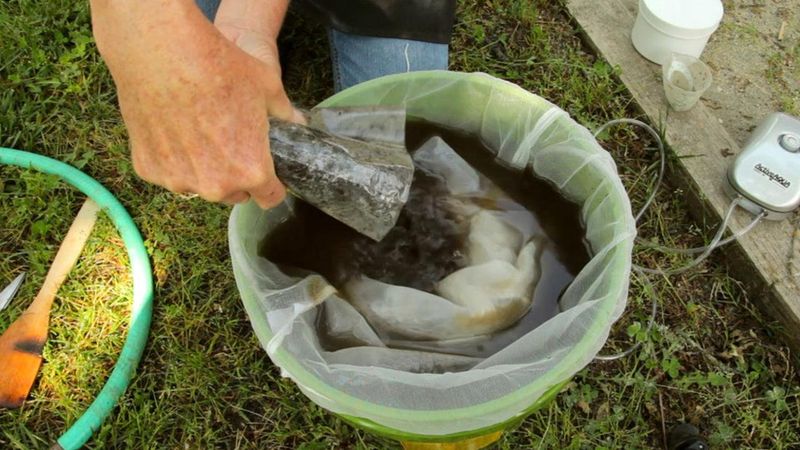
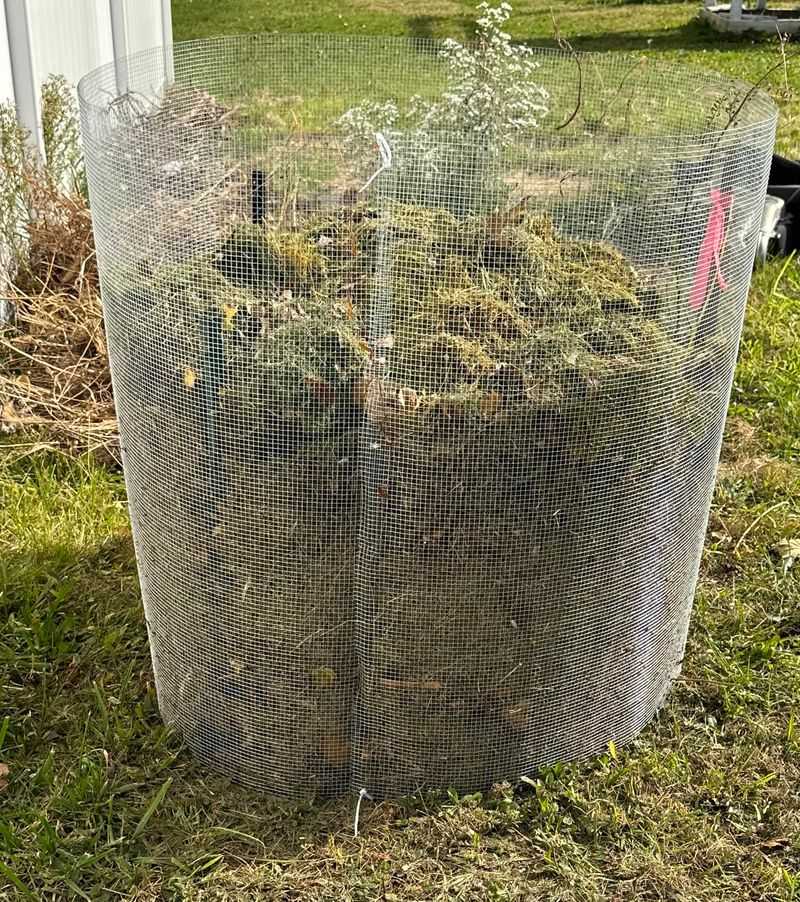
Homemade compost tea delivers a full spectrum of micronutrients and beneficial microorganisms. Fill a burlap sack with finished compost, suspend it in a bucket of water, and let it steep for 24-48 hours, stirring occasionally.
The resulting liquid contains soluble nutrients plus living biology that enhances soil health. Apply this brown brew directly to soil around plants every two weeks during peak growing season.
Adding a tablespoon of unsulfured molasses to your brewing bucket feeds beneficial bacteria, making the finished tea even more powerful. Unlike chemical fertilizers, compost tea won’t burn plants even in hot weather, making it perfect for summer feeding.
10. Use Banana Peels For Potassium
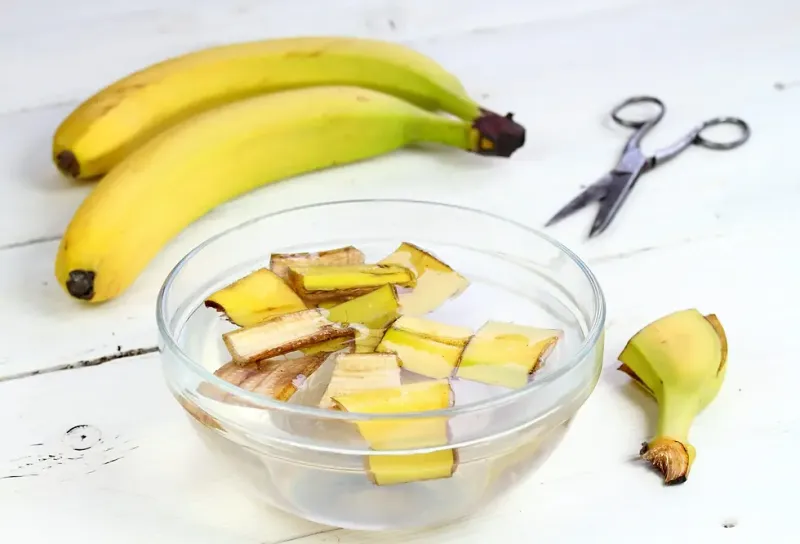
Banana peels provide potassium – the nutrient responsible for sweetness and flavor development in melons. Chop fresh peels and bury them 1-2 inches deep around plant bases, where they’ll decompose gradually.
Alternatively, make banana peel water by soaking chopped peels in water for three days, then using the strained liquid to water plants. The potassium helps plants move sugars from leaves to fruits, directly improving taste.
My honeydew melons responded remarkably well to this treatment, developing noticeably sweeter flavor compared to unfertilized plants. This free kitchen waste recycling trick delivers results comparable to commercial potassium supplements without any added cost.
11. Time Fertilizers With Moon Phases
While it might sound like folklore, many experienced gardeners swear by lunar fertilizing schedules. Apply solid amendments during the waning moon (after full moon) when gravitational pull diminishes, keeping nutrients in upper soil layers where shallow melon roots feed.
Liquid fertilizers work best during the waxing moon (after new moon) when increasing gravitational pull helps draw moisture and nutrients deeper into soil. This traditional approach aligns with natural growth cycles.
I was skeptical until tracking results over several seasons showed noticeable improvements in plant vigor when following lunar timing. Whether science or coincidence, this method costs nothing to try and may enhance your existing fertilizer program.
12. Stop Nitrogen When Fruits Form
Once melons set fruit, high nitrogen fertilizers become counterproductive, directing energy to leaf growth instead of fruit development. Switch entirely to potassium and phosphorus sources like bone meal or fruit tree fertilizers.
Excess nitrogen at this stage delays ripening and dilutes sugar content. The plant needs to focus on fruit quality rather than producing more foliage.
I made this mistake my first year, continuing balanced fertilizer throughout the season. The result was beautiful vines but watery, bland melons. After learning to cut nitrogen during fruiting, my watermelons developed deeper color and concentrated sweetness that made them truly worth growing.
13. Mulch With Grass Clippings
Fresh grass clippings make excellent mulch that doubles as slow-release nitrogen fertilizer. Apply a thin layer (1-2 inches) around plants, being careful not to let clippings touch stems directly to prevent rot.
As clippings break down, they feed soil microbes and release nutrients gradually. This natural mulch also suppresses weeds that would compete for nutrients while conserving soil moisture.
Use only clippings from untreated lawns to avoid herbicide contamination. I’ve found this approach particularly helpful during early growth stages when plants need nitrogen for establishing strong vines. The decomposing grass creates ideal conditions for earthworms that further improve soil structure.
14. Try Wood Ash For Potassium
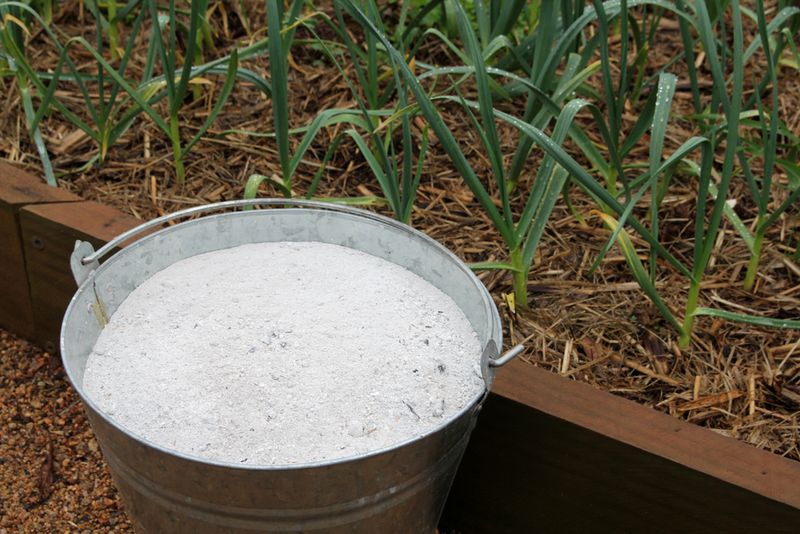
Hardwood ash from your fireplace provides potassium and trace minerals that enhance melon flavor. Sprinkle cooled ash lightly around plants (about 1 cup per plant) and water in thoroughly.
Wood ash also raises soil pH, so skip this tip if your soil is already alkaline. The potassium in ash helps plants develop stronger cell walls and improved disease resistance while enhancing natural sweetness.
After adding wood ash to my cantaloupe patch, I noticed firmer fruits with enhanced shelf life compared to previous harvests. This free amendment works particularly well in acidic soils where it serves dual purposes of fertilizing and moderating pH levels.
15. Rotate Heavy And Light Feeders
Planting melons after nitrogen-fixing crops like peas or beans takes advantage of natural soil enrichment. These legumes leave behind nitrogen that perfectly supplements melon needs without additional fertilizers.
Planning a three-year rotation prevents nutrient depletion while breaking pest and disease cycles. Follow melons with light feeders like herbs or root vegetables that thrive in less fertile conditions.
My garden journal shows consistently better results when following this sequence rather than growing melons in the same spot yearly. The rotation strategy reduces fertilizer costs by about 40% while maintaining excellent yields. This approach mimics natural ecosystems where soil nutrients remain balanced through diversity.
16. Water Before Fertilizing
Always water plants thoroughly before applying any fertilizer. Moist soil helps prevent root burn and allows nutrients to dissolve properly for better absorption.
Fertilizing dry soil can damage delicate root hairs, especially with concentrated products. The water creates a protective buffer while helping distribute nutrients evenly throughout the root zone.
I learned this lesson the hard way after burning several plants by applying fertilizer during a dry spell. Now I make a point of watering deeply the day before scheduled feedings. This simple sequencing trick has eliminated fertilizer damage completely while improving nutrient uptake efficiency.
17. Foliar Feed For Quick Results
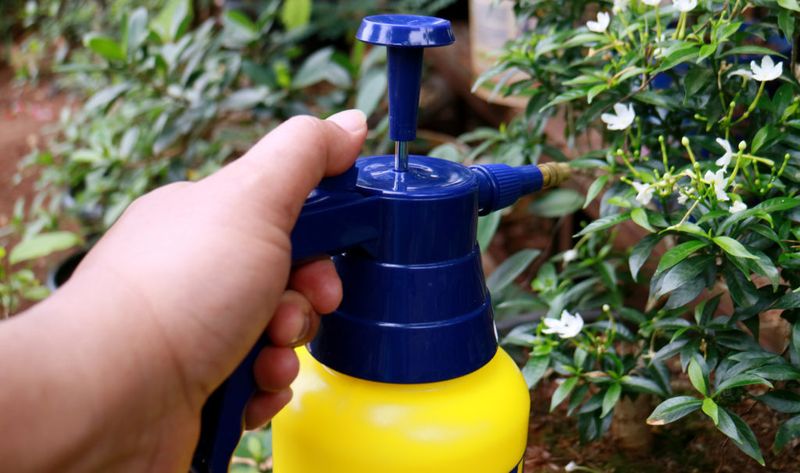
Spraying diluted seaweed extract or compost tea directly onto melon leaves provides nutrients through the foliage for rapid uptake. This method bypasses soil completely, delivering an immediate boost during critical growth periods.
Apply foliar feeds early in the morning when stomata (leaf pores) are open but before intense sunlight might cause leaf burn. Use a fine mist sprayer to ensure good coverage on leaf undersides where most absorption occurs.
During a particularly challenging growing season with heavy rains leaching soil nutrients, weekly foliar feeding saved my melon crop. The plants responded within days, greening up and setting fruit despite poor soil conditions. This technique works as both preventative maintenance and rescue treatment.
18. Add Molasses To Boost Microbial Activity

Unsulfured blackstrap molasses acts as a powerful microbial stimulant when added to compost tea or diluted in water (1 tablespoon per gallon). It feeds beneficial soil microbes that in turn help break down organic matter and release nutrients in plant-available forms.
Healthy microbial life improves root nutrient uptake, particularly phosphorus and potassium—key elements for sweet, juicy melons. I’ve used it during flowering stages to help push plants through that energy-intensive period, and the difference in overall fruit size was impressive.
This natural carbohydrate source is especially helpful in soils that have been heavily amended with compost but need an extra microbial nudge to fully unlock those nutrients.
19. Fertilize With Alfalfa Pellets For Growth Hormones
Alfalfa pellets, typically sold as animal feed, contain triacontanol—a natural growth stimulant that enhances cell division and root development. Work a handful into the soil at planting and again when vines start running.
As the pellets break down, they release low levels of nitrogen along with trace minerals and amino acids that support overall plant health. I added them as an experiment after hearing rave reviews from other gardeners, and my cantaloupes produced more uniform fruit and showed stronger early growth.
Unlike synthetic growth boosters, alfalfa acts gradually and doesn’t overload young plants, making it ideal for melon beds aiming for long-term yield.