10 Garden Tasks Michigan Homeowners Need To Finish Before April
After a long Michigan winter, the first signs of early spring feel like a fresh beginning for your garden. As snow melts and the soil slowly wakes, what you do now can shape how your garden performs for the rest of the year.
Many gardeners wait until April, but the most successful ones know that early preparation makes everything easier later.
Clearing, checking, and preparing during these quiet weeks helps plants start strong when real growing weather arrives.
Small tasks now can prevent bigger problems, save time during the busy season, and give your flowers, vegetables, and shrubs the best possible start. Instead of rushing once spring is in full swing, you move forward with confidence, knowing your garden is ready.
A little early effort often leads to healthier plants, better growth, and a more beautiful, productive landscape all season long.
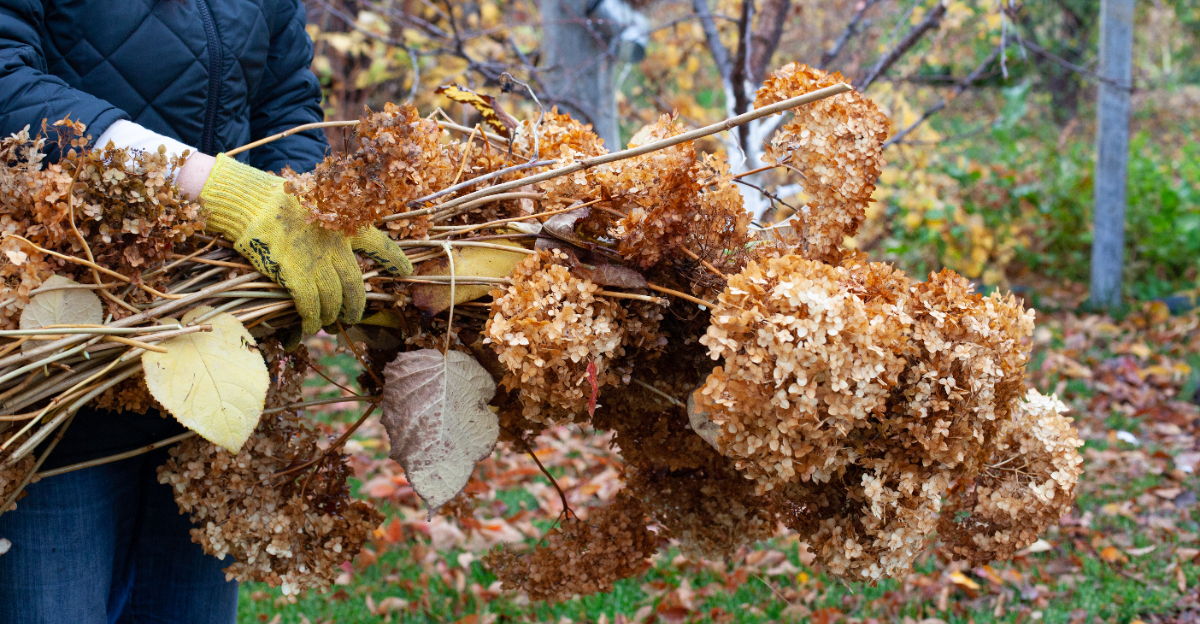
1. Clean Up Winter Debris
Winter leaves behind a mess of fallen leaves, broken twigs, and old mulch across your garden beds.
Clearing this debris before April gives your plants room to breathe and grow. It also removes hiding spots for pests and diseases that overwinter in the leftover plant material.
Start by raking up all the leaves and twigs from flower beds and around shrubs. Use a tarp to gather the debris and haul it to your compost pile or yard waste bin. Check under bushes and along fence lines where material tends to collect.
Pull away any matted leaves that are smothering emerging bulbs or perennials. These early risers need sunlight to fuel their growth. Old mulch that has broken down into a compacted layer should be loosened or removed entirely.
Many insects and fungal spores hide in leaf litter through the cold months. Removing this material breaks the life cycle of harmful pests and reduces the chance of disease spreading to new growth.
Your garden will look tidier and your plants will have a healthier environment. Don’t forget to check around the base of trees and along pathways. A thorough cleanup now means less work later and a stronger start for everything in your garden.
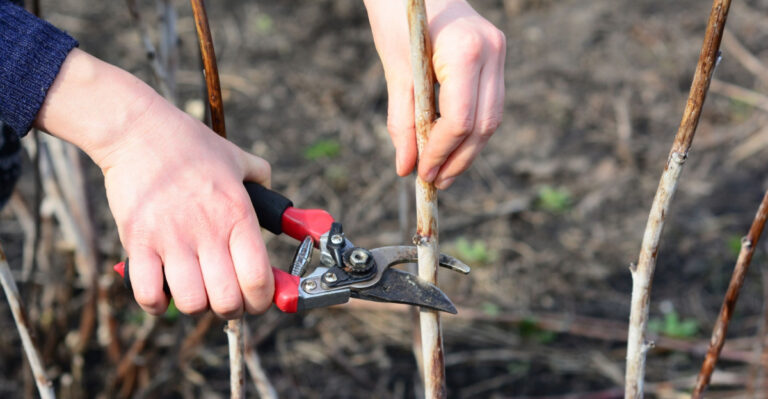
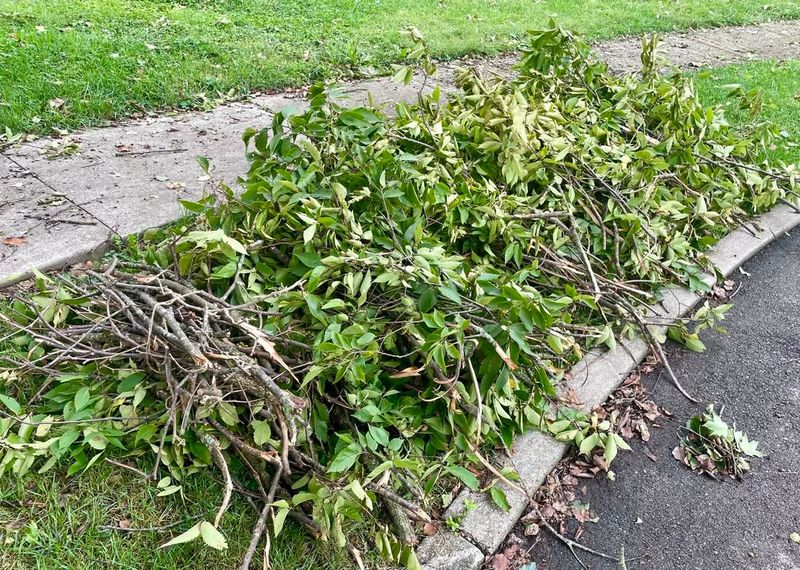
2. Prune Damaged Branches

Cold temperatures and heavy snow can snap branches and damage shrubs throughout winter.
Before buds begin to swell in April, take time to prune away anything that looks broken or unhealthy. Early pruning helps plants put their energy into strong, healthy growth instead of trying to repair damaged wood.
Walk around your yard and inspect each tree and shrub carefully. Look for branches that are cracked, split, or hanging loose. Check for bark that has peeled away or areas where ice may have caused injury.
Use clean, sharp pruning shears or a saw to make smooth cuts just above a healthy bud or branch junction. Avoid leaving stubs, which invite rot and pests. Remove any branches that are rubbing against each other or crossing in ways that could cause future damage.
Winter injury often shows up as discolored or shriveled bark. Cutting back to healthy tissue gives the plant a better chance to recover. For larger limbs, make cuts in stages to prevent tearing the bark.
Pruning before the growing season starts reduces stress on your plants. It also improves air circulation and lets sunlight reach the interior branches. Your shrubs and trees will respond with vigorous, balanced growth once warm weather arrives.
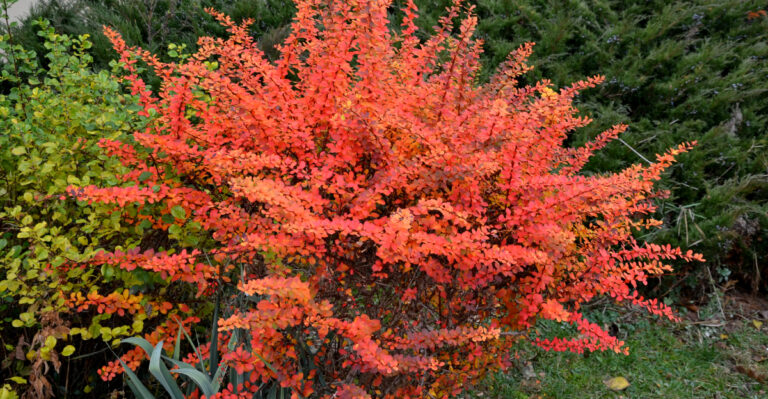
3. Inspect Trees For Winter Injury
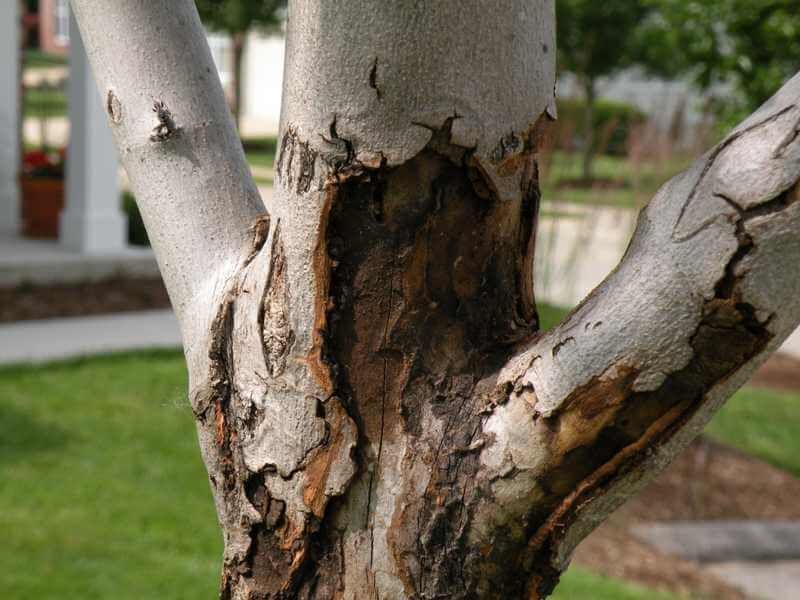
Harsh Michigan winters can cause serious damage to tree trunks and branches that isn’t always obvious at first glance.
Ice, wind, and extreme temperature swings create cracks and splits that weaken the tree’s structure. Catching these problems early allows you to take action before they get worse.
Start your inspection at the base of each tree and work your way up. Look for vertical cracks in the bark, especially on the south and west sides where sun exposure causes the most stress. Check for areas where bark has pulled away from the wood underneath.
Sunscald is common on young trees with thin bark. It happens when warm daytime sun heats the bark, then freezing night temperatures cause the tissue to rupture. These damaged areas appear as sunken, discolored patches.
Examine branch crotches where ice and snow accumulate. Heavy loads can split branches partially or completely. Even small cracks can become entry points for insects and disease if left untreated.
If you find significant damage, consider consulting an arborist who can recommend proper treatment.
Some injuries heal on their own, while others may require pruning or protective wrapping. Early detection prevents minor problems from turning into major structural failures that could endanger your property or require tree removal down the line.
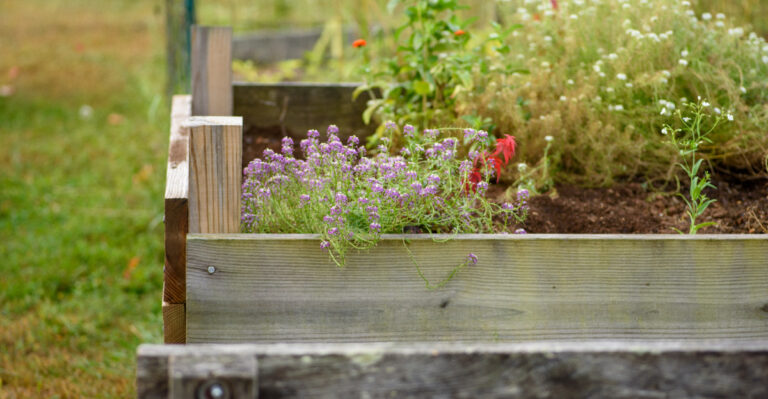
4. Prepare Vegetable Beds
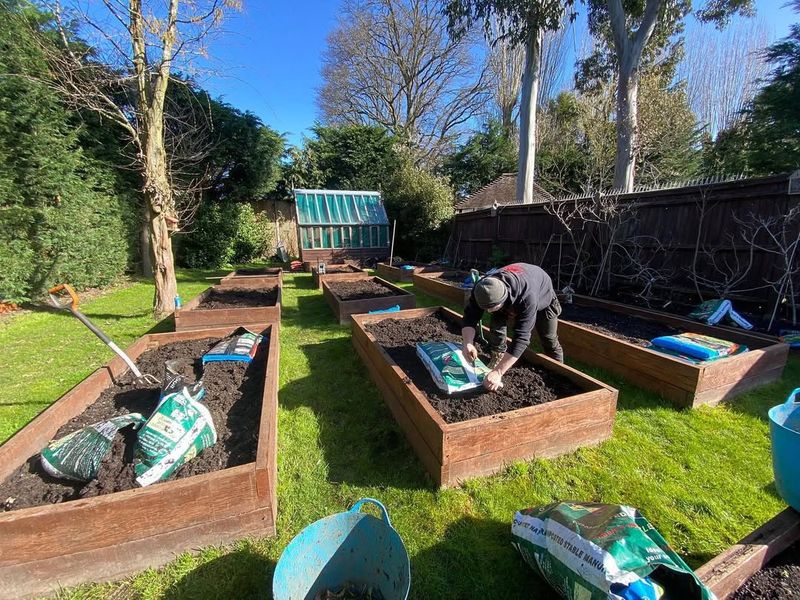
Getting your vegetable beds ready before April means you can plant as soon as the soil warms up.
Proper preparation creates the perfect environment for seeds to germinate and seedlings to establish strong roots. The work you do now directly impacts your harvest later in the season.
Begin by pulling out any weeds that have started growing. Even small weeds compete with your vegetables for water and nutrients. Remove them while they’re young and before they set seed.
Next, add a generous layer of compost or well-rotted manure to the bed. Organic matter improves soil structure, helps with drainage, and feeds beneficial microorganisms. Spread two to three inches across the surface.
Use a garden fork or tiller to work the compost into the top six to eight inches of soil. Break up any clumps and create a loose, crumbly texture. This makes it easier for roots to spread and water to penetrate.
Check the drainage by watering a small area and watching how quickly it soaks in. If water pools on the surface, consider adding more compost or creating raised beds. Level the surface with a rake and remove any rocks or debris that could interfere with planting.
Your beds are now ready for cool-season crops like peas, lettuce, and radishes as soon as conditions allow.
5. Sharpen And Clean Garden Tools

Tools that have been sitting in the shed all winter need attention before you put them back to work.
Sharp, clean equipment makes every gardening task easier and safer. It also prevents the spread of plant diseases that can hitchhike on dirty blades from one season to the next.
Start by scrubbing off any dried soil, sap, or rust with a stiff wire brush. For stubborn buildup, soak metal parts in a bucket of soapy water for a few minutes.
Rinse thoroughly and dry completely to prevent new rust from forming. Once clean, inspect the cutting edges on pruners, shears, and hoes.
Dull blades tear plant tissue instead of making clean cuts, which stresses plants and creates openings for infection. Use a sharpening stone or file to restore a keen edge, following the original bevel angle.
Apply a light coat of oil to metal surfaces to protect against moisture and corrosion. Tighten any loose bolts or screws, and replace worn parts like springs or handles. Check wooden handles for splinters and sand them smooth if needed.
Properly maintained tools last longer and perform better. Sharp blades require less effort, reducing strain on your hands and wrists. Taking an hour now to care for your equipment pays off with months of efficient, enjoyable gardening ahead.
6. Divide Perennials
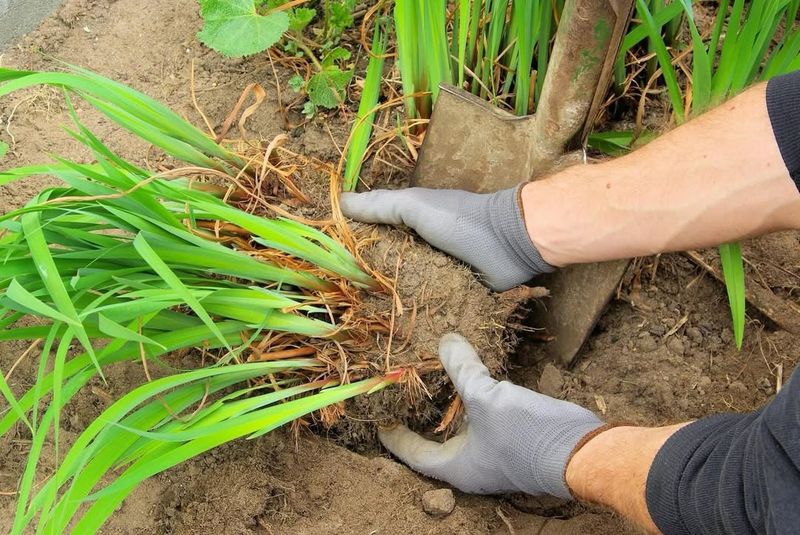
Many perennials grow into crowded clumps over time, which reduces flowering and makes plants look tired.
Late winter and early spring, before new growth gets too far along, is the perfect time to divide these plants. Splitting them up creates multiple healthy plants and reinvigorates the original.
Hostas, daylilies, and ornamental grasses are among the easiest perennials to divide in Michigan before April. Dig up the entire clump, trying to keep as much of the root system intact as possible. Shake off excess soil so you can see the natural divisions.
Use a sharp spade or knife to cut the clump into sections. Each division should have several shoots and a good portion of roots attached. Smaller divisions take longer to fill in, while larger sections establish faster.
Replant the divisions immediately at the same depth they were growing before. Space them far enough apart to allow for future growth. Water thoroughly to settle the soil around the roots and eliminate air pockets.
Division stimulates fresh root development and encourages vigorous growth. The plants respond with more blooms and healthier foliage.
You can use the extra divisions to fill in bare spots, share with friends, or trade with other gardeners for new varieties to try in your landscape.
7. Test Soil And Apply Amendments
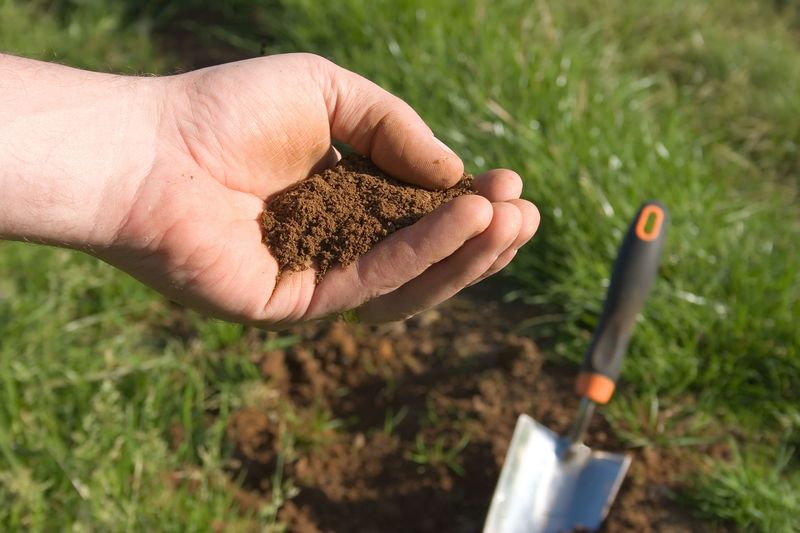
Healthy soil is the foundation of a successful garden, but you can’t fix problems you don’t know about.
Testing your soil before planting reveals pH levels and nutrient deficiencies that could limit plant growth. Armed with this information, you can make targeted improvements that pay off all season long.
Purchase a soil test kit from a garden center or send samples to your local extension office for detailed analysis. Collect samples from several spots in your garden, mixing them together for an average reading. Follow the kit instructions carefully for accurate results.
Most vegetables and flowers prefer soil with a pH between 6.0 and 7.0. If your test shows the pH is too low (acidic), add lime to raise it. If it’s too high (alkaline), sulfur helps bring it down.
These amendments work slowly, so apply them now to give them time to take effect. Check the nutrient levels for nitrogen, phosphorus, and potassium.
Add specific fertilizers or organic amendments based on what your soil lacks. Compost provides a balanced boost of nutrients and improves soil structure at the same time.
Spread amendments evenly over the bed and work them into the top few inches of soil. Water lightly to start the process. Testing every two to three years keeps you informed about changing soil conditions.
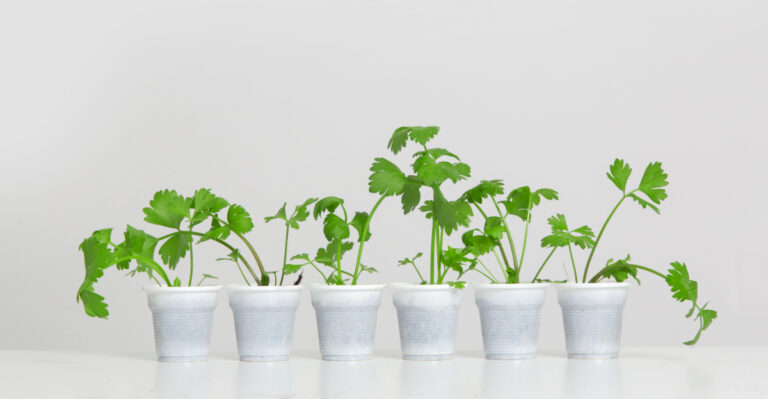
8. Start Cold-Hardy Seeds Indoors
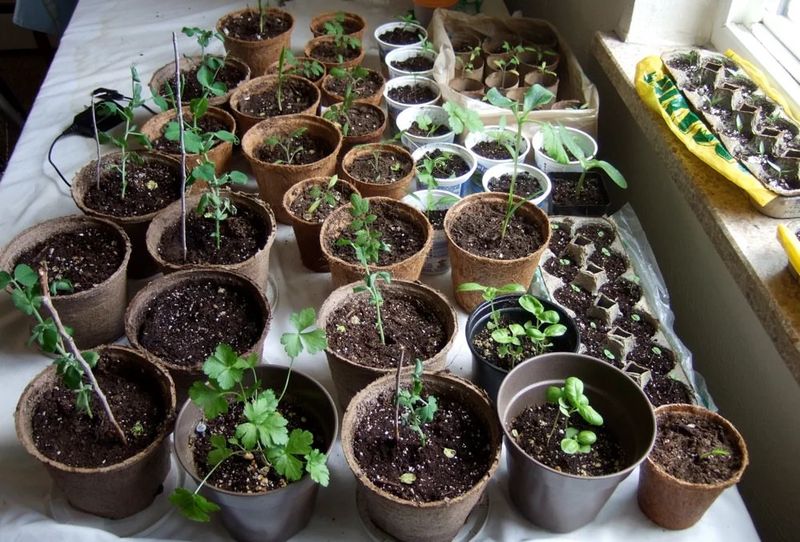
Michigan’s short growing season means every week counts, especially for vegetables that need a long time to mature. Starting seeds indoors before April gives you a head start on the season.
Cool-season crops like broccoli, cabbage, and cauliflower thrive when transplanted into the garden as soon as the soil can be worked.
Fill seed trays or small pots with sterile seed-starting mix, which is lighter and drains better than regular potting soil. Plant seeds at the depth recommended on the packet, usually two to three times the seed’s diameter. Water gently to settle the mix around the seeds.
Place trays in a warm spot or use a heat mat to speed germination. Once seedlings emerge, move them under grow lights or to a sunny window. Keep the lights just a few inches above the plants and raise them as the seedlings grow.
Water when the surface feels dry, but don’t let the mix stay soggy. Feed with diluted liquid fertilizer once the first true leaves appear. This keeps seedlings growing steadily without becoming weak or leggy.
Plan to transplant your seedlings outdoors six to eight weeks after starting them, which typically falls in mid to late April for most of Michigan.
Hardening them off gradually by exposing them to outdoor conditions for a few hours each day helps them adjust without shock.
9. Plan Lawn Care Tasks

Your lawn wakes up hungry and stressed after months under snow and ice. Early spring care sets the tone for how green and thick your grass will be all summer.
Tackling a few key tasks before April helps prevent weeds and encourages strong root growth as temperatures rise.
Start by raking the lawn to remove matted leaves and debris that can smother grass. This also lifts flattened blades and allows air to reach the soil surface. Look for bare patches or areas where the grass looks thin and weak.
Aeration is especially helpful if your lawn gets heavy foot traffic or the soil is compacted. Renting a core aerator and running it over the lawn creates small holes that improve water and nutrient penetration. This encourages deeper root growth and better overall health.
Apply a pre-emergent herbicide if crabgrass has been a problem in past years. Timing is critical, as these products work by preventing weed seeds from germinating. Apply too late and the weeds will already be growing.
Consider overseeding thin areas with a grass seed blend suited to Michigan’s climate. Rake the seed into light contact with the soil and keep it moist until it germinates.
Early spring seeding takes advantage of natural moisture and moderate temperatures for the best results.
10. Inspect And Repair Irrigation Systems
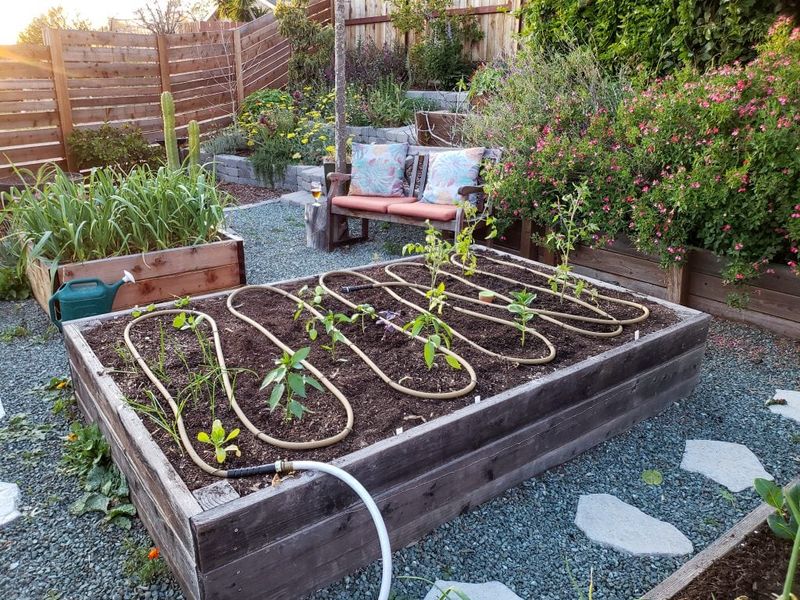
Freezing temperatures can wreak havoc on irrigation systems, causing cracks in hoses and damage to sprinkler heads. Before you need to start watering in earnest, take time to inspect every part of your system.
Catching leaks and breaks now prevents water waste and ensures your plants get the moisture they need when the weather warms up.
Begin by turning on the water slowly and walking the entire length of your system. Look for wet spots, puddles, or spraying water that indicate leaks. Check connections where hoses attach to spigots and where fittings join sections of pipe.
Inspect drip irrigation lines for cracks or holes. These systems are especially vulnerable to damage from freezing and thawing cycles. Replace any damaged tubing and make sure emitters are clear and flowing properly.
Test each sprinkler head by running the system through its cycle. Adjust heads that are spraying sidewalks or driveways instead of plants. Clean or replace clogged nozzles that produce uneven spray patterns.
Check timers and controllers to make sure they’re programmed correctly for the new season. Replace batteries if needed. Flush the system to clear out any debris that accumulated over winter.
A well-maintained irrigation system saves water, reduces your utility bills, and keeps plants healthy during dry spells. Spending time on repairs now means fewer headaches once summer heat arrives and watering becomes a daily necessity.