14 Garlic-Growing Hacks For Endless Cloves (And A Few More For Bigger Bulbs And Bolder Flavor)
Garlic lovers, rejoice—growing an endless supply of cloves is easier than you think. With the right tricks, your garlic can multiply season after season, giving you bold, flavorful bulbs straight from your backyard.
These 14 tried-and-true hacks will keep your kitchen stocked—and we’ve thrown in a few bonus tips for maximizing size and taste.
1. Choose the Right Varieties
Hardneck garlic varieties produce fewer but larger cloves and do better in colder regions. Softneck types store longer and grow well in milder climates.
For beginners, ‘Music’ (hardneck) and ‘California Early’ (softneck) are excellent starter varieties. Ask local gardeners which types thrive in your specific area – they’ll have firsthand knowledge about what grows best nearby.
2. Plant at the Perfect Time
Fall planting gives garlic time to develop strong roots before winter dormancy. Aim to get cloves in the ground 4-6 weeks before the first hard freeze in your area.
Northern gardeners typically plant in September or October, while southern growers can wait until November. Mark your calendar for planting day – timing really matters with garlic success!
3. Break Bulbs Carefully
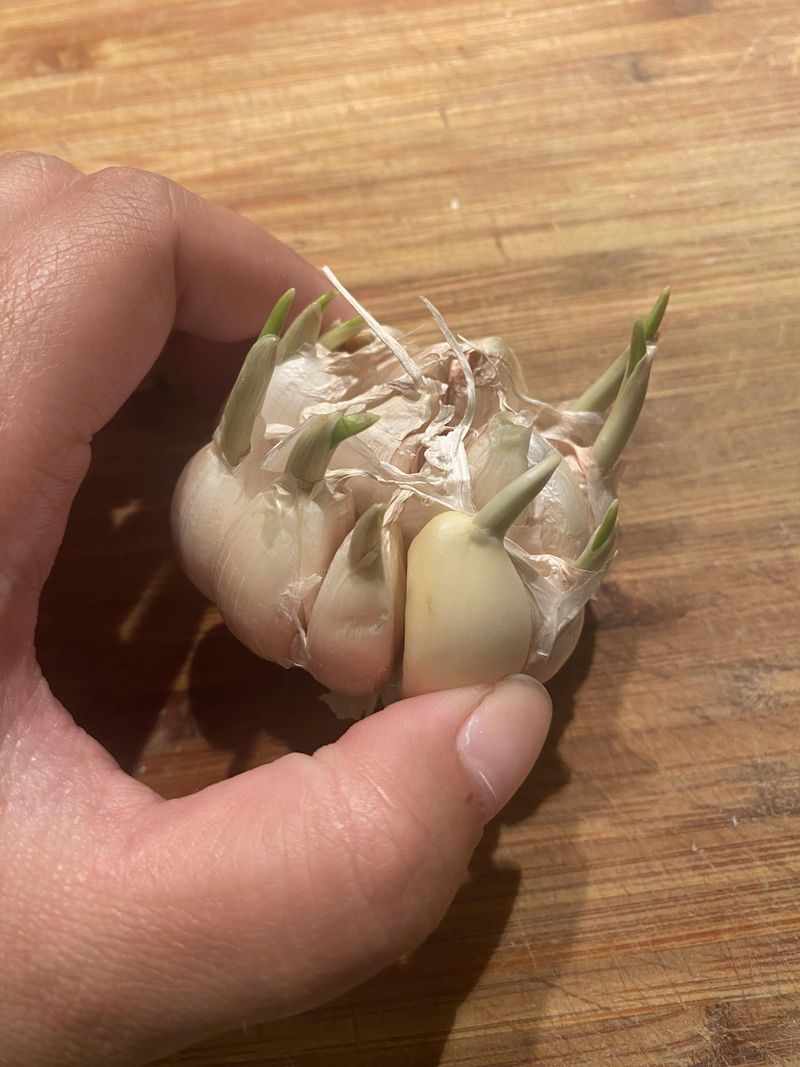
Separate garlic bulbs into individual cloves just before planting. Keep the papery skin intact on each clove – it protects against soil diseases and helps with sprouting.
The larger outer cloves produce bigger bulbs, so prioritize those for planting. Save the tiny inner cloves for cooking instead. Handle everything gently to avoid damaging the base of each clove where roots will form.
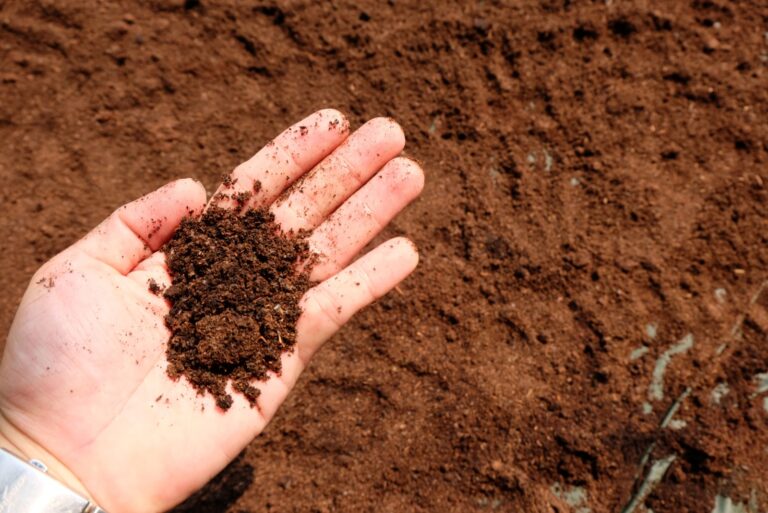
4. Prepare Soil Properly
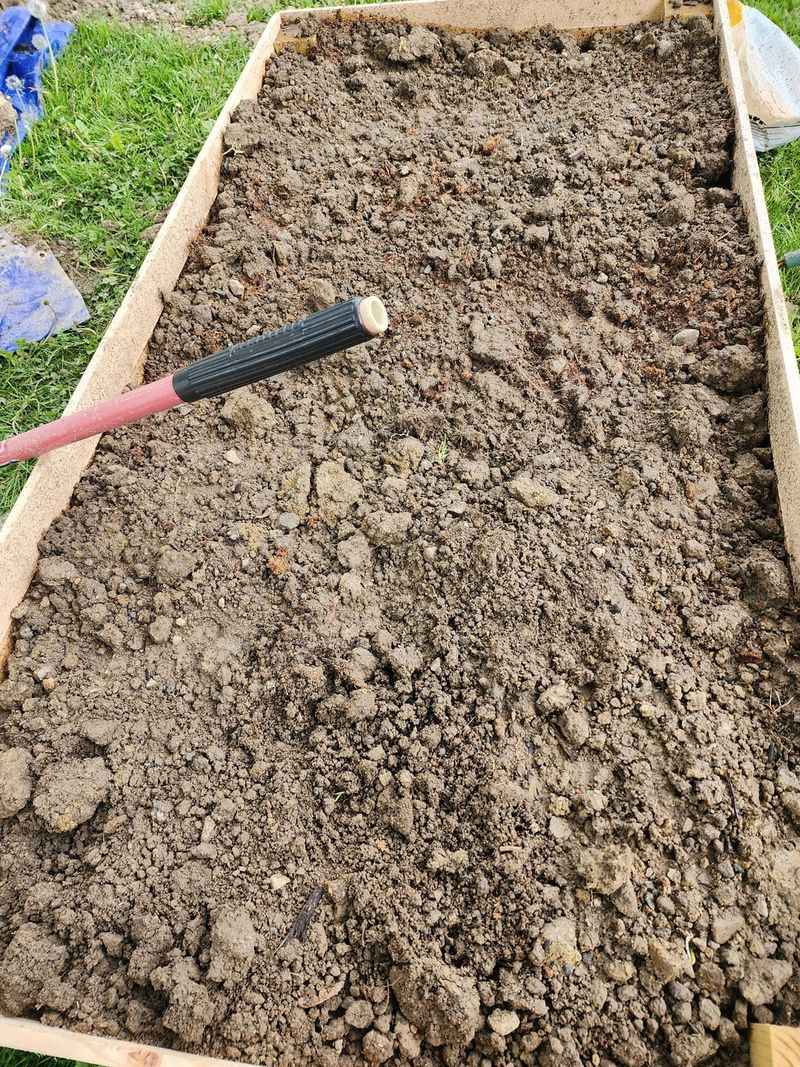
Garlic thrives in loose, rich soil with excellent drainage. Dig in plenty of compost or aged manure before planting to provide nutrients for the long growing season ahead.
Avoid fresh manure which can burn plants and introduce diseases. A soil pH between 6.0-7.0 works best. Consider raising beds 6-8 inches if your garden tends to stay wet – garlic roots hate sitting in water!
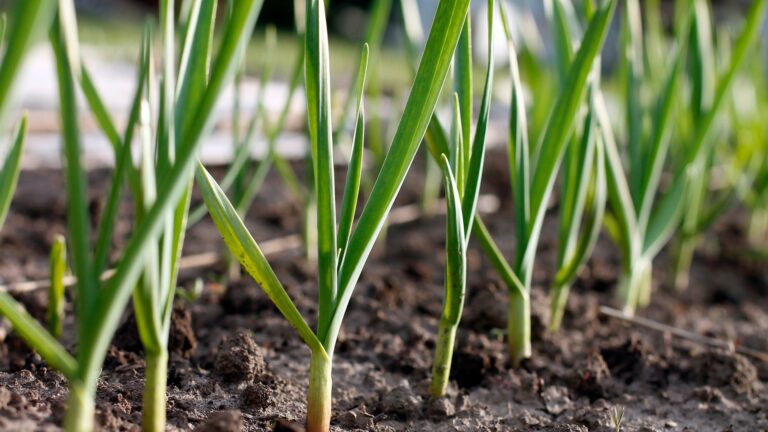
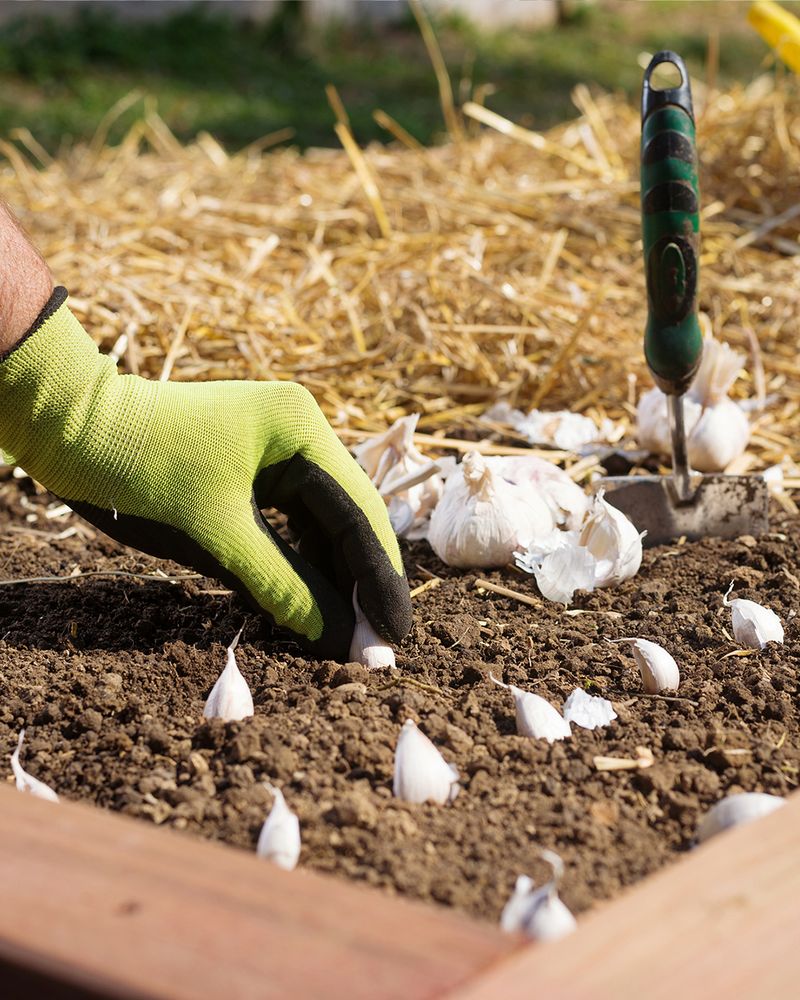
5. Space Cloves Correctly
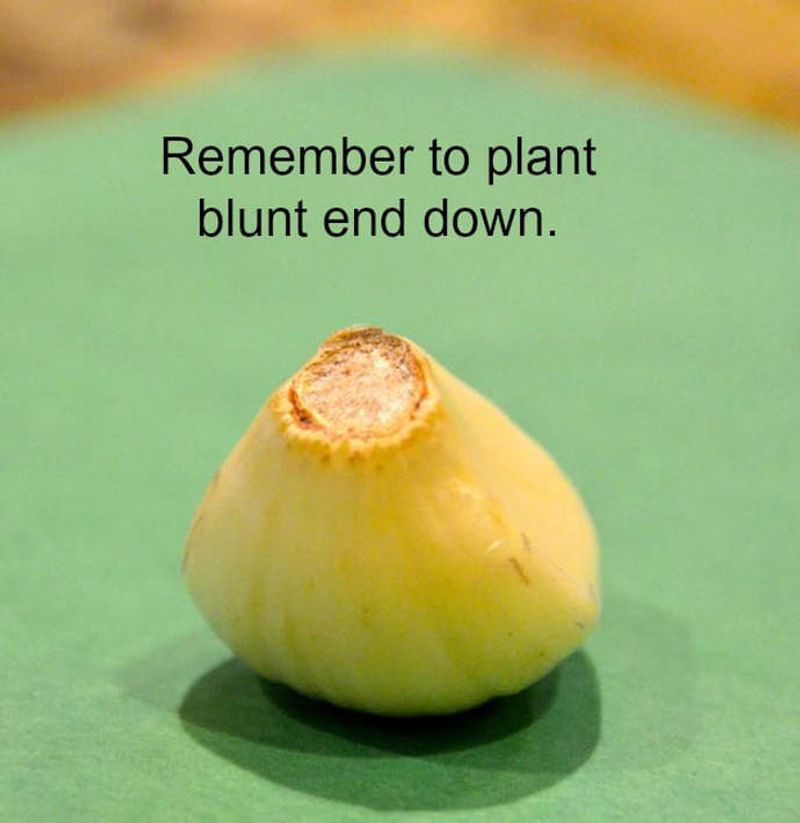
Plant garlic cloves 2 inches deep with the pointed end facing up. Space them 6 inches apart in rows that are 12 inches from each other to give bulbs room to expand.
Crowded garlic produces smaller bulbs, so resist the temptation to squeeze in extra plants. Use a dibber tool or your finger to make perfect planting holes at consistent depths. Proper spacing also improves air circulation, reducing disease problems.
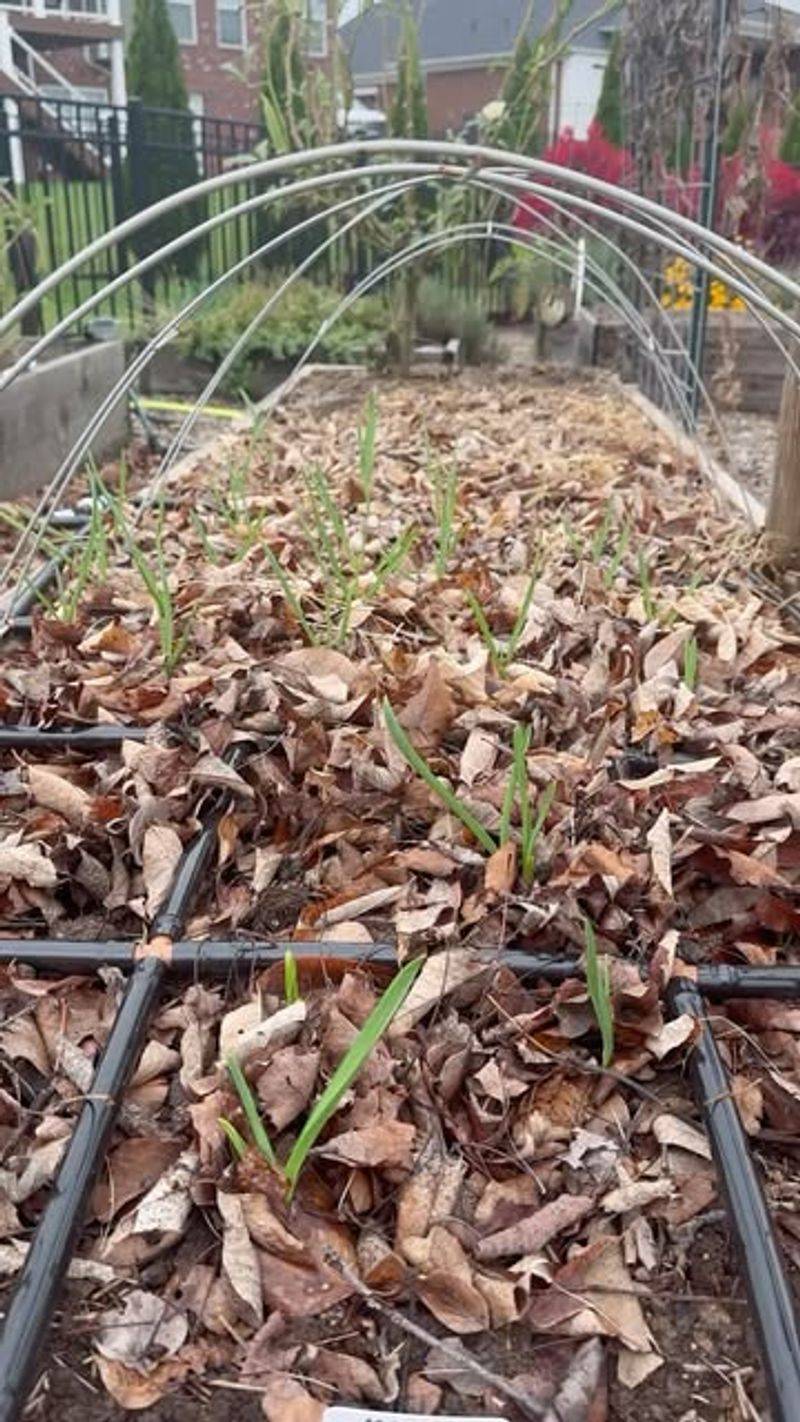
6. Mulch Generously
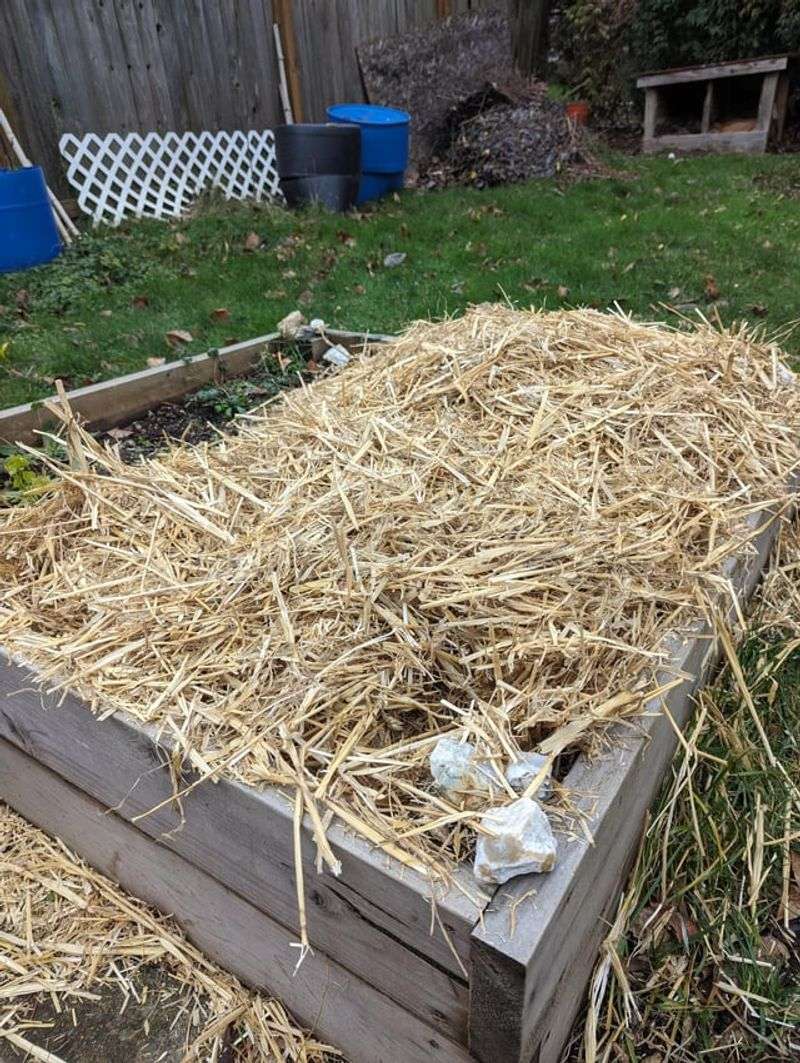
Apply 4-6 inches of straw or shredded leaves over newly planted garlic. This thick blanket protects cloves through winter freezes and suppresses spring weeds.
Mulch also maintains consistent soil moisture and temperature. In spring, pull some mulch away from emerging shoots if it gets soggy, but keep a 2-inch layer throughout the growing season. Avoid hay mulch which often contains weed seeds that’ll create extra work.
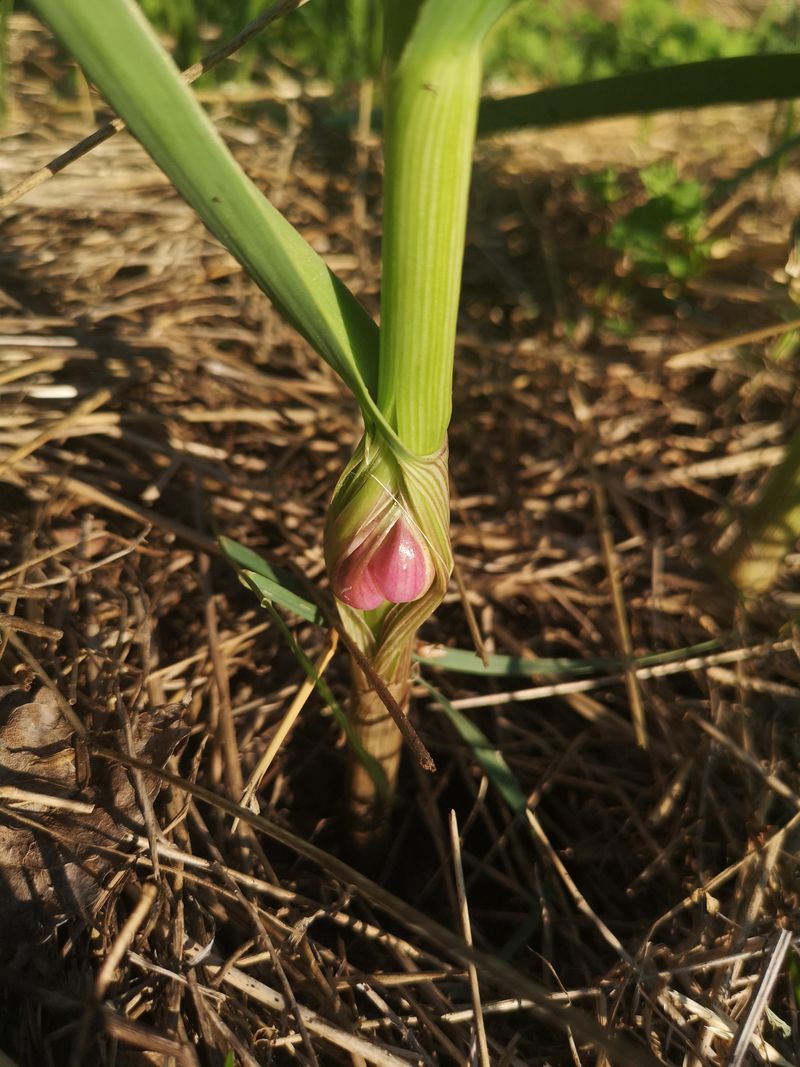
7. Cut Flower Stalks
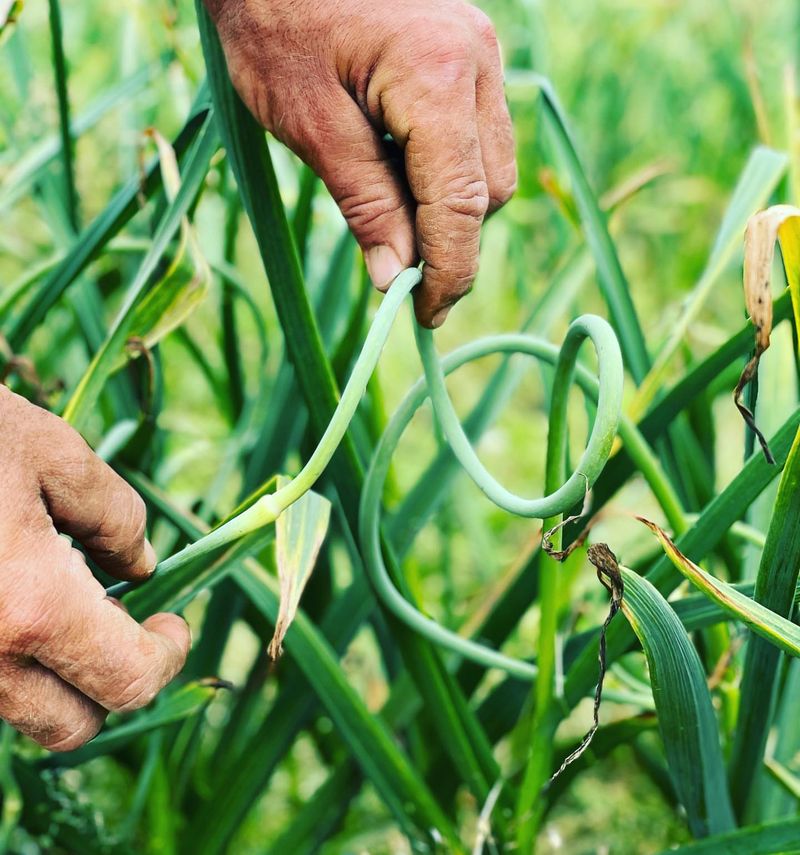
Hardneck garlic produces curly flower stalks called scapes in late spring. Snip these off when they form their first curl so the plant focuses energy on bulb growth instead of flowers.
Don’t throw scapes away – they’re delicious! Use them in stir-fries, pesto, or grilled as a special spring treat. Removing scapes can increase bulb size by 25-30%, making this simple task extremely worthwhile for bigger harvests.
8. Water Wisely
Garlic needs consistent moisture until about 2-3 weeks before harvest. Provide about 1 inch of water weekly when rainfall is insufficient, especially during bulb formation in spring.
Stop watering completely when leaves begin turning yellow – this signals harvest time is approaching. Dry soil during the final weeks helps cure bulbs and prevents rot. Morning watering is best as it allows foliage to dry before evening, reducing fungal disease risks.
9. Feed with Fish Emulsion
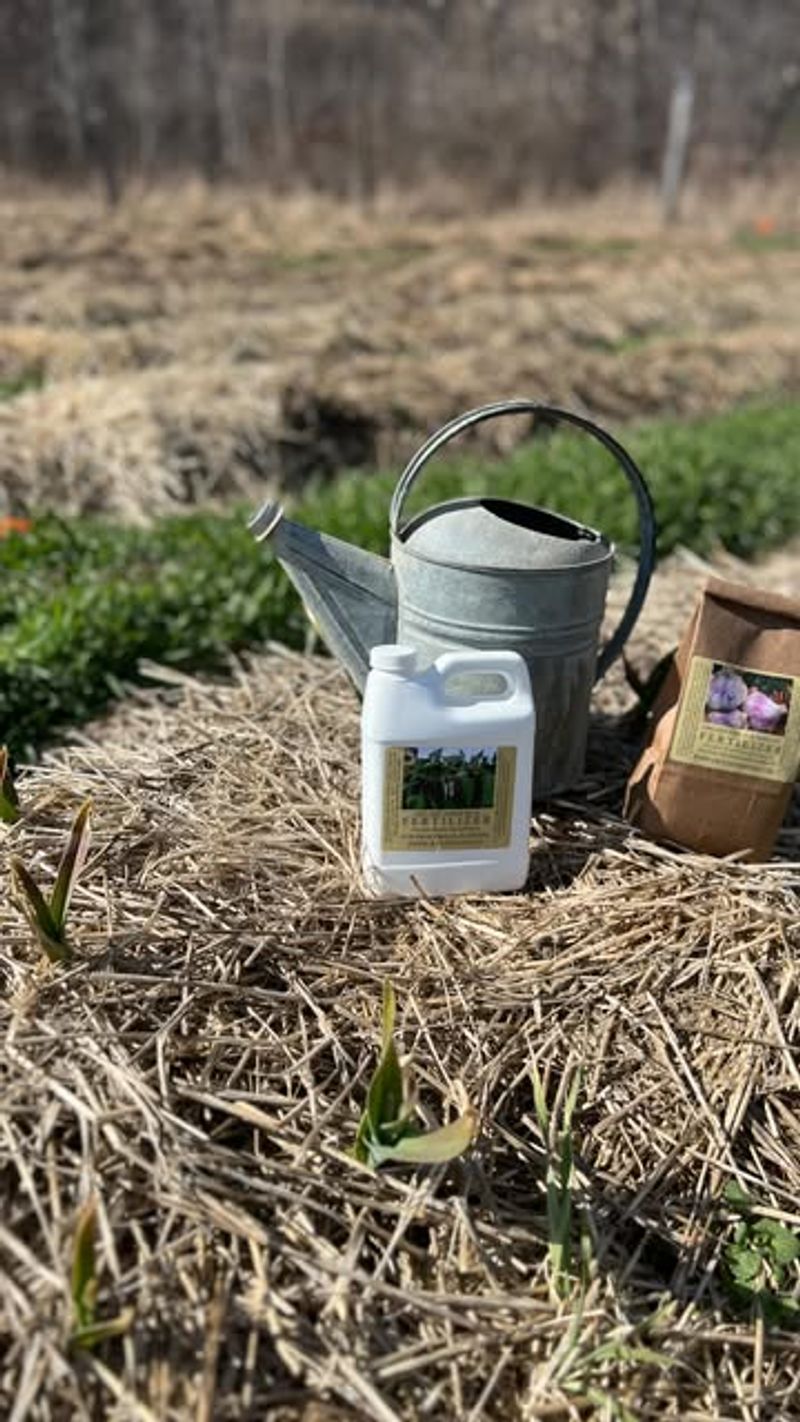
Give garlic a boost with fish emulsion fertilizer when shoots reach 6 inches tall in spring. This gentle, organic option provides nitrogen that fuels leafy growth without burning plants.
A second feeding when plants are 12 inches tall helps bulb development. Mix according to package directions, typically 1 tablespoon per gallon of water. Apply to soil around plants, not directly on foliage. The smell disappears quickly but the growth benefits last!
10. Keep Weeds Away
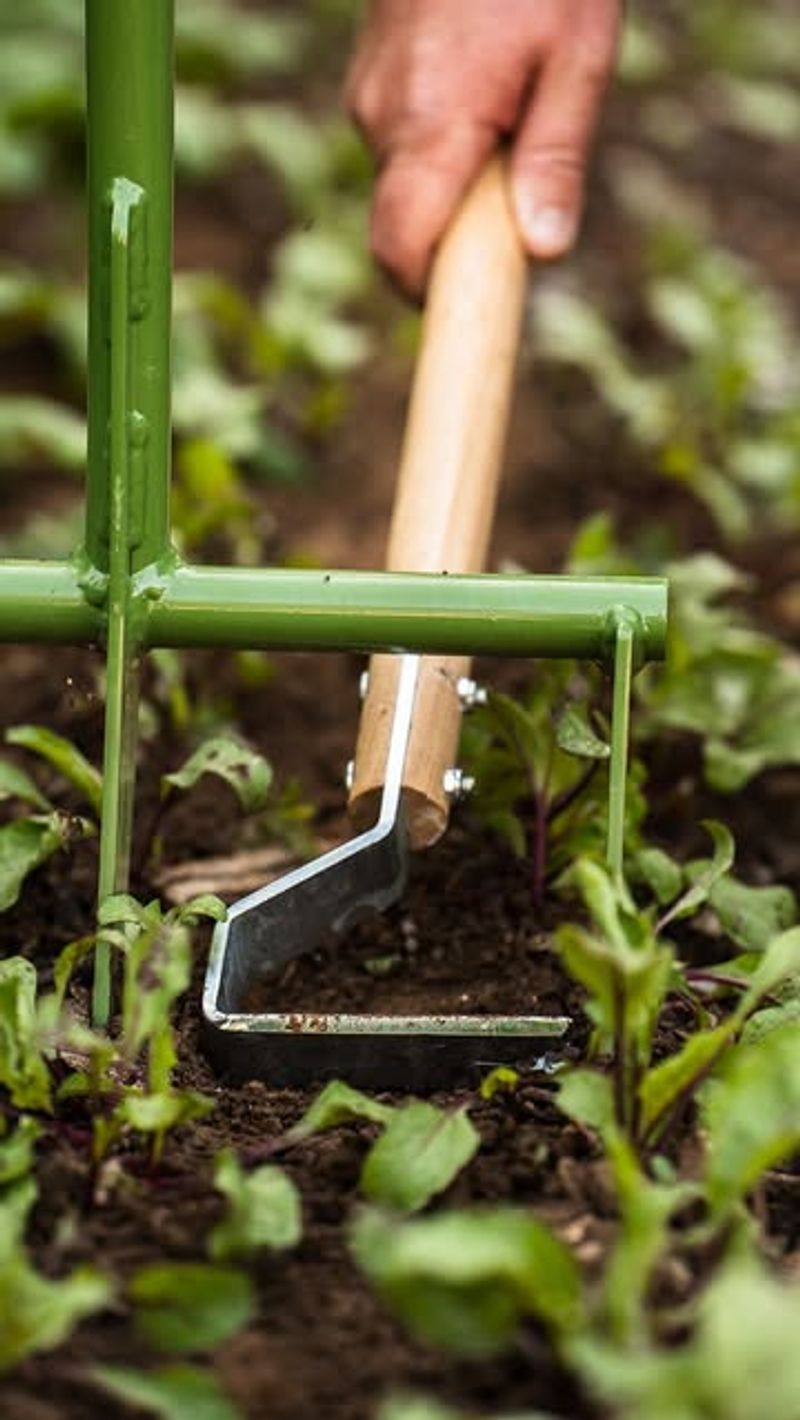
Garlic hates competing with weeds for nutrients and water. Hand-pull intruders regularly, being careful not to disturb garlic’s shallow roots in the process.
A hoe works well for weeds between rows, but get down on your knees to carefully remove weeds between plants. The mulch mentioned earlier helps tremendously with weed suppression. Just 10 minutes of weeding weekly prevents a major problem from developing.
11. Watch for Harvest Signs
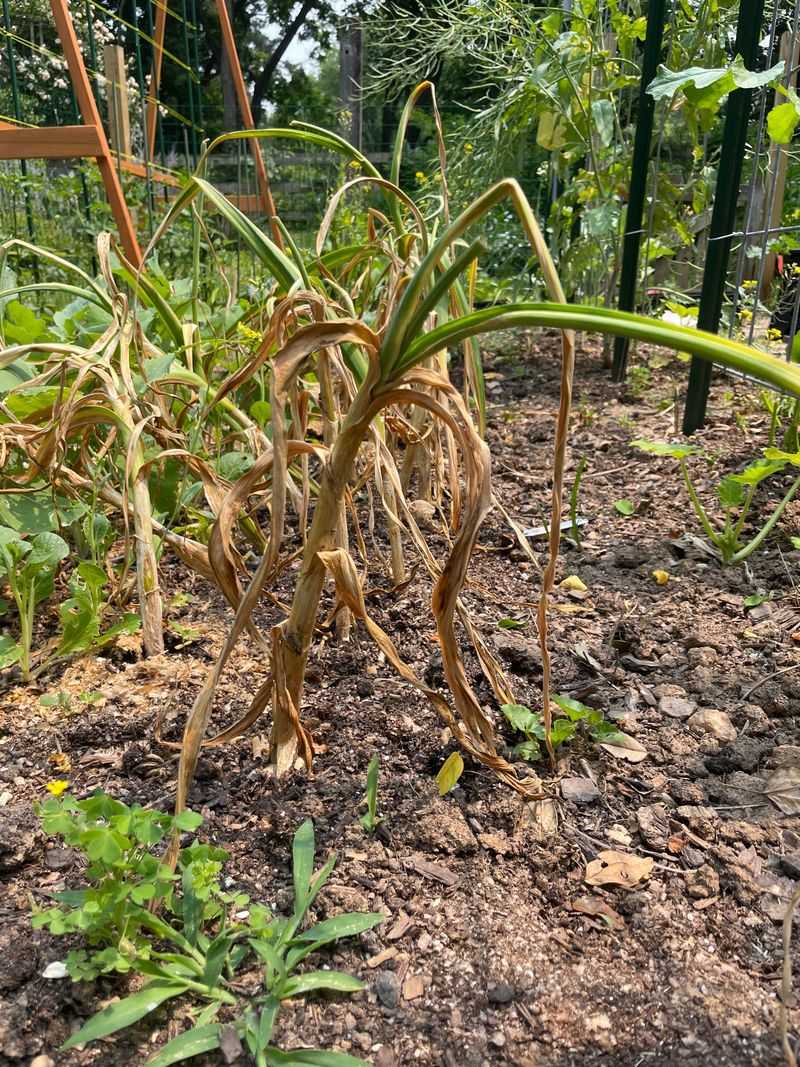
Garlic is ready to harvest when the bottom 3-4 leaves have turned yellow or brown, but 5-6 upper leaves remain green. This usually happens in mid-summer, depending on your climate and when you planted.
Dig up a test bulb if you’re unsure. The bulb should be well-formed with tight, filled-out cloves and intact wrappers. Waiting too long causes bulbs to split open; harvesting too early results in smaller bulbs that won’t store well.
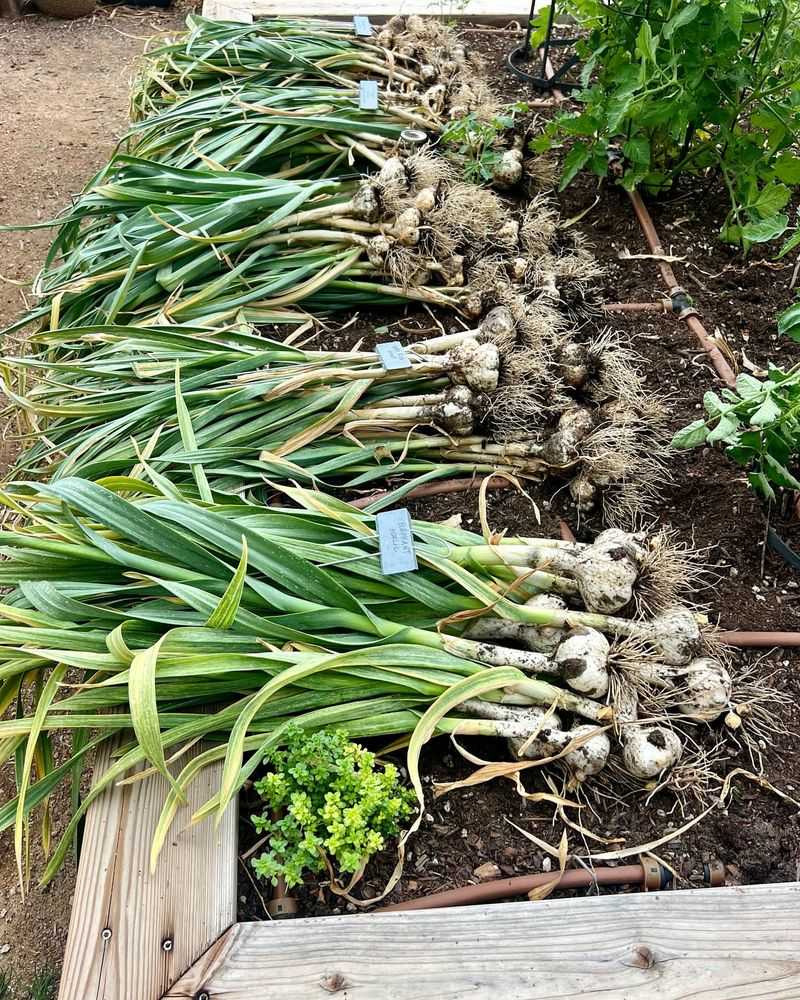
12. Harvest with Care
Use a garden fork to loosen soil around bulbs rather than pulling directly on stems, which can break off. Dig several inches away from the plant to avoid damaging bulbs.
Gently brush off excess soil but don’t wash bulbs. Keep the stems and roots attached during the curing process. Handle freshly harvested garlic like eggs – bruised bulbs won’t store well and should be used first.
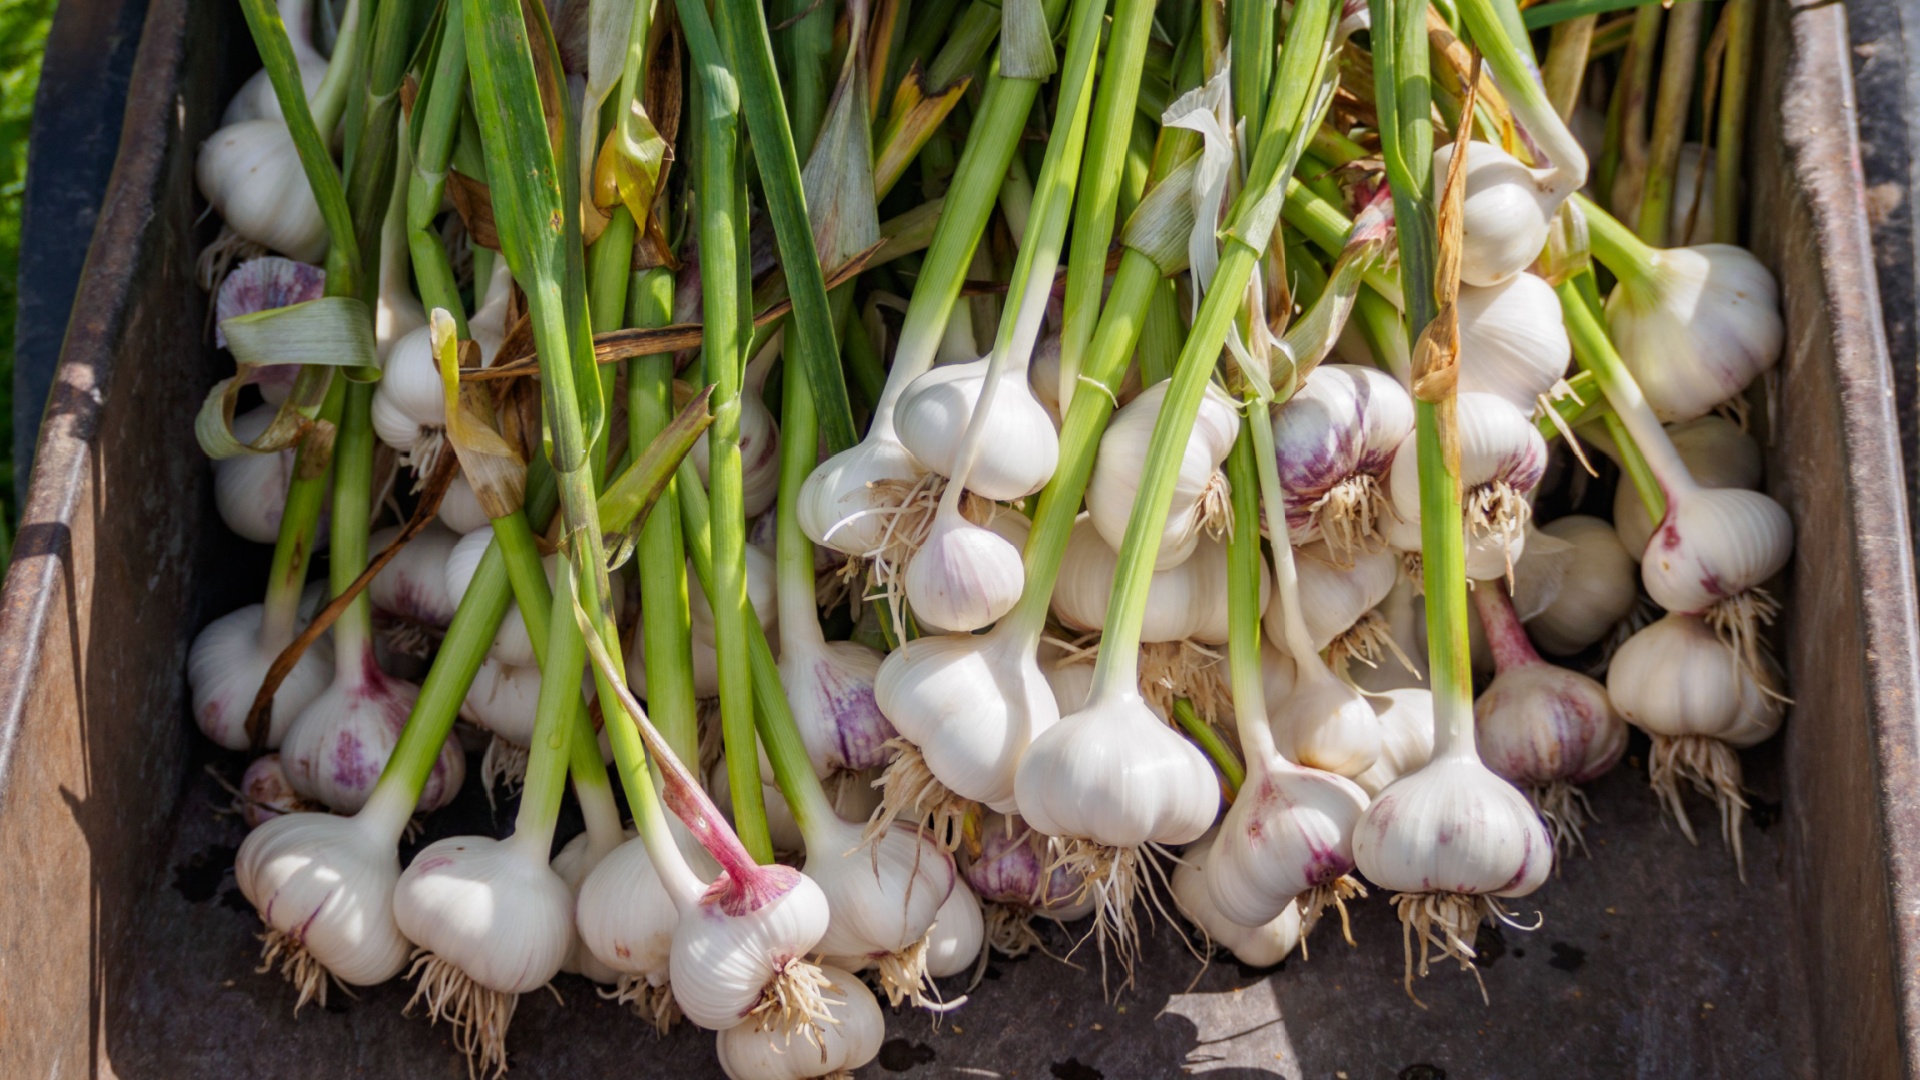
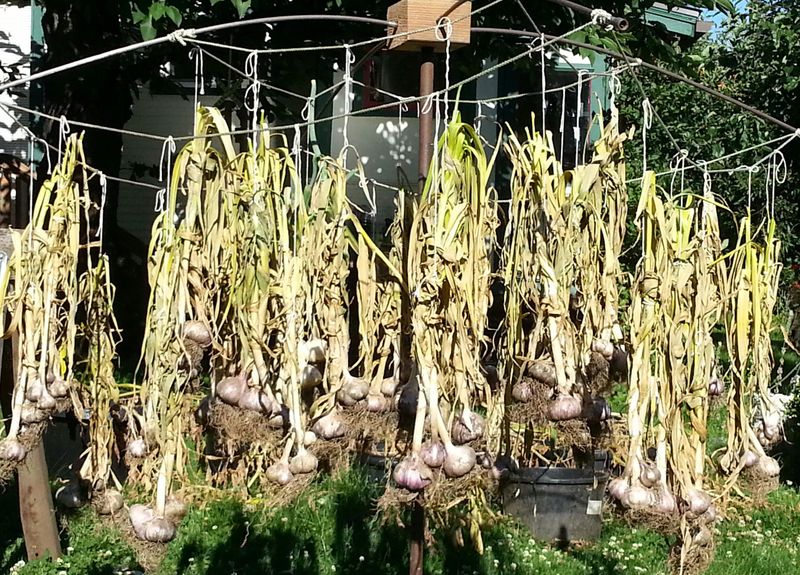
13. Cure Properly
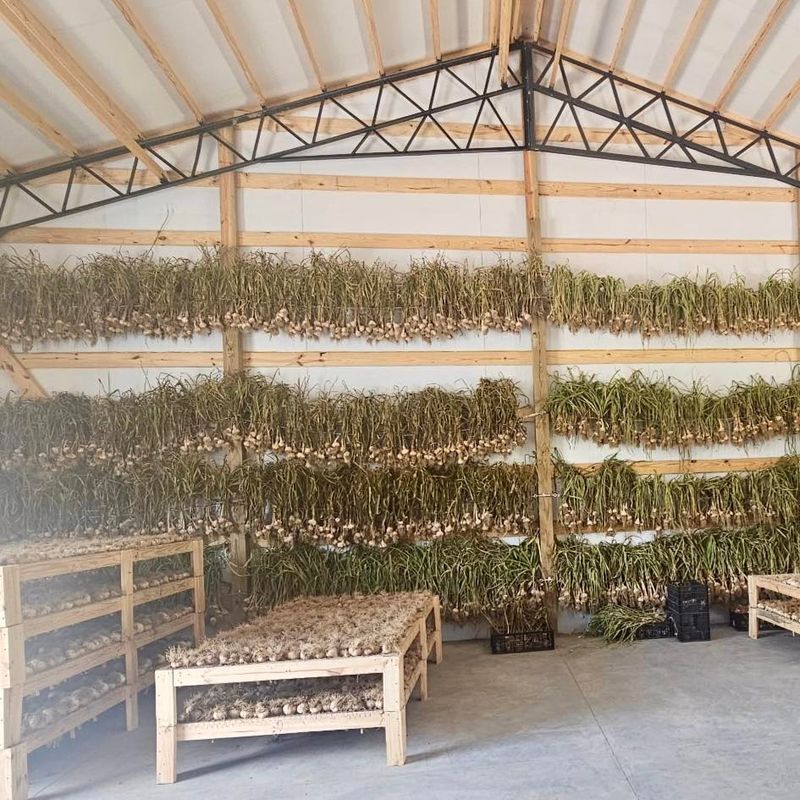
Hang harvested garlic in bundles of 8-10 plants in a dry, shady, well-ventilated location for 2-3 weeks. A covered porch, garage, or barn works perfectly for this curing process.
Good air circulation is essential – use fans if your space is humid. The curing process allows flavors to develop while outer wrappers dry. Properly cured garlic develops that classic papery skin and stores much longer than uncured bulbs.
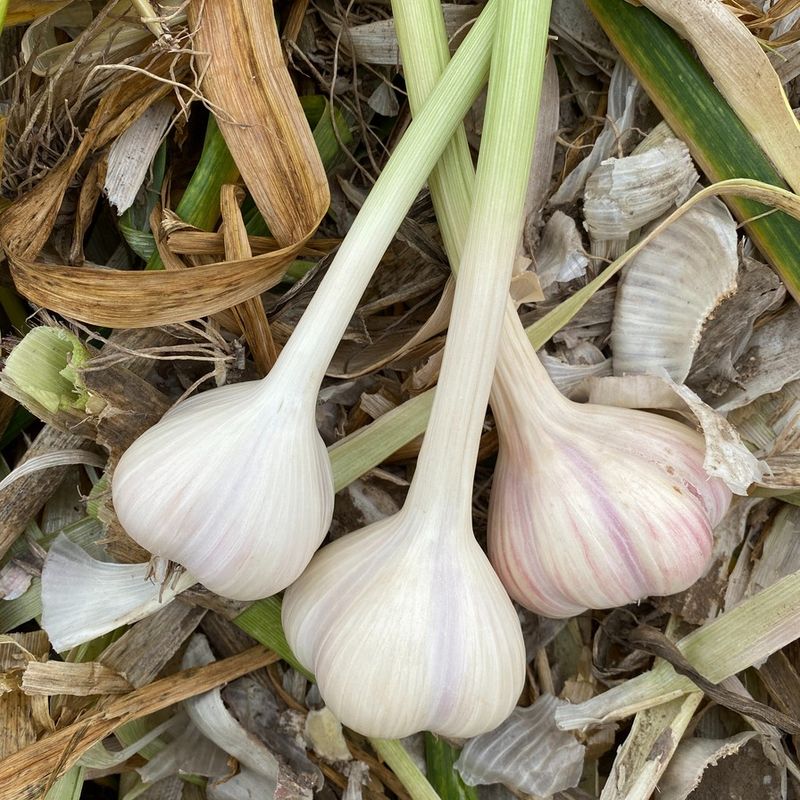
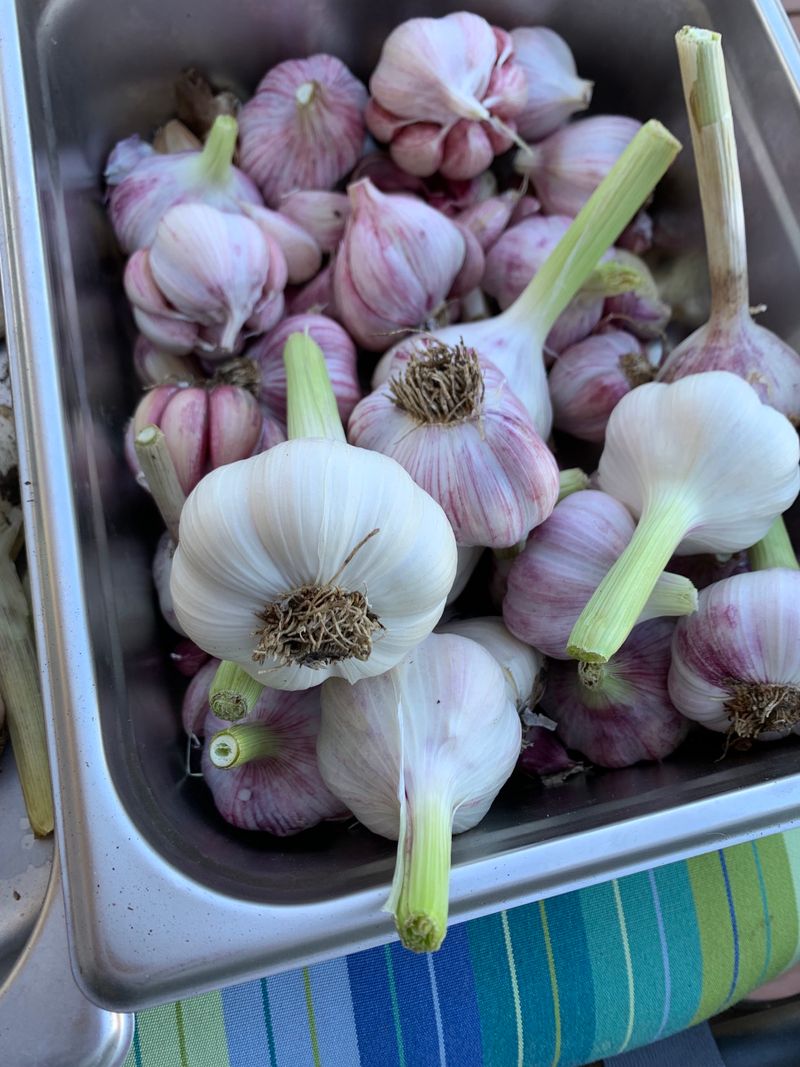
14. Store for Longevity
After curing, trim roots to 1/4 inch and cut stems to 1-2 inches (leave longer stems on braiding varieties). Brush off any remaining soil and remove the outermost layer of skin if it’s dirty.
Store in mesh bags or open baskets in a cool, dry place with temperatures between 55-65°F. Avoid refrigerators which are too humid. Check stored garlic monthly and remove any bulbs showing signs of sprouting or softening.
15. Save the Best for Seed
Select your largest, healthiest bulbs for replanting. Set these aside and resist the temptation to eat them – they’ll produce better crops next year!
Choose bulbs free from disease, damage, or abnormalities. Over several growing seasons, this selection process creates a garlic strain perfectly adapted to your garden conditions. Label your seed garlic clearly so it doesn’t accidentally end up in dinner.
16. Rotate Planting Locations

Never plant garlic in the same spot year after year. Rotate garlic beds to prevent disease buildup and nutrient depletion in the soil.
Wait at least 3 years before returning garlic to the same garden location. Good rotation partners include tomatoes, peppers, or brassicas (like broccoli and cabbage). Keep records of where you plant each year – a simple garden map in a notebook works perfectly.
17. Try Growing in Containers
No garden space? Grow garlic in containers at least 8 inches deep with drainage holes. Use high-quality potting mix amended with compost.
A 12-inch pot can support 3-4 garlic plants. Place containers where they’ll get 6+ hours of sunlight daily. Container-grown garlic needs more frequent watering and feeding than garden plants. Move pots to protected areas during extreme weather for best results.
18. Prevent Common Problems
Watch for signs of trouble like yellowing leaves (except at harvest time) or white powdery spots that indicate fungal disease. Remove affected plants immediately to prevent spread.
Avoid overhead watering which promotes fungal issues. Check for tiny onion thrips hiding between leaf bases – a strong spray of water dislodges them. The best prevention is starting with disease-free seed garlic from reputable sources and maintaining good garden hygiene.