Here’s How To Plant Seed Potatoes For A Bigger Harvest This Year In North Carolina
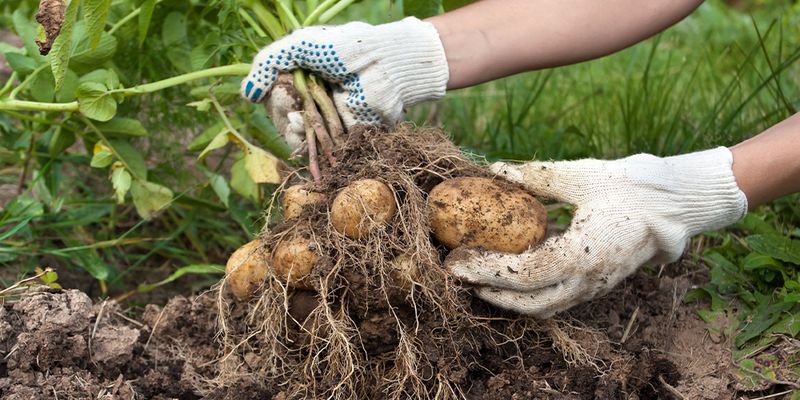
Few things feel more satisfying than digging into the soil and pulling up fresh, homegrown potatoes. In North Carolina, gardeners have a real advantage.
The climate offers excellent conditions for strong growth, rich flavor, and generous harvests when potatoes are planted the right way.
Yet many growers miss out on their full potential simply because of timing, soil prep, or small care mistakes that add up over the season.
With a few smart adjustments, potato plants can produce far more than you might expect. From stronger sprouts to bigger, healthier tubers, the difference often comes down to simple but proven techniques.
Whether you are planting your first row or looking to boost results after years of gardening, the right approach can turn an average crop into a truly impressive harvest that keeps your kitchen stocked with fresh potatoes for months.
Choose Certified Seed Potatoes
Starting with certified seed potatoes sets the foundation for a successful harvest. These specially grown tubers come from inspected farms and carry certification guaranteeing they’re free from diseases that commonly affect potato crops.
Unlike grocery store potatoes, which are often treated with sprout inhibitors, certified varieties are specifically bred for planting.
North Carolina gardeners benefit tremendously from this choice because disease spreads quickly in warm, humid conditions. Certified seed potatoes resist common problems like bacterial soft rot and viral infections that reduce yields.
When you invest in quality seed stock, you’re protecting your entire garden from contamination.
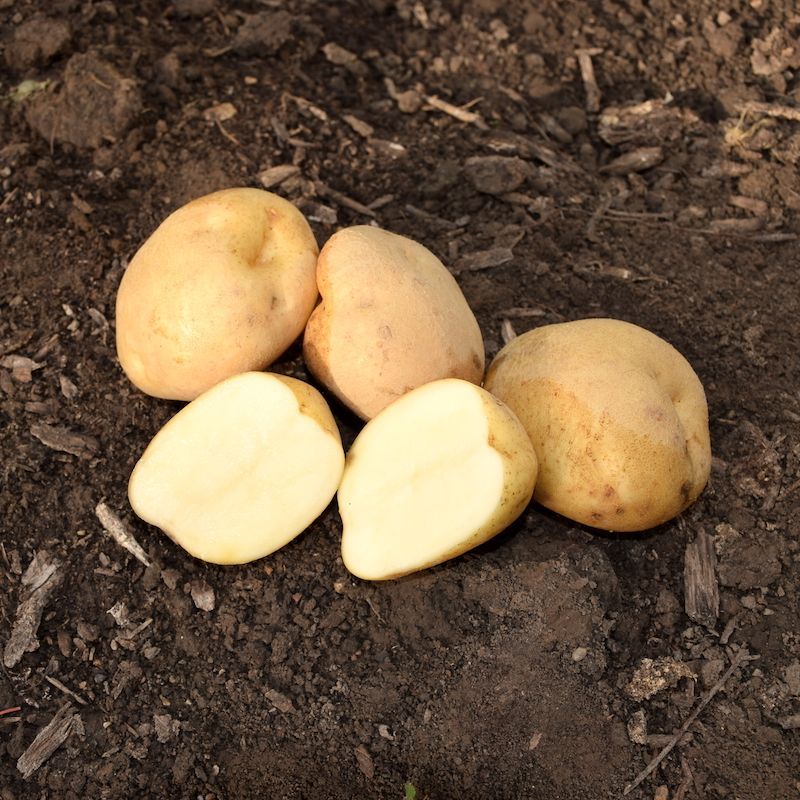
Local garden centers and agricultural suppliers throughout North Carolina stock certified varieties suited to the region’s growing conditions. Popular choices include Kennebec, Red Pontiac, and Yukon Gold, all thriving in the state’s climate.
These varieties have been tested extensively and perform reliably year after year.
The initial cost might seem higher than using grocery store potatoes, but the return on investment is substantial. Certified seed potatoes produce stronger plants with better resistance to environmental stress.
Your harvest will be larger, healthier, and more consistent, making this simple choice one of the smartest decisions you’ll make this growing season.
Plant After The Last Frost
Timing your potato planting correctly makes all the difference between a thriving crop and disappointing results. In North Carolina, the last frost date varies by region, typically falling between mid-March in coastal areas and mid-April in mountain zones.
Planting two to four weeks before this date gives your potatoes the perfect start they need.
Soil temperature matters more than calendar dates when determining planting time. Your ground should reach around 50 degrees Fahrenheit for optimal root development.
Colder soil slows germination and increases the risk of rot, while warmer temperatures encourage rapid, healthy growth.
A simple soil thermometer helps you monitor conditions accurately throughout early spring. Check the temperature at a depth of four inches in the morning for the most reliable reading.
When readings consistently stay above 45 degrees, you’re approaching the ideal planting window.
North Carolina’s moderate climate allows for both spring and fall potato crops in many areas. Spring plantings typically yield the largest harvest, but fall crops planted in late summer offer another opportunity.
Understanding your local frost dates and soil temperatures empowers you to make informed planting decisions that maximize your garden’s productivity throughout the entire growing season.
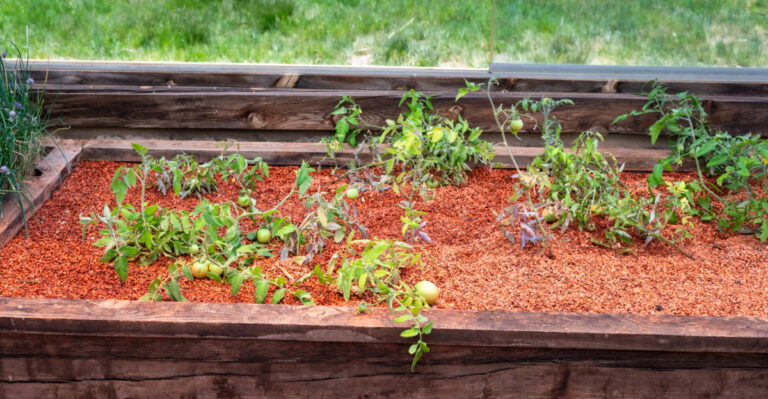
Prepare Loose, Well-Draining Soil

Soil preparation ranks among the most critical steps for achieving a massive potato harvest. Potatoes develop underground, so they need loose, friable soil that allows tubers to expand freely without restriction.
Dense, compacted ground produces small, misshapen potatoes that are difficult to harvest and less productive overall.
Begin by loosening your soil to a depth of eight to twelve inches using a garden fork or tiller. This depth provides adequate space for root development and tuber formation.
Breaking up compacted layers improves drainage and prevents waterlogging, which causes rot and reduces yields significantly.
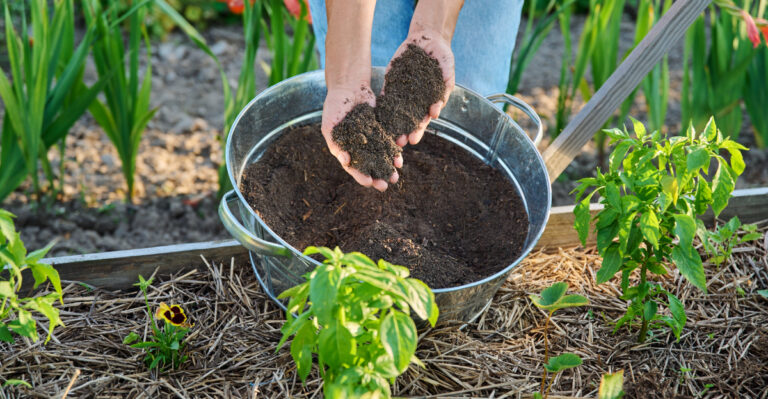
Adding organic matter transforms average soil into a potato-growing powerhouse. Work in two to three inches of well-aged compost or rotted manure throughout your planting area.
These amendments improve soil structure, increase water retention, and provide essential nutrients that support vigorous plant growth.
North Carolina’s clay-heavy soils in many regions benefit especially from this preparation. The organic matter lightens heavy clay, making it easier for potatoes to grow.
Sandy soils common in coastal areas also improve with compost additions, which help retain moisture and nutrients. Testing your soil’s pH and adjusting it to between 5.0 and 6.5 creates optimal conditions for nutrient uptake and healthy tuber development.
Cut Larger Seed Potatoes Into Pieces
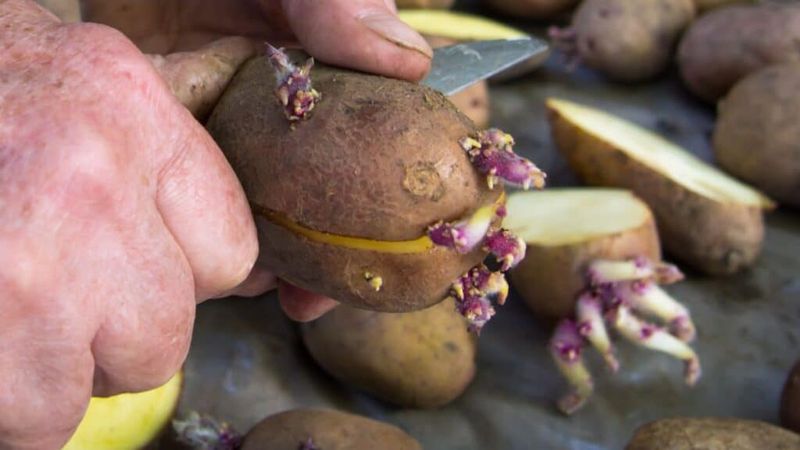
Maximizing your seed potato investment requires understanding proper cutting techniques. Large seed potatoes, those bigger than a chicken egg, should be cut into smaller pieces before planting.
Each piece needs at least one or two healthy eyes, which are the small indentations where sprouts emerge.
Cut your seed potatoes one to two days before planting to allow cut surfaces time to heal. This healing process, called suberization, forms a protective layer that prevents rot-causing organisms from entering.
Keep cut pieces in a cool, humid location during this curing period for best results.
Each cut piece should weigh approximately one and a half to two ounces for optimal performance. Pieces smaller than this may lack sufficient energy reserves to produce strong plants.
Larger pieces work fine but aren’t necessary and reduce the number of plants you can grow from each pound of seed.
Use a clean, sharp knife to make smooth cuts that heal quickly and evenly. Cutting through the long axis of the potato rather than crosswise often yields better-shaped pieces.
Some experienced North Carolina gardeners dip their knife in a bleach solution between cuts to prevent disease transmission, though this extra step isn’t always necessary with certified seed stock.
Space Seed Pieces Properly
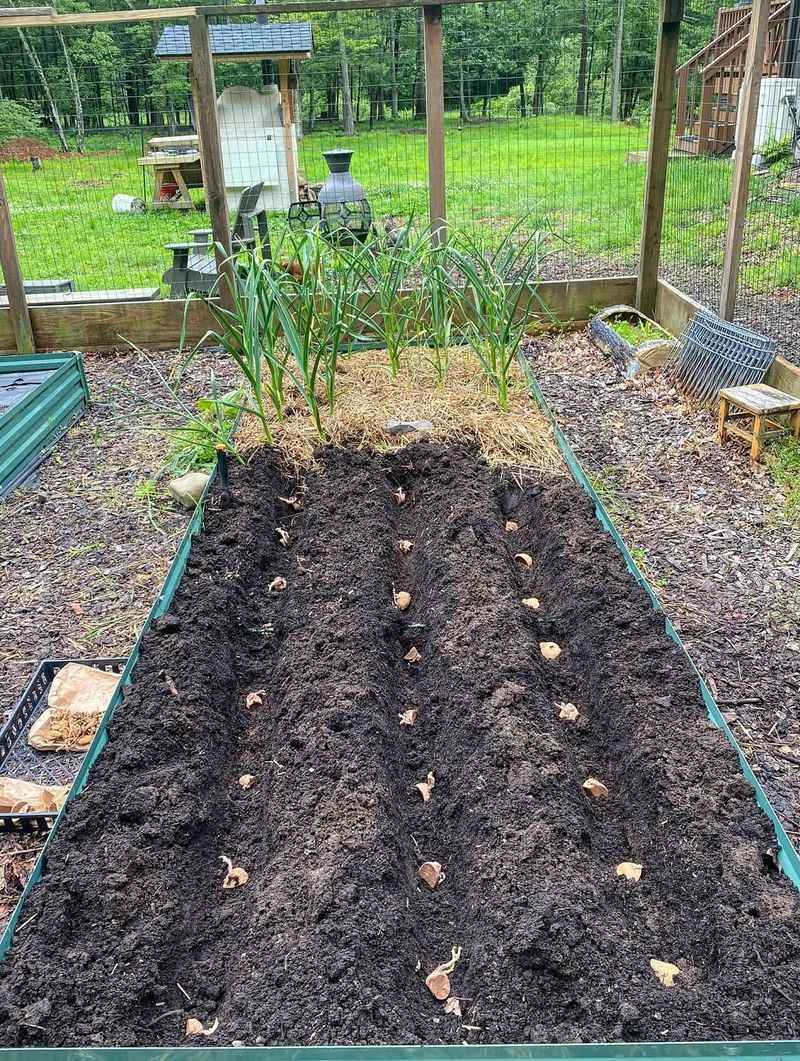
Proper spacing between seed pieces dramatically influences the size and quality of your potato harvest. Plant your seed pieces twelve inches apart within rows, with rows spaced two to three feet apart.
This arrangement provides each plant adequate room to develop a robust root system and produce large tubers.
Crowded plants compete for water, nutrients, and sunlight, resulting in smaller potatoes and reduced overall yields. When plants have sufficient space, they access more resources and produce larger, more uniform tubers.
The wider row spacing also improves air circulation, reducing disease problems common in North Carolina’s humid climate.
Marking your planting lines with string or stakes ensures consistent spacing throughout your garden. Some gardeners use a measuring stick or marked pole to gauge distances accurately between each seed piece.
Taking time to space properly during planting saves frustration at harvest time.
The recommended spacing works well for most potato varieties grown in North Carolina gardens. Determinate varieties, which produce tubers in a single layer, can sometimes handle slightly closer spacing.
Indeterminate types, which continue forming tubers as stems grow, benefit from the full twelve-inch spacing. Consider your variety’s growth habit and adjust accordingly while maintaining adequate room for healthy development and easy harvest access.
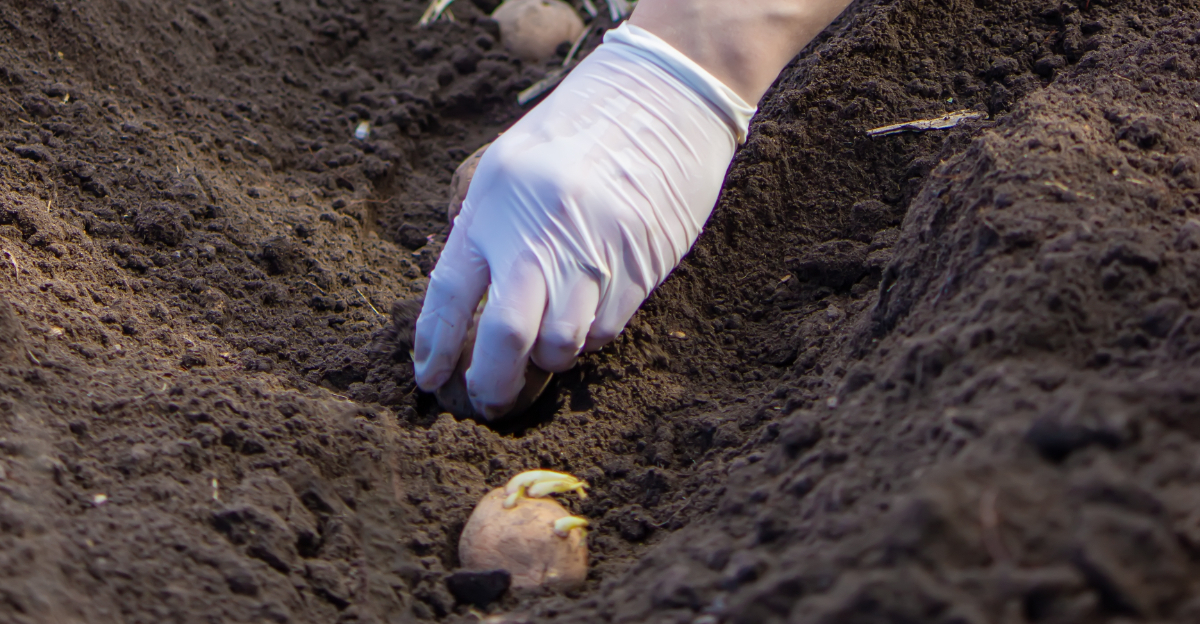
Plant At The Correct Depth
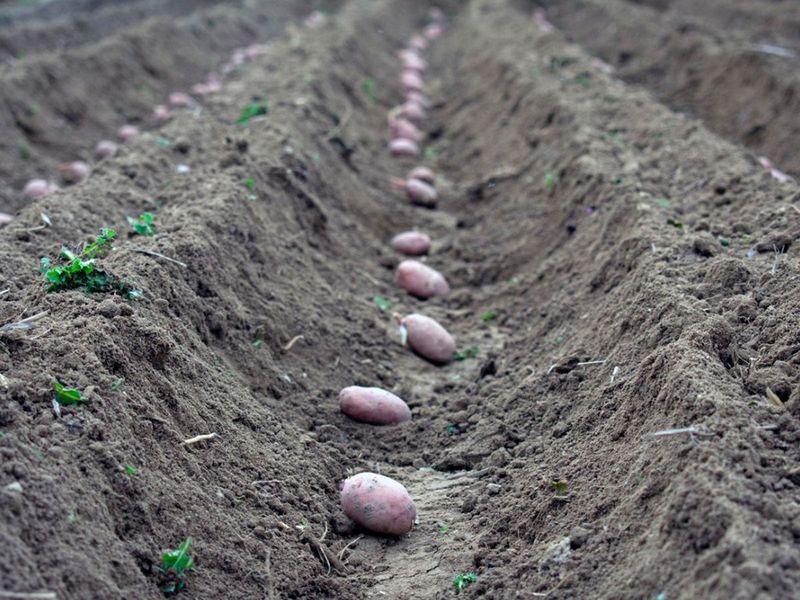
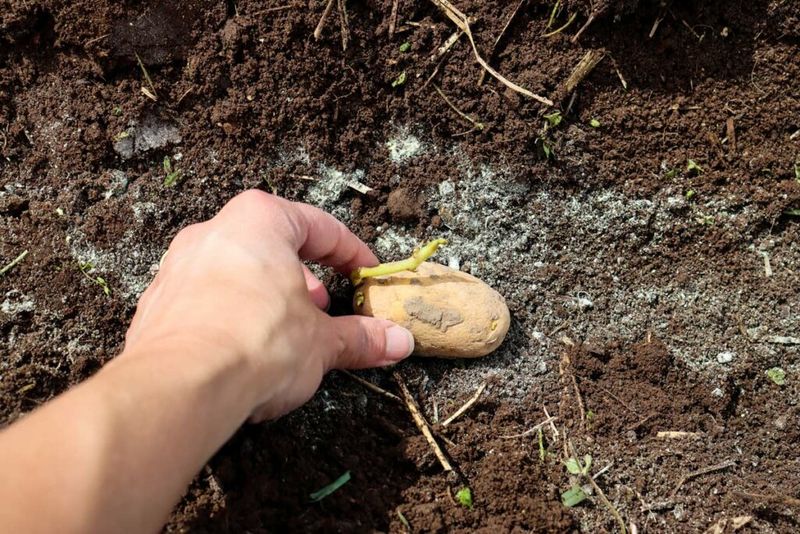
Planting depth significantly affects how well your potatoes grow and develop throughout the season. Place seed pieces three to five inches deep in prepared soil, then cover them completely.
This depth protects emerging shoots from late frosts while providing enough soil above developing tubers to prevent greening.
Shallow planting exposes tubers to sunlight as they grow, causing them to turn green and develop solanine, a bitter compound. These green potatoes become inedible and must be discarded, reducing your harvest.
Planting too deep, however, delays emergence and can weaken young plants as they struggle to reach the surface.
The ideal depth varies slightly based on soil type and moisture conditions. Sandy soils that dry out quickly benefit from planting toward the deeper end of the range.
Heavy clay soils that retain moisture work better with slightly shallower planting to prevent waterlogging around seed pieces.
North Carolina’s variable spring weather makes correct planting depth especially important. The soil layer above your seed pieces acts as insulation against temperature fluctuations.
When unexpected cold snaps occur, properly planted potatoes remain protected while shallow-planted ones may suffer damage. Using a dibber or marked planting tool helps maintain consistent depth across your entire potato patch for uniform emergence and growth.
Hill Soil Around Growing Plants
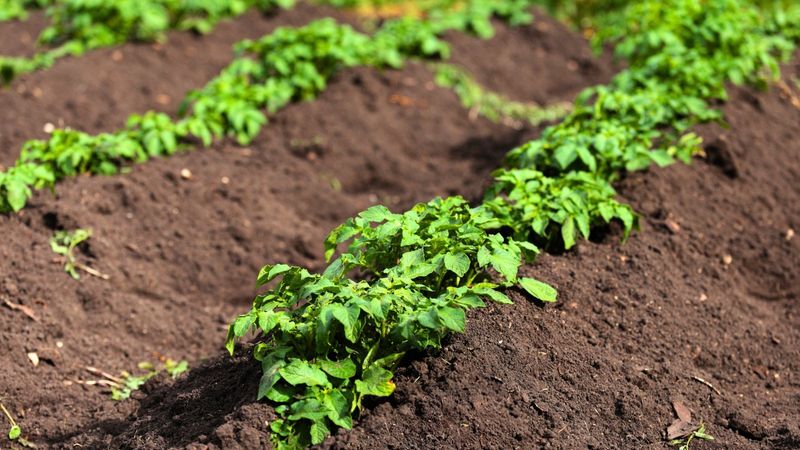
Hilling transforms good potato yields into exceptional harvests by encouraging additional tuber formation along buried stems. When your potato plants reach eight to ten inches tall, begin pulling soil up around the base of stems, leaving just the top few inches of foliage exposed.
Repeat this process every two to three weeks as plants continue growing.
This mounding technique serves multiple purposes that directly increase your harvest size. Buried stem sections develop new tubers along their length, multiplying the number of potatoes each plant produces.
The soil covering also prevents sunlight from reaching developing tubers, eliminating the greening problem that ruins potatoes.
North Carolina’s intense summer sun makes hilling particularly valuable for maintaining tuber quality. The extra soil layer insulates developing potatoes from heat and helps maintain more consistent soil moisture.
Hilled rows also improve drainage during heavy rains common in the state’s summer months.
Use a hoe or rake to gently pull soil from between rows up around plant stems, creating a ridge. Be careful not to damage shallow roots or disturb developing tubers during this process.
Some gardeners prefer adding mulch or compost instead of soil for hilling, which enriches the growing area while providing the same benefits. The effort you invest in regular hilling pays off dramatically when harvest time reveals abundant, high-quality potatoes.
Provide Consistent Watering
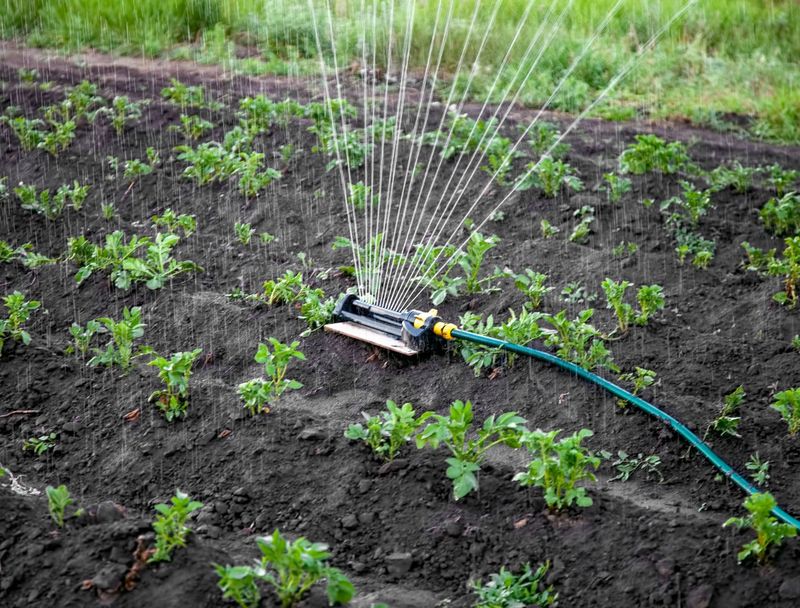
Water management makes the difference between an average potato crop and a truly impressive harvest. Potatoes need consistent moisture throughout their growing season, particularly during tuber formation when plants require one to two inches of water weekly.
Irregular watering causes problems ranging from reduced yields to cracked, misshapen tubers.
Monitor soil moisture by checking four inches below the surface regularly. The soil should feel evenly moist but never waterlogged or soggy.
During North Carolina’s hot summer months, you may need to water more frequently, especially if rainfall is scarce or temperatures soar above 85 degrees.
Drip irrigation or soaker hoses provide the most efficient watering method for potato crops. These systems deliver water directly to the root zone, minimizing waste and reducing disease problems associated with wet foliage.
Overhead sprinklers work but increase the risk of foliar diseases in humid conditions.
Tuber formation typically begins about six to eight weeks after planting, marking the period when consistent moisture becomes most critical. Stress from drought during this time dramatically reduces both the number and size of potatoes produced.
Conversely, overwatering encourages rot and other problems. Maintaining steady, moderate moisture throughout the season ensures your plants develop their full potential and reward you with a bountiful harvest of perfectly formed tubers.
Mulch To Retain Moisture And Reduce Weeds
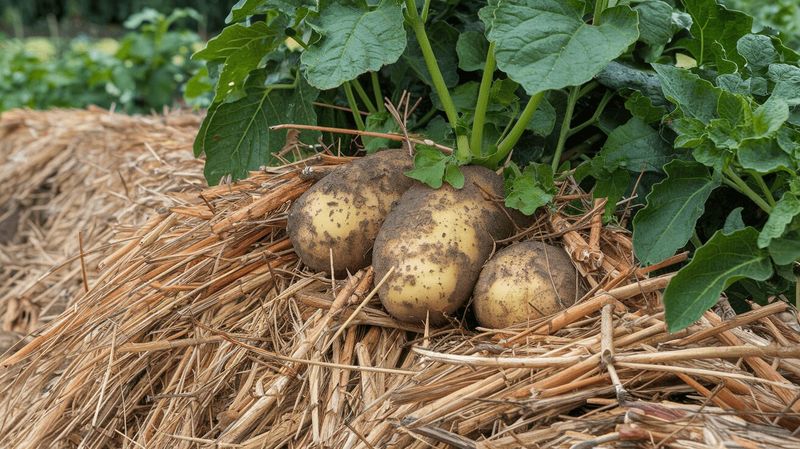
Applying mulch around your potato plants creates multiple benefits that boost yields while reducing maintenance work. Spread a three to four inch layer of straw, shredded leaves, or other organic material around plants after they emerge.
This protective covering moderates soil temperature, retains moisture, and suppresses weed growth throughout the season.
North Carolina’s summer heat can stress potato plants and reduce productivity significantly. Mulch acts as insulation, keeping soil temperatures more stable and preventing the extreme fluctuations that harm developing tubers.
Cooler soil temperatures encourage better tuber formation and extend the productive growing period.
Moisture retention represents another major advantage of mulching potato crops. The organic layer reduces evaporation, meaning you’ll water less frequently while maintaining optimal soil moisture.
This consistency benefits tuber development and helps prevent the cracking that occurs when soil alternates between wet and dry conditions.
Weed control becomes almost effortless with proper mulching since the thick layer blocks light and prevents most weed seeds from germinating. The few weeds that do appear pull easily from the loose mulch.
As organic mulches decompose, they add valuable nutrients and improve soil structure for future crops. Some North Carolina gardeners even plant potatoes directly in deep mulch layers, eliminating traditional hilling while achieving excellent results with minimal effort and maximum harvest.
Monitor For Pests And Disease
Vigilant monitoring protects your potato crop from the pests and diseases that can devastate yields. Colorado potato beetles, with their distinctive yellow and black striped appearance, rank as the most common potato pest in North Carolina.
These insects and their red larvae feed voraciously on foliage, potentially stripping plants bare if left unchecked.
Check your plants at least twice weekly for signs of pest activity or disease symptoms. Look for chewed leaves, discolored foliage, or unusual spots that indicate problems developing.
Early detection allows you to address issues before they become serious, often preventing significant crop loss.
Hand-picking beetles and larvae into soapy water provides effective control for small plantings without using chemicals. For larger gardens, organic options like neem oil or spinosad offer good control while remaining safe for beneficial insects.
Row covers installed at planting time prevent beetles from reaching plants entirely.
Late blight, the disease that caused the Irish potato famine, remains a concern in North Carolina’s humid climate. Watch for dark spots on leaves that spread rapidly during wet weather.
Remove and dispose of affected foliage immediately, and consider preventive fungicide applications during extended rainy periods.
Proper spacing, good air circulation, and avoiding overhead watering reduce disease pressure naturally, helping ensure your carefully tended potato crop reaches harvest in excellent condition.