15 Houseplants That Could Use A Late Winter Reset In Massachusetts And How To Get Started
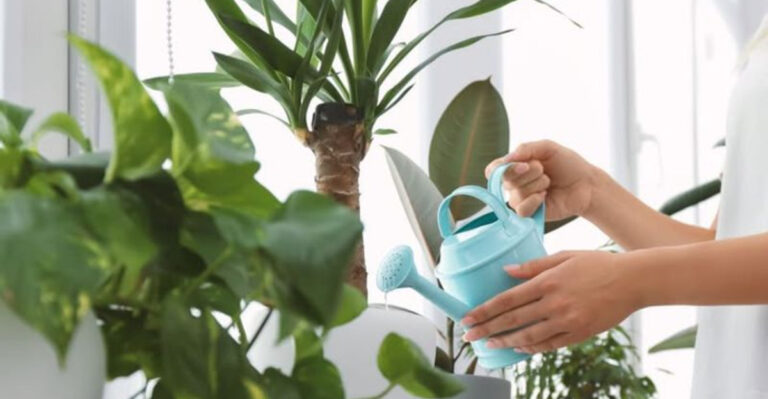
Late winter is the perfect time for Massachusetts homeowners to give houseplants a fresh start. Reduced light, dry indoor air, and slowed growth can leave plants looking tired or stressed.
A “reset” helps rejuvenate them, encouraging healthy growth and vibrant foliage before spring. Revive your houseplants now and enjoy lush, thriving greenery all year.
These fifteen houseplants, from pothos and philodendrons to snake plants and ferns, benefit from steps like repotting, pruning, refreshing soil, cleaning leaves, and adjusting light and humidity. Small changes can have a big impact on plant health and productivity.
Proper care now ensures they recover quickly and are ready to flourish as daylight increases. A simple reset helps your houseplants grow stronger and look their best.
Massachusetts homeowners who take these steps can restore vitality to their indoor plants and maintain beautiful, healthy greenery throughout the season. Give your houseplants a late winter reset and watch them thrive.
1. Snake Plant (Dracaena Trifasciata)
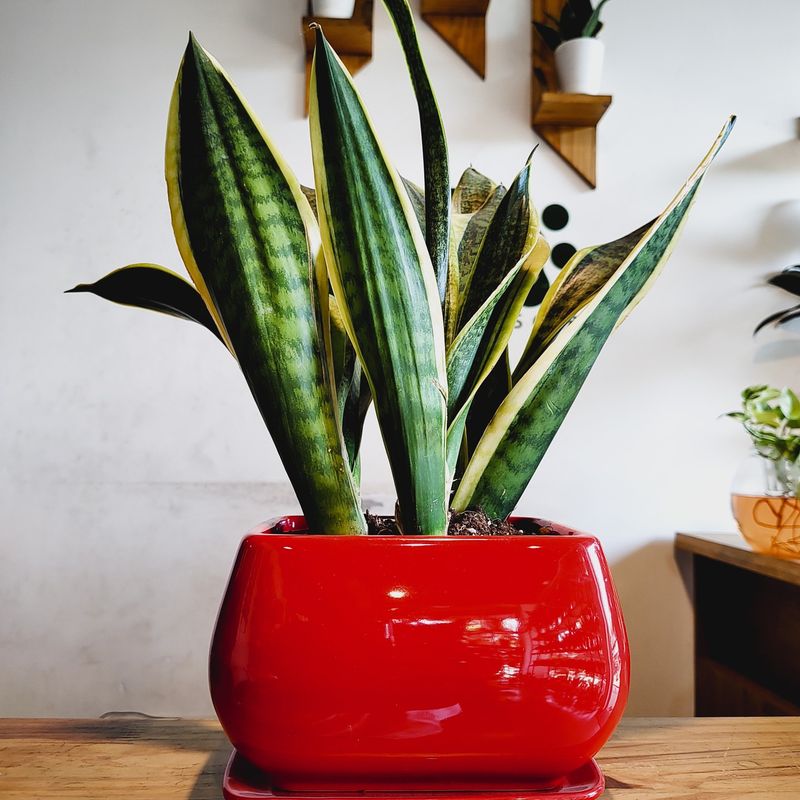
Snake plants earn their reputation as nearly indestructible, yet even these tough succulents benefit from occasional maintenance and care adjustments.
Late winter provides an excellent checkpoint to inspect root health and make improvements that support continued vitality.
Despite their tolerance for neglect, snake plants grow slowly but steadily, eventually filling their containers and requiring attention.
Carefully remove your snake plant from its pot to examine the root system for signs of crowding or circling roots. If roots appear densely packed or wrap around the soil ball, consider moving up to a pot just one or two inches larger in diameter.
Snake plants prefer being slightly rootbound, so avoid overpotting, which can lead to moisture retention issues. Ensure your new container has drainage holes and use a well-draining succulent or cactus mix to prevent waterlogged conditions.
Wipe down each sturdy leaf with a damp cloth to remove the dust that accumulates over winter months, restoring the plant’s ability to photosynthesize efficiently.
This cleaning also gives you a chance to inspect for any pest issues, though snake plants rarely attract unwanted visitors.
Gradually move your plant toward brighter light as Massachusetts days lengthen, but avoid sudden placement in direct sun, which can scorch leaves. These thoughtful adjustments prepare your snake plant for renewed growth as spring approaches.
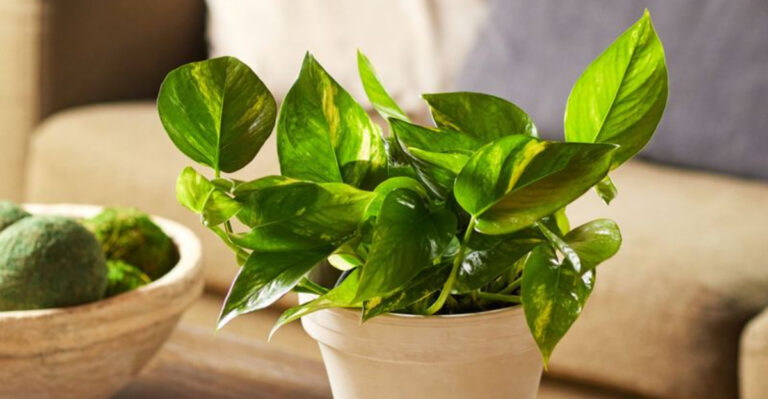
2. Pothos (Epipremnum Aureum)
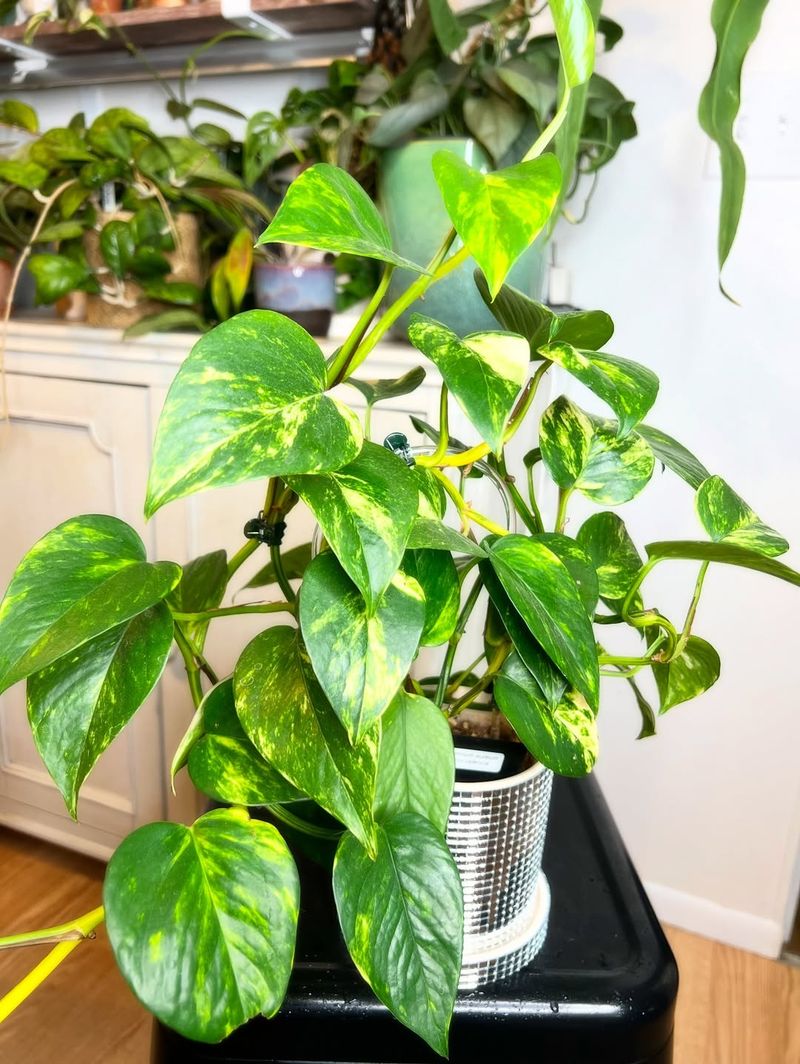
Long, trailing vines might look impressive at first, but leggy pothos growth often signals that your plant needs a refresh. When stems stretch out with large gaps between leaves, pruning becomes essential to restore fullness and vigor.
Late winter offers the perfect moment to trim back those scraggly vines and encourage bushier growth patterns.
Start by identifying nodes, the small brown bumps along each stem where leaves emerge. Using clean scissors, cut just above a node to promote new branching from that point.
This technique redirects energy into producing multiple new shoots rather than one long, weak vine. You can even propagate the cuttings in water to create more plants for your collection or to share with friends.
Check the soil condition while you are at it, as compacted potting mix restricts root health and water absorption. If the soil feels hard or water pools on the surface instead of soaking through, gently loosen the top layer or consider refreshing with fresh potting mix.
Move your pothos closer to a window with bright, indirect light to take advantage of increasing daylight hours. Clean each leaf gently with a damp cloth to remove dust buildup, which blocks light absorption and can harbor pests.
These simple steps prepare your pothos for vigorous spring growth.
3. Spider Plant (Chlorophytum Comosum)
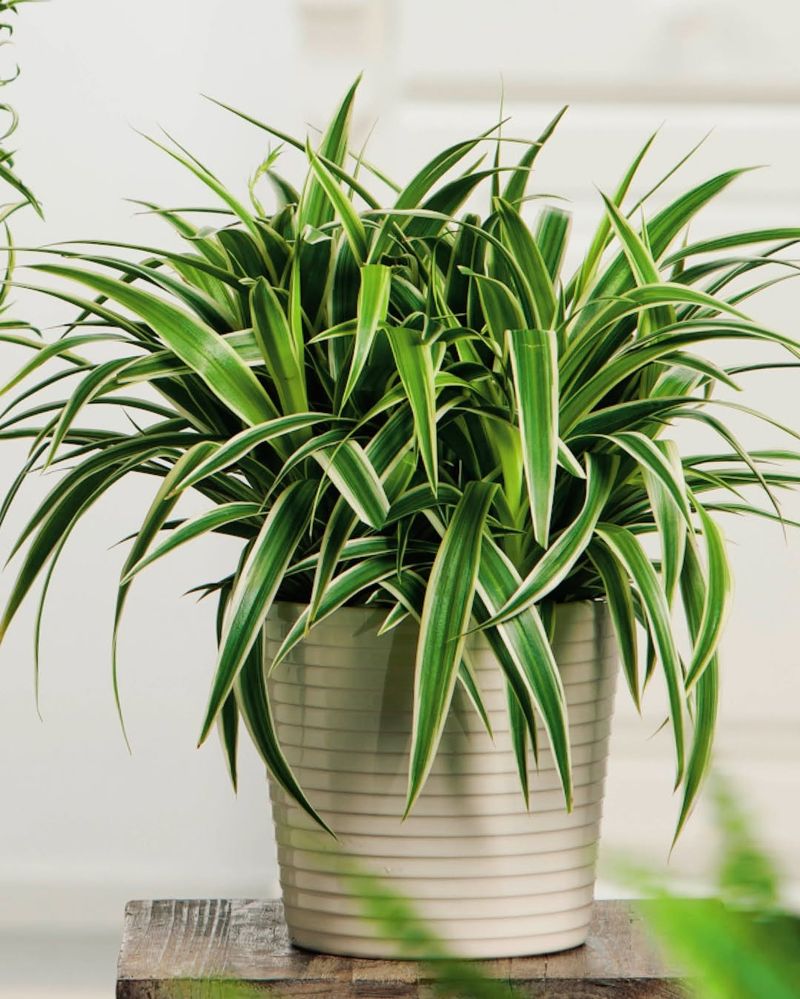
Brown tips on spider plant leaves tell a story of inconsistent watering or low humidity during Massachusetts winters.
While these hardy plants tolerate neglect better than most, late winter presents an ideal time to address cosmetic issues and refresh their growing conditions.
Trimming away those crispy brown edges instantly improves appearance and allows the plant to focus energy on healthy growth.
Use sharp scissors to snip off damaged tips at an angle, following the natural leaf shape to maintain a tidy look. Examine the base of your spider plant for crowded plantlets, the baby spiders that develop on long stems.
If the parent plant seems stressed or the pot feels overcrowded, gently separate these babies and pot them individually in fresh soil. This division reduces competition for nutrients and water while giving you new plants to enjoy.
Refresh the potting mix if it appears depleted or compacted, as spider plants appreciate loose, well-draining soil rich in organic matter. As daylight increases through late winter, adjust your watering schedule gradually to match the plant’s increased activity.
Boost humidity around your spider plant by placing it on a pebble tray filled with water or grouping it with other plants. These adjustments help your spider plant recover from winter stress and prepare for the productive growing months ahead.
4. Peace Lily (Spathiphyllum)
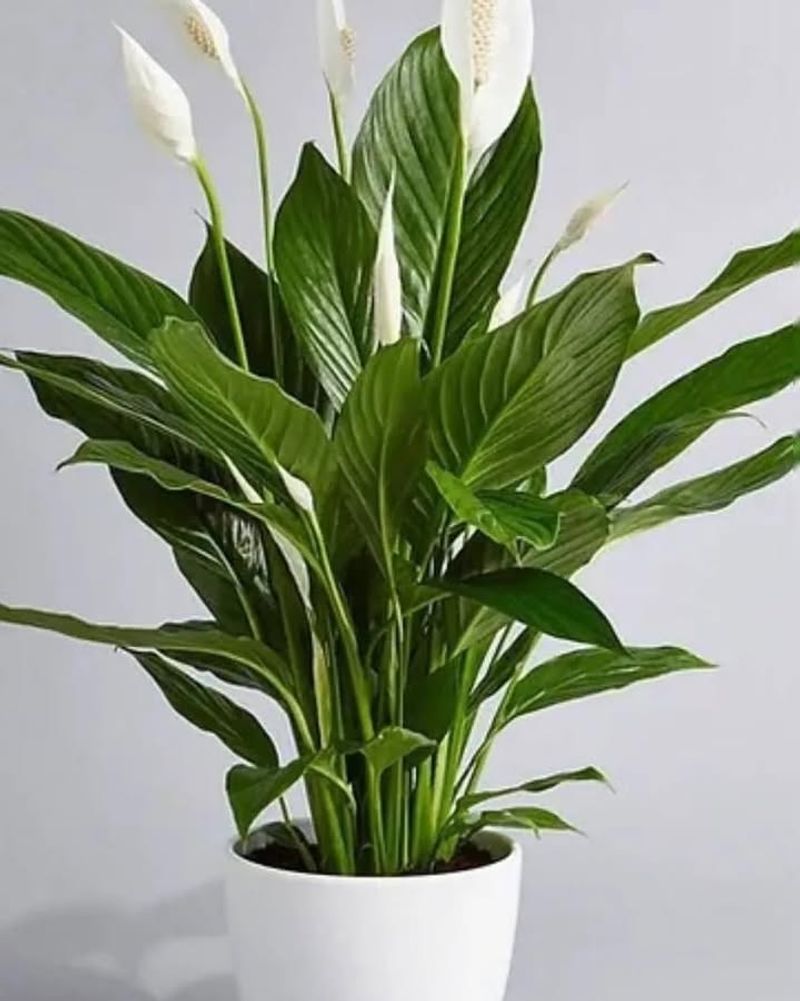
Peace lilies communicate their needs clearly through their foliage, making them excellent teachers for attentive plant parents. Yellowing or brown-edged leaves signal stress from inconsistent watering, low humidity, or depleted soil nutrients accumulated over winter months.
Late winter offers the perfect opportunity to address these concerns and restore your peace lily to its elegant best.
Begin by trimming away any damaged or discolored leaves at the base using clean, sharp scissors or pruning shears. This removal redirects the plant’s energy toward producing fresh, healthy foliage rather than maintaining struggling leaves.
Examine the soil quality by feeling its texture and checking how quickly water drains through the pot. If the mix appears compacted or water sits on the surface, your peace lily would benefit from fresh potting soil rich in organic matter.
Look for signs that indicate your plant has outgrown its current home, such as roots emerging from drainage holes or the plant drying out quickly despite regular watering. Peace lilies appreciate slightly snug quarters but will struggle if severely rootbound.
Increase humidity around your plant by misting regularly, using a pebble tray, or placing a humidifier nearby, as dry winter air stresses these tropical beauties.
Position your peace lily in bright, indirect light away from cold drafts near windows, and maintain consistent moisture in the soil without allowing it to become soggy. These steps help your peace lily recover its lush appearance.
5. Rubber Plant (Ficus Elastica)
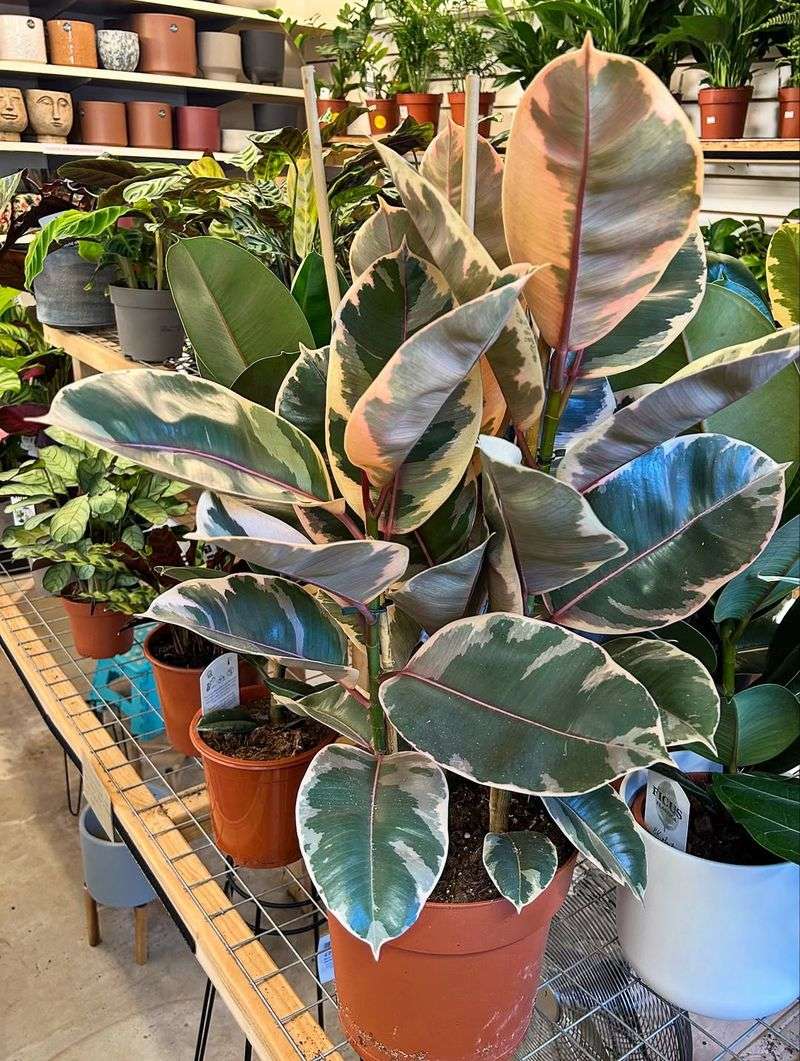
Those large, glossy leaves that make rubber plants so striking also act as dust magnets throughout the winter months. Accumulated dust blocks light absorption and can make your plant look dull and tired rather than vibrant and healthy.
Late winter cleaning restores your rubber plant’s ability to photosynthesize efficiently while preparing it for the active growing season ahead.
Gently wipe each leaf, top and bottom, with a soft, damp cloth to remove dust and grime buildup. This simple task makes a dramatic difference in appearance while allowing you to inspect closely for any signs of pests or problems.
If your rubber plant has grown tall or lopsided over time, selective pruning helps create a more balanced, attractive shape. Cut just above a leaf node to encourage branching and bushier growth rather than continued vertical stretching.
Rotate your pot a quarter turn every week or two to ensure all sides receive equal light exposure, preventing the plant from leaning heavily toward the window.
As Massachusetts daylight increases through late winter, gradually move your rubber plant to a brighter location if it has been sitting in a dimmer spot during the darkest months.
Avoid sudden changes in light intensity, which can stress the plant and cause leaf drop. These maintenance steps keep your rubber plant looking its best and encourage healthy, balanced growth as spring approaches.
Consistent care produces the lush, vibrant appearance that makes rubber plants such popular indoor specimens.
6. Monstera (Monstera Deliciosa)
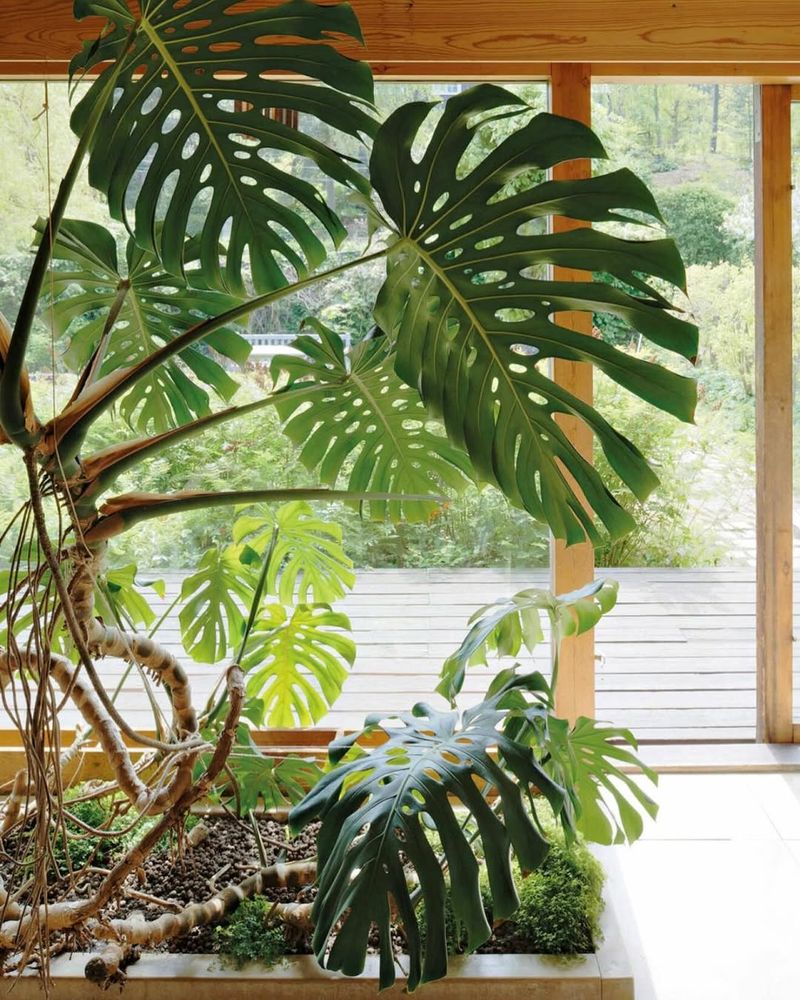
Monsteras capture attention with their dramatic split leaves and impressive size, but older foliage eventually declines and detracts from the plant’s overall appearance.
Yellowing or damaged lower leaves naturally occur as the plant matures and focuses energy on new growth higher up.
Late winter provides an ideal time to remove these struggling leaves and assess your monstera’s structural support needs.
Cut damaged leaves at the base of their stems using clean pruning shears, making cuts close to the main stem without leaving stubs that can rot. This removal improves air circulation around the plant and eliminates hiding spots for pests.
Check whether your monstera has enough root space by examining how quickly it dries out between waterings and whether roots emerge from drainage holes. These tropical climbers grow vigorously and may need repotting every couple of years.
Monsteras naturally climb in their rainforest homes, using aerial roots to attach to trees and reach toward brighter light. Adding a moss pole or sturdy stake encourages upward growth and helps support heavy stems and large leaves.
Position your monstera near a window with bright, indirect light, as insufficient light prevents the development of those characteristic leaf splits and holes. Avoid direct sun, which can scorch delicate foliage.
Wipe leaves clean to remove dust and maintain their ability to absorb light efficiently. These steps help your monstera thrive and develop the stunning mature foliage that makes this plant so desirable among indoor gardeners.
7. ZZ Plant (Zamioculcas Zamiifolia)
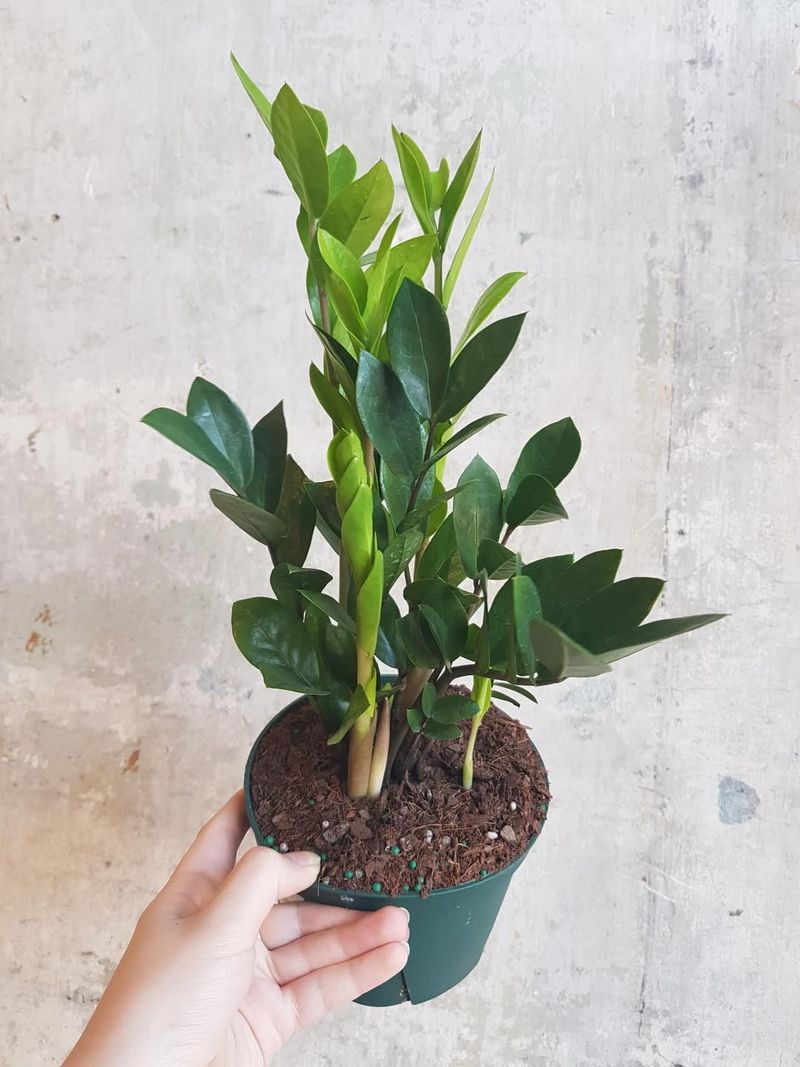
ZZ plants grow slowly but steadily, producing glossy stems and leaves that eventually fill their containers to capacity.
While these plants tolerate crowded conditions better than most, overcrowding eventually limits growth and makes watering difficult as soil space diminishes.
Late winter offers a convenient time to divide large clumps and refresh growing conditions before the spring growth period begins.
Carefully remove your ZZ plant from its pot and examine the rhizomes, the thick underground stems from which leaves emerge. If the plant has formed multiple crowded clumps, you can gently separate these sections and pot them individually in fresh soil.
This division creates new plants while giving each section more room to expand and develop. Use a well-draining potting mix and containers with drainage holes to prevent the root rot that can affect ZZ plants in overly moist conditions.
Check the soil texture in established plants that do not need division, as compacted mix restricts water penetration and air circulation around roots. Refreshing the top few inches of soil or completely repotting in fresh mix improves growing conditions significantly.
Adjust your watering schedule for late winter conditions, as ZZ plants need very little water during cooler months with less light. Allow the soil to become quite dry between waterings to prevent moisture-related problems.
As daylight increases through spring, you can gradually increase watering frequency to match the plant’s resumed growth. These simple maintenance steps keep your ZZ plant healthy and attractive for years with minimal effort required.
8. Philodendron (Heartleaf And Trailing Types)

Trailing philodendrons charm us with their cascading vines and heart-shaped leaves, but unchecked growth can become sparse and leggy over time.
When stems stretch out with large gaps between leaves, the plant loses its lush, full appearance and looks straggly rather than attractive.
Late winter pruning encourages bushier growth patterns and refreshes the overall look of your philodendron display.
Identify the longest, most sparse vines and cut them back by one-third to one-half their length, making cuts just above leaf nodes.
This pruning stimulates dormant buds along the remaining stem to produce new branches, creating fuller growth rather than continued elongation.
Save the cuttings to propagate in water, giving you new plants or fuller coverage in the same hanging basket. Refresh the potting mix if it appears depleted or compacted, as philodendrons appreciate rich, well-draining soil.
Improve air circulation around your plant by ensuring vines do not become tangled or pressed against walls where airflow is restricted. Good circulation prevents fungal issues and keeps foliage healthy.
Move your philodendron to a brighter location as Massachusetts daylight increases, but maintain indirect light to prevent leaf scorch. These plants tolerate lower light but produce more vibrant, closely spaced leaves in brighter conditions.
Clean leaves periodically to remove dust and maintain efficient photosynthesis. These maintenance steps transform leggy philodendrons into lush, full displays that brighten any indoor space.
Proper care produces the cascading beauty that makes trailing philodendrons such popular choices for hanging baskets and shelves.
9. Boston Fern (Nephrolepis Exaltata)
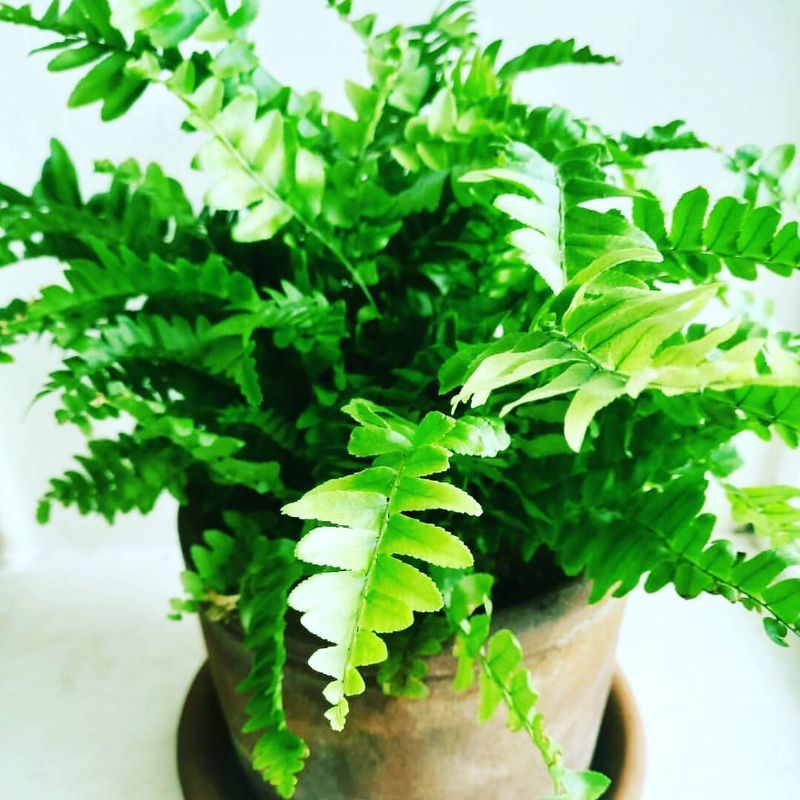
Boston ferns bring lush, feathery elegance to indoor spaces but struggle with the dry air and heating systems typical of Massachusetts winters. Brown, crispy fronds signal humidity levels far below what these moisture-loving plants prefer.
Late winter maintenance focuses on removing damaged foliage and dramatically improving the humid microclimate your fern needs to thrive.
Trim away dry, brown fronds at their base using clean scissors, cutting close to the soil line without damaging emerging new growth. This removal improves appearance and allows you to assess the overall health of your fern.
Boston ferns naturally shed older fronds as they produce fresh growth, but winter stress accelerates this process and can leave plants looking sparse and unattractive.
Increase humidity around your fern through multiple methods for best results. Daily misting provides temporary relief but evaporates quickly in dry indoor air.
A humidity tray filled with pebbles and water creates consistent moisture as water evaporates around the plant. Grouping your fern with other plants raises the local humidity level through their collective transpiration.
Position your Boston fern away from heating vents and radiators, which blast hot, dry air directly onto sensitive foliage. Place it in bright, indirect light near a window, but avoid direct sun that can scorch delicate fronds.
Maintain consistently moist soil without allowing the pot to sit in standing water, which can lead to root problems. These adjustments help your Boston fern recover its lush, vibrant appearance and prepare for vigorous spring growth in improved conditions.
10. Fiddle Leaf Fig (Ficus Lyrata)
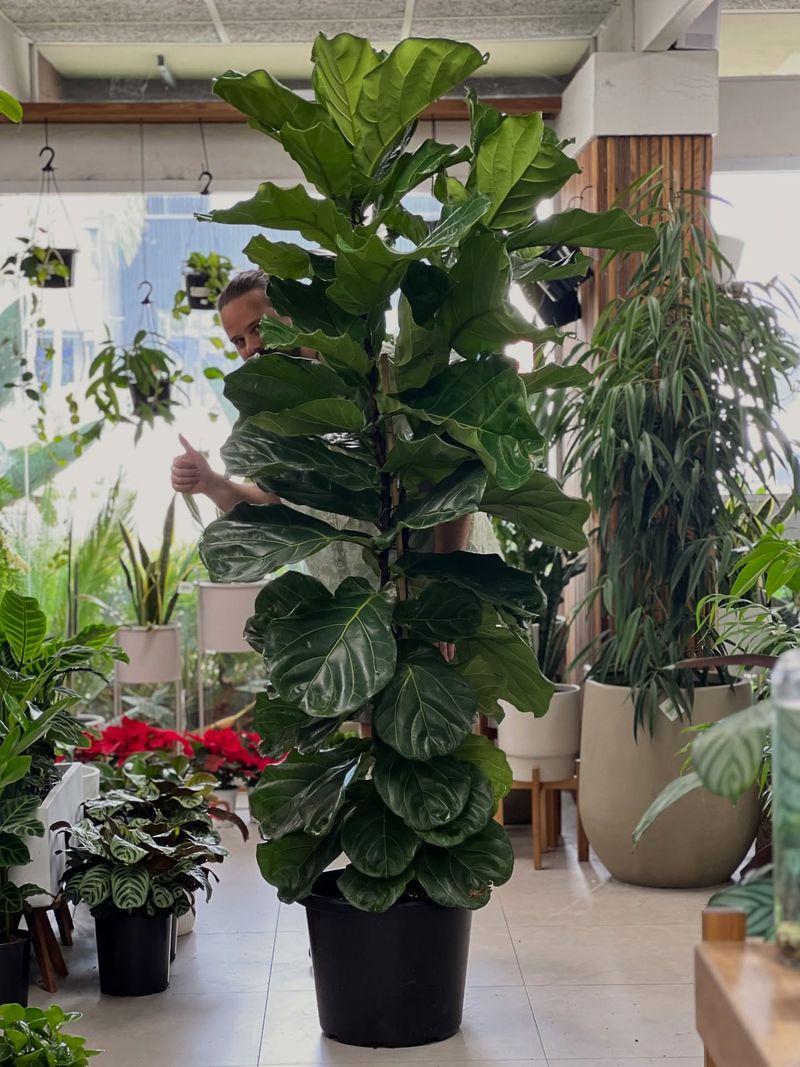
Fiddle leaf figs make dramatic statements with their large, violin-shaped leaves, but these same impressive leaves collect dust and show stress easily. Inconsistent watering during winter months often leaves these finicky plants looking less than their best.
Late winter offers a chance to establish better care routines and prepare your fiddle leaf fig for healthy spring growth.
Gently wipe down each leaf, top and bottom, using a soft, damp cloth to remove accumulated dust and restore the glossy appearance that makes these plants so attractive.
This cleaning improves light absorption and allows you to inspect closely for any pest issues or leaf damage.
Rotate your pot regularly to ensure all sides receive equal light exposure, preventing lopsided growth patterns common in fiddle leaf figs placed near windows.
Check drainage by examining how quickly water moves through the soil when you water your plant. If water pools on the surface or drains very slowly, the soil may be compacted or the drainage holes blocked.
Fiddle leaf figs absolutely require well-draining soil and pots with adequate drainage to prevent root rot. Stabilize your watering routine by checking soil moisture before watering rather than following a fixed schedule.
Water thoroughly when the top two inches of soil feel dry, then allow excess water to drain completely. Avoid the wet-dry extremes that stress these plants and cause leaf drop.
Consistent care and attention to these details help your fiddle leaf fig develop into the stunning focal point that makes this species so popular despite its reputation for being challenging.
Patience and observation produce the best results with these rewarding but particular plants.
11. Aloe Vera
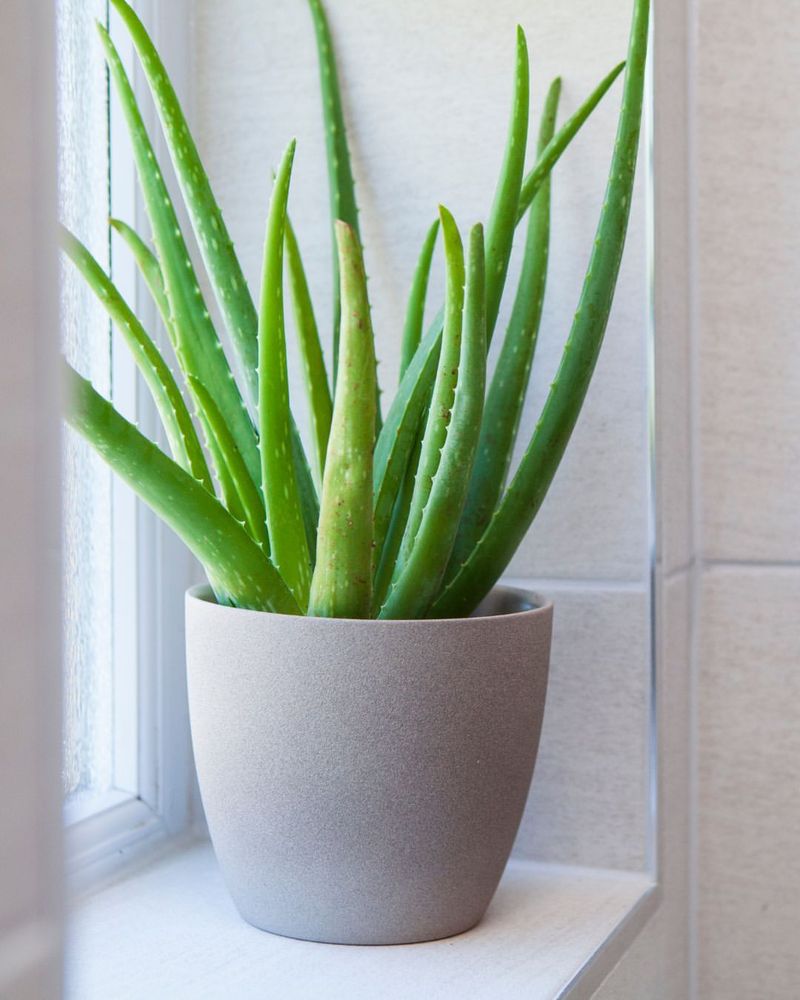
Aloe vera plants store water in their thick, fleshy leaves, making them excellent choices for forgetful waterers. However, older outer leaves eventually decline and should be removed to keep plants looking tidy and healthy.
Late winter provides an opportunity to refresh your aloe’s growing conditions and prepare it for the increased light and growth of approaching spring.
Remove any shriveled, brown, or damaged outer leaves by cutting them close to the base with clean, sharp scissors or a knife.
These older leaves have served their purpose and removing them allows the plant to focus energy on producing fresh growth from the center.
Examine the soil in your aloe’s pot, as regular potting mix often retains too much moisture for these succulents. Aloe vera thrives in well-draining succulent or cactus mix that allows water to flow through quickly.
If your plant sits in standard potting soil, consider refreshing with an appropriate succulent blend that prevents the root rot these plants are prone to in overly moist conditions. Move your aloe closer to a south-facing window where it can receive several hours of bright light daily.
Aloe vera tolerates some direct sun and actually prefers brighter conditions than many other houseplants. Gradually increase light exposure to prevent sunburn on leaves accustomed to dimmer winter locations.
Water sparingly during late winter, allowing soil to become quite dry between waterings, then increase frequency gradually as daylight and temperatures rise through spring.
These simple adjustments keep your aloe healthy and productive, ready to provide soothing gel for minor burns and skin irritations whenever needed.
12. Hoya (Wax Plant)
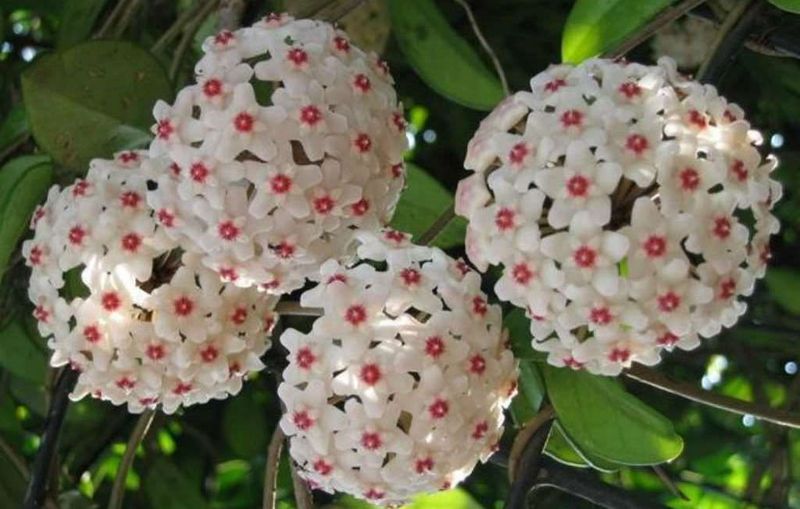
Hoyas develop thick, waxy leaves and eventually produce clusters of fragrant, star-shaped flowers that delight indoor gardeners. These plants grow slowly but steadily, sometimes outgrowing their containers while building up dust on their glossy foliage.
Late winter maintenance prepares hoyas for the active growing season when they produce new vines and, with proper care, those coveted blooms.
Check whether your hoya has sufficient root space by examining how quickly it dries out and whether roots emerge from drainage holes.
Hoyas actually prefer being slightly rootbound and often bloom more readily in snug quarters, so avoid rushing to repot unless the plant is severely crowded.
Clean each leaf carefully with a damp cloth to remove dust buildup and restore the attractive glossy appearance characteristic of these plants. This cleaning also gives you a chance to inspect for pests, though hoyas generally resist most common houseplant problems.
Gradually increase light exposure as Massachusetts daylight hours lengthen through late winter and early spring. Hoyas need bright, indirect light to thrive and produce flowers, though they tolerate lower light levels without blooming.
A spot near an east or west-facing window provides ideal conditions. Avoid sudden placement in intense direct sun, which can scorch leaves unaccustomed to strong light.
Understanding why late winter resets support upcoming growth cycles helps you time care activities appropriately. As days lengthen and temperatures warm, hoyas naturally resume active growth and may initiate flower buds if conditions are right.
Preparing your plant now with proper light, appropriate pot size, and clean foliage sets the stage for a successful growing season ahead.
13. English Ivy (Indoor Use Only)
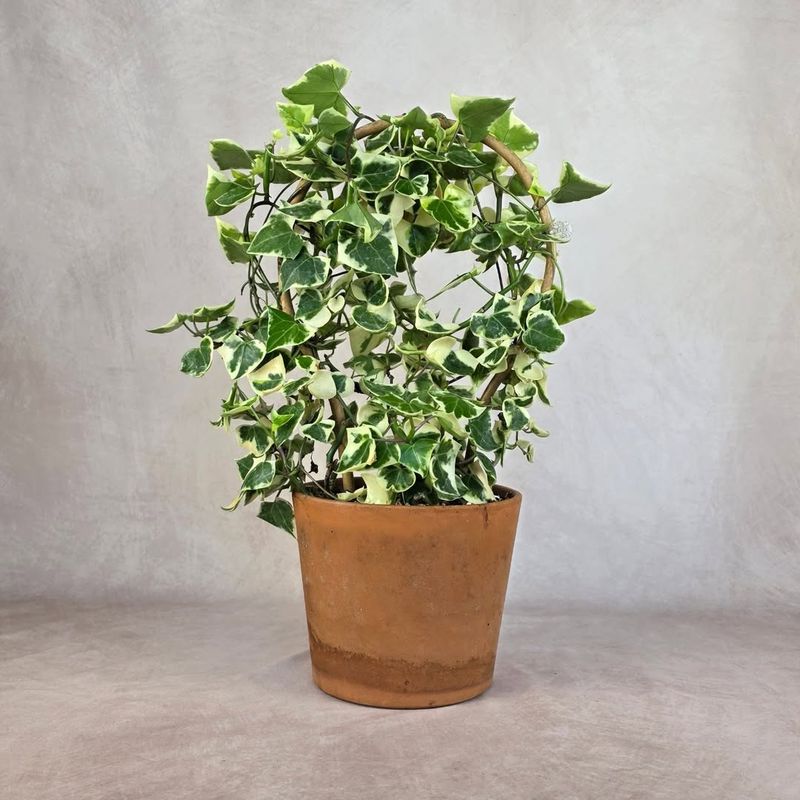
English ivy brings trailing elegance to indoor spaces with its classic lobed leaves and vigorous growth habit. While this plant is considered invasive outdoors in many regions, it makes an attractive houseplant when kept strictly indoors.
Long, trailing growth can become leggy and sparse without regular pruning, and dry winter air often stresses these humidity-loving plants.
Prune back the longest vines by one-third to one-half their length, cutting just above leaf nodes to encourage branching and fuller growth. This trimming prevents the sparse, straggly appearance that develops when vines grow unchecked.
Inspect your ivy carefully for adequate airflow between vines and around the pot. Dense, tangled growth with poor air circulation creates conditions favorable for fungal problems and pest infestations.
Thin out crowded areas to improve airflow and light penetration to inner leaves. Increase humidity around your English ivy through misting, pebble trays, or grouping with other plants, as dry air causes leaf browning and increases susceptibility to spider mites.
Position your ivy away from heating vents and radiators that blast hot, dry air directly onto foliage.
A location with bright, indirect light and good air circulation suits English ivy best. These plants tolerate lower light but produce more vigorous, attractively colored growth in brighter conditions.
Maintain consistent soil moisture without allowing the pot to sit in standing water. These care adjustments help your indoor English ivy recover from winter stress and produce the lush, cascading growth that makes it such a popular choice for hanging baskets and trailing displays.
Proper maintenance keeps this classic houseplant looking its absolute best throughout the year.
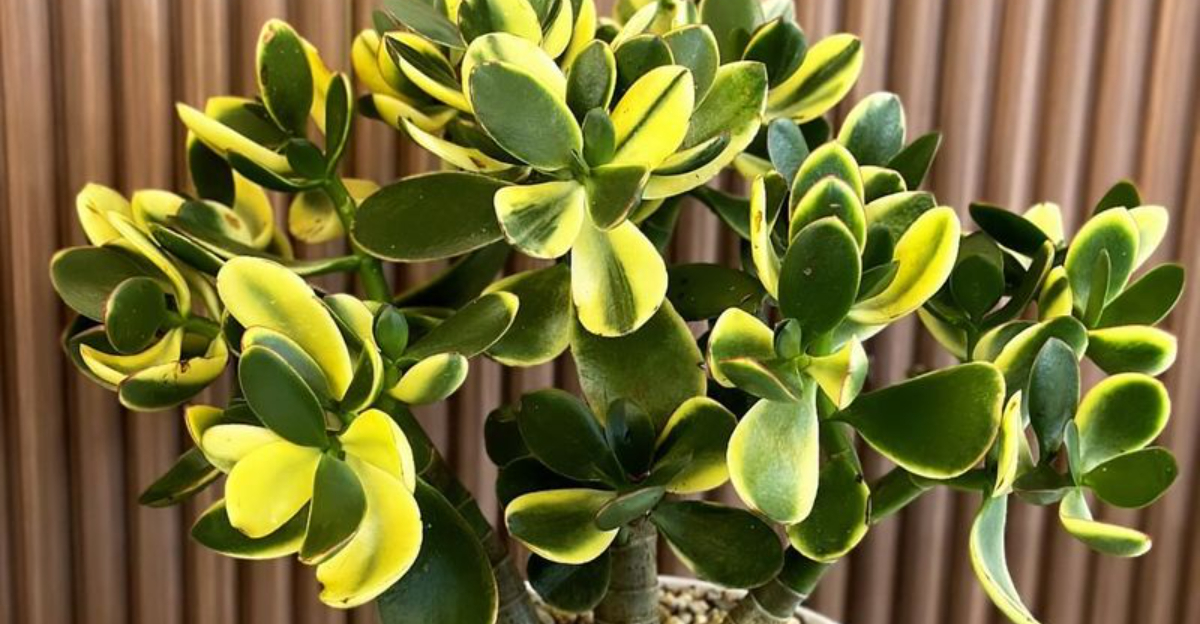
14. Jade Plant (Crassula Ovata)
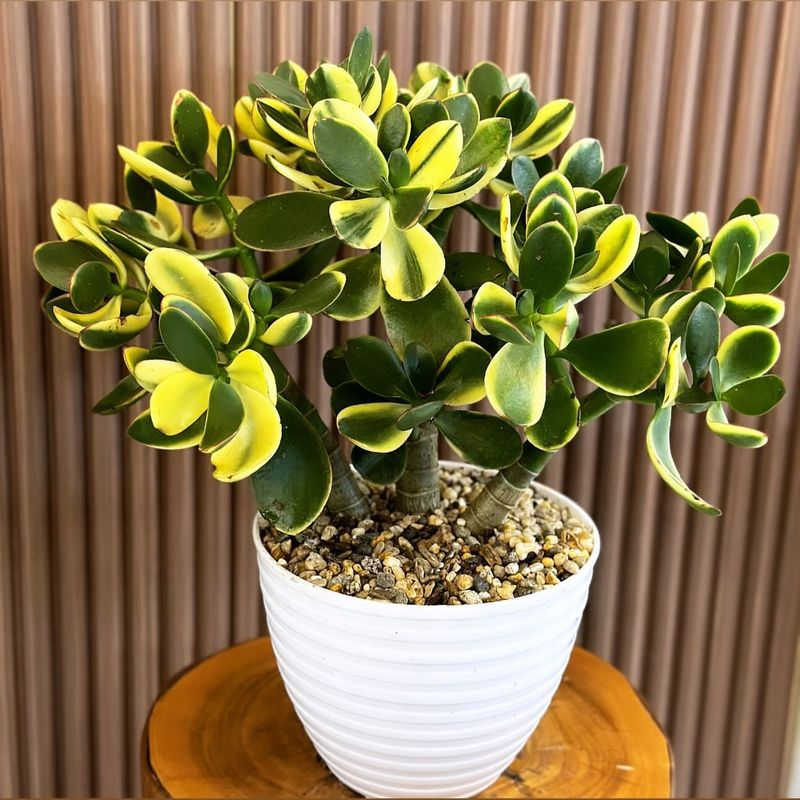
Jade plants develop thick, woody stems and plump, oval leaves that store water efficiently, making them excellent low-maintenance houseplants.
However, weak or stretched growth sometimes develops in insufficient light, and winter watering routines may need adjustment as spring approaches.
Late winter provides an ideal checkpoint to refresh your jade plant’s growing conditions and prepare it for increased light levels.
Examine your jade plant for any weak, thin growth or stems that appear stretched and pale rather than compact and vibrant green. Remove these weak sections by cutting at the base with clean pruning shears, as they detract from the plant’s appearance and rarely improve.
This pruning encourages the plant to focus energy on strong, healthy growth. Check drainage by examining the soil composition and ensuring the pot has adequate drainage holes.
Jade plants absolutely require well-draining soil and cannot tolerate sitting in moisture. If your plant sits in regular potting mix, consider refreshing with a succulent or cactus blend that drains quickly and prevents root rot.
Adjust watering frequency for late winter conditions by allowing soil to become quite dry between waterings, then gradually increasing as daylight and temperatures rise through spring.
Jade plants need very little water during winter months but resume more active growth as conditions improve. Prepare your plant for brighter spring light by gradually moving it to a sunnier location, as jade plants tolerate and even appreciate some direct sun.
Sudden exposure to intense light can cause leaf scorch, so make changes gradually over several weeks. These simple adjustments keep your jade plant healthy and attractive, ready to thrive in the improved growing conditions that spring brings to Massachusetts homes.
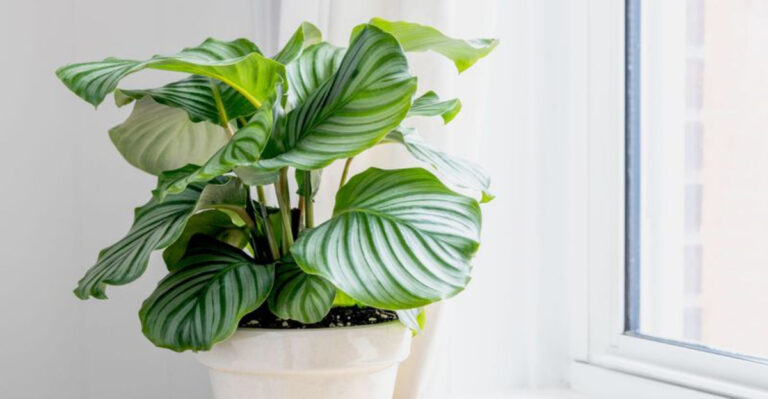
15. Chinese Evergreen (Aglaonema)

Chinese evergreens offer stunning foliage patterns in shades of green, silver, pink, and red, making them popular choices for adding color to indoor spaces.
These tropical plants tolerate low light better than most, but damaged foliage and depleted soil can accumulate over winter months.
Late winter maintenance focuses on refreshing growing conditions and improving placement to support healthy new growth.
Trim away any damaged, yellowed, or brown-edged leaves at their base using clean scissors, cutting close to the soil line without damaging surrounding growth.
This removal improves appearance and allows the plant to redirect energy toward producing fresh, vibrant foliage.
Examine the soil quality by checking its texture and drainage characteristics. If the mix appears compacted or water drains slowly, your Chinese evergreen would benefit from fresh potting soil rich in organic matter.
Refresh the top few inches of soil or completely repot in fresh mix to provide renewed nutrients and improved growing conditions. Improve your plant’s indoor lighting placement by moving it to a brighter location as Massachusetts daylight increases through late winter.
While Chinese evergreens tolerate low light, they produce more vibrant colors and faster growth in medium to bright indirect light. Avoid cold draft exposure near windows, as these tropical plants are sensitive to temperature fluctuations and cold air.
Position your plant away from exterior doors and drafty windows where cold air infiltrates during winter. Maintain consistent temperatures and avoid placing Chinese evergreens near heating vents that create hot, dry conditions.
These thoughtful adjustments help your Chinese evergreen recover its stunning appearance and prepare for vigorous growth as spring arrives with warmer temperatures and increased natural light.