How Deep And How Far Apart To Plant Garlic Cloves In California
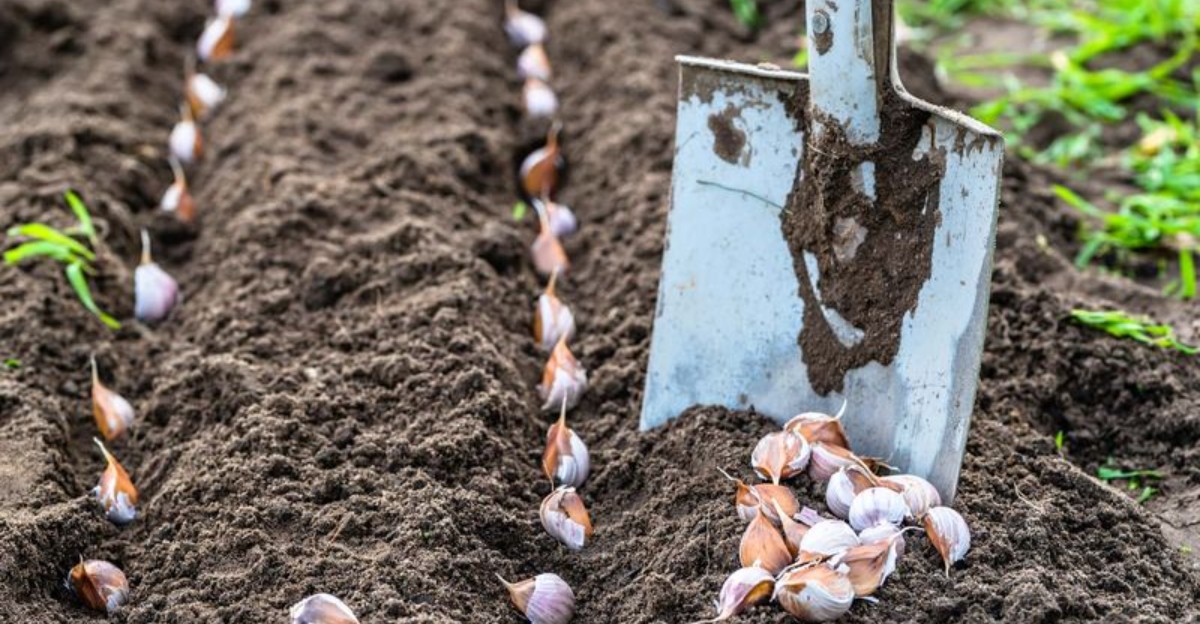
A clove tucked in upside down sends its shoot on a U-turn underground just to reach daylight. That detour burns precious energy, and the bulb often pays for it at harvest.
I still find it a little wild that one plump wedge can turn into a whole new head by summer. Bigger cloves usually grow bigger heads, too. Grocery store picks are more of a gamble, since some get treated to slow sprouting.
Around here, November falls right in the planting window for plenty of valley and coastal gardens.
My first row taught me humility. I crammed cloves together like commuters on a rush-hour train and dug up bulbs the size of gumballs. Let’s just say my vampire protection plan took a hit that year.
Most of the magic happens on planting day, in a few quiet minutes with a ruler and a handful of cloves.
Those Tiny Garlic Cloves Are Picky About One Small Measurement
My first garlic patch taught me a funny lesson. The cloves I tossed in shallow popped back out after one heavy rain, while the ones I buried way too deep came up weak and late.
Planting depth controls a lot more than you might expect. It decides how well roots anchor, how evenly the soil stays moist around the clove, and how much shelter the young bulb gets from heat and cold.
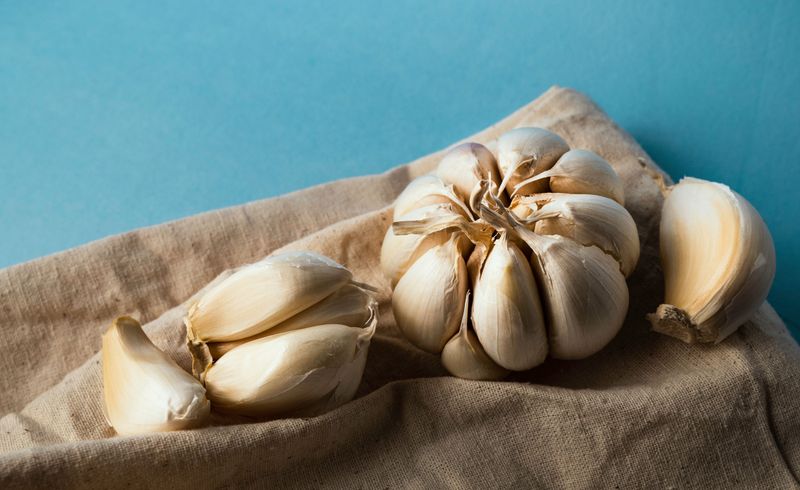
Garlic is planted as individual cloves, not whole heads. Each clove grows into a full new bulb, so every one needs a proper home. Before planting, break the head apart gently and keep the papery skin on each clove.
Pick the biggest, firmest cloves for planting. Large cloves usually produce large bulbs, while tiny inner cloves tend to make small ones. Save those little ones for cooking.
Also, skip most grocery store garlic. Some of it is treated to slow sprouting, and many supermarket types come from regions with different growing conditions. Certified seed garlic from a nursery or garlic farm is a safer bet and helps you avoid soil diseases like white rot.
Once you have healthy cloves in hand, the depth and spacing numbers become the real game changers.
Tuck Each Garlic Clove About Two Inches Under The Soil
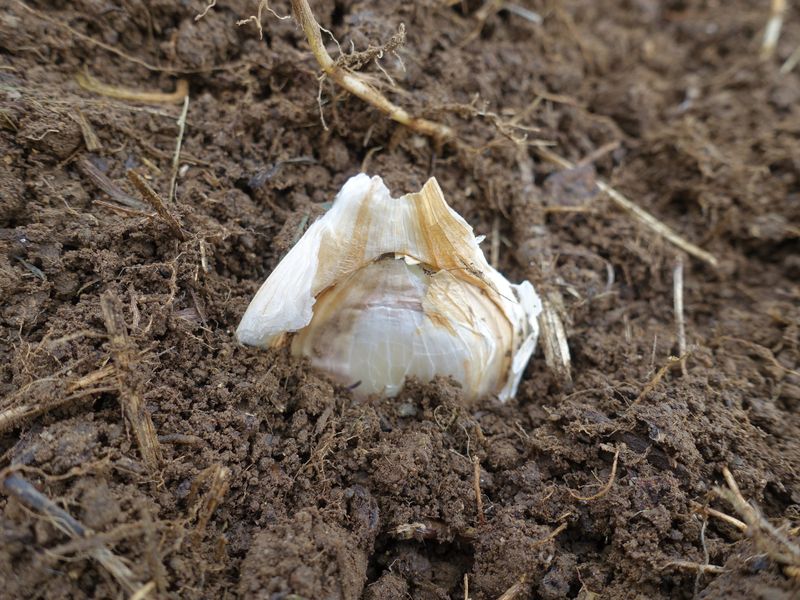
Two inches. That simple number covers most California gardens, and University of California Master Gardener guides commonly recommend planting cloves 1 to 2 inches deep, measured from the tip of the clove to the soil surface.
Set each clove with the pointy end up and the flat root end down. Upside-down cloves can still grow, but the shoot wastes energy curling around to find the light, and bulbs may end up smaller or misshapen.
In heavier clay soil, stay near the shallow end, around 1 to 2 inches. Clay holds water, and a clove buried too deep can sit in soggy ground and rot. In sandy or loamy soil, 2 inches works nicely because the soil drains fast.
A handy trick is to use your finger as a measuring stick. Poke down to roughly your second knuckle, drop the clove in, and cover it lightly.
After planting, firm the soil gently with your palm. That gentle press removes air pockets so roots touch moist soil right away.
Then water the bed well. One deep soak helps the cloves settle in and start rooting during the cool fall weeks.
Give Every Garlic Bulb Roughly Six Inches Of Elbow Room
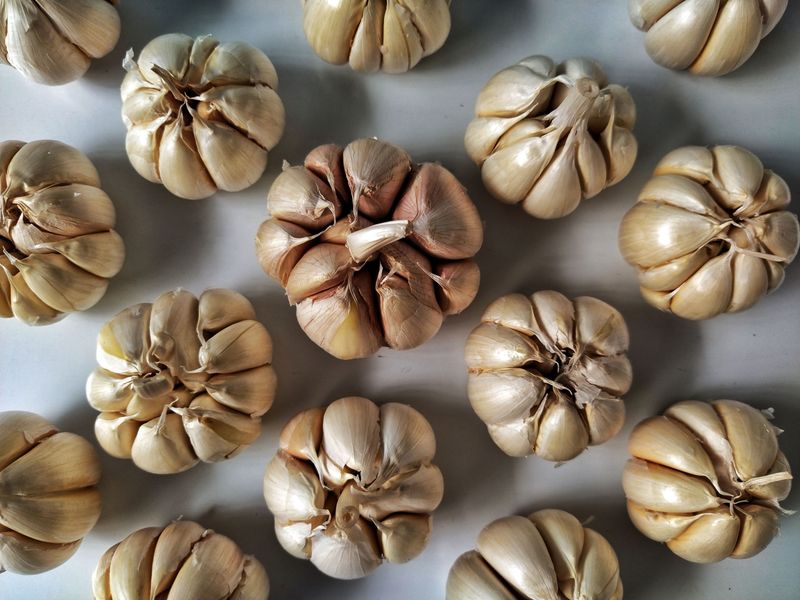
Crowded garlic is a little like kids sharing one bedroom. Everybody gets cranky, and nobody grows as much as they could.
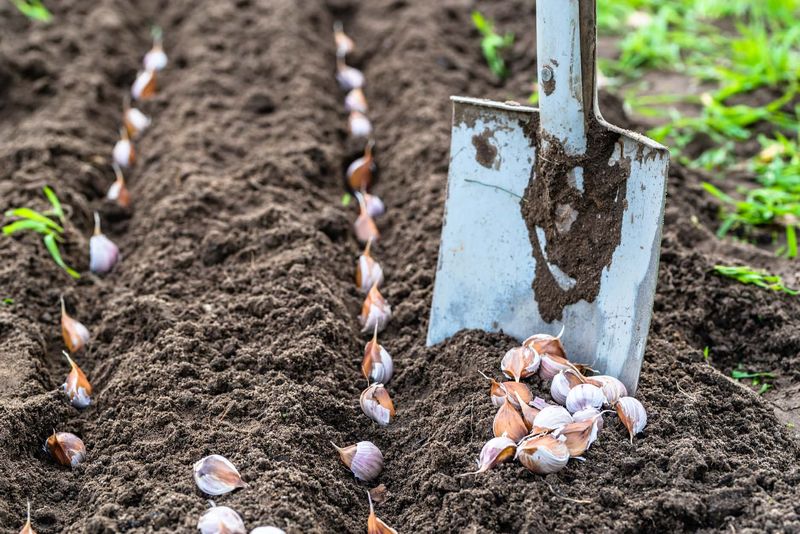
For most home gardens, space cloves about 4 to 6 inches apart within the row. I lean toward 6 inches because bigger bulbs need room to swell underground without bumping into their neighbors.
Rows should sit about 12 inches apart. If you prefer a wide bed, you can plant in a grid with roughly 6 inches between cloves in every direction. That layout squeezes a lot of garlic into a small raised bed.
Wider spacing does more than make room for bulbs. It lets air move between leaves, which helps foliage dry faster after rain and lowers the chance of rust, a common orange fungal spot on garlic leaves in California.
Extra space also makes weeding easier. Garlic has thin, upright leaves that cast little shade, so weeds sneak in fast and steal water and nutrients.
A simple planting board helps. Mark 6-inch notches on a scrap of wood, lay it along the row, and drop a clove at each mark. Your rows will look tidy, and every bulb gets a fair share.
Fall Planting Dates Shift From The Sierra To San Diego
California stretches across snowy mountains, foggy coasts, and blazing deserts. So the best garlic planting date depends heavily on where your garden sits.
Fall is the main season statewide. Garlic needs cool weather to grow roots and leaves first, then longer days in late spring trigger bulbing.
In higher elevations and colder mountain areas, plant in late September or October. That timing lets roots form before the ground gets very cold.
Across the Central Valley, Bay Area, and much of Northern California, October through November is a reliable window. UC guidance for many valley areas points to roughly October to mid-November.
Southern California, coastal zones, and low deserts can plant a bit later, often from late October into December. Warmer soil there means you can wait until the heat breaks.
Some mild-winter gardeners chill cloves in the refrigerator for several weeks before planting. Hardneck types often benefit most, since they rely on cold to form good bulbs. Keep the chilled cloves away from apples and other fruit that give off ethylene.
Softneck varieties like California Early or California Late are popular choices for warm regions. They handle mild winters well and store for months after harvest.
Loose, Compost-Rich Soil Lets Garlic Bulbs Swell Up Big
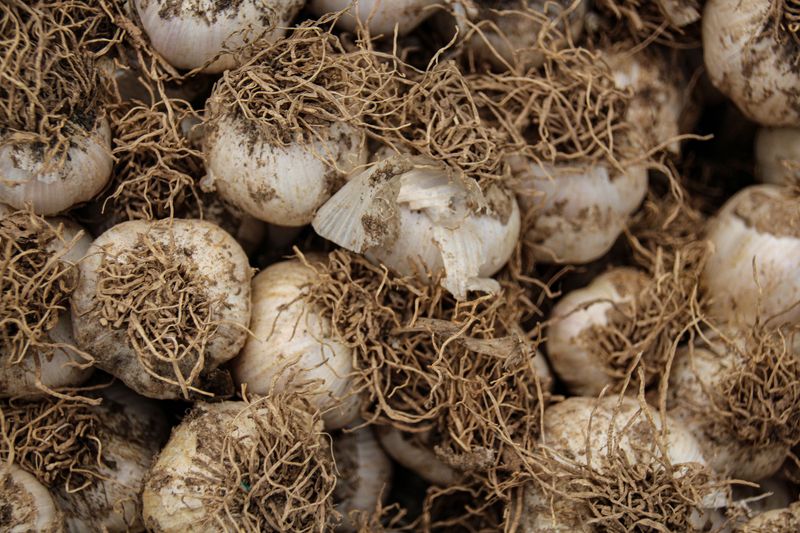
Ever tried growing in rock-hard soil? Bulbs push against it like someone trying to open a stuck jar lid, and they usually lose.
Garlic grows best in loose, well-drained soil full of organic matter. Before planting, work 2 to 3 inches of compost into the top 6 to 8 inches of your bed. That keeps the soil crumbly so bulbs can expand easily.
Drainage matters a lot. Many California gardens sit on heavy clay, which stays wet during winter storms. Raised beds or mounded rows lift cloves above soggy ground and reduce rot problems.
Garlic prefers a soil pH around 6 to 7. A simple home test kit can tell you where yours stands, and most California garden soils fall close to that range anyway.
Mixing in a balanced fertilizer at planting gives young roots a gentle start. Avoid fresh manure, since it can burn roots and bring weed seeds.
Also rotate your garlic patch. Try not to plant garlic, onions, or leeks in the same spot more than once every few years. That break helps prevent soil diseases like white rot, which can linger in soil for many years once it shows up.
A Straw Mulch Blanket Keeps Garlic Rows Snug And Weed-Free
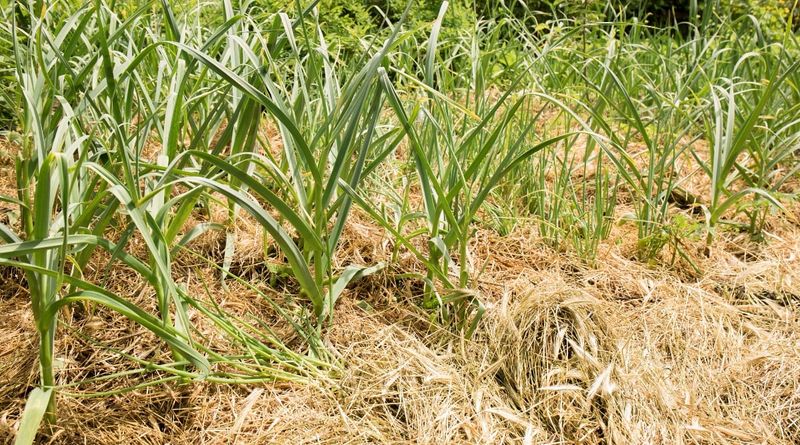
Straw on top of garlic looks a bit like a cozy hay bed. Honestly, that comparison is pretty accurate.
After planting and watering, spread about 2 to 4 inches of clean straw or shredded leaves over the bed. Mulch holds moisture, steadies soil temperature, and blocks many weed seeds from sprouting.
In colder mountain areas, a thicker layer helps protect cloves through freezing nights. In mild coastal and southern gardens, a thinner layer is usually enough since frost is less of a concern.
Choose straw rather than hay when you can. Hay often carries grass and weed seeds that will happily sprout right between your garlic.
Green shoots will push through mulch on their own. If a shoot gets stuck under a clump, gently open a gap with your fingers.
Mulch also cuts back on watering during dry spells. California winters can swing from soaking storms to weeks of sunshine, so that steady moisture really helps.
One caution for very wet, heavy soils. Too much mulch can keep the surface soggy, so pull it back a bit if water lingers after storms.
Watering And Feeding Garlic Shoots Through A California Spring
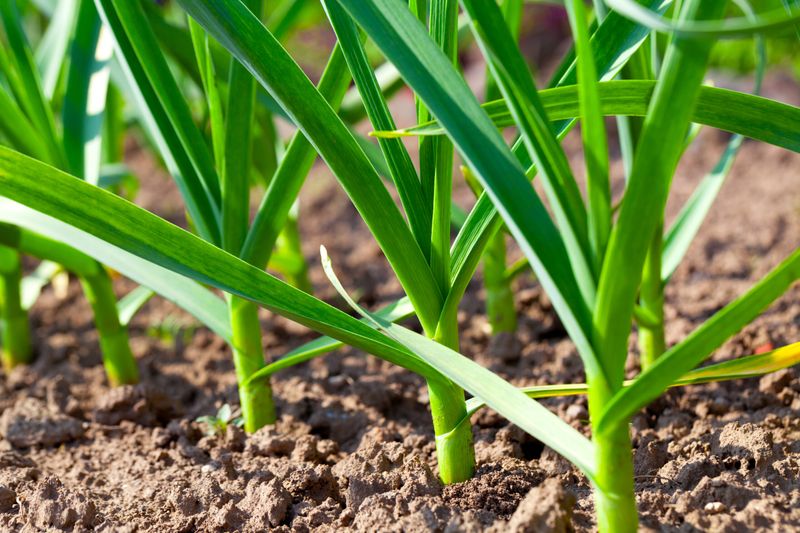
Spring is when garlic goes into overdrive. Leaves shoot up fast, and each leaf becomes part of the wrapper around the future bulb.
More leaves usually mean bigger bulbs. That is why steady water and some nitrogen matter so much from late winter into spring.
Keep the soil evenly moist, about like a wrung-out sponge. Winter rain often covers early needs, but once storms fade in spring, plan on regular deep watering. Drip lines or soaker hoses work well and keep leaves drier.
Feed with a nitrogen fertilizer when plants are actively growing in late winter and early spring. Blood meal, fish emulsion, or a balanced vegetable fertilizer can all do the job.
Stop feeding once bulbs start forming, often around April in warm areas and a bit later up north. Late nitrogen keeps pushing leaves when the plant should be building cloves.
As harvest nears, cut back on water. Many growers stop watering a few weeks before digging so bulbs firm up and skins stay intact.
Hardneck types send up curly flower stalks called scapes. Snapping them off can send more energy to the bulb, and they taste wonderful sauteed.
Browning Garlic Leaves Signal It Is Time To Dig And Cure
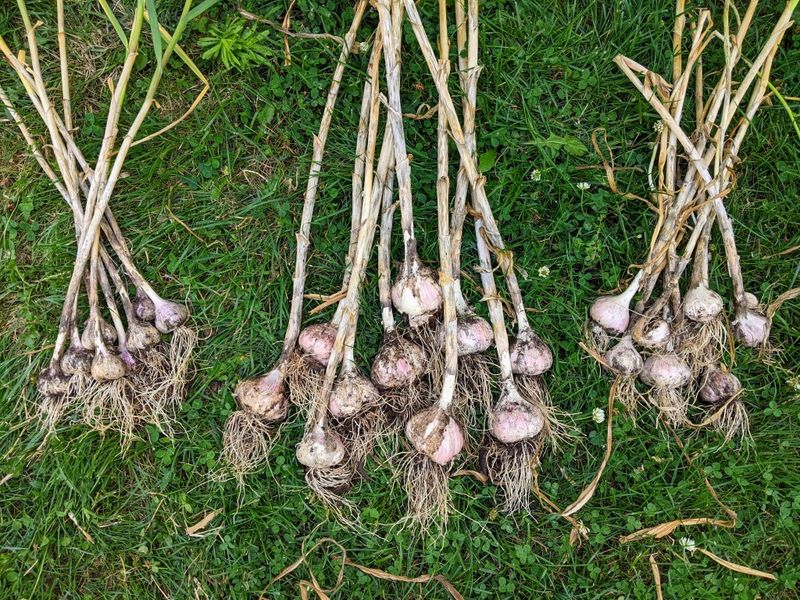
Patience pays off in early summer. Most California garlic comes out of the ground between May and July, depending on your region and planting date.
Watch the leaves. When the lower third to half of them turn brown while the top ones still look green, the bulbs are usually ready. Wait too long, and the wrappers split and cloves start to separate.
Dig rather than pull. Loosen the soil with a garden fork a few inches away from the plant, then lift the bulb gently so you avoid bruising it.
Cure your harvest in a shady, airy spot for two to four weeks. Hang bundles or lay plants on a rack, keeping them out of direct California sun, which can scald bulbs.
Once the necks feel dry and the skins papery, trim roots and stems. Store bulbs in a cool, dry place with good airflow.
Set aside your fattest bulbs for next fall’s planting. Over the years, saving your best stock helps garlic adapt to your own garden. Then you will be back at that same planting board, measuring two inches deep and six inches apart all over again.