How North Carolina Gardeners Start Seeds Indoors In February
February feels early but smart gardeners know better. Seed starting season quietly kicks off while winter still lingers outside. A few trays on a table can set the tone for the entire growing year.
Early starts mean stronger plants. Stronger plants mean better harvests. Many growers across California already use this indoor window to get ahead and avoid the spring rush.
The same strategy works beautifully in North Carolina where February weather can swing from mild afternoons to cold nights. Indoor setups give you control. Light stays steady.
Moisture stays balanced. Temperatures stay friendly. Small routines like labeling trays and rotating seedlings keep growth on track.
Simple tools create big results. Homegrown success often begins long before garden beds are ready. Curious how North Carolina gardeners handle indoor seed starting in February and which steps actually matter most?
Keep reading and give your growing season a head start that pays off fast.
Choose The Right Seeds For Early Start
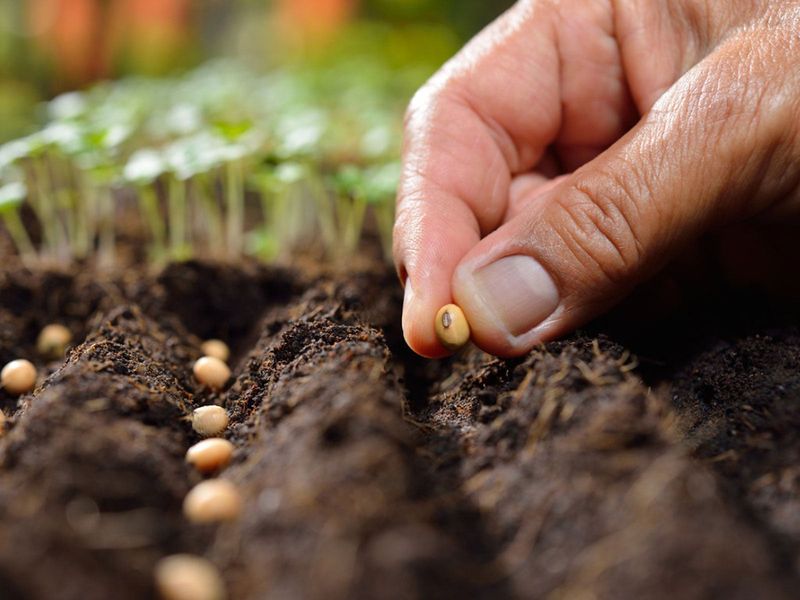
Picking seeds that actually benefit from an early February start makes all the difference in your garden’s success. Tomatoes, peppers, and eggplants need this extra time because they grow slowly at first.
These warm-season crops require six to eight weeks indoors before transplanting outside. Cool-season greens like lettuce, kale, and broccoli also respond wonderfully to February indoor starting.
They mature faster than their warm-weather cousins but still appreciate the protected environment. Starting them now means you’ll harvest fresh greens weeks earlier than direct-sowing outdoors.
North Carolina’s climate zones range from mountain cold to coastal warmth, affecting your seed choices significantly.
Gardeners in the mountains should focus on hardy varieties that tolerate temperature swings. Coastal gardeners can experiment with slightly more tender options since their last frost arrives earlier.
Always check seed packets for days-to-maturity information before committing to indoor starting. Some vegetables grow so quickly that starting them in February would mean overgrown seedlings by planting time.
Herbs like basil, parsley, and cilantro work beautifully with February starts, giving you fresh flavors by early spring.
Local garden centers often stock regionally appropriate seeds that perform best in North Carolina conditions. Shopping locally connects you with varieties tested by neighboring gardeners.
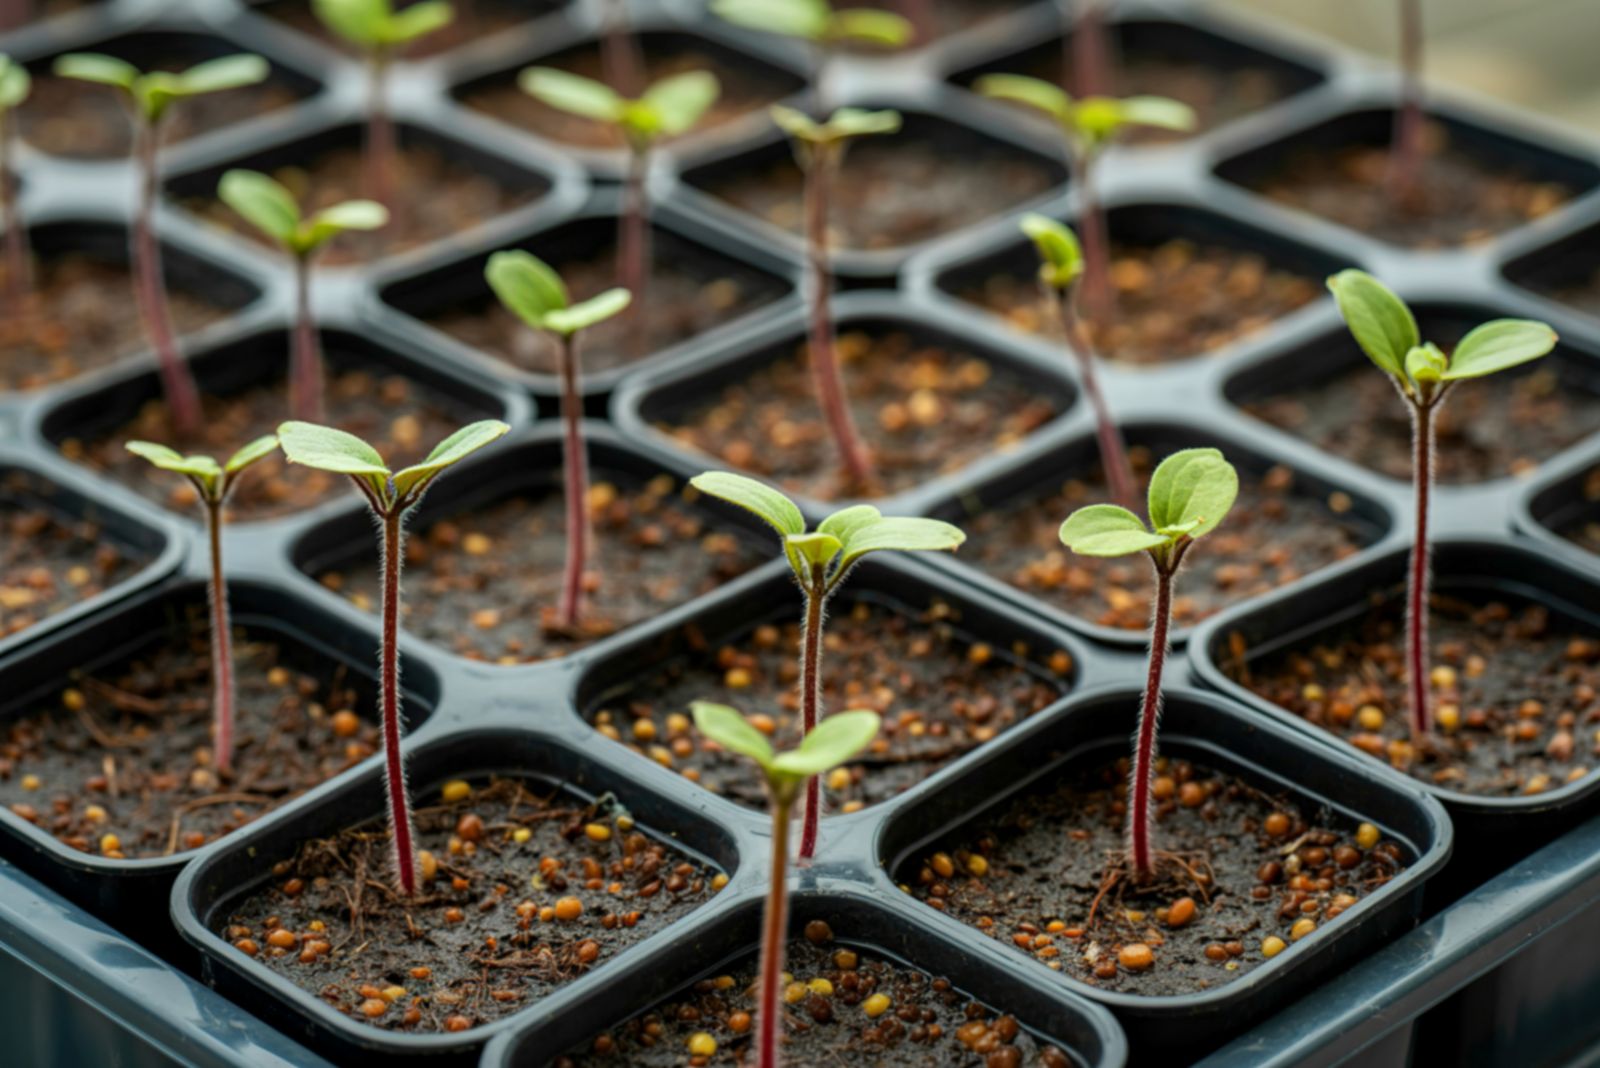
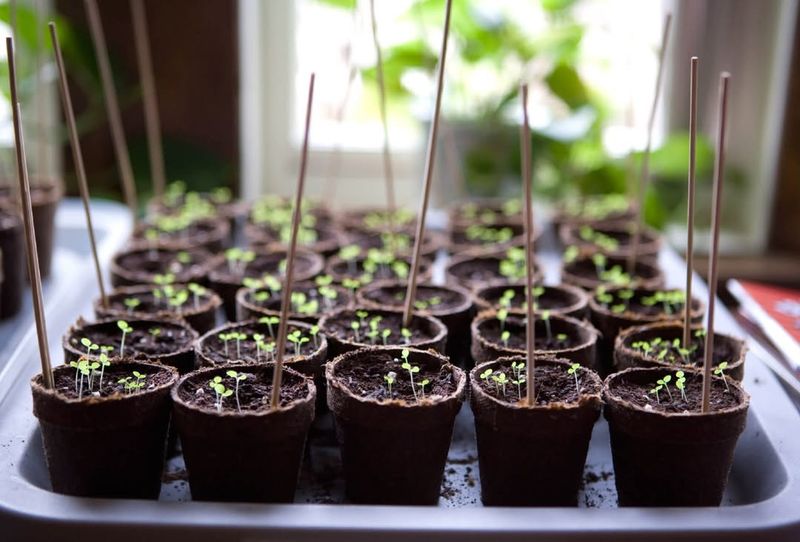
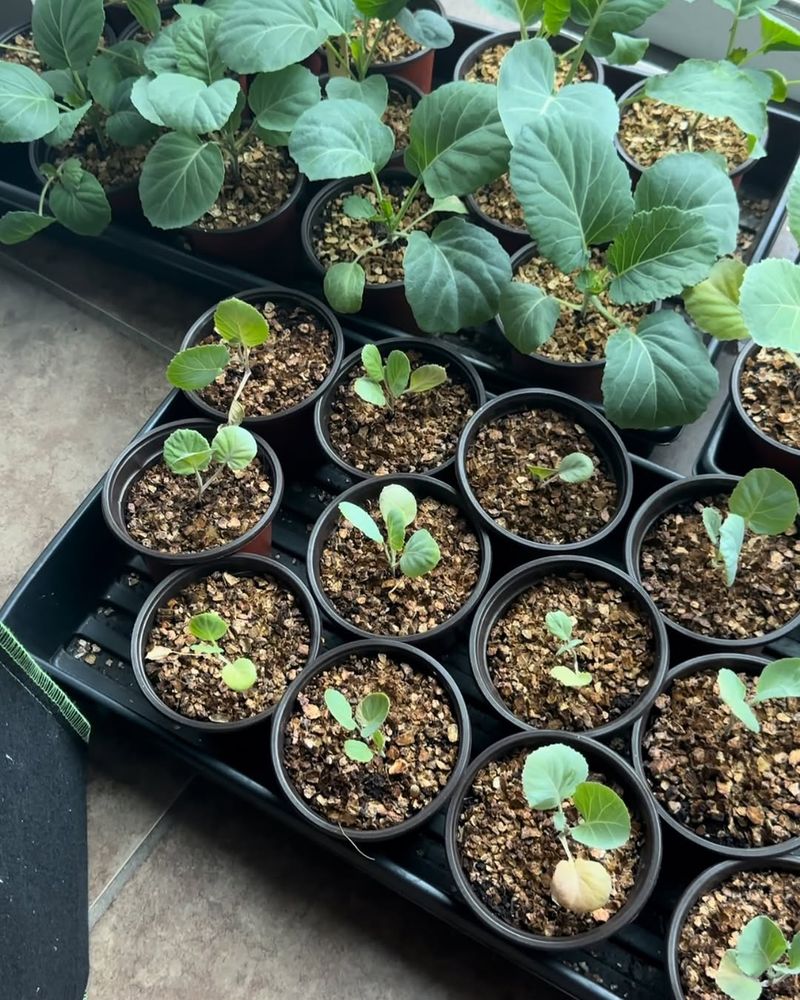
Use Seed-Starting Trays Or Containers
Proper containers make transplanting easier and give young roots the space they need to develop properly.
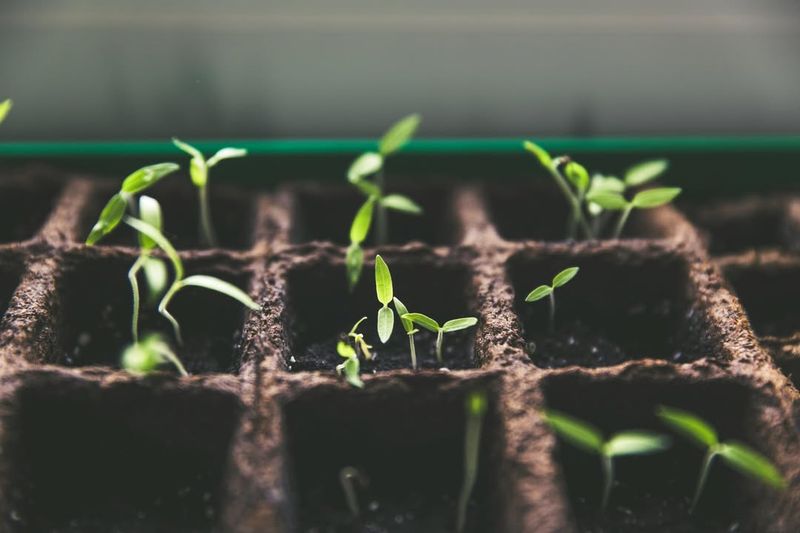
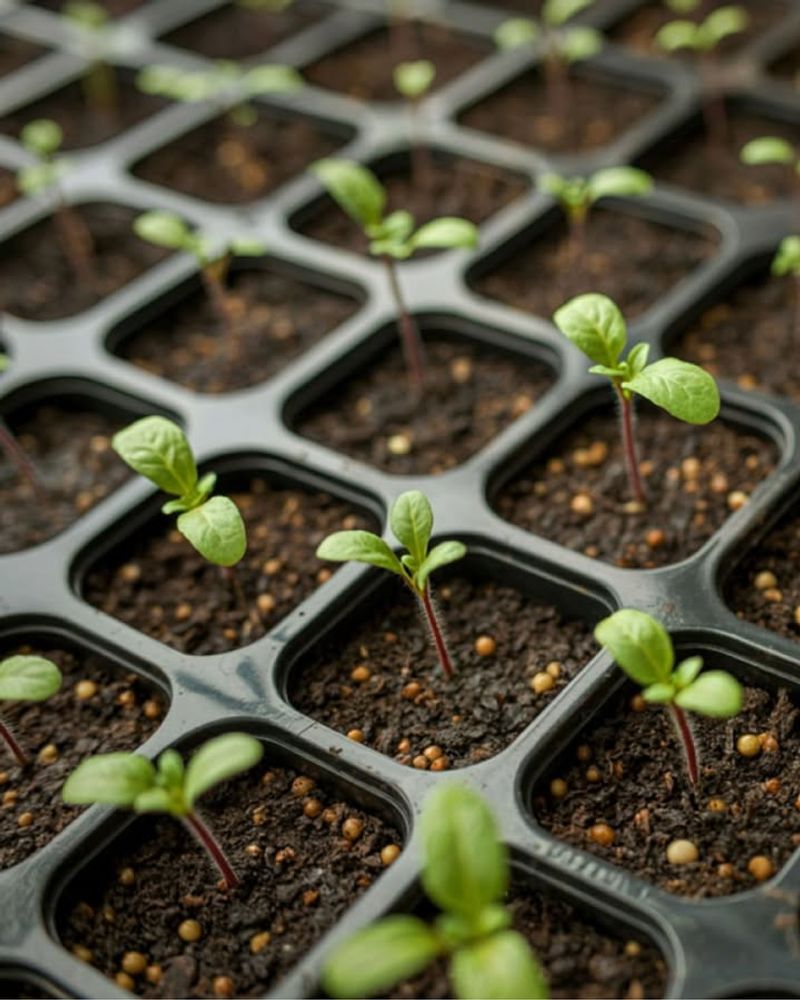
Seed-starting trays with individual cells prevent root tangling that happens in larger shared containers. Each seedling gets its own space, reducing competition and transplant shock later.
Recycled yogurt cups, egg cartons, and plastic takeout containers work surprisingly well for budget-conscious gardeners. Just poke drainage holes in the bottom to prevent waterlogging.
Clean these containers thoroughly with soap and water before filling them with soil mix. Biodegradable peat pots and fiber trays offer the convenience of planting the entire container outdoors.
Roots grow right through these materials, minimizing disturbance during transplanting. However, they dry out faster than plastic options, requiring more frequent watering attention.
Cell size matters depending on what you’re growing and how long seedlings stay indoors. Tomatoes and peppers need deeper cells than lettuce or herbs because of their extensive root systems.
Shallow trays work fine for quick-growing greens that transplant within three to four weeks. Labeling your containers from the start prevents confusion as seedlings emerge and look similar initially.
Invest in waterproof markers or plastic plant tags that won’t fade with watering. Organization now saves frustration later when it’s time to move seedlings outdoors.
Select A Quality Seed-Starting Mix
Garden soil seems like the obvious choice, but it’s actually too heavy for delicate seedlings just beginning life.
Seed-starting mixes are specially formulated with fine particles that allow tiny roots to penetrate easily. These lightweight blends provide the perfect balance of moisture retention and drainage.
Most quality mixes contain peat moss or coconut coir as the base ingredient for water retention. Perlite or vermiculite gets added to improve aeration and prevent compaction over time.
Some blends include a small amount of fertilizer, though many gardeners prefer starting with nutrient-free options.
Sterile growing medium reduces the risk of damping-off disease, a fungal problem that destroys seedlings overnight.
This condition thrives in regular garden soil that contains disease organisms and weed seeds. Investing in sterile mix protects your February efforts from frustrating losses.
Moisten your seed-starting mix before filling containers to ensure even water distribution throughout the material. Dry mix can be difficult to wet thoroughly once packed into cells. Add water gradually while mixing until the texture resembles a wrung-out sponge.
Store unused seed-starting mix in a sealed container to maintain its sterile condition for future use. Keep it in a cool, dry location away from moisture that could introduce contaminants. Properly stored mix remains viable for multiple growing seasons.
Provide Adequate Light
Insufficient light creates weak, stretched seedlings that struggle when moved outdoors to full sun conditions.
South-facing windows provide the strongest natural light during February’s short days. However, even the brightest window may not deliver enough intensity for stocky, robust growth.
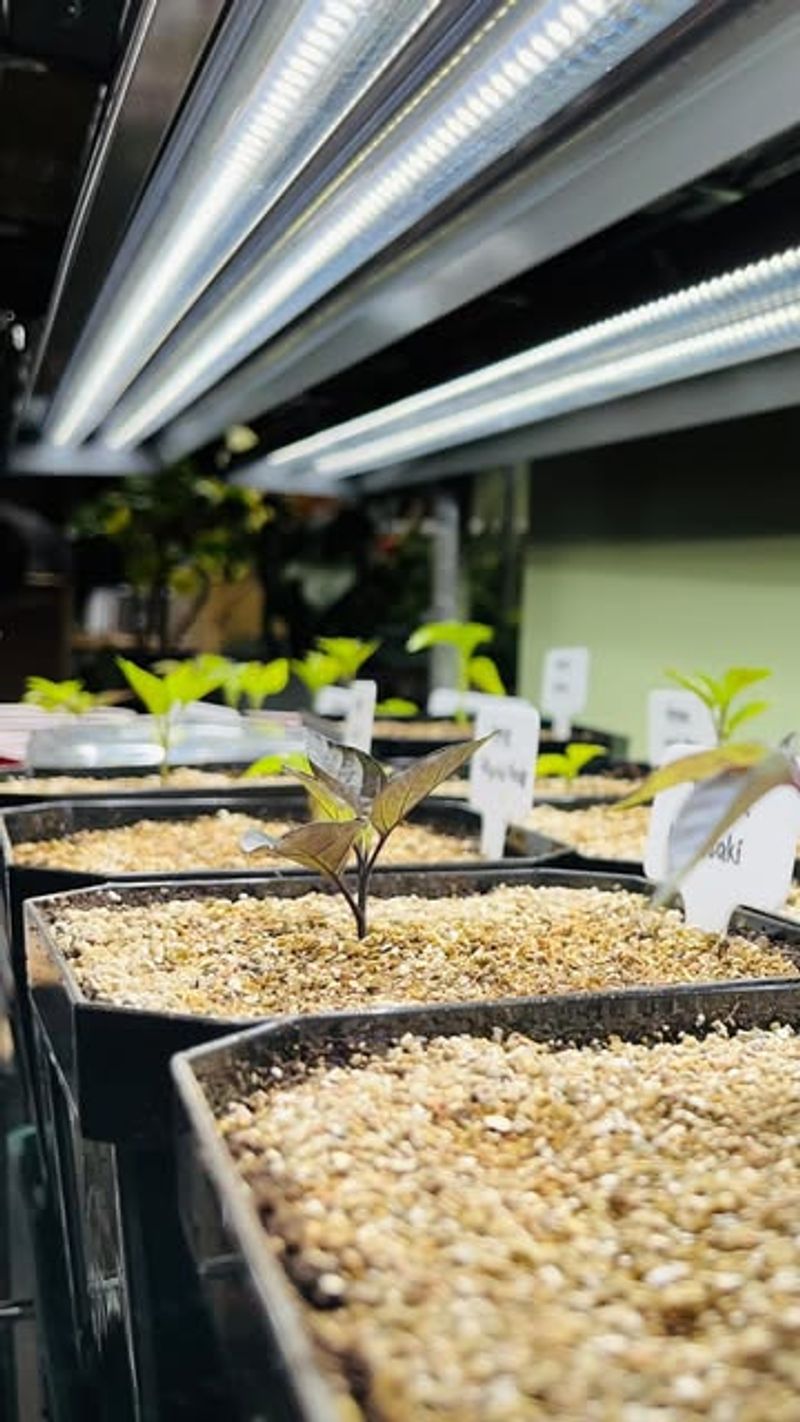
Full-spectrum LED grow lights have become affordable and energy-efficient options for serious indoor seed starters.
These lights mimic natural sunlight wavelengths that plants need for photosynthesis and healthy development. Position them two to four inches above seedlings, adjusting height as plants grow taller.
Seedlings require twelve to sixteen hours of light daily to develop properly and avoid becoming leggy. Set an automatic timer to maintain consistent lighting schedules without remembering to switch lights manually.
Darkness matters too since plants need rest periods to process the energy they’ve captured.
Rotating trays near windows every few days ensures all sides receive equal light exposure. Seedlings naturally lean toward light sources, creating lopsided growth if left in one position. This simple habit promotes balanced, upright plants ready for outdoor life.
Watch for signs your lighting setup needs adjustment, like yellowing leaves or excessive stretching between leaf nodes.
Pale, thin stems indicate insufficient light intensity or duration. Strong, dark green foliage with compact growth signals you’ve found the right light formula for your space.
Maintain Consistent Temperature
Temperature directly affects germination speed and seedling vigor during those critical first weeks of growth.
Most warm-season vegetables prefer soil temperatures between sixty-five and seventy-five degrees Fahrenheit for optimal sprouting. Cool-season crops tolerate slightly lower temperatures but still benefit from warmth during germination.
Seedling heat mats placed under trays provide gentle bottom warmth that speeds up germination significantly.
These specialized mats maintain consistent temperatures without overheating delicate seeds or drying out soil too quickly. They’re particularly helpful in drafty homes or unheated spaces where ambient temperatures fluctuate.
Room temperature often drops at night when heating systems cycle down, potentially slowing seedling development. Placing trays away from cold windows and exterior walls helps maintain more stable growing conditions.
Even a few degrees of temperature variation can impact how quickly seeds sprout and grow. Once seedlings emerge, most can tolerate slightly cooler temperatures than they needed for germination.
Moving established seedlings to cooler spots encourages sturdy growth and prevents them from becoming too soft. However, avoid cold drafts or temperatures below sixty degrees for warm-season crops like tomatoes and peppers.
Monitor temperatures with an inexpensive thermometer placed at soil level rather than relying on room air temperature.
Soil temperatures lag behind air temperatures and provide more accurate information about growing conditions. Adjust heat mat settings or tray placement based on actual measurements.
Water Carefully
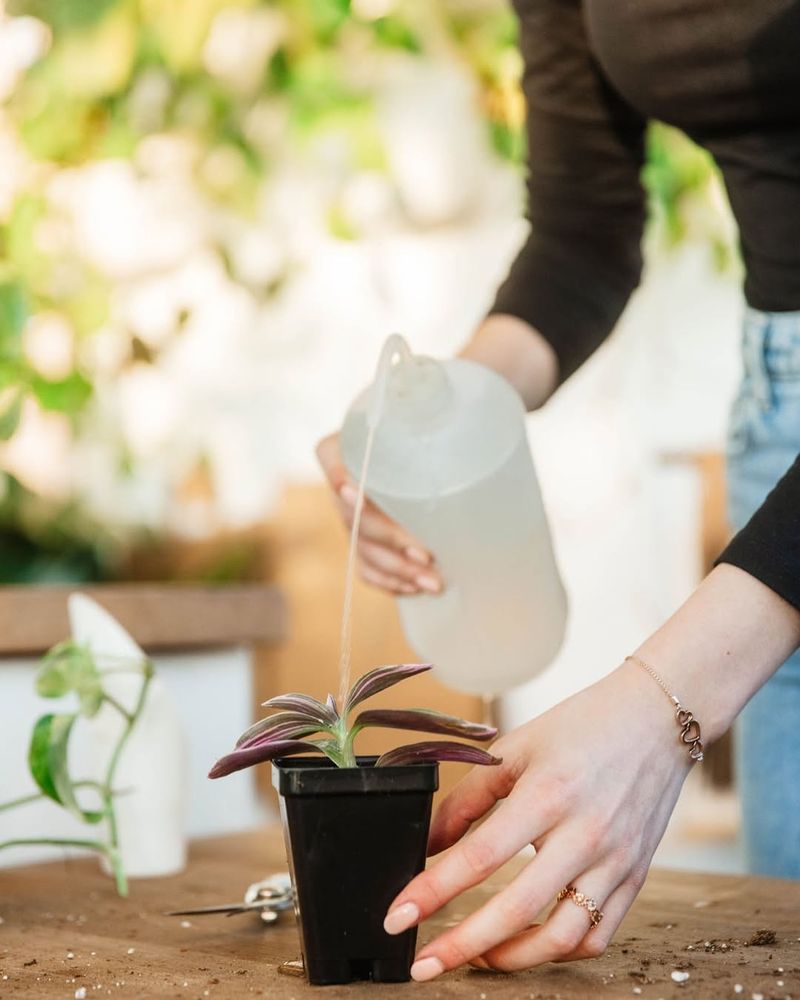
Watering seems straightforward until you realize that more seedlings perish from incorrect watering than any other cause.
Soil should stay consistently moist like a wrung-out sponge, never soggy or completely dry. Overwatering suffocates roots and creates perfect conditions for damping-off disease to strike.
Bottom watering by placing trays in shallow water pans encourages roots to grow downward seeking moisture.
This method also keeps foliage dry, reducing fungal disease risks that develop on wet leaves. Allow trays to sit for fifteen to twenty minutes, then drain excess water completely.
Spray bottles or misters work wonderfully for surface watering without disturbing tiny seeds or delicate seedlings. Gentle misting prevents soil erosion that happens with heavy watering from cups or watering cans.
This approach gives you precise control over moisture levels in individual cells. Seedlings need less frequent watering than established plants but require more attention to moisture levels.
Check trays daily by touching the soil surface or lifting containers to feel their weight. Light containers need water while heavy ones still have adequate moisture.
February’s indoor heating can dry out seed trays faster than you might expect during winter months. Humidity domes or plastic wrap over trays help retain moisture during germination but should be removed once seedlings emerge.
Good air circulation after sprouting prevents mold growth while maintaining appropriate moisture levels.
Label Seedlings Clearly
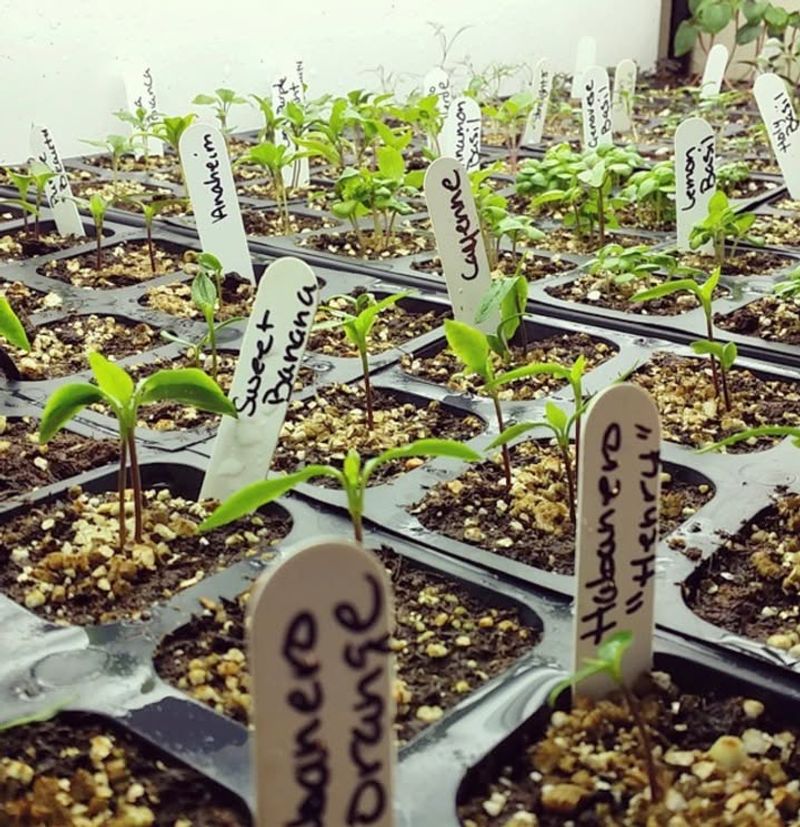
Every gardener thinks they’ll remember which variety went where, then regrets that confidence when identical-looking seedlings emerge.
Labeling containers immediately after planting saves confusion and prevents mixing up varieties with different care requirements. This simple step becomes crucial when you’re starting multiple tomato or pepper types simultaneously.
Waterproof markers and plastic plant stakes withstand repeated watering without fading or becoming illegible over time. Write the variety name, planting date, and expected transplant date for complete tracking information.
Some gardeners add germination rate notes to identify which varieties perform best in their conditions.
Color-coding systems using different marker colors or tape help organize plants by family or transplant timing. Group warm-season crops together and separate them from cool-season varieties that go outdoors earlier.
Visual organization makes managing multiple planting schedules much easier during busy spring weeks. Keep a gardening journal or simple spreadsheet alongside your physical labels for backup record-keeping purposes.
Note which varieties germinated quickly, grew vigorously, or showed disease resistance during the indoor phase. This information becomes invaluable for planning next year’s February seed-starting sessions.
Take photos of your labeled trays shortly after planting and again as seedlings develop characteristic features.
Digital records help identify plants if labels accidentally fall out or become damaged. These images also create a wonderful visual timeline of your growing season’s beginning.
Harden Off Seedlings Gradually
Moving pampered indoor seedlings directly into the garden is like throwing someone into a pool to teach swimming.
Hardening off gradually acclimates plants to outdoor conditions including stronger sunlight, temperature fluctuations, and wind exposure. This process typically takes seven to ten days of increasing outdoor time.
Start by placing seedlings in a protected, shaded outdoor spot for just one to two hours on the first day. Choose a calm, mild day without harsh sun or strong winds for this initial exposure.
Bring them back indoors before temperatures drop or conditions become stressful. Increase outdoor time by an hour or two each day while gradually introducing more direct sunlight.
Move trays from full shade to dappled light to partial sun over several days. This progressive exposure allows leaves to build tolerance to UV light they never experienced indoors.
North Carolina’s spring weather can be unpredictable, so watch forecasts closely during the hardening-off period.
Bring seedlings back inside if temperatures threaten to drop below fifty degrees or severe weather approaches. Flexibility in your schedule prevents setbacks from late cold snaps.
By the end of the hardening-off period, seedlings should tolerate full outdoor conditions for entire days and nights.
Their leaves will appear darker, thicker, and sturdier than when you started the process. These physical changes indicate successful adaptation to outdoor growing environments.
Monitor For Pests And Disease
Vigilant observation catches problems while they’re still manageable rather than after they’ve devastated your entire seedling collection. Fungus gnats often appear as tiny flying insects around moist soil, indicating overwatering or poor drainage issues.
Their larvae feed on organic matter and can damage tender roots if populations explode. Damping-off disease strikes suddenly, causing seedlings to collapse at soil level as if someone cut them with scissors.
This fungal condition thrives in overly wet, poorly ventilated conditions common in February’s indoor environments. Remove affected seedlings immediately and improve air circulation around remaining plants.
White, fuzzy mold growing on soil surfaces signals excessive moisture and inadequate airflow between plants.
Scrape off surface mold gently and reduce watering frequency while increasing ventilation with a small fan. Proper spacing between containers allows air to circulate freely, reducing humidity that encourages fungal growth.
Aphids occasionally hitchhike indoors on clothing or through open windows, establishing colonies on tender seedling growth.
These tiny, soft-bodied insects cluster on new leaves and stems, sucking plant juices and weakening growth. Wash them off with gentle water spray or wipe them away with a damp cloth.
Prevention remains easier than treatment when dealing with indoor seedling problems during February’s challenging conditions.
Maintain proper watering, ensure adequate air movement, and keep growing areas clean of fallen leaves or spilled soil. Healthy, vigorous seedlings resist pest and disease pressure far better than stressed plants.