How To Craft A Spooky Front Door Sign That Brings Halloween Magic To Illinois
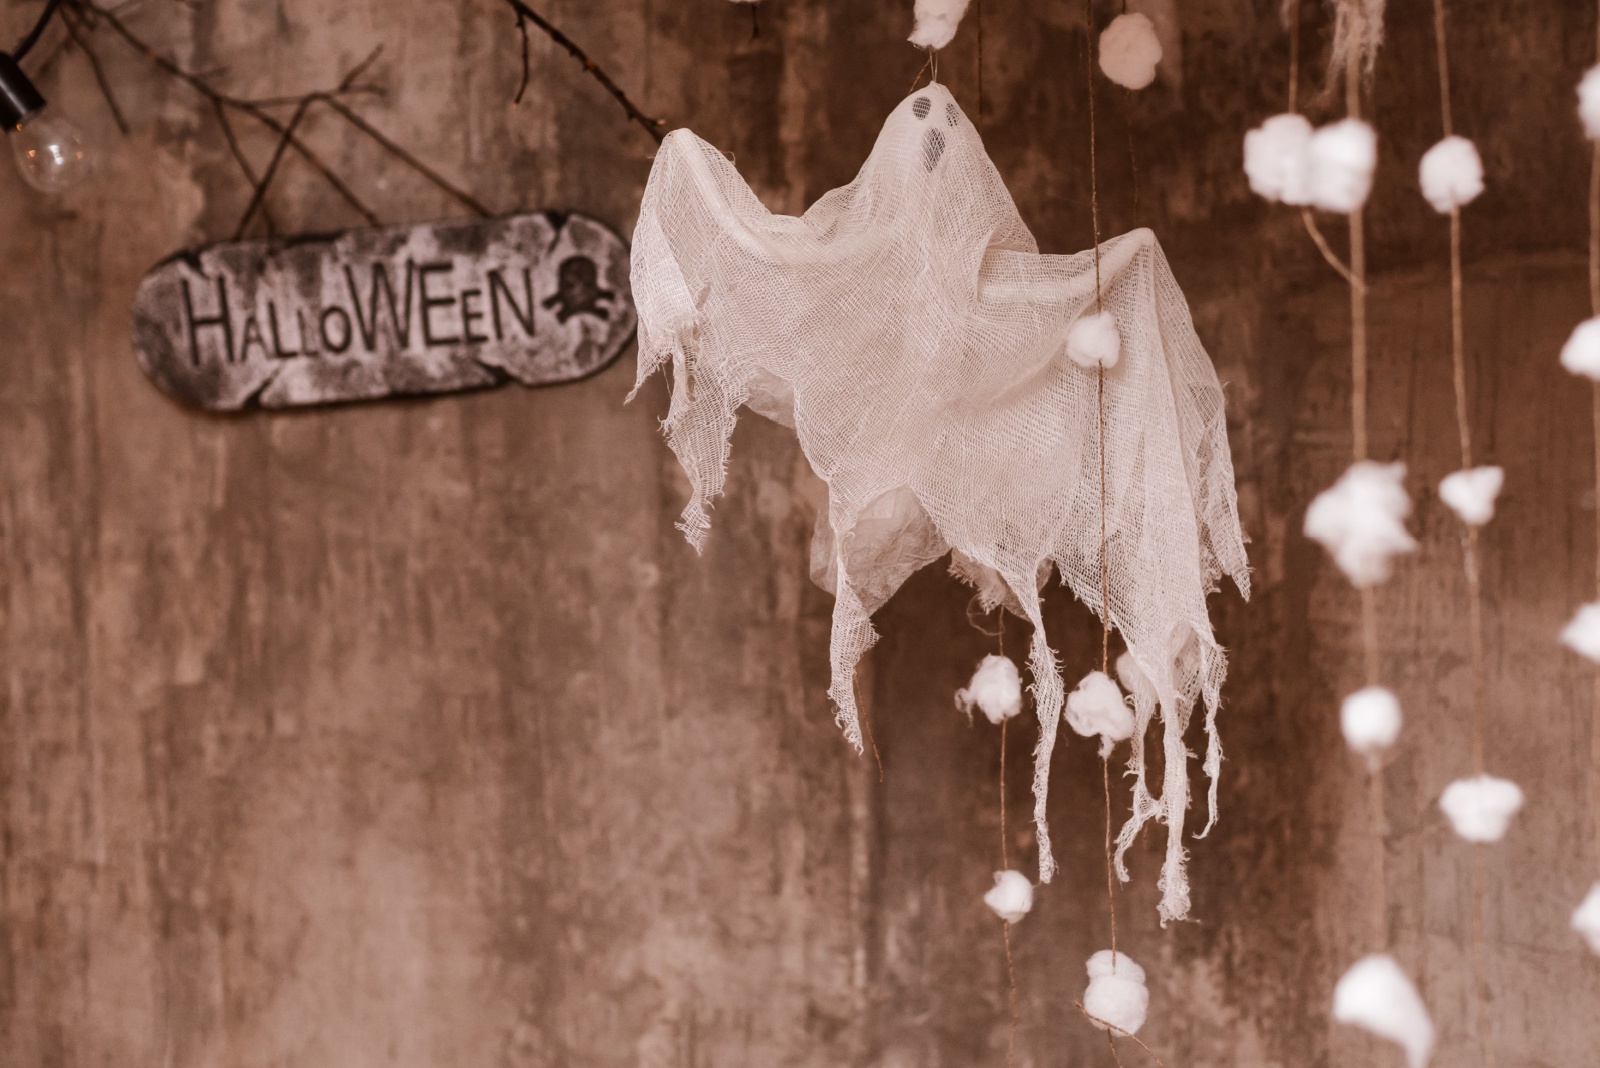
Halloween in Illinois calls for decorations that truly capture the spooky spirit of the season. Creating your own front door sign adds a personal touch that store-bought decorations just can’t match.
With simple materials and a bit of creativity, you can craft something that makes your home the talk of the neighborhood. Get ready to welcome trick-or-treaters with a sign that screams Halloween magic!
1. Gather Your Materials And Choose Your Sign Base
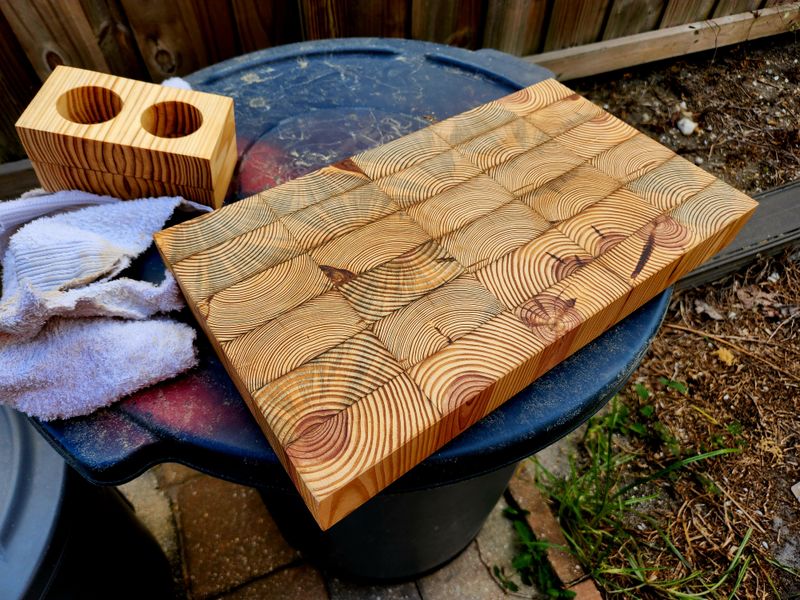
Before starting any craft project, collecting everything you need saves time and frustration later. For your Illinois Halloween sign, grab a wooden board from a craft store or repurpose an old piece of wood from your garage.
You’ll also need acrylic paints in orange, black, purple, and white, along with paintbrushes in various sizes. Sandpaper helps smooth rough edges, while a pencil lets you sketch your design first.
Don’t forget protective gear like newspaper or a drop cloth to keep your workspace clean during the creative process.
2. Sand And Prep Your Wooden Surface
Raw wood often has splinters and rough patches that make painting difficult and messy. Start by using medium-grit sandpaper to smooth down the entire surface of your board.
Work in circular motions, paying extra attention to corners and edges where rough spots love to hide. Once smooth, wipe away all the dust with a damp cloth and let it dry completely.
This preparation step ensures your paint goes on evenly and your finished sign looks professional rather than rushed and sloppy.
3. Sketch Your Spooky Design

Planning your design before painting prevents costly mistakes and wasted materials. Use a regular pencil to lightly draw your Halloween message and any decorative elements like bats, ghosts, or jack-o’-lanterns.
Consider Illinois-themed touches like adding small outlines of corn stalks or autumn leaves around the edges. Keep your lettering large and bold so neighbors can read it from the street.
If you’re worried about freehand drawing, print templates from online and trace them onto your board using carbon paper for perfect results.
4. Paint Your Base Coat And Background

Start bringing your vision to life with a solid background color that sets the mood. Classic Halloween orange creates a cheerful pumpkin vibe, while deep black or purple gives off mysterious, haunted vibes.
Apply two thin coats rather than one thick layer to avoid drips and uneven coverage. Let each coat dry for at least an hour before adding the next.
For added dimension, try blending two colors together while they’re still wet, creating an ombre effect that adds professional flair to your homemade creation.
5. Add Detailed Halloween Elements And Lettering
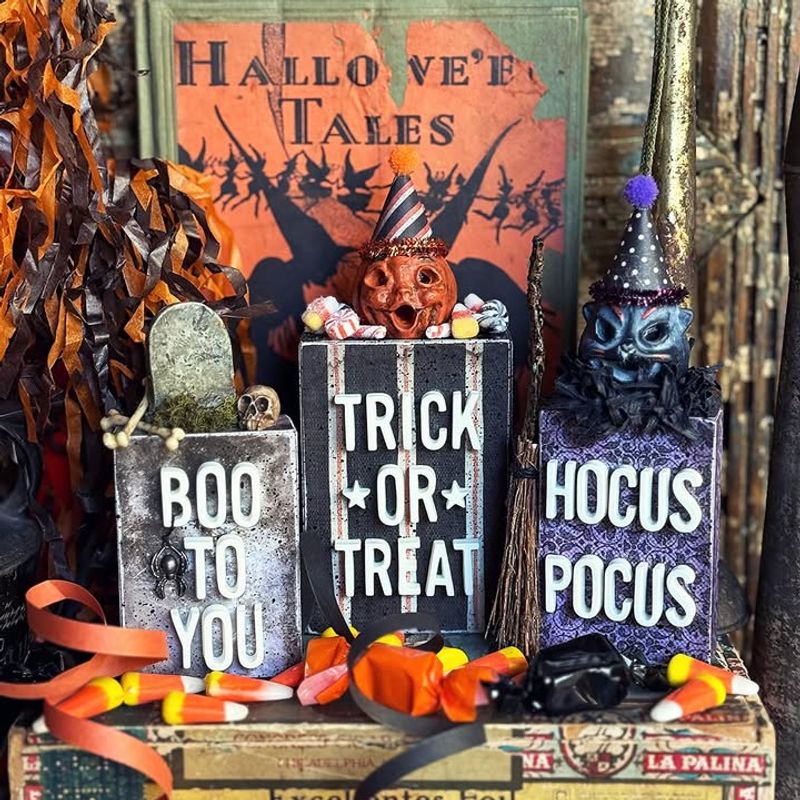
Now comes the fun part where your sign truly becomes unique and personal. Using smaller brushes, carefully paint over your pencil lines with contrasting colors that pop against your background.
White lettering stands out beautifully on dark backgrounds, while black works perfectly on lighter shades. Add personality with dripping paint effects, spider webs in the corners, or glowing eyes peeking from behind letters.
Take your time with this step since these details make the biggest visual impact when visitors approach your Illinois home this October.
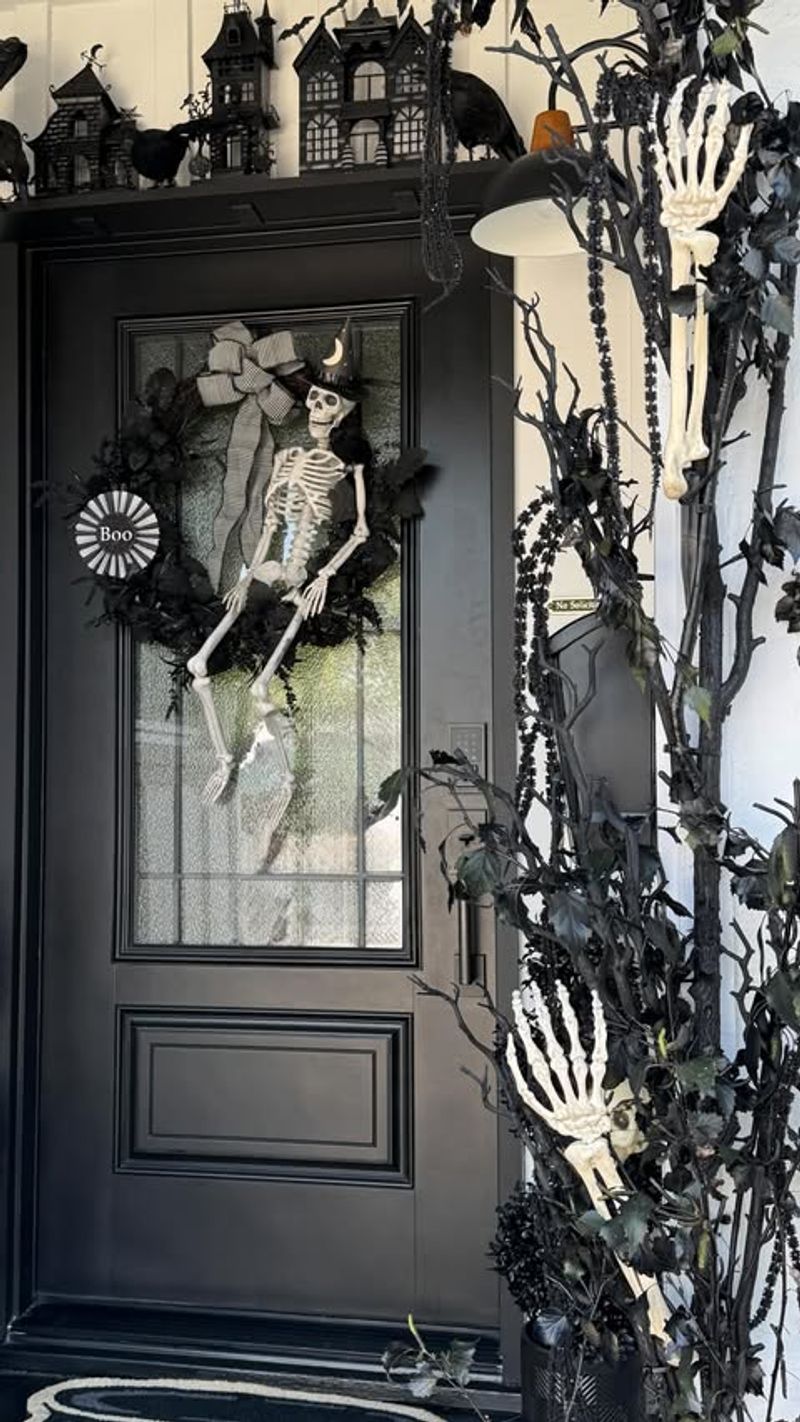
6. Seal And Display Your Finished Sign
Protecting your hard work ensures it survives Illinois weather throughout the entire Halloween season. Once your paint is completely dry, apply a clear outdoor sealer or polyurethane coating with a foam brush.
This waterproof layer guards against rain, moisture, and temperature changes that could damage your artwork. Let it cure for 24 hours before hanging it outside.
Mount your sign on your front door using command strips, hang it from a decorative hook, or prop it on your porch alongside pumpkins and mums for maximum spooky impact.