Make Your Pumpkins Last Longer And Taste Sweeter By Curing Them Properly
As fall arrives and leaves start to fall, it’s time to show off our pumpkin harvest. But those gorgeous pumpkins need a little care to last longer and shine, which is why it is super important to know how to cure them.
No matter if you are carving them for Halloween, decorating your home, or baking a delicious pie, a well-cured pumpkin can stick around for months without going bad.
I’ve grown tons of pumpkins and curing them properly makes a huge difference. Don’t worry, curing pumpkins isn’t a complicated process.
If you want to learn how to do it too, stick around as I’m about to share some simple tips on how to successfully cure your pumpkins.
But Wait, Why Do We Have To Cure Our Pumpkins?
Curing pumpkins isn’t just about making them look good – it’s all about improving their flavor and giving them a fighting chance to last through the colder months.
Once I didn’t cure my pumpkins, and some of them didn’t even make it past Halloween!
When you learn how to cure your pumpkins properly, you’ll find they can stay fresh for months instead of turning all rotten and mushy. Even if you grow winter squash, curing is just as important for them!
If you don’t cure your pumpkins, they won’t develop a hard rind, which is essential for protecting the fruit from decay.
Related: This Is How Long You Should Leave Ripe Pumpkins On The Vine For Peak Flavor
Follow These Steps And Your Pumpkins Will Last Well Into Winter
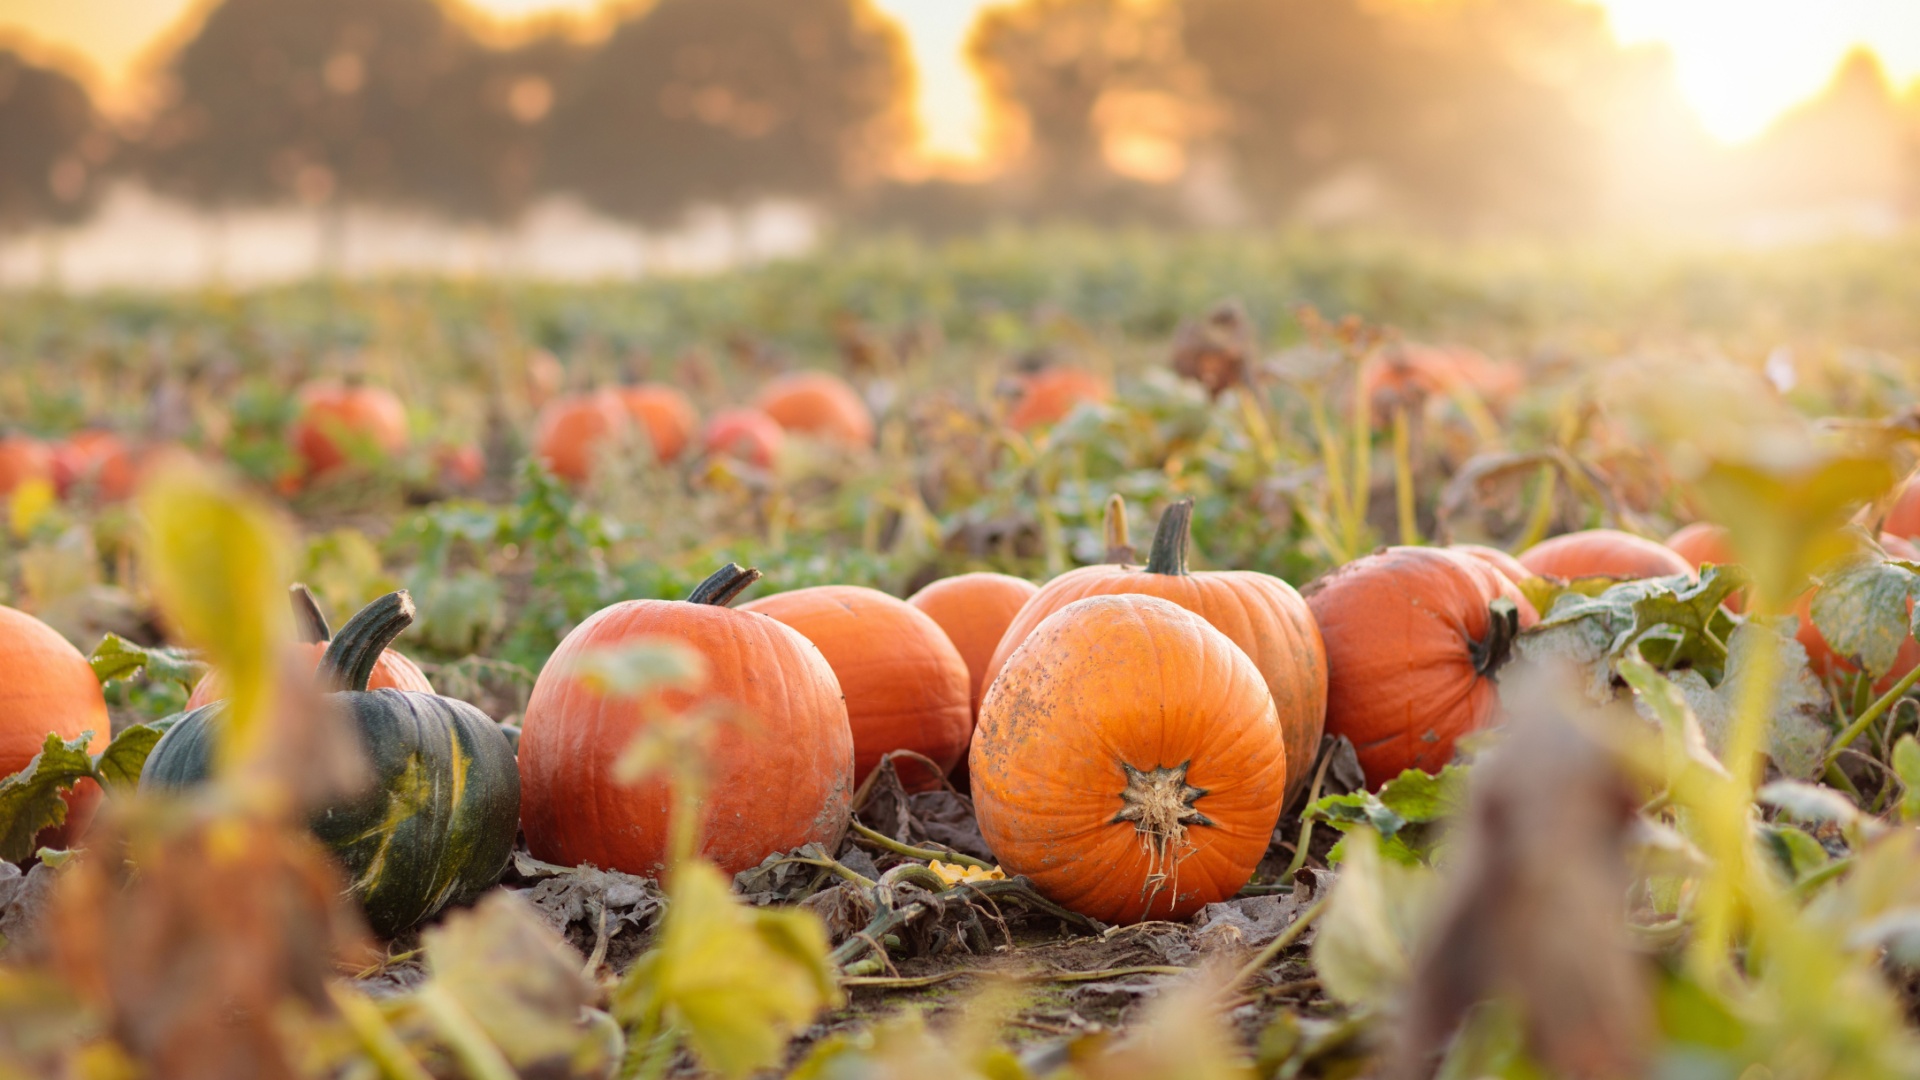
Okay, let’s go and cure those giant pumpkins so they can last you all winter long. These are the steps I usually follow when curing them:
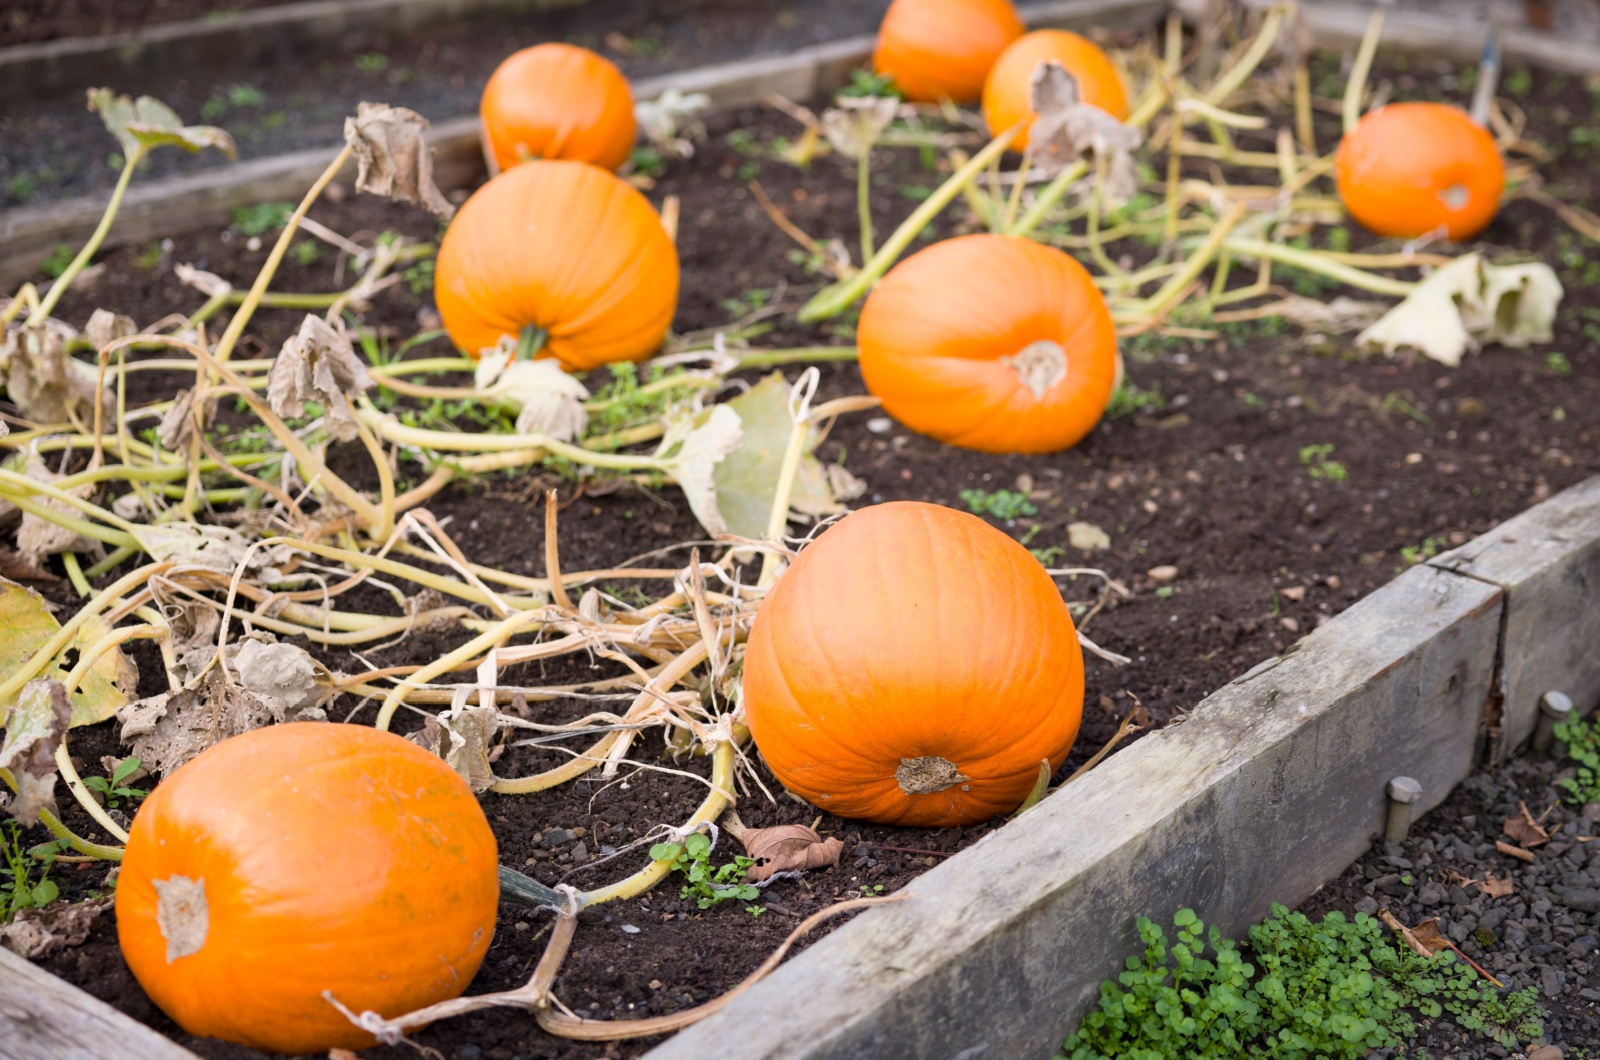
1. Make sure to harvest your pumpkins with care. Use clean and sharp pruning shears to cut and detach the pumpkin from the vine. Leave a few inches of stem attached to help with curing and prevent rot.
2. Choose your curing spots. If you are doing it outdoors, find a sunny area with temperatures around 80-85°F. If the weather is cold or rainy, opt for a greenhouse, sunroom, or sunny windowsill.
3. Time it perfectly. Cure pumpkins for 7-14 days. Larger pumpkins may need a bit more time.
4. Arrange for airflow. Space out your pumpkins and squash to allow for good air circulation. Lift them off the floor with shelves or racks. If that’s not possible, place them on newspaper, cardboard, or straw to avoid rot.
5. Check for any troubles. Regularly inspect for signs of rot or soft spots. Remove any affected pumpkins immediately. Rotate the pumpkins during the curing process for even results.
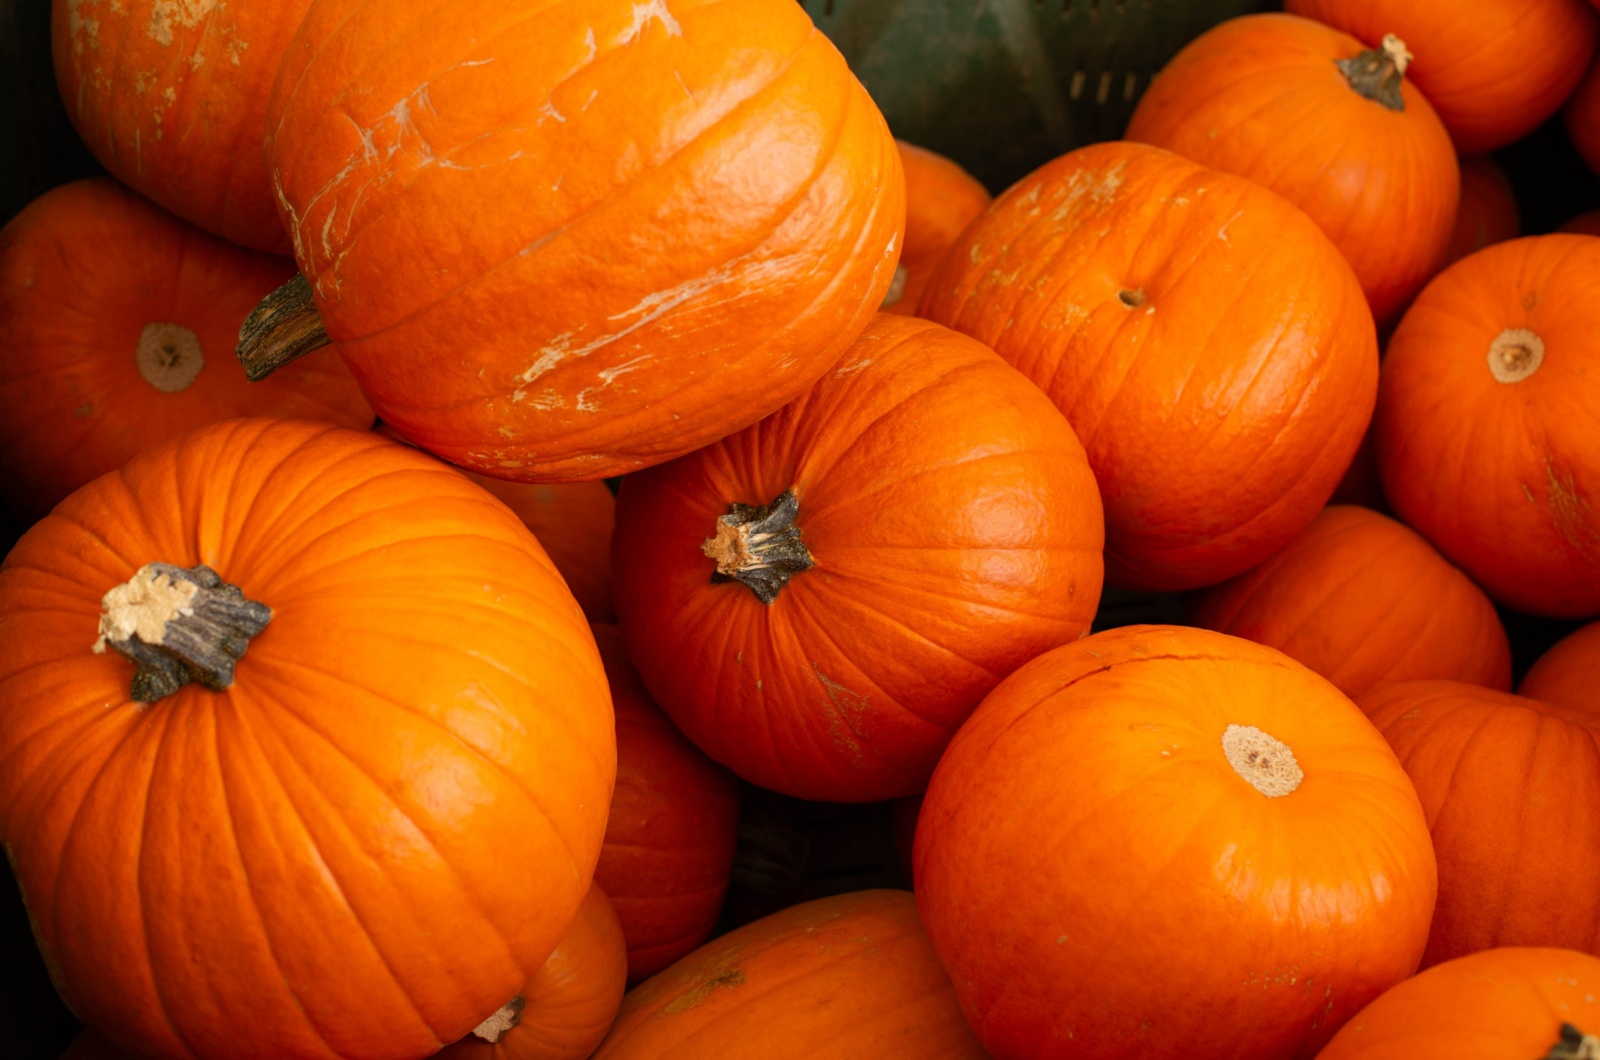
6. Store them properly. After curing, keep your pumpkins in a cool, dry place at temperatures between 50-60°F. With proper care, they can last for up to three months!
You see, it’s not that hard!
Curing pumpkins is especially helpful when you have a bountiful harvest. Rather than losing some pumpkins to decay, learn how to cure them and enjoy delicious pies whenever you feel like making one!
Also read: Find Out The Best Way To Save Leftover Pumpkin Seeds For Next Season