How To Make DIY Seed Tape For A Mess-Free, Effortless Garden
So, I was staring at my seed packets, thinking, “I really don’t have time to plant each one individually.” And then it hit me – DIY seed tape!
I’ve tried it, and trust me, it’s a total game changer. Not only does it save time (and my sanity), but it’s also a fun, crafty way to get those seeds in the ground without the mess.
If you’ve ever tried to plant tiny seeds and ended up with a garden of chaos, you’re gonna love this. Time to make planting a breeze –and maybe even a little tapetacular!
Step 1: Gather Your Supplies (A.K.A. What You Need For Your Seed-Tape Masterpiece)
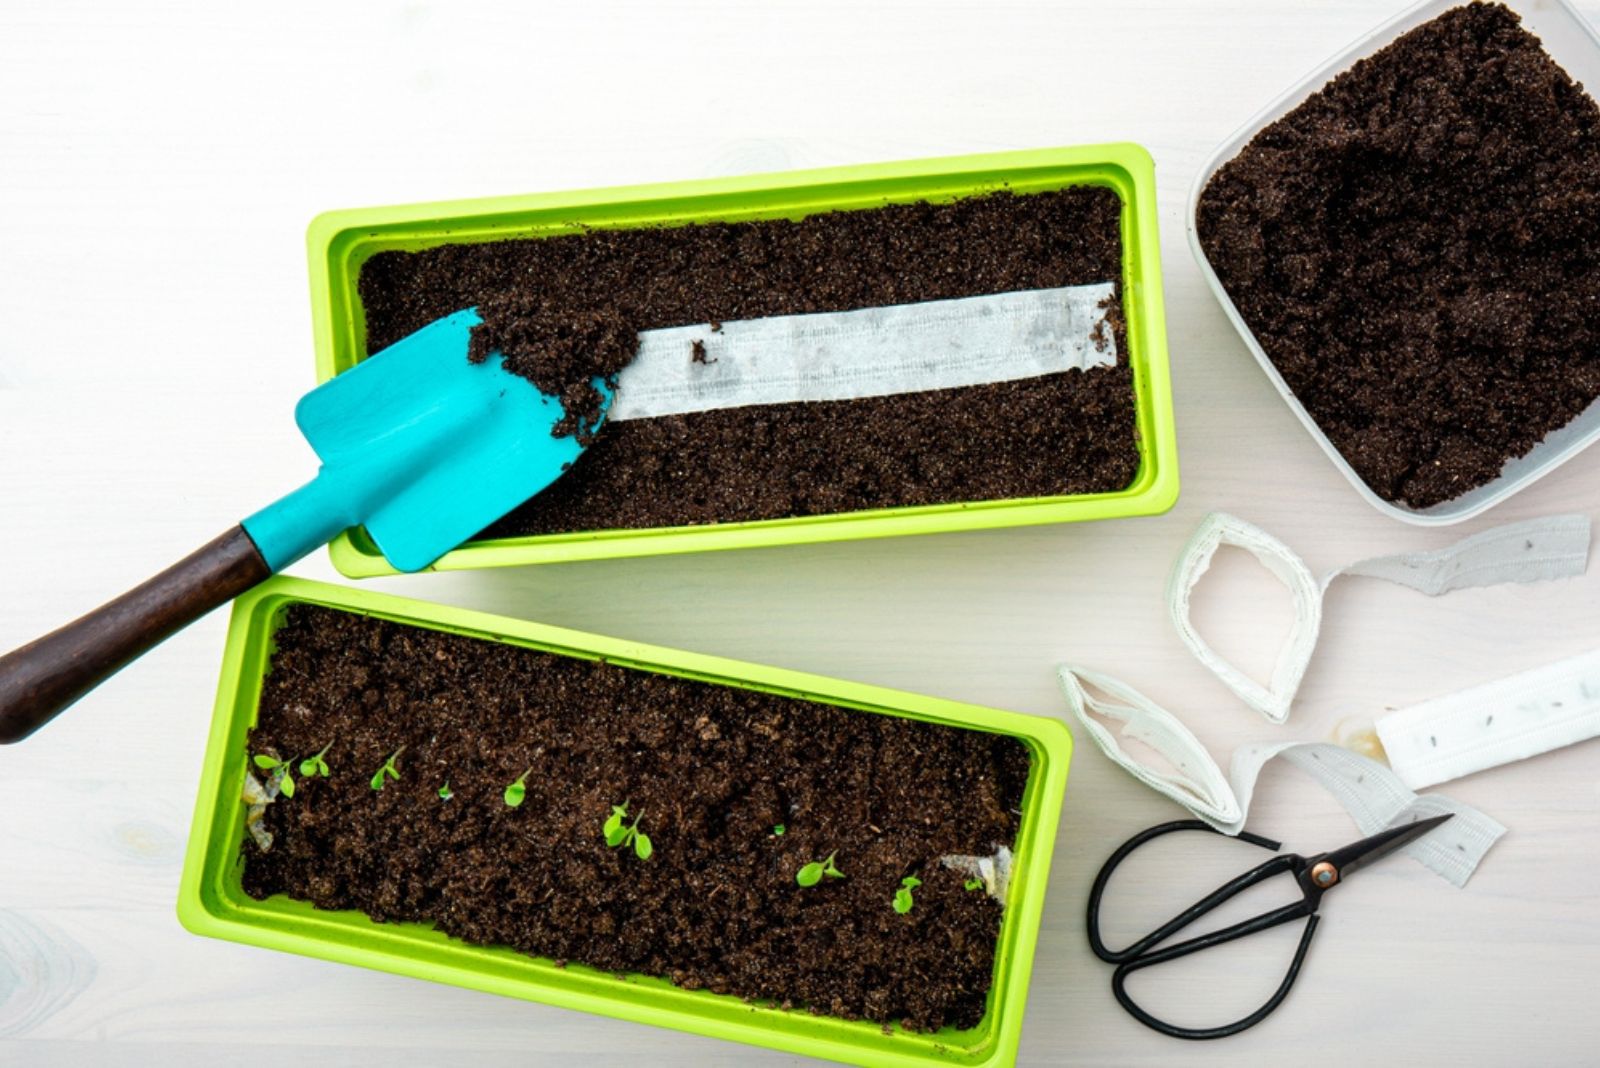
Before you start, gather your materials. It’s like preparing for a crafty mission. You’ll need:
• Seeds (duh!)
• Biodegradable paper (toilet paper or paper towels work perfectly)
• Flour and water (for the glue – no fancy craft store adhesives here!)
• A paintbrush or popsicle stick (to apply that glue like a pro)
Now, I know what you’re thinking: “Wait, I have to make my own glue?”. Yep! But don’t worry, it’s super easy and way cheaper than buying fancy glues. Plus, the flour paste is totally safe for the earth.
Step 2: Make Your Glue (Warning: It’s Not The Same As Baking A Cake)
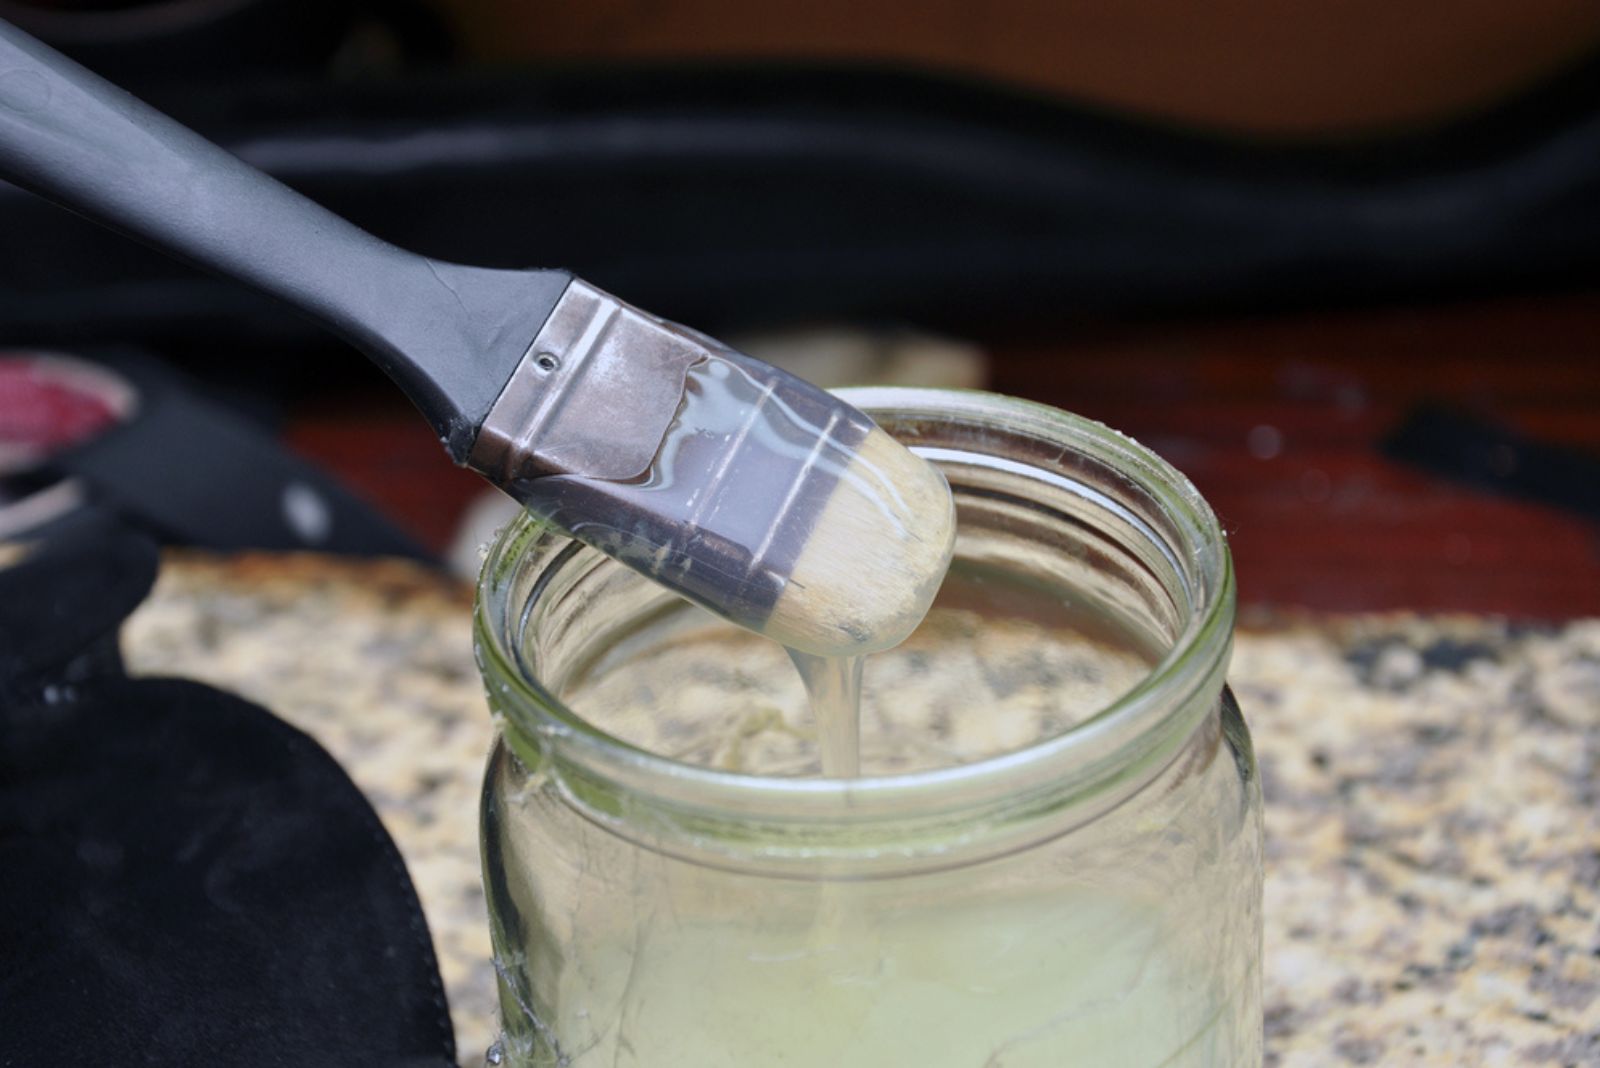
To make your non-toxic, biodegradable glue, mix a bit of flour and water. You’re aiming for a consistency that’s slightly thinner than typical glue.
Think of it as the glue you’d use to make those cute DIY paper crafts – but without the glitter. Mix until you get a nice, spreadable paste.
I made a batch of this, and it felt like I was doing science homework again (minus the messy kitchen)! It’s honestly fun and ridiculously easy.
Step 3: Cut Your Strips
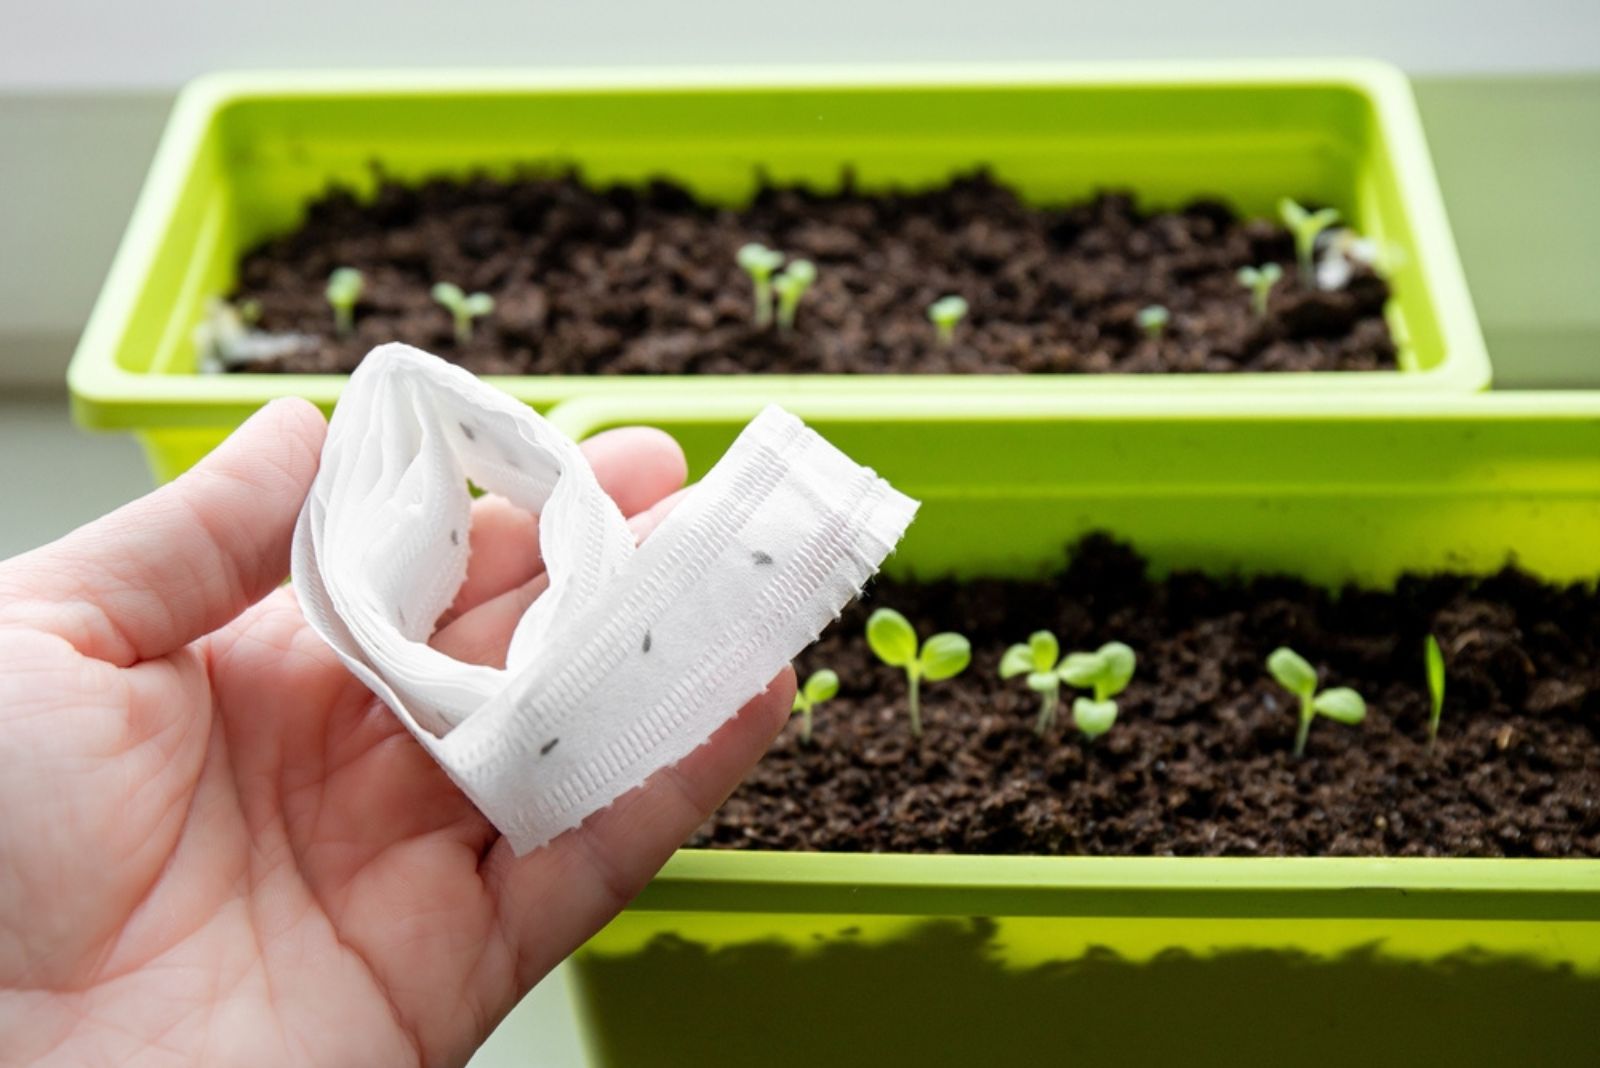
Once your glue is ready, roll out your toilet paper or paper towel and cut it into strips about 1 inch wide.
You don’t have to be super precise – nature isn’t perfect either, right? Just try to keep the strips roughly even, and you’ll be good to go.
And if you’re using toilet paper, cut it in half and stack a few layers together for easier cutting.
In case you’re making seed disks (for indoor pots or small areas), just use a square or circle of paper to fit your pot. You do you!
Step 4: Apply The Glue And Add The Seeds
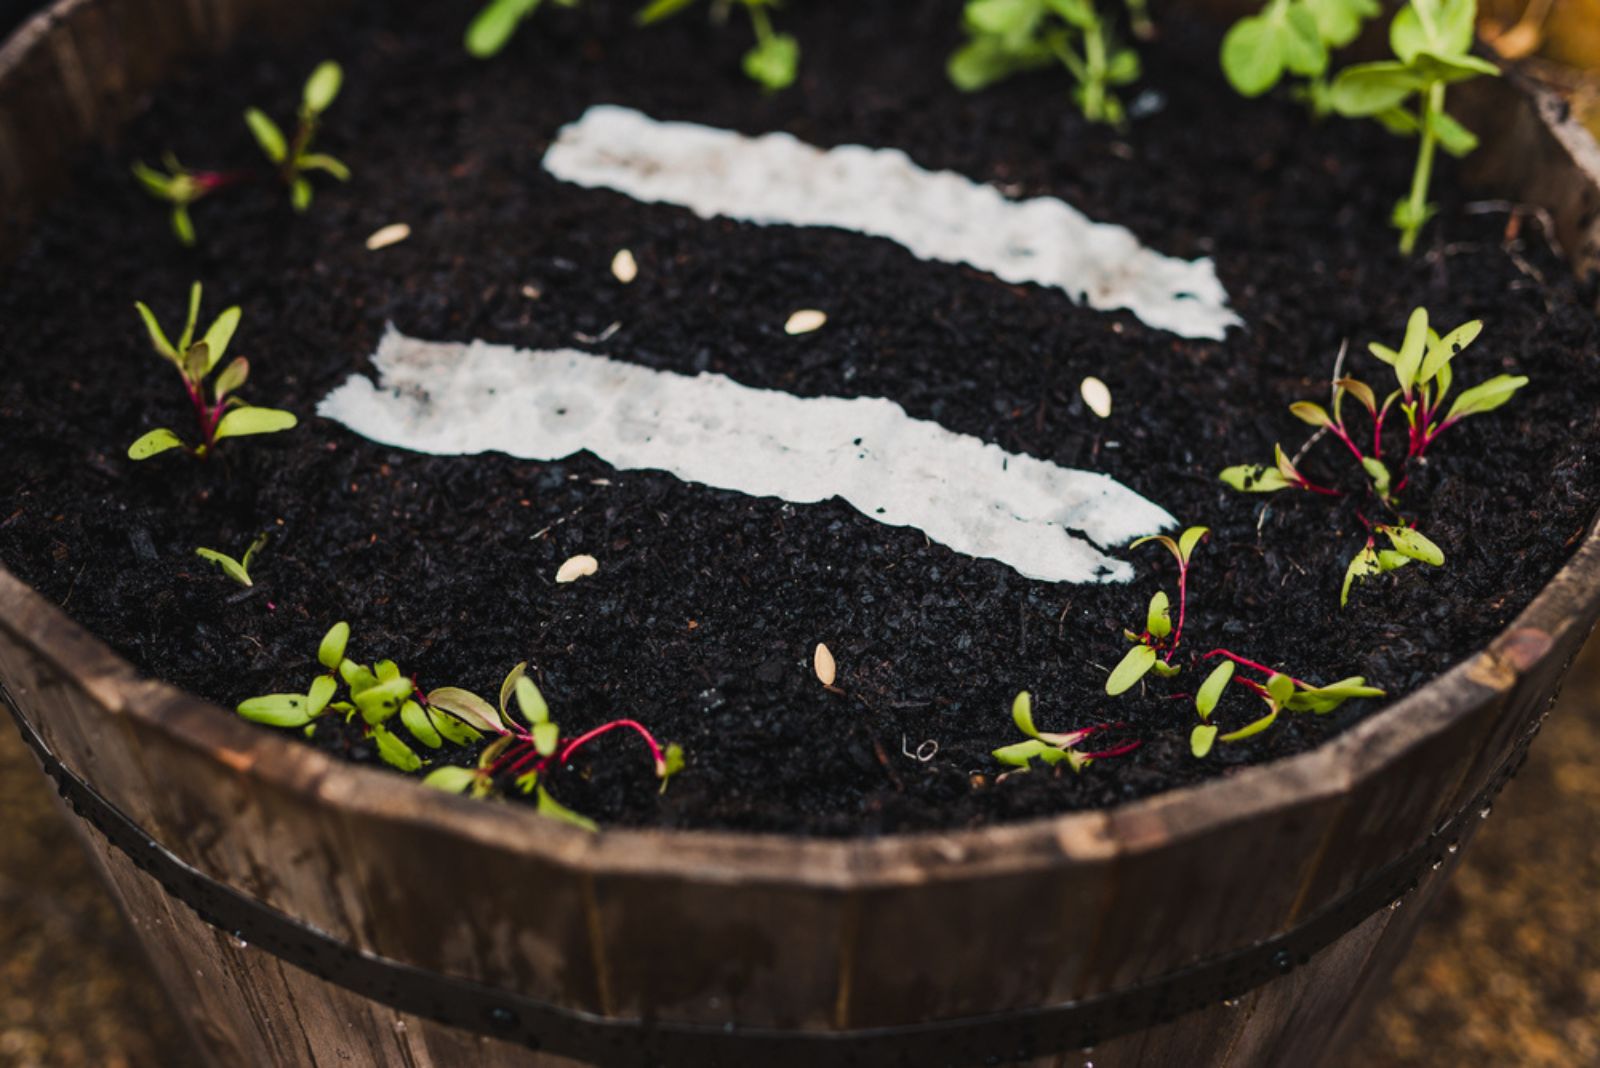
Now comes the fun part: gluing and seeding!
Take your glue and apply little dots to the paper strips, spaced according to your seed packet instructions. I used a popsicle stick to gently dab on the glue.
Once your glue dots are ready, take a few seeds and place them on the glue. Aim for one seed per glue spot, though a little extra never hurt anyone. Be gentle; these little guys are delicate!
Once your seeds are in place, fold the paper over and press gently so everything sticks. If you’re making seed disks, layer two pieces of paper on top and press together.
Let everything dry completely before you get planting.
Step 5: Plant Like A Pro And Get Ready For A Garden Miracle
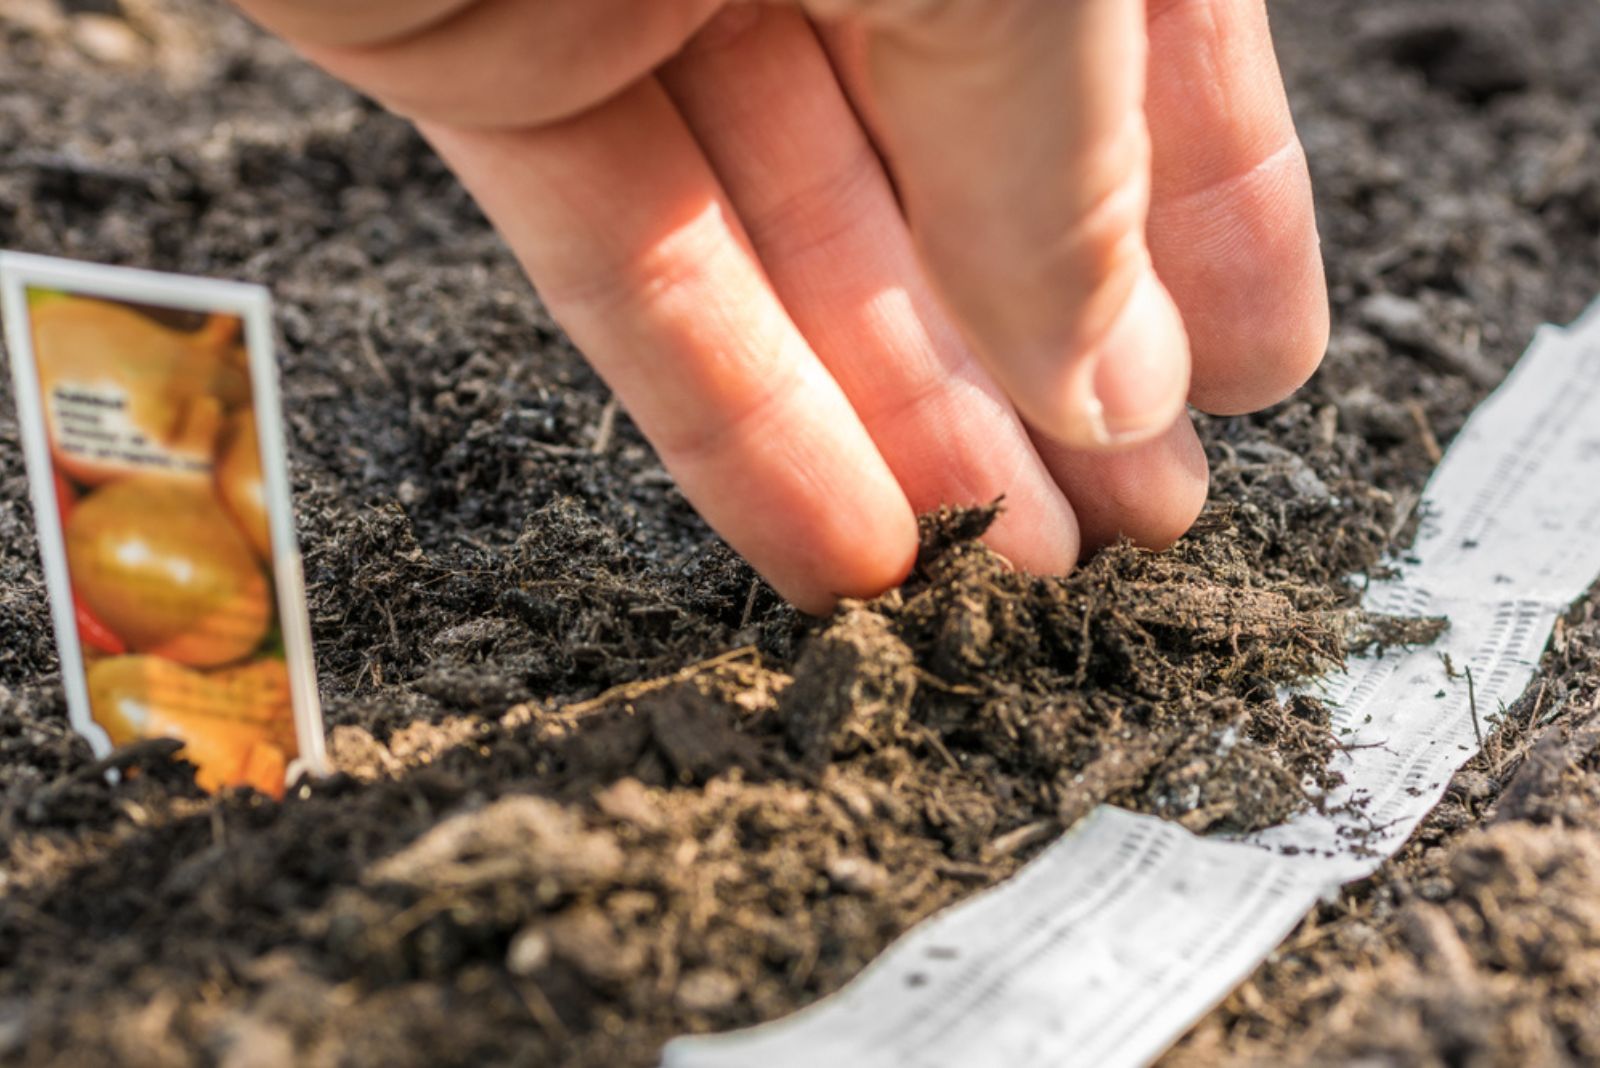
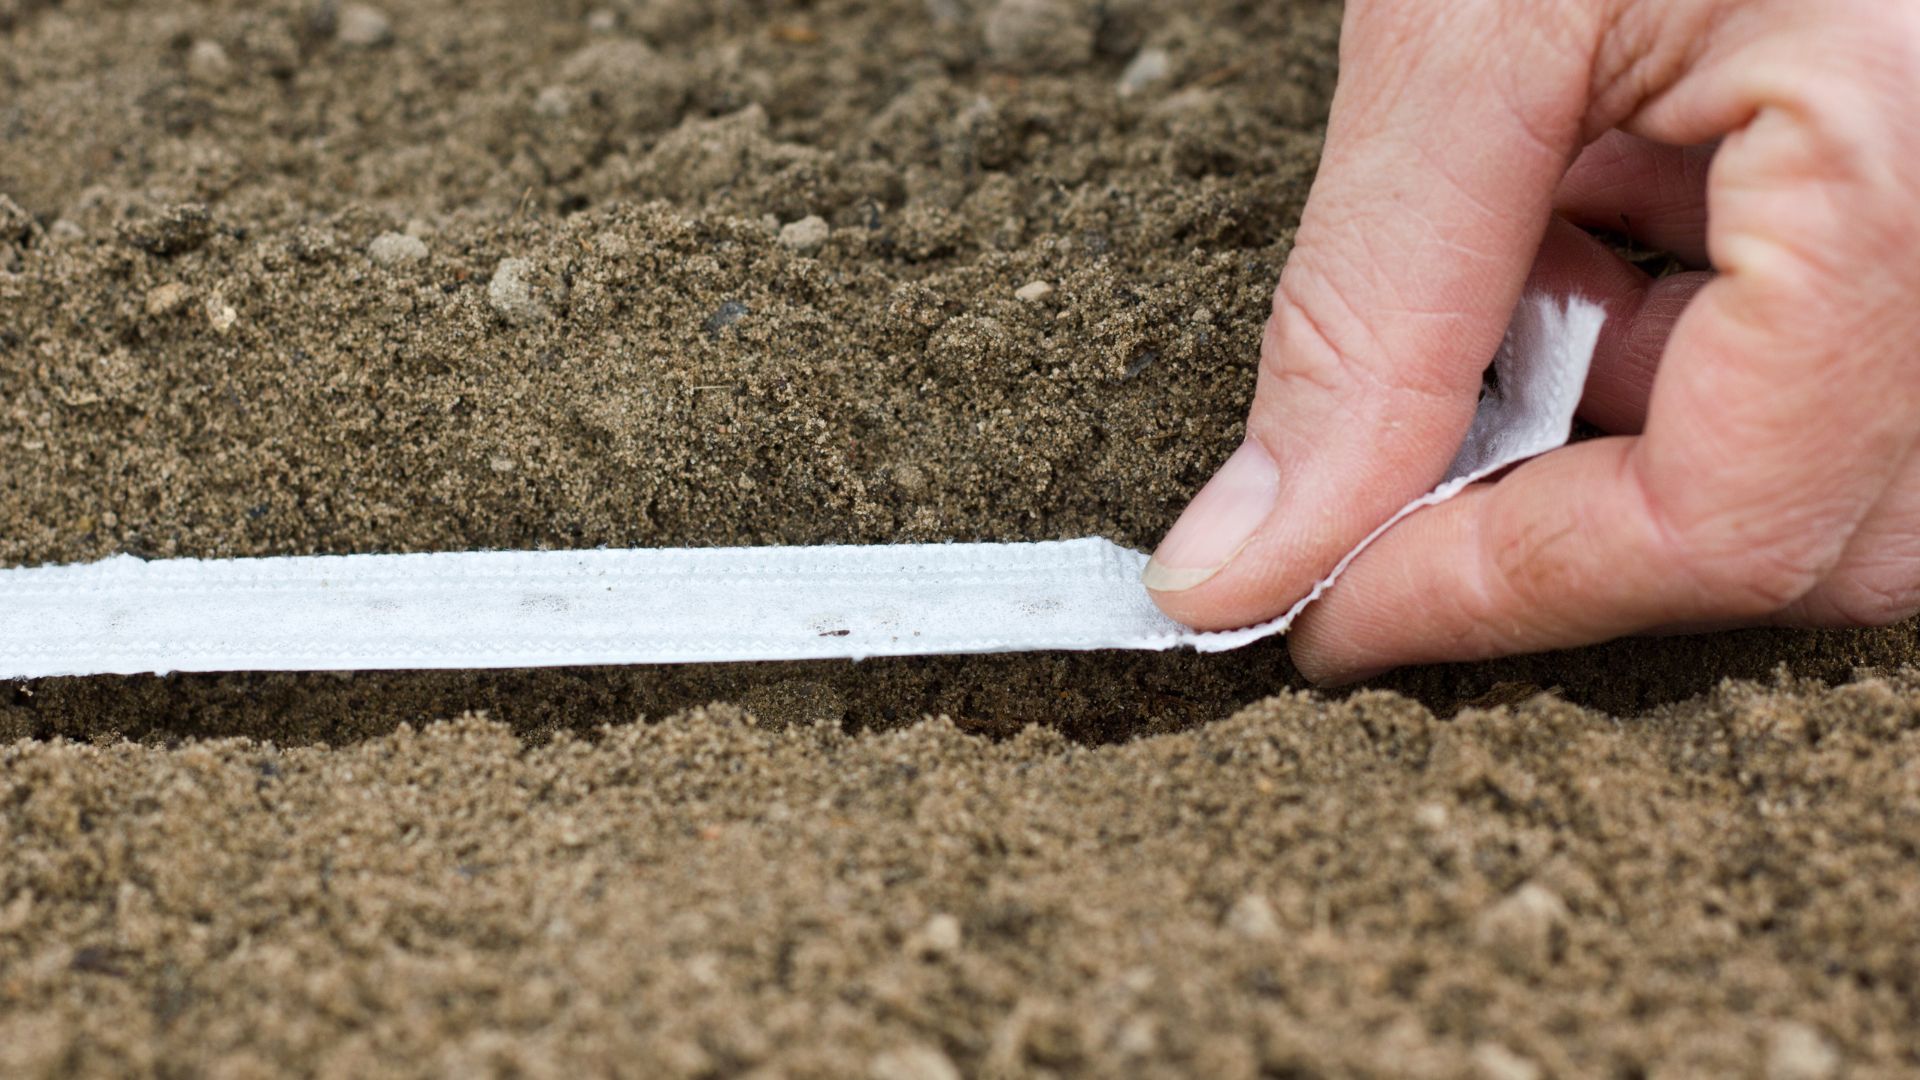
When it’s time to plant, dig little trenches in your garden soil and lay your seed tape down. Cover it with dirt, water gently, and voilà – your garden is officially on its way!
Now, sit back, relax, and maybe even sip some iced tea while your seeds do their thing.
Oh, and don’t forget to keep an eye on your garden for the next week or two. You’ll see those little seedlings start popping up like magic!
With a little creativity and patience, you’ll have the garden of your dreams – one seed tape at a time.

