How To Grow Cherry Trees In Washington That Deliver Blooms And Sweet Fruit
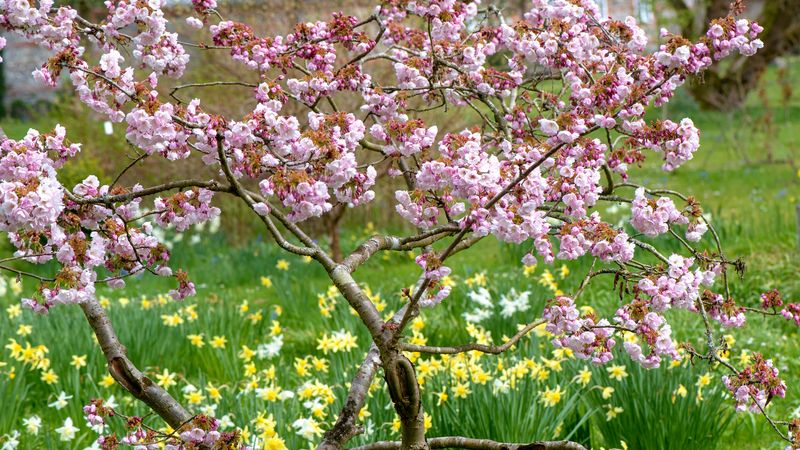
Spring does not whisper when a cherry tree blooms. It shows off.
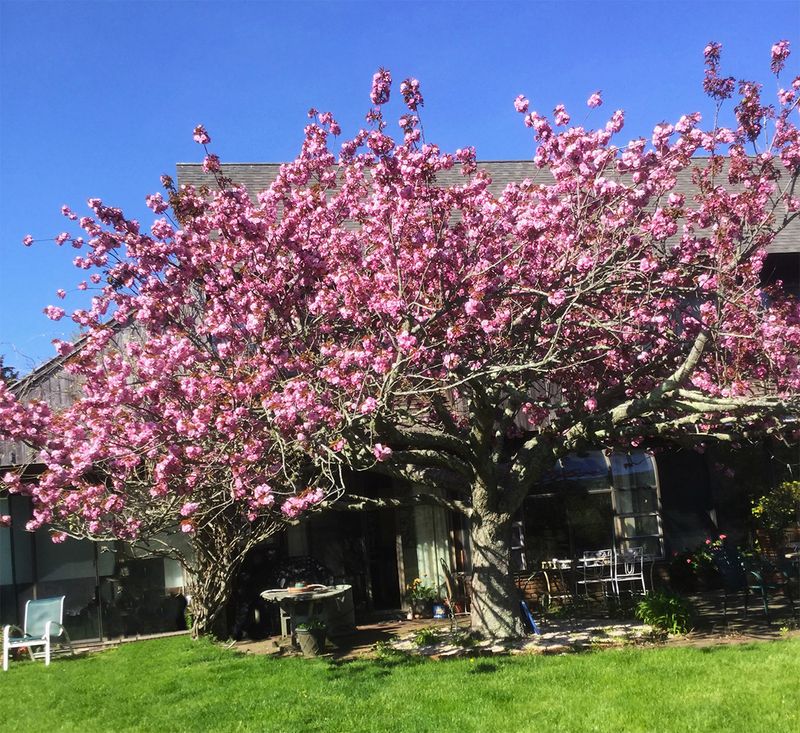
Few things change a yard as completely or as beautifully as a cherry tree covered in blossom. One week, it is simply part of the landscape.
The next, it steals the entire scene with clouds of pink or white flowers and branches that seem to glow in the light.
That is part of what makes growing one so satisfying in Washington. A cherry tree brings more than one moment of beauty.
In spring, it puts on a display that feels almost unreal.
In summer, the right variety can reward you with fresh, juicy fruit straight from your own garden. It is both ornamental and productive, which is a rare combination.
Washington already knows the magic of cherry trees better than most places.
The famous blooms around the Tidal Basin prove just how spectacular they can be here, but you do not need a landmark view to enjoy the same effect.
With the right care, you can bring that burst of color and seasonal drama right into your own backyard.
1. Choosing The Right Cherry Tree Variety For Washington
Not all cherry trees are created equal, and picking the wrong one can leave you frustrated before you even get started. Washington’s climate sits in USDA Hardiness Zone 7a, which means you get cold winters and hot, humid summers.
That combination rules out some varieties but opens the door to many others that thrive beautifully here.
Sweet cherry varieties like Bing and Rainier love cooler climates, so they can struggle in Washington’s summer heat. Sour cherries such as Montmorency are much tougher and tend to perform better in this region.
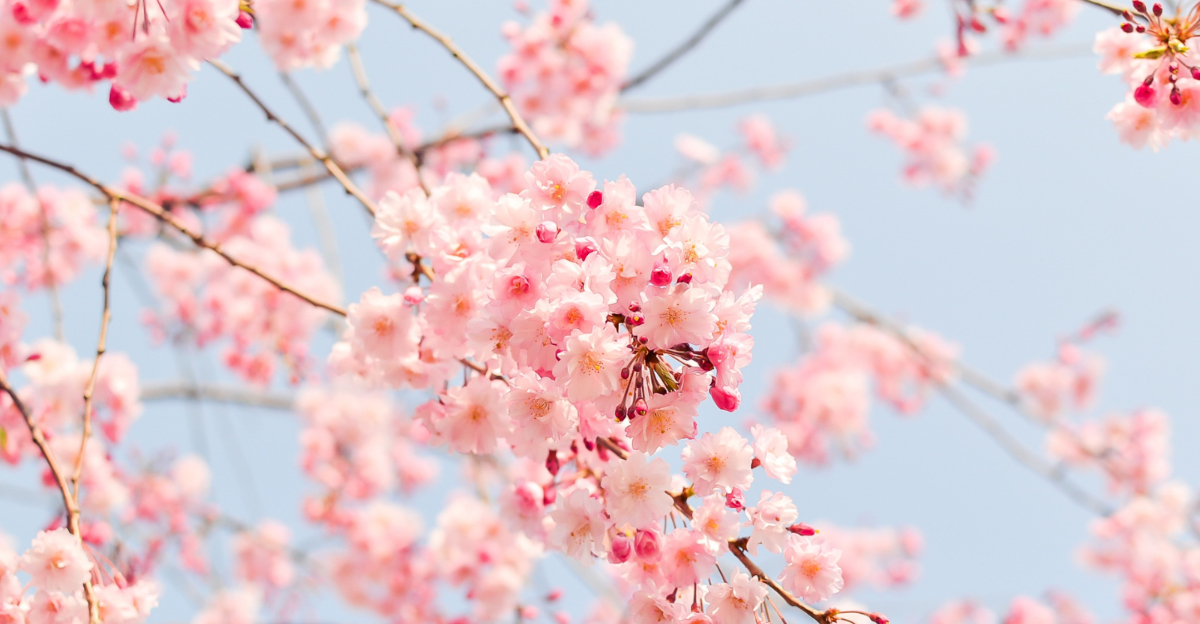
Ornamental varieties like the famous Yoshino cherry, which lines the Tidal Basin, are perfect if blooms are your main goal rather than fruit.
For the best of both worlds, look into self-pollinating varieties like Stella or Lapins sweet cherries, which handle humidity better than older cultivars. Always buy trees from a reputable local nursery so you know the variety is suited to your specific zone.
Starting with the right tree is the single most important decision you will make in this whole growing journey.
2. Finding The Perfect Planting Spot In Your Yard
Sunlight is everything when it comes to cherry trees, and skimping on it will cost you blooms and fruit. Cherry trees need at least six to eight hours of direct sunlight every single day to perform at their best.
Walk around your yard at different times of day to map out where the sun actually hits before you dig a single hole.
Drainage matters just as much as sunlight. Cherry trees absolutely hate sitting in soggy soil, and Washington’s occasional heavy rains can create waterlogged spots in yards that look perfectly fine on a dry day.
Avoid low-lying areas where water collects after storms, and choose a slight slope or raised bed if your yard tends to stay wet.
Air circulation is another factor most beginners overlook completely. Good airflow around your tree helps prevent fungal diseases, which are a real concern in Washington’s humid summers.
Keep your tree away from walls, fences, and dense hedges that block the breeze. A spot that gets morning sun is especially valuable because it dries the dew off the leaves quickly, reducing the risk of disease right from the start of each day.
3. Soil Preparation And Planting Steps That Actually Work
Great soil is the foundation of every thriving cherry tree, and getting it right before planting saves you years of problems. Cherry trees prefer slightly acidic soil with a pH between 6.0 and 6.5.
Pick up a simple soil test kit from your local garden center and test your yard before you do anything else.
If your soil is too heavy with clay, which is common in many Washington-area yards, mix in generous amounts of compost and coarse sand to improve drainage and texture.
Work these amendments into the top 12 to 18 inches of soil so the roots have plenty of loose, rich ground to grow into. Avoid using fresh manure, which can burn young roots and throw off your soil chemistry.
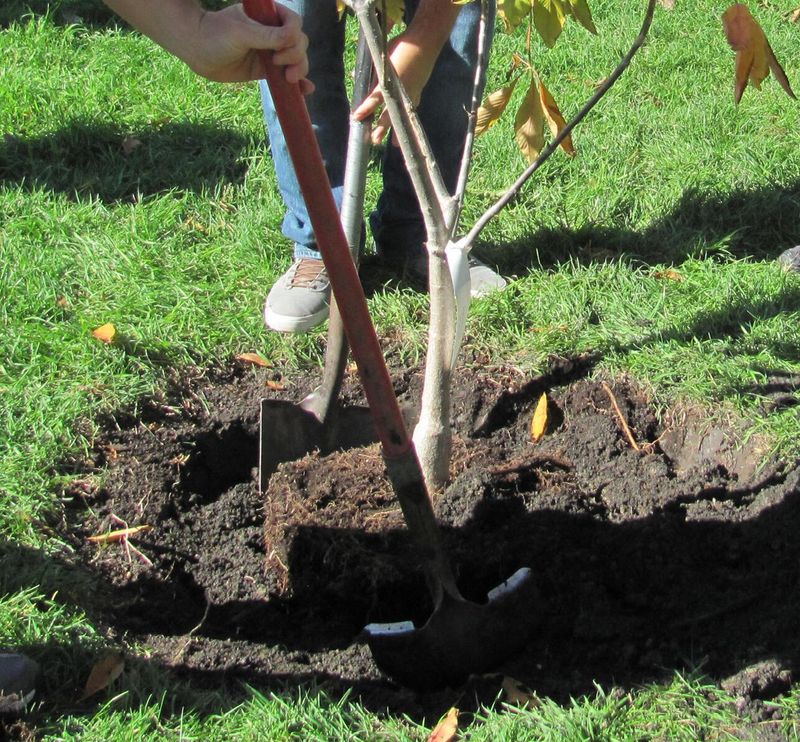
When you are ready to plant, dig a hole twice as wide as the root ball but no deeper than the root ball itself. Set the tree so the graft union sits about two inches above the soil surface.
Backfill with the original soil mixed with compost, water deeply, and add a two-inch layer of mulch around the base to hold moisture. Never pile mulch directly against the trunk, as this invites rot and pests.
4. Watering And Fertilizing For Strong, Healthy Growth
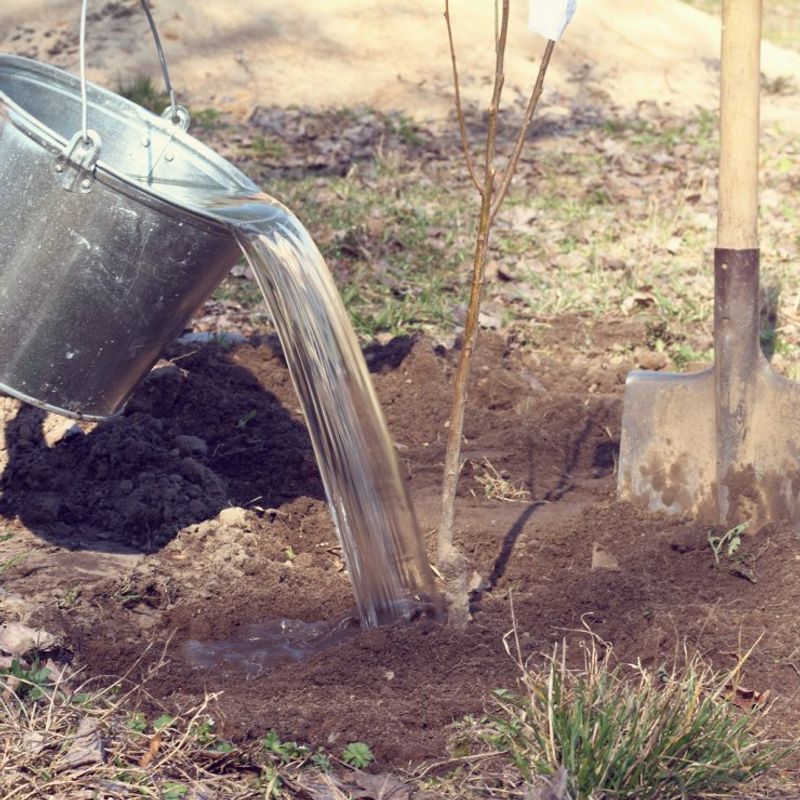
Watering a cherry tree sounds simple, but doing it wrong is one of the most common mistakes home gardeners make. Newly planted trees need about one inch of water per week during their first growing season to establish strong roots.
Deep, slow watering is far better than frequent shallow sprinkles because it encourages roots to grow down into the soil rather than staying near the surface.
Once your tree is established, usually after the first full year, it becomes much more drought-tolerant. Still, during Washington’s hot July and August days, keep an eye out for wilting leaves or dry soil and give the tree a good soak when needed.
A thick layer of mulch around the base helps the soil hold moisture between watering sessions and keeps roots cool during summer heat.
Fertilizing cherry trees is about balance, not more being better. Too much nitrogen produces lots of leafy growth but very few flowers and fruit.
Use a balanced 10-10-10 fertilizer in early spring just as new growth begins, and avoid fertilizing after midsummer. Late fertilizing pushes new soft growth that gets damaged by early fall cold snaps.
A light hand with fertilizer produces stronger, healthier trees over time.
5. Pruning Cherry Trees For Maximum Blooms And Fruit
Pruning is one of those garden tasks that feels scary at first but makes a massive difference in how your tree performs. The goal of pruning a cherry tree is to create an open canopy that lets sunlight and air reach every branch.
More light inside the tree means more blossoms, better fruit development, and fewer disease problems overall.
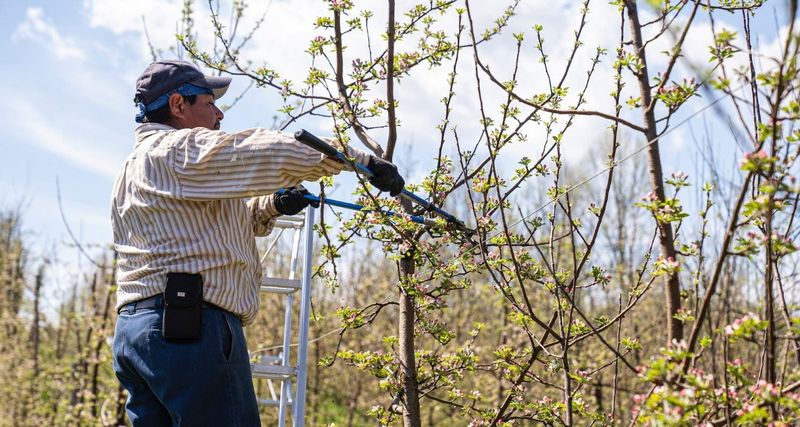
The best time to prune cherry trees is late winter or very early spring, just before new buds start to swell and open. Pruning during this window reduces the risk of disease entering through fresh cuts.
Always use clean, sharp tools and make smooth cuts just outside the branch collar, which is the slight ridge where the branch meets the trunk or main limb.
Focus on removing branches that cross and rub against each other, any shoots growing straight up called water sprouts, and any dead or damaged wood. Take out no more than one-quarter of the tree’s total canopy in a single year to avoid stressing the tree.
Young trees benefit from light shaping in their first three years to build a strong, balanced structure that will support heavy fruit loads for many years to come.
6. Managing Pests And Diseases In Washington’s Climate
Washington’s warm, humid summers create the perfect storm for certain cherry tree pests and diseases, but a little prevention goes a long way.
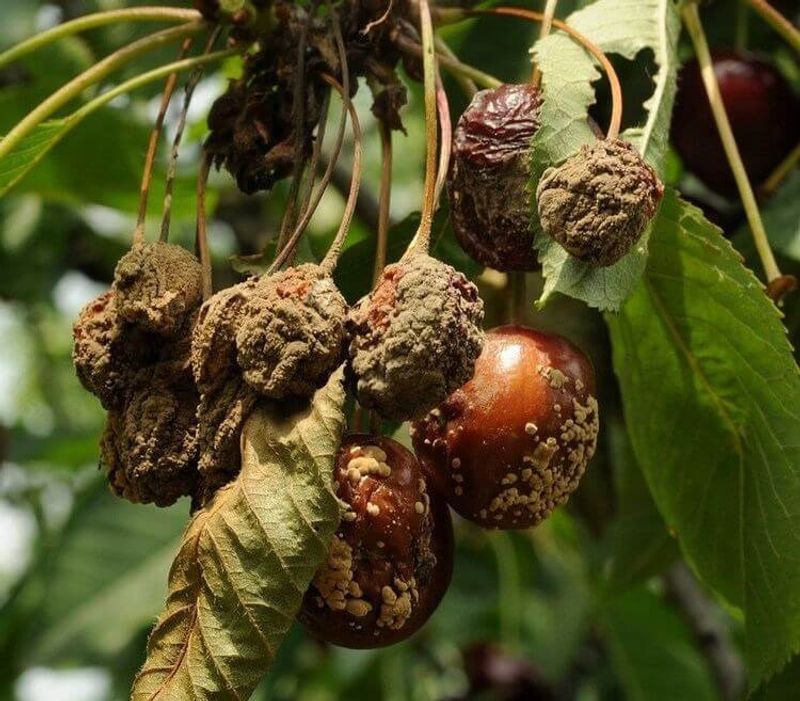
Brown rot is the most common fungal problem you will face, turning ripening fruit into shriveled, fuzzy brown mummies almost overnight during wet spells.
Keeping the canopy open through regular pruning and removing fallen fruit immediately helps break the cycle before it gets out of hand.
Powdery mildew and leaf spot are two other fungal issues that love humid conditions. Both can be managed with neem oil or copper-based fungicide sprays applied early in the season before symptoms appear.
Always follow label directions and spray in the early morning so the solution dries before the heat of the day.
On the pest side, cherry fruit flies and aphids are the main troublemakers in this region. Yellow sticky traps hung in the tree canopy in late spring help you monitor fruit fly populations before they explode.
For aphids, a strong spray of water from the hose knocks them off young shoots effectively. Birds are another challenge since they love ripe cherries just as much as you do, so draping bird netting over the tree as fruit starts to color is a smart and simple solution.
7. Harvesting And Enjoying Your Washington Cherry Tree
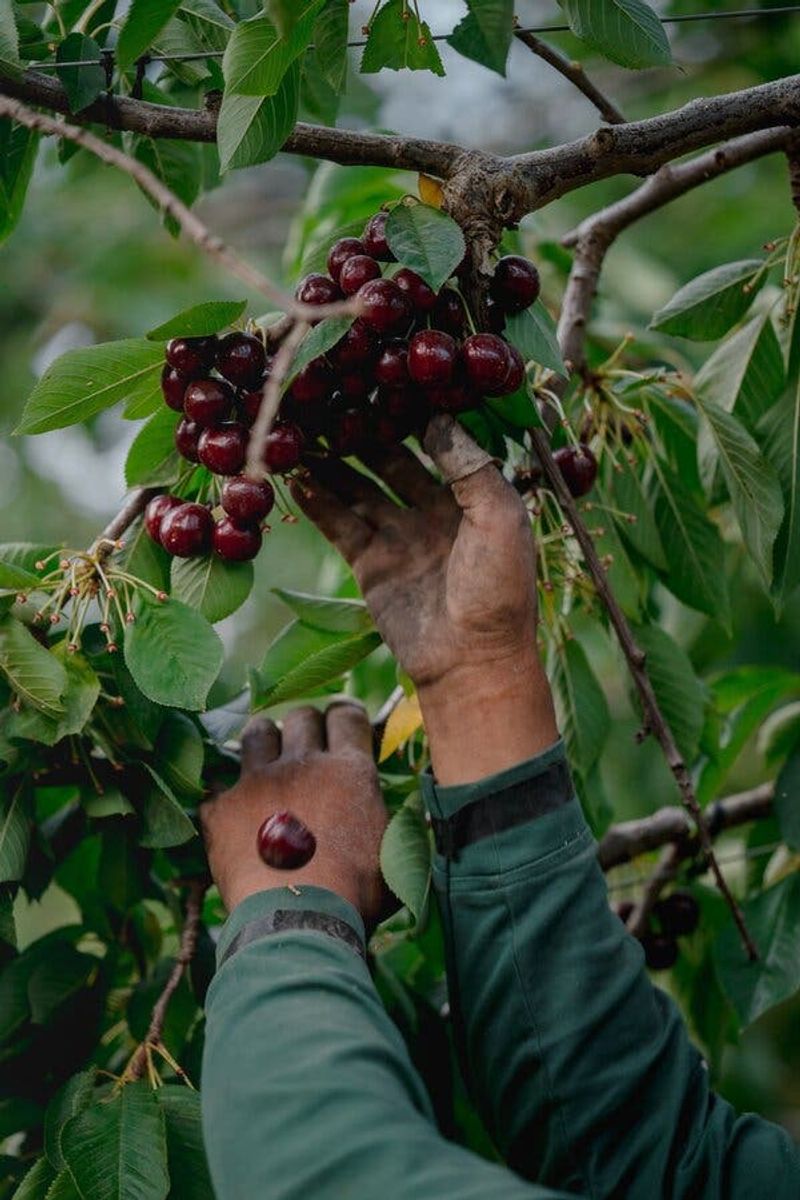
There is nothing quite like walking out to your backyard and picking fresh cherries straight off the tree you planted yourself. Sweet cherries are ready to harvest when they are fully colored and come off the stem with a gentle twist, usually in late June to early July in Washington.
Sour cherries ripen a bit later and taste best when they have turned a deep, rich red all the way through.
Harvest in the morning when temperatures are still cool, and try to keep the stems attached to the fruit to extend shelf life.
Fresh cherries last about one week in the refrigerator, so plan to use them quickly or preserve them by freezing, making jam, or baking them into pies and cobblers. Frozen cherries hold their flavor remarkably well and can be enjoyed all winter long.
Do not forget to enjoy the blooming season too, which is often just as rewarding as the fruit harvest. Washington’s cherry blossom season typically peaks in late March to early April, drawing visitors from all over the world to the National Mall.
Having your own blossoming cherry tree at home means you get a front-row seat to that same beauty every single spring, right outside your door.