How To Grow Microgreens At Home And Keep Them Going Through Winter
Microgreens feel like a tiny win at home because they sprout fast and bring a little spark back into winter days.
You toss a few seeds into a tray and suddenly there’s fresh green popping up on your counter like it’s trying to lift your mood.
The whole thing feels surprisingly fun, and the fresh flavor hits harder when everything outside looks cold and sleepy.
The Simple Setup That Gets Your Microgreens Sprouting Fast
Starting with microgreens feels exciting because you really do not need much space or fancy equipment to get those seeds growing strong and healthy.
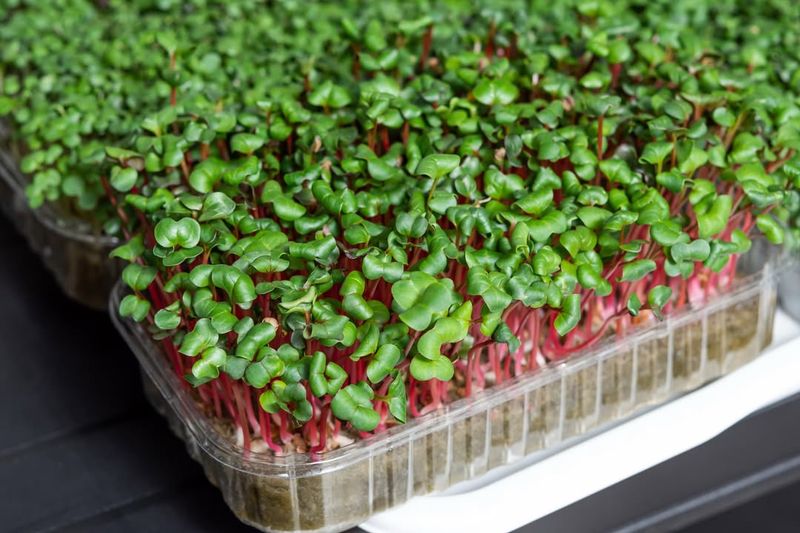
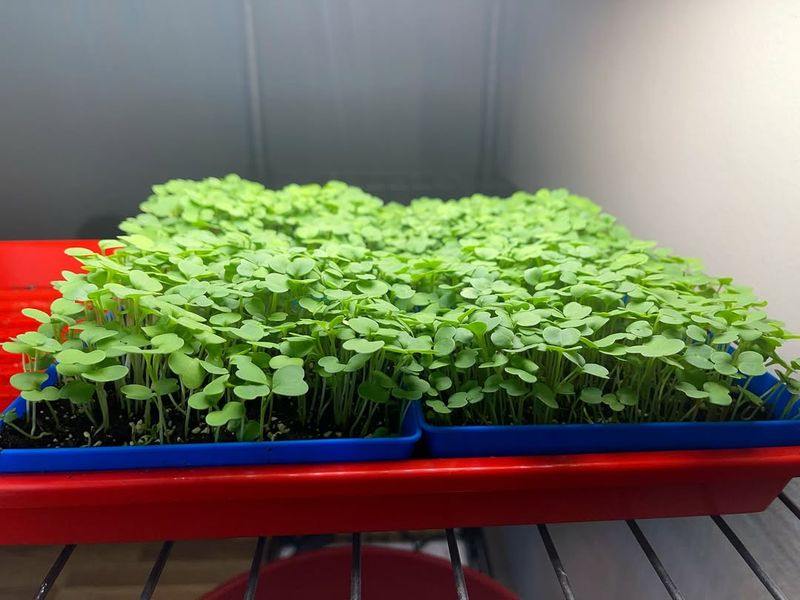
All you need is a shallow tray some good quality potting soil and a packet of seeds that you can buy from any garden center.
Fill your tray with about an inch of moist soil and sprinkle your seeds evenly across the surface without crowding them too much at all.
Press the seeds gently into the soil and mist them with water so they stay damp but not soaking wet which could cause problems later on.
Cover the tray with a lid or plastic wrap to keep moisture in and place it somewhere warm like your kitchen counter for now.
Check on your seeds daily and mist them lightly if the soil starts to look dry because consistent moisture is the secret to fast sprouting.
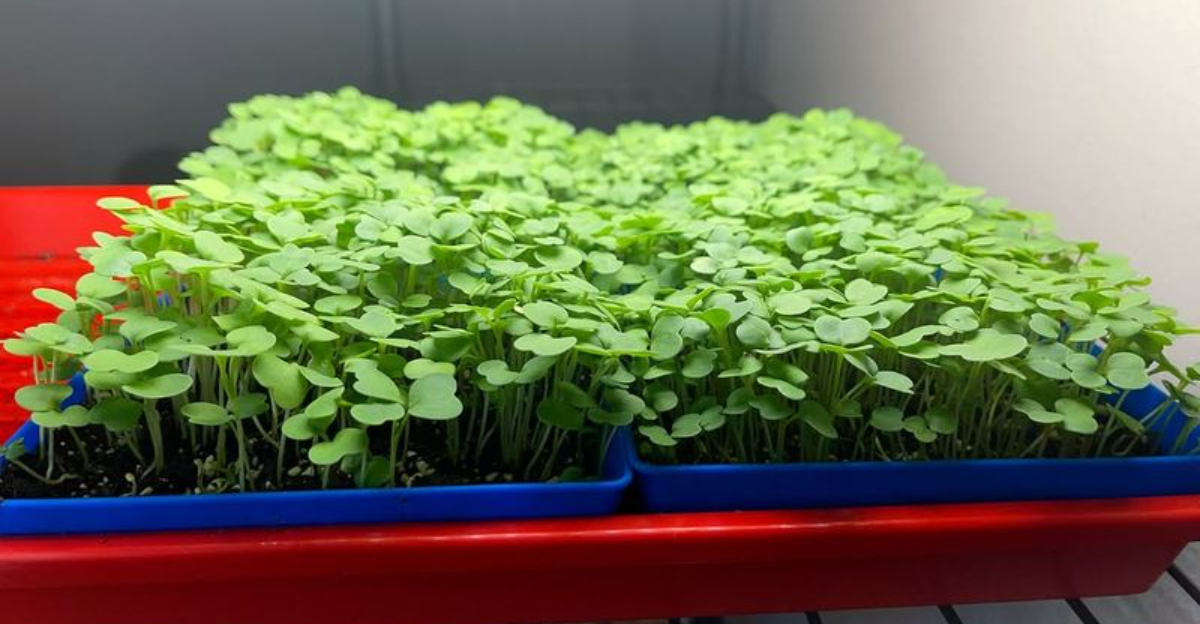
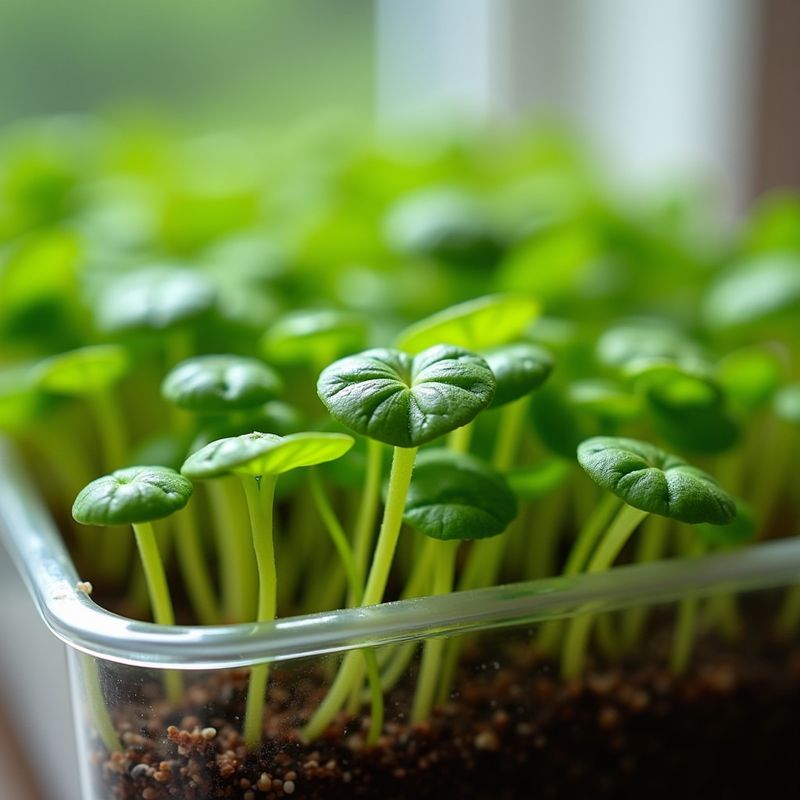
Within just a few days you will see tiny green shoots popping up and that is when you know your setup is working perfectly.
Why A Sunny Window Isn’t Enough In Winter

You might think placing your microgreens by the brightest window in your home will give them all the light they need to grow tall.
Winter sunlight is much weaker than summer rays and the days are shorter so your greens will not get enough energy to stay healthy and strong.
Without adequate light microgreens start stretching toward the window and they become leggy pale and weak which is not what you want at all.
Even a south facing window might not provide the intensity or duration of light that these fast growing plants really need during the cold months.
Your greens need at least twelve to sixteen hours of bright light each day to develop thick stems and vibrant green leaves full of flavor.
Relying only on natural light means your harvest will be disappointing and you might feel frustrated with how slowly everything grows in your trays.
Understanding this limitation early on helps you plan better and set up a system that actually works for growing microgreens indoors all winter long.
The One Light Trick That Keeps Microgreens Growing Strong
Adding a simple grow light to your setup makes all the difference when you want your microgreens to stay compact vibrant and full of life.
LED grow lights are affordable easy to install and they provide the exact spectrum of light that plants need to grow strong even without sunshine.
Hang the light about six to twelve inches above your trays and set a timer so it runs for fourteen to sixteen hours each day.
This consistent light schedule mimics long summer days and tricks your greens into thinking they are growing in perfect conditions no matter the season outside.
You will notice your microgreens develop thick sturdy stems and deep green color that you just cannot achieve with a windowsill alone during winter months.
Investing in a grow light is one of the best decisions you can make if you want to harvest fresh greens all winter long successfully.
Once you see how well your plants respond to the extra light you will wonder why you ever tried growing them without it before.
How To Pick The Easiest Seeds For Cold-Season Growing
Choosing the right seeds can make your microgreens journey much smoother especially if you are just starting out and want guaranteed success from the beginning.
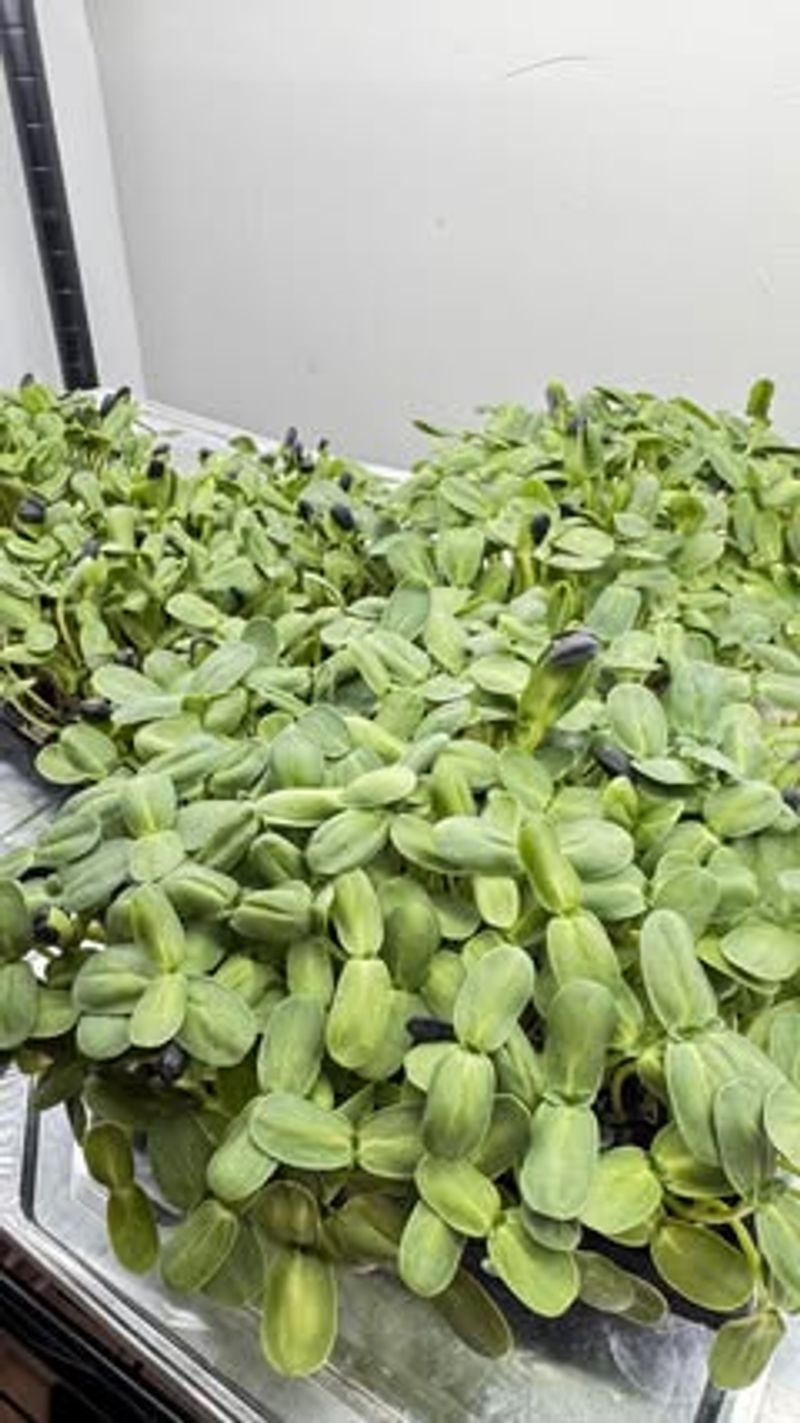
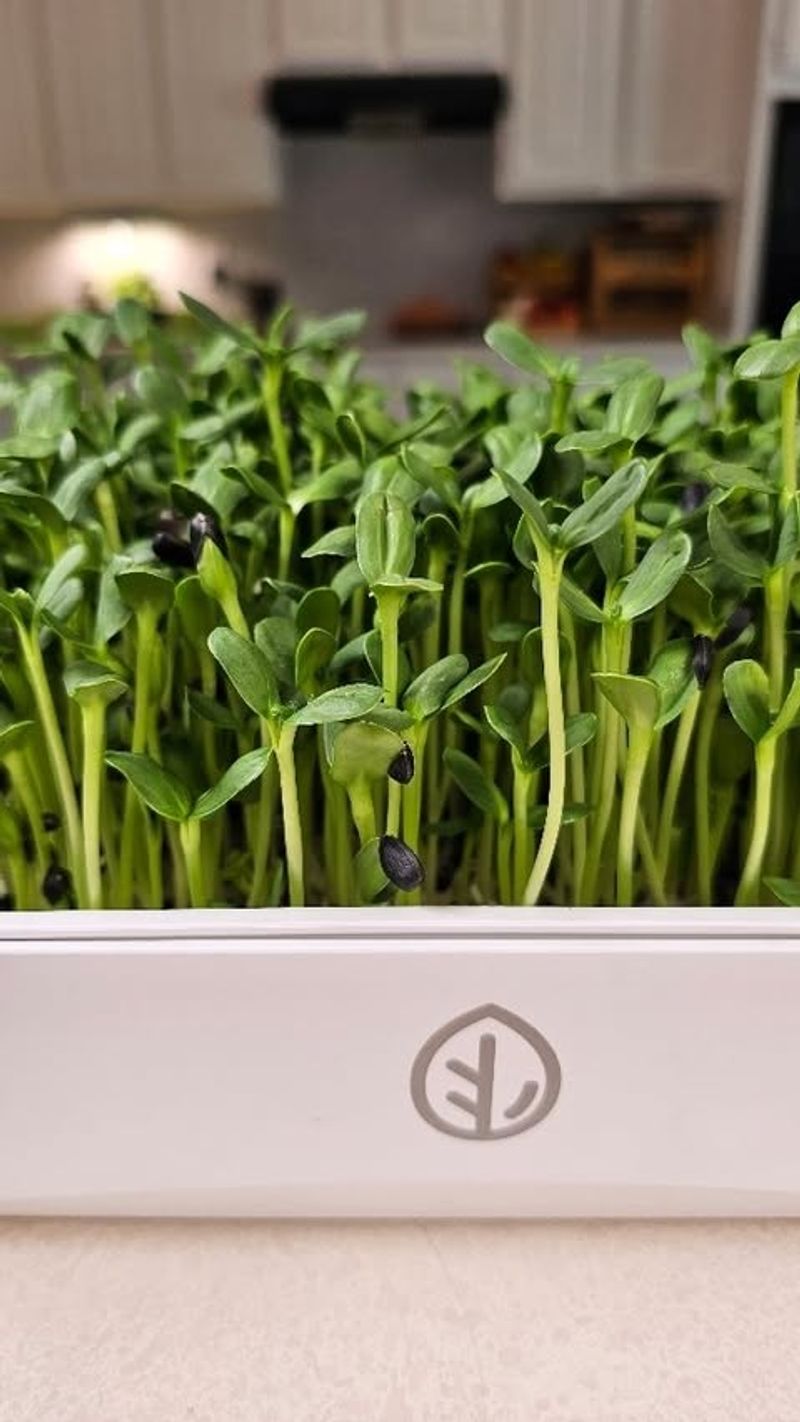
Radish sunflower broccoli and pea seeds are some of the easiest varieties to grow because they sprout quickly and tolerate cooler indoor temperatures really well.
These seeds do not require any special treatment and they grow fast so you will see results in about one to two weeks from planting.
Avoid seeds that need warm soil or complicated soaking routines if you want to keep things simple and stress free during your first few attempts.
Look for organic untreated seeds from a reliable supplier because treated seeds might contain chemicals you do not want in your food or growing space.
Experimenting with different seeds is fun but starting with easy options gives you confidence and helps you learn the basics without too much frustration early on.
Once you master these beginner friendly seeds you can try more exotic varieties and expand your indoor garden with all sorts of flavors and textures.
The Foolproof Watering Routine Every Beginner Can Follow
Watering microgreens correctly is one of those skills that seems simple but it makes a huge difference in how well your plants grow and thrive.
You want to keep the soil consistently moist but never soggy because too much water can cause mold or rot which ruins your entire tray.
Use a spray bottle to mist the soil surface gently once or twice a day depending on how dry your indoor air feels at home.
Check the soil by touching it lightly with your finger and if it feels dry on top give it a light misting right away.
Once your greens are a few inches tall you can switch to bottom watering by pouring water into a tray underneath your growing container.
This method encourages roots to grow deeper and prevents the leaves from getting wet which can lead to disease or mold in the humid environment.
Sticking to a consistent watering schedule takes the guesswork out of growing and helps you produce healthy vibrant greens every single time you plant seeds.
A Cozy Indoor Spot That Helps Microgreens Thrive
Finding the perfect spot in your home for microgreens can feel like a fun treasure hunt because you want warmth light and good air circulation.
Your kitchen is often the best place because it stays warm from cooking and you can easily keep an eye on your trays every day.
Avoid placing your greens near drafty windows or doors because cold air can slow down growth and make your plants look sad and stunted over time.
A shelf near a heating vent or radiator works great as long as the heat is not blowing directly onto the trays which could dry them out.
Good air circulation prevents mold and keeps your greens healthy so choose a spot that is not too closed off or stuffy during the day.
You want a location that is easy to access because you will be misting watering and eventually harvesting your greens multiple times throughout each week.
Once you find that cozy indoor spot your microgreens will reward you with fast growth and lush green leaves that taste fresh and delicious all winter.
The Temperature Sweet Spot Your Greens Need Right Now
Temperature plays a bigger role in microgreens success than most beginners realize and getting it right can speed up growth and improve flavor significantly.
Most microgreens prefer temperatures between sixty five and seventy five degrees Fahrenheit which is comfortable for people too so you do not need special equipment.
If your home feels chilly during winter your seeds might take longer to sprout and your greens could grow slower than you expect them to.
On the other hand temperatures above eighty degrees can stress the plants and cause them to bolt or taste bitter which is not what you want.
Keep your trays away from cold windows and hot radiators to maintain a steady temperature that supports healthy growth without any sudden changes or shocks.
If your home runs cold consider using a heat mat under your trays during the germination phase to give seeds the warmth they need quickly.
Once you nail down the temperature sweet spot your microgreens will grow consistently and you will enjoy fresh harvests without any frustrating setbacks or delays.
A Quick Harvest Method That Keeps New Growth Coming
Harvesting your microgreens at the right time and in the right way ensures you get the best flavor and keeps your growing cycle moving smoothly.
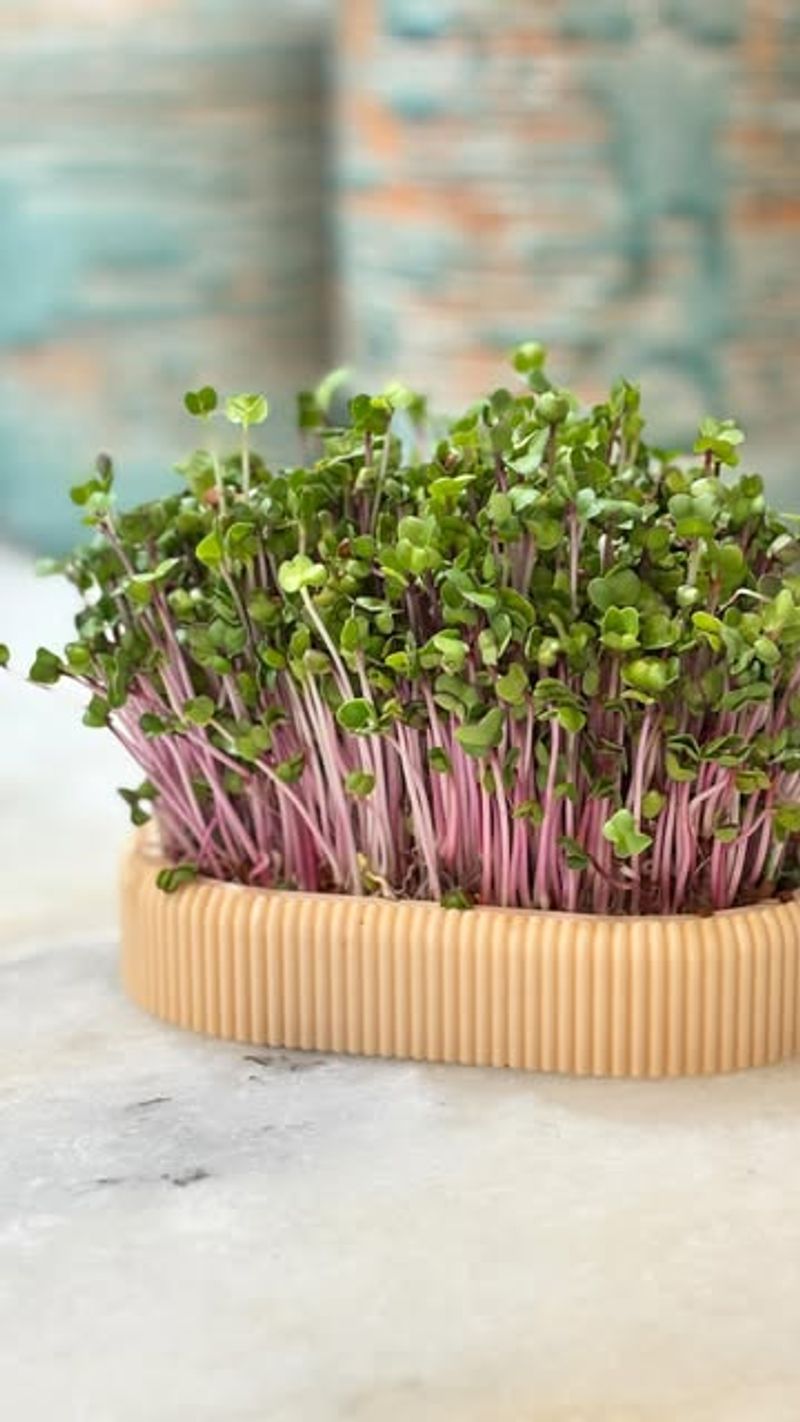
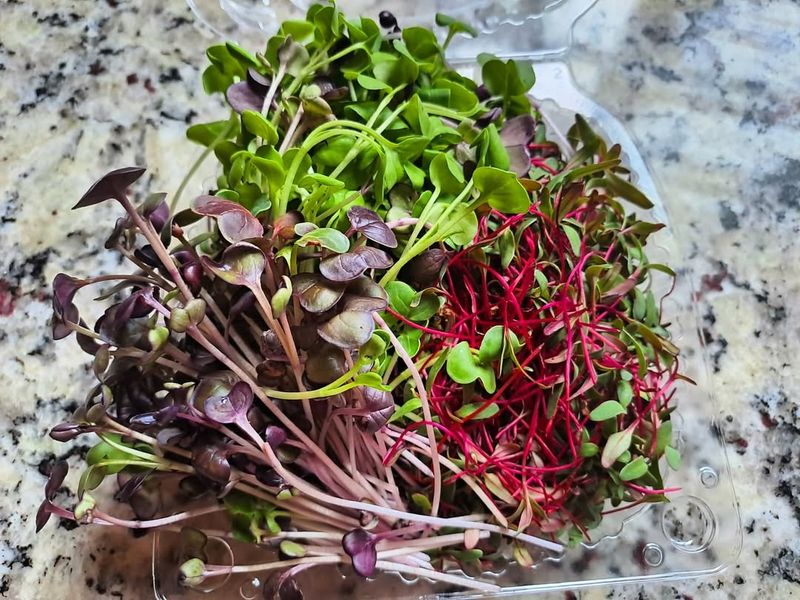
Wait until your greens are about two to three inches tall and have developed their first true leaves before you start cutting them for meals.
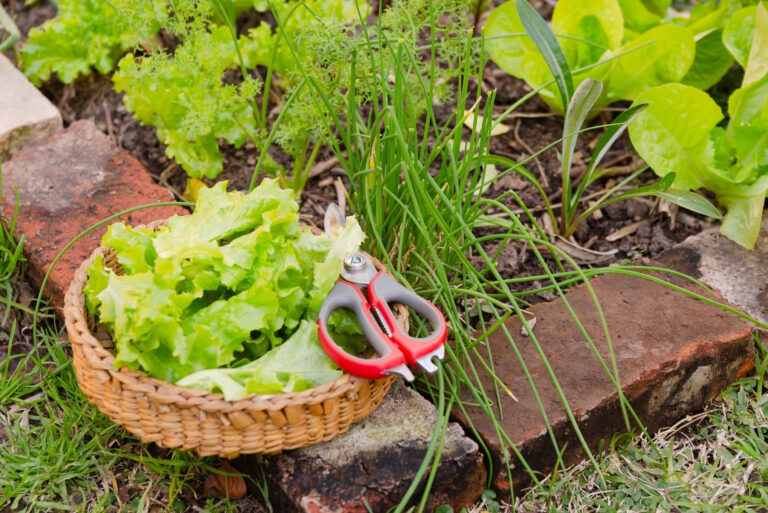
Use clean sharp scissors to snip the stems just above the soil line and harvest only what you need for each meal or recipe today.
This method keeps the greens fresh and prevents waste because microgreens taste best when they are cut right before you eat them at home.
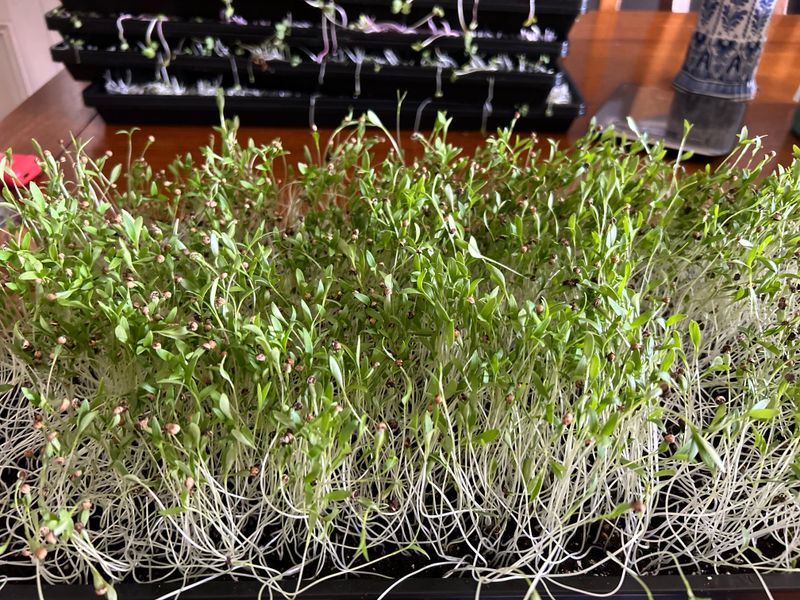
After harvesting one tray you can immediately plant new seeds in a fresh tray so you always have greens at different stages of growth ready.
Rotating trays every week or so creates a steady supply and makes it easy to keep your kitchen stocked with nutritious flavorful microgreens all season.
Once you get into this rhythm harvesting becomes a quick enjoyable task that you look forward to doing several times each week without any hassle.
How To Keep Your Trays Producing Fresh Greens All Season
Keeping a steady supply of microgreens all winter long is easier than you think when you set up a simple rotation system at home.
Start by planting a new tray every three to five days so you have greens at different stages of growth ready to harvest on a rolling schedule.
Label each tray with the planting date so you can keep track of when each batch will be ready to cut and enjoy fresh every week.
This staggered planting method means you will never have too many greens at once or run out completely which can be frustrating for meal planning purposes.
Reuse your trays by cleaning them thoroughly with soap and water after each harvest to prevent mold and keep your growing area sanitary and healthy always.
You can also experiment with different seed varieties in each tray to add variety to your meals and keep things interesting throughout the entire cold season.
Once you establish this routine growing microgreens becomes an effortless part of your weekly schedule and you will enjoy fresh greens without any stress or effort.
The Secret To Avoiding Common Winter Growing Problems
Winter growing brings a few challenges like mold low humidity and pests but knowing how to handle them keeps your microgreens healthy and productive all season.
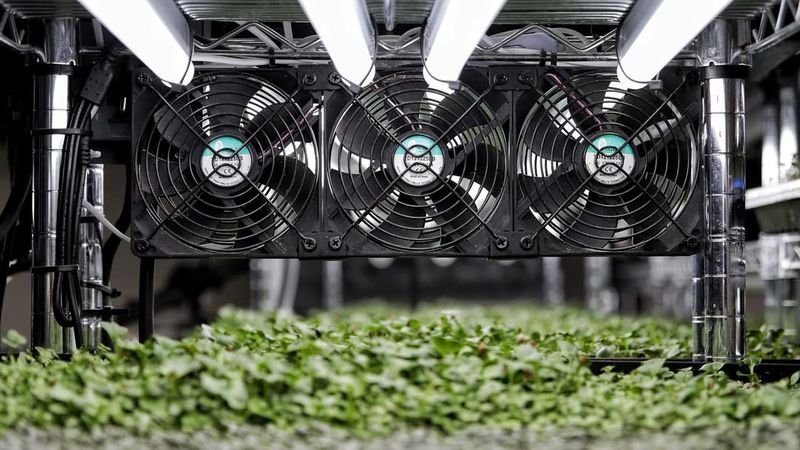
Good air circulation is your best defense against mold so consider placing a small fan nearby to keep air moving gently across your trays each day.
Avoid overwatering because damp conditions combined with warm indoor air create the perfect environment for mold and fungus to develop on your soil surface.
If you notice any mold appearing remove the affected area immediately and adjust your watering routine to keep the soil moist but not soaking wet.
Low humidity from indoor heating can make leaves dry out quickly so misting your greens lightly once or twice a day helps maintain moisture levels.
Keep your growing area clean by wiping down surfaces and washing trays between plantings to reduce the risk of pests and disease taking hold in winter.
With these simple precautions you can avoid most common problems and enjoy a steady harvest of fresh delicious microgreens all winter long without any major setbacks.