How To Grow Your Own Salad Greens Indoors Before Moving Them Outside
Ever dreamt of plucking fresh salad greens right from your kitchen window? Well, you’re in luck! Growing your own salad greens indoors before transitioning them outside is not only rewarding but also surprisingly simple. Let’s embark on this green-thumb journey together and transform your indoor space into a thriving salad sanctuary!
1. Select the Right Seeds
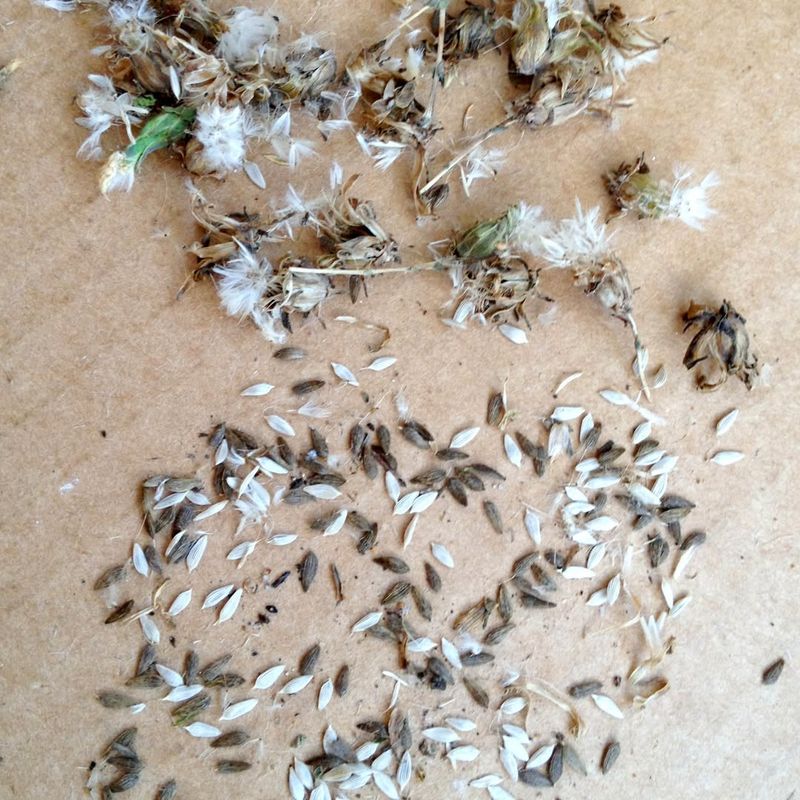
Choosing seeds is like picking the perfect outfit for a party—each one has its charm! Salad greens come in a fantastic variety, so it’s time to explore your options. From spicy arugula to tender baby spinach, there’s something for every palate. Ensure you select seeds labeled as suitable for indoor growing. This tiny detail makes a massive difference in their success rate. Picking the right seeds sets the stage for a bountiful harvest. Get ready to watch your greens come to life!
Once you’ve got your seeds, you’re all set to start planting your very own indoor garden.
2. Gather Your Supplies
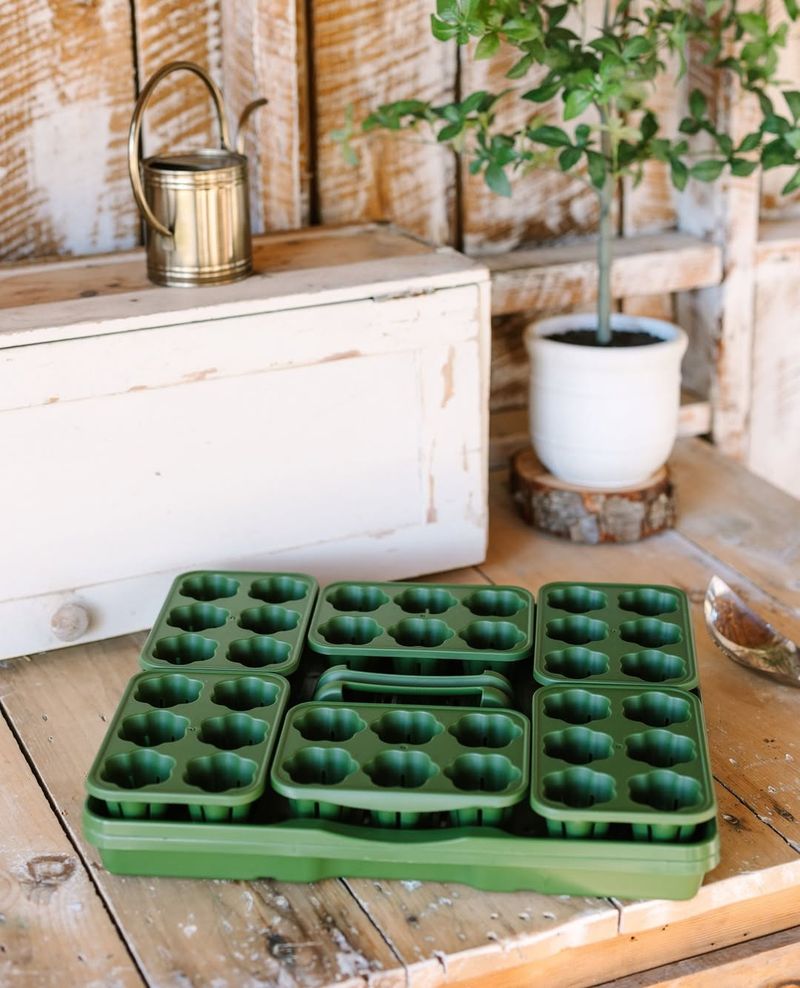
Imagine being a chef without a knife—impossible, right? The same goes for gardening without the right tools. Before you dive into planting, gather your supplies. You’ll need pots, soil, a watering can, and perhaps a grow light. Each tool plays a pivotal role in nurturing your salad greens from seed to sprout.
Think of these supplies as your gardening sidekicks, always ready to lend a helping hand. By assembling everything beforehand, you’ll streamline the planting process and set the stage for success.
3. Pick the Perfect Spot
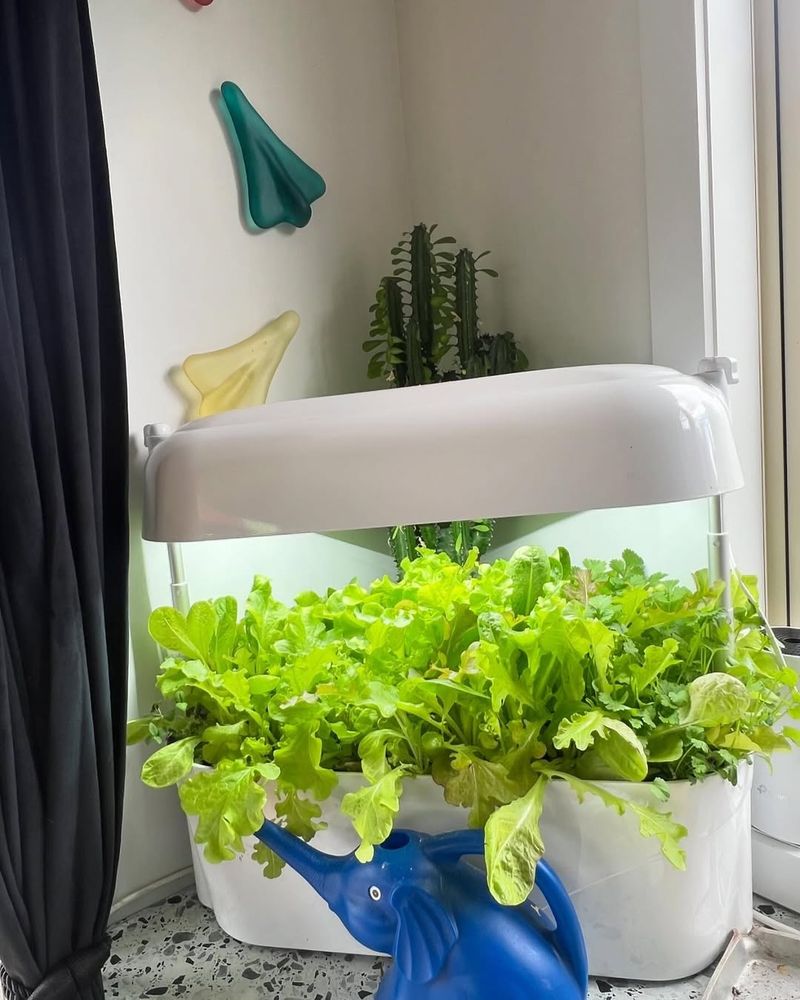
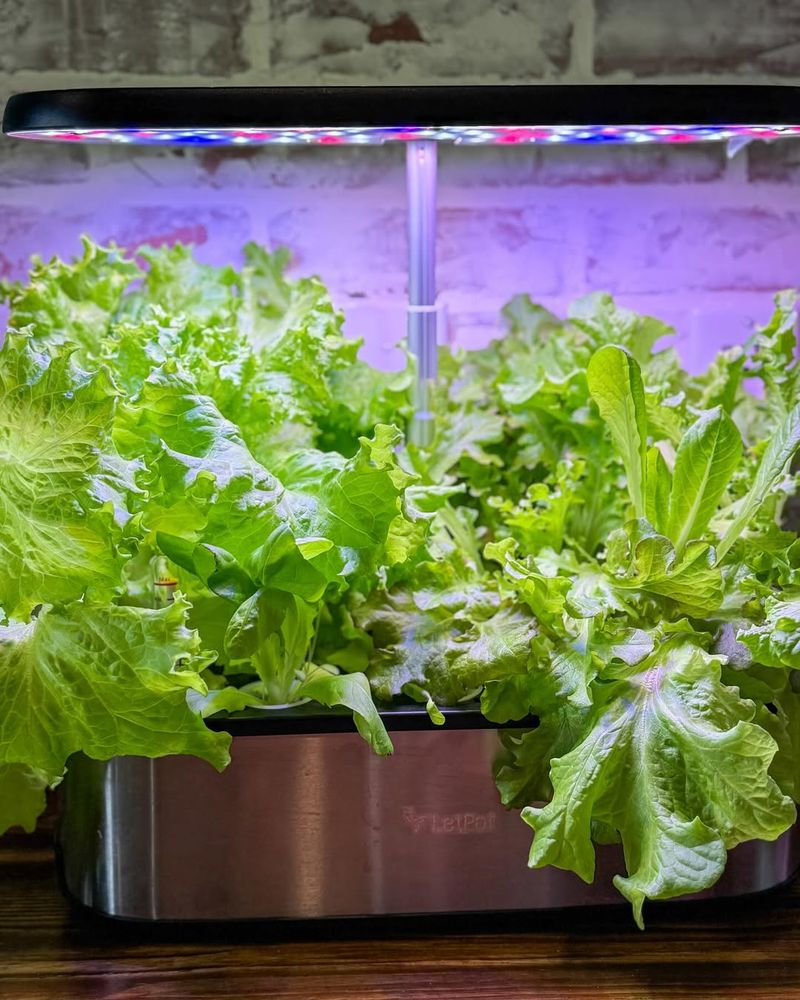
Finding the ideal spot for your greens is like choosing the best seat in a theater. Light is crucial, so aim for a sunny windowsill that bathes your plants in natural sunlight. Salad greens thrive with plenty of light, and positioning them near a window gives them the energy they need to grow strong.
Watch as they bask in the sun, soaking up rays and turning them into delicious leaves. If natural light is scarce, consider using a grow light to supplement their needs. This step is where the magic of growth truly begins.
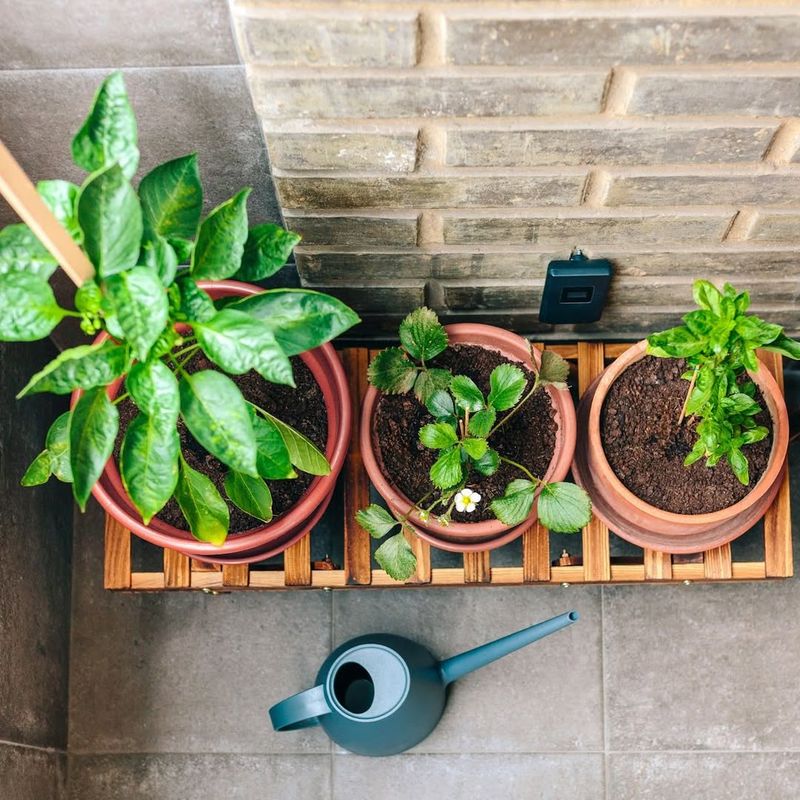
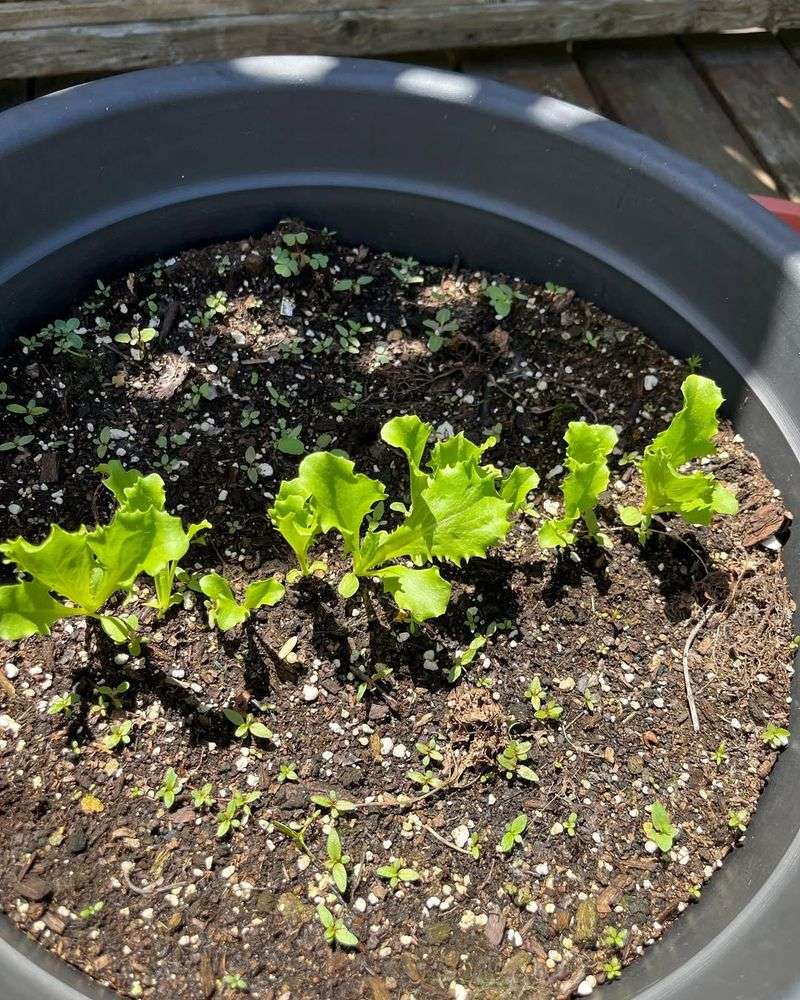
4. Prepare Your Pots
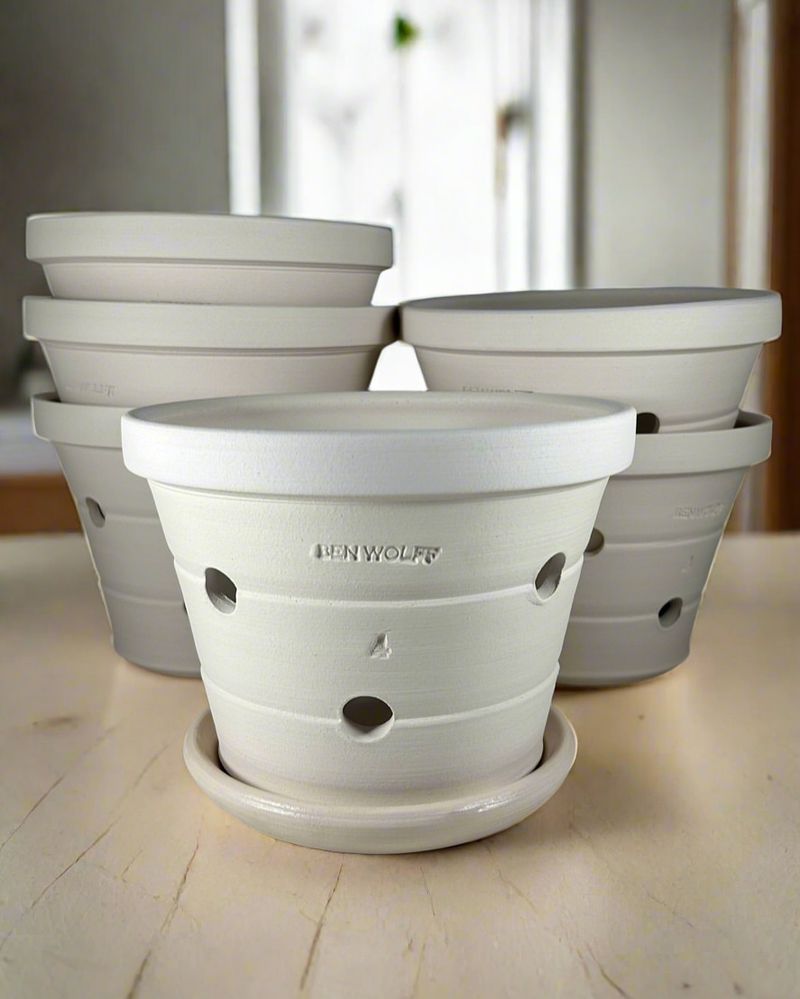
Ready to get your hands dirty? Preparing your pots is a tactile and rewarding experience. Start by filling the pots with nutrient-rich soil, the foundation of your greens’ new home. Ensure good drainage to prevent waterlogged roots, which can dampen your plants’ growth.
Creating the right environment in each pot is like crafting a cozy nest for your seedlings. The better the preparation, the more robust your plants will be as they sprout and flourish. This step is the backbone of successful indoor gardening.
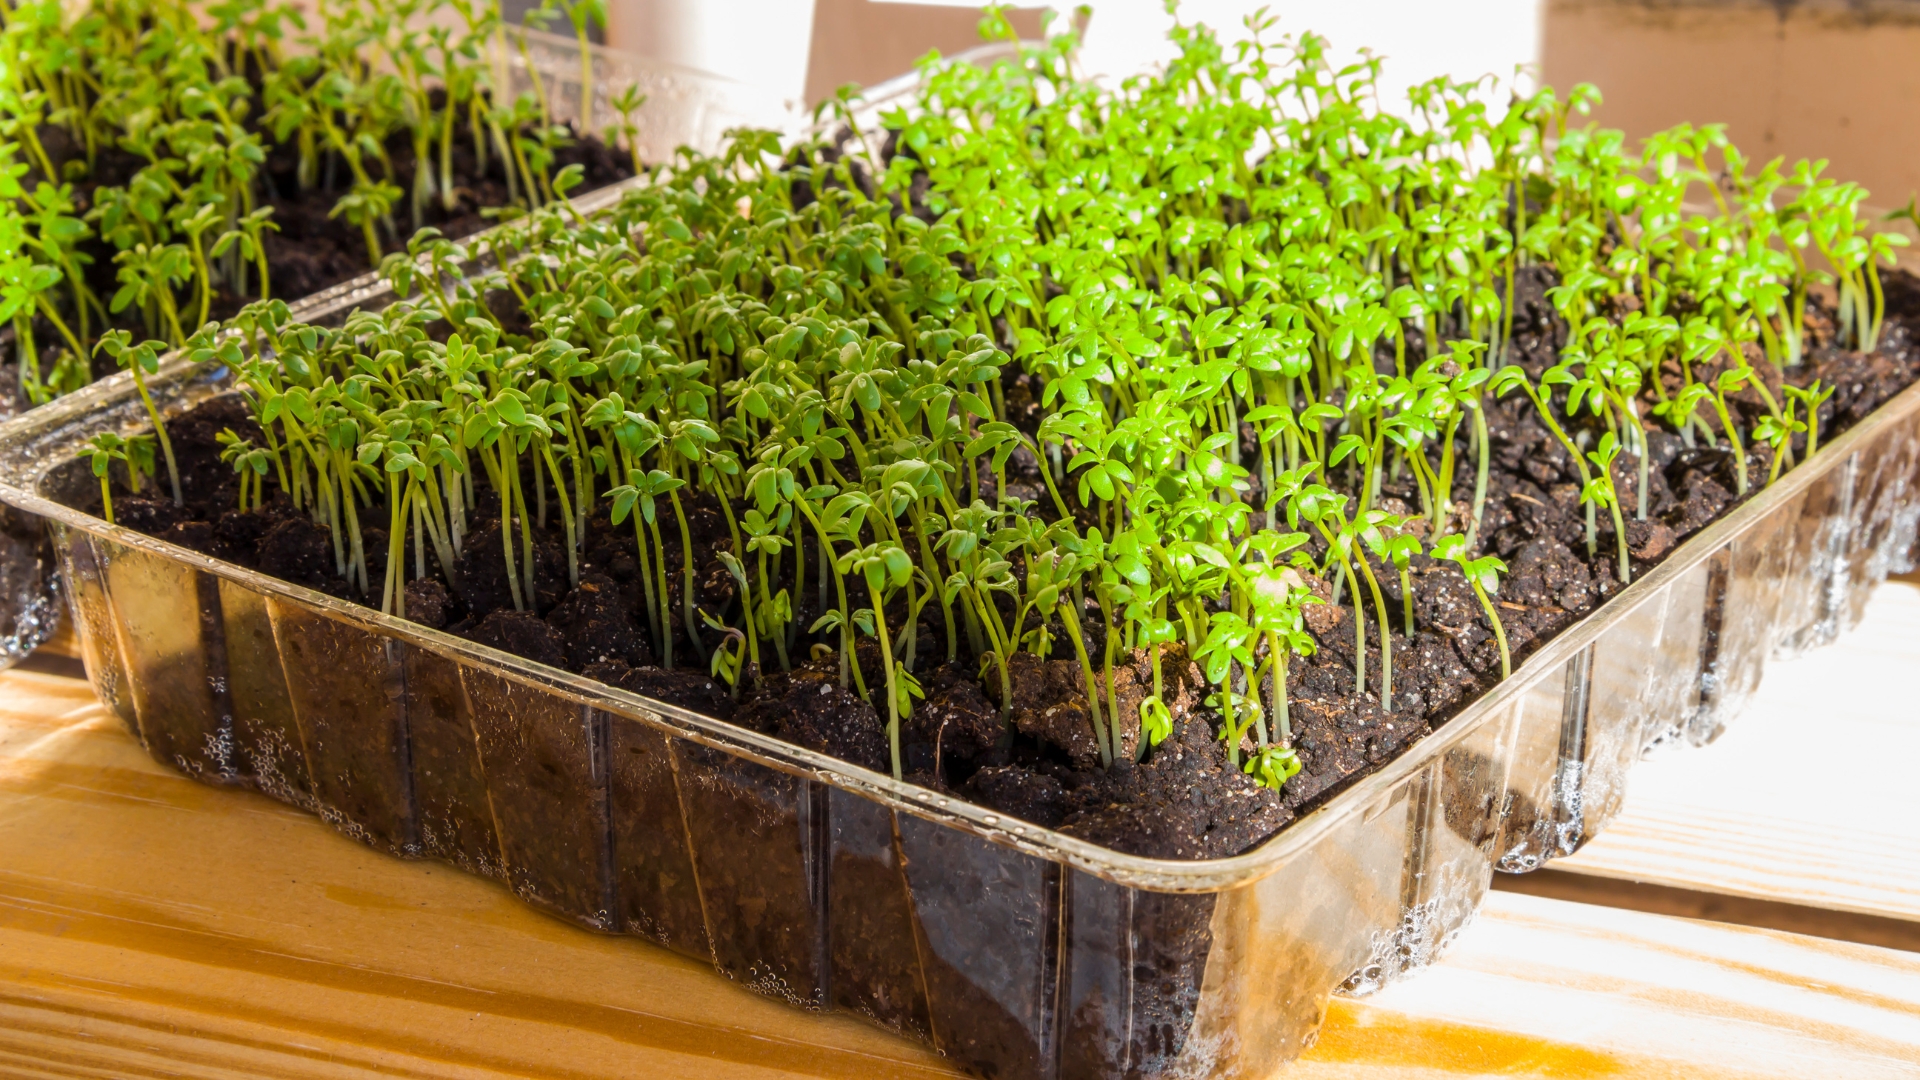
5. Sow Your Seeds
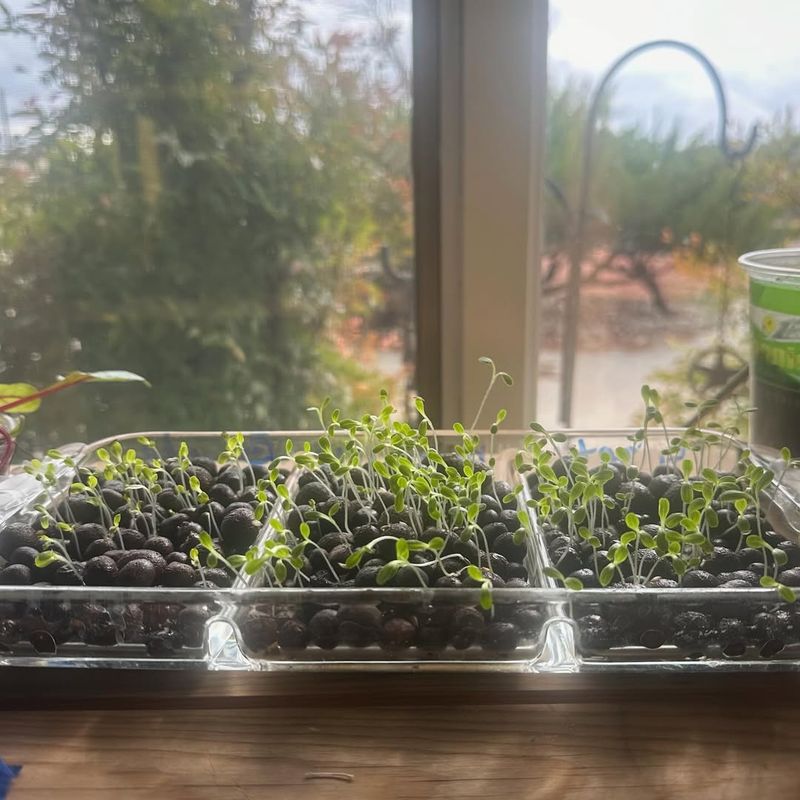
It’s time to plant those precious seeds! Sowing seeds is a delicate but exciting task. Lightly sprinkle them across the soil surface, giving them room to breathe and grow. Cover them gently with a thin layer of soil, like tucking them in for a good night’s sleep.
This initial planting phase is crucial—think of it as the starting line in a marathon. With a bit of patience, you’ll soon see tiny sprouts emerging, reaching up towards the sky.
Sowing seeds is the beginning of an incredible journey towards fresh, homegrown salad greens.
6. Water Wisely
Watering is an art form in itself. Too much, and you could drown your greens; too little, and they’ll shrivel up in protest. Aim for a Goldilocks approach, where the soil remains moist but not soggy.
A gentle watering can is your best friend here, allowing for a controlled pour that mimics a light rain. Observe your plants and adjust your watering routine as needed. Mastering this art ensures your salad greens stay healthy and vibrant throughout their indoor journey.
Remember, every drop counts in the world of gardening.
7. Monitor Soil Moisture
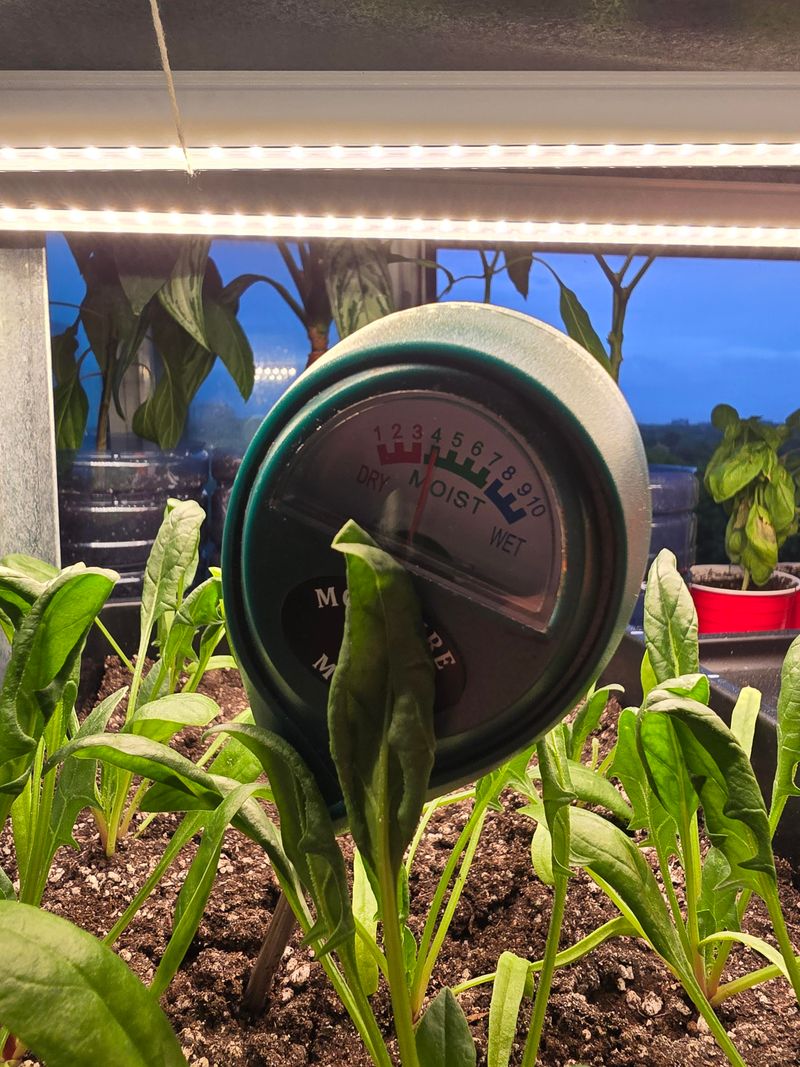
Keeping an eye on soil moisture is like monitoring your favorite cake in the oven—it requires attention and care. Insert your finger into the soil to gauge moisture levels. If it feels dry, it’s time to water; if it’s damp, leave it be.
This tactile test keeps your plants in peak condition by ensuring they don’t dry out or drown. By regularly checking, you’re providing the perfect environment for your greens to thrive.
Remember, consistency is key in maintaining healthy soil conditions.
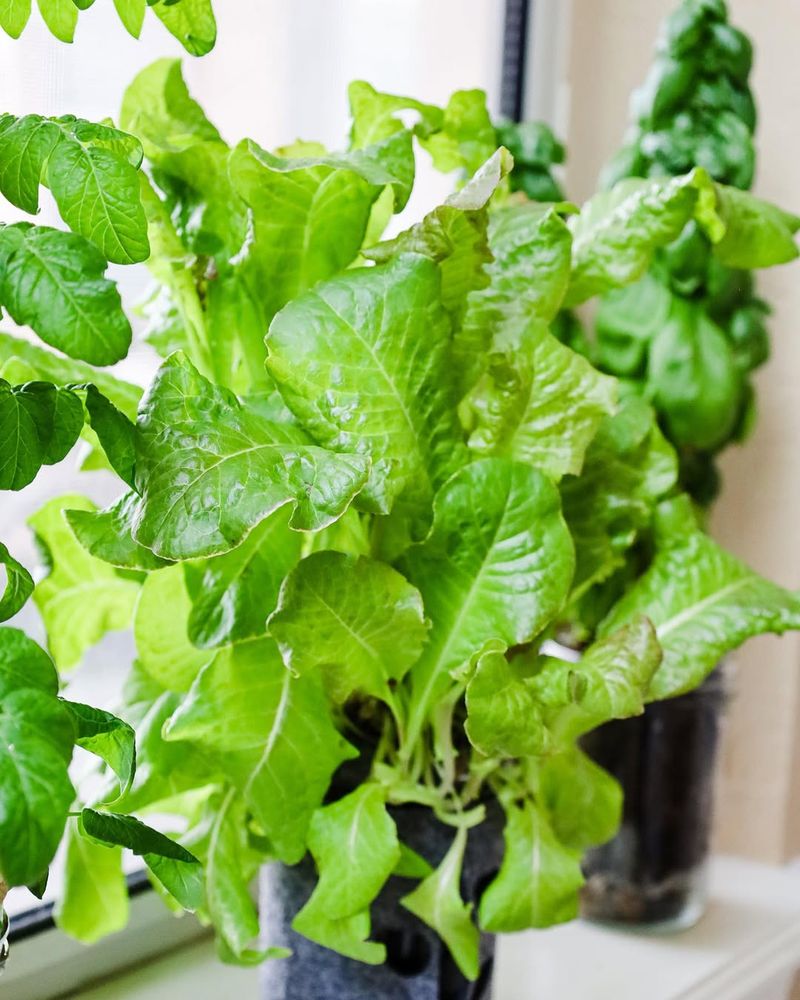
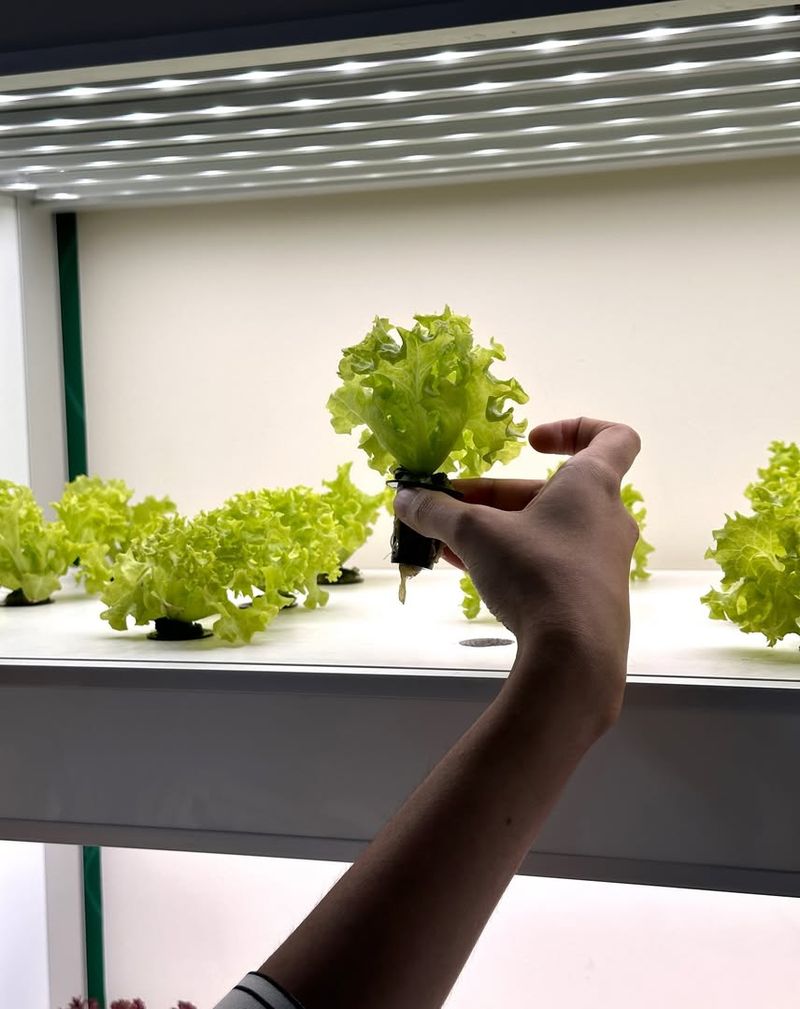
8. Give Them Space
Cramped living quarters? Not for your greens! As they grow, ensure each plant has ample space to flourish. Crowded conditions can stunt growth and lead to weaker plants.
Space is a vital ingredient in their development, allowing them room to stretch and soak up sunlight without competition. Arranging your pots with care ensures a healthy, vibrant garden that’s a joy to behold.
This thoughtful step sets the stage for robust, bushy greens that are ready for the next phase of their journey.
9. Rotate Your Plants
Plants can be as picky as toddlers when it comes to sunlight! Regularly rotating your pots ensures even exposure to light, encouraging uniform growth. This way, no single side gets too much or too little sun.
It’s like giving each plant a front-row seat to the sunshine show! By making rotation a routine, you’re investing in stronger, healthier plants.
This simple yet effective technique is a cornerstone of successful indoor gardening, ensuring your salad greens grow evenly and robustly.
10. Keep the Temperature Right

Plants love to be cozy—no surprise there! Maintaining the right temperature is crucial for your greens. Aim for a room temperature between 60-70°F (15-21°C), where they can thrive. Avoid cold drafts or excessive heat, as these can stress your plants.
Think of it as setting the perfect climate for a tropical getaway, but for your greens!
By ensuring a consistent, comfortable temperature, you’re creating the ideal environment for healthy growth and robust leaves.
11. Provide Adequate Humidity
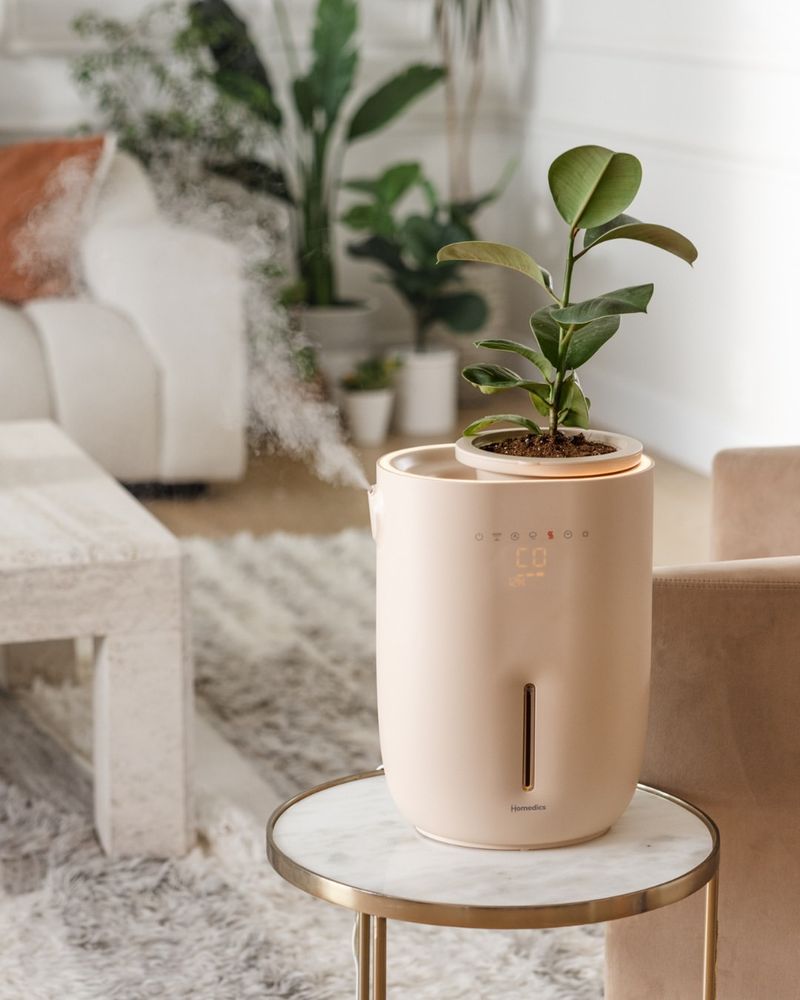
Humidity can be a plant’s best friend or worst enemy. For salad greens, a moderate level of humidity helps them stay lush and vibrant. If your indoor air is dry, consider using a humidifier to maintain moisture levels.
Picture your plants in a spa, enjoying a relaxing steam bath! This extra care keeps their leaves supple and fresh.
By managing humidity, you’re contributing to an environment where your salad greens can truly shine.
12. Fertilize with Care
Fertilizing is like providing a nutritious meal for your plants. A gentle, balanced fertilizer applied every few weeks can enhance growth and resilience. Be careful not to over-fertilize, as this can harm your greens.
Think of it as feeding your plants a deliciously satisfying dinner, leaving them full and content.
With the right nutrients, your salad greens will thrive and reward you with lush, flavorful leaves ready to grace your plate.
13. Watch for Pests
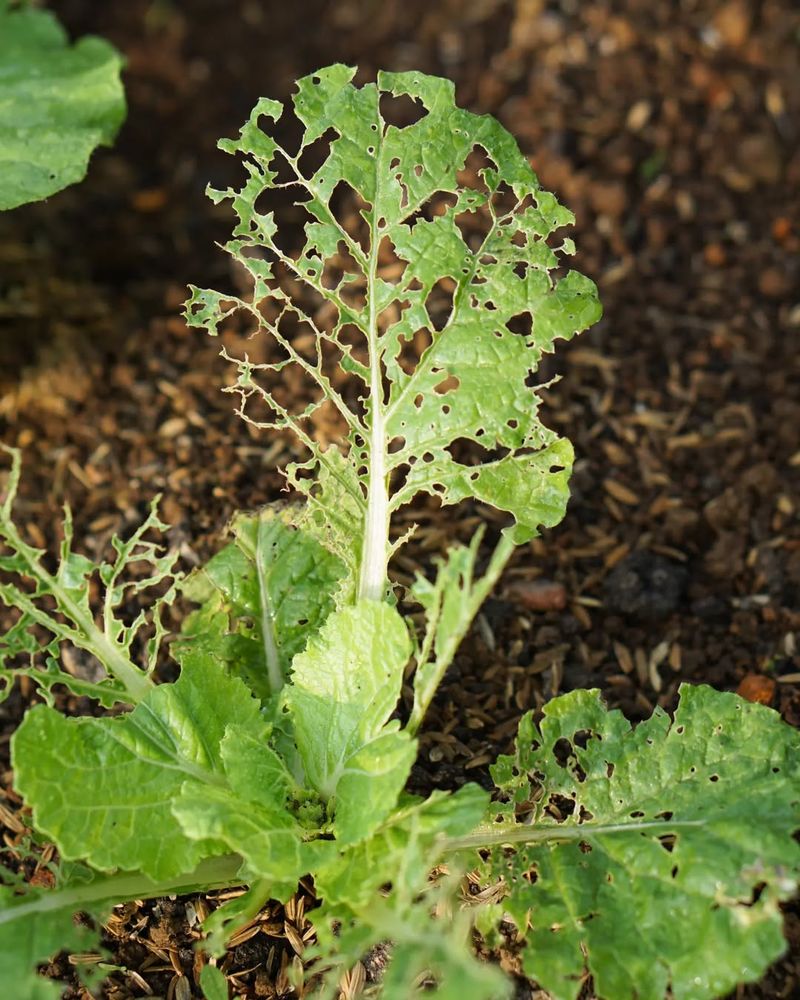
Pests are like uninvited guests at a party—they can wreak havoc if not managed properly. Keep an eye out for common indoor pests like aphids or spider mites. Regularly inspect your plants, looking for any unwanted visitors.
By catching pests early, you can take swift action to protect your greens. Neem oil or insecticidal soap can help manage minor infestations.
Vigilance here ensures your salad greens remain healthy and undisturbed, ready to grow to their full potential.
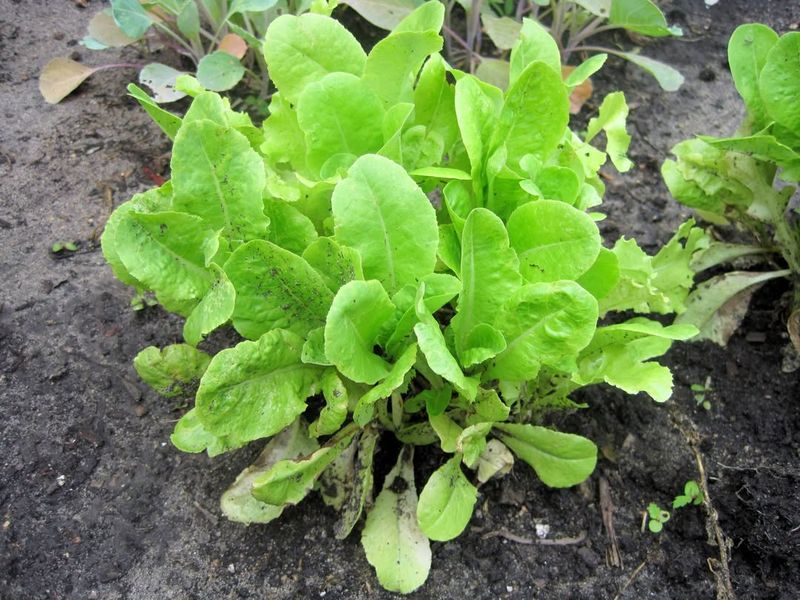
14. Thin Out Seedlings
When it comes to seedlings, sometimes less is more. Thinning out overcrowded plants gives the remaining ones more room to grow. Remove weaker seedlings to allow the stronger ones to thrive.
It’s like editing a story, keeping only the best parts in play. This process ensures your plants have ample nutrients and space to develop robustly.
By giving your salad greens a bit of tough love, you’re setting them up for success in the great outdoors.
15. Re-Pot if Necessary
Outgrowing a pot is a sign of healthy growth! If your greens seem cramped, it might be time for a bigger home. Re-potting allows roots to spread out, providing more space for development.
This transition is akin to moving into a bigger apartment, offering new opportunities for growth. Be gentle during the transfer to avoid damaging roots.
Giving your plants the room they need ensures they stay healthy and continue to flourish in their indoor haven.
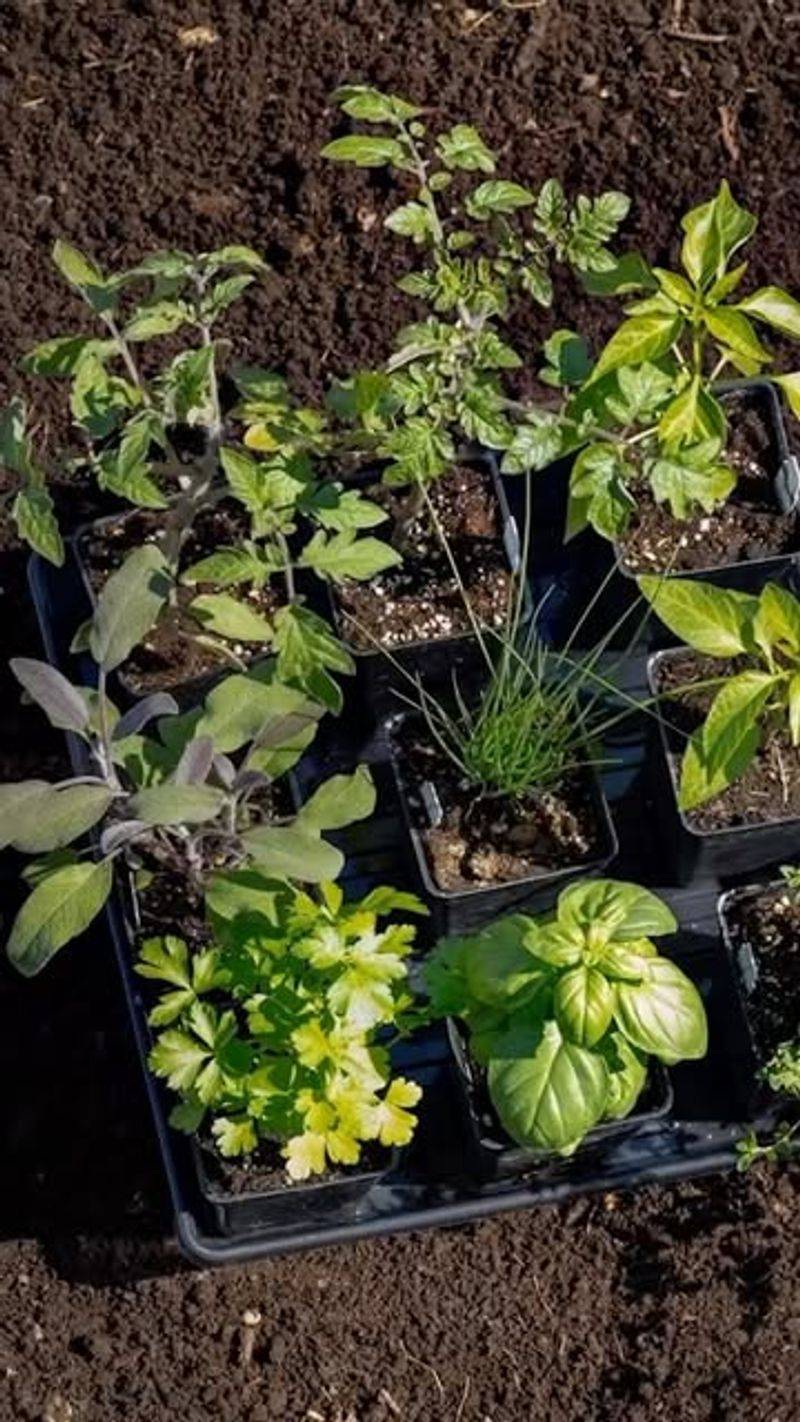
16. Acclimate to Outdoor Conditions
Ready to introduce your greens to the great outdoors? Acclimating them is essential for a successful transition. Gradually expose them to outdoor conditions by placing them outside for a few hours each day.
This period of adjustment is like training wheels on a bicycle, easing them into their new environment. By increasing exposure gradually, your plants will adapt without shock.
This careful process helps ensure your salad greens make a smooth move from indoor comforts to the open world.
17. Harden Off Your Plants
Think of hardening off as boot camp for your plants! It strengthens them against the elements, preparing them for life outside. Gradually increase their time outdoors, exposing them to sun, wind, and cooler temperatures.
This step builds resilience, allowing them to thrive in their new environment. Imagine your plants flexing their newfound strength against the challenges of the great outdoors.
The hardening-off process is critical for ensuring your salad greens transition smoothly from indoor darlings to robust outdoor growers.
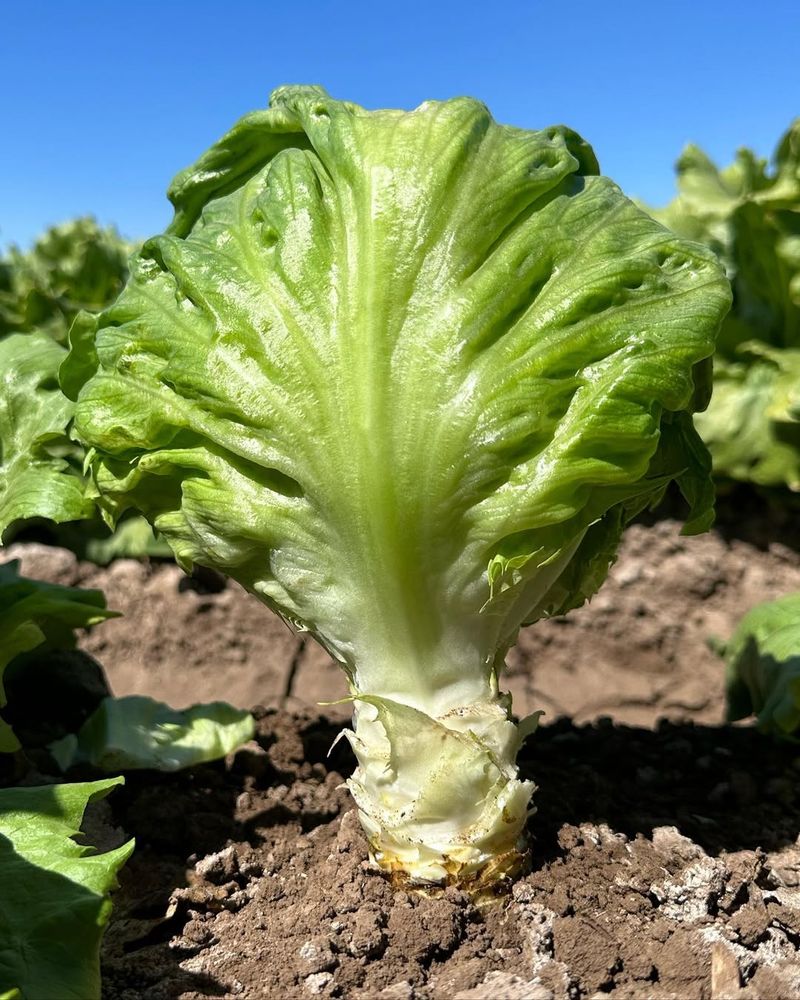
18. Choose the Right Outdoor Spot
Finding the perfect outdoor spot is like choosing a new home for your greens. Look for an area with plenty of sunlight and well-drained soil. The more sun, the happier your plants will be!
This prime real estate provides everything they need to flourish and grow. Just like humans, plants thrive in environments where their needs are met.
By selecting the right spot, you’re giving your salad greens the best chance at a healthy, productive life in the open air.
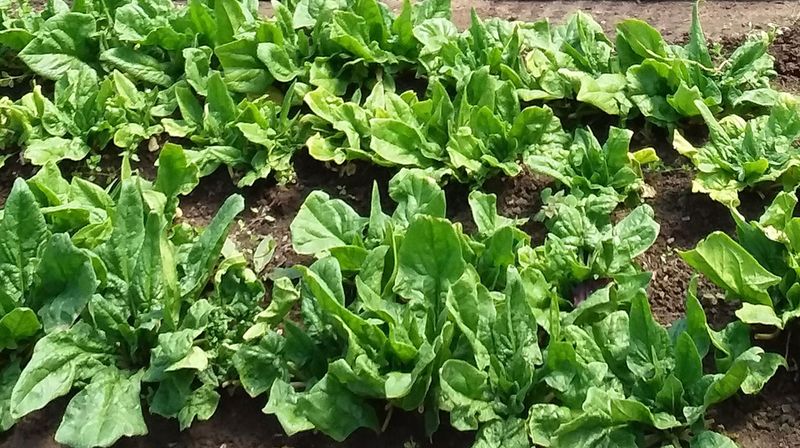
19. Prepare Outdoor Beds
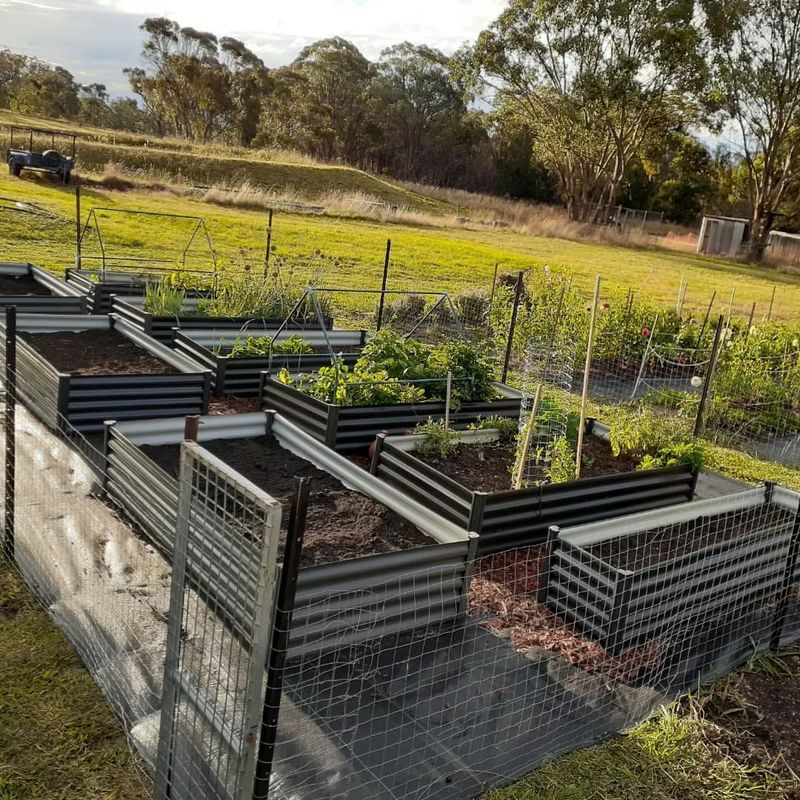
Transforming your garden bed is like renovating a house—it needs a solid foundation. Clear any debris and enrich the soil with compost or organic matter. This nutritious blend sets the stage for your greens to thrive.
Preparing the bed ensures your plants have a healthy start in their new home. With a bit of effort, you’re creating a welcoming environment ready for growth.
This groundwork is pivotal for ensuring your salad greens transition seamlessly from indoor pots to outdoor beds.
20. Transplant with Care
It’s moving day for your greens! Transplanting them into the garden requires a gentle touch. Carefully remove each plant from its pot, taking care not to damage the tender roots.
Place them in their new home, firming the soil around them for support. This careful transition is like settling into a new neighborhood, offering fresh opportunities for growth.
By handling them with love and patience, you’re ensuring your salad greens continue to thrive in their new outdoor environment.
21. Water Consistently
Consistent watering is the lifeline for your outdoor greens. Keep the soil evenly moist to support their growth, especially during dry spells. A hose with a gentle spray nozzle works wonders, mimicking a gentle rain.
Regular watering helps your plants establish strong roots and grow lush, tasty leaves. By providing this essential care, you’re nurturing robust salad greens ready for harvest.
This simple act is fundamental to maintaining a healthy, productive garden.
22. Protect from Pests

Outdoor gardens attract pests like bees to honey! Protect your greens with organic methods such as neem oil or companion planting with pest-repelling herbs. Regular inspections help catch potential issues early.
Keeping pests at bay ensures your plants grow undisturbed, resulting in a bountiful harvest. By defending your salad greens from unwanted guests, you’re safeguarding their future.
This vigilance is crucial for maintaining a healthy, thriving garden.
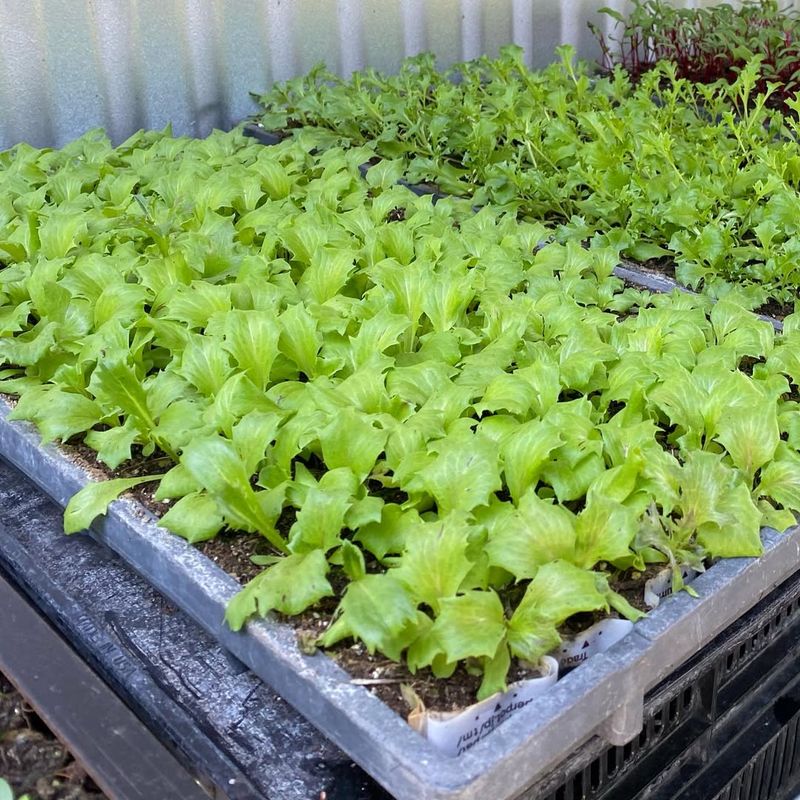
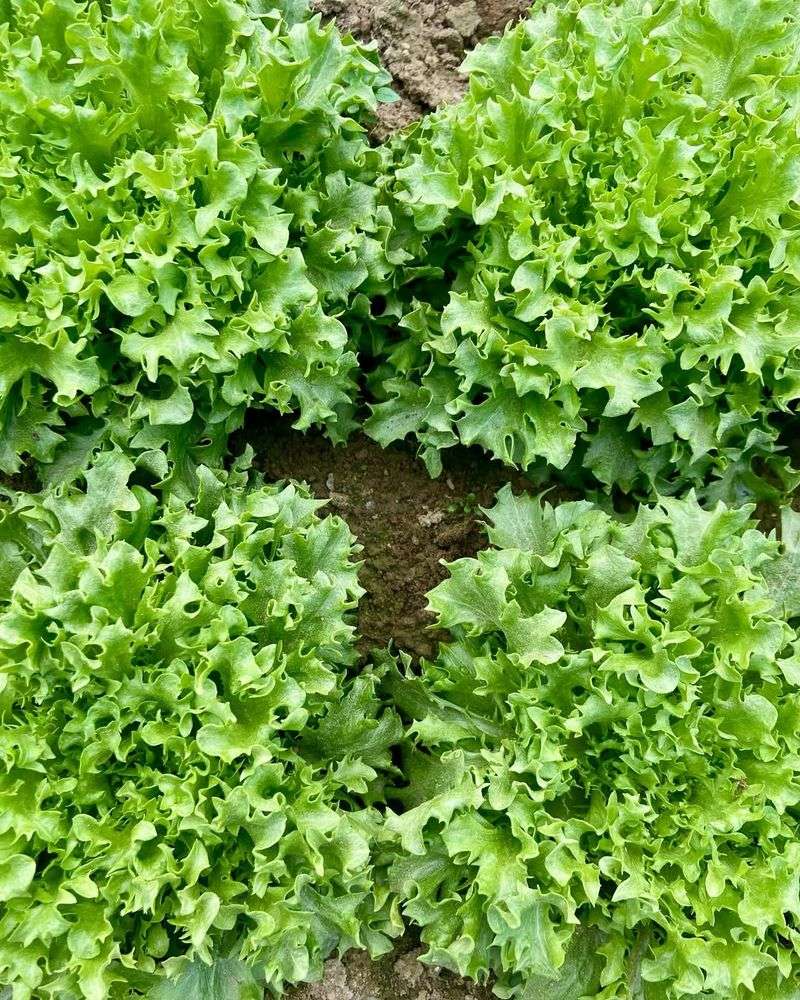
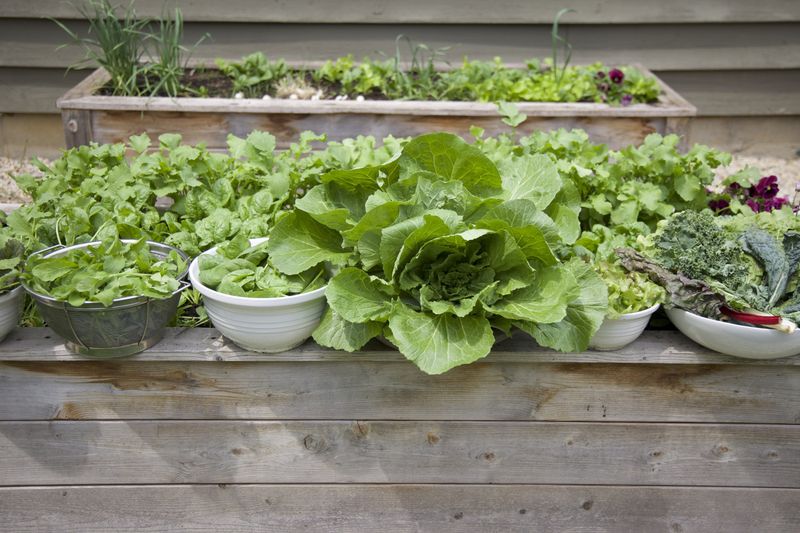
23. Harvest at the Right Time
The moment you’ve waited for—harvest time! Picking your salad greens at the peak of freshness guarantees the best flavor and texture. Look for mature leaves, but don’t wait too long, or they’ll become bitter.
Harvesting is a joyous occasion, celebrating the fruits of your labor. By picking regularly, you encourage new growth, ensuring a constant supply of fresh greens.
This final step is the culmination of your gardening journey, rewarding you with delicious, homegrown produce ready to grace your table.