How To Handle Hostas After The First Frost So They Return Strong
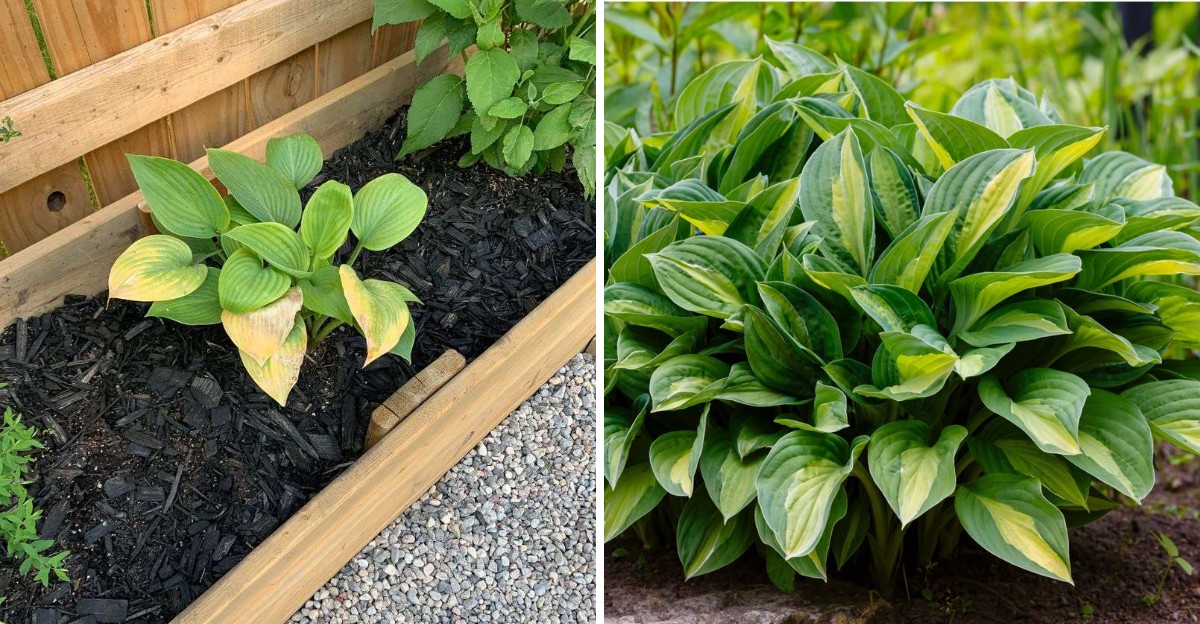
Your hostas sagged overnight, and you feel tempted to clear them away. Pause right there. Frost damages the water-filled cells inside those broad leaves, leaving glassy, soft tissue. You see change, but the roots below stay intact and busy storing energy.
Trim too soon and you shortchange that stockpile. Wait too long and slugs will lay eggs in that soggy mat.
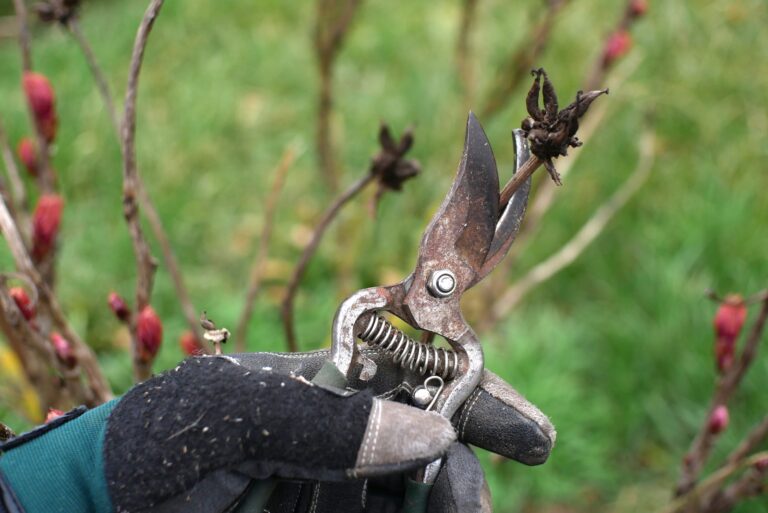
Timing matters more than tools, and your window opens when leaves turn fully soft. Grab pruners, but hold off until the softening stops spreading.
Then you trim stems close to the crown, leaving a short stub. Bag spotted leaves instead of composting them, because slug eggs and fungal spores linger there.
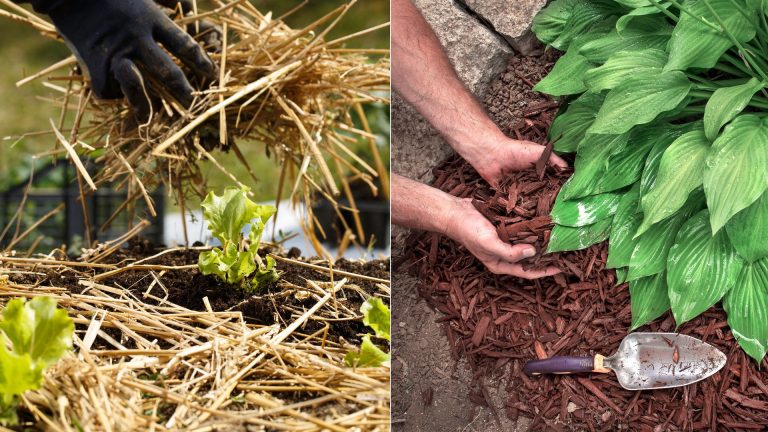
Mulch with shredded bark once soil firms up, leaving room above crowns. Precision pays off. Tidy beds shape whether spring brings giant leaves or a thin, chewed clump.
1. Wait For The Leaves To Soften Before Cutting
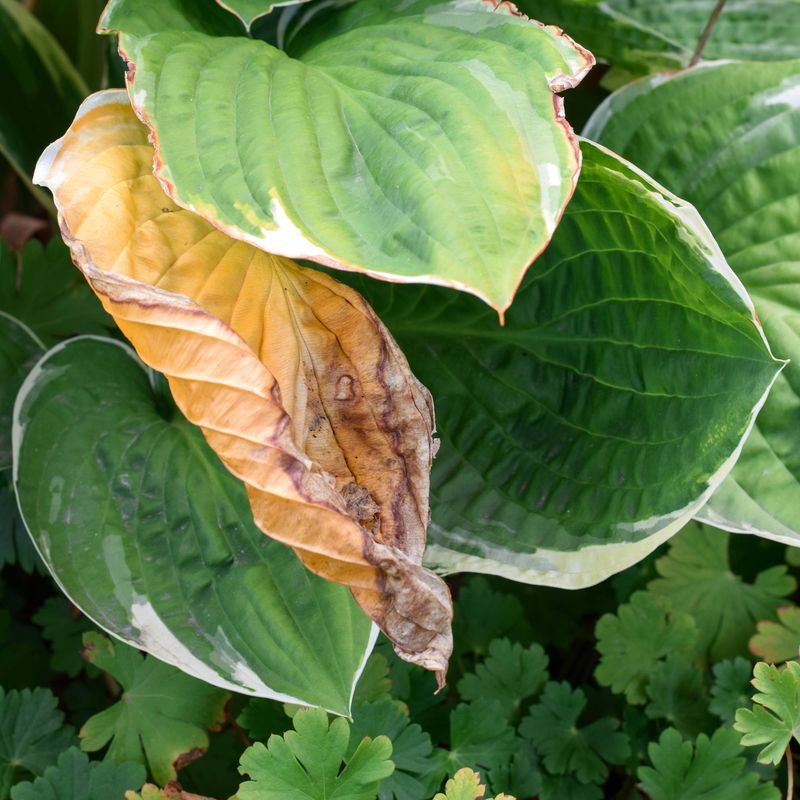
Picture a hosta in late October, leaves drooping like a tired puppy after a long walk. Your first instinct might be to grab the shears and tidy everything right away.
Hold off for a bit, because those floppy leaves still have a job to do. As they fade, the plant pulls leftover sugars and nutrients back down into its roots.
Think of it like packing a lunch for a long winter nap. Cutting too soon means the crown heads into the cold season with a lighter lunchbox.
So how do you know when the time is right? Look for leaves that are brown, limp, and flattened against the soil after a hard frost.
A light frost might only nip the edges, leaving some green behind. Wait until a second or third cold night turns the whole clump soft and tan.
Give the stems a gentle tug as a simple test. If they slide away easily from the crown, the plant is ready for a trim.
Most gardeners find this happens a week or two after the first frost. In colder zones, it may happen quickly, while milder areas can take longer.
Patience here costs you nothing but a few messy-looking days. Your reward arrives in spring as thick, eager shoots pushing up from a well-fed crown.
Brew some cider, admire the fall colors elsewhere, and let nature finish its work. Your hostas will thank you with bigger leaves next May.
2. Clear Away Softened Foliage To Stop Slugs And Fungus
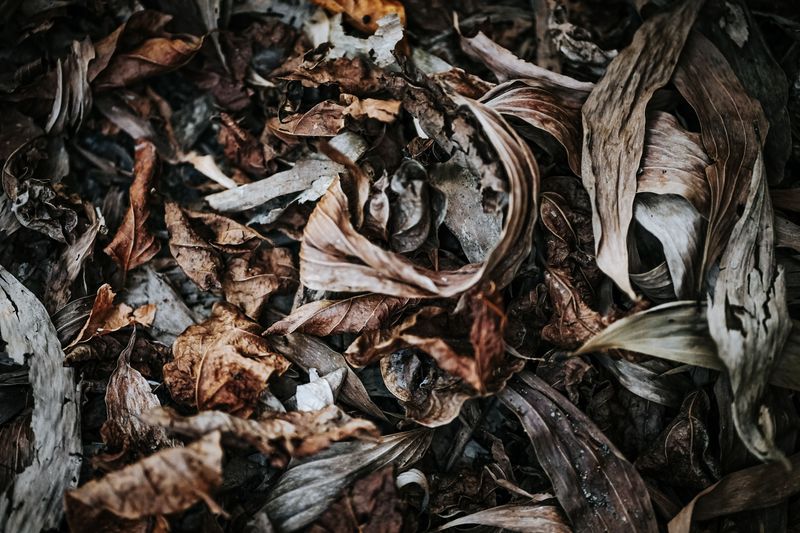
Slugs are the uninvited houseguests of the hosta world, and soggy leaves are their favorite hotel. Each slug can lay dozens of eggs right under that cozy, damp cover.
Once leaves have fully collapsed, it is time to clean house. Cut stems down to about one or two inches above the soil line.
Leaving short stubs helps you find the crown later and protects the growing points. Use sharp pruners or scissors instead of yanking leaves by hand.
Rake up every scrap of fallen foliage around the plant. Even small piles can hide slug eggs, fungus spores, and other tiny troublemakers.
Hostas sometimes face a problem called anthracnose, which leaves ragged, tan spots on leaves. Its spores happily spend the winter in old, wet plant debris.
Removing that debris breaks the cycle before spring rains splash spores onto fresh shoots. A clean bed means fewer holes and blotches when new leaves unfurl.
Where should all that mush go? Healthy leaves can head to the compost pile, but toss spotted or slimy ones in the trash.
Many home compost piles do not get hot enough to destroy fungus spores. Bagging questionable leaves keeps problems from sneaking back into your garden later.
While you work, peek under nearby rocks and edging for clusters of pearly slug eggs. Scoop them up and drop them in soapy water.
It feels a little gross, but your future self will be grateful. Fewer slugs now means fewer lacy, chewed-up leaves next summer.
3. Clean Your Pruners Before And After The Job

Surgeons scrub up before an operation, and your garden tools deserve the same respect. Dirty blades can carry fungus and viruses from one plant straight to the next.
Hostas can catch a serious virus called Hosta Virus X, which spreads through sap. One infected plant and a careless pair of pruners can spread trouble down a whole row.
Before you start, wipe your blades with rubbing alcohol on a rag. A quick dip in one part bleach to nine parts water works; rinse blades afterward.
Sharp blades matter just as much as clean ones. Dull pruners crush stems instead of slicing them, leaving ragged wounds where rot can creep in.
A small sharpening stone or file brings a dull edge back to life in minutes. Run it along the beveled side a few times until the blade feels crisp.
After the job, rinse off sticky sap and soil with warm, soapy water. Dry the tools well so rust does not form during the winter months.
A thin coat of mineral oil on the metal adds extra protection while they rest. Store them somewhere dry, like a garage shelf or a hanging pegboard.
Watch for warning signs as you trim, such as blue-green ink-like streaks or puckered leaves. Plants showing these clues need testing, then bagging, not composting, if infected.
Clean tools may seem like a tiny detail in the big garden picture. Still, that small habit can keep your hosta collection healthy for many seasons.
4. Spread A Fluffy Layer Of Mulch Around The Crowns
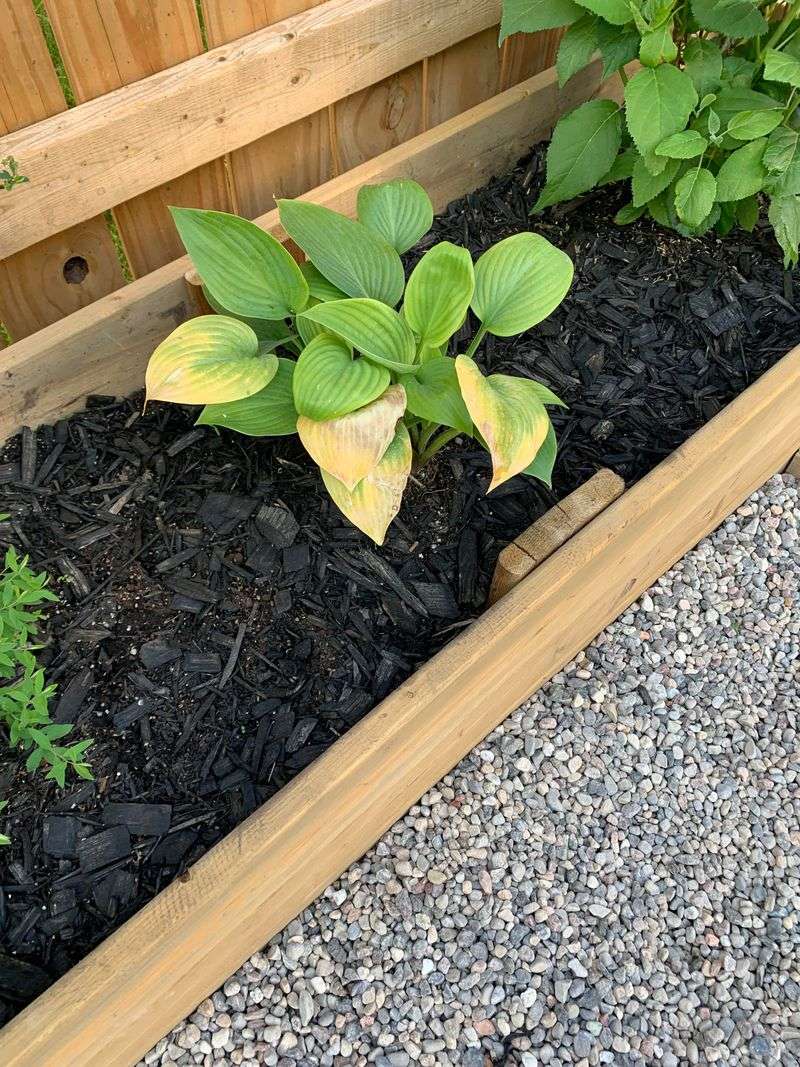
Pulling on a warm sweater feels wonderful when the first real chill hits. Your hosta crowns appreciate the same kind of cozy layer once the ground starts to cool.
Mulch does not exactly keep plants warm like a heater would. Instead, it keeps soil temperature steady, which is the real secret to winter survival.
The biggest risk is freeze and thaw cycles that heave crowns up out of the ground. Roots exposed to icy wind can dry out and struggle by spring.
Wait until the soil has cooled and the ground begins to firm up. Mulching too early can invite mice to build snug winter homes under the pile.
Shredded leaves, pine needles, and straw all work nicely. Shredded bark or compost also make good choices for gardeners who like a neater look.
Aim for a layer about two to three inches deep around each plant. Keep it fluffy rather than packed down so air can still move through.
Leave a little breathing room right over the crown itself. Piling heavy, wet mulch on top can trap moisture and lead to soft, waterlogged buds.
Shredding leaves with a mower first makes a big difference. Whole oak or maple leaves tend to mat into soggy sheets that block air and water.
Did you know hostas need a cold rest to grow well? Many varieties need about six weeks below 40°F (4°C) to wake up strong in spring.
So mulch is not about stopping winter, just smoothing out its bumps. When April arrives, pull the layer back so the soil can warm in the sunshine.
5. Give The Soil One Last Deep Drink Before Freeze-Up
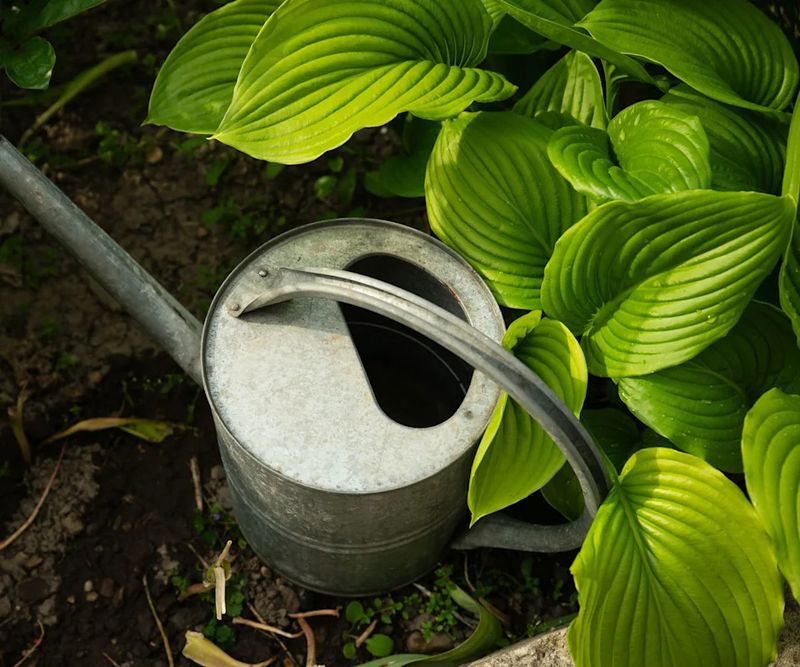
October rains can be stingy, and many gardens head into winter thirstier than they look. Dry roots face a much tougher time when the ground finally freezes solid.
Moist soil holds heat better than dry soil, much like a water bottle stays warm longer than air. That stored warmth gives roots a little cushion on cold nights.
Check the ground by pushing a finger two inches into the soil near each clump. If it feels dusty or crumbly, your plants need a good drink.
Water slowly and deeply so moisture reaches down six to eight inches. A soaker hose or a gently trickling garden hose works better than a quick sprinkle.
Morning is the best time to water during cool fall weather. Leaves and soil surfaces dry before evening, which helps keep fungus problems in check.
Plan this deep soak before the ground freezes in your area. In many northern regions, that window closes sometime in November.
Hostas growing beneath big trees deserve extra attention. Thirsty tree roots slurp up much of the available water, leaving smaller plants short on supply.
Avoid leaving beds fully waterlogged, though, because soggy soil invites crown rot. One thorough soaking every week or two during dry spells is usually plenty.
Once the soil freezes, put the hose away for the season. Roots cannot absorb water from frozen ground, so extra watering just creates icy puddles.
Disconnect hoses and drain them so they do not crack in the cold. Then enjoy knowing your plants are tucked in with a full tank.
6. Skip The Fertilizer Until Spring Wakes Them Up
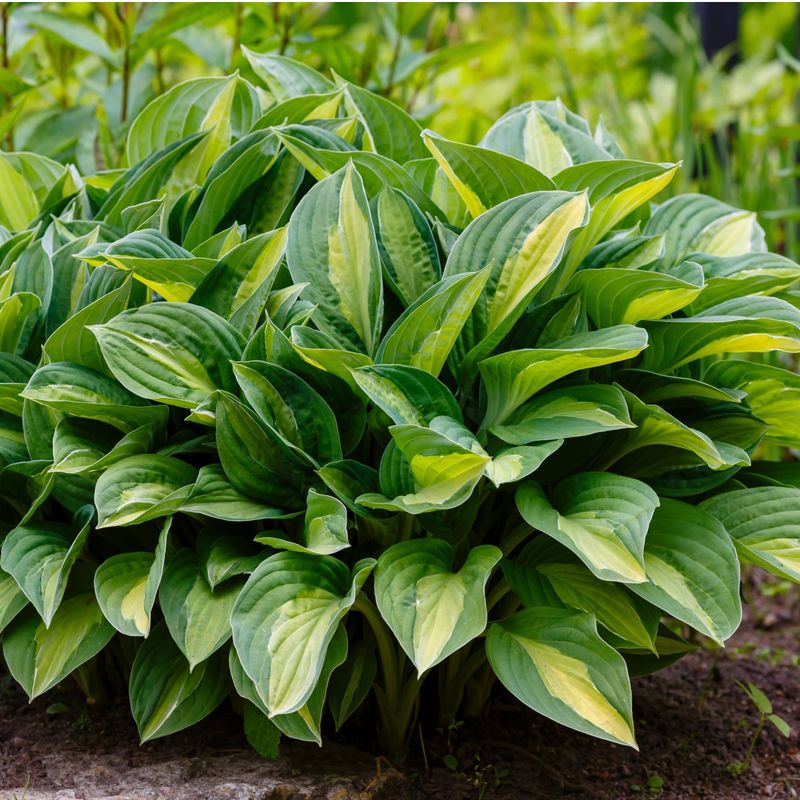
Feeding a hosta in October is like giving a toddler candy right before bedtime. It sounds kind, but the timing creates a whole lot of trouble.
Fertilizer, especially nitrogen, tells plants to push out fresh, tender growth. Soft new shoots have no time to toughen up before a hard freeze arrives.
Those tender bits get damaged by cold, wasting energy the plant needs for spring. The roots end up working harder instead of resting peacefully underground.
Many extension guides suggest stopping all feeding by midsummer. If you missed that cutoff, simply skip it now and wait for warmer days.
Compost is a friendlier option for fall, since it releases nutrients slowly. A thin layer spread around plants improves soil without sparking a growth spurt.
Worms will pull that compost down into the soil over winter. By spring, your bed will have richer, crumblier earth that roots love to explore.
Real feeding time comes when shoots, often called pips, poke up in spring. A balanced, slow-release fertilizer at that stage fuels big, glossy leaves.
Spread granules around the plant, not directly on the emerging shoots. Water them in so nutrients soak down to where roots can reach them.
A soil test in fall can also guide your spring plan. Many local extension offices offer inexpensive kits that reveal exactly what your soil lacks.
Hostas prefer slightly acidic to neutral soil, around 6.0 to 7.0 on the pH scale. Knowing your numbers helps you feed smarter instead of guessing in the dark.
7. Protect Potted Plants From Winter Chill
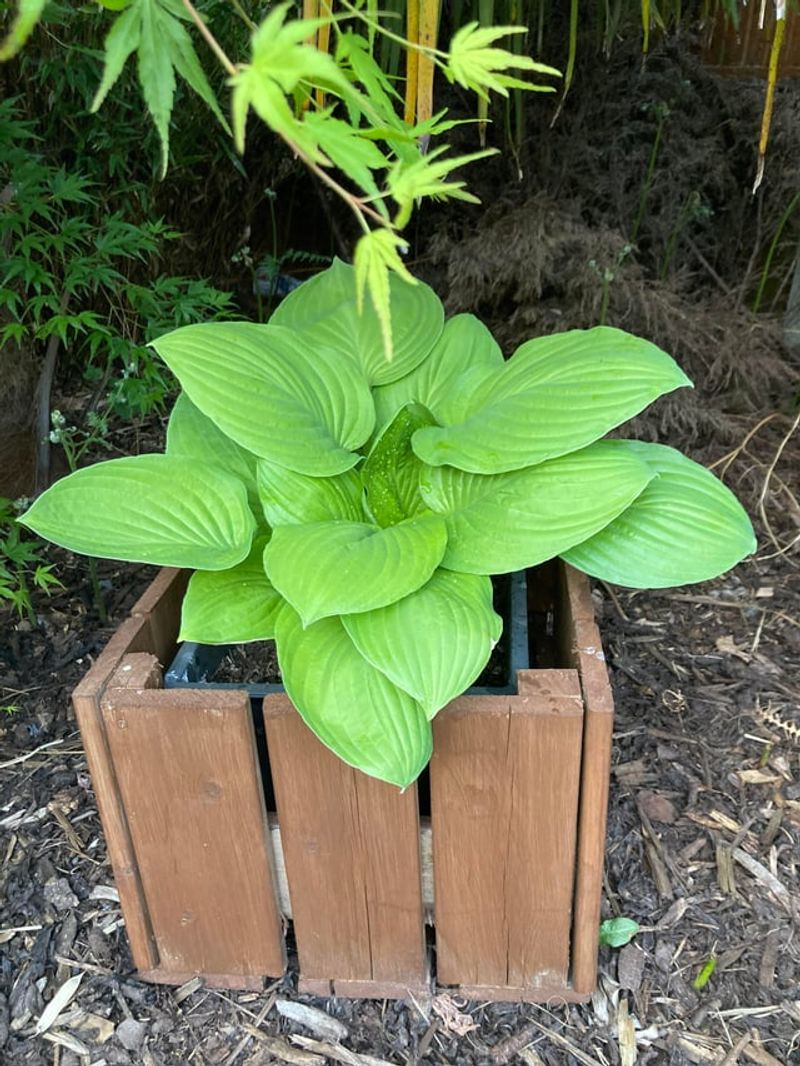
A hosta in a pot lives a very different winter than one tucked in the ground. Its roots sit just inches from cold air on all sides.
Garden soil acts like a giant insulating blanket, while a container offers little more than a thin wall. That difference can turn a mild winter into a tougher one.
One simple trick is to bury the whole pot in an empty garden bed. Dig a hole, slide the container in, and mulch over the top.
Another choice is moving pots into an unheated garage, shed, or cold porch. The goal is keeping them cold but sheltered from strong wind and sudden swings.
Skip bringing them into a warm house. Hostas need that chilly rest period, and indoor heat would confuse them into waking up far too early.
Group several pots together against a wall if you must leave them outside. Wrap them with burlap, bubble wrap, or old blankets for extra protection.
Ceramic and terra cotta pots can crack when wet soil freezes and expands. Plastic or resin containers handle the cold much better over the long haul.
Water stored pots lightly once a month if the soil feels bone dry. A small splash is enough, since sleeping roots drink very little.
Keep an eye out for hungry mice and voles in sheltered spots. A bit of hardware cloth over the soil helps keep them from nibbling crowns.
Container hostas reward this extra effort with bold color on patios next year. Plus, pots can lower slug pressure, since slugs have a harder time reaching them.
8. Mark Each Spot So Spring Cleanup Goes Smoothly
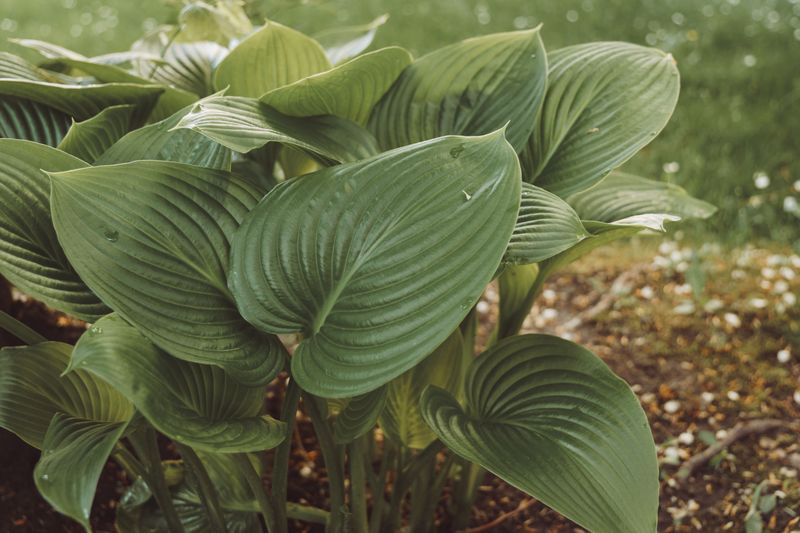
Every year, someone plants tulips right on top of a sleeping hosta. Without leaves above ground, these plants disappear so well they could join a magic show.
Hostas also wake up late compared to many perennials, often in late April or May. That delay makes it easy to forget where they are.
Marking each clump now saves you from driving a shovel into a hidden crown. Simple plant markers, wooden stakes, or painted rocks all do the trick.
Write the variety name on each marker with a weatherproof pen. Names like Sum and Substance or Frances Williams are easy to mix up later.
Taller stakes work best in snowy areas where short tags disappear under drifts. Bright tape or flags tied on top help you spot them at a glance.
Snapping a few photos of your beds before cleanup is another smart move. A quick picture shows the size and shape of each clump at full growth.
Consider sketching a simple garden map in a notebook too. Mark where each plant sits, plus any you hope to divide or move next spring.
Early spring is the ideal time to divide crowded clumps as pips emerge. Knowing their exact spots makes that job faster and much less risky.
Markers also remind you where to pull mulch back once the soil warms. Without them, eager shoots might struggle under a heavy blanket of leaves.
Think of it as leaving a note for your future self. Come May, you will be glad to see those little flags waving hello.