Fall is a time of transformation and preparation. The garden transforms in cold temperatures into a harsh territory. That’s why we have to prepare our perennials for the cold winter season.
Of course, you may not need to do much if you live in warmer zones like I do. But those from colder climates know what I’m talking about.
The good news is that there are easy ways of overwintering your potted perennials, indoors or outdoors.
Here’s a foolproof guide that will keep your plants safe until spring.
Let’s get started!
Why Grow Perennials In Pots?
Potted perennials provide plenty of interest during their growing season. They bounce back in spring and are easier to care for than their in-ground counterparts.
But they can be in agony come winter!
Containers lack soil insulation traditional gardens have. This makes your plants more susceptible to frost damage.
Of course, that doesn’t mean throwing them onto your compost pile in late fall. You can overwinter them and enjoy their quick re-emergence in spring.
Here’s how!
Step 1: Understand The Basics
There are quite a few ways of protecting plants from spring and fall frosts. Some you may take indoors, while others can remain right there.
However, winter cold can decimate plant roots. Potted plants lack the insulation soil offers to bedded perennials. But there’s a quick solution.
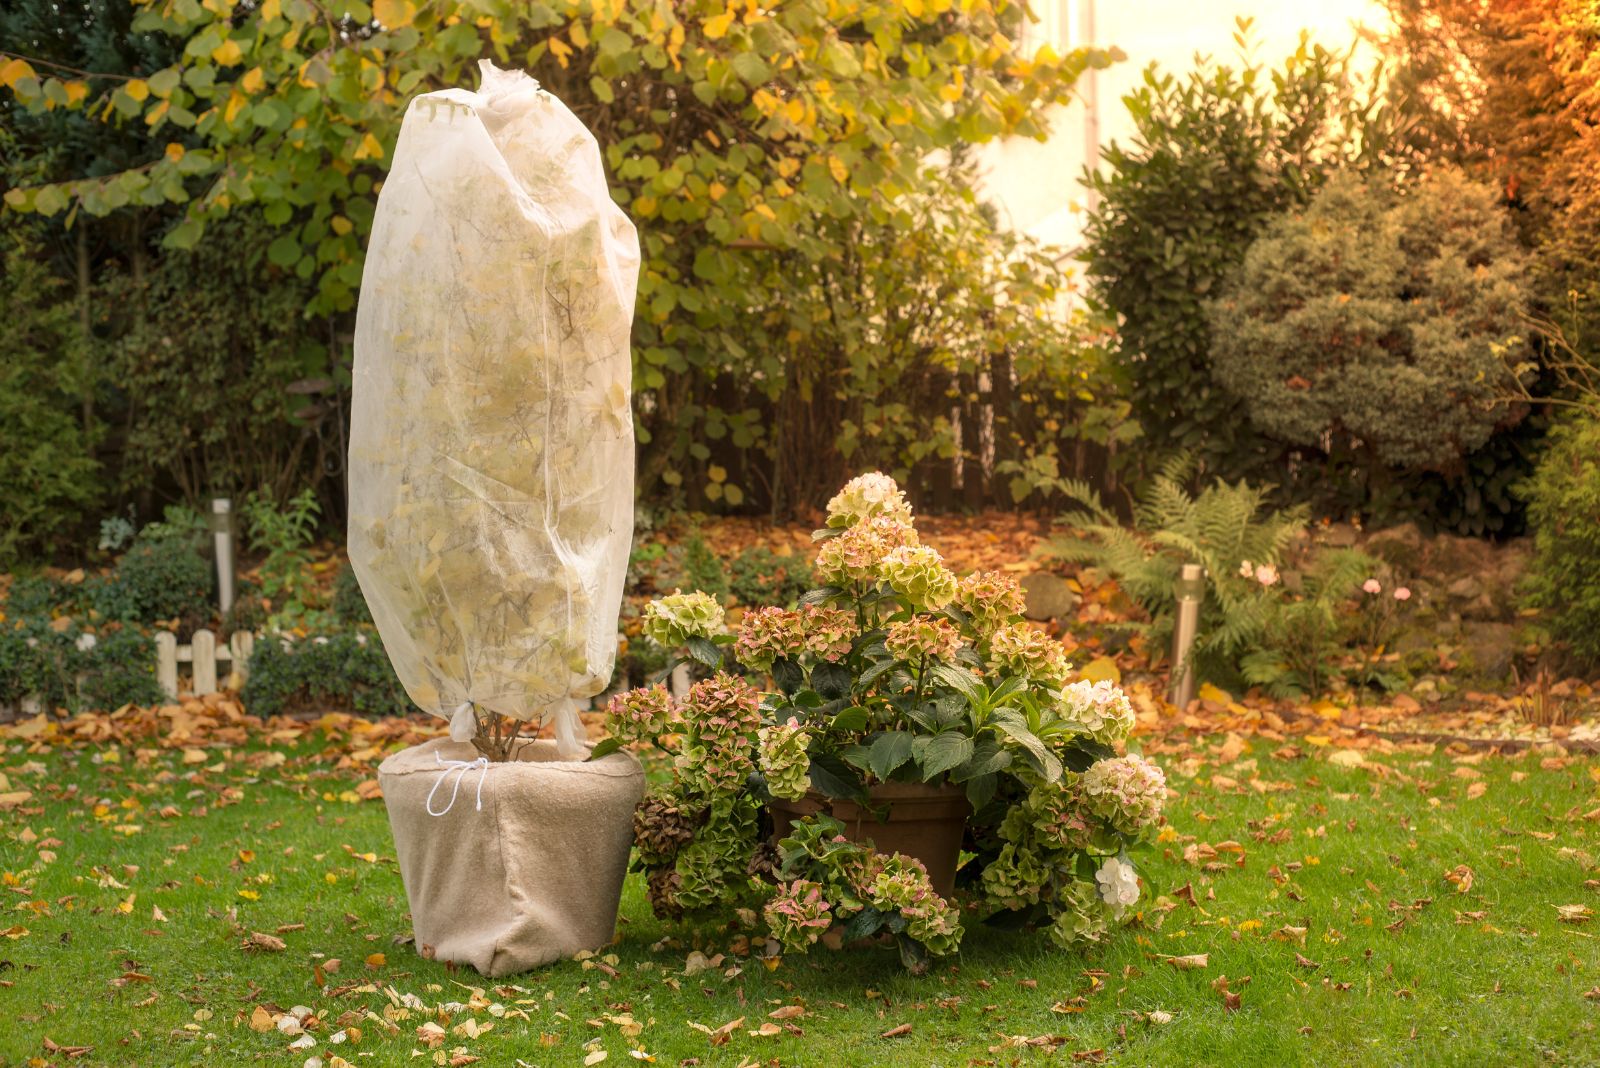
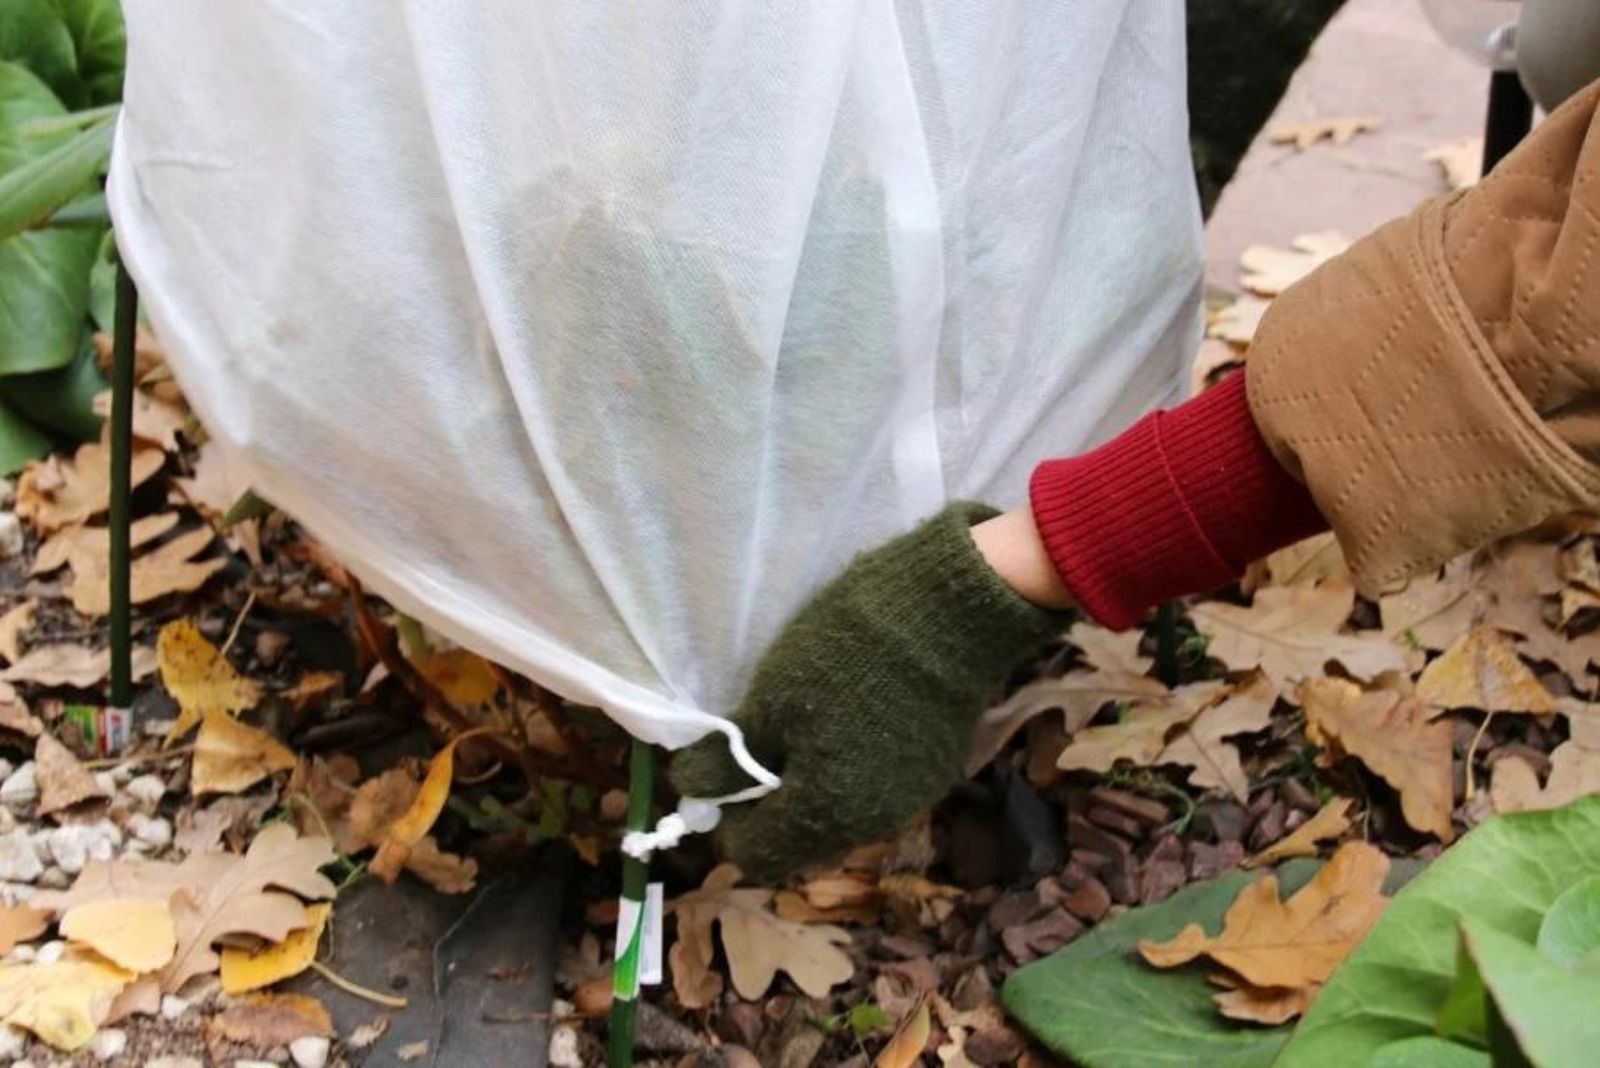
Wrap your potted perennials in burlap or a thermal blanket. Or you can isolate them with straw and sawdust before doing this.
And if nothing seems to work, take your perennials indoors and keep them warm all winter long.
Step 2: Select Proper Perennials
Prevention is always the best cure. In this case, it means choosing perennials suitable for overwintering.
Go with varieties 1-2 zones hardier than your USDA zone. For instance, if you live in zone 7, opt for plants hardy down to zone 5 at least.
Potted plants lack the protection in-ground ones have. That’s why it’s best to go with species equipped with hardier roots.
Additionally, make sure to plant your perennials at least 6 weeks before the first frost. This will give them enough time to develop strong roots before temperatures plunge.
But what if I had perennials in pots all summer long (or longer), you may wonder? Well, they are all set for overwintering.
Step 3: Choose Appropriate Pots
Not all containers are equal. For instance, there are many things to know before getting terracotta planters. And one of them is that they can break during the freeze/thaw cycles winter brings.
Of course, this only refers to low quality and unglazed pots. You can still use ceramic containers, but make sure they are heavy duty and can tolerate winters.
Yet, you can avoid these doubts altogether. Opt for concrete, wood, composite, or metal containers, and say goodbye to all your troubles.
(They can be heavier than terracotta planters, so you won’t be able to move them around as easily.)
Additionally, you may want to opt for larger containers. They are better at mimicking in-ground conditions. Large pots can hold a lot more soil, creating better insulation for your plants. These containers also give your plants more room to develop.
P.S. Cover the pots with thermal blankets, burlap, or fleece bubble wrap to further insulate your plants. This can reduce the risk of breaking and frost damage.
Step 4: Care & Maintenance
The key to successful overwintering is preparing and caring for your perennials. Here’s what you can do.
Prune To Prepare
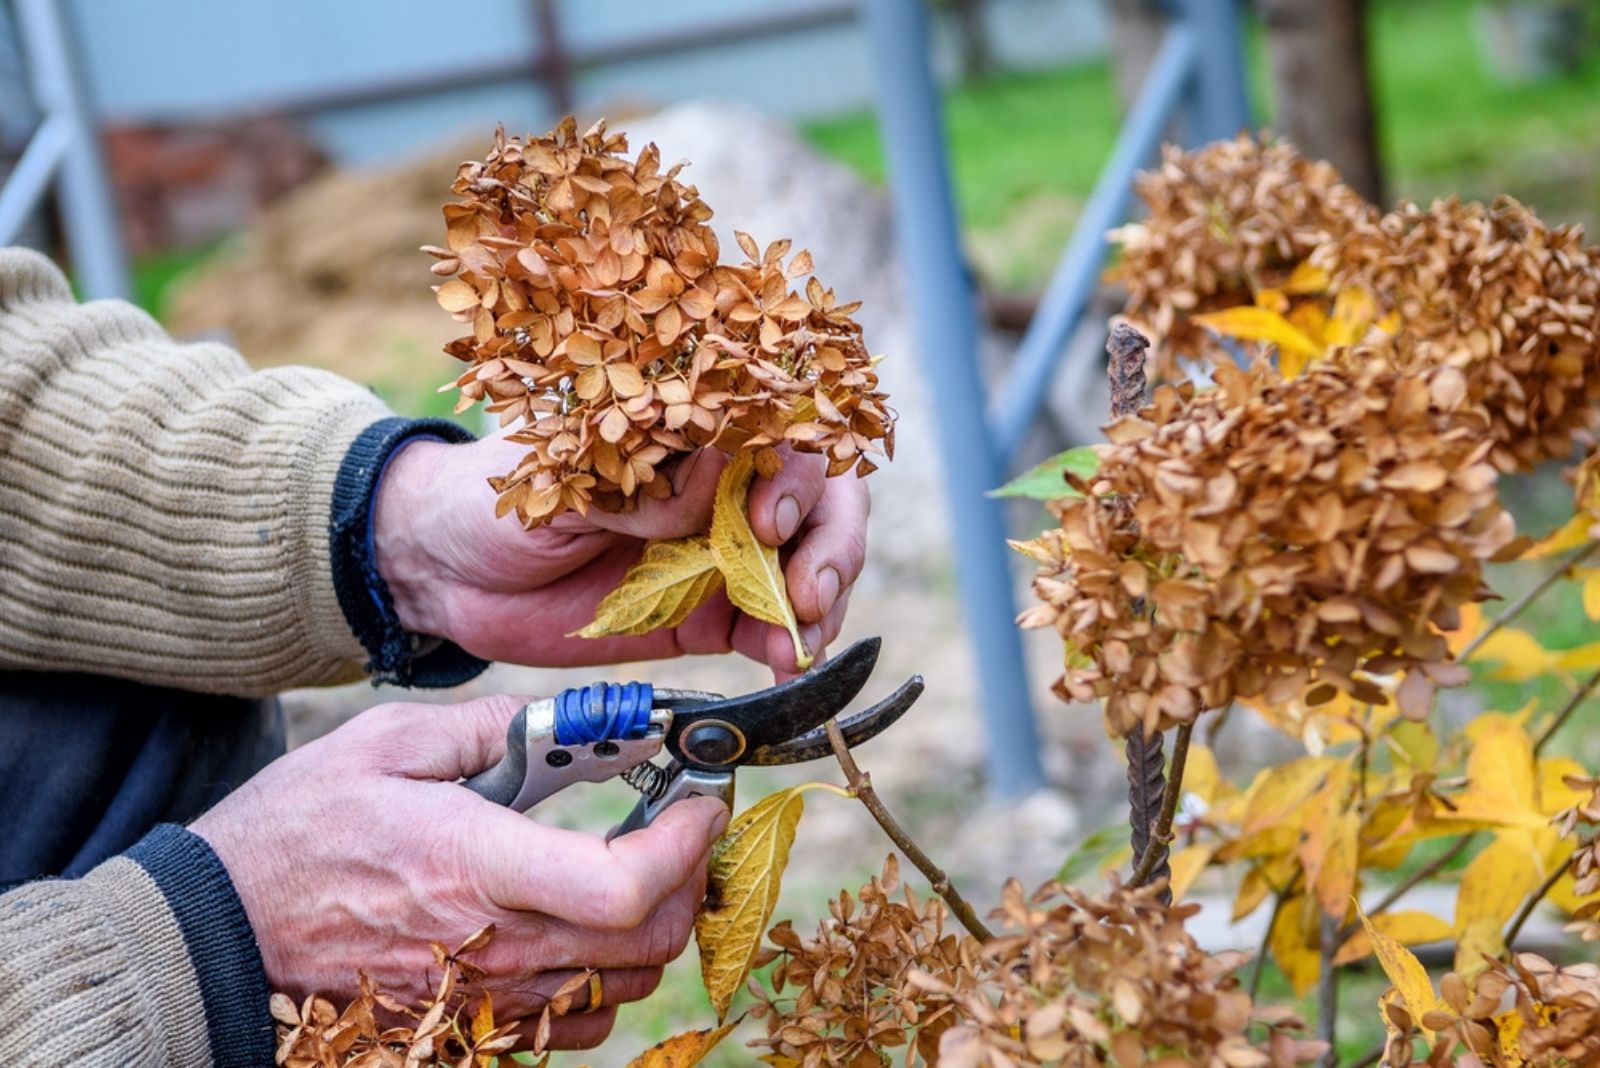
Prune your perennials beforehand to give them the best chance at overwintering.
Cut about a third of the entire growth once they enter dormancy. That way you won’t encourage new growth. And there will be enough stems to protect the roots and crown from freezing.
Make sure to remove all dead, diseased, or damaged shoots as well. They only waste the plant’s energy and increase the risk of fungal diseases.
Be Mindful Of Fertilizing
You don’t have to avoid fertilizing, but it is the safest method.
Of course, you can feed your potted evergreens once the temperatures cool down. Or give your deciduous shrubs some food after they drop their foliage. This will encourage root development and won’t produce any new growth.
But if you’re not sure which fertilizer to use, it’s best to stay away from this chore.
Pro tip: Use potassium fertilizers during this time if you have to feed your plants.
Water Sensibly
Give your potted perennials a deep watering before the frost arrives. This will keep the soil warm and prevent your plants from dehydrating.
Water keeps a lot more warmth than the regular substrate, so don’t skip this step. Also, dry mediums freeze faster and can damage your plants’ roots.
And don’t forget to irrigate your plants approximately once a month. This can come through rain, snow, or supplemental watering.
Finally, be mindful of overwatering. It can cause root rot and kill your perennials, just like the cold.
Step 5: Choose The Best Technique
Now we come to the big stuff. There are different ways of protecting your plants from the cold, but these four are the ones that work.
Check them out!
Move Pots Indoors
You can protect your plants in fall and winter by moving them indoors. A greenhouse, basement, cold frame, garage, or shed are all viable options.
But make sure you don’t heat these places. Too much warmth will wake your plants out of dormancy and interrupt their natural cycle.
Your perennials will flourish in temperatures between 45-60°F. And remember to put them in an area with plenty of sunlight. All this will keep them warm and thriving.
Bury Them In The Garden
If you don’t have room indoors, you can always leave your plants outdoors. One way you can protect your perennials from harsh winters is by burying them in the garden.
Dig a hole deep enough to house the entire planter. Cover it with soil up until the rim, and that’s it.
The extra substrate mimics the in-ground conditions. This means it will insulate your plants and keep them warm during winter.
Finally, mulch the top of the container for even more frost protection.
Bring Pots Close Together
If you have hardy plants, you don’t have to bring them indoors or bury them. Sometimes, clustering them is all they need.
Place the smallest and most tender plants in the center, surrounding them with larger and hardier varieties.
Do this near walls, on your patio, or close to your evergreens. These places will provide protection from harsh winds and cold temperatures.
Additionally, you can create a windbreak or shield out of burlap. Or place the containers in a box filled with insulating materials.
Make your own leaf mulch and use it to insulate this box or stick to wood chips, straw, sawdust, etc.
Bagged mulch or thermal blankets are great options. Gardeners love them because they can remove them easily in spring.
Try Transplanting Or Trenching
Many gardeners transplant their potted plants to the ground. There they have more insulation and will tolerate cold temperatures a lot better.
Transplant your perennials before the first fall frost, mulch them, and that’s it.
You can also try trenching for your shrubs such as roses. Dig a trench, turn the pot on its side, place it in the hole, and cover it with soil. This technique keeps both roots and branches safe from frost damage.
This method is unnecessary for your herbaceous perennials. Yet, it is useful for woody perennials and shrubs in extreme conditions.
Step 6: Prepare Perennials For Spring
Overwintered perennials may wake up from dormancy earlier than their outdoor relatives.
Ease their transition into the great unknown by hardening them off. This can mean removing the covers or opening windows for starters.
Increase the outdoor exposure in stages. Remove mulch and covers more and more. Keep doing this until all winter protection is gone or your plants can last an entire day and night in their permanent location.
Final Thoughts
Overwintering perennials has its challenges, but these methods make it a lot easier. Your plants will thank you and you won’t have to start your garden from zero.
Potted plants you overwintered will jumpstart your season. This will paint your garden in gorgeous colors sooner than you’d think.

