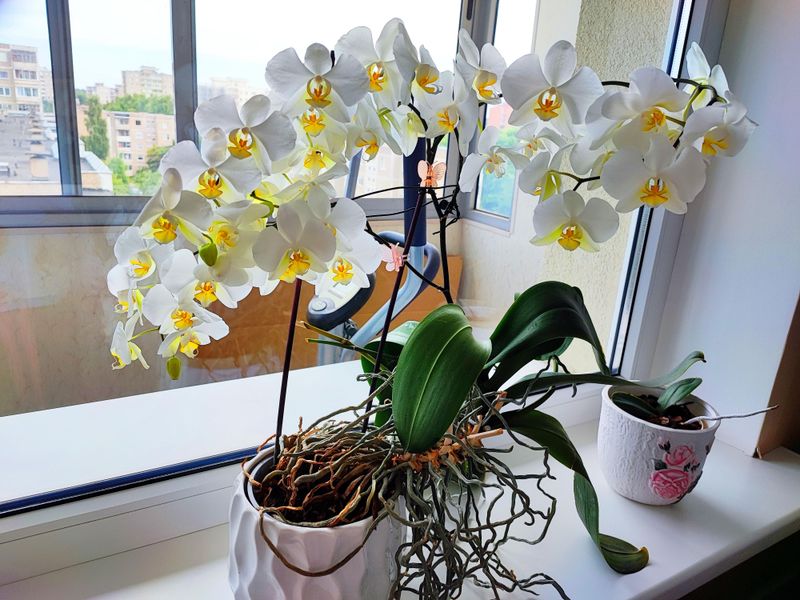
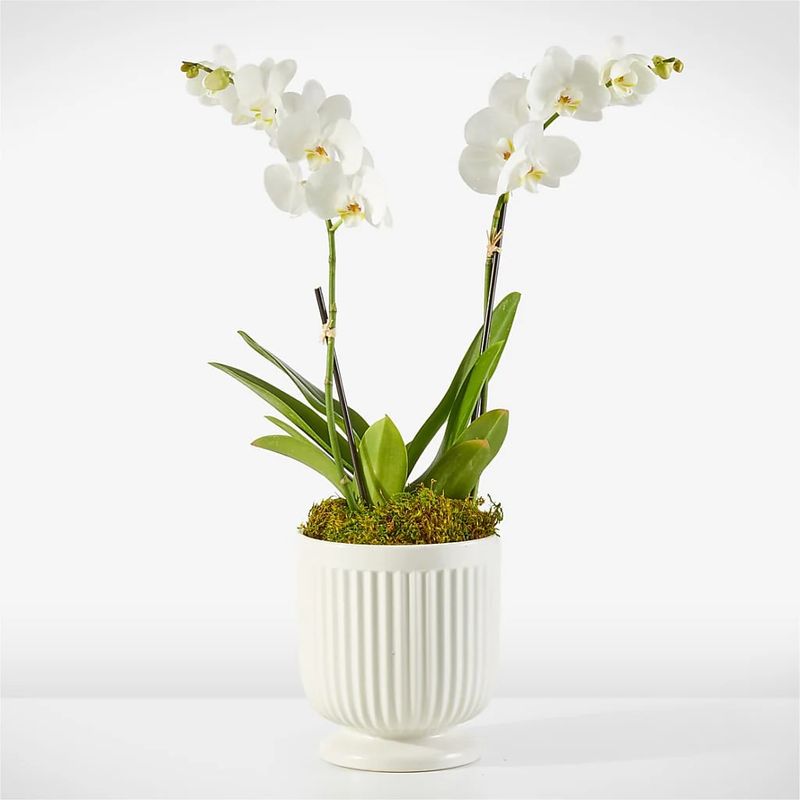
How To Protect Indoor Orchids From Arizona’s Winter Dryness
You bring your orchid a little closer to the window in winter, thinking more light will help, and somehow it still looks less happy than it did a few weeks ago.
That’s a common moment for Arizona orchid growers, especially when indoor air starts feeling dry even to you.
Winter here doesn’t feel harsh in the usual sense, but heating systems quietly change the environment plants rely on. Not every wrinkle, droop, or slowed bloom is a sign something is wrong, and orchids can handle brief adjustments.
When issues keep showing up, though, it’s usually because moisture is leaving the air faster than the plant can handle.
Arizona’s winter dryness works subtly, affecting leaves, roots, and buds without much warning. A few small changes can make indoor conditions feel far more supportive.
Knowing how to protect orchids during this season helps them stay steady now and ready for stronger growth later.
1. Increase Humidity Instead Of Watering More Often
Your orchid’s leaves tell you what it really needs. Most people think dry air means they should water more, but that’s actually backward thinking.
Orchids absorb moisture through their leaves and aerial roots, not just their potting medium.
Arizona homes in winter can drop to 10-15% humidity, which is far below the 40-60% orchids prefer. You’ll notice the air feels especially harsh when your furnace runs constantly during those cold desert nights.
Increasing water in the pot won’t fix dry air problems.
Overwatering leads to root rot, which weakens your plant faster than any dry spell could. Your orchid’s roots need oxygen just as much as they need moisture.
When you flood the pot trying to compensate for low humidity, you’re actually suffocating the roots.
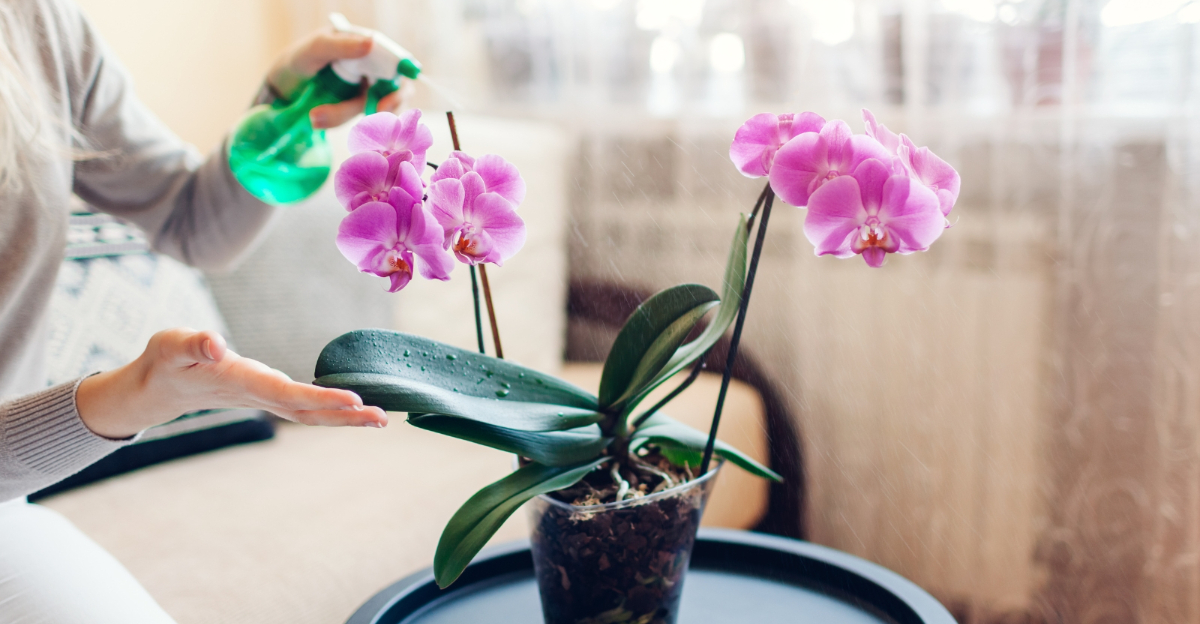
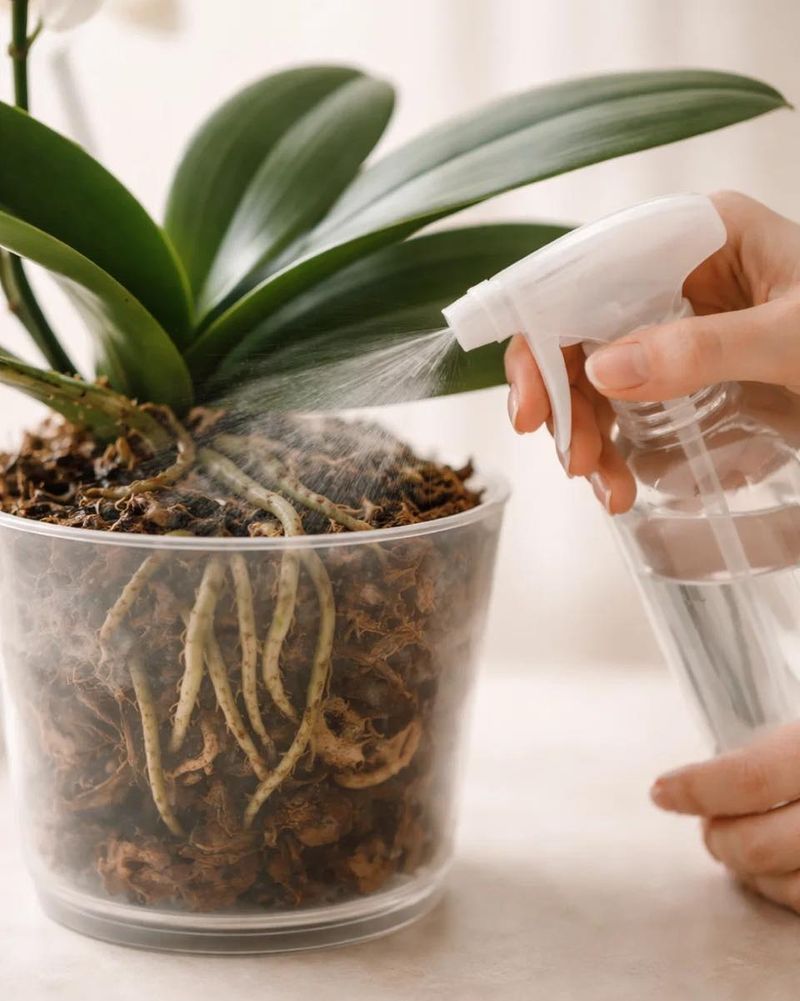
Focus on raising the moisture in the air around your plant instead. Misting can help temporarily, but it’s not a long-term solution since water evaporates quickly in Arizona’s arid climate.
You need consistent ambient humidity, not just surface dampness.
A small humidifier near your orchids works wonders during winter months. Even a basic model can boost moisture levels enough to keep leaves plump and healthy.
Your orchids will reward you with stronger growth and better blooms when spring arrives.
Group orchids together to create a small pocket of shared humidity that stays more stable than the surrounding room.
You can also place the pot on a shallow tray filled with pebbles and water, making sure the pot sits above the water line so roots never soak.
Watching leaf texture over time is the easiest guide, since firm, glossy leaves tell you the air balance is finally working in your favor.
2. Keep Orchids Away From Heating Vents And Drafts
Blasts of hot air from your heating system can damage orchid leaves in minutes. That convenient spot near the floor vent might seem warm and cozy, but it’s creating a microclimate that’s way too harsh.
Temperature swings stress orchids more than steady cool conditions ever would.
Arizona winters mean your heater cycles on and off throughout the day and night. Each time hot air rushes out, it instantly dries any moisture on nearby surfaces.
Your orchid’s delicate tissues can’t adapt fast enough to these rapid changes.
Drafty windows create the opposite problem but with similar results. Cold air seeping in meets warm indoor air, creating temperature fluctuations your orchids hate.
You might not feel these drafts yourself, but your plants definitely do.
Move your orchids to stable locations away from both heating sources and windows. A spot on an interior wall or table works better than anywhere near climate control systems.
Consistency matters more than finding the warmest corner in your house.
Check for drafts by holding your hand near potential orchid locations during different times of day. You’ll be surprised how much air movement happens in spots that seem perfectly still.
Your orchids will thank you for finding them a calm, steady environment.
Repeated exposure to hot air blasts or cold drafts slowly weakens orchids by stripping moisture from leaves and forcing the plant to constantly adjust instead of growing steadily.
A calm, temperature-stable spot helps orchids hold onto humidity longer, keep leaf cells hydrated, and avoid the stress that leads to limp foliage or stalled growth during Arizona winters.
Once orchids are protected from airflow extremes, they settle into a more predictable routine and respond better to normal watering and light without ongoing issues.
3. Use A Humidity Tray To Counter Dry Indoor Air
A humidity tray is one of the simplest tricks in the orchid care playbook. You can make one yourself in about five minutes with materials you probably already have.
The concept works by creating a small zone of higher humidity right where your orchid lives.
Start with a shallow tray or saucer that’s wider than your orchid pot. Fill it with pebbles, gravel, or even decorative stones from your Arizona landscaping.
Add water until it reaches just below the top of the stones, then set your orchid pot on top.
The water slowly evaporates upward, surrounding your orchid’s leaves and roots with moisture-rich air. This happens continuously throughout the day, countering the drying effects of your heating system.
Arizona’s low humidity makes this method especially effective since evaporation happens faster here than in humid climates.
Make sure the pot bottom doesn’t sit directly in water, or you’ll create soggy conditions that encourage rot. The stones provide the perfect barrier, keeping roots safe while humidity rises.
You’re building a mini greenhouse effect without any complicated equipment.
Refill the tray every few days as water evaporates. You’ll notice you’re adding water more often during Arizona’s driest winter weeks.
This simple setup can raise humidity around your orchid by 10-20%, making a real difference in plant health.
You may see faster results if the tray sits near a bright window where gentle warmth speeds evaporation.
Keep an eye on salt buildup on the stones, since Arizona tap water can leave residue over time.
Rinsing the tray occasionally helps keep humidity clean and consistent for your orchid.
4. Water Thoroughly But Let Pots Drain Completely
Watering orchids properly means understanding how their roots work in nature. Wild orchids cling to tree bark in tropical forests, where rain soaks them completely before draining away instantly.
Your potted orchids need that same cycle of wet and dry to stay healthy.
When you water, do it thoroughly enough that water runs freely from the drainage holes. This ensures every root gets moisture and flushes out any salt buildup from Arizona’s hard tap water.
Shallow watering leaves dry pockets in the potting medium and doesn’t clean the roots properly.
After watering, let every drop drain out before putting your orchid back in its decorative pot or saucer. Standing water is your orchid’s worst enemy during Arizona winters.
Even a small amount sitting in the bottom creates problems you won’t see until it’s too late.
Wait until the potting medium feels almost dry before watering again. Stick your finger an inch into the medium to check moisture levels below the surface.
Winter means slower evaporation even in Arizona, so you’ll water less often than during summer months.
The cycle of thorough soaking followed by complete drying mimics natural conditions. Your orchid’s roots get the moisture they need without sitting in dampness that causes problems.
This approach works perfectly with Arizona’s dry climate since excess water evaporates quickly.
This wet-dry rhythm keeps roots oxygenated, which is just as important as moisture for healthy growth.
Orchids that stay slightly dry between waterings develop stronger, more resilient root systems.
Once you get this balance right, watering becomes predictable and your orchid responds with steadier growth and better blooms.
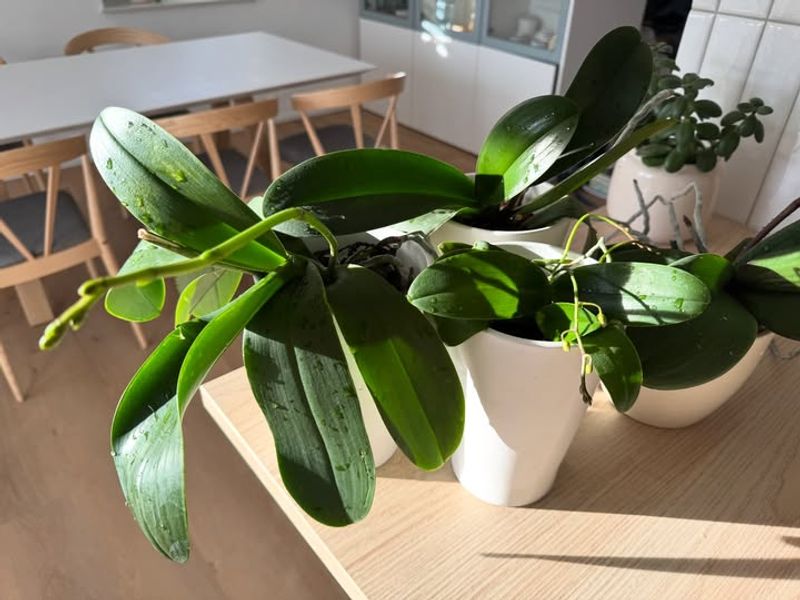
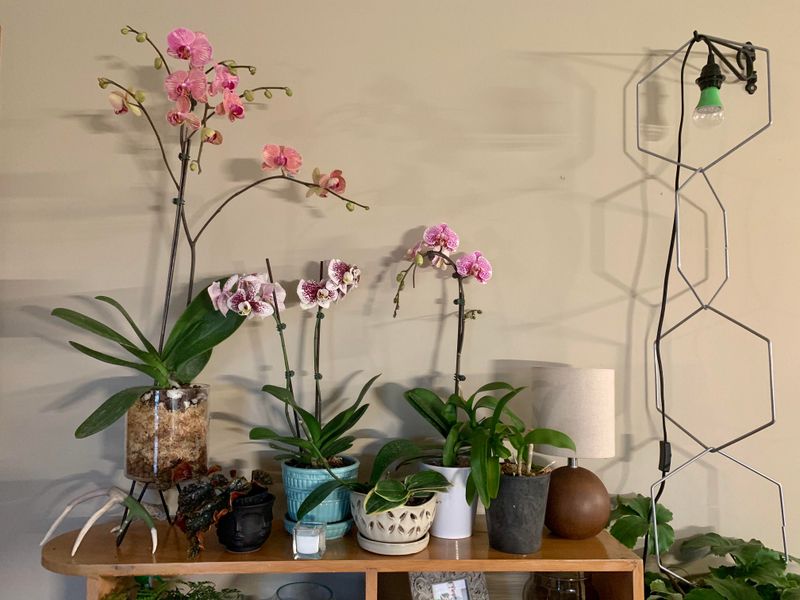
5. Group Orchids Together To Hold Moisture Longer
Plants create their own humidity through a process called transpiration. Each leaf releases water vapor into the surrounding air, similar to how you exhale moisture with every breath.
When you group orchids together, they share this moisture and create a more humid microclimate.
This strategy works especially well in Arizona homes where every bit of humidity helps. A single orchid struggles to maintain moisture in super-dry air, but three or four plants together can make a noticeable difference.
You’re essentially building a small plant community that supports itself.
Space your orchids close enough to benefit from shared humidity but far enough apart for air circulation. About six to twelve inches between pots usually works well.
You don’t want leaves touching since that can spread problems if one plant develops issues.
The grouped arrangement also makes it easier to manage humidity trays and humidifiers. Instead of setting up multiple stations around your Arizona home, you create one optimal environment.
This saves time and makes monitoring your orchids much simpler.
Add a few other tropical houseplants to the group if you have them. Ferns, peace lilies, and pothos all release moisture and thrive in similar conditions.
Your orchids will benefit from the company, and you’ll create an attractive indoor garden display that fights Arizona’s winter dryness naturally.
Grouping orchids together allows the moisture released from each plant to accumulate instead of vanishing into Arizona’s extremely dry indoor air.
This shared humidity creates a more stable microclimate that helps leaves stay firm and roots function properly without constant misting or extra watering.
Even a small cluster of plants can noticeably improve overall health and growth by maintaining moisture levels that a single orchid could never sustain on its own.
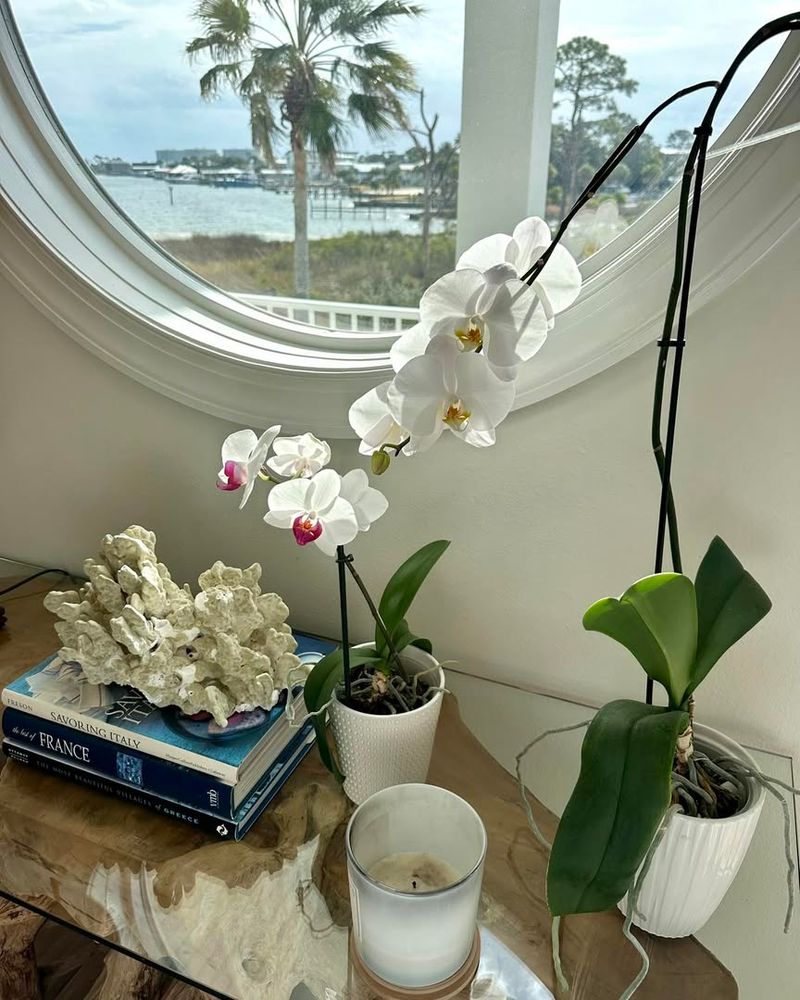
6. Avoid Cold Windowsills During Winter Nights
Windows seem like perfect orchid spots since they provide plenty of natural light. But Arizona winter nights tell a different story when temperatures drop significantly.
Glass conducts cold efficiently, creating a chilly zone right where your orchid sits.
Even though Arizona doesn’t get as cold as northern states, nighttime temperatures can still dip into the 30s or 40s. That cold radiates through window glass, dropping the temperature on your sill by 10-15 degrees below room temperature.
Your orchid experiences much colder conditions than you realize.
Orchid roots are especially vulnerable to cold stress since they’re pressed against the pot, which sits directly on the frigid surface. Cold roots can’t absorb water properly even when moisture is available.
This creates a confusing situation where your plant looks thirsty despite adequate watering.
Move orchids away from windows at night during Arizona’s coldest months, typically December through February. Even pulling them back two or three feet makes a significant difference.
You can return them to brighter spots during the day when sun warms the glass.
If you must keep orchids on windowsills, place a folded towel or cork mat under each pot. This insulation barrier protects roots from direct cold contact.
You’re creating a buffer zone that keeps root temperatures more stable throughout Arizona’s winter nights.
Cold stress often shows up slowly, so symptoms may not appear until days after repeated chilly nights.
You might see limp leaves or stalled growth even though light and watering seem correct.
Keeping temperatures steady helps orchids stay active through winter instead of slipping into stress mode.
7. Watch Leaf Texture For Early Signs Of Dry Stress
Healthy orchid leaves feel firm and slightly thick, like smooth leather. When Arizona’s dry winter air takes its toll, leaves start showing subtle changes before serious problems develop.
Learning to read these early warning signs helps you adjust care before your orchid suffers real damage.
Leaves begin to feel thinner and more flexible when they’re losing moisture faster than they can replace it. You might notice a slight wrinkling or accordion effect along the leaf surface.
These texture changes happen gradually, so check your orchids regularly to catch them early.
Color shifts often accompany texture changes during dry stress. Leaves might look slightly duller or develop a grayish tint instead of their usual glossy green.
Arizona’s intense winter sun combined with low humidity can fade leaf color faster than you’d expect.
The oldest leaves typically show stress first since the plant prioritizes newer growth. Don’t panic if one bottom leaf looks wrinkled while the rest seem fine.
Your orchid is managing resources, and older leaves naturally decline over time.
When you spot dry stress signs, review all your humidity strategies. Maybe your humidity tray needs refilling more often, or perhaps your humidifier needs to run longer.
Quick adjustments now prevent bigger problems later. Your orchid will recover quickly when you catch issues early and respond appropriately to Arizona’s challenging winter conditions.
These signs don’t mean your orchid is failing, only that the surrounding air is drier than the plant prefers right now.
Humidity issues progress slowly, which gives you time to correct them before roots or growth are affected.
With steady moisture in the air, leaf texture and color usually improve within a few weeks.