15 Essential Steps For Starting A Mushroom Log (Plus Advice For First-Timers)
Starting a mushroom log was one of those projects I wasn’t sure I could pull off—but it turned out to be way easier (and way more fun) than I expected.
Watching those little caps pop up for the first time felt like garden magic. If you’re curious about growing your own mushrooms, this is a great place to start. With a few basic steps and a little patience, you’ll be harvesting before you know it.
I’ve gathered the must-knows and a few tips I wish I had at the beginning to help you get growing.
1. Select the Right Wood
Hardwoods like oak, maple, and sweetgum make excellent hosts for mushroom cultivation. These dense woods break down slowly, providing nutrients to your fungi for years rather than months.
Avoid using pine or other softwoods as they contain natural fungicides that inhibit mushroom growth. The ideal log should be from a healthy, living tree cut during dormant winter months when sugar content is highest.
2. Timing Your Harvest
Winter cutting gives your logs the best chance of success. Trees store sugars and nutrients during dormant periods, creating a rich food source for mushroom mycelium to thrive on.
Allow freshly cut logs to rest for about two weeks before inoculation. This aging period lets natural fungicides in the wood dissipate while preserving the valuable nutrients your mushrooms will need.
3. Gather Your Supplies
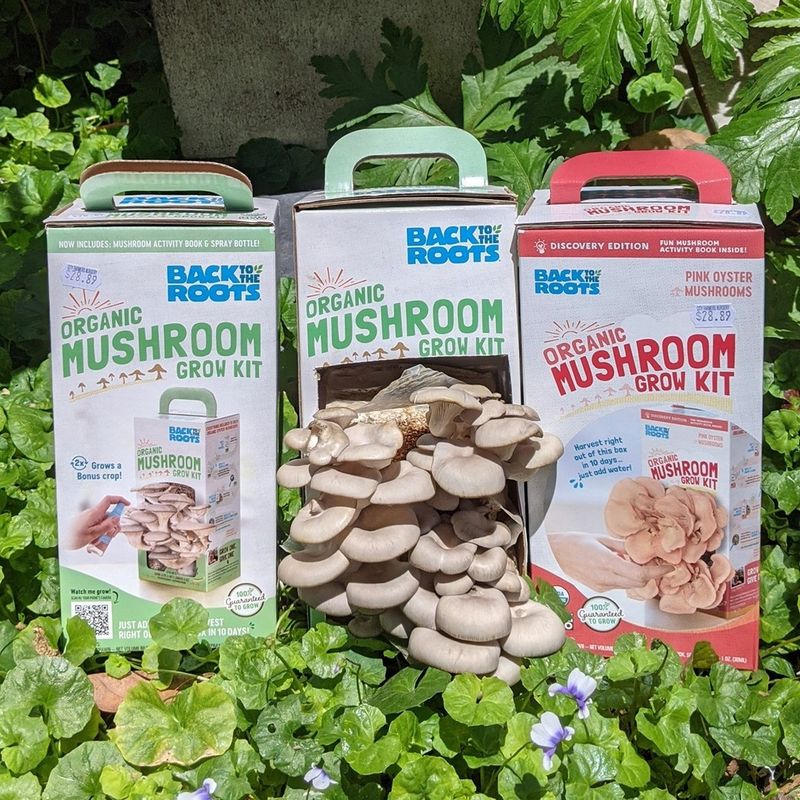
Beyond logs, you’ll need mushroom spawn (available as plugs, sawdust, or dowels), a drill with appropriate bit size, hammer, beeswax, and a small pot for melting wax. Consider investing in an angle grinder with special bit for faster drilling.
Don’t forget protective gear like gloves and goggles. A dedicated work surface makes the inoculation process more comfortable, while tags or markers help track different mushroom varieties and inoculation dates.
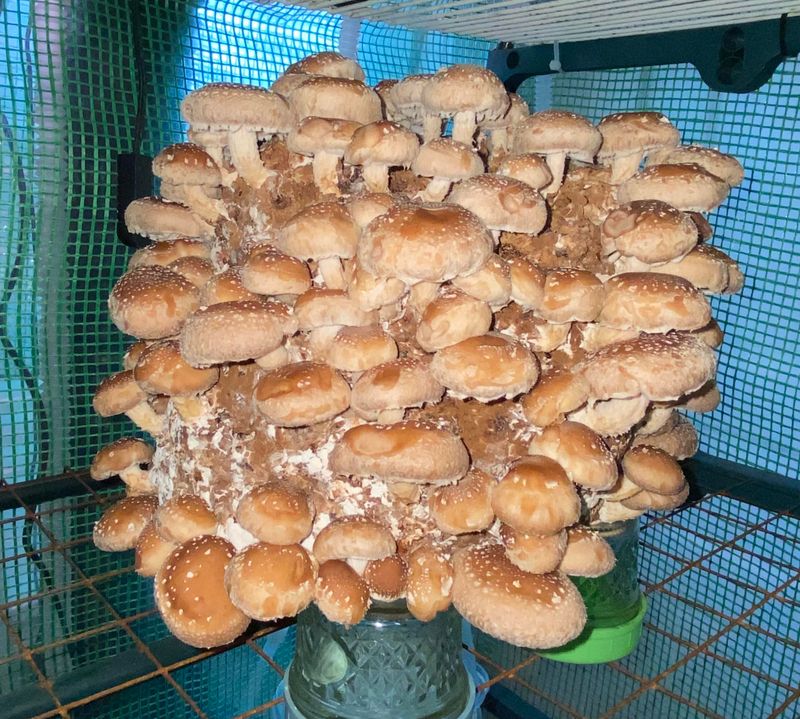
4. Choose Your Mushroom Variety
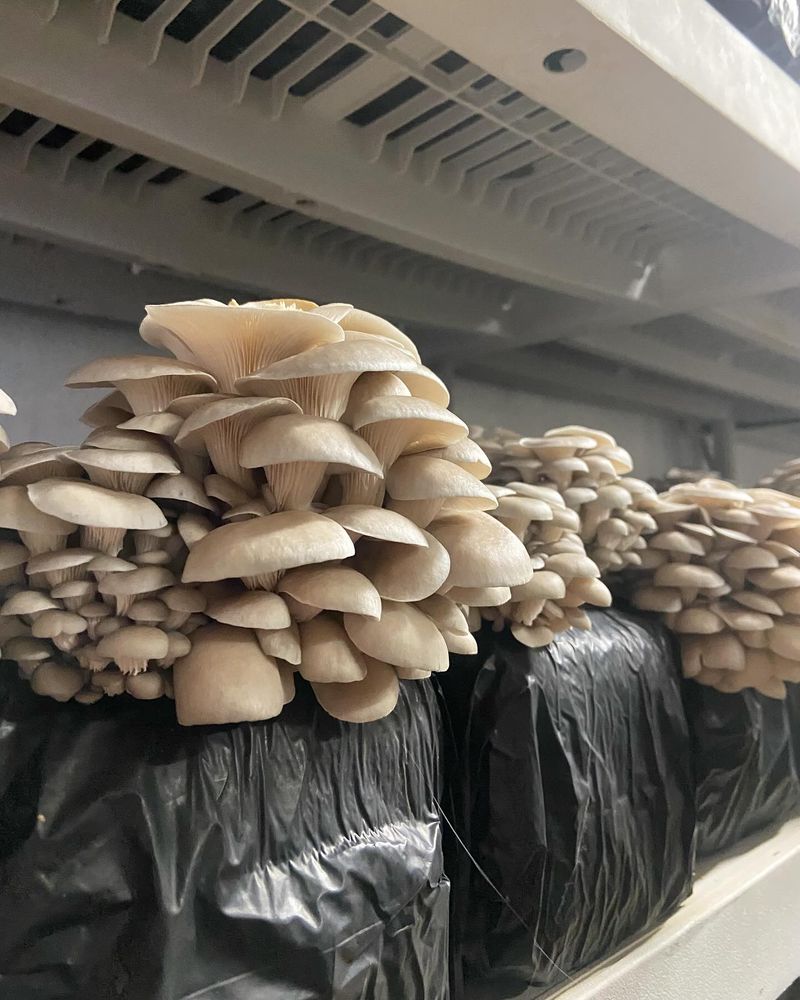
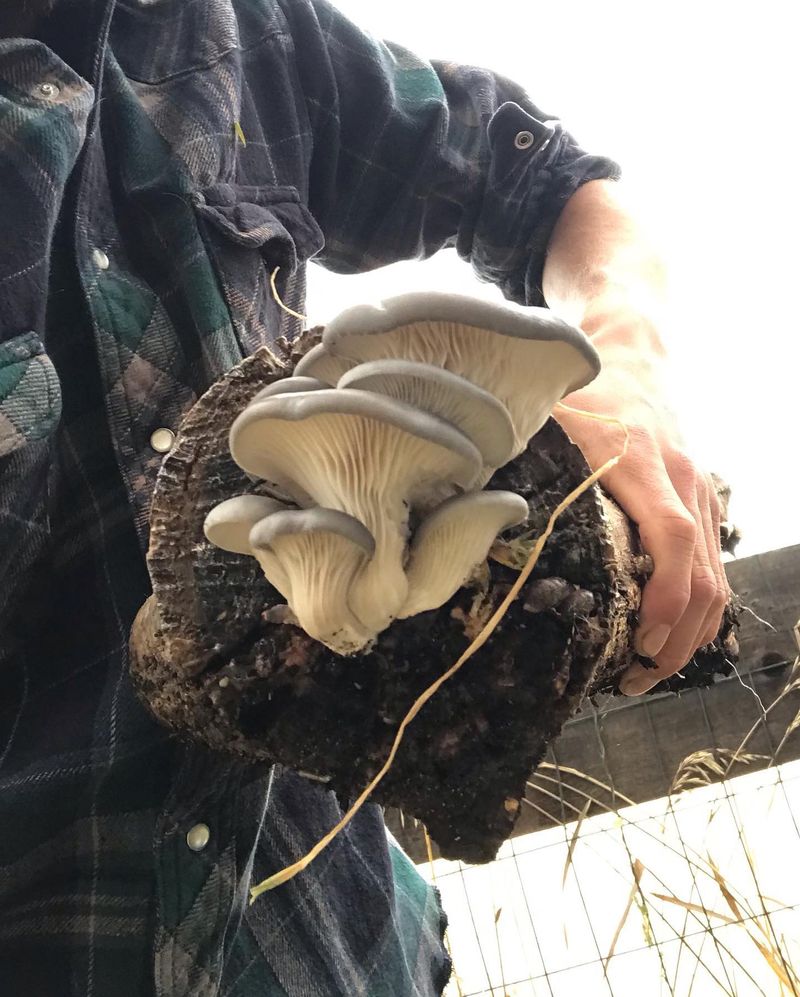
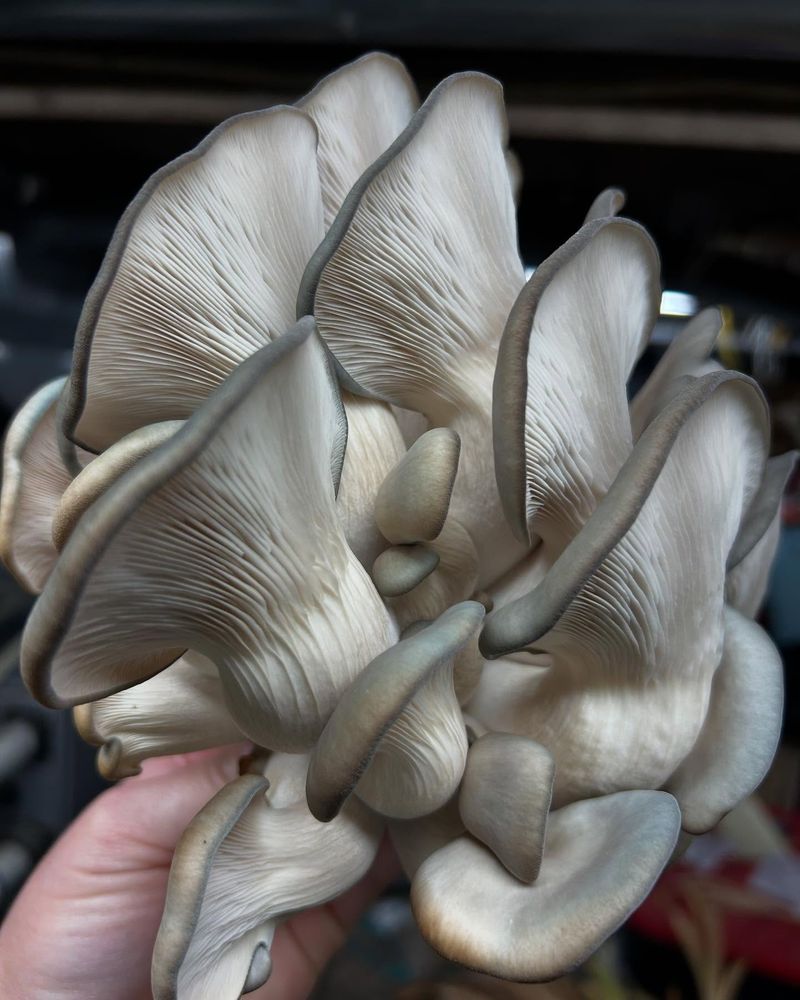
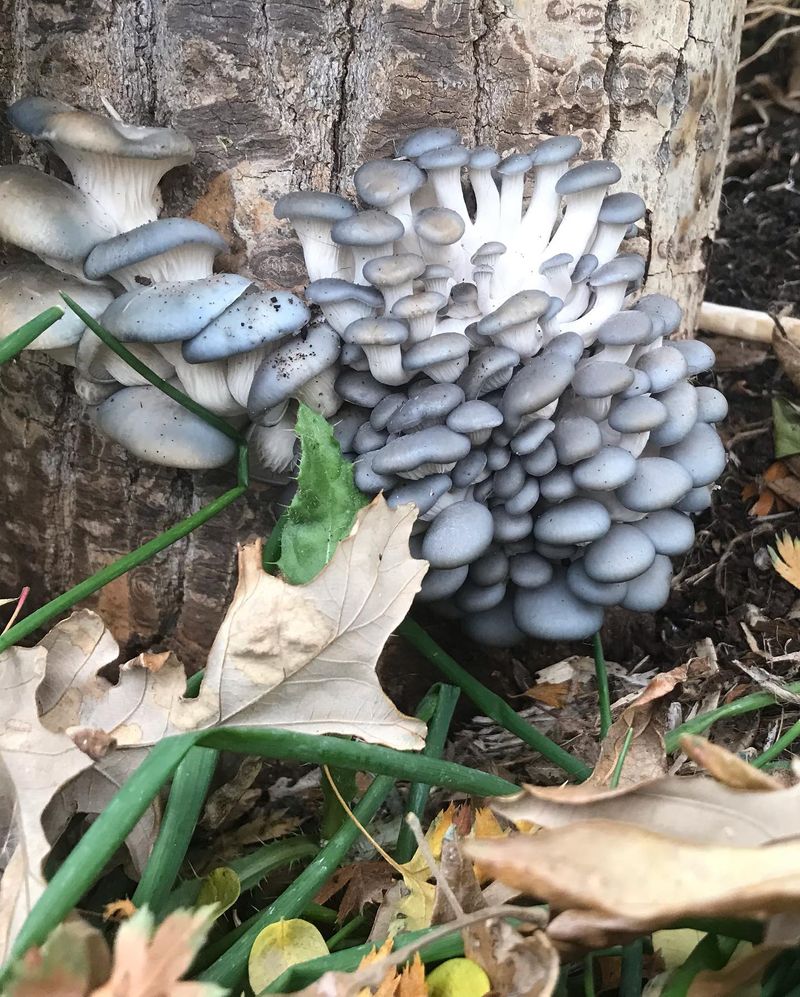
Shiitake mushrooms are perfect for beginners, thriving on oak and maple while producing for 3-5 years. Oyster varieties offer quicker results, often fruiting within 6-12 months of inoculation.
Consider your climate when selecting strains. Cold-weather varieties like Lion’s Mane perform well in northern regions, while Pearl Oysters adapt to various conditions. For first-timers, wide-range temperature tolerant varieties minimize the chance of failure.
5. Drill Inoculation Holes

Create a diamond pattern of holes around your log, spacing them about 4-6 inches apart. The correct drill bit size depends on your spawn type – typically 5/16″ for plug spawn and 7/16″ for sawdust spawn.
Drill to a depth of about 1-1.5 inches, creating a snug fit for your spawn. Clean holes allow better spawn-to-wood contact, so blow away sawdust from each hole before inserting spawn.
6. Insert Mushroom Spawn
Working quickly helps prevent contamination from wild fungi. Insert spawn plugs flush with the log surface using a hammer for gentle tapping – avoid crushing the plugs which damages the mycelium.
For sawdust spawn, use an inoculation tool to pack each hole completely. Fill every hole before moving to the waxing step, maintaining a clean work environment throughout the process to prevent introducing competing organisms.
7. Seal With Wax
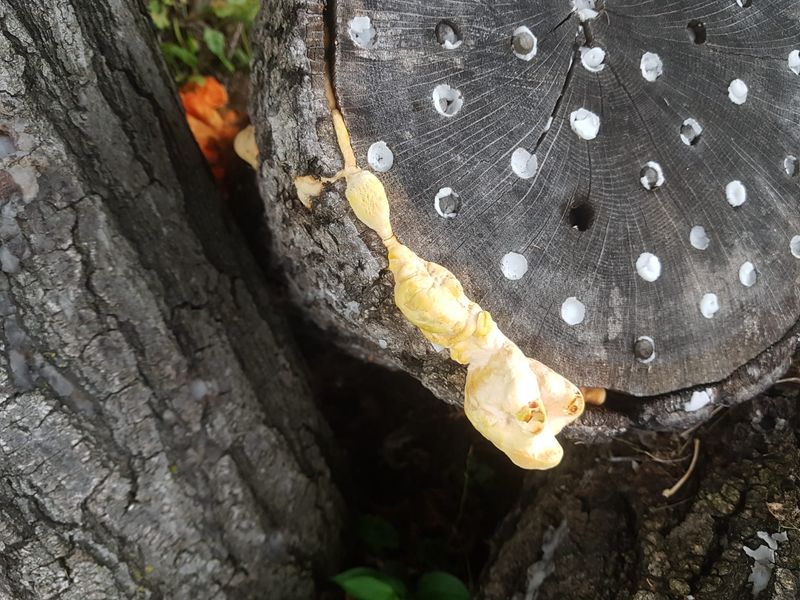
Melted beeswax or food-grade cheese wax creates a protective barrier against contaminants and moisture loss. Heat your wax to liquid form using a double-boiler setup to prevent scorching.
Apply wax over each filled hole and the cut ends of logs using a small brush or dauber. The seal prevents competing fungi from entering while keeping beneficial moisture inside the log during the critical colonization period.
8. Label Your Logs

Proper identification saves confusion later, especially when growing multiple varieties. Attach weatherproof tags noting the mushroom type, strain, and inoculation date to each log.
Consider using different colored waxes for different varieties as a visual identification system. Good record-keeping helps track which methods produce the best results, allowing you to refine your technique with each new batch of logs.
9. Create Proper Incubation Conditions
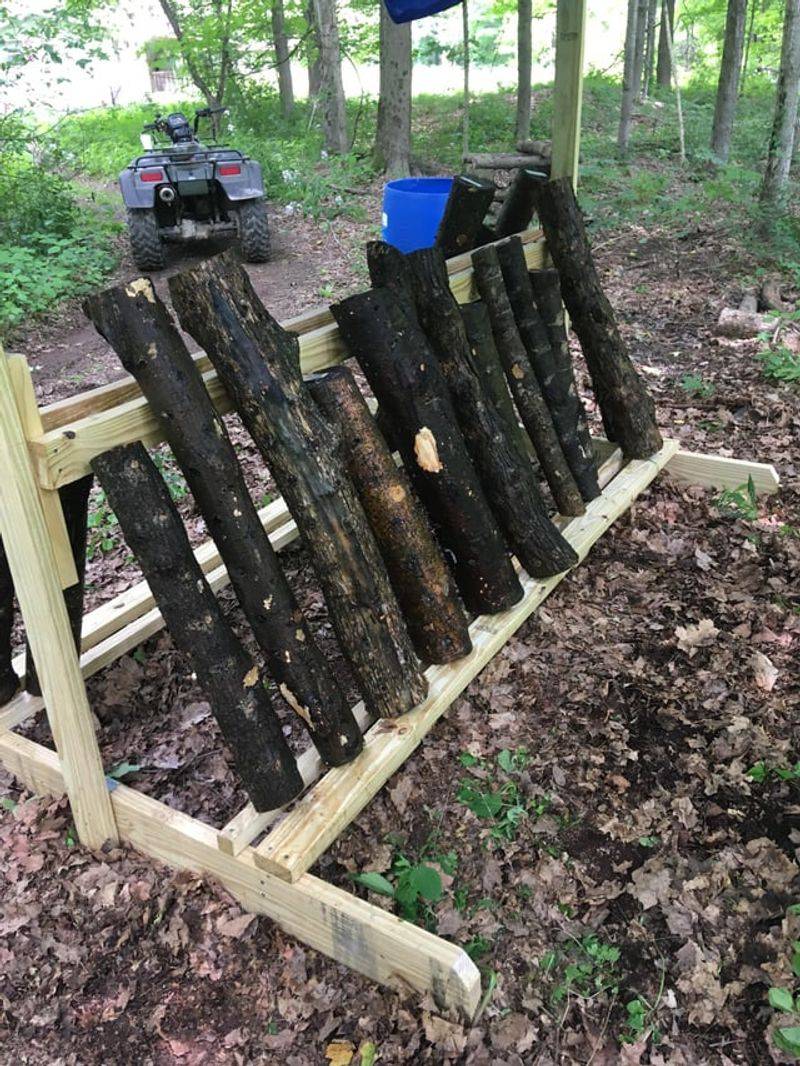
Stack freshly inoculated logs in a shaded area with good air circulation but protected from direct sunlight and strong winds. The ideal location mimics a forest floor environment – cool, humid, and filtered light.
Covering logs with breathable shade cloth helps maintain humidity while allowing airflow. During incubation, mycelium needs temperatures between 50-80°F (10-27°C) and high humidity to colonize the log effectively.
10. Monitor Moisture Levels
Moisture is critical during the colonization phase. Logs should feel damp but not waterlogged – aim for 40-45% moisture content. During dry periods, mist or soak logs to maintain proper hydration.
For a quick moisture check, tap logs together – they should sound solid, not hollow. Weighing logs periodically helps track moisture loss; a 10% weight reduction indicates watering is needed.
11. Practice Patience During Colonization
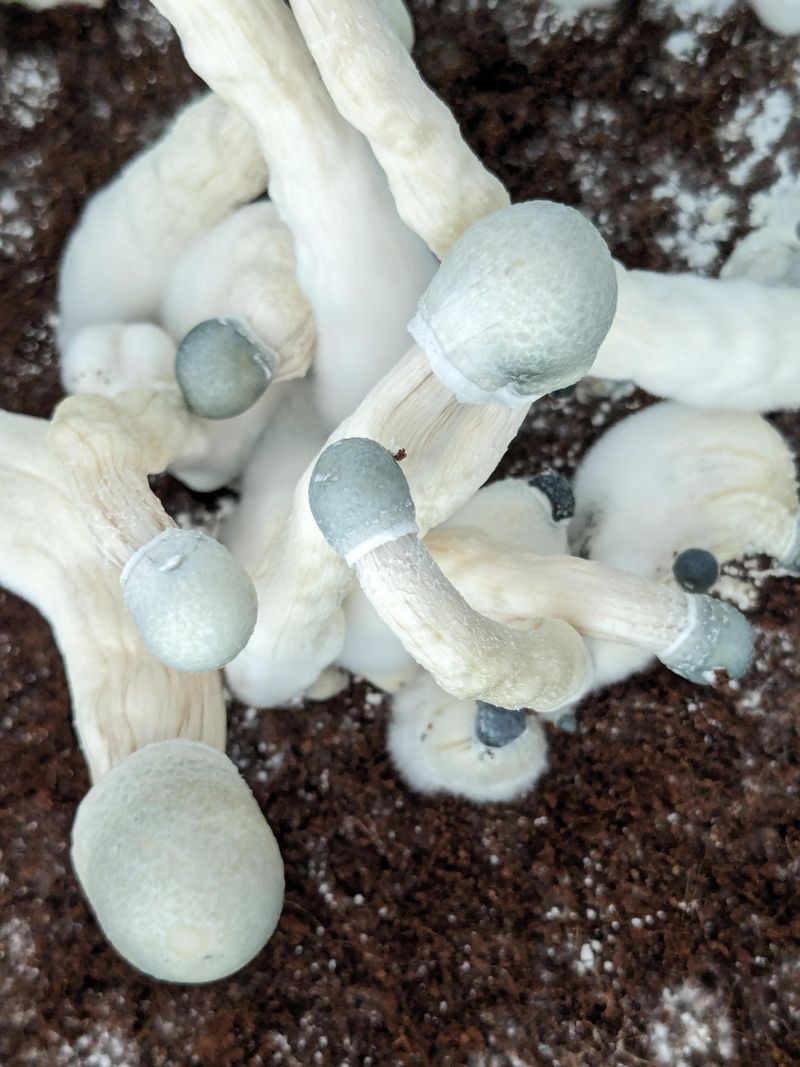
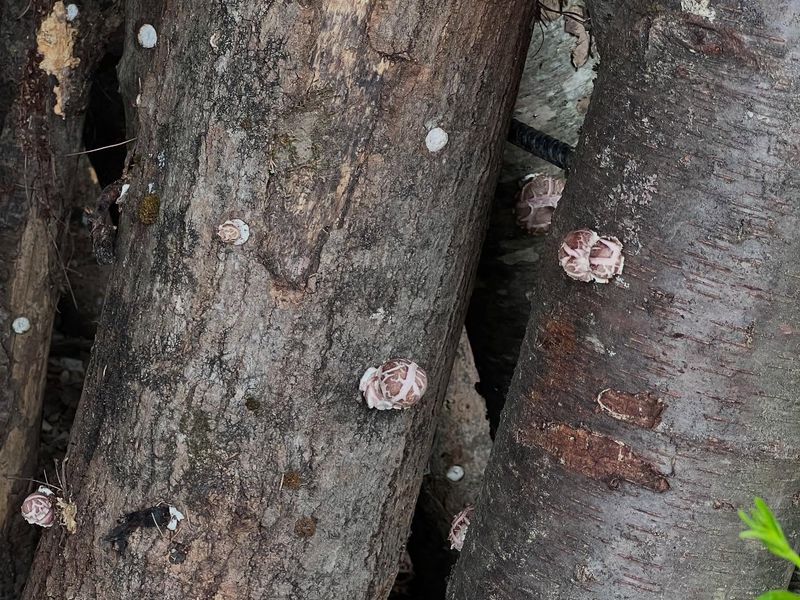
The waiting period tests gardeners’ patience as mycelium silently works through the log. White growth appearing at inoculation points indicates successful colonization, typically visible within 2-3 months.
Complete colonization takes 6-18 months depending on mushroom species, log size, and environmental conditions. During this time, minimal disturbance helps the mycelium establish throughout the log, creating a strong foundation for future fruiting.
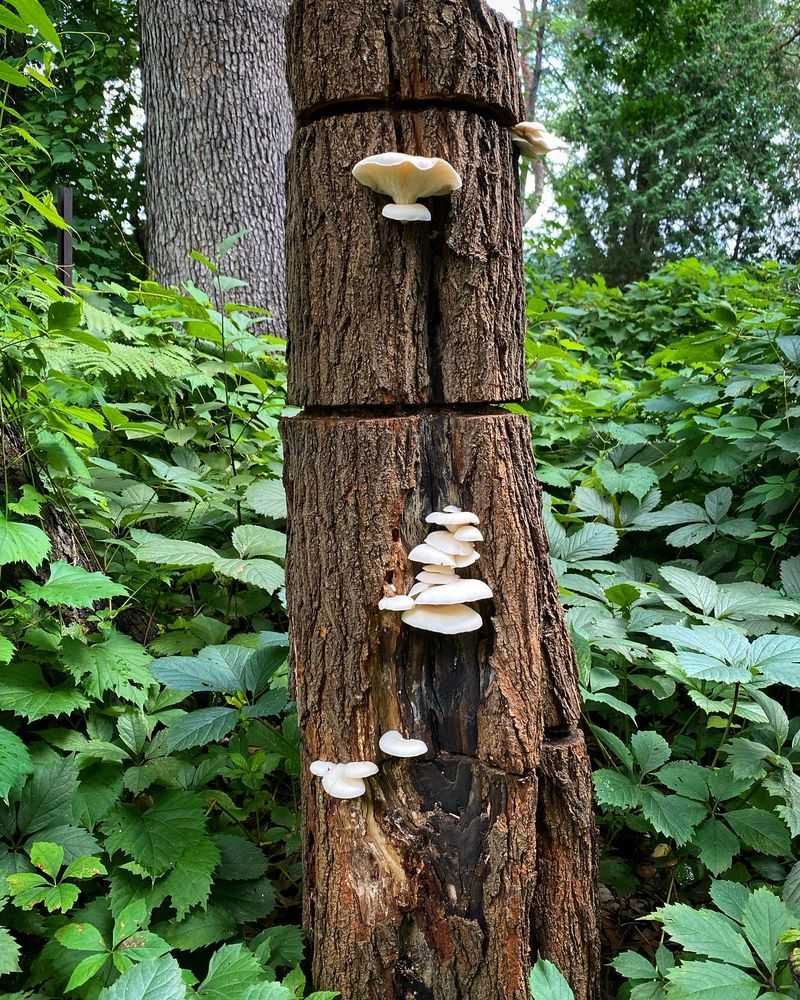
12. Induce Fruiting
Once fully colonized, logs need a shock to trigger mushroom production. Submerging logs in cold water for 24 hours mimics heavy rainfall, signaling ideal fruiting conditions to the mycelium.
After soaking, stand logs upright or lean them against supports in your fruiting area. Mushroom pinning typically begins within 7-14 days following the shock, with temperature fluctuations between day and night helping to stimulate fruiting.
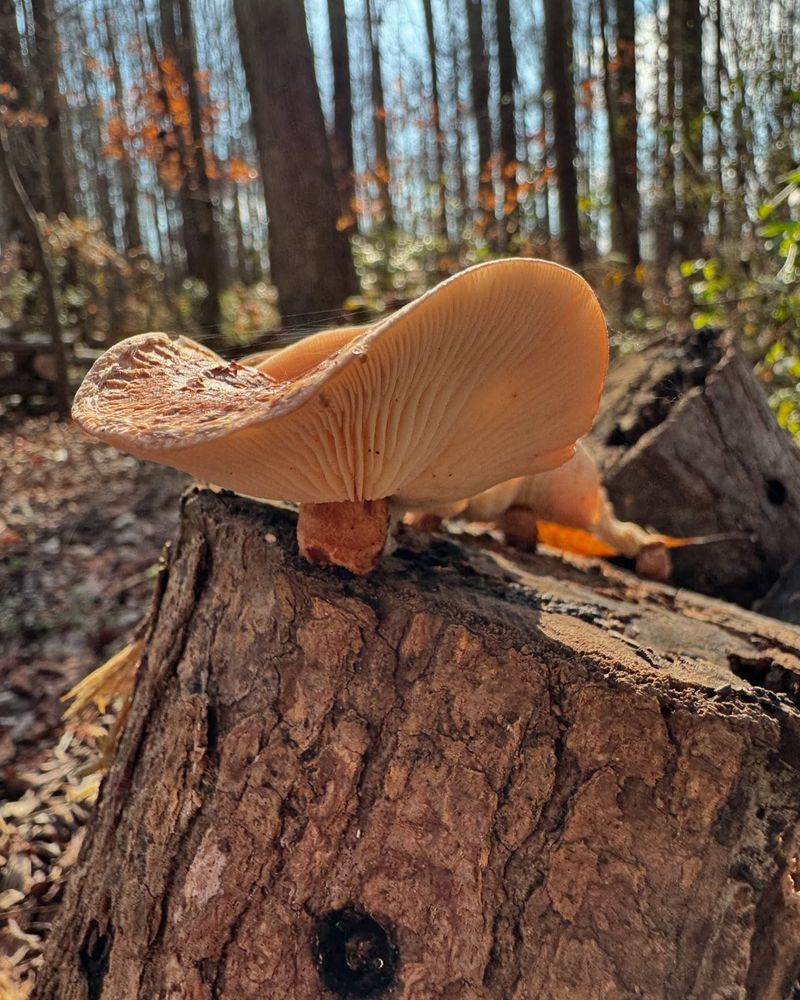
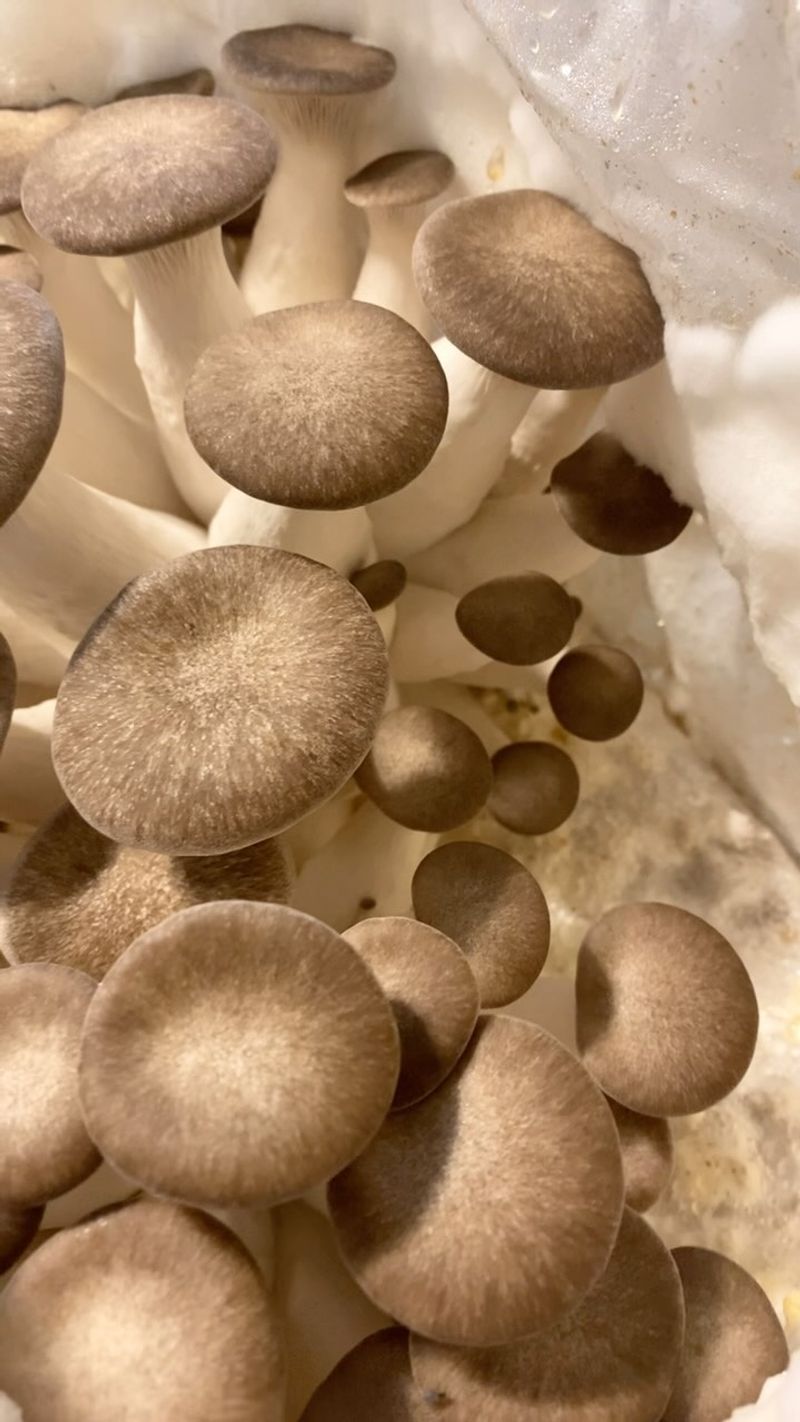
13. Harvest Your Mushrooms
Harvest timing varies by variety, but generally, collect mushrooms when caps are fully formed but before they flatten completely. Twist gently at the base or use a sharp knife to cut mushrooms cleanly from the log.
Morning harvesting captures mushrooms at peak freshness before the day’s heat affects texture. Handle your harvest gently to prevent bruising, and refrigerate promptly in paper bags to maintain quality and extend shelf life.
14. Rest Periods Between Fruitings
After harvesting, logs need recovery time to rebuild energy reserves. Allow 6-8 weeks between forced fruitings to prevent exhausting the log prematurely.
During rest periods, return logs to their stack in the incubation area. Natural fruiting may occur during favorable weather conditions without forced soaking. With proper care, hardwood logs can produce mushrooms for 3-6 years, with peak production typically in years 2-4.
15. Troubleshoot Common Problems
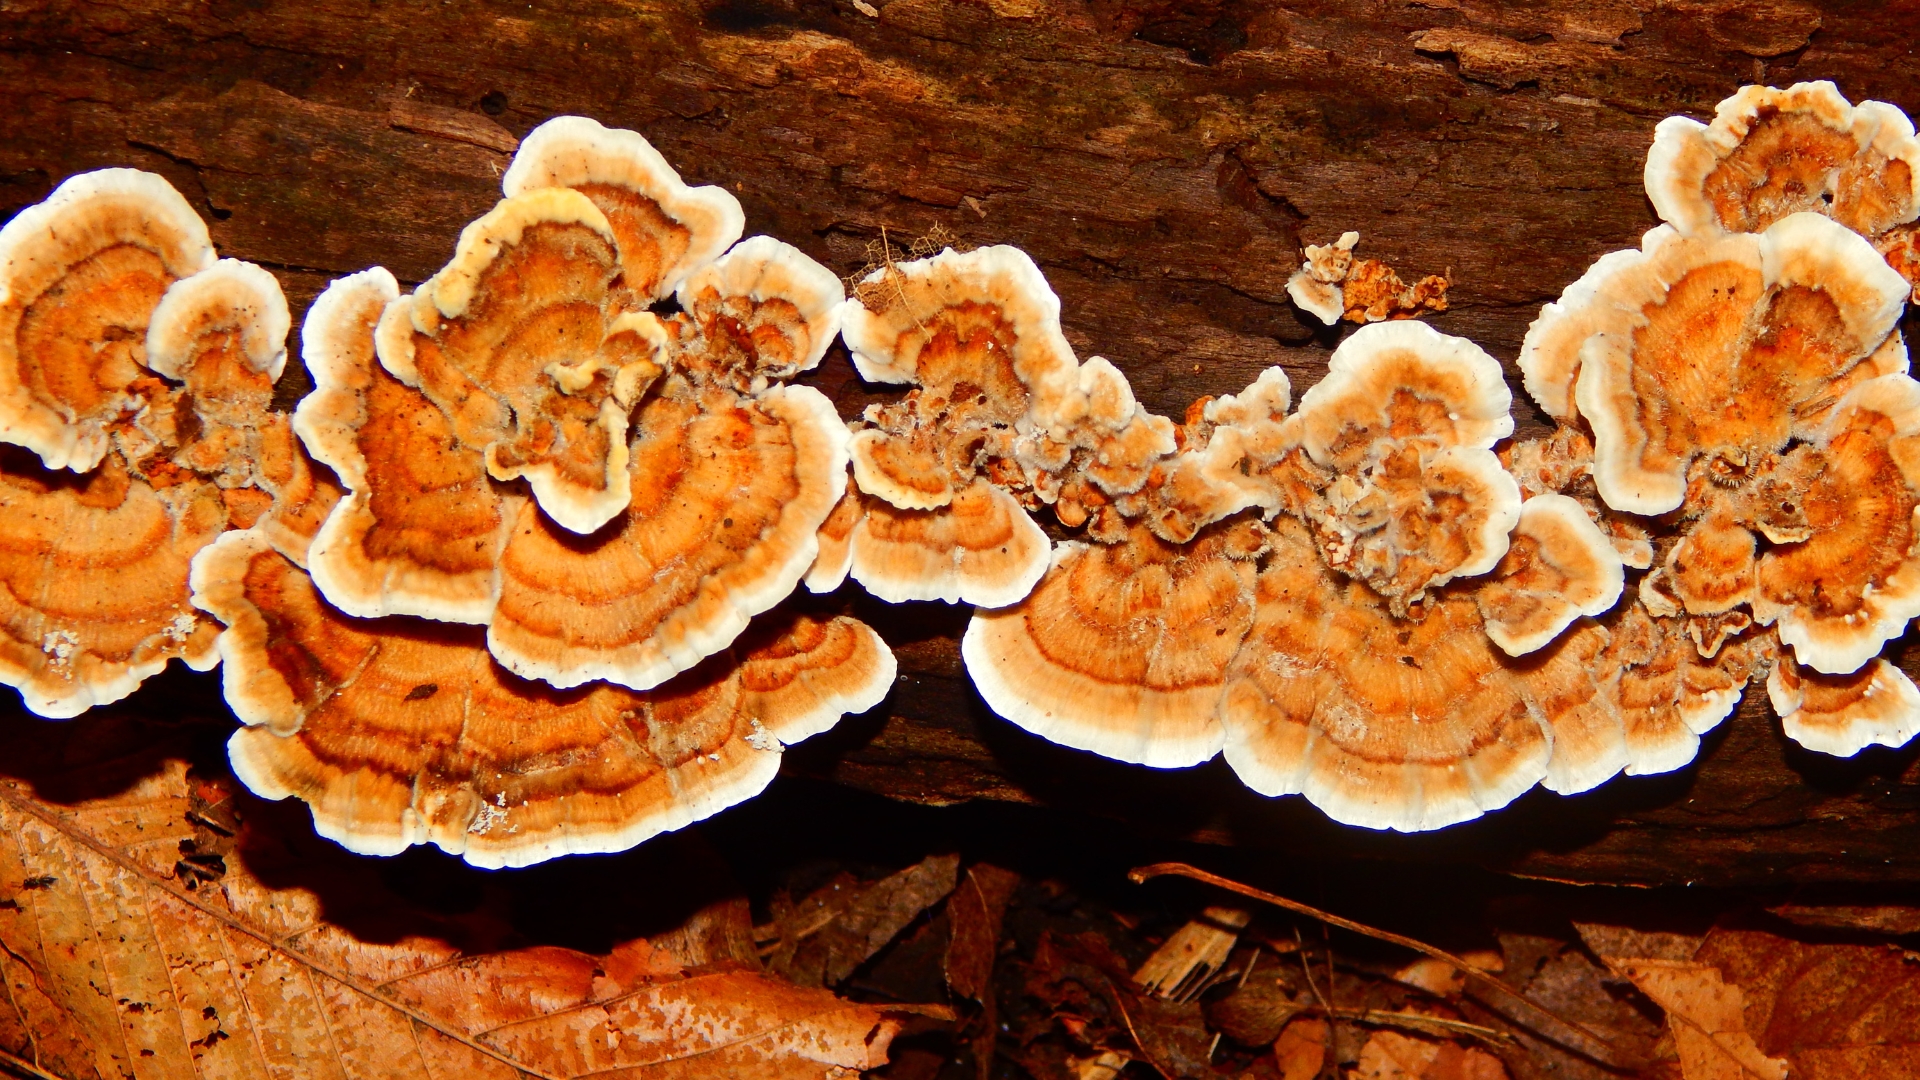
Watch for competing fungi, identifiable by unusual colors or growth patterns unlike your intended mushroom mycelium. Isolate affected logs to prevent spread to healthy ones.
Cracking indicates excessive drying, while green mold suggests contamination during inoculation. Maintain proper moisture without waterlogging, as overly wet conditions invite slugs and bacterial blotch. Most issues can be prevented with proper log selection and clean inoculation techniques.