How To Stop Weeds Growing Along Fences And Driveways
Weeds just filed a lease on your driveway. You spot them wedged between concrete slabs, hugging fence posts, and tickling your ankles.
Pulling them feels productive, yet they return faster than you can rinse your gloves. Your mower skips those narrow edges, and your string trimmer only grazes the surface.
Meanwhile, hot afternoon sun warms those roots into sturdy, thriving settlers. Pavement stores warmth long after sunset, so you face a crew that works overtime.
Shift your focus from each sprout to the conditions that invite them. Gravel gaps, loose soil, and settled dust give seeds a cozy bed you accidentally provide.
Seal those gaps, and you flip the advantage back to your side. Imagine neighbors slowing down to ask which landscaping crew you hired. Tidy edges sit well within your reach, and the tools already hang in your garage.
1. Pull Young Weeds Before They Set Seed
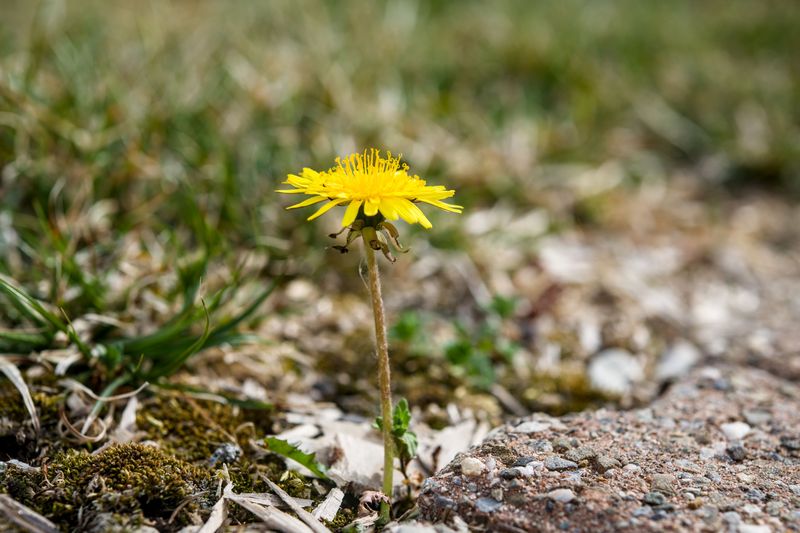
An old gardening saying warns that one year of seeds means seven years of weeds. It holds up, because one dandelion can scatter hundreds of fluffy seeds.
Young weeds have short, weak roots that slide out of the soil with little effort. Wait a few weeks, and those roots dig deep and hold on tight.
The best time to pull is right after a good rain or a deep watering. Damp soil loosens its grip, so the whole root comes out in one piece.
Grab the weed low, right where the stem meets the ground, and pull slowly. Yanking from the top often snaps the stem and leaves the root behind.
For tough spots along fences, a forked weeding tool or a crack knife works well. Slip the tip under the root and pry upward with a gentle rocking motion.
Make a quick walk along your fence and driveway part of your weekly routine. Ten minutes on a Saturday morning can save you hours of work later.
Toss pulled weeds in a bag instead of leaving them on the ground. Some types can reroot or drop seeds even after you pull them.
Wear gloves, put on some music, and treat it like a small treasure hunt. Kids often love this job, especially if you offer a prize for the biggest root.
Over time, fewer weeds will show up, since you are stopping new seeds before they form. Your patience now often pays off with a cleaner edge each season.
2. Seal Driveway Cracks With Filler Or Polymeric Sand

Ever notice how weeds love driveway cracks more than your actual garden? Those skinny gaps trap dirt, water, and seeds, creating a tiny greenhouse for unwanted plants.
Sealing those cracks removes the weeds’ favorite foothold and makes regrowth much harder. Less soil and fewer gaps leave seeds far less room to take root.
First, clear out every weed and scrape the crack clean with a screwdriver or crack knife. A leaf blower or shop vacuum then removes loose dirt and dust.
For paver driveways and patios, polymeric sand is a good choice. Sweep it into the joints, mist it with water, and it hardens like soft grout.
Concrete and asphalt cracks need a different fix, such as a pourable crack filler. Most hardware stores sell bottles with a narrow tip for easy, clean application.
Wider cracks, over half an inch, may need foam backer rod stuffed in first. The rod fills space so the filler does not sink out of sight.
Pick a dry day with mild temperatures for the job. Check the label, since cure times and temperature limits vary by product.
As a bonus, sealing cracks also protects your driveway from water damage. Water that seeps in can freeze, expand, and enlarge small cracks into bigger damage.
Check your driveway each spring and fall for new gaps. Patching a hairline crack early usually costs far less than a big repair later.
Your driveway will look newer, and your weekends will feel a lot lighter without crack weeding. Grab a filler bottle and enjoy that smooth, clean surface.
3. Lay Landscape Fabric Beneath Gravel Edges
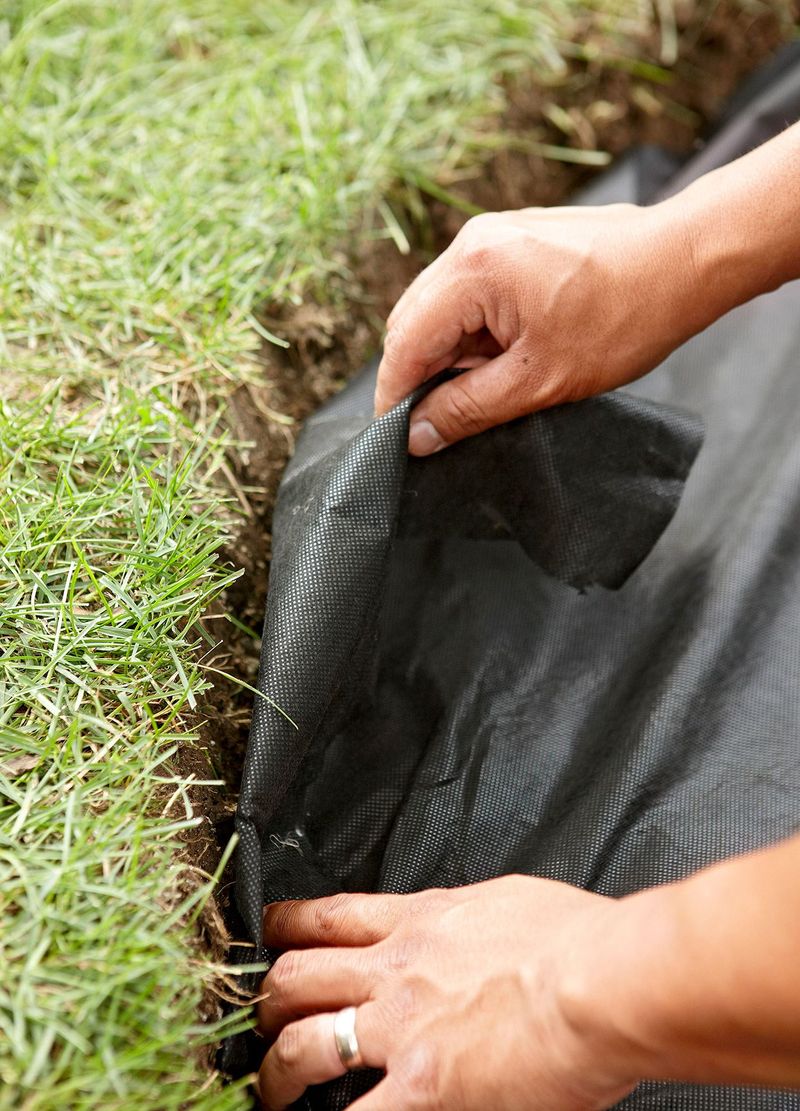
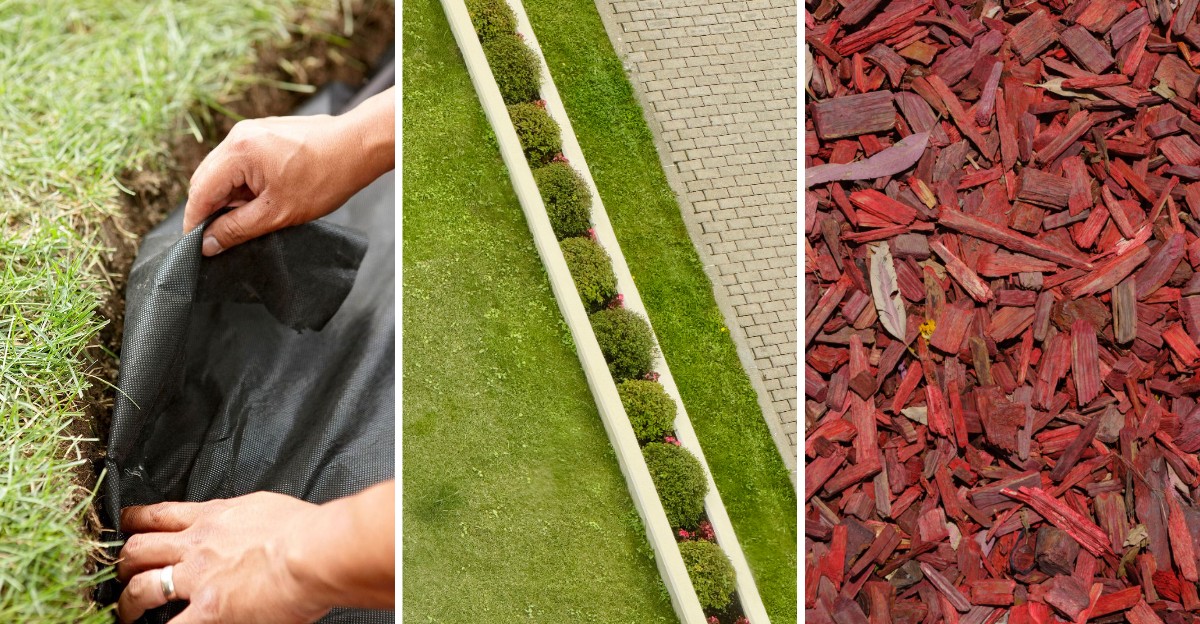
Think of landscape fabric as a cozy blanket that keeps weeds in the dark. Sunlight cannot reach the seeds below, so most fail to sprout.
The trick works great along fence lines and gravel driveway edges. Fabric lets rain soak through, yet it blocks most sprouts from pushing upward.
Start by clearing the strip down to bare soil and raking it smooth. Pull any roots and remove sharp rocks that could poke holes in the fabric.
Roll the fabric out and overlap each piece by about six inches. Gaps between sheets are like open doors, and weeds will find them quickly.
Pin the fabric down with metal landscape staples every foot or two. Cut neat slits around fence posts so the material hugs each post snugly.
Next, cover it with two to three inches of gravel, crushed stone, or river rock. The stones hold the fabric in place and protect it from harsh sun.
Choose a woven or heavy-duty fabric instead of the thin, cheap kind. Thicker fabric lasts longer and resists tearing when you walk on it.
Over time, dust and leaves may build up on top and let a few seeds sprout. Rake the surface now and then, and pull those shallow weeds by hand.
Done right, a one-afternoon project like this can keep an edge tidy for several years. That is a worthwhile reward for a few rolls and some gravel.
4. Spread A Thick Layer Of Mulch Along Fence Lines

Walk through any well-kept public garden, and you will spot thick, dark mulch hugging the plants. Gardeners use it because it suppresses weeds while making everything look polished.
Mulch works by blocking sunlight from reaching weed seeds sitting on top of the soil. Without light, most of those seeds stay asleep and do not sprout.
Along a fence, aim for a fluffy layer about three to four inches deep. Thin layers let light slip through, and stubborn weeds poke right up.
Wood chips, shredded bark, and pine needles all work well for this job. Shredded bark stays put on slopes, while chips are cheap and easy to find.
Many tree trimming companies give away wood chips for free if you ask. Some cities also offer free mulch from recycled yard waste, so check with your local public works office.
For extra power, lay flattened cardboard or newspaper under the mulch first. The paper blocks light to existing weeds, then slowly breaks down and feeds the soil.
Keep mulch a few inches away from wooden fence boards and posts. Damp mulch pressed against wood can invite rot, mold, and pests.
Organic mulch breaks down over time, which is actually a good thing for the soil. Plan to add a fresh inch or two every spring to keep it thick.
Pull any weeds that sneak through while they are tiny and easy. A quick tug in loose mulch takes seconds, and your fence line stays neat and earthy.
5. Pour Boiling Water On Stubborn Sprouts
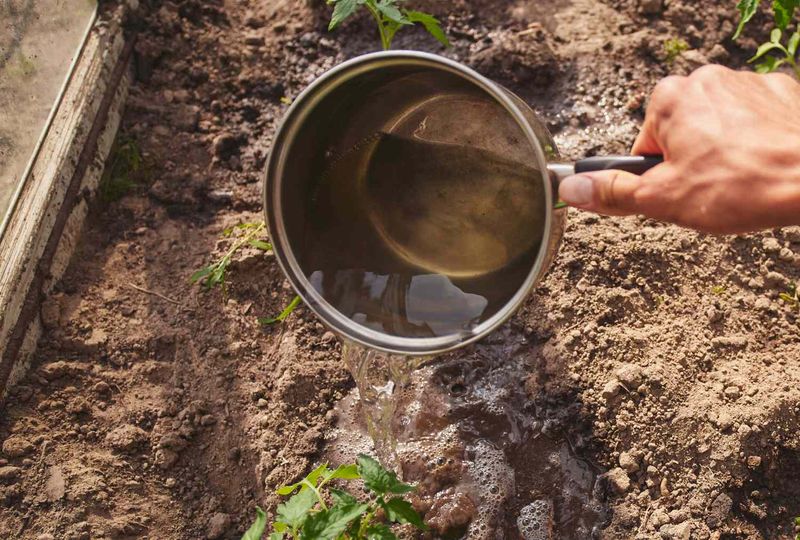
Sometimes the simplest tool is sitting right on your stove. A kettle of boiling water can wilt young weeds in driveway cracks within hours.
Hot water works by damaging the leaves and shallow roots of the plant. It leaves no chemicals behind, which makes it a smart pick around pets and kids, as long as they stay clear while you pour.
Fill a kettle with a spout so you can aim the water carefully. Pour slowly and directly onto the base of each weed, not just the leaves.
Small, young weeds usually wilt after one treatment. Older weeds with deep taproots, like dandelions, may need a second or third round.
Safety comes first with this method, so wear closed-toe shoes and long pants. Keep children and pets indoors while you carry and pour the hot water.
Be careful near flower beds, lawns, and shrubs you want to keep. Boiling water harms any plant it touches, so aim carefully.
Gravel paths and brick edges handle the heat just fine. Driveway cracks are also great targets, since the water soaks right down into the roots.
Got leftover water from boiling potatoes? Carry it outside while it is still hot for a free and thrifty weed treatment. Skip salted pasta water, since it adds salt to the soil.
Once the weeds turn brown, pull them out and seal the gap if possible. Pairing hot water with another method keeps the area clear much longer.
Plenty of gardeners use this trick on dry days. The method costs pennies and gives a quick, visible result.
6. Spray A Homemade Vinegar Mix

Your kitchen pantry may hold a surprising and budget-friendly weed fighter. A simple mix of vinegar and dish soap can dry out weed foliage on hot, sunny days.
For a basic recipe, add a tablespoon of dish soap to a gallon of white vinegar. The soap helps the liquid stick to leaves.
Pour the mix into a garden sprayer and soak the leaves well. Spray on a dry, sunny afternoon when no rain is expected for a day. Vinegar damages the leaves, and the soap breaks down their waxy coating so the mix soaks in.
It works best in driveway cracks and gravel where you do not want plants to grow. Use it sparingly, since runoff can reach lawns and corrode metal fence hardware. Avoid spraying near garden beds, lawns, or tree roots. Overspray can leave bare patches.
Grocery store vinegar is about five percent acid and works on young weeds. Stronger horticultural vinegar, often around 20 percent acid, is more potent, but it can burn skin and eyes, so wear gloves and eye protection.
Older weeds with thick roots may sprout again after a week or two. Spray them again, or pull them once the leaves turn brown and crispy.
Many folks love this recipe because it uses cheap items they already own. Just label your sprayer clearly so nobody mistakes it for window cleaner or plant food.
7. Install A Mowing Strip Or Edging Barrier
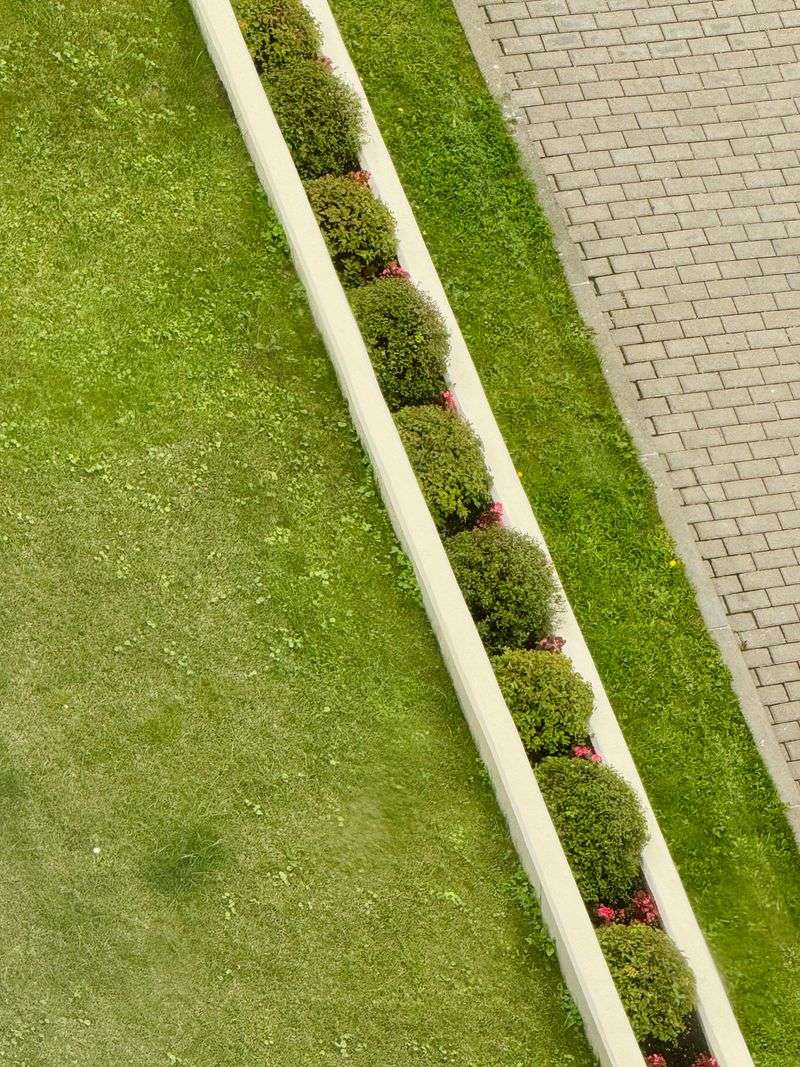
Landscapers often rely on the mowing strip for crisp, tidy fence lines. It is a narrow band of stone, brick, or concrete laid right beneath the fence.
Weeds love the awkward strip where a mower blade cannot quite reach. A mowing strip fills that gap, so your mower wheel rolls along it and trims everything.
To build one, dig a trench about six inches wide and four inches deep. Add a layer of packed sand, then set pavers or bricks snugly on top.
Keep the strip level with the lawn so the mower can glide right over. Tap each brick with a rubber mallet until it sits flat and firm.
Along driveways, plastic or metal edging can slow spreading grass. Bury it six to eight inches deep, since shallow edging lets runners slip underneath.
Grasses like Bermuda spread with underground runners that travel surprisingly far. A deep barrier helps block those runners before they reach cracks, joints, and flower beds.
Steel edging costs a bit more but lasts for decades and looks sharp. Plastic edging is cheaper and easier to bend around gentle curves and corners.
Fill joints between pavers with polymeric sand for a weed-resistant finish. You can also add landscape fabric under the strip for extra protection.
The result looks polished and saves time at each mowing. You will need far less hand trimming along the fence.
8. Plant Ground Cover To Crowd Out Weeds
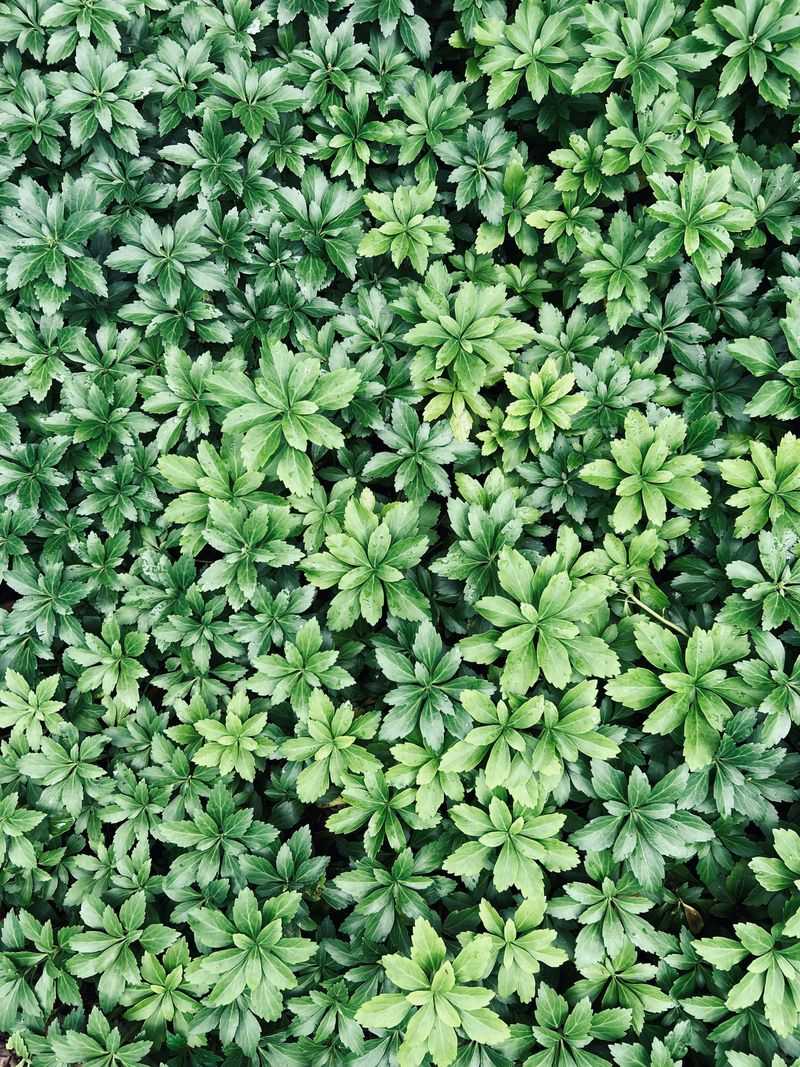
Bare soil invites weeds, so if you leave a space empty, they will move in. Filling that space with friendly plants is like hiring a living security guard.
Low, spreading ground covers form a thick mat that shades the soil. Weed seeds struggle to sprout when they cannot find light or room.
Creeping thyme is a lovely pick for sunny spots along fences or driveway edges. It smells sweet when stepped on and attracts busy, buzzing bees in summer.
Shady fence lines do well with plants like ajuga, sweet woodruff, or creeping Jenny. Sedum works great in hot, dry strips beside pavement.
Plant ground covers about a foot apart in early spring or fall. Water them often during the first season so their roots settle in well.
Add a light layer of mulch between plants while they fill in. Pull any weeds that pop up until the ground cover forms a solid carpet.
Most ground covers fill a space within one or two growing seasons. After that, they need little care beyond a trim now and then.
Be careful with aggressive spreaders like English ivy, which can climb fences and is invasive in some regions. Check with your local garden center for plants suited to your area.
Ground covers also prevent erosion and keep the soil cool and healthy. Your fence line turns from a weedy strip into a soft, blooming border.
Butterflies and bees will thank you too. The best weed barrier might just be a pretty plant that loves your yard.