13 Juicy Tips To Grow Watermelon From Seed (Plus 3 Mistakes That Can Ruin Your Harvest)
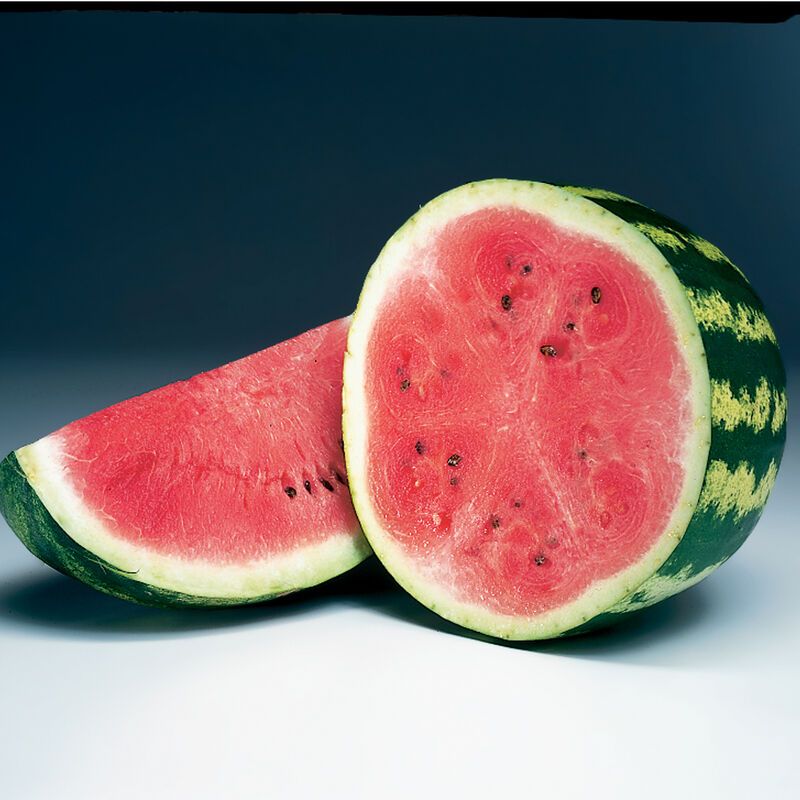
There’s nothing like biting into a homegrown watermelon—sweet, crisp, and straight from your garden. But getting from seed to slice takes a little know-how.
Skip the rookie mistakes and follow these 13 juicy tips to grow watermelons that are big, bold, and bursting with flavor. Let’s get growing!
1. Choose The Right Variety For Your Climate
Not all watermelons are created equal! Short-season varieties like ‘Sugar Baby’ and ‘Blacktail Mountain’ thrive in cooler regions with shorter summers, while heat-loving varieties like ‘Crimson Sweet’ excel in warmer climates.
Match your selection to your local growing conditions for best results. Northern gardeners should focus on melons that mature in 75-85 days, while southern growers can experiment with 100+ day varieties that develop more complex flavors.
2. Start Seeds Indoors For A Head Start
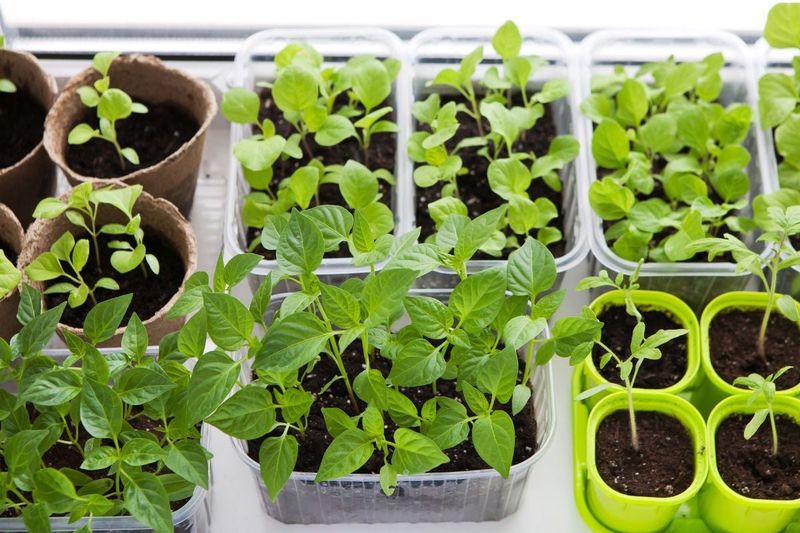
Jumpstart your watermelon season by planting seeds indoors 3-4 weeks before your last frost date. Use biodegradable pots to minimize root disturbance during transplanting, as watermelons hate having their roots messed with!
Fill pots with seed-starting mix, plant seeds 1/2 inch deep, and keep soil consistently moist but not soggy. Place in a warm spot (80-85°F is ideal) until germination, which typically happens within 3-10 days.
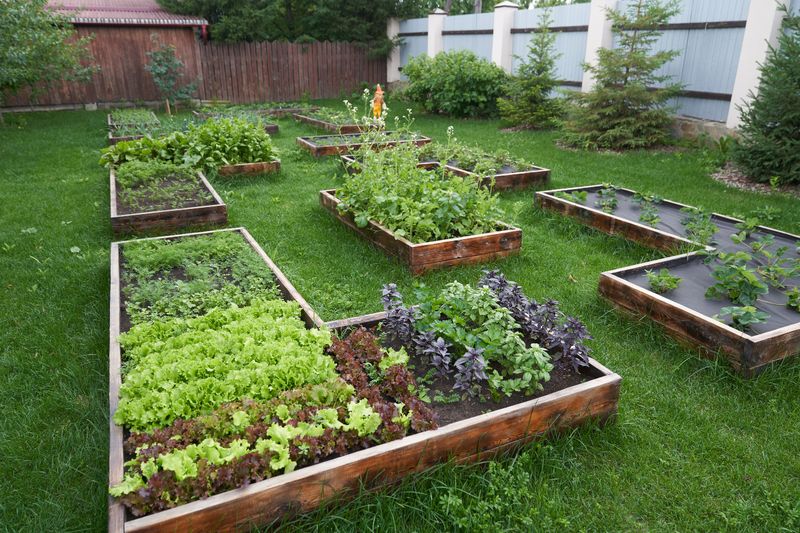
3. Provide Rich, Well-Draining Soil
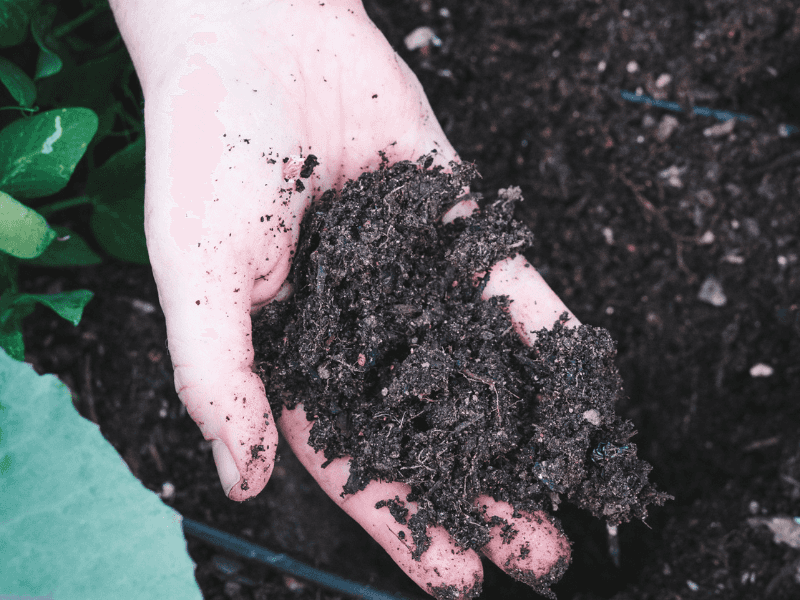
Watermelons are hungry plants that thrive in nutrient-dense soil with excellent drainage. Prepare garden beds by working in plenty of compost or aged manure to a depth of 12 inches before planting.
Sandy loam with a pH between 6.0-6.8 creates the perfect growing environment. Consider building raised beds if your native soil is heavy clay – your melons will thank you with better growth and sweeter fruit.
4. Plant In The Warmest Location
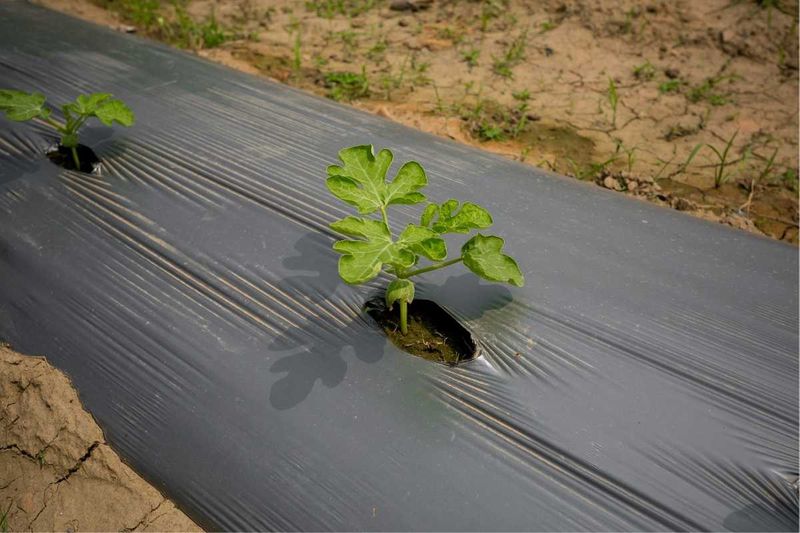
Watermelons crave heat like teenagers crave screen time! Select the sunniest, warmest spot in your garden for these tropical plants. South-facing slopes or areas near heat-reflecting structures work wonderfully.
Soil temperature must reach at least 70°F before planting outdoors. Some gardeners use black plastic mulch to pre-warm soil and keep it toasty throughout the growing season. The extra heat translates directly to sweeter melons and faster growth.
5. Space Plants Properly
Watermelon vines spread like neighborhood gossip! Give them plenty of room by spacing plants 3-5 feet apart in rows that are 6-8 feet apart. Bush varieties need less space but still require at least 3 feet between plants.
Proper spacing ensures good air circulation, reducing disease problems and allowing vines to sprawl naturally. Remember that crowded plants compete for nutrients and water, resulting in smaller fruits and reduced yields.
6. Water Deeply But Infrequently
Watermelons might seem thirsty given their juicy nature, but they prefer deep, infrequent watering over frequent sprinkles. Aim for 1-2 inches of water weekly, delivered directly to the soil rather than spraying leaves.
Drip irrigation works wonders for watermelons. Reduce watering once fruits reach full size to concentrate sweetness, but never let soil dry out completely. Morning watering allows foliage to dry before evening, reducing disease risk.
7. Feed With Balanced Fertilizer
Watermelons are heavy feeders that require consistent nutrition throughout their growing cycle. Start with a balanced fertilizer (10-10-10) at planting time, then switch to a lower-nitrogen, higher-phosphorus and potassium formula once flowering begins.
Too much nitrogen produces lush vines but fewer fruits. Apply compost tea or fish emulsion every 2-3 weeks during active growth. Always water thoroughly after fertilizing to prevent root burn and help nutrients reach deeper soil layers.
8. Mulch To Retain Moisture And Block Weeds
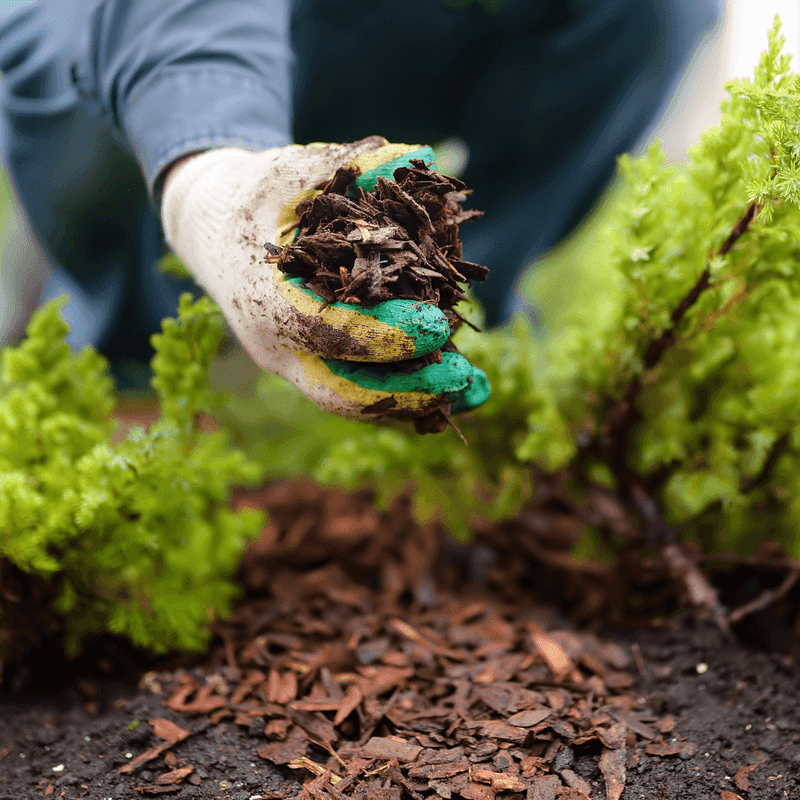
Mulching is like giving your watermelons a cozy blanket that keeps moisture in and weeds out. Apply a 2-3 inch layer of organic mulch like straw or shredded leaves around plants after soil has warmed thoroughly.
Keep mulch a few inches away from stems to prevent rot. Black plastic mulch works exceptionally well in cooler climates by warming the soil. The cleaner fruits that result from mulching are an added bonus – no more muddy melons after rainstorms!
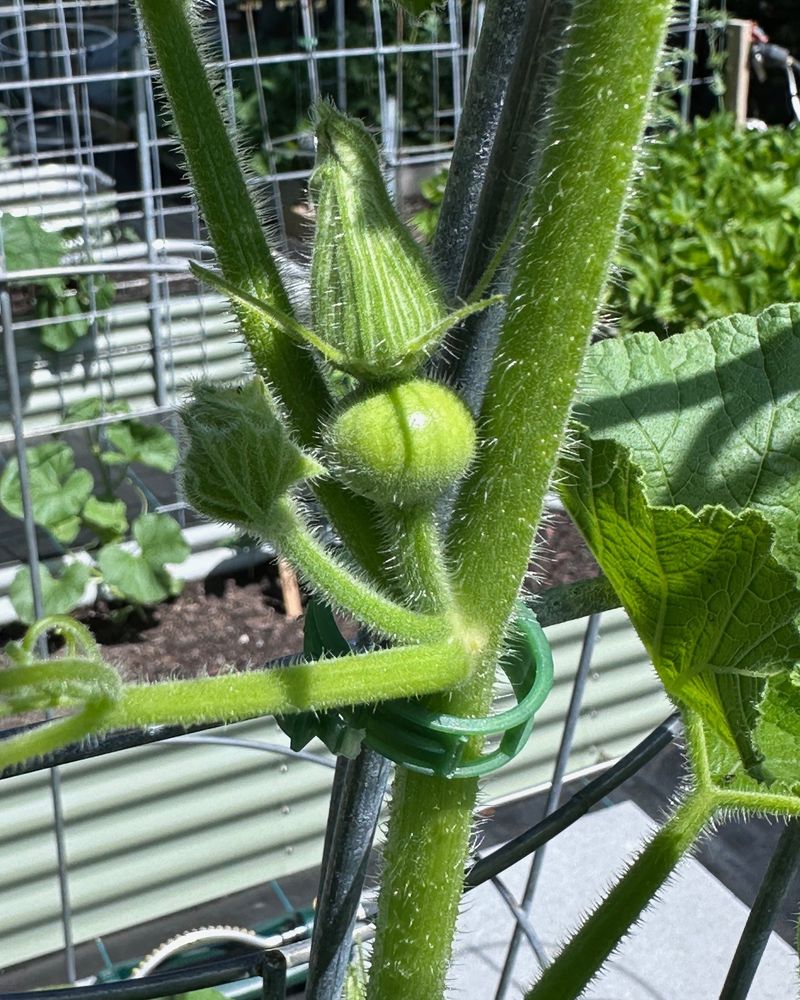
9. Hand Pollinate For Maximum Fruit Set
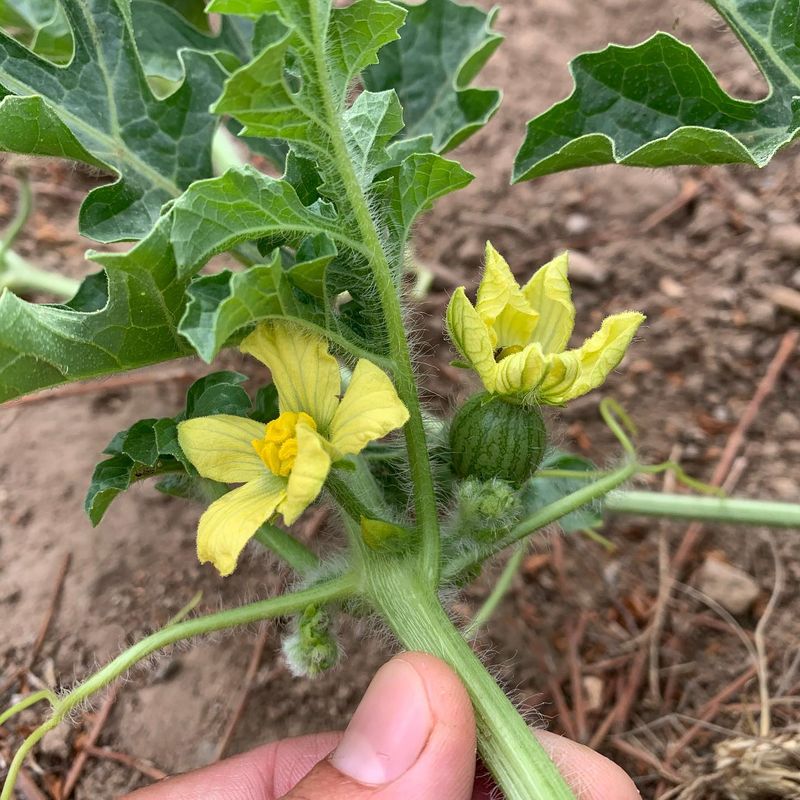
Become a matchmaker for your watermelons by hand-pollinating the flowers! Male flowers appear first on long, thin stems, while female flowers have a tiny watermelon-shaped swelling at their base.
In the morning when flowers are open, transfer pollen from male to female flowers using a small paintbrush or by removing a male flower and touching its center to the centers of female flowers. This technique dramatically increases fruit set, especially during periods of low pollinator activity.
10. Prune Strategically For Bigger Melons
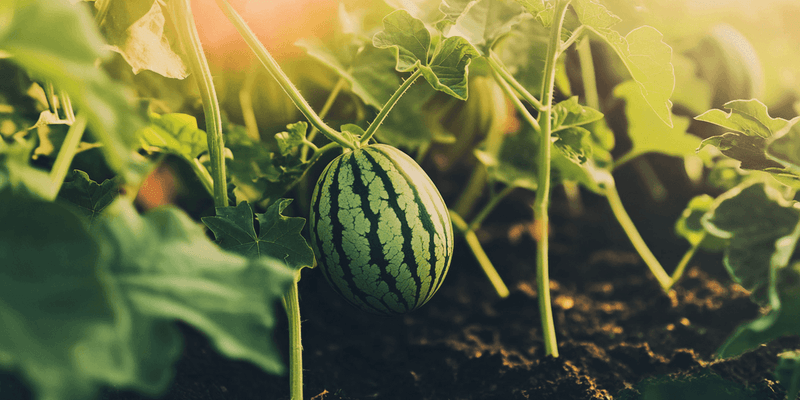
Strategic pruning concentrates a plant’s energy into producing fewer but larger, sweeter watermelons. After vines develop several healthy melons, pinch off the ends of the vines to stop them from growing longer.
Limit each plant to 2-3 fruits for standard varieties or 4-5 for smaller types. Remove any misshapen or damaged young fruits early. Some gardeners also remove side shoots, directing more energy to the main vine and its precious cargo.
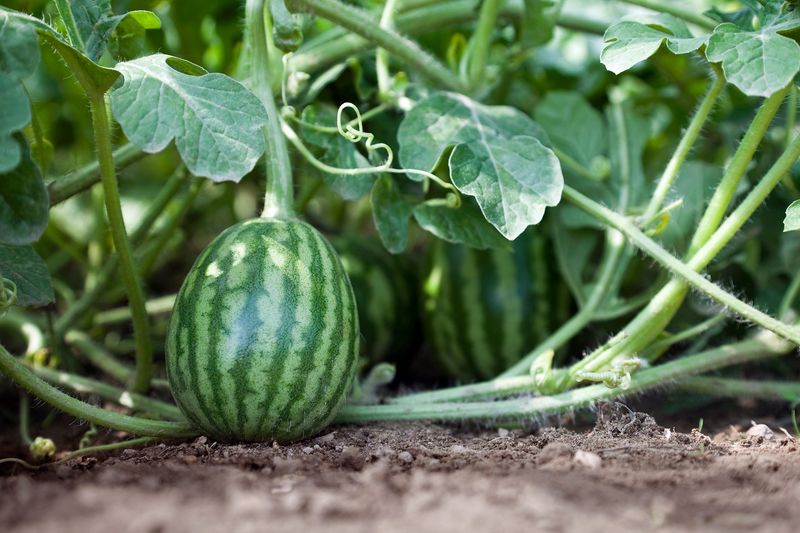
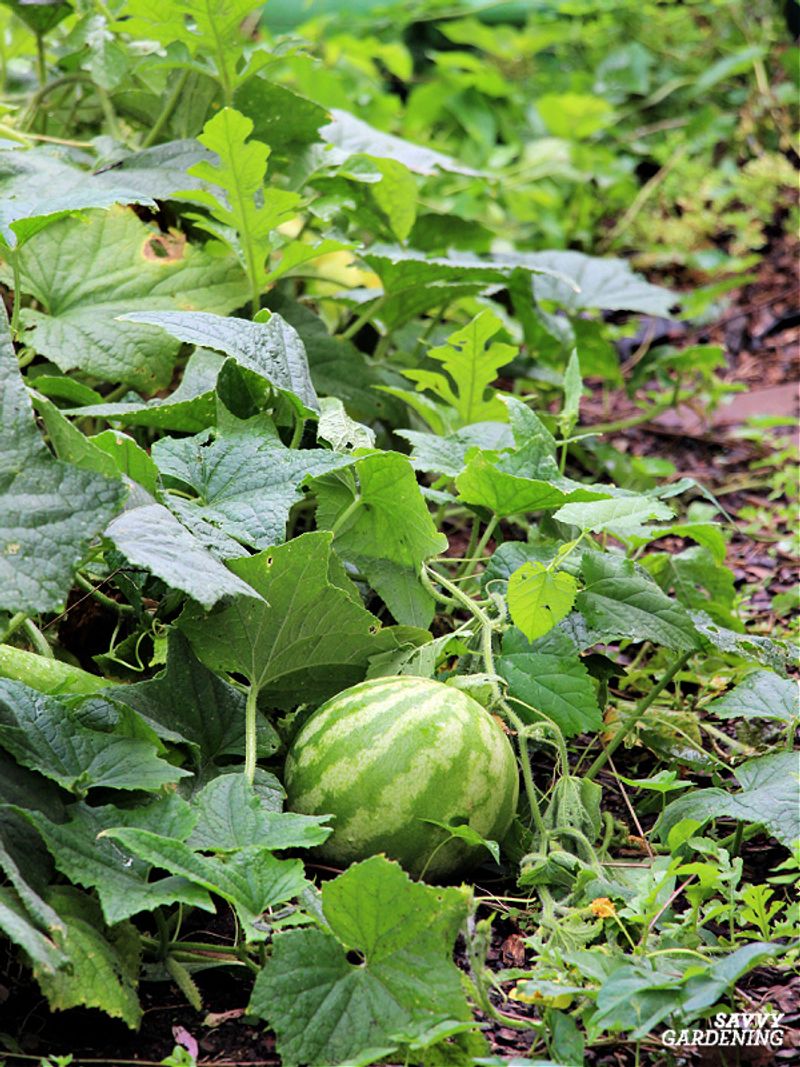
11. Use Supports To Keep Fruits Clean
Give your growing watermelons a little lift! Place straw nests, small boards, or special fruit cradles under developing melons to keep them off damp soil. This simple trick prevents rot and pest damage while ensuring even ripening.
For smaller varieties, you can even grow watermelons vertically on sturdy trellises with sling supports made from old t-shirts or pantyhose to cradle the fruits. The supports should expand as fruits grow while providing enough tension to prevent dropping.
12. Rotate Planting Areas Yearly
Watermelons shouldn’t return to the same spot year after year. Practice crop rotation by growing watermelons in different garden areas each season to prevent soil-borne diseases and nutrient depletion.
Wait at least 3 years before planting watermelons or related crops (cucumbers, squash, pumpkins) in the same location. Keep a simple garden map to track rotations. This practice disrupts pest life cycles and maintains healthy soil ecology for consistently successful harvests.
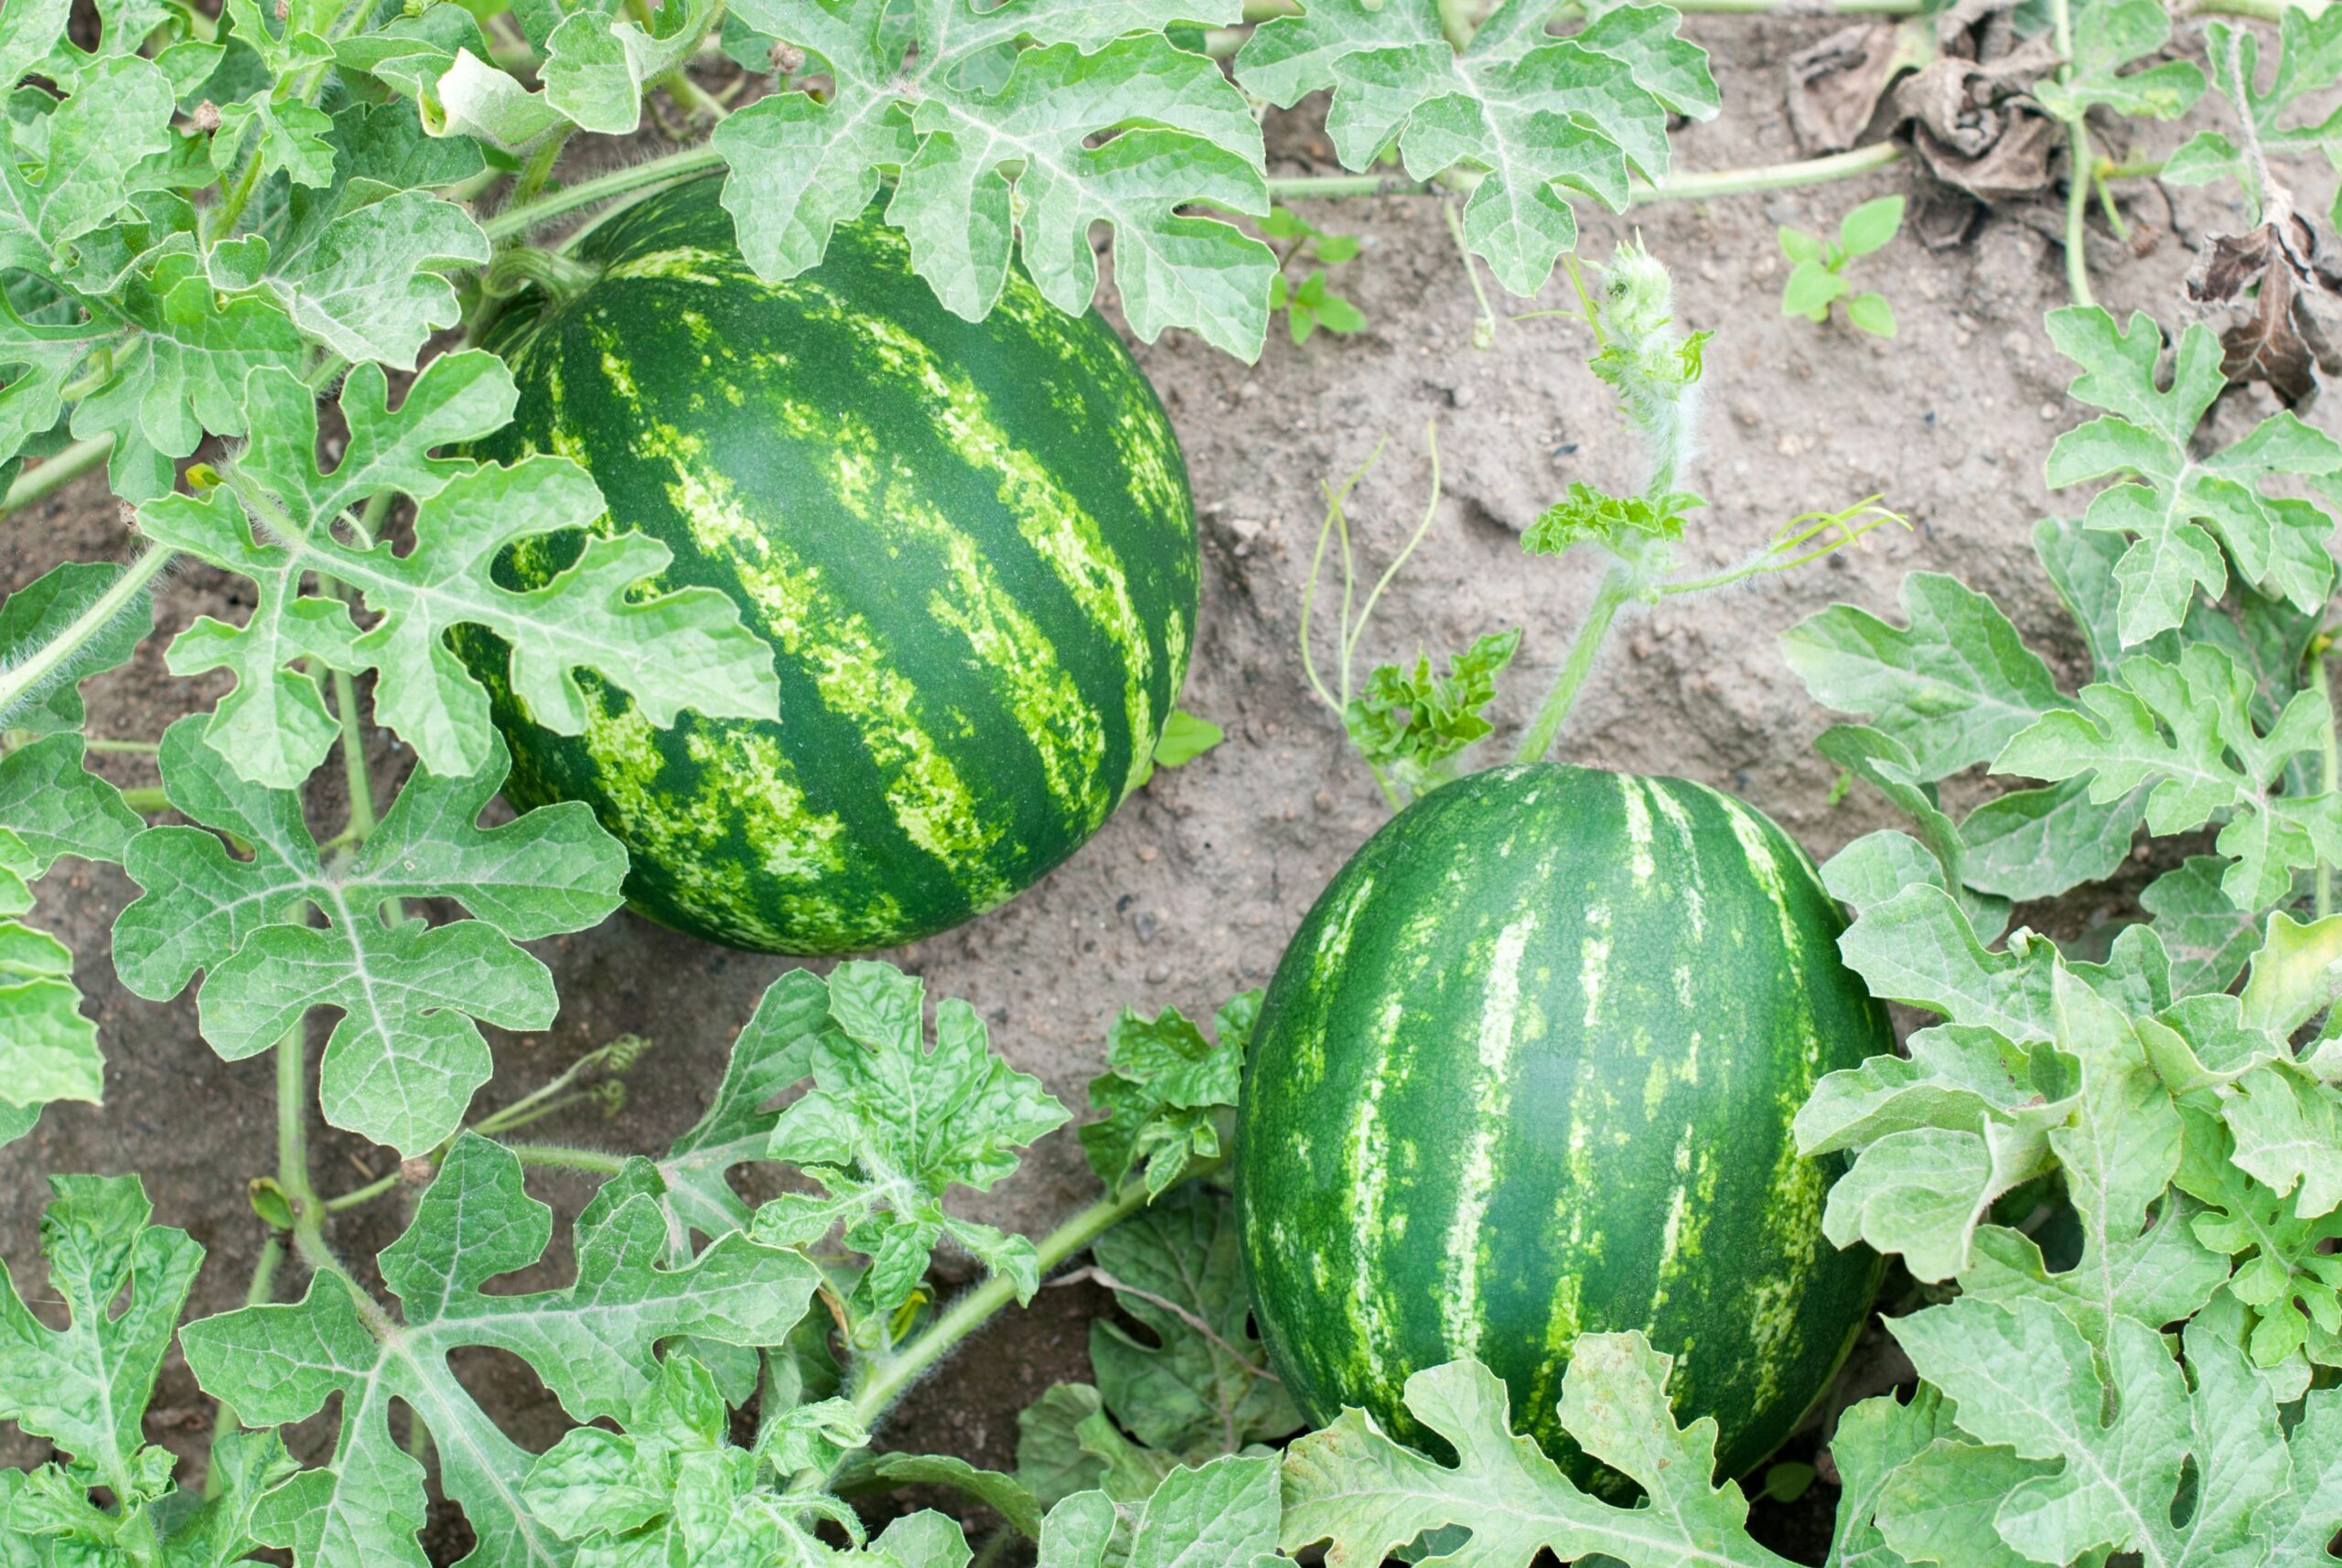
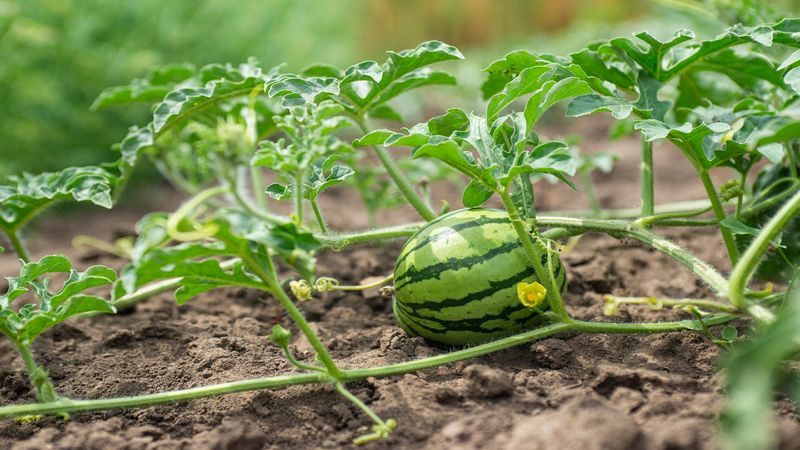
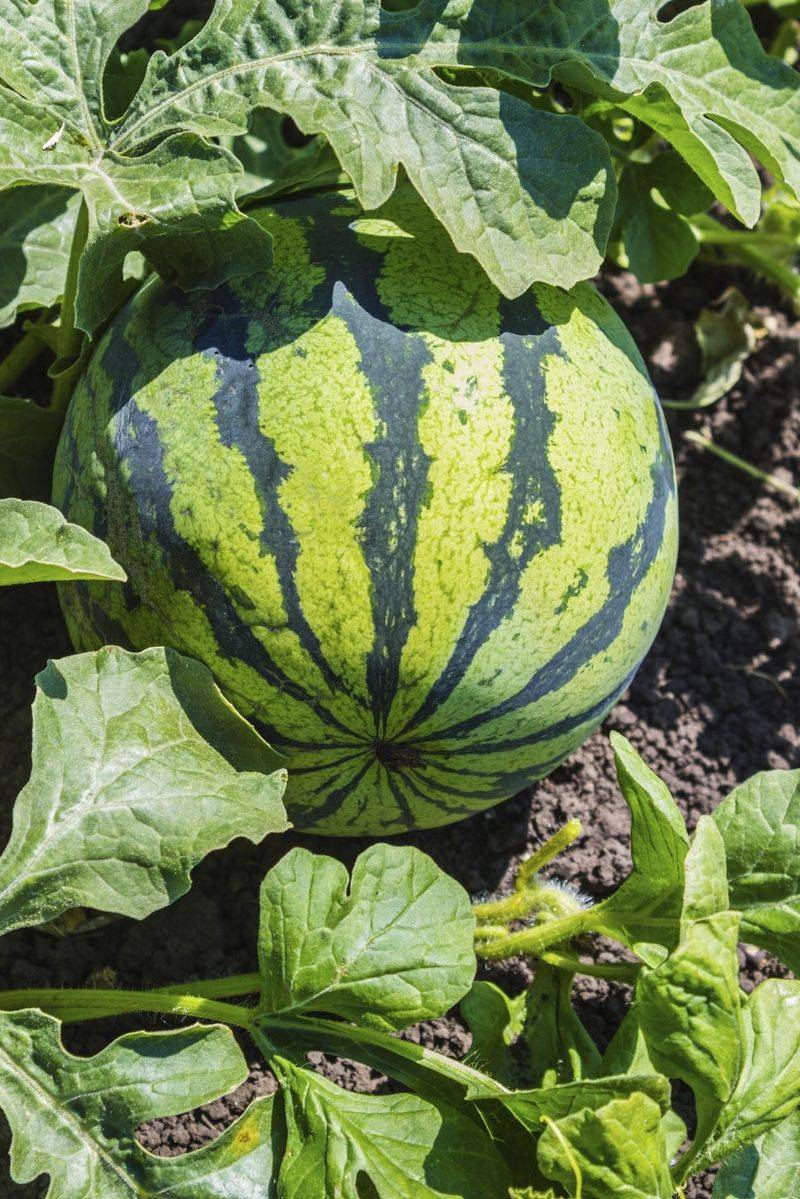
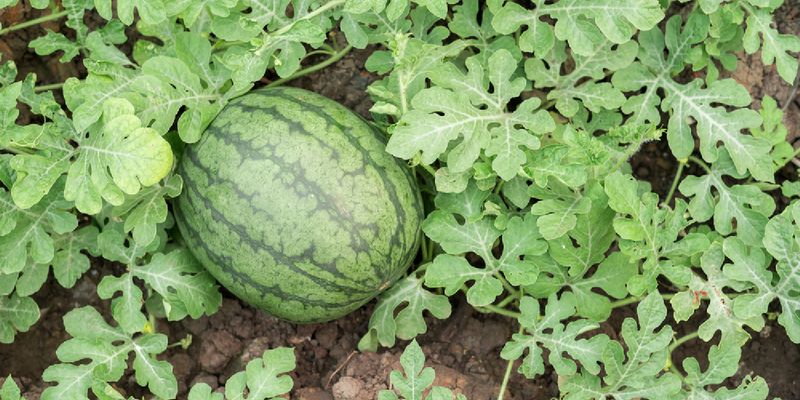
13. Know When To Harvest
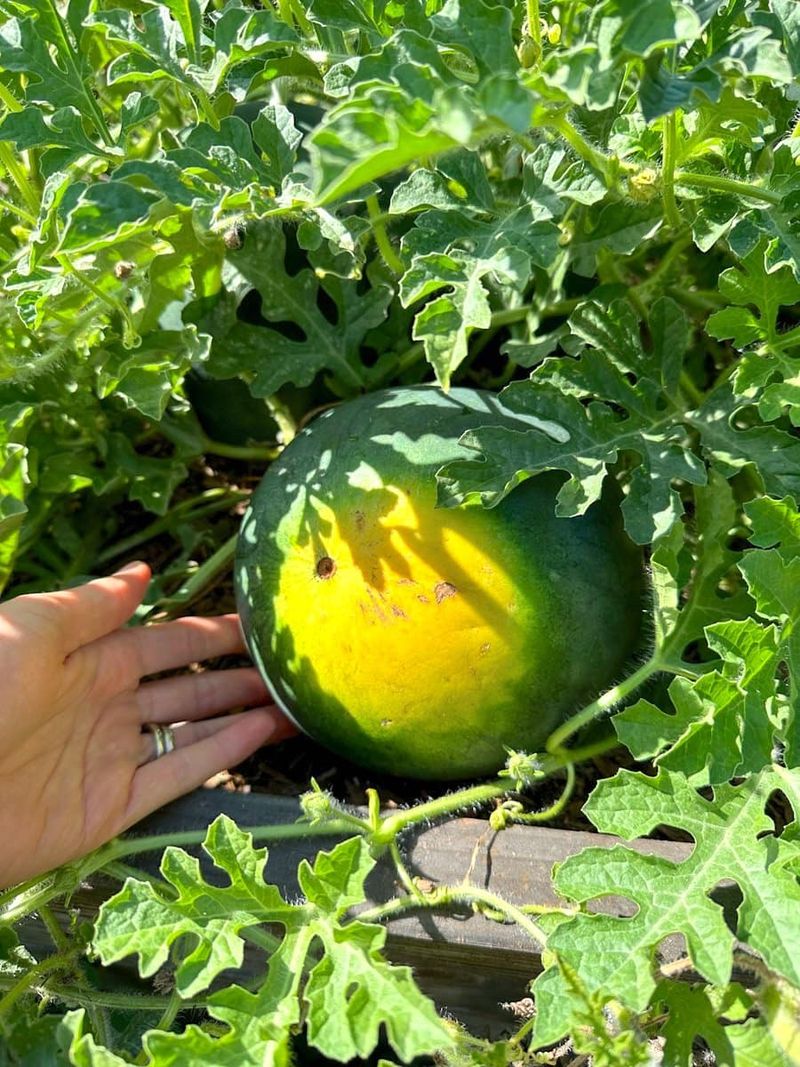
Picking watermelons at peak ripeness is both art and science. Look for dried tendrils nearest to the fruit, a dull rather than glossy rind, and a deep, hollow sound when thumped gently with your knuckles.
The bottom spot where the melon rests on soil should change from white to creamy yellow when ripe. Most varieties are ready 80-95 days after planting. Harvest in morning hours when fruits are coolest, leaving 2 inches of stem attached to prevent rot.
14. MISTAKE: Planting Too Early
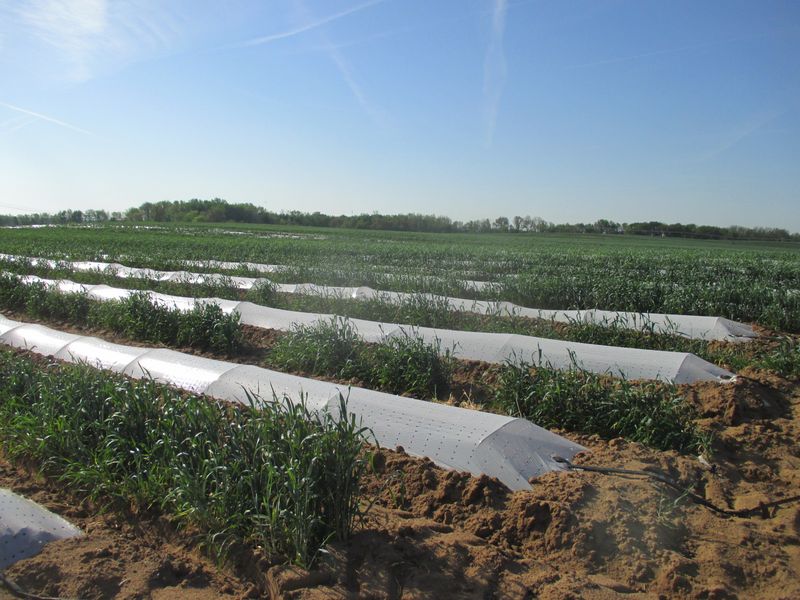
Rushing to plant watermelons before soil warms properly is a recipe for disappointment. These heat-loving plants sulk in cold soil, developing slowly if at all, and are extremely frost-sensitive.
Wait until soil temperatures reach at least 70°F and all danger of frost has passed. Cold-stressed seedlings rarely recover to produce good yields. If you’re eager to start early, use cloches, row covers, or other season-extending devices to create a warmer microclimate.
15. MISTAKE: Inconsistent Watering
Erratic watering leads to stressed plants and split fruits. Watermelons need consistent moisture, especially during flowering and fruit development. Drought followed by heavy watering can cause cracking, blossom end rot, and poor flavor development.
Establish a regular watering schedule based on weather conditions and soil moisture. Using moisture meters or simply checking soil with your finger helps maintain proper hydration. Drip irrigation with timers provides the consistency these plants crave.
16. MISTAKE: Overcrowding Plants
Squeezing too many watermelon plants into limited space creates a host of problems. Overcrowded vines compete for nutrients, light, and water, resulting in weak plants and tiny fruits. Dense foliage also restricts airflow, creating humid conditions perfect for fungal diseases.
Follow spacing recommendations for your specific variety. If space is limited, choose compact bush varieties specifically bred for smaller gardens. Remember that one healthy plant with room to grow will outproduce several cramped ones every time.