Make Your ZZ Plant Bushier With These 6 Simple Tricks
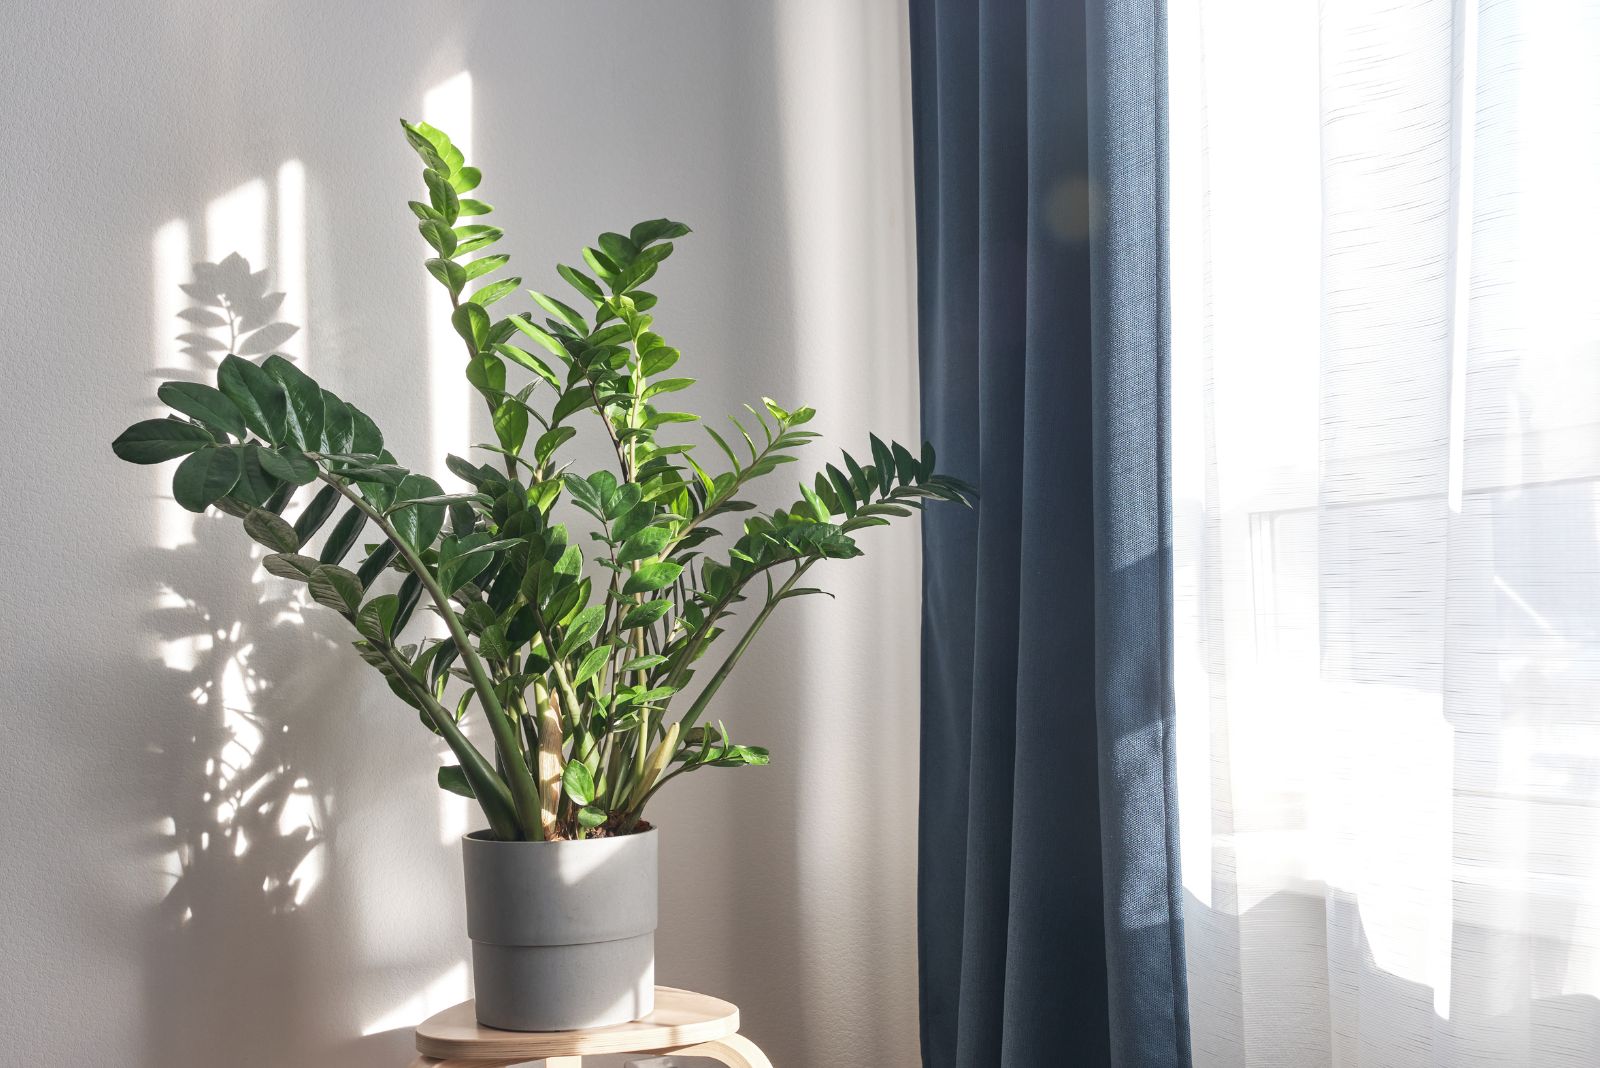
I used to think my ZZ plant was stuck being tall and skinny forever, no matter how much I cared for it. It looked healthy, but it never filled out the way I wanted.
After a little trial and error, I finally cracked the code. Now it’s fuller, greener, and turning heads every time someone walks into the room.
If your ZZ plant feels more “stick figure” than “lush showstopper,” you’re not alone. I’ve gathered the simple tricks that helped me turn things around, and they don’t require fancy tools or expert skills.
With a few smart moves and a little patience, you can give your ZZ plant the boost it needs and watch it grow into the bold, bushy beauty it was meant to be.
1. Prune Back Leggy Stems
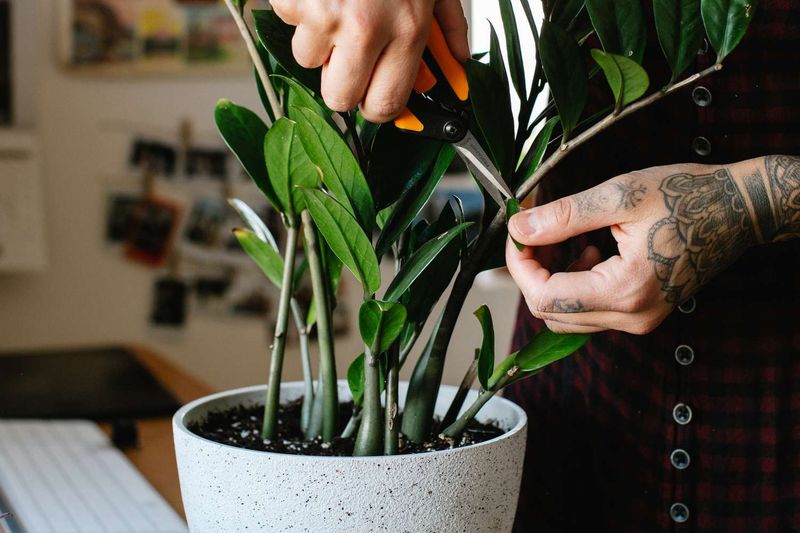
Sometimes your ZZ plant gets a little carried away and sends up these super long stems that don’t really add to the overall look. They shoot up fast, especially if the plant isn’t getting quite enough light, and before you know it, you’ve got a few tall stalks with not much else going on.
Cutting these back might feel scary at first, but it’s actually one of the best things you can do to encourage new growth lower down on the plant.
When you trim off a leggy stem near the base, you’re telling the plant to redirect its energy. Instead of putting all its resources into one tall shoot, it starts focusing on producing more stems from the rhizome underneath the soil.
This is where all that bushy, full growth comes from. Use clean, sharp scissors or pruning shears and cut the stem as close to the soil line as you can without damaging other parts.
Don’t worry if it looks a little bare right after you prune. It takes a few weeks for the plant to respond, but you’ll start seeing fresh shoots popping up from the soil.
These new stems tend to grow in clusters, which is exactly what gives you that fuller appearance. Just make sure you’re not cutting off more than a third of the plant at once, or you might stress it out too much.
After pruning, keep up with regular watering and make sure your plant is in a spot with decent indirect light.
The combination of trimming and good care really helps push your ZZ plant to fill out nicely. You might even find yourself doing this once a year just to keep things looking their best.
2. Provide Bright Indirect Light
Light makes a huge difference in how your ZZ plant grows. Sure, these plants are famous for tolerating low light, and that’s part of why people love them.
But just because they can survive in a dark corner doesn’t mean they’ll thrive there. When a ZZ plant doesn’t get enough light, it tends to stretch toward whatever light source it can find, resulting in those long, spindly stems that look more awkward than attractive.
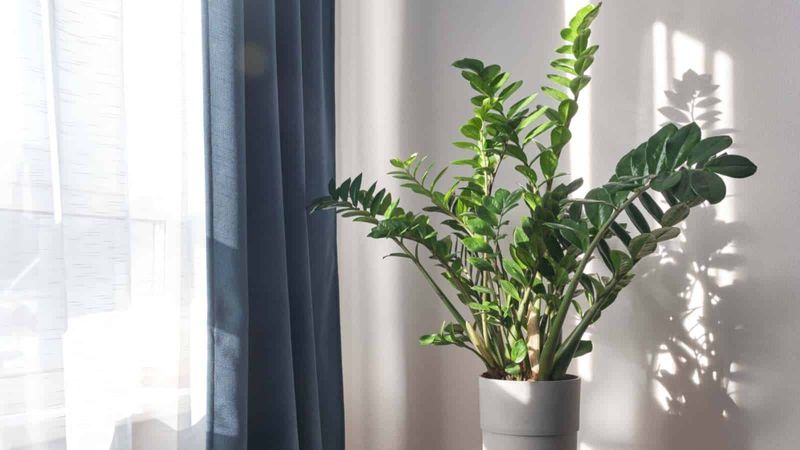
Moving your plant to a brighter spot can completely change how it grows. Bright indirect light means a place where the plant gets plenty of ambient light throughout the day, but not direct sun blasting through the window.
A few feet back from an east or west-facing window works great, or even a spot near a sheer curtain that filters the light. The goal is to give the plant enough energy to produce more stems without scorching the leaves.
When your ZZ plant gets the right amount of light, it grows more evenly and produces shorter, sturdier stems that stand up nicely. You’ll notice the leaves look darker and glossier too, which is always a good sign.
The plant just looks healthier overall, and it’s more likely to send up multiple shoots at once instead of just one or two tall ones.
If you’ve had your ZZ in a dim spot for a while, don’t just suddenly move it into bright light all at once. Gradually shift it over a week or two so it can adjust without getting shocked.
Once it’s settled in its new spot, you should start seeing a difference in how it grows within a month or so.
3. Fertilize During Growing Season
Your ZZ plant isn’t a heavy feeder, but it still needs some nutrients to put out all that new growth you’re hoping for. During the spring and summer months, when the plant is actively growing, a little bit of fertilizer can give it the boost it needs to produce more stems and fill out.
Without any added nutrients, the plant might just coast along without doing much of anything, especially if it’s been in the same soil for a while.
A balanced liquid fertilizer diluted to half strength works perfectly for ZZ plants. You don’t want to go full strength because these plants are pretty sensitive to overfeeding, and too much fertilizer can actually harm them.
Once a month during the growing season is plenty. Just mix it into your watering routine and make sure the soil is already a bit moist before you add the fertilizer so it doesn’t shock the roots.
The extra nutrients help the plant produce more rhizomes underground, which is where all those stems originate. More rhizomes mean more potential for new shoots to pop up, and that’s exactly what creates that bushy look.
You might not see results right away, but over the course of a few months, you’ll notice more activity happening at the base of the plant.
Come fall and winter, you can stop fertilizing altogether. The plant goes into a sort of rest mode when the days get shorter and cooler, and it doesn’t need the extra nutrients during that time.
Feeding it then can actually cause more harm than good, so just stick to the growing season and you’ll be fine.
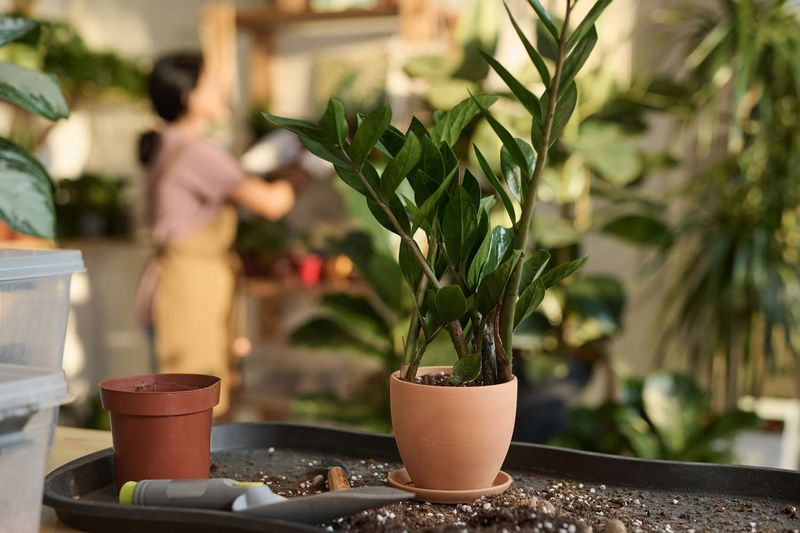
4. Divide and Repot the Rhizomes
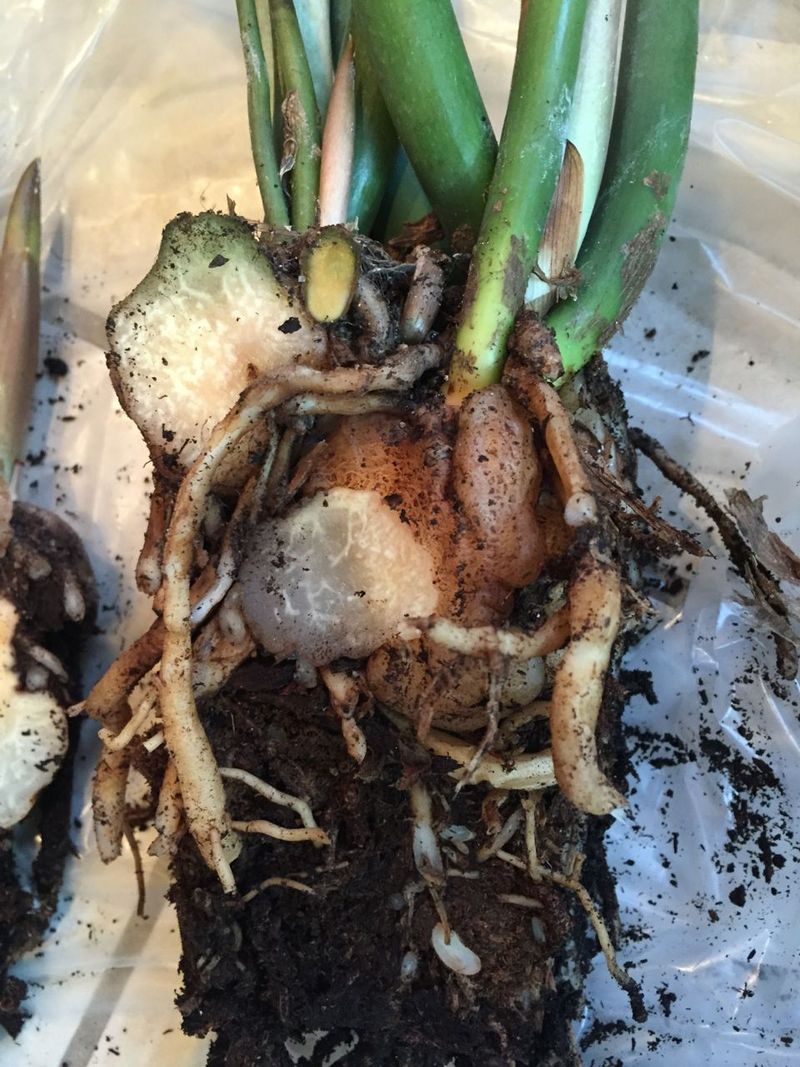
If your ZZ plant has been in the same pot for a few years, it might be getting a little crowded down below. These plants grow from thick underground rhizomes that store water and send up stems, and over time those rhizomes can fill up the entire pot.
When that happens, there’s not much room left for new growth, and the plant kind of stalls out. Dividing the rhizomes not only gives each section more space to grow, but it can also encourage more stems to emerge.
When you take the plant out of its pot, you’ll see a tangle of rhizomes and roots. Don’t panic, it’s supposed to look like that.
Gently shake off some of the old soil so you can see what you’re working with. If the rhizomes are really packed in there, you can carefully pull or cut them apart into smaller sections. Each section should have at least a few stems and a good chunk of rhizome attached.
Replanting these sections into fresh soil in appropriately sized pots gives them room to spread out and produce more growth. The new soil also provides fresh nutrients, which is always a plus.
You might end up with a few smaller plants instead of one big one, but each of those smaller plants will start filling out on its own. Or you can replant them all together in a larger pot if you want one really full plant.
After dividing and repotting, give your plant a little time to settle in before expecting new growth. It might take a few weeks for the roots to establish, but once they do, you should see new shoots starting to emerge.
This method is especially helpful if your plant has been looking a bit tired or hasn’t done much in a while.
5. Water Properly Without Overdoing It
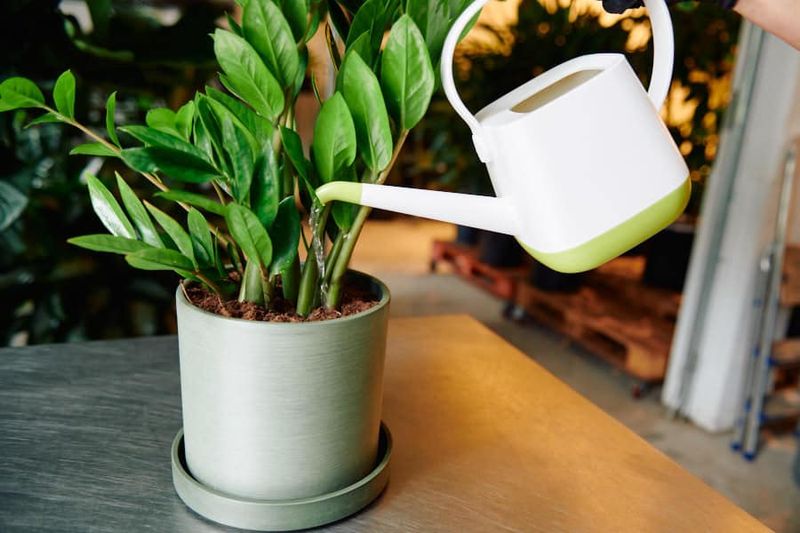
Watering seems simple enough, but it’s actually one of the trickiest parts of keeping a ZZ plant happy. These plants store water in their rhizomes, so they’re built to handle dry conditions pretty well.
But that also means they’re really sensitive to overwatering, which can cause all sorts of problems including root issues that prevent the plant from growing properly. Getting the watering just right helps the plant stay healthy and put out new growth.
The best approach is to let the soil dry out almost completely between waterings. Stick your finger down into the soil a couple of inches, and if it feels dry, then it’s time to water.
If it’s still moist, wait a few more days. When you do water, give it a good soak until water runs out the drainage holes, then let it drain completely. Never let the plant sit in standing water, or you’re asking for trouble.
During the growing season in spring and summer, you might find yourself watering every couple of weeks. In the fall and winter, you can stretch that out to once a month or even less.
The plant isn’t actively growing during the cooler months, so it needs way less water. Adjusting your watering schedule with the seasons really helps keep the plant in good shape.
Healthy roots mean a healthy plant, and a healthy plant is way more likely to produce multiple stems and fill out nicely. If you’ve been overwatering and notice yellowing leaves or mushy stems, pull back and let things dry out.
Once the plant recovers, it’ll have a much better chance of growing bushy and full like you want.
6. Use a Well-Draining Soil Mix
The soil your ZZ plant lives in plays a bigger role than you might think. Regular potting soil can hold onto moisture for too long, which isn’t great for a plant that prefers things on the drier side.
When the soil stays wet, the roots and rhizomes can’t breathe properly, and that stunts growth. On the flip side, a well-draining mix lets excess water flow through quickly while still holding onto just enough moisture for the plant to use.
A good mix for ZZ plants includes regular potting soil combined with something like perlite, coarse sand, or even some orchid bark. The goal is to create a soil that’s loose and airy, so water moves through it easily.
You can buy a cactus or succulent mix and add a little extra perlite to it, or you can make your own blend. Either way, the plant will appreciate the better drainage and respond with healthier growth.
When the roots are happy and not sitting in soggy soil, the plant can focus its energy on producing new stems instead of just trying to survive. You’ll see more shoots coming up from the soil, and the overall plant will look more vigorous.
It’s one of those behind-the-scenes things that makes a noticeable difference even though you can’t really see the soil once the plant is potted up.
If you’ve got your ZZ in regular potting soil and it seems to be struggling or not growing much, consider repotting it into a better mix. You’ll probably notice an improvement within a few months.
Just remember to water less frequently with a well-draining mix since the soil won’t hold moisture as long as regular potting soil does.