Michigan Gardeners Use These Seed Starting Tips For A Longer Season
If you garden in Michigan, you know the growing season can feel short, and every extra week counts. That is why smart gardeners start seeds indoors to get a strong head start before the last frost.
With the right setup, you can grow sturdy seedlings, transplant earlier, and enjoy bigger harvests without rushing your plants. Seed starting is not complicated, but a few key details make all the difference.
From better lighting and proper timing to simple tricks that prevent weak, leggy sprouts, these small adjustments can stretch your growing season and boost success.
Whether you grow vegetables, flowers, or a little of both, starting seeds the right way helps you stay ahead of unpredictable spring weather.
If you want healthier plants, earlier blooms, and more productive harvests, these seed starting tips are exactly what Michigan gardeners rely on for a longer, more rewarding growing season.
Start Seeds Indoors Early
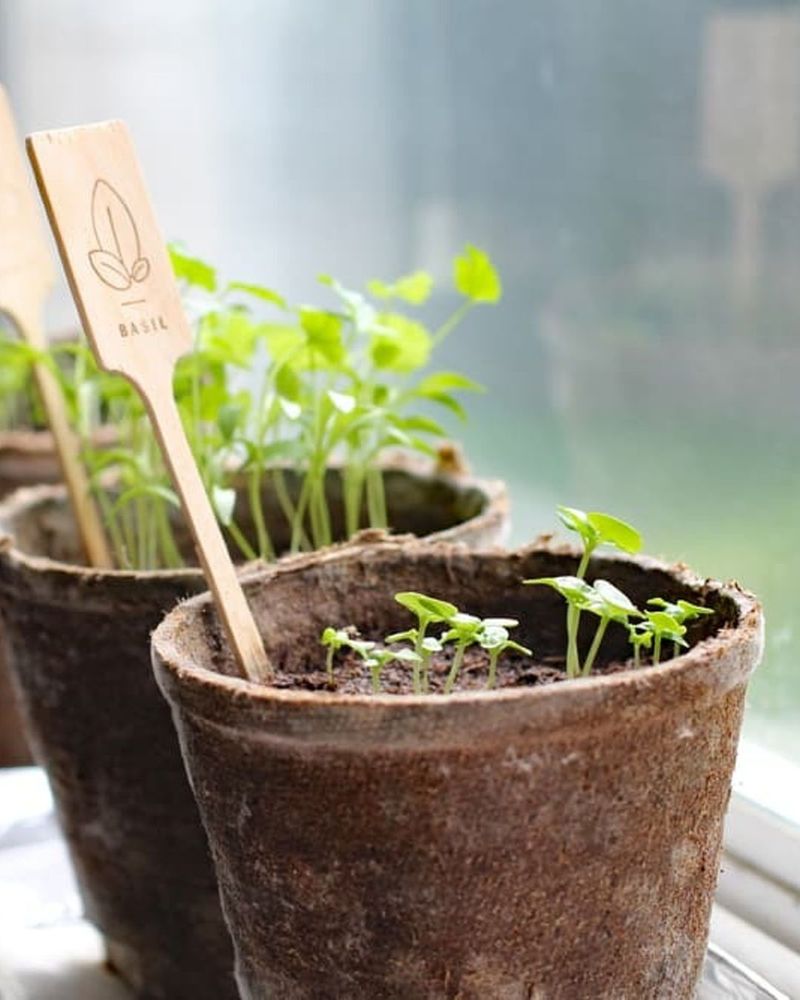
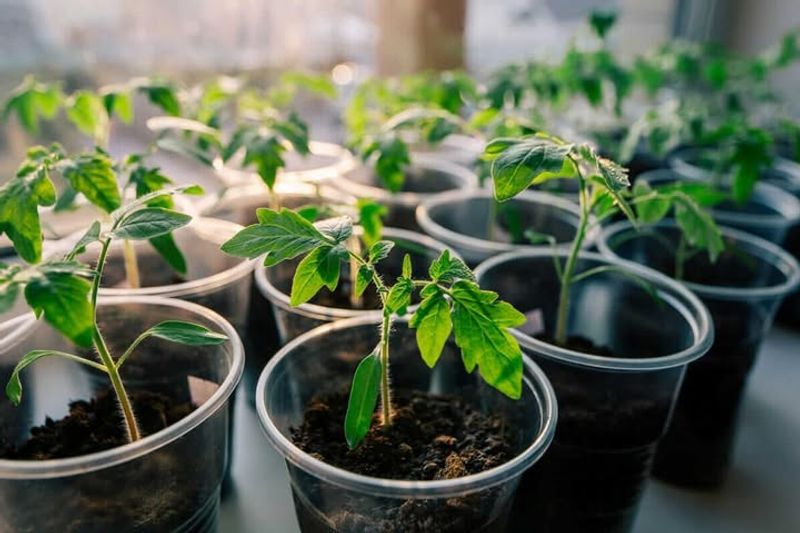
Getting a jump on the season makes all the difference in Michigan. Beginning your seeds indoors six to eight weeks before the last frost date gives plants time to develop strong roots and healthy leaves.
This head start means your tomatoes, peppers, and flowers will be ready to produce sooner once they move outside.
Check your local frost dates carefully since Michigan’s climate varies from north to south. Gardeners in the Upper Peninsula need to wait longer than those in southern counties.
Mark your calendar and count backward from your area’s typical last frost date to find the perfect starting time.
Early indoor starting helps you avoid the disappointment of immature plants when fall arrives. Your seedlings will have time to grow sturdy stems and develop multiple leaves before transplanting.
This strength helps them handle Michigan’s sometimes unpredictable spring weather better than weaker seedlings.
Choose varieties that benefit most from indoor starting like tomatoes, peppers, eggplants, and annual flowers. Quick-growing crops like lettuce and radishes can go directly into the garden.
Planning your indoor seed schedule creates a smooth transition from winter to a productive growing season that extends well into autumn.
Use High-Quality Seed Starting Mix
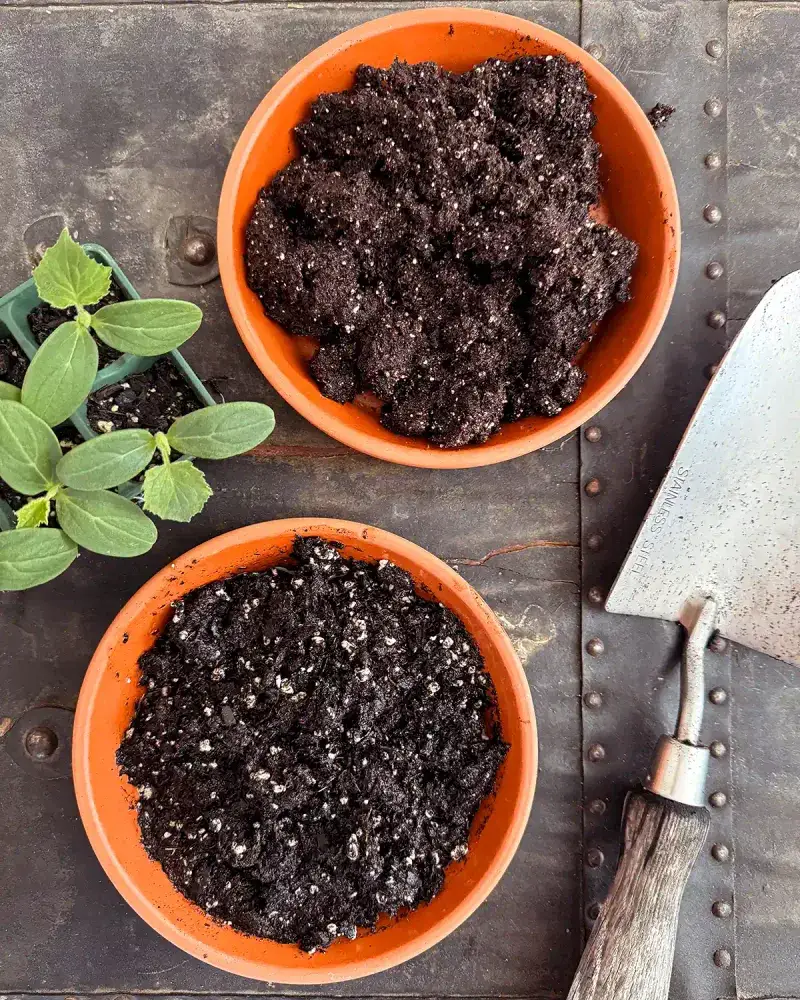
Garden soil might seem like a natural choice, but it creates problems for tender seedlings. Heavy garden dirt compacts easily in containers and often harbors diseases that can harm young plants.
A proper seed starting mix stays light and fluffy, allowing delicate roots to spread and grow without struggle.
Quality mixes contain ingredients like peat moss, vermiculite, and perlite that hold moisture while draining excess water. This balance prevents both drought stress and root rot.
The sterile nature of these mixes protects vulnerable seedlings from fungi and bacteria that live in outdoor soil.
Look for products labeled specifically as seed starting mix rather than potting soil. These specialized blends have finer particles that work better for tiny seeds.
Some mixes include starter fertilizer, though most seedlings do fine with just water for their first few weeks of growth.
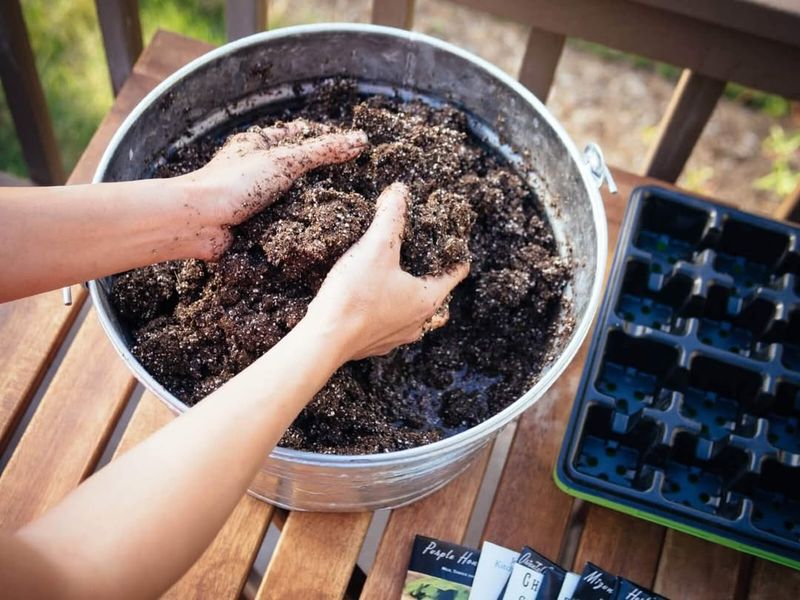
Store your seed starting mix in a sealed container to keep it fresh and dry. Moist mix can develop mold before you use it.
When you’re ready to plant, moisten the mix slightly before filling your containers so it settles evenly around your seeds and provides consistent contact for good germination.
Provide Adequate Light
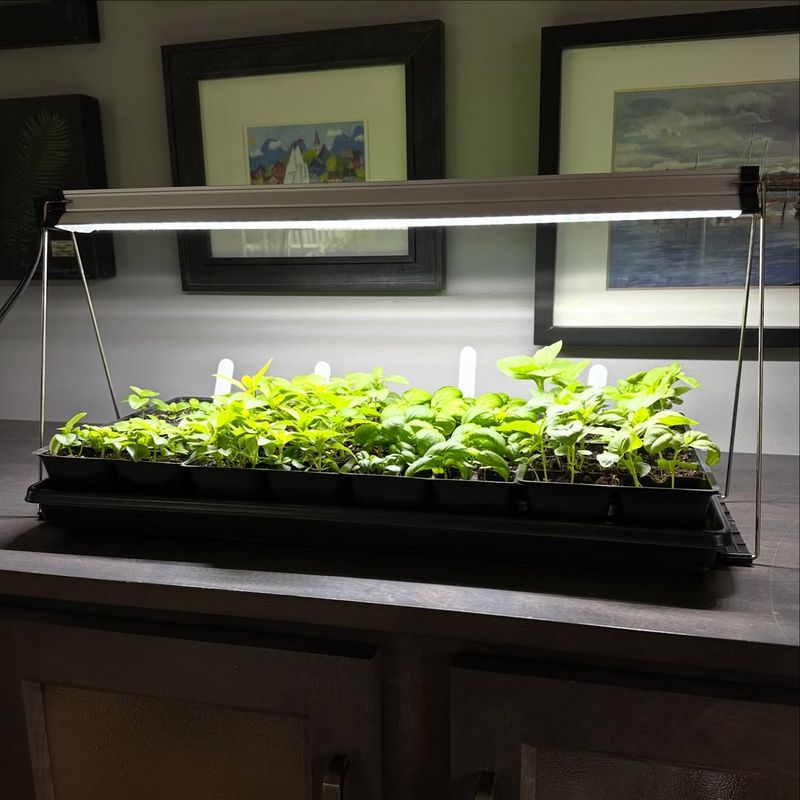
Sunlight through windows rarely provides enough energy for healthy seedling growth. Even south-facing windows in Michigan deliver limited light during late winter and early spring.
Without sufficient brightness, seedlings stretch tall and thin as they search for more light, creating weak stems that flop over easily.
Grow lights solve this problem by delivering consistent, strong illumination. LED shop lights work wonderfully and cost less to operate than specialized plant lights.
Position them just a few inches above your seedlings and raise them as plants grow taller to maintain the close distance.
Seedlings need twelve to sixteen hours of light each day to develop compact, sturdy growth. Use an inexpensive timer to automate your light schedule so you don’t have to remember to turn them on and off.
This consistency helps plants develop strong stems and healthy green leaves that will handle outdoor conditions better.
Watch your seedlings for signs of light problems. Pale, yellowish leaves suggest too little light, while brown spots might indicate lights are too close.
Adjust the height and duration until you see deep green color and stocky growth. Proper lighting creates the foundation for successful transplanting and a productive garden season.
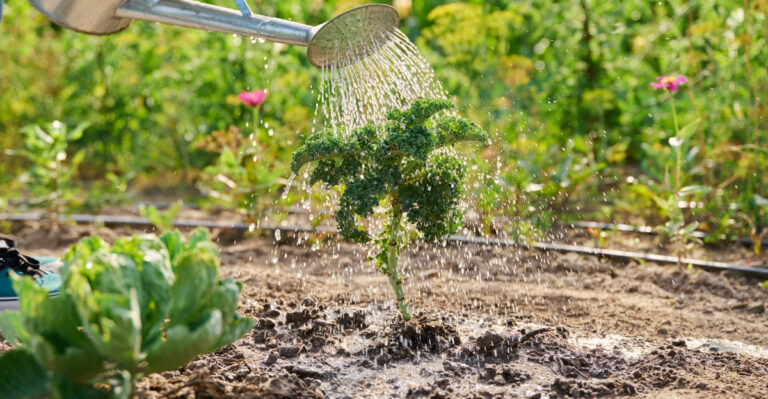
Maintain Consistent Moisture
Finding the right moisture balance takes practice but makes a huge difference. Seeds need consistent dampness to germinate, but sitting in soggy soil causes them to rot before they sprout.
The surface should feel like a wrung-out sponge, moist to the touch but not dripping wet or muddy.
Check your trays daily since small containers dry out quickly under lights. Stick your finger into the mix to feel moisture below the surface.
The top might look dry while deeper layers stay wet, or the entire container might need water throughout.
Bottom watering works better than pouring water over the top. Set your seed trays in a shallow pan of water and let the mix absorb moisture from below.
This method keeps the surface from becoming crusty and prevents seeds from washing away before they establish roots.
A spray bottle helps maintain moisture for newly planted seeds without disturbing them. Once seedlings emerge, you can water more directly but still gently.
Avoid letting containers sit in standing water for hours, which suffocates roots and encourages disease. Empty excess water from catch trays after the mix absorbs what it needs for healthy growth.
Use Bottom Heat When Needed
Warmth speeds up germination dramatically for many popular garden plants. Tomatoes, peppers, and eggplants come from warm climates and their seeds prefer soil temperatures between seventy and eighty degrees.
Michigan homes often stay cooler than this, especially near windows where you might place seed trays.
Heat mats designed for seed starting provide gentle, consistent warmth from below. These waterproof pads sit under your trays and raise soil temperature by ten to twenty degrees.
Seeds that might take two weeks to sprout in cool conditions often emerge in just five to seven days with bottom heat.
Not every plant needs extra warmth to germinate well. Lettuce, spinach, and many flowers prefer cooler conditions and might actually germinate poorly with heat.
Focus your heat mats on warmth-loving vegetables that benefit most from the temperature boost and save energy on crops that sprout fine without it.
Once seedlings emerge and develop their first true leaves, you can remove the heat mat. Young plants grow better with slightly cooler temperatures that encourage compact growth rather than tall, stretched stems.
Move the mat to your next batch of seeds and let established seedlings develop in normal room temperatures for stronger, healthier growth patterns.
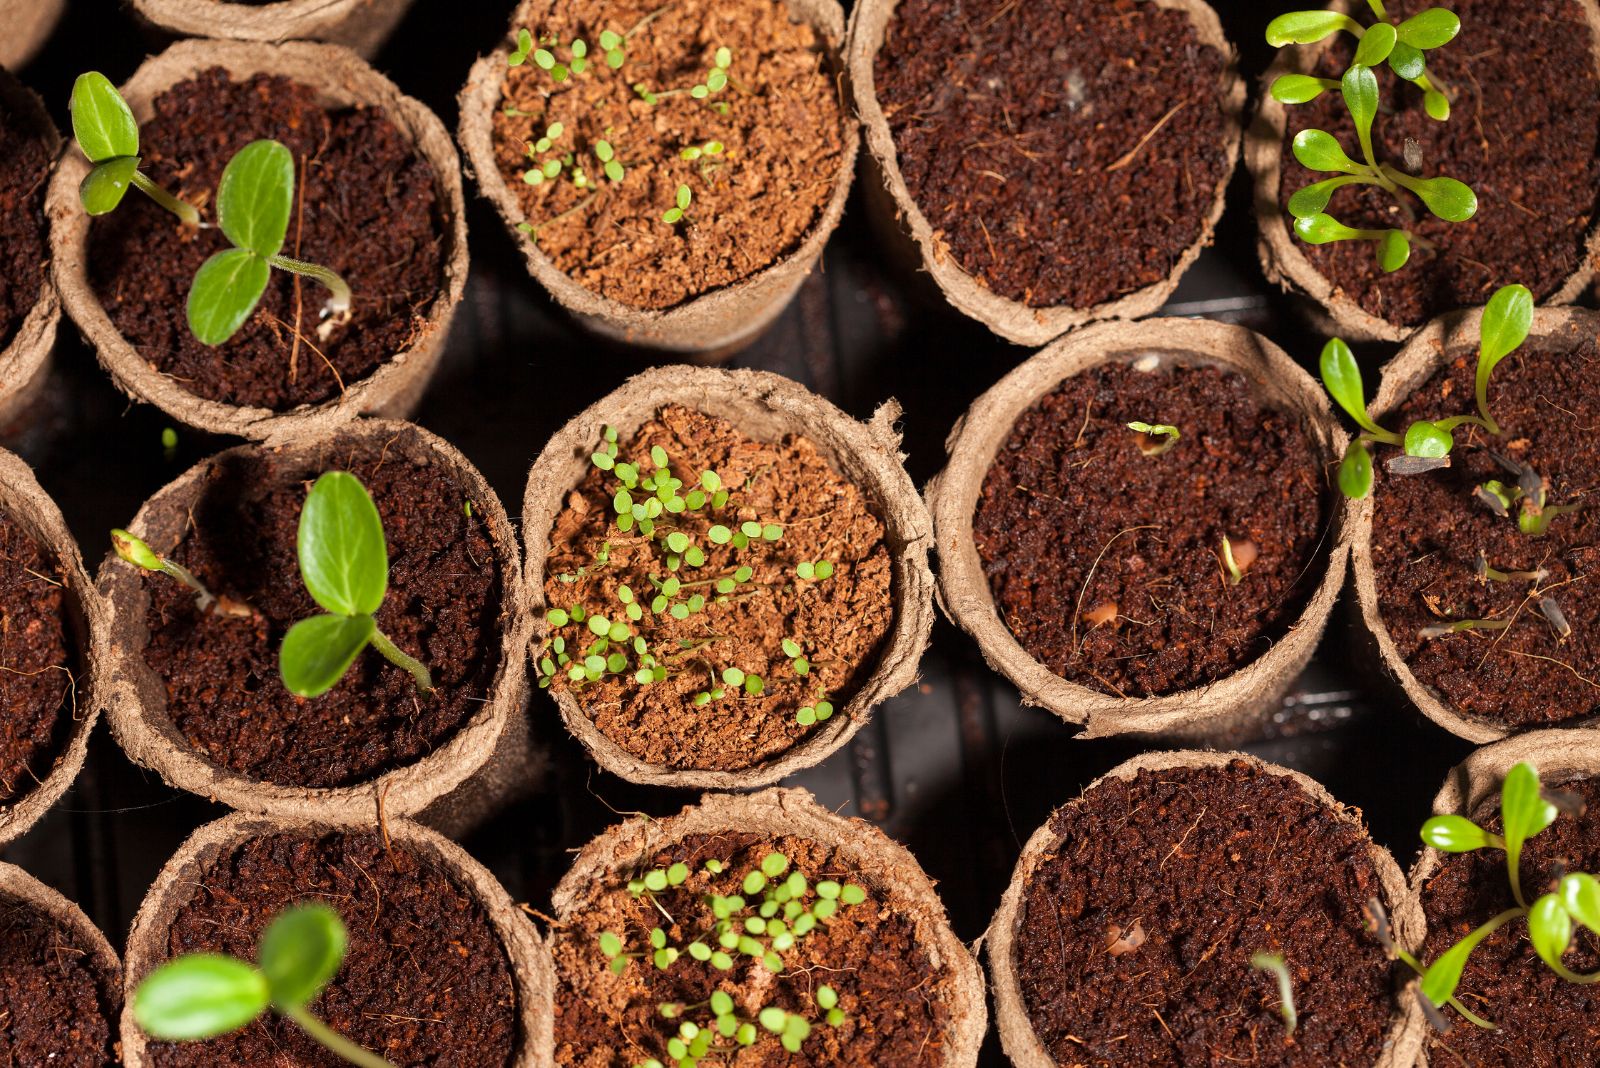
Thin Seedlings Appropriately
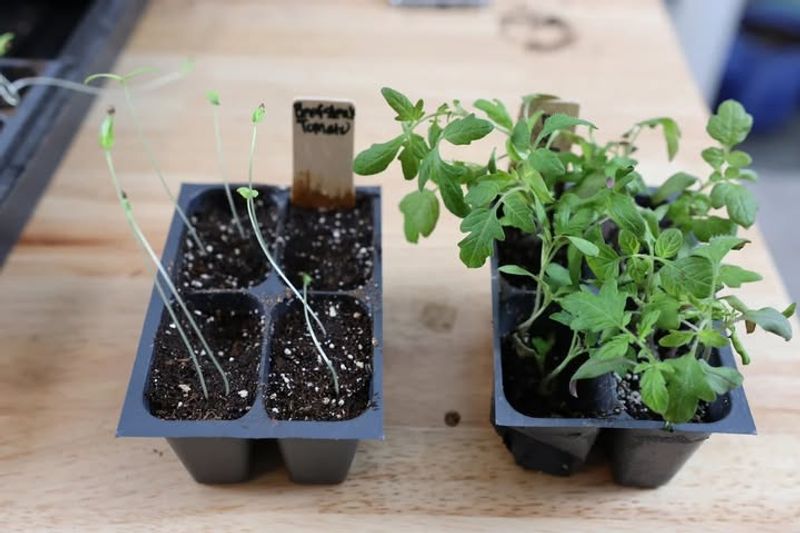
Planting multiple seeds per cell guarantees at least one will sprout. However, leaving all those seedlings to grow together creates problems.
Crowded plants compete for light, water, and nutrients, resulting in weak, spindly growth that struggles after transplanting.
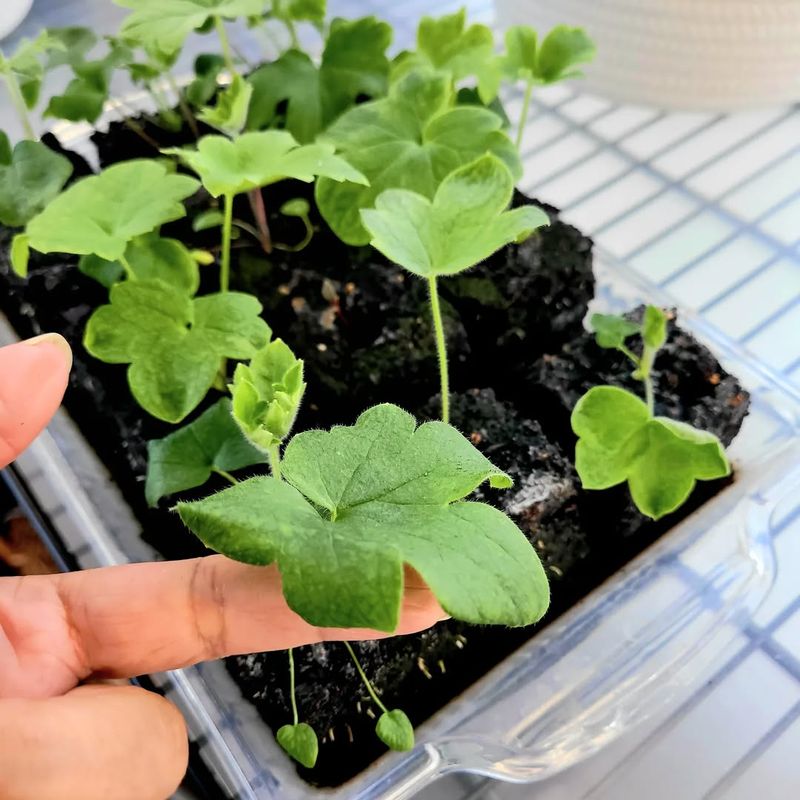
Wait until seedlings develop their first true leaves before thinning. These leaves look different from the initial seed leaves and show the plant’s characteristic shape.
At this stage, you can identify which seedlings look strongest and healthiest while weaker ones become obvious.
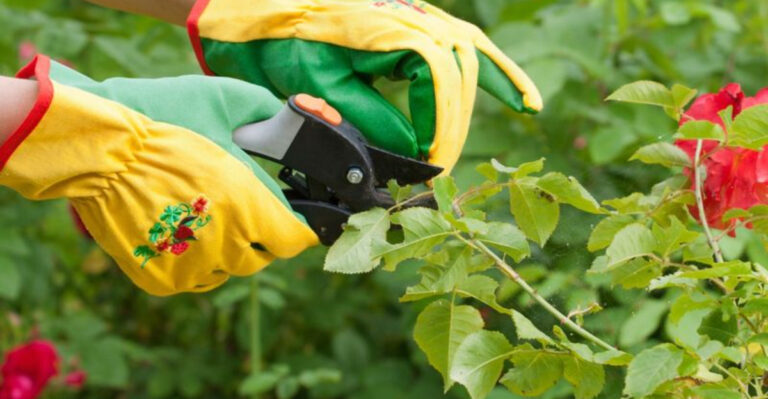
Use small scissors to snip unwanted seedlings at soil level rather than pulling them out. Pulling disturbs roots of neighboring plants you want to keep.
Choose the most vigorous seedling in each cell and remove all others, even if they look healthy too.
Thinning feels wasteful but gives remaining plants room to develop properly. Each seedling needs adequate space for leaves to spread and roots to expand.
Properly spaced plants develop thick stems, deep green foliage, and strong root systems that establish quickly in the garden. This investment in fewer, stronger plants pays off with better yields and healthier growth throughout the season ahead.
Harden Off Seedlings
Moving seedlings directly from indoor comfort to the garden often results in shocked, damaged plants. Indoor conditions protect seedlings from wind, direct sun, and temperature swings.
Outdoor reality includes all these challenges plus hungry insects and varying moisture levels that indoor plants never experienced.
Hardening off means gradually introducing seedlings to outdoor conditions over seven to ten days. Start by placing them outside in a sheltered, shady spot for just an hour or two.
Bring them back inside and repeat the next day, extending outdoor time gradually while slowly increasing sun exposure.
Michigan spring weather can change quickly, so watch forecasts carefully during hardening off. A sudden cold snap or strong storm can damage tender plants.
If harsh conditions arrive, keep seedlings inside an extra day or two rather than risking setbacks that delay their development.
By the end of the hardening off period, seedlings should spend full days and nights outside in their final growing location. Their leaves will develop a tougher texture and darker color as they adjust.
This preparation helps them handle transplanting stress and establish quickly once you move them into garden beds or containers for the growing season.
Label And Track Varieties

Enthusiasm at planting time often leads to unlabeled trays that become mysterious weeks later. Different varieties look similar as seedlings, making it impossible to tell your early tomatoes from late-season ones.
Proper labeling prevents confusion and helps you track which varieties perform best in your Michigan garden.
Write plant names, variety, and planting date on each label using waterproof marker or pencil. Include any special notes like whether you used bottom heat or special treatment.
This information helps you refine your technique for next year and remember which seeds need different care.
Keep a simple notebook or calendar where you record planting dates and observations. Note when seeds germinate, when true leaves appear, and when you start hardening off.
These records become valuable references that help you time future plantings perfectly for your specific location and conditions.
Take photos of your seedlings at different stages to create a visual record. Pictures help you remember what healthy growth looks like and identify problems early next time.
Organized tracking might seem like extra work, but it transforms seed starting from guesswork into a reliable system that improves your results season after season with less effort and better outcomes.