17 Mistakes That Might Be Making Your Tomatoes Rot Before They Ripen
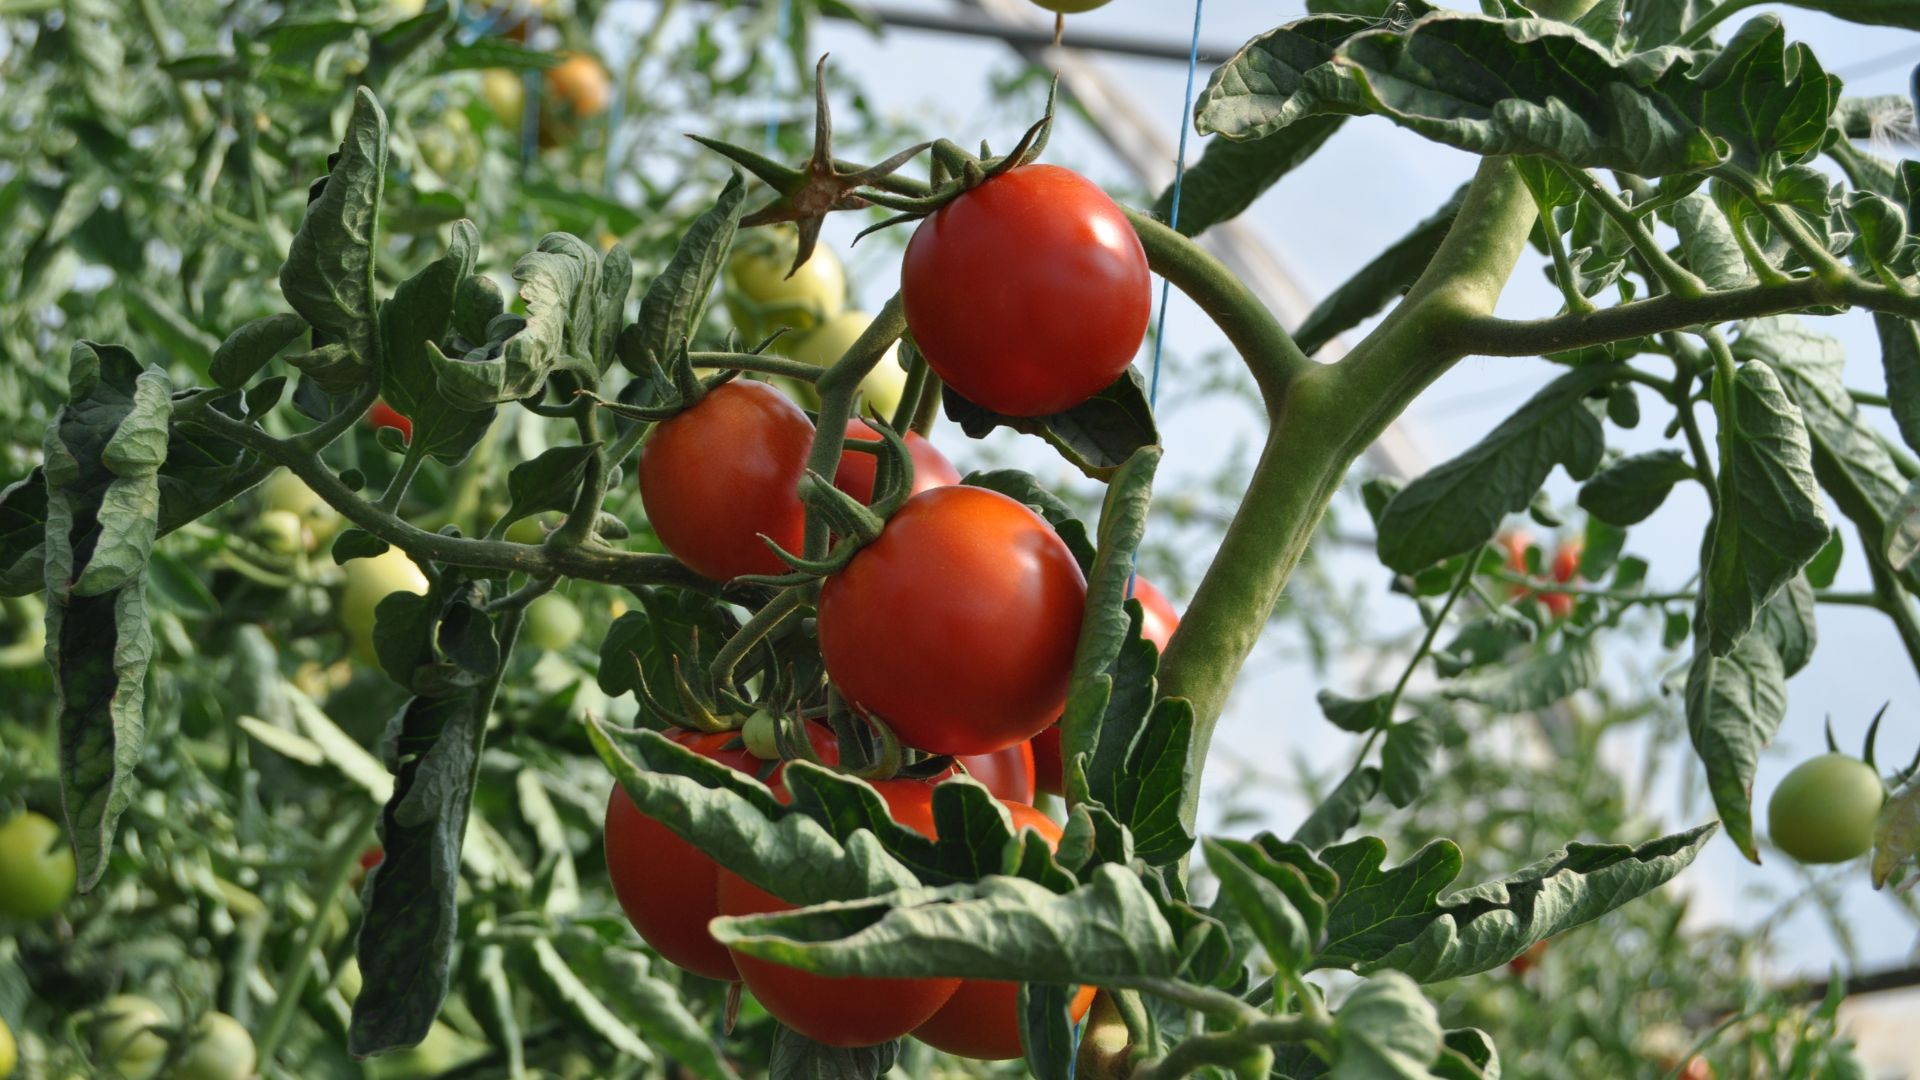
Growing your own fresh produce can be incredibly rewarding, but few things are more disappointing than watching fruits rot right before harvest time. After weeks of careful tending, watering, and dreaming of those juicy homegrown fruits, finding black spots or mushy patches can feel like a personal failure.
I remember thinking I had finally mastered my garden last summer—until I spotted blackened bottoms on nearly half my crop just days before they were ready to pick. That crushing moment sent me researching what I’d done wrong.
The good news? Most common causes of premature rotting are actually simple to fix. Below are the seventeen most frequent mistakes gardeners make that lead to spoiled fruit, and more importantly, how you can prevent them with just a few small adjustments to your growing routine.
1. Inconsistent Watering Habits
Your watering schedule might be causing more harm than you realize. Fruits need consistent moisture to develop properly, not feast-or-famine cycles that stress the plants.
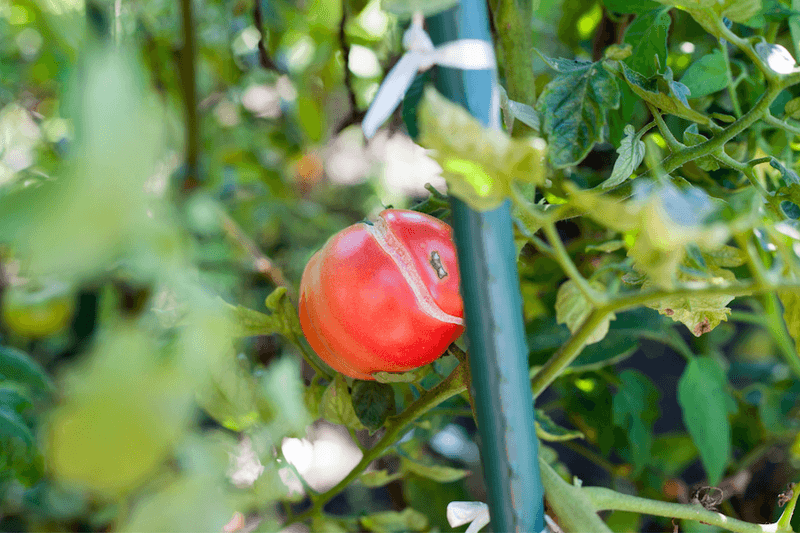
When soil repeatedly swings between bone-dry and soaking wet, the fruit expands and contracts, causing skin to crack and creating entry points for pathogens. I’ve found setting a regular watering schedule—ideally in the morning—helps maintain steady growth.
Aim for about 1-2 inches of water weekly, adjusting for rainfall. Mulching around plants helps retain consistent soil moisture between waterings.
2. Planting Too Close Together
Crowded plants create the perfect environment for disease. When leaves and stems can’t fully dry after rain or morning dew, fungal spores find ideal conditions to multiply and spread.
Last season, I packed twelve plants into a space meant for six, thinking I’d double my harvest. Instead, I created a humid jungle where blight spread like wildfire. Give each plant at least 24-30 inches of space in all directions.
This spacing allows proper airflow, reduces humidity around the foliage, and makes it easier to spot problems early before they affect your entire crop.
3. Ignoring Soil PH Levels
The acidity of your garden soil plays a crucial role in nutrient availability. Most varieties thrive in slightly acidic soil with a pH between 6.0 and 6.8, but many gardeners never check this important measurement.
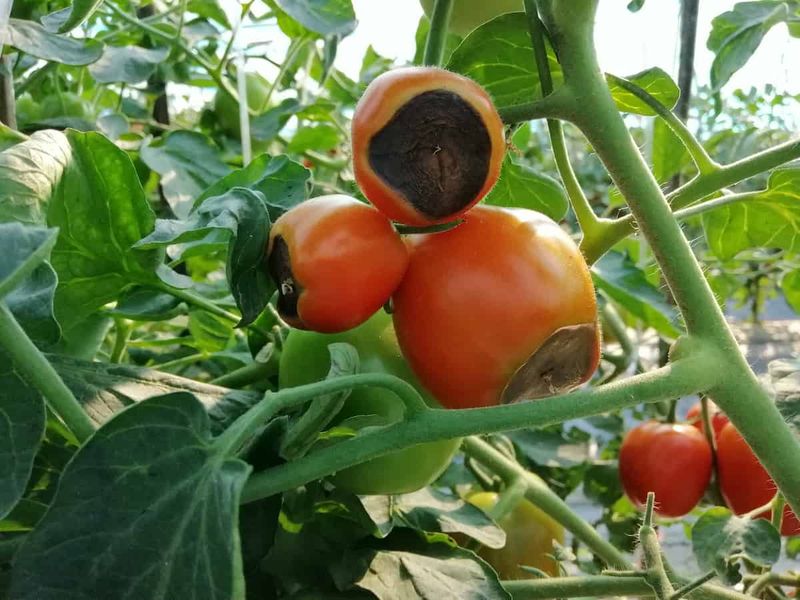
When pH levels fall outside the optimal range, plants can’t absorb certain nutrients properly, leading to calcium deficiencies that cause blossom end rot. My first successful harvest came after testing and amending my soil’s pH with lime.
Inexpensive test kits from garden centers can save your entire crop. Test annually and adjust accordingly with sulfur to lower pH or lime to raise it.
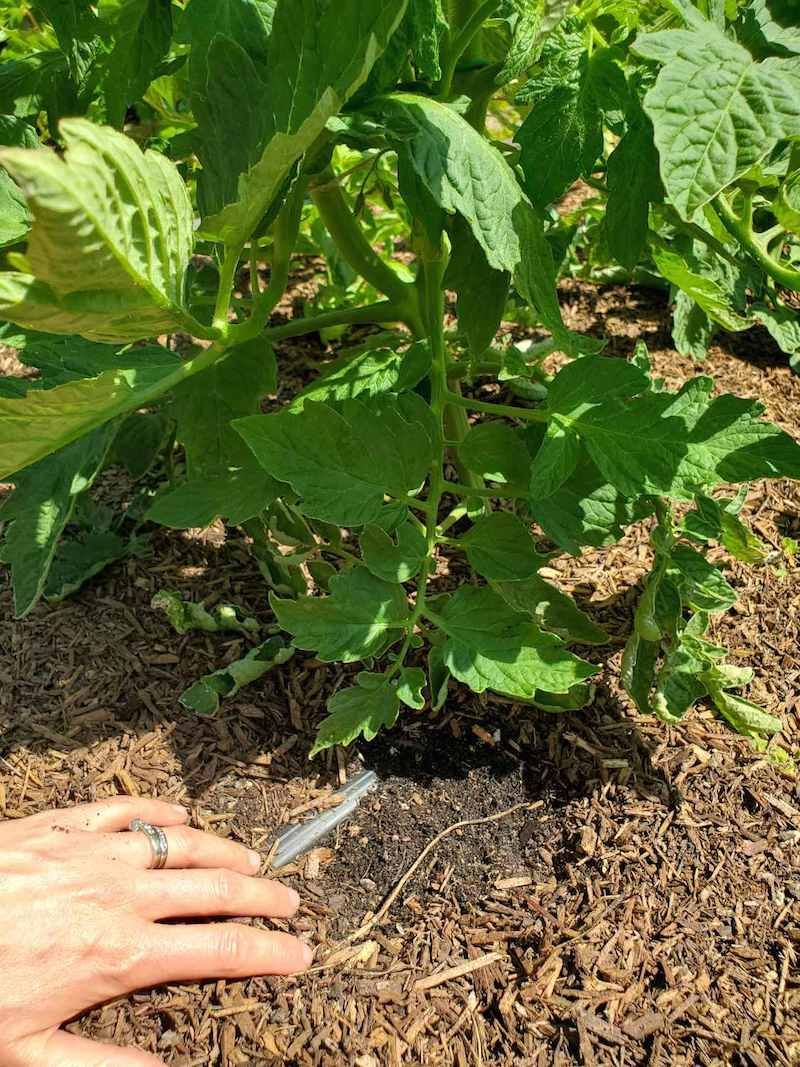
4. Forgetting To Mulch

Bare soil around plants invites trouble. Without protective mulch, soil-borne pathogens easily splash onto lower leaves during rainstorms or watering, spreading diseases that work their way up to developing fruits.
Mulch creates a barrier between soil and plant while regulating soil temperature and moisture. After losing half my crop to early blight one summer, I started laying 2-3 inches of straw mulch around each plant.
Organic options like shredded leaves, straw, or chemical-free grass clippings work wonderfully. Just keep mulch an inch away from stems to prevent collar rot.
5. Poor Drainage Conditions
Soggy roots spell disaster for any plant. When roots sit in waterlogged soil, they suffocate and become susceptible to rot, which eventually affects fruit development and overall plant health.
My garden sits in a low spot that collects water, and I learned this lesson the hard way. Adding organic matter like compost improves drainage dramatically by creating air pockets in dense soil.
For container growers, always ensure pots have drainage holes. Consider raising garden beds or adding drainage channels if you’re dealing with persistently wet soil that doesn’t improve with amendments.
6. Incorrect Fertilizing Timing
Heavy nitrogen feeding right before or during fruiting creates lush foliage at the expense of fruit development. The timing of fertilizer application matters tremendously for healthy fruit production.
I once enthusiastically fed my plants with high-nitrogen fertilizer all season, resulting in gorgeous plants with few fruits—and those that did form rotted quickly. Switch to a balanced or phosphorus-heavy fertilizer once flowering begins.
Early-season nitrogen helps establish strong plants, but continuing high-nitrogen feeding pushes growth into leaves rather than fruits. Follow product instructions carefully—more isn’t always better with fertilizers.
7. Skipping Crop Rotation
Planting in the same spot year after year creates a buildup of pathogens specific to nightshade family plants. These disease organisms overwinter in soil, just waiting for their favorite host to return.
The first year I grew in my raised beds produced beautiful fruits. The second year in the same soil? Disaster struck as early blight appeared almost immediately. Now I rotate nightshade crops (tomatoes, peppers, eggplants) to different beds each season.
Wait at least 3-4 years before planting in the same location. Keep a simple garden map to track rotations if you have multiple growing areas.
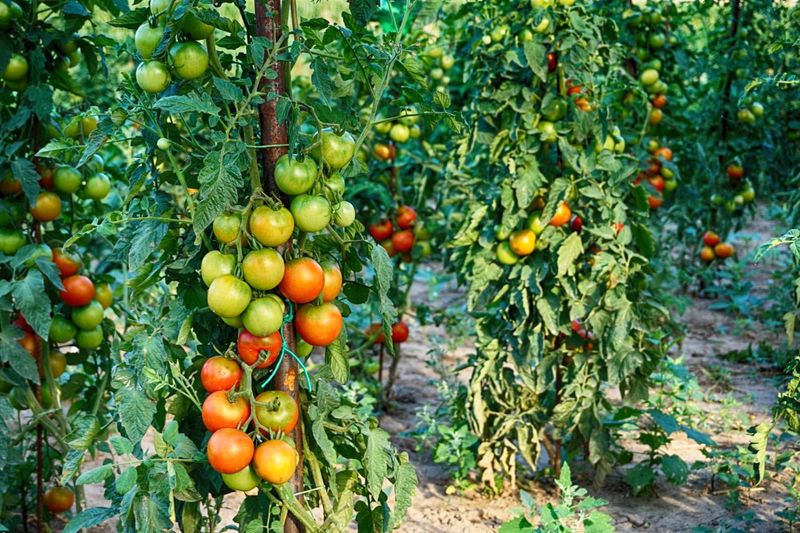
8. Neglecting Proper Support
Letting plants sprawl on the ground invites problems. When fruits touch soil, they’re much more likely to develop rot from constant moisture and direct contact with soil-dwelling pathogens.
My first attempt at growing involved simply letting plants flop wherever they wanted. The results were predictably disappointing, with most ground-touching fruits developing soft spots and mold.
Install sturdy cages, stakes, or trellises at planting time. As plants grow, gently tie branches to supports using soft garden twine or cloth strips. This keeps developing fruits elevated and allows better air circulation around the entire plant.
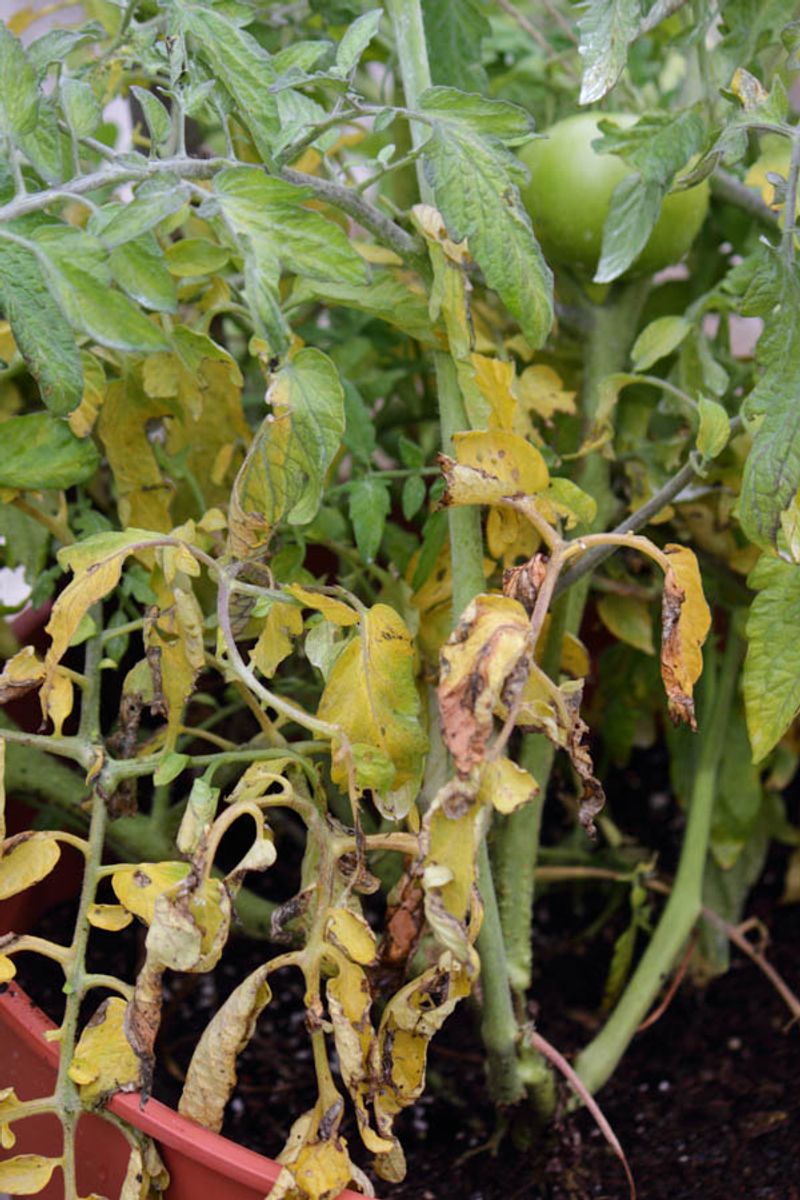
9. Overwatering Container Plants
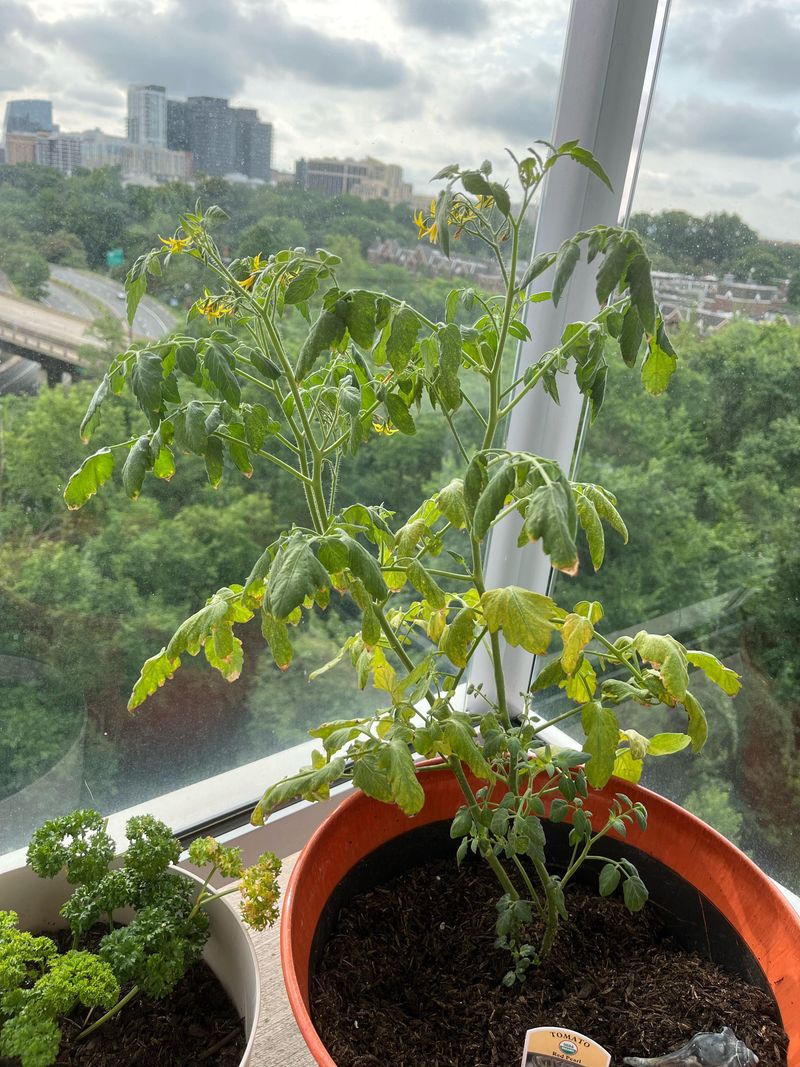
Container-grown plants face unique challenges, particularly with water management. Unlike garden soil, potting mix can quickly become waterlogged, especially in containers without adequate drainage.
The telltale yellowing leaves on my patio plants confused me until I realized I was drowning them with daily watering. Container soil should dry out slightly between waterings—check by inserting your finger about an inch deep.
Choose containers at least 5 gallons in size with multiple drainage holes. During hot weather, containers might need daily watering, but in moderate conditions, every 2-3 days is often sufficient.
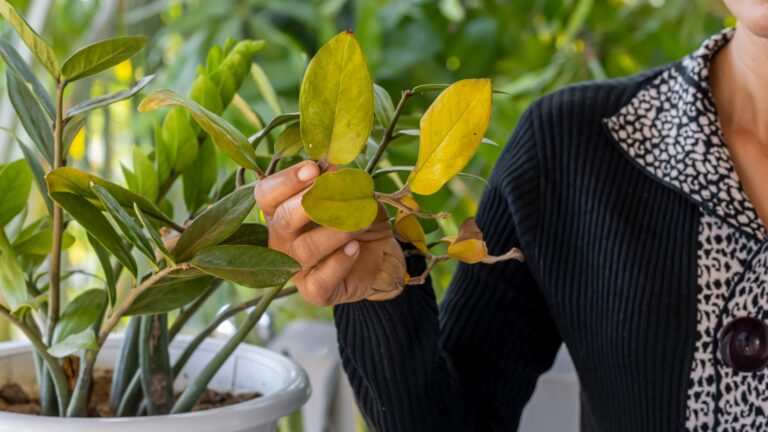
10. Ignoring Early Disease Signs
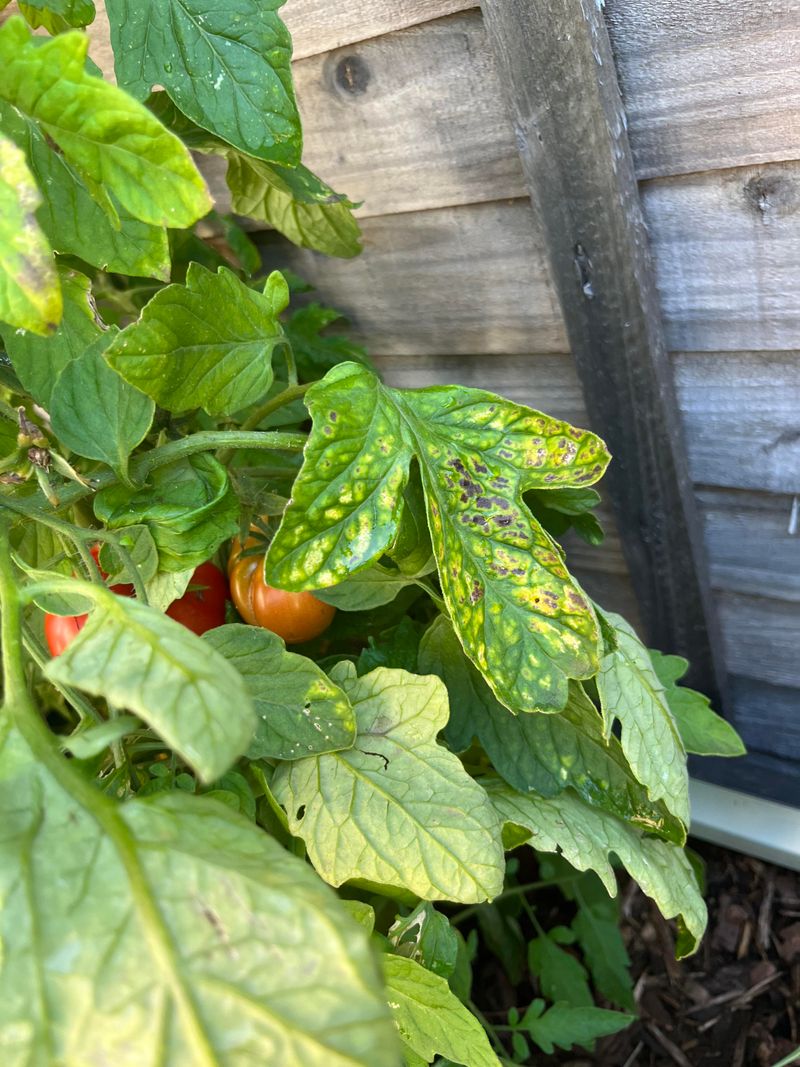
Small yellow spots or slight discoloration can signal the beginning of a serious problem. Many gardeners miss these early warning signs, allowing diseases to progress until they reach developing fruits.
I’ve learned to inspect the undersides of leaves weekly, where problems often start. At the first sign of spots, immediately remove affected leaves and dispose of them in the trash—not compost.
Early intervention can save your harvest. Fungal diseases spread rapidly in humid conditions, so morning inspections when symptoms are most visible can help catch problems before they affect fruit development.
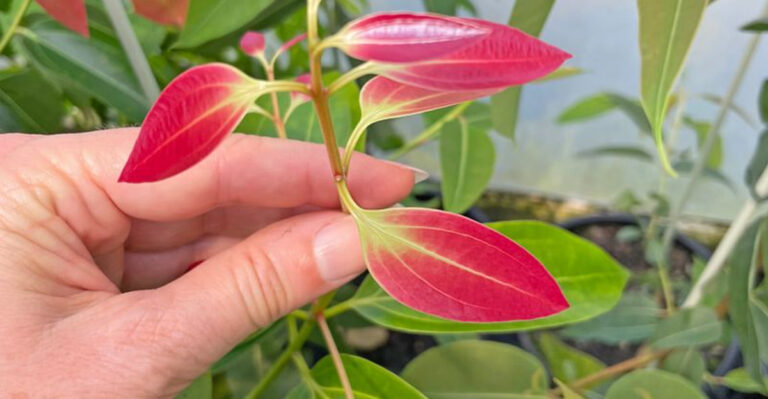
11. Planting Disease-Prone Varieties
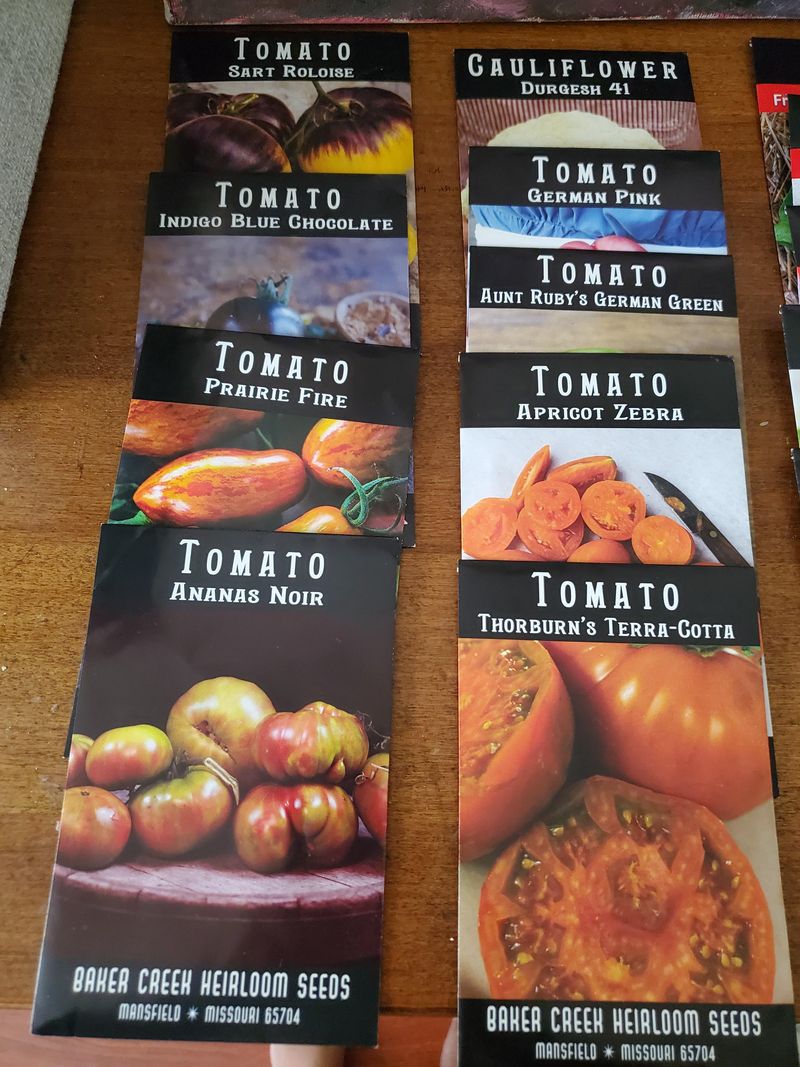
Not all varieties are created equal when it comes to disease resistance. Heirloom varieties often lack the bred-in resistance of modern hybrids, making them more susceptible to common problems that lead to fruit rot.
My love for unique heirloom flavors meant accepting higher disease risk until I discovered resistant varieties that still taste amazing. Look for seed packets or plant labels with letters like “V” (Verticillium wilt), “F” (Fusarium wilt), or “EB” (Early Blight) resistance.
If your garden has a history of specific diseases, choosing resistant varieties can make all the difference between rotting fruit and a successful harvest.
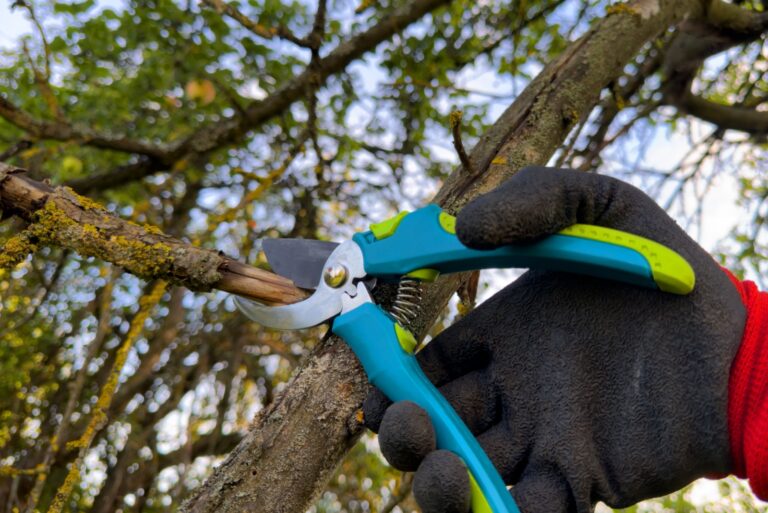
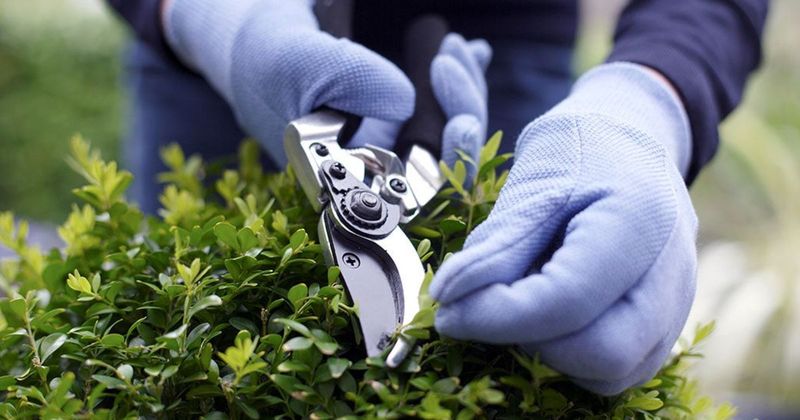
12. Improper Pruning Techniques
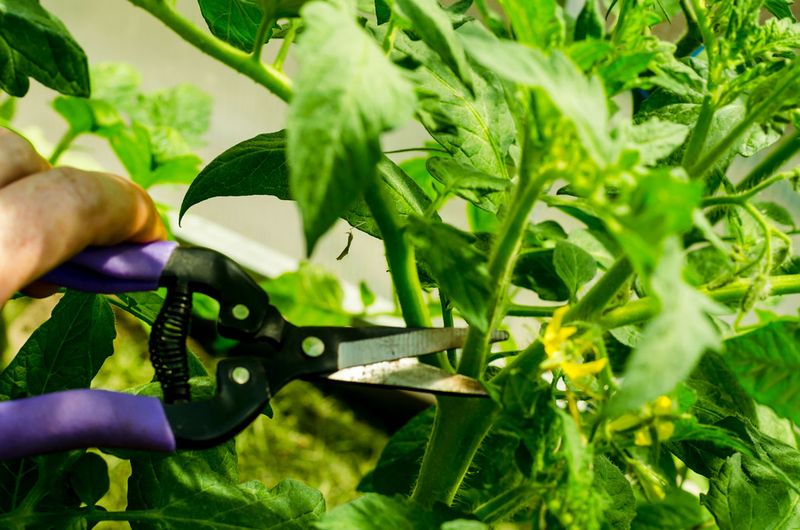
Haphazard pruning creates entry points for pathogens. Tearing rather than cutting, pruning during wet conditions, or removing too many leaves at once stresses plants and increases disease vulnerability.
My early pruning attempts involved yanking off suckers with my fingers, which often created jagged wounds that became infection sites. Now I use clean, sharp pruners and make cuts early in the day so wounds can dry before evening.
Focus on removing suckers from the bottom 12 inches of the plant and any branches touching the ground. Always sanitize tools between plants with rubbing alcohol to avoid spreading disease.
13. Using Contaminated Garden Tools
Garden tools can be silent disease spreaders. Moving from an infected plant to a healthy one without cleaning your equipment transfers pathogens directly to vulnerable plants.
This mistake cost me an entire row of beautiful plants last season when I pruned a sickly plant and then worked on healthy ones without disinfecting my tools. Keep a spray bottle with 70% isopropyl alcohol or a 10% bleach solution handy.
Quickly spray and wipe tools between plants, especially after working with any that show signs of disease. At season’s end, thoroughly clean all garden tools before storing them for winter.
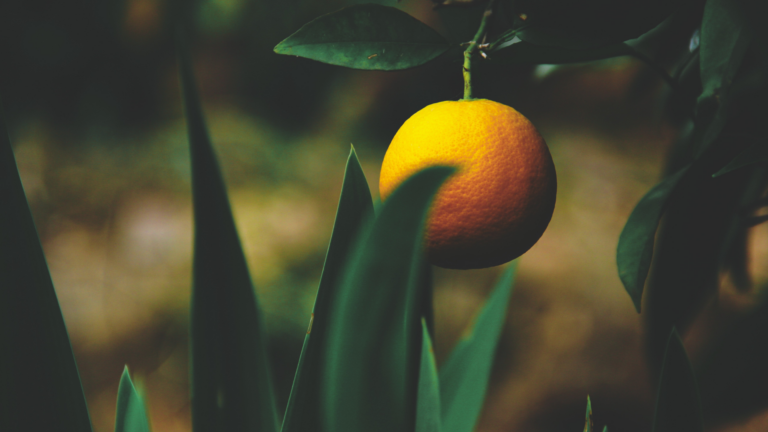
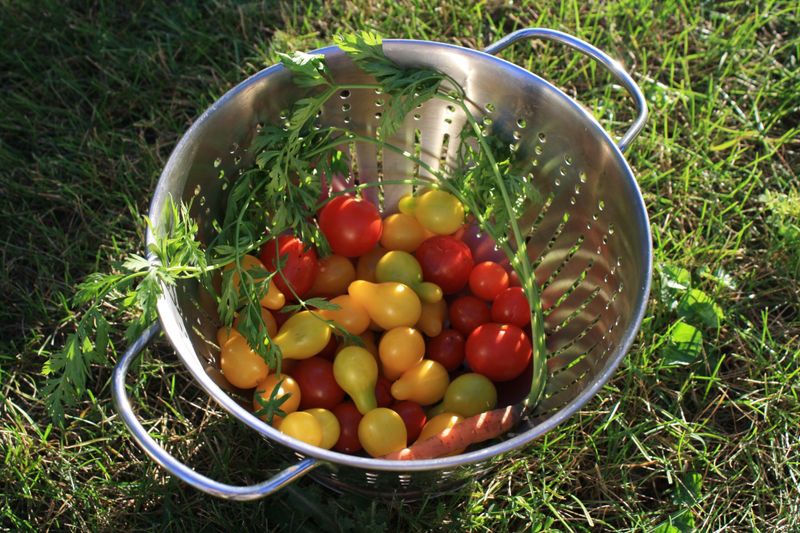
14. Harvesting Too Late

Waiting for that perfect deep red color often leads to disappointment. Fully ripened fruits left on the vine become increasingly susceptible to cracking, sunscald, and pest damage—all of which lead to rot.
I’ve watched perfectly good fruits split open after a rainstorm because I waited “just one more day” for deeper color. Most varieties can be picked when they show the first blush of color change from green to pink.
These “breaker stage” fruits will continue ripening indoors away from pests and weather extremes. As a bonus, harvesting regularly stimulates plants to produce more flowers and fruits.
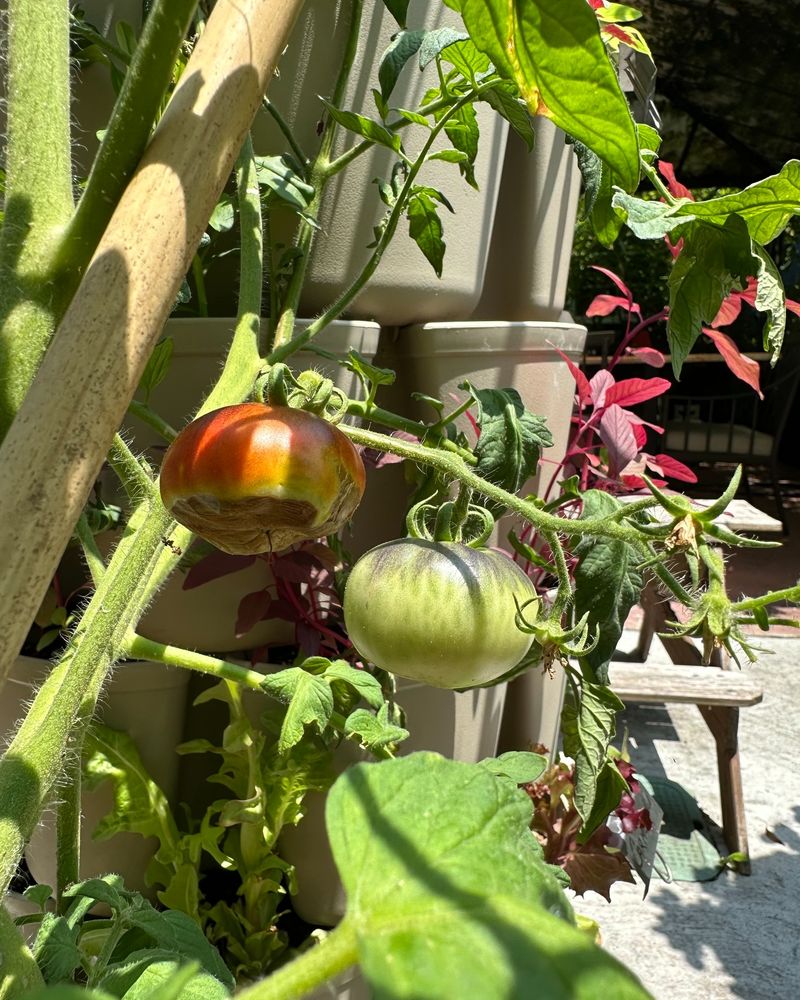
15. Overlooking Calcium Deficiency
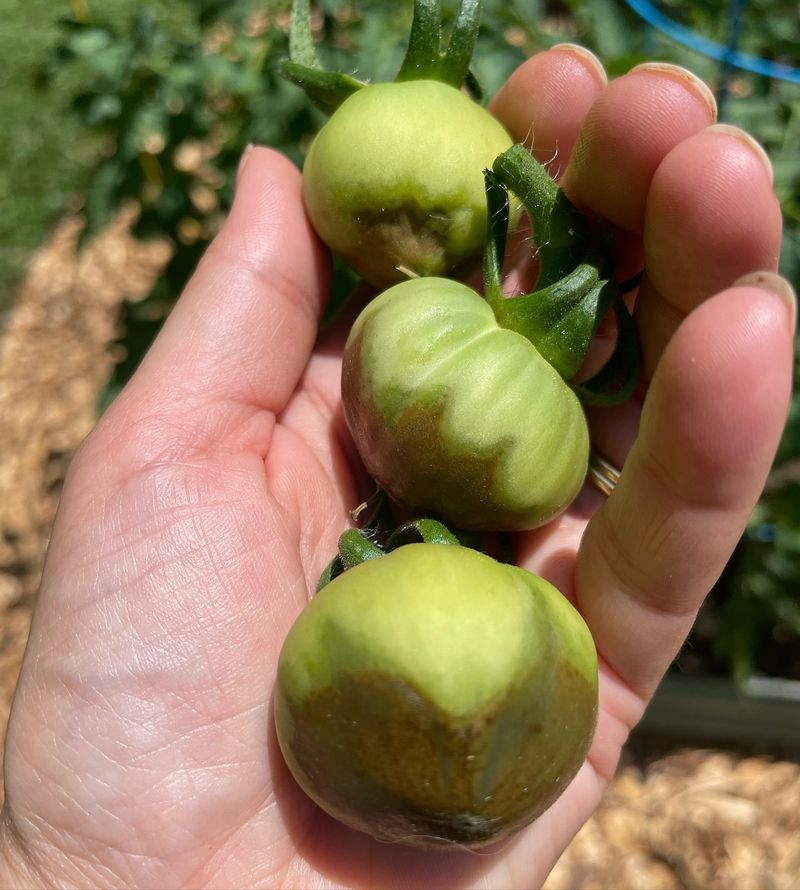
Those black, leathery spots on the bottom of fruits signal blossom end rot—a classic calcium deficiency symptom. Many gardeners mistakenly think it’s a disease when it’s actually a physiological disorder.
My first encounter with this problem had me frantically spraying fungicides to no effect. The soil had plenty of calcium, but inconsistent watering prevented plants from absorbing it properly.
Beyond maintaining consistent moisture, crushed eggshells, bone meal, or commercial calcium sprays can help. Apply these early in the season before symptoms appear for best results.
16. Allowing Pest Damage
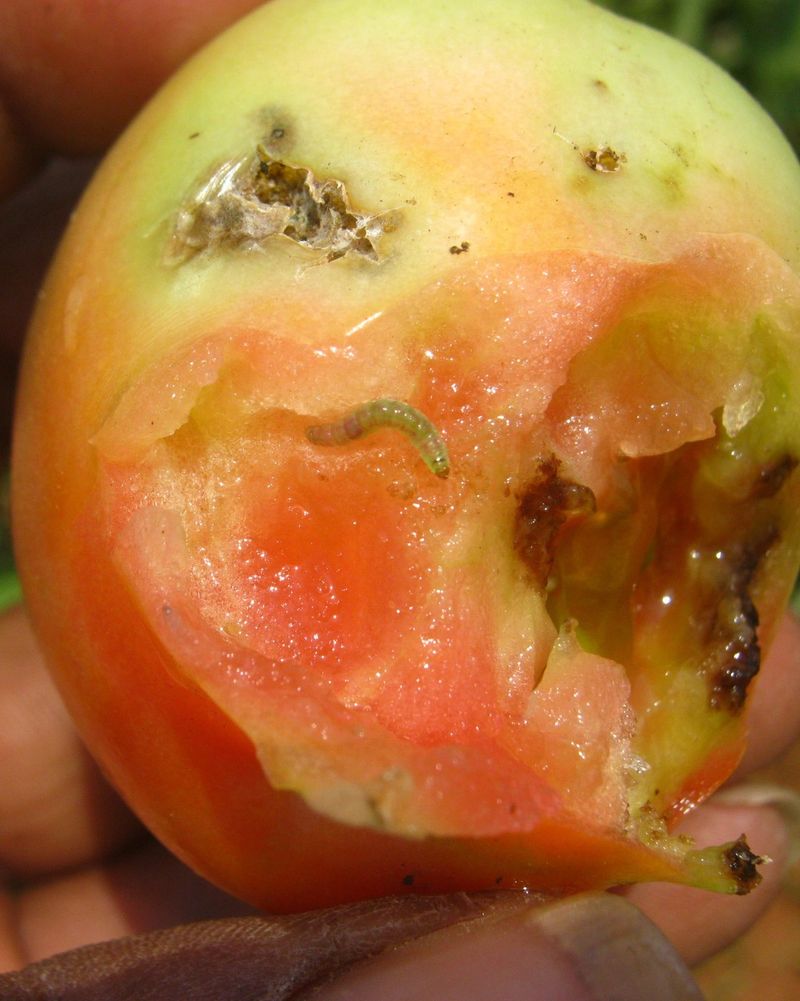
Even tiny punctures from insects create entry points for rot-causing pathogens. Hornworms, stink bugs, and fruit flies might seem like minor nuisances, but their damage opens doors for serious fruit deterioration.
I once ignored a small hornworm infestation, thinking the damage was minimal. Within days, those small bite marks became infected with secondary rot that spread through multiple fruits.
Inspect plants regularly, especially under leaves where pests hide. Hand-pick larger insects and consider floating row covers during peak insect seasons. Organic insecticidal soaps can help control smaller pests without harming beneficial insects.
17. Using Overhead Watering Methods
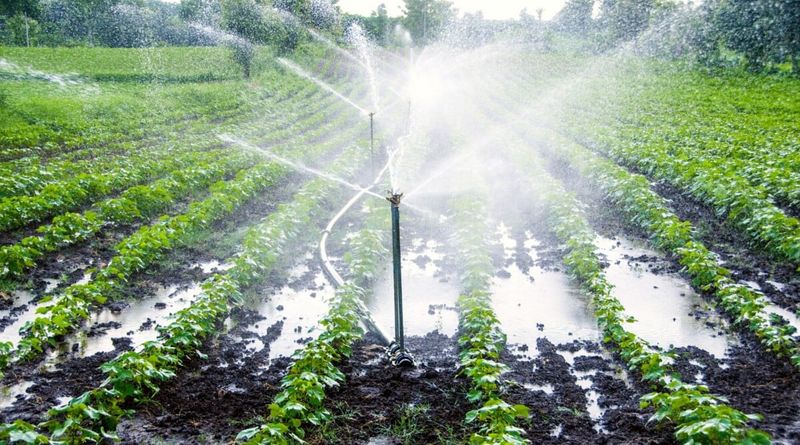
Sprinklers and overhead watering create ideal conditions for fungal diseases. Water sitting on leaves and fruits for extended periods practically invites pathogen growth and spread.
Converting my irrigation to soaker hoses was a game-changer after losing plants to leaf mold and fruit rot for two seasons. Water applied directly to soil keeps foliage dry and reduces disease pressure dramatically.
If you must use overhead watering, do it early in the morning so plants have time to dry completely before evening. The longer leaves stay wet, especially overnight, the greater the risk of developing diseases that affect fruit quality.