New To Clematis? Here’s A Beginner’s Guide To Pruning In California Gardens
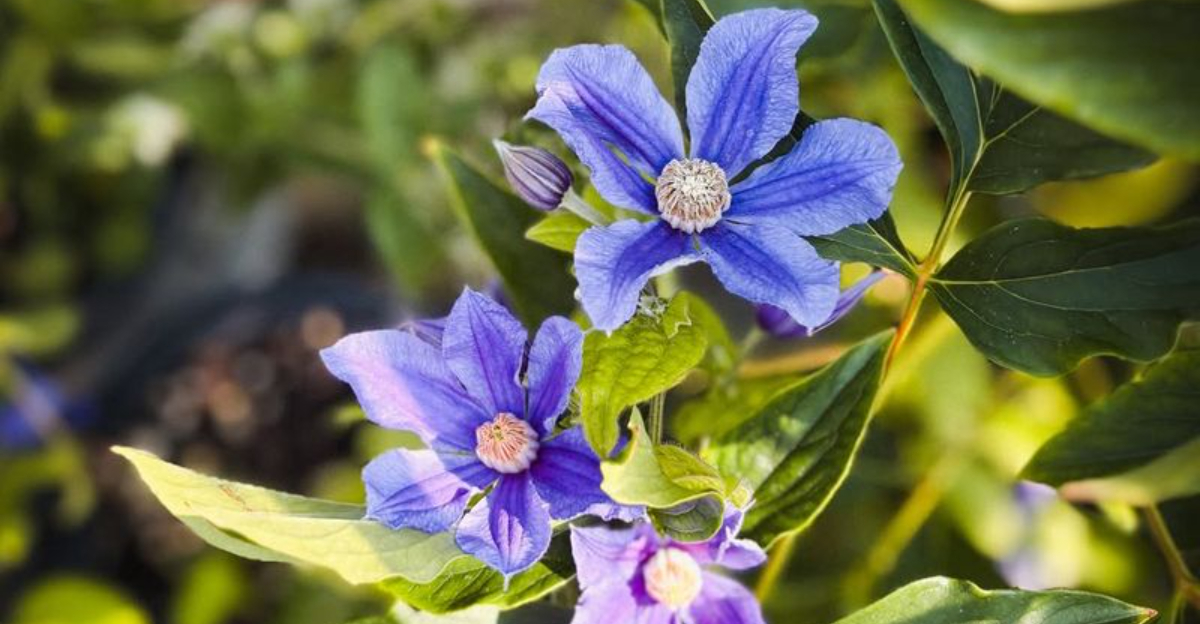
Clematis vines are a favorite for California gardeners thanks to their vibrant blooms and dramatic climbing ability. But pruning them correctly can be intimidating for beginners. Proper pruning encourages healthier growth, more flowers, and a neat, manageable vine.
Prune at the right time and your clematis will flourish beautifully. This beginner-friendly guide explains the different clematis groups, when to prune, and how to cut stems without harming the plant.
Removing dead growth, thinning crowded branches, and shaping the vine promotes strong structure, better airflow, and abundant blooms. Following these steps helps ensure your clematis thrives year after year.
Healthy vines and show-stopping flowers start with smart pruning. California gardeners who follow these techniques can enjoy clematis that is vibrant, well-structured, and full of blooms throughout the growing season.
Prune with confidence and transform your garden with beautiful clematis.
Identify Your Clematis Pruning Group First
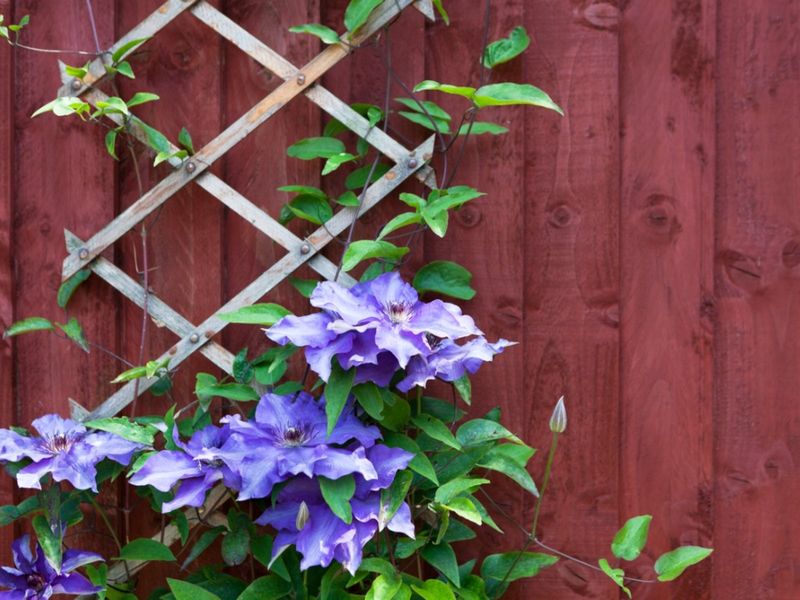
Before you pick up your pruning shears, figuring out which pruning group your clematis belongs to makes all the difference between a vine covered in flowers and one that barely blooms.
Clematis varieties fall into three main groups based on when they flower and where their buds form. Group 1 clematis bloom early in spring on growth from the previous year, producing flowers on what gardeners call old wood.
Group 2 varieties bloom twice during the season, first on old wood in late spring and again on new growth later in summer. These repeat bloomers give you the best of both worlds but require careful pruning to preserve both flowering cycles.
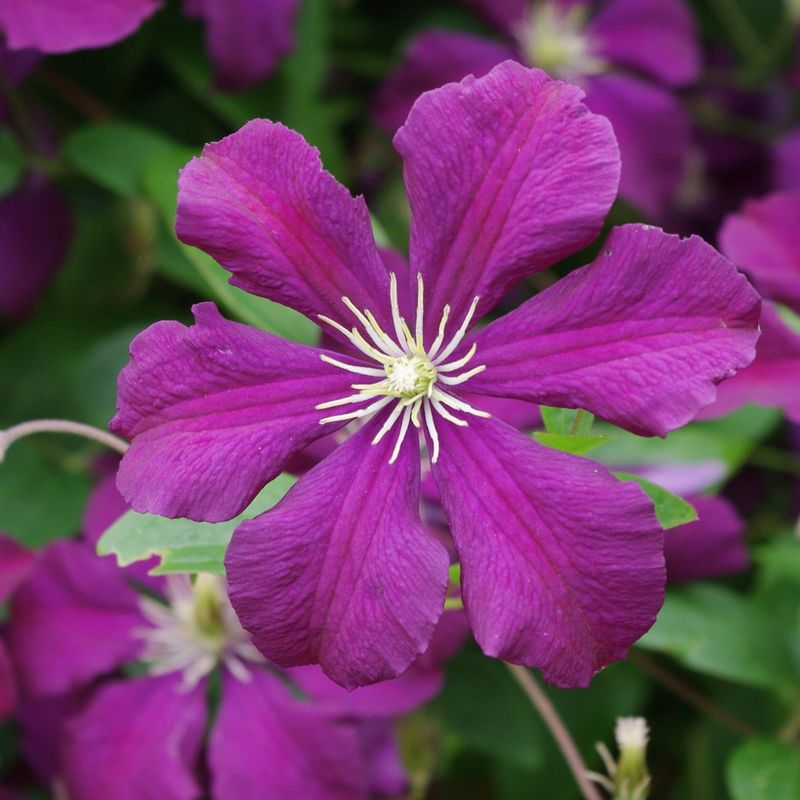
Group 3 clematis are the easiest for beginners because they bloom exclusively on new growth produced during the current season.
Pruning without knowing your group can result in accidentally cutting off all the flower buds your plant has carefully prepared.
Many California gardeners have experienced the disappointment of pruning their clematis in late winter only to watch it produce nothing but leaves all season.
Check the plant tag when you purchase your vine, or look up the variety name online to confirm its pruning group.
Once you know which category your clematis fits into, you can prune with confidence and enjoy spectacular blooms year after year.
Most California Gardeners Grow Heat-Tolerant Group 3 Varieties
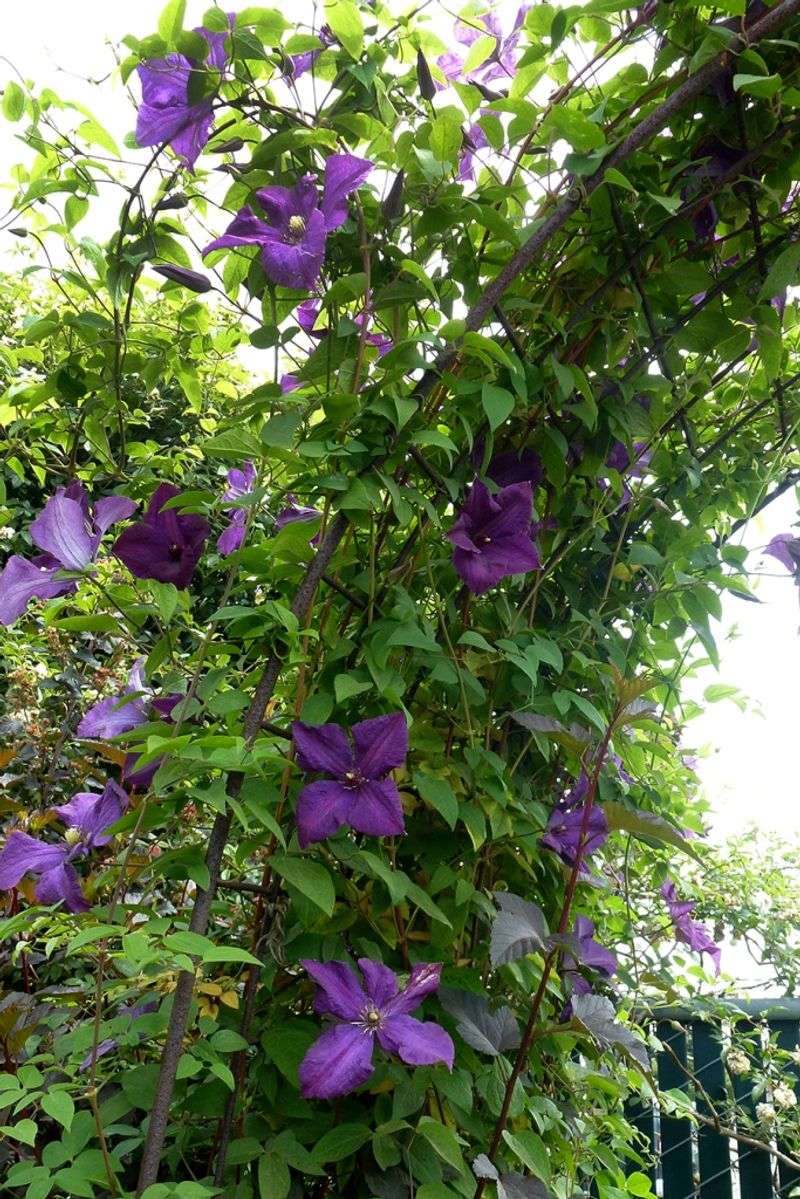
Group 3 clematis varieties have become favorites throughout California because they handle warmer temperatures far better than their spring-blooming cousins.
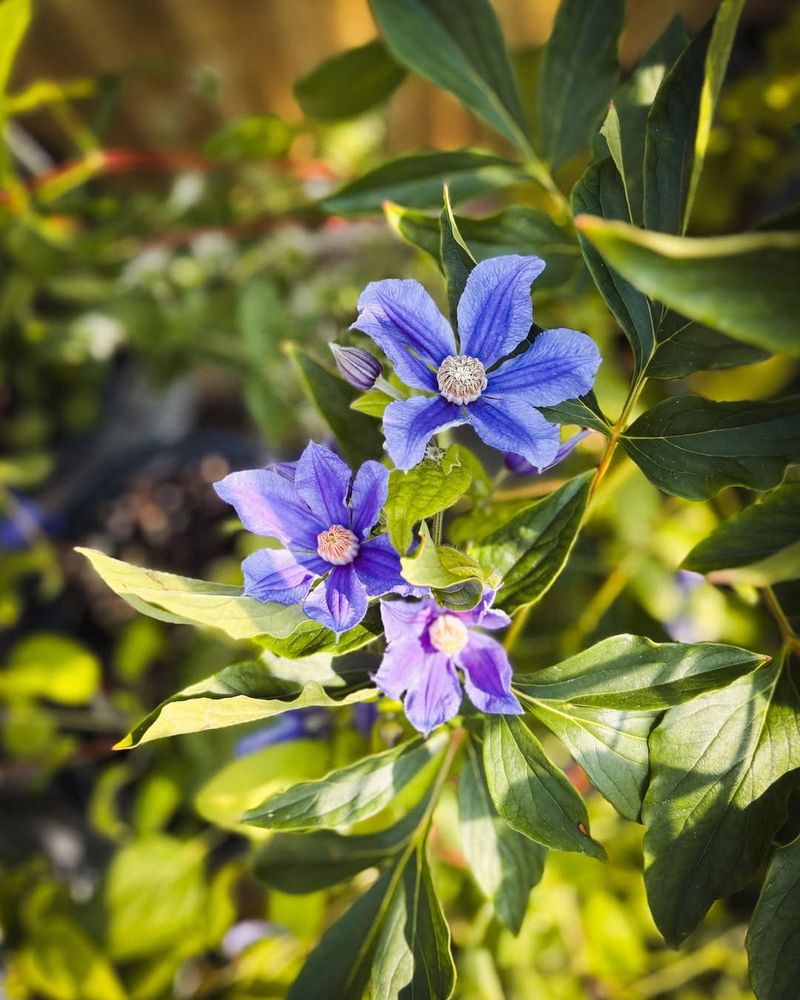
These summer-flowering vines thrive in the extended growing seasons found in most California regions, producing waves of blooms from late spring through early fall.
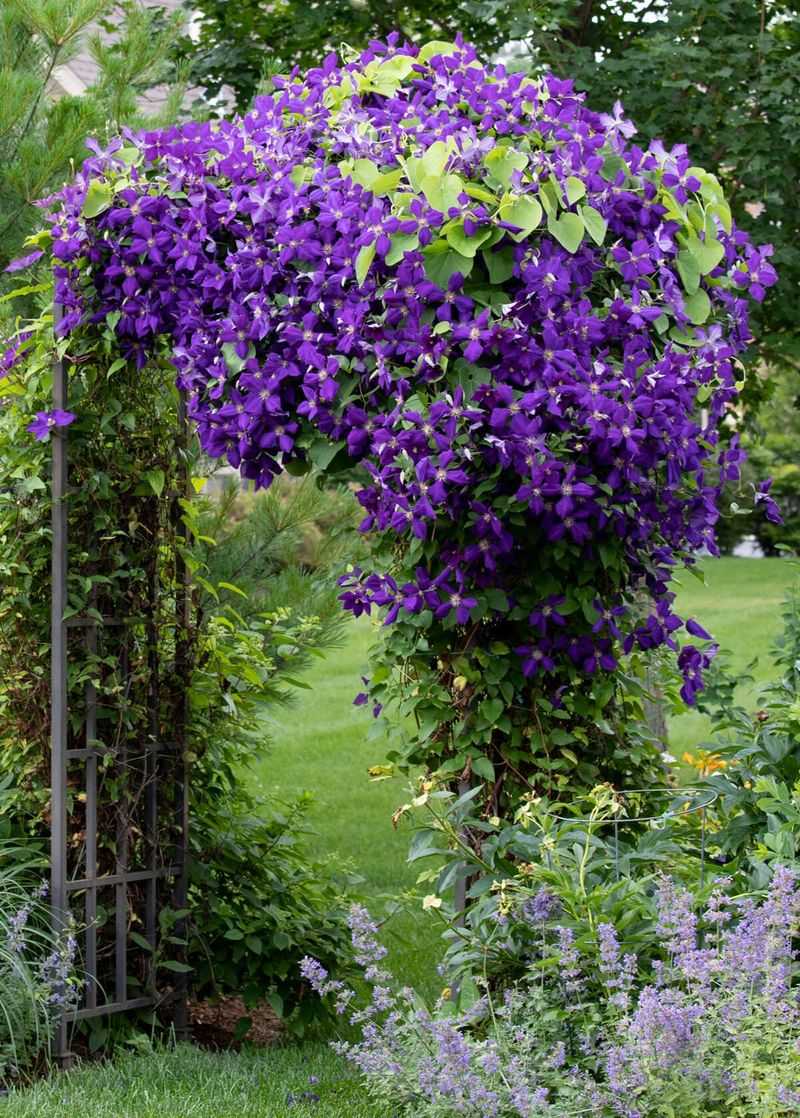
Popular varieties like ‘Jackmanii,’ ‘Sweet Summer Love,’ and ‘Polish Spirit’ can tolerate the heat that would stress many Group 1 clematis.
California’s Mediterranean climate, with its warm, dry summers and mild winters, creates perfect conditions for these vigorous growers. Group 3 clematis send up fresh stems each spring that quickly climb supports and burst into flower by early summer.
Their ability to bloom on new wood means you never have to worry about accidentally removing flower buds during winter pruning.
These heat-adapted varieties also recover quickly from the occasional pruning mistake, making them incredibly forgiving for beginners still learning the ropes.
Many California nurseries stock primarily Group 3 varieties because they perform so reliably in local conditions.
If you live in inland valleys where summer temperatures regularly climb above ninety degrees, Group 3 clematis will reward you with continuous color when many other flowering vines struggle in the heat.
Prune Group 3 Clematis Hard In Late Winter
Late winter pruning transforms Group 3 clematis from tangled masses of old stems into vigorous flowering machines ready to explode with growth.
Between late January and early March, before new growth begins, cut your Group 3 vines back hard to about twelve to eighteen inches above ground level.
This dramatic pruning might seem scary at first, but it triggers the plant to send up multiple strong stems that will be covered in flowers by summer.
Look for pairs of healthy buds along the lower stems and make your cuts just above them, leaving at least two or three sets of buds on each stem.
Hard pruning removes all the tangled growth from the previous season and encourages the plant to focus its energy on producing fresh, disease-free stems.
California’s mild winters mean clematis often retain some green growth through the cold months, but don’t let that stop you from cutting back confidently.
The remaining stumps may look sparse immediately after pruning, but within weeks you’ll see vigorous new shoots emerging from the base.
This annual renewal keeps Group 3 clematis blooming prolifically and prevents them from becoming woody and bare at the bottom.
Mark your calendar for late winter pruning, and your clematis will reward you with months of spectacular flowers on healthy, manageable vines.
Avoid Heavy Pruning On Spring-Blooming Clematis
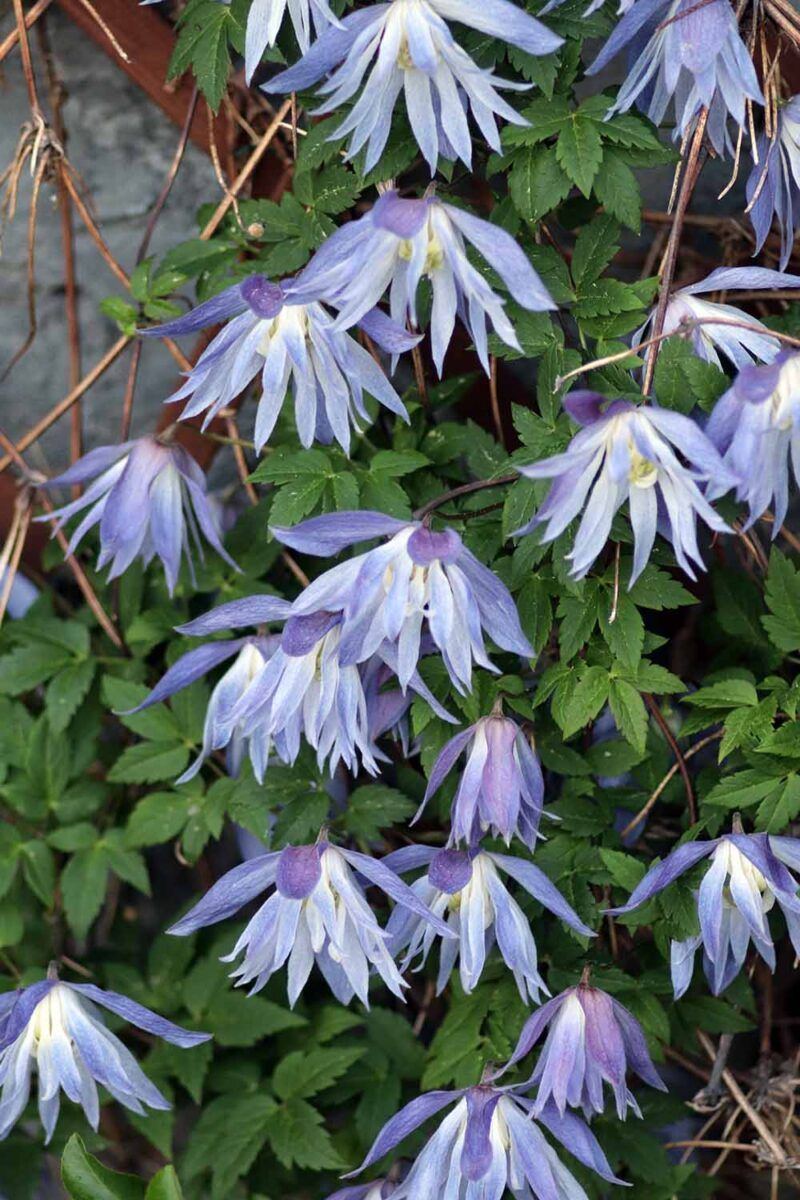
Group 1 clematis produce their spectacular spring flower show on stems that grew during the previous season, which means heavy pruning in late winter removes all your anticipated blooms.
Varieties like Clematis montana and Clematis armandii bloom early, often starting in March or April in California gardens, covering themselves in flowers before most other clematis have even woken up.
These early bloomers set their flower buds on old wood during the previous growing season, and those buds simply wait through winter for warm weather to trigger opening.
If you prune Group 1 clematis hard in late winter like you would Group 3 varieties, you’ll cut off every single flower bud and end up with nothing but foliage for the entire season.
Instead, wait until immediately after the flowers fade, usually in late spring or early summer, to do any necessary trimming.
At that point, you can lightly shape the vine, remove any stems that have grown out of bounds, and thin out crowded growth.
This post-flowering pruning gives the plant plenty of time to produce new stems that will mature and set buds for next spring’s display.
Keep your pruning minimal with Group 1 varieties, removing only what’s necessary to maintain the size and shape you want while preserving the flowering wood.
Lightly Shape Group 2 Clematis After Their First Bloom
Group 2 clematis offer the exciting possibility of two distinct flowering periods, but only if you prune them correctly to preserve buds on both old and new wood.
These varieties bloom first in late spring on stems that grew the previous year, then produce a second, lighter flush of flowers on new growth in late summer or early fall.
Popular Group 2 varieties like ‘Nelly Moser’ and ‘Henryi’ perform beautifully in many California gardens when given the right pruning care.
After the first bloom cycle finishes in early summer, lightly trim your Group 2 clematis by removing spent flowers and cutting back stems to the first set of strong buds.
This moderate pruning encourages the plant to send out fresh growth that will carry the second round of blooms without removing the buds that are already forming for next spring’s show.
Think of it as a gentle haircut rather than a dramatic makeover.
California’s long growing season gives Group 2 clematis plenty of time to produce that second bloom cycle, especially in coastal areas where moderate temperatures extend well into fall.
Avoid heavy pruning in late winter, as that would remove the buds needed for the spectacular first flowering.
With careful attention to timing and technique, Group 2 clematis reward California gardeners with months of color spanning multiple seasons.
Always Remove Damaged And Weak Stems First
Regardless of which pruning group your clematis belongs to, clearing out damaged and weak stems should always be your first step when approaching the plant with pruning shears.
California’s variable climate can create conditions that stress clematis vines, from unexpected late frosts in some regions to intense heat waves in others, and these stresses often result in stems that won’t contribute to healthy growth or flowering.
Removing this unproductive growth improves air circulation through the vine, which becomes especially important during California’s warm, humid periods when fungal diseases can develop quickly.
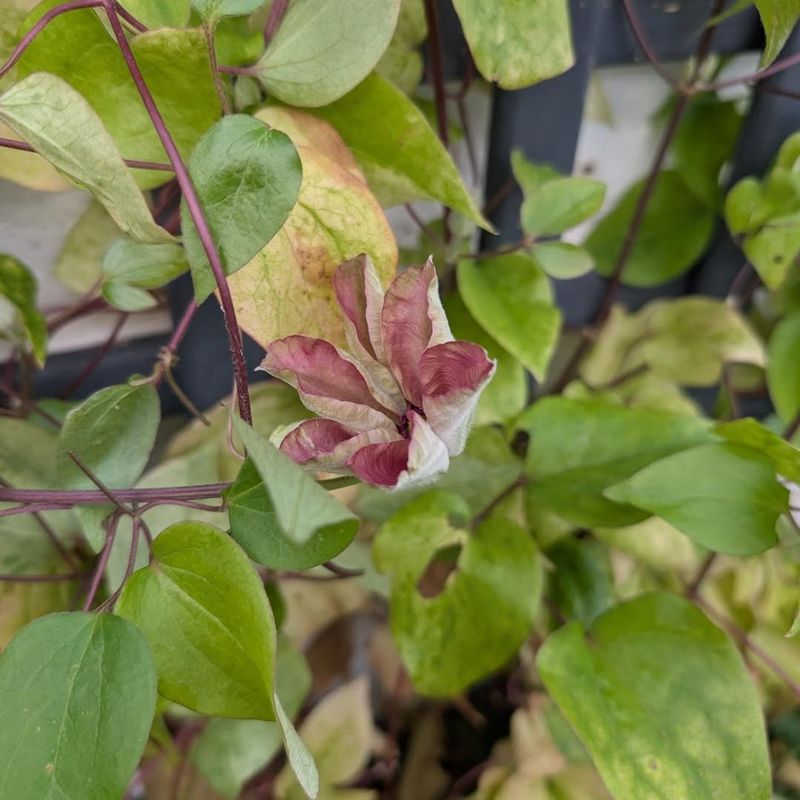
Look for stems that appear shriveled, discolored, or significantly thinner than the healthy growth around them.
These weak stems rarely produce flowers and instead drain energy that the plant could direct toward vigorous, productive growth.
Better airflow reduces moisture buildup around leaves and stems, creating an environment where fungal problems struggle to take hold.
California’s diverse microclimates mean gardeners face different disease pressures depending on their location, but improved air circulation benefits clematis everywhere.
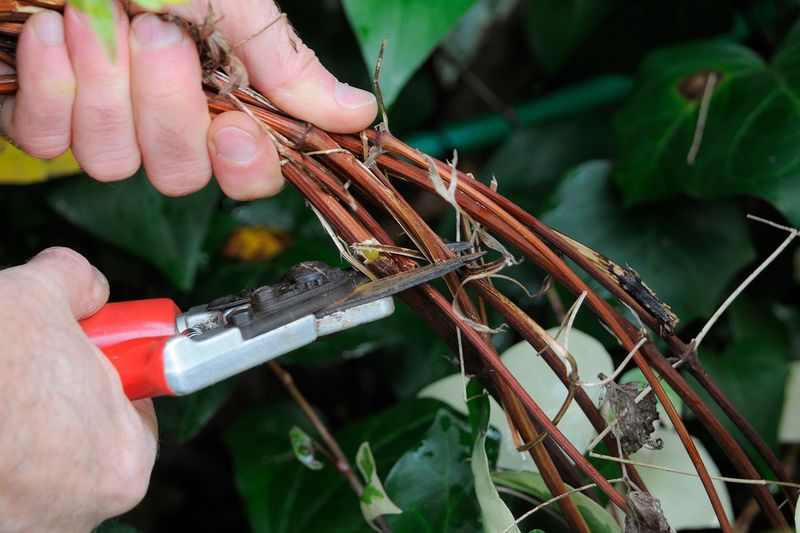
Use clean, sharp pruning shears to remove weak stems completely at their base, making cuts at a slight angle to prevent water from pooling on the cut surface.
This simple step sets the foundation for healthy growth and abundant flowering while reducing the likelihood of disease problems throughout the growing season.
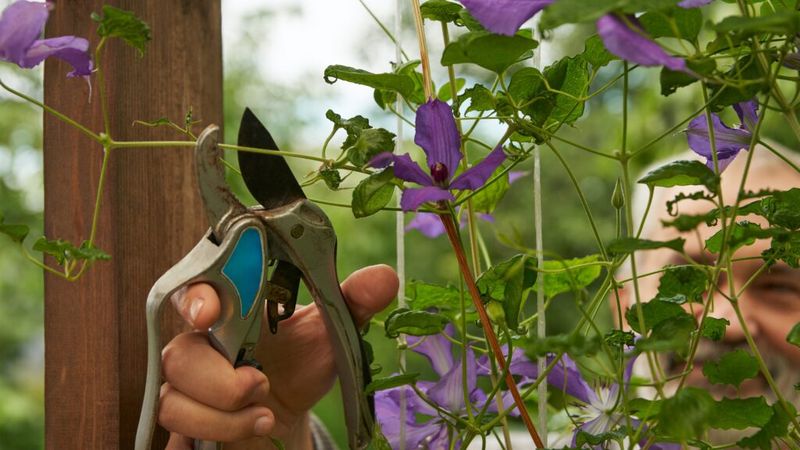
Make Clean Cuts Just Above Healthy Buds
Proper cutting technique matters tremendously when pruning clematis because ragged or poorly placed cuts create entry points for diseases and can result in stem dieback.
Each cut should be made cleanly with sharp bypass pruners positioned just above a pair of healthy buds, leaving about a quarter inch of stem above the buds.
Cutting too close can damage the buds themselves, while leaving too much stem above the buds creates a stub that may wither and invite infection.
Sharp tools make clean cuts that heal quickly, whereas dull blades crush stem tissue and create ragged wounds that take longer to seal.
California’s generally mild, moist winters can allow fungal spores to enter through wounded tissue, so clean cuts become even more important for preventing problems.
Angle your cuts slightly so water runs off rather than pooling on the cut surface, which further reduces infection risk.
Always position your cuts just above a node where buds are visible, as this is where new growth will emerge from the remaining stem.
The buds left below your cut will receive the plant’s energy and quickly produce fresh shoots once growing conditions warm up.
Sterilizing your pruning shears between plants with rubbing alcohol or a bleach solution prevents accidentally spreading diseases from one clematis to another, a simple step that protects your entire garden collection.
Prune Early Enough To Avoid Heat Stress
Timing your pruning to coincide with late winter or very early spring, before temperatures begin their climb toward summer heat, gives clematis the best opportunity to recover and channel energy into new growth.
In most California regions, this ideal pruning window falls between late January and early March, though coastal gardeners may wait until March while inland gardeners might start in January.
Pruning during this dormant or barely active period minimizes stress on the plant because it isn’t yet investing heavily in leaf production and stem elongation.
California’s temperatures can spike suddenly in late spring, jumping from pleasant seventies to uncomfortable nineties within a week or two.
Pruning too late forces your clematis to recover and produce new growth during increasingly hot conditions, which diverts water and energy away from root establishment and toward simply surviving the heat.
Early pruning allows fresh stems to develop during the cooler months when moisture is more available and temperatures remain moderate.
By the time summer heat arrives, early-pruned clematis have already produced substantial new growth and may even be approaching their first bloom cycle.
Watch weather forecasts and aim to complete your pruning before the last expected frost in your area but well before temperatures regularly exceed eighty degrees.
This strategic timing sets your clematis up for vigorous, healthy growth and abundant flowering throughout the coming season.
Mulch After Pruning To Keep Roots Cool
Clematis have a well-known preference for cool root zones even while their vines reach upward into full sun, making mulching especially important in California’s warm climate.
After completing your pruning, spread a two-to-three-inch layer of organic mulch around the base of your clematis, extending outward at least twelve inches from the main stems.
This protective blanket insulates roots from temperature fluctuations and helps maintain the consistent soil moisture that clematis roots need to support vigorous growth and flowering.
California’s intense summer sun can heat soil surfaces to temperatures that stress shallow roots, but a good mulch layer moderates those extremes significantly.
Organic mulches like shredded bark, compost, or leaf mold also improve soil structure as they gradually break down, adding nutrients and encouraging beneficial soil organisms.
Keep mulch pulled back slightly from direct contact with clematis stems to prevent moisture from accumulating against the bark, which could encourage rot.
In particularly hot inland areas, maintaining cool roots becomes critical for clematis survival and performance during summer’s peak heat.
The old gardening saying suggests clematis want their heads in the sun and their feet in the shade, and proper mulching creates that ideal condition even when you can’t position another plant to shade the root zone.
Refresh your mulch layer annually after pruning to maintain its insulating and moisture-retaining properties throughout the growing season.
When Unsure, Choose Gentle Pruning Over Heavy Cutting
Beginners often feel paralyzed by the fear of pruning incorrectly and ruining their clematis, but a conservative approach protects you from the most common and disappointing mistake: accidentally removing all the flower buds.
If you haven’t confirmed your clematis pruning group or you’re simply not confident about how much to cut, always err on the side of pruning less rather than more.
Light pruning might result in a slightly less tidy vine, but it won’t prevent flowering the way overzealous cutting can.
Start by removing only obviously damaged or tangled stems, then step back and observe the overall shape and structure before making additional cuts.
You can always come back and prune more if needed, but you cannot reattach stems you’ve already removed.
This cautious approach gives you time to observe how your particular clematis responds to pruning and to learn its growth habits over a full season.
Many California gardeners successfully grow beautiful clematis for years with nothing more than gentle tidying and removal of weak growth, never doing the dramatic hard pruning that Group 3 varieties technically can handle.
As you gain experience and confidence, you’ll develop a feel for how much pruning your specific varieties appreciate.
Until then, remember that under-pruning rarely causes serious problems, while over-pruning can cost you an entire season of blooms and leave you disappointed in an otherwise wonderful plant.