12 Orchid Care Mistakes That Can Destroy Your Entire Plant (And How To Keep It Thriving)
Orchids are stunning but can be tricky to care for, and I’ve definitely made my fair share of mistakes with them. It’s so frustrating to see a beautiful plant start to struggle, especially when you’re trying your best.
But trust me, a few simple tweaks can turn things around and keep your orchid happy and healthy. I want to share the common slip-ups that almost wrecked mine, so you don’t have to go through the same headaches.
Let’s get your orchid thriving like a pro—without the drama!
1. Overwatering Disaster
Nothing kills orchids faster than drowning them in too much water. Their roots need to breathe between waterings, and soggy conditions quickly lead to root rot – a death sentence for these tropical beauties.
Instead of sticking to a rigid schedule, check if your orchid actually needs water by poking your finger into the growing medium. Only water when it feels dry about an inch down. Remember that most orchids would rather be slightly underwatered than overwatered!
2. Wrong Potting Medium
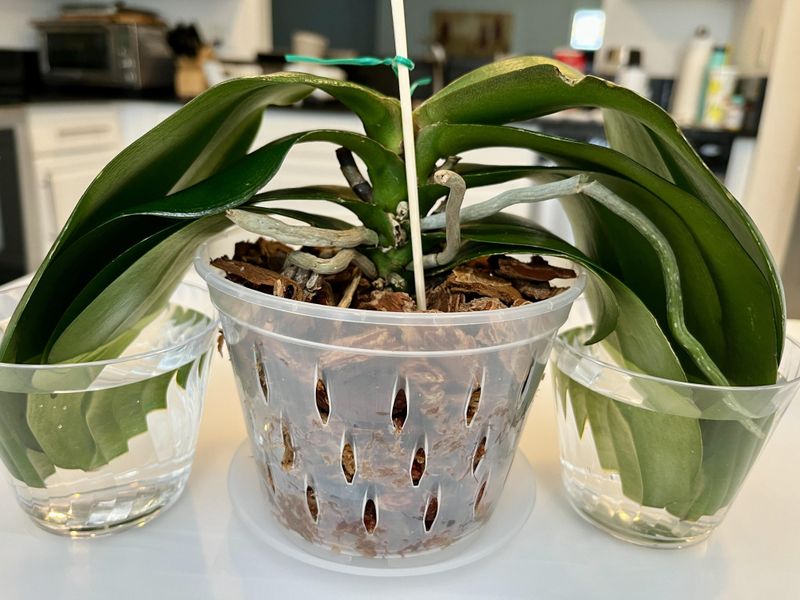
Regular potting soil is a death trap for orchids! These plants naturally grow attached to trees in the wild, not in soil. Their roots need excellent drainage and airflow that regular potting mix simply can’t provide.
Always use specialized orchid bark mix or sphagnum moss that allows air circulation around the roots. The chunky texture mimics their natural growing environment and prevents the deadly suffocation that happens in dense soil. Your orchid’s roots should look plump and silvery-green, not brown and mushy.
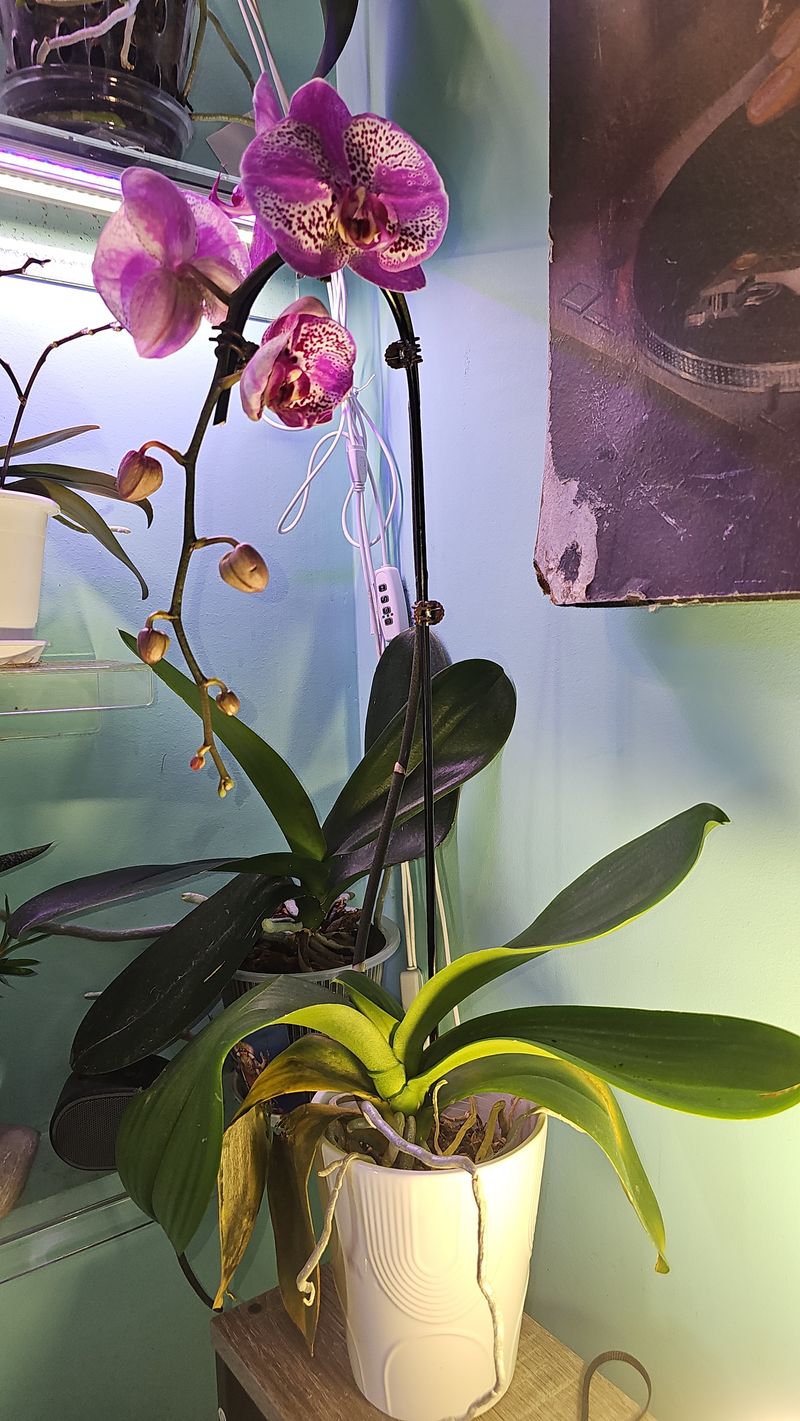
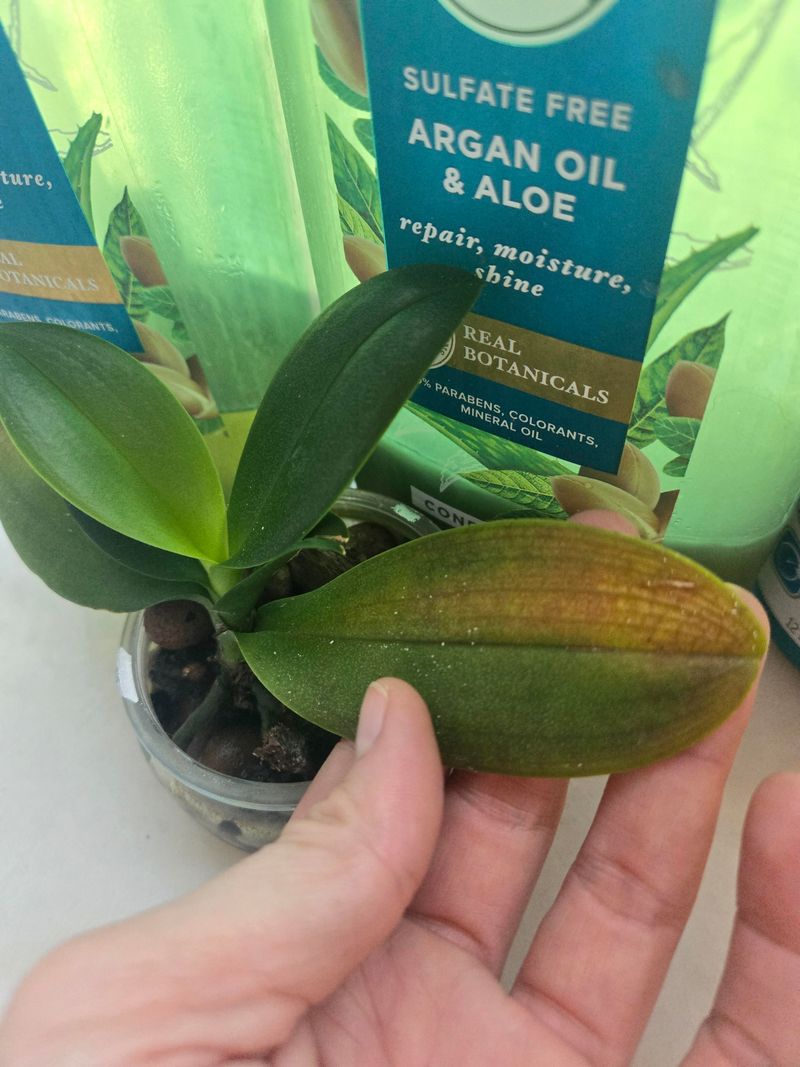
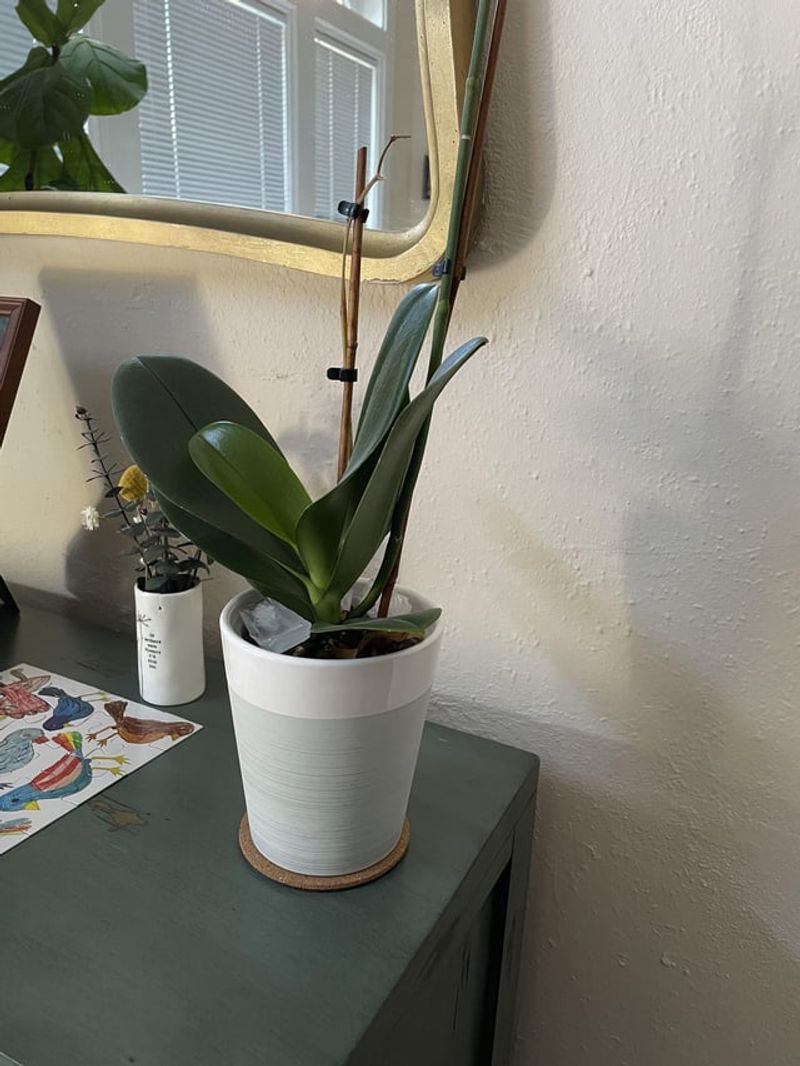
3. Incorrect Light Exposure
Placing your orchid in direct sunlight might seem logical, but it’s actually scorching your plant’s delicate leaves! Those unsightly brown patches are sunburn – permanent damage that weakens the entire plant.
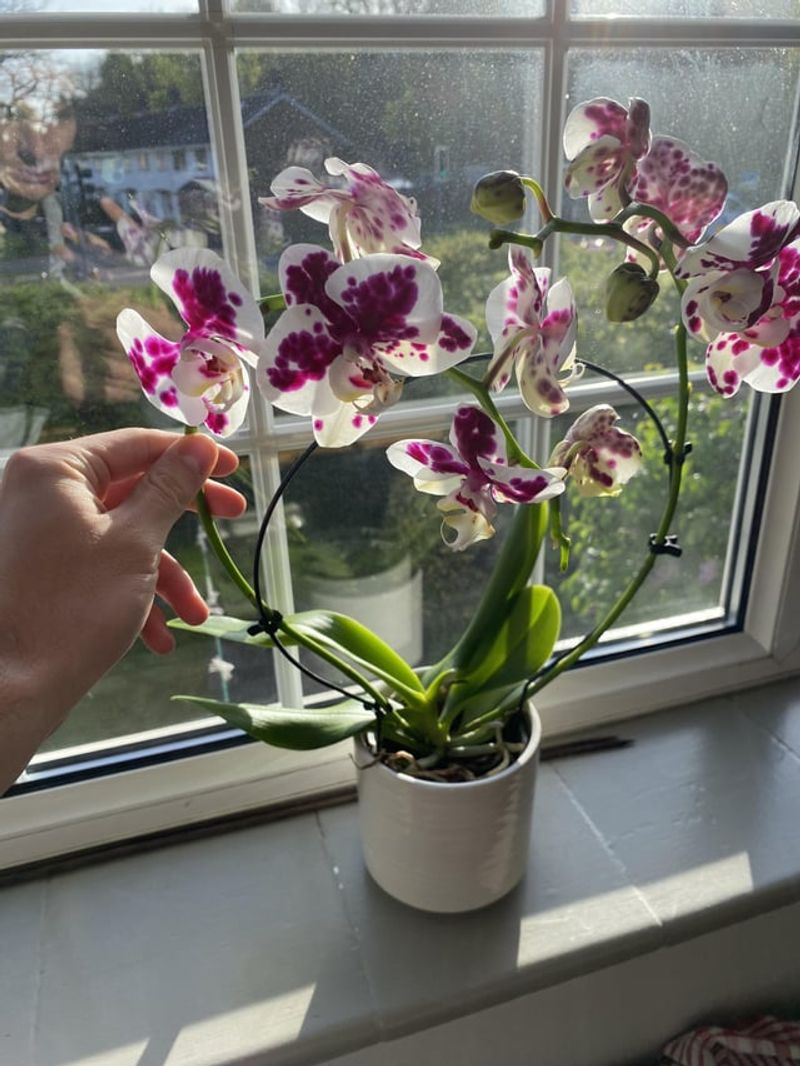
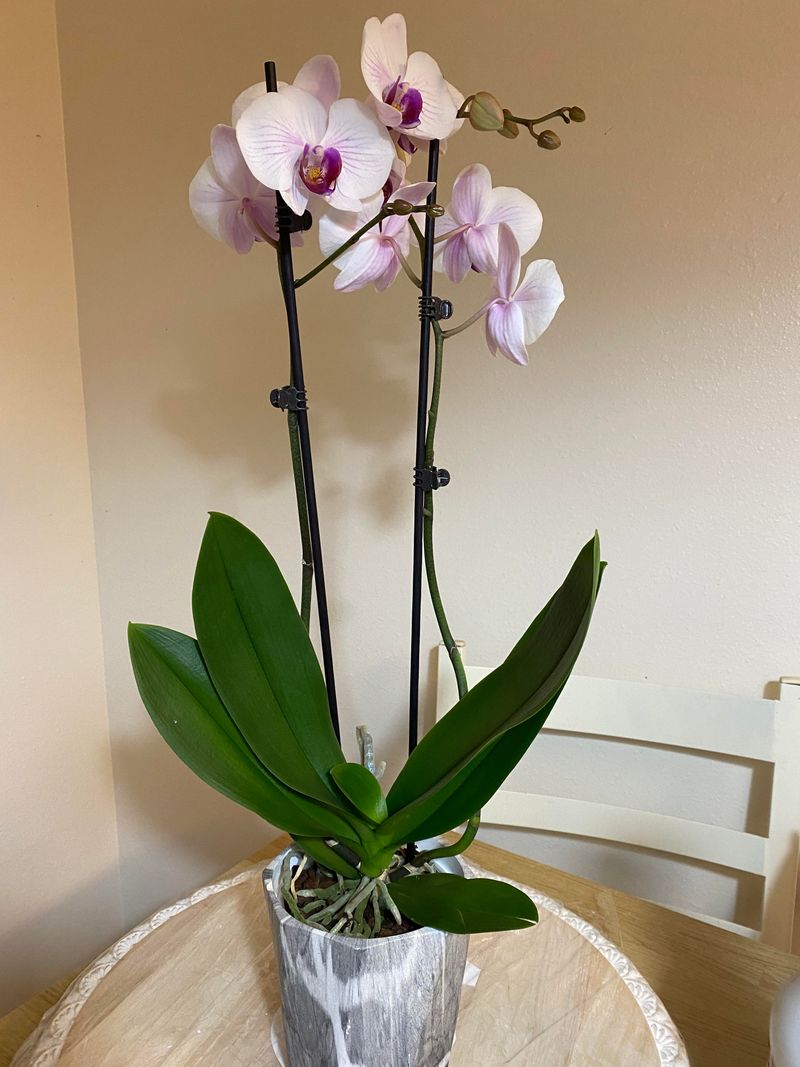
Most popular orchids like Phalaenopsis thrive in bright, indirect light. Position them near an east-facing window or a few feet back from south-facing windows. The perfect light makes their leaves a vibrant medium green – dark green means too little light, while yellowish leaves with red edges signal too much.
4. Temperature Extremes
Exposing orchids to drafts, heating vents, or sudden temperature changes shocks their system and can trigger bud blast – when flower buds shrivel and drop before opening. Orchids hate temperature rollercoasters!
Keep your plants away from doors, windows with cold drafts, and air conditioning vents. Most popular home orchids prefer temperatures between 65-80°F during the day and a slight drop at night. This stability mimics their natural tropical environment where temperatures remain fairly consistent.
5. Fertilizer Burns
Overfeeding orchids with fertilizer doesn’t speed up growth – it burns their roots and leaves! Those crispy brown tips on leaves and roots are chemical burns that can eventually kill the whole plant.
Follow the “weakly, weekly” approach: dilute fertilizer to quarter-strength and apply weekly during growing season. Always water the plant first to prevent concentrated fertilizer from touching dry roots. And remember to flush the pot with plain water monthly to prevent salt buildup.
6. Ignoring Humidity Needs
Most homes have much drier air than orchids prefer, causing buds to drop and leaves to wrinkle. These tropical plants evolved in humid jungles, not our desert-dry heated or air-conditioned spaces!
Create a microclimate by placing orchids on humidity trays filled with pebbles and water. Group plants together to create a naturally humid zone, or use a small humidifier nearby. Just don’t mist the leaves frequently, as this can promote fungal problems when water sits in leaf crevices.
7. Poor Air Circulation
Stagnant air around orchids creates the perfect breeding ground for fungal and bacterial problems. Those black spots spreading across leaves often indicate infection that thrived in still, humid conditions.
Position a small fan nearby to keep air gently moving around your plants. Good circulation helps prevent disease while strengthening stems and roots. Just make sure the breeze is gentle – orchids don’t appreciate being in a wind tunnel!
8. Repotting Trauma
Disturbing orchid roots too frequently or at the wrong time can send them into shock. Many well-meaning owners kill their plants by repotting when it’s not necessary or breaking too many healthy roots in the process.
Only repot when the growing medium has broken down (usually every 1-2 years) or when roots are severely overcrowded. The best time is after flowering when new growth begins. Be gentle with roots – they’re the plant’s lifeline and can take months to recover from damage.
9. Cutting Away Healthy Roots

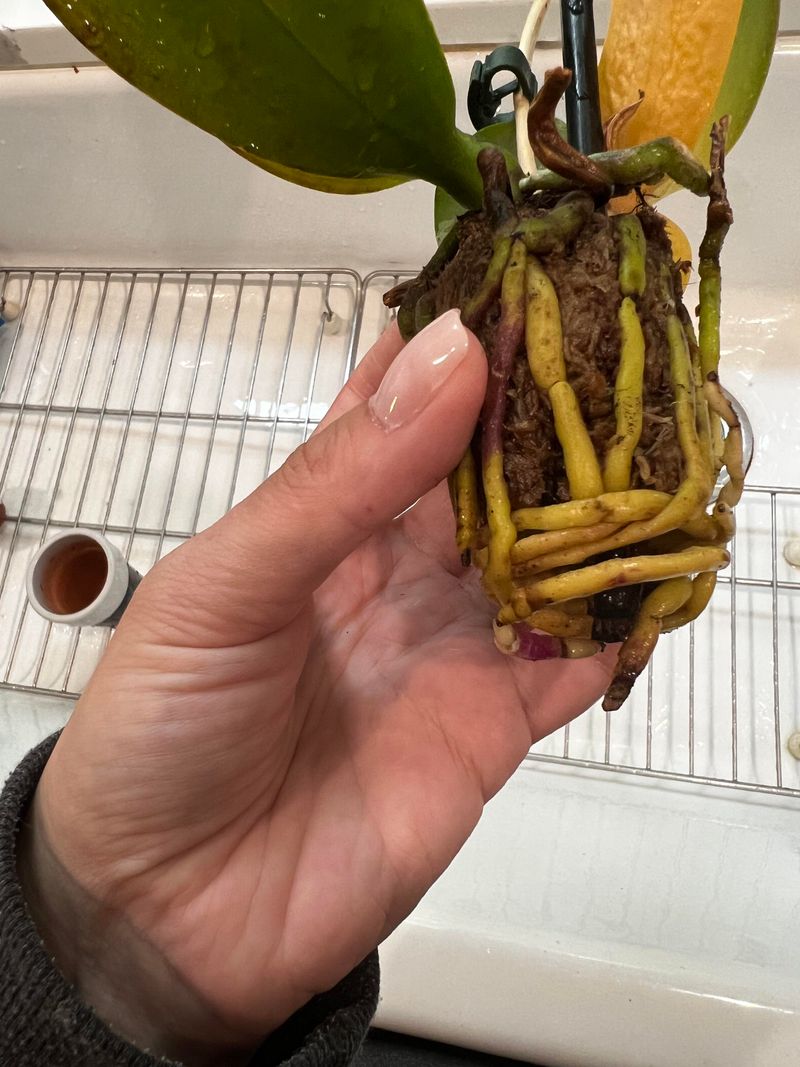
Those silvery-green roots growing outside the pot aren’t a problem – they’re aerial roots that absorb moisture from the air! Cutting them off removes a vital part of the plant’s water-gathering system.
Aerial roots are completely normal and healthy for orchids. In their natural habitat, orchids use these exposed roots to collect moisture and nutrients. Leave them be unless they’re clearly dead (brown, papery, and hollow). Healthy roots should feel firm and look plump.
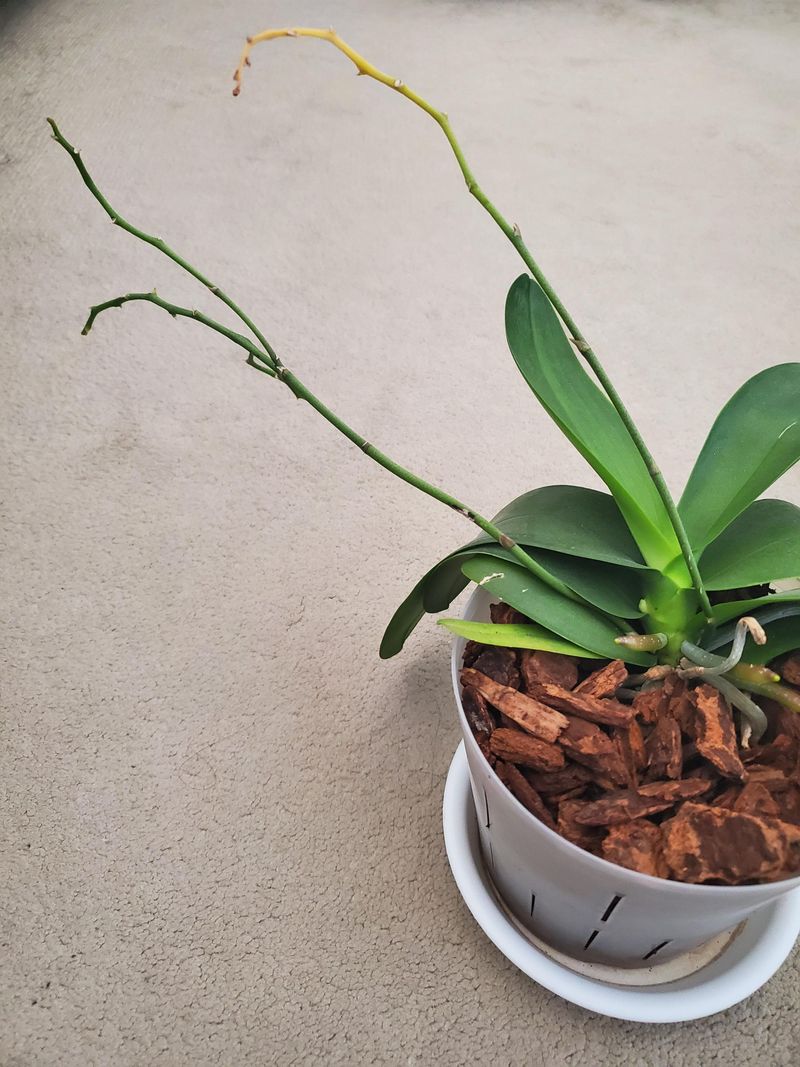
10. Flower Spike Confusion
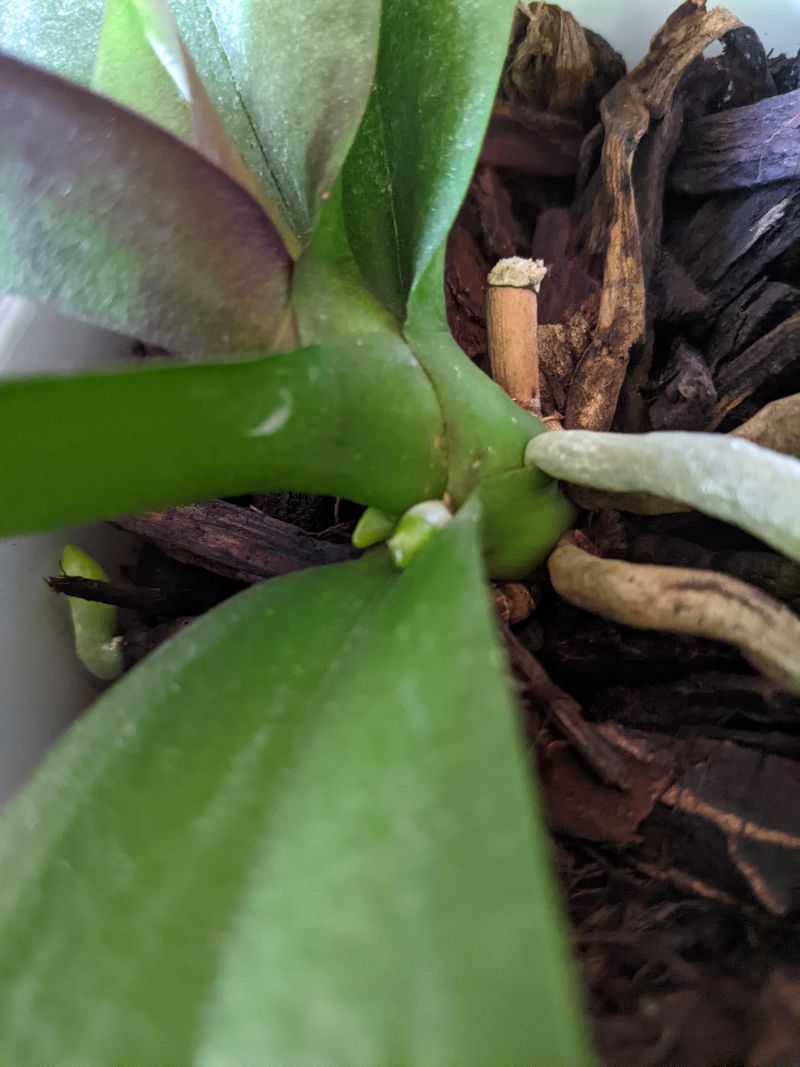
Mistaking a flower spike for a root and cutting it off destroys your chance of seeing beautiful blooms! This common mistake happens when new spikes first emerge as green nubs from between leaves.
Flower spikes grow upward from the base of leaves and have a mitten-like flattened tip. Roots are rounder, have a greener tip, and typically grow downward or outward. When in doubt, wait and watch rather than cutting – patience reveals whether it’s developing into a spike or root.
11. Water Quality Matters
Using the right water can transform your orchid’s health! Tap water often contains chlorine, fluoride, and dissolved minerals that build up in the potting medium over time, damaging sensitive roots.
Collect rainwater or use filtered water for best results. If you must use tap water, let it sit out overnight so chlorine can evaporate. Room temperature water is gentler on roots than cold water, which can shock the plant. This simple change often revives struggling orchids.
12. Seasonal Rest Period
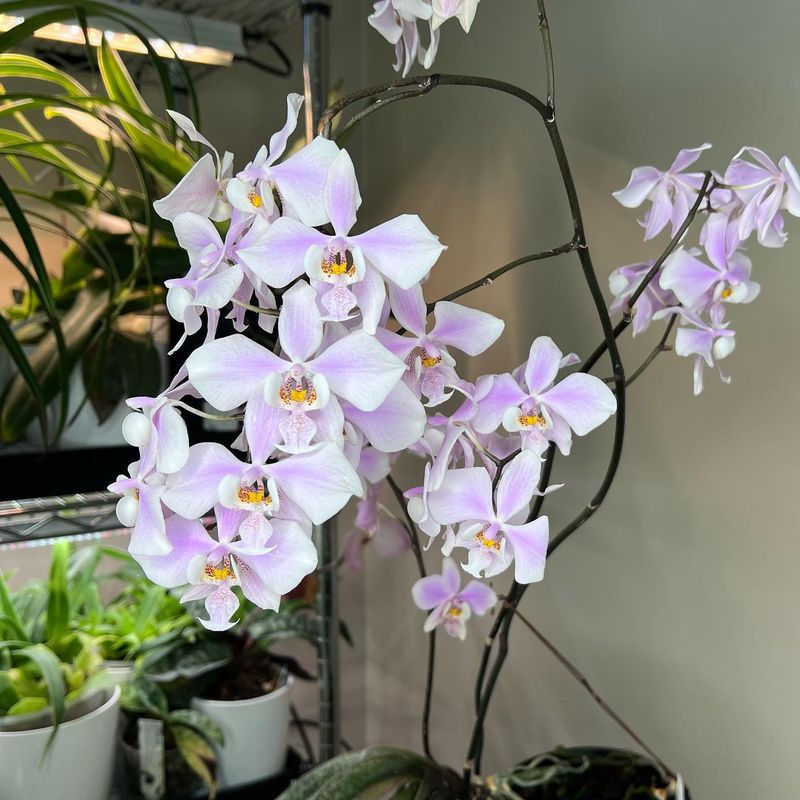
Forcing orchids to bloom year-round exhausts their energy reserves and eventually kills them. Like all flowering plants, orchids need a rest period to recover and prepare for the next blooming cycle.
After flowering ends, reduce watering slightly and move the plant to a slightly cooler location for a few months. Continue normal care otherwise. This mimics their natural seasonal changes and allows them to store energy for spectacular blooms when their cycle begins again.
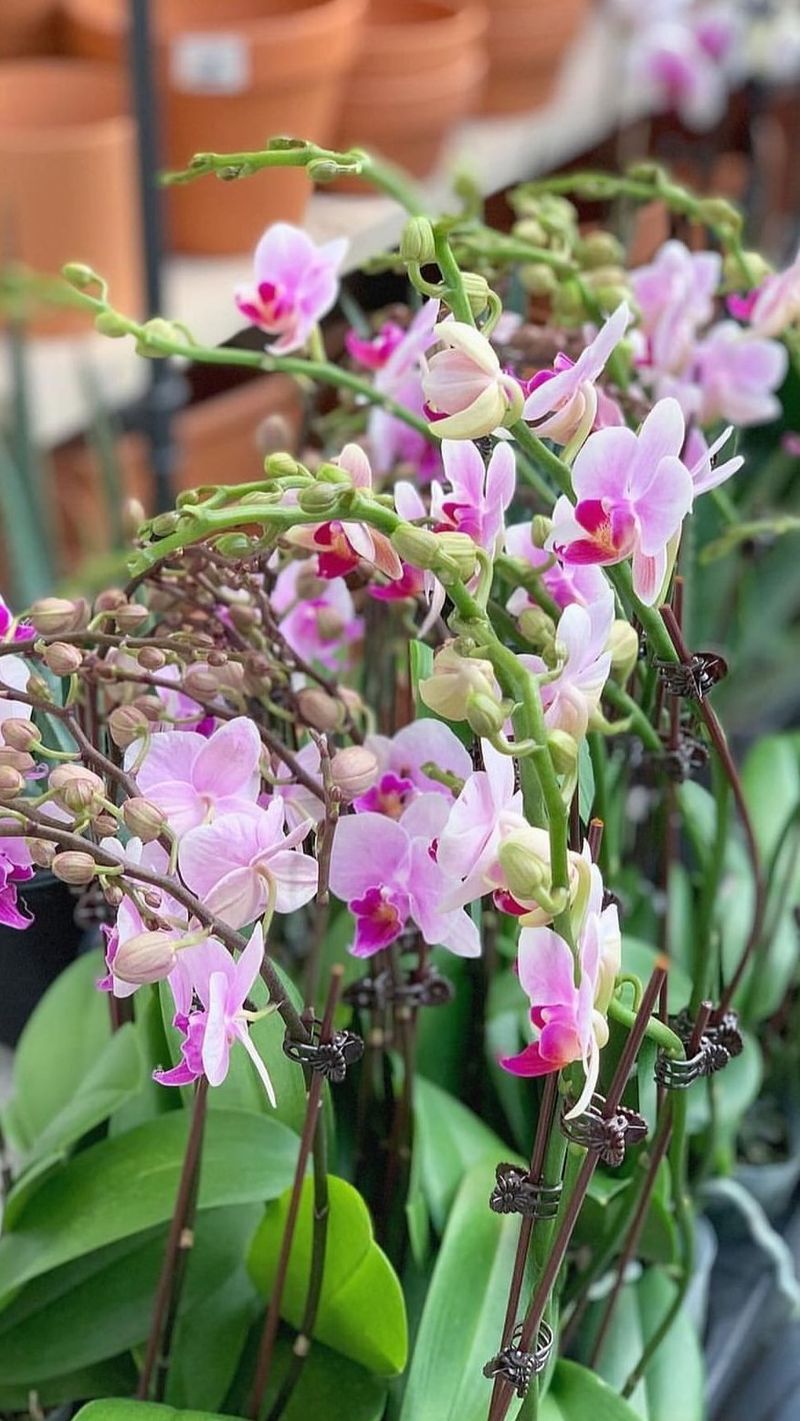
13. Light Pruning Technique
Proper pruning can trigger reblooming, while improper cutting can introduce disease or waste the plant’s energy. Many owners cut spikes completely off after flowering, missing chances for secondary blooms.
For Phalaenopsis orchids, trim the flower spike just above a node (bumpy joint) when blooms fade. Often, a new spike will emerge from this point. Always use sterilized tools to prevent infection. If the spike turns brown, cut it at the base – it won’t rebloom.
14. Orchid-Specific Needs
Treating all orchids the same way is like using the same care for cacti and ferns! Different orchid varieties have dramatically different needs that must be respected for them to thrive.
Research your specific orchid type – Phalaenopsis, Dendrobium, and Cattleya all have different light, water, and temperature preferences. The popular moth orchid (Phalaenopsis) is most forgiving for beginners, while others might need more specialized care. Matching care to type makes all the difference.
15. Consistent Observation
The secret weapon of successful orchid growers isn’t fancy equipment – it’s paying attention! Catching problems early through regular inspection prevents minor issues from becoming fatal.
Take a few moments weekly to examine your orchid’s leaves, roots, and growing medium. Look for color changes, spots, pests, or unusual growth. Feel the weight of the pot before and after watering to learn how a properly hydrated plant feels. This awareness helps you respond to your plant’s needs before problems escalate.
16. Skipping Root Inspections
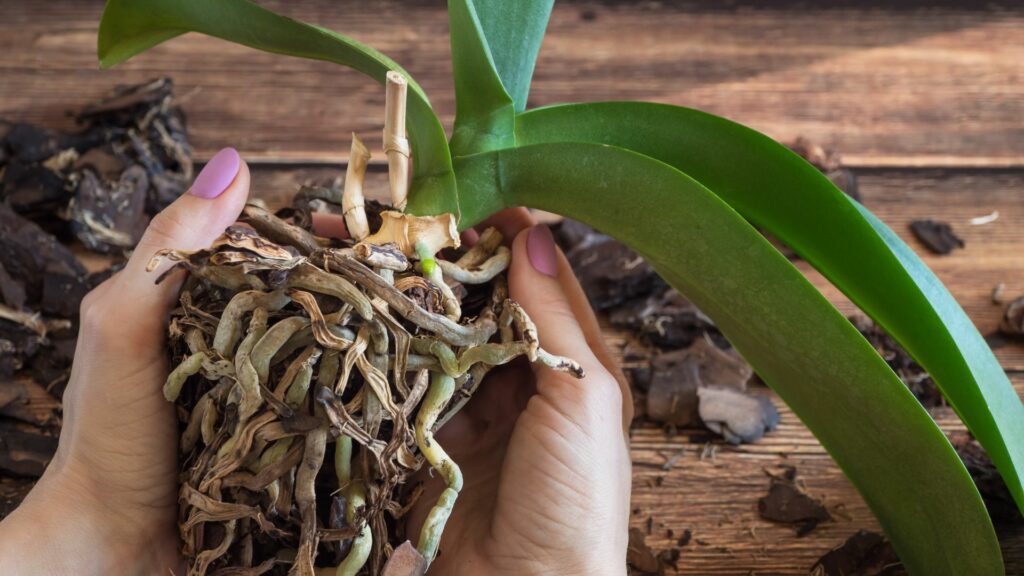
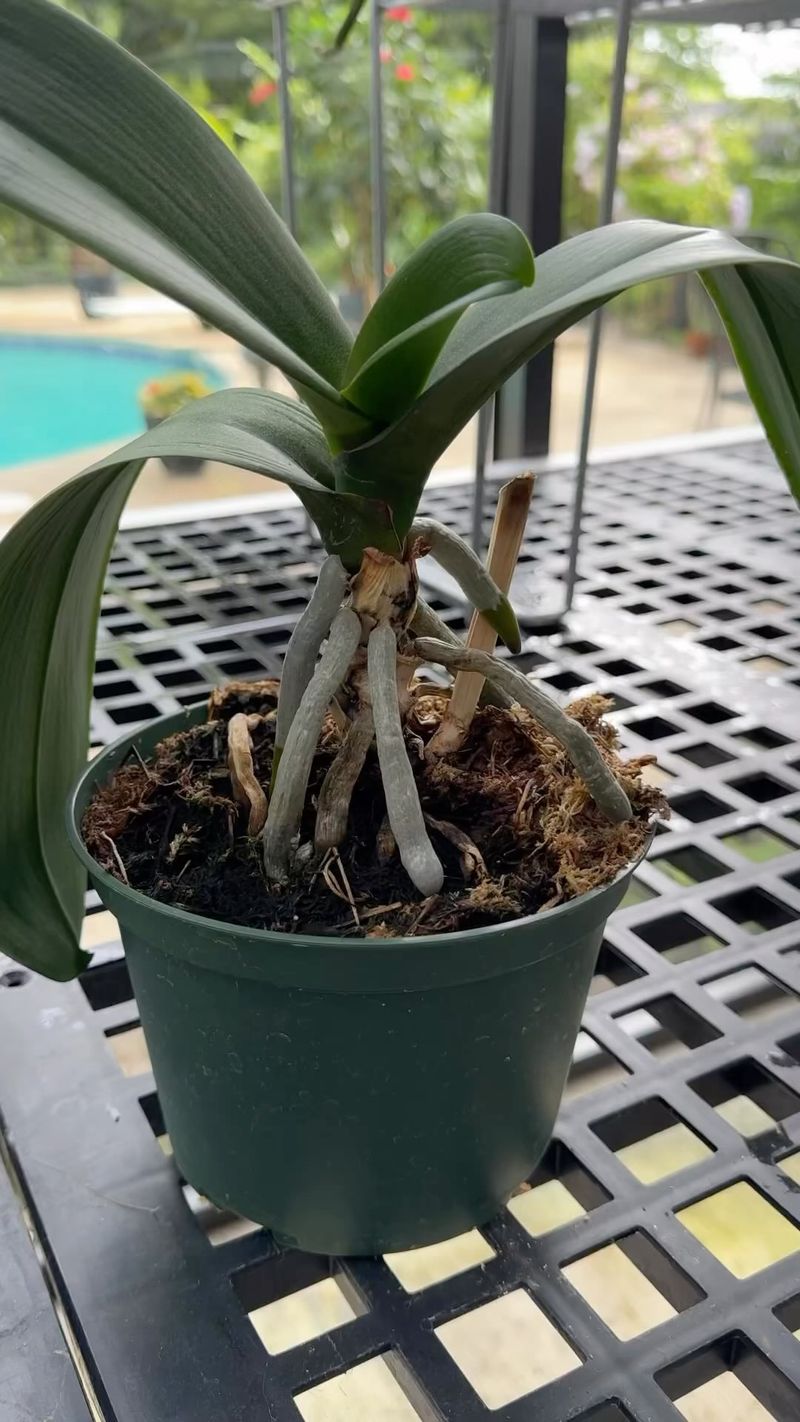
Out of sight, out of mind? Not with orchids. Neglecting to check what’s going on below the surface can spell trouble fast. Rotted roots, pests hiding in the medium, or severe dehydration often go unnoticed until the plant is already declining.
Gently lift your orchid from its pot every few months to examine the roots. Healthy ones should be firm, plump, and greenish-silver. If they’re mushy, brown, or hollow, it’s time to repot and trim away the damage. Catching issues early underground often saves the entire plant above.
17. Letting Spent Blooms Linger Too Long
It’s tempting to leave faded flowers alone, especially if you’re unsure what to do—but holding on to dried-up blooms can waste your orchid’s energy. That shriveled stem isn’t helping anymore and may even harbor fungal spores.
Once blooms fade and start to dry, carefully remove them to redirect energy into root and leaf development. Don’t yank – snip cleanly with sterile scissors. And if the whole spike is drying up, trim it back appropriately, depending on the type of orchid you’re growing. A tidy plant is often a healthier one.