Oregon Gardeners Are Obsessed With This Fast-Spreading Ground Cover
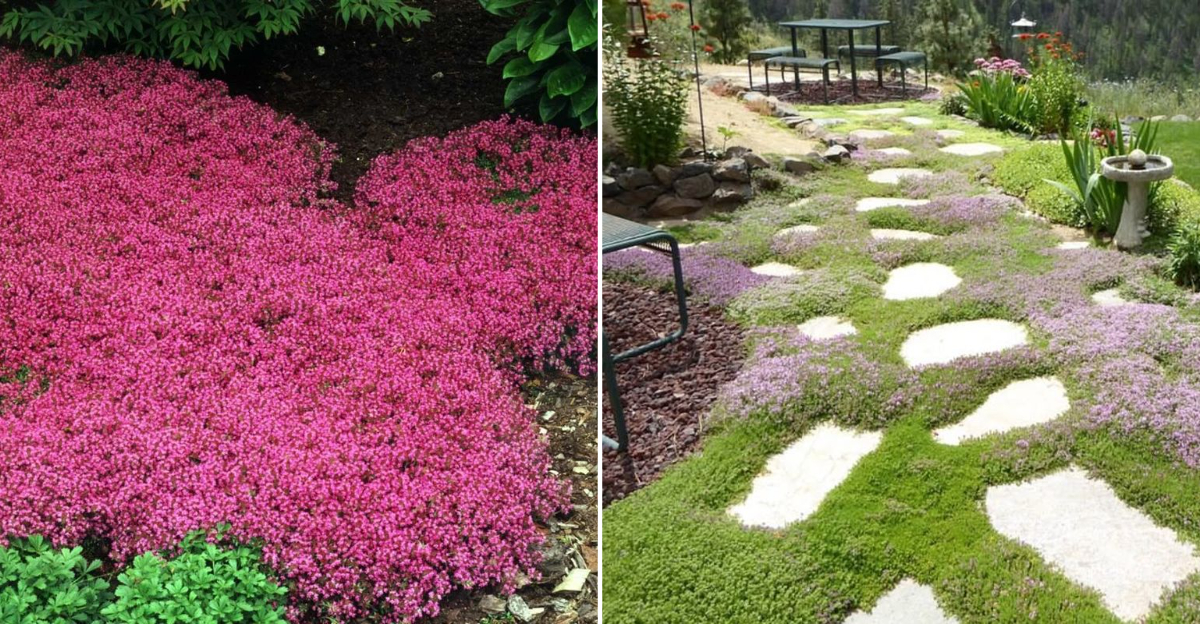
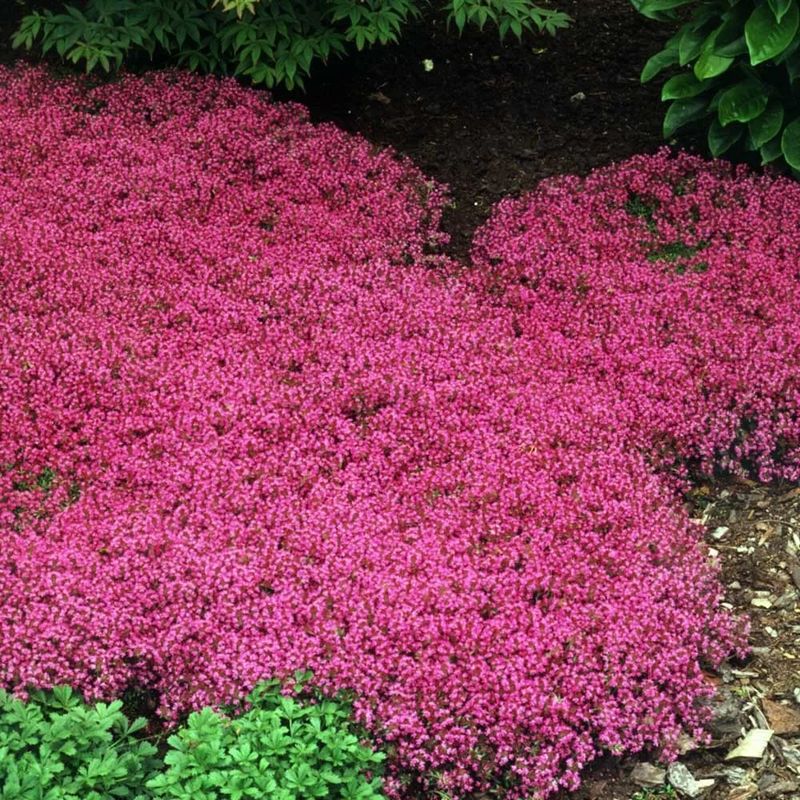
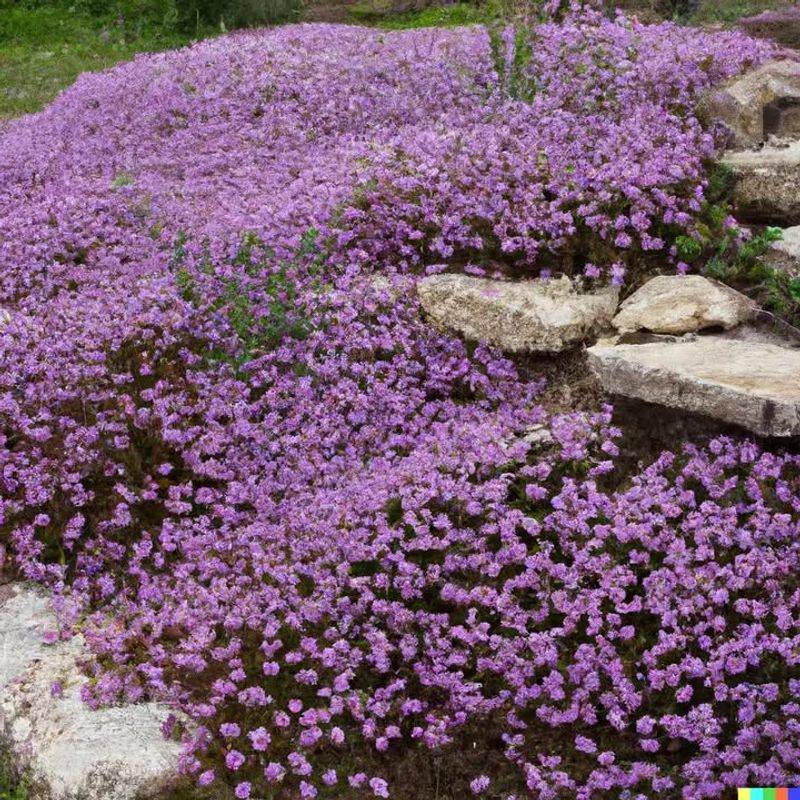
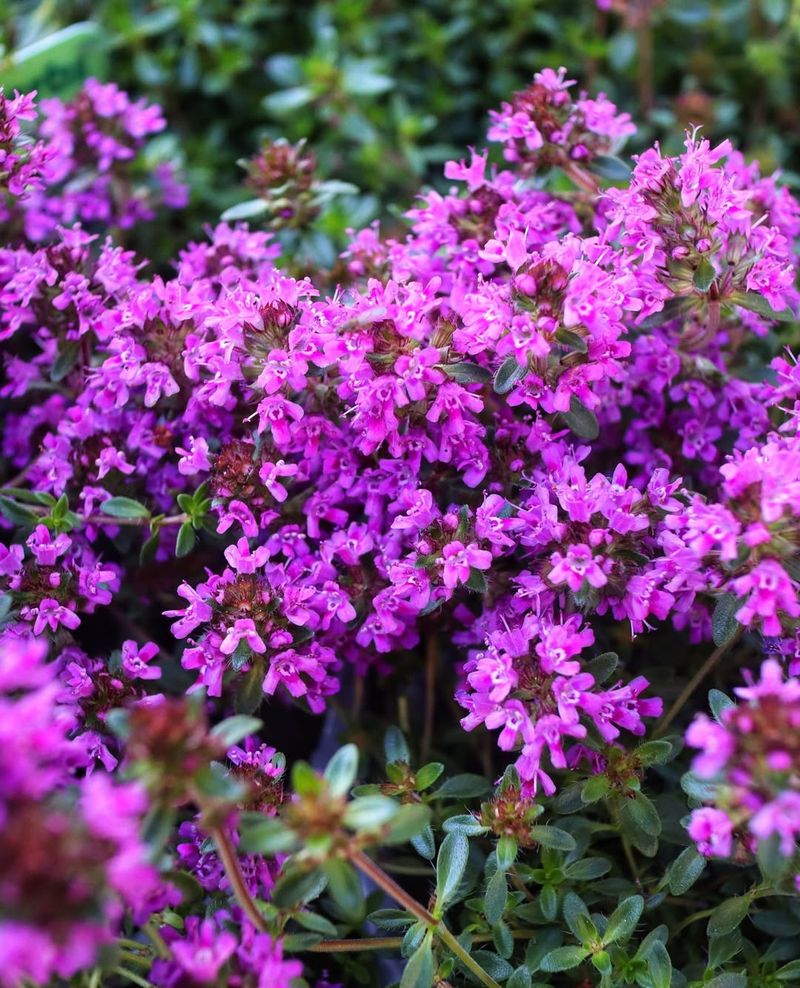
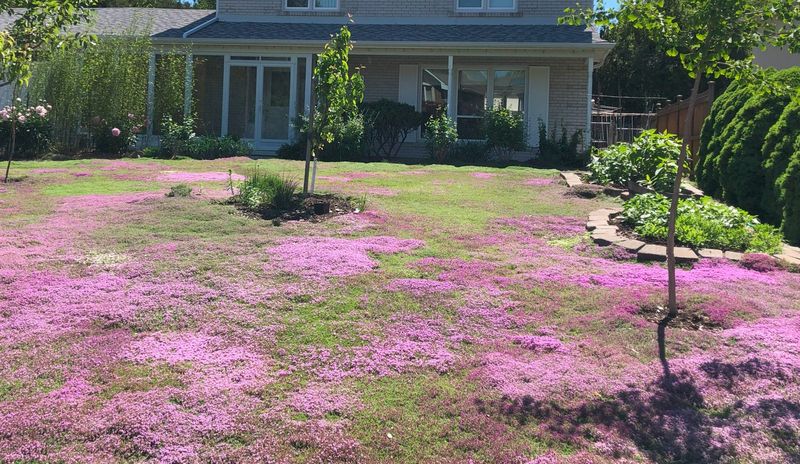
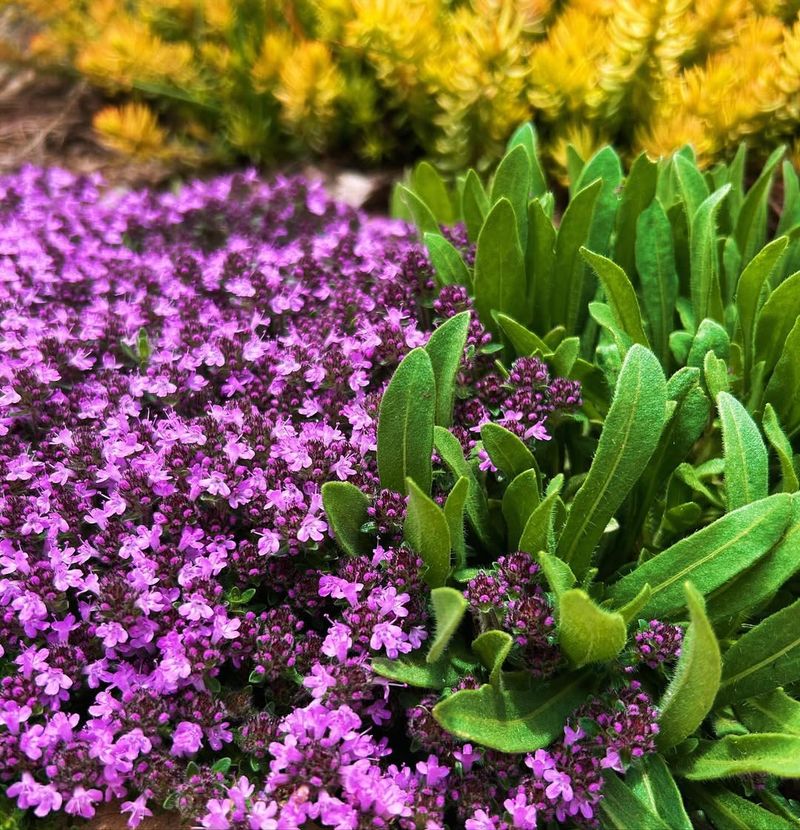
Red creeping thyme is one of those plants that feels like magic in the garden. Tiny, fragrant leaves cover the ground in a rich green carpet that bursts with bright red blooms in late spring and early summer.
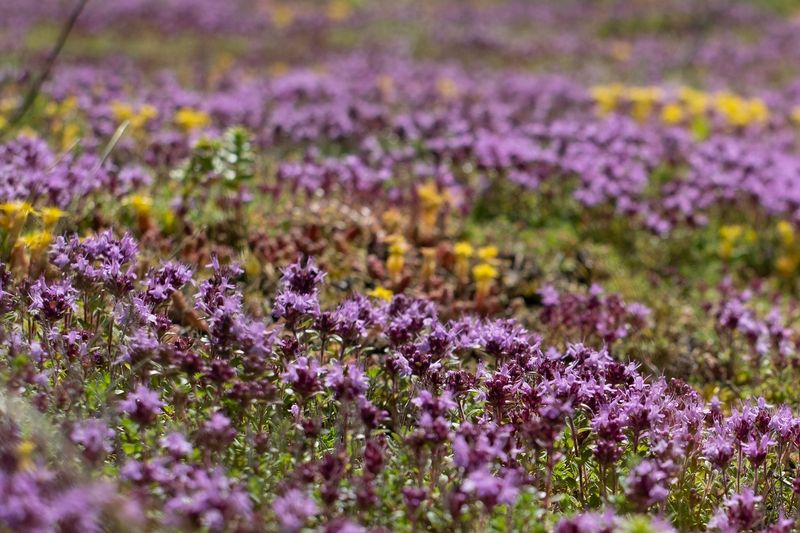
In Oregon gardens, it’s not just beautiful, it’s a hardworking ground cover that spreads quickly, filling in bare spots and helping to suppress weeds naturally.
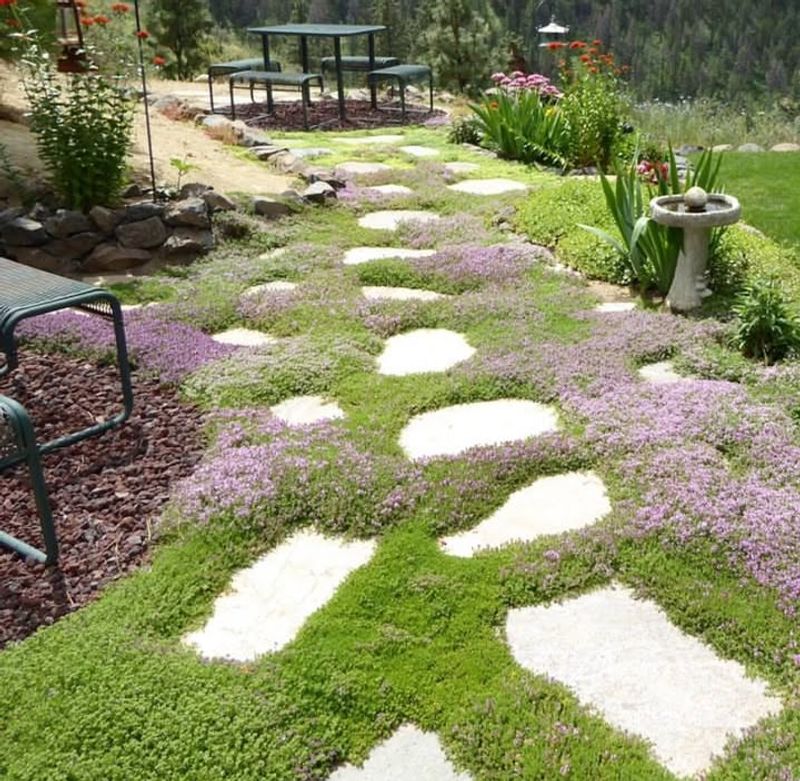
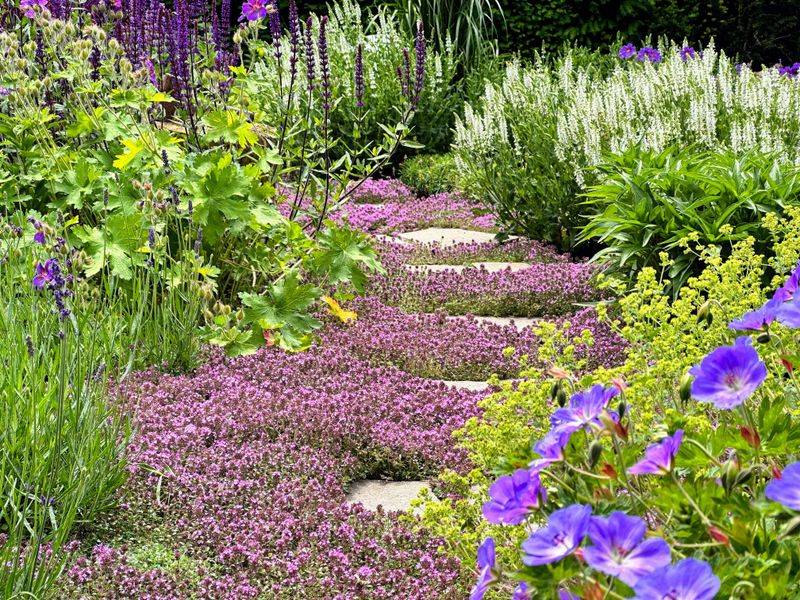
This low-growing perennial thrives in full sun and well-draining soil, making it perfect for slopes, pathways, or between stepping stones.
Once established, red creeping thyme is tough, drought-tolerant, and requires very little maintenance.
Plus, the flowers attract bees, butterflies, and other pollinators, turning even a small patch of yard into a mini wildlife hub.
Planting in January or early spring gives the roots a chance to get established before warmer weather arrives.
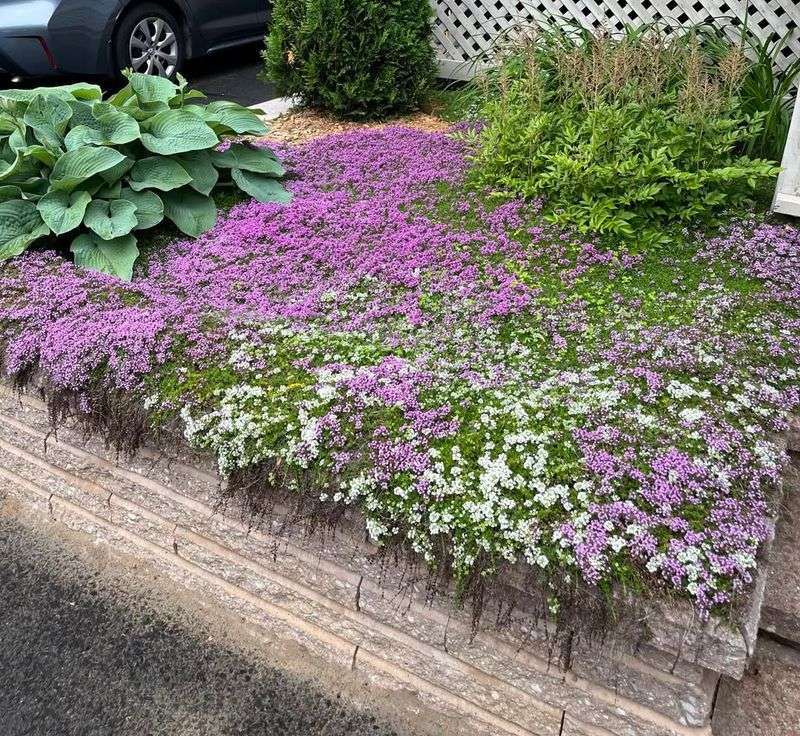
With just a bit of water while young and occasional trimming to keep it tidy, red creeping thyme can spread across your garden beds, containers, or borders, adding both color and texture.
For gardeners looking for an easy, fast-growing ground cover, this vibrant herb is a simple way to add beauty, fragrance, and pollinator-friendly benefits all at once.
Pick The Sunniest Spot In Your Yard
Red creeping thyme absolutely loves sunshine and needs at least six hours of direct light each day to really flourish.
Without enough sun, the plants grow thin and weak, producing fewer of those gorgeous blooms that make this ground cover so appealing.
In Oregon, where cloudy days are common, finding the brightest location makes a huge difference in how well your thyme performs.
South-facing slopes, open areas away from tall trees, and spots that catch afternoon sun work wonderfully.
Even partial shade can slow down growth and reduce flowering, so resist the temptation to plant thyme under large shrubs or near buildings that cast long shadows.
The more light your thyme receives, the faster it spreads and the more fragrant it becomes.
Once you identify your sunniest real estate, prepare to watch your thyme take off. Plants in full sun develop dense, compact growth that crowds out weeds naturally.
They also produce more of the essential oils that give thyme its wonderful scent. If your yard has limited sunny spots, prioritize those areas for your thyme planting and save shadier zones for other ground covers that tolerate less light better.
Start With Well-Draining Soil
Good drainage ranks as the single most important soil requirement for red creeping thyme success.
This plant originates from rocky Mediterranean hillsides where water drains away quickly, so soggy conditions cause root problems fast.
Oregon’s heavy winter rains make drainage even more critical here than in drier climates.
Before planting, check your soil by digging a small hole and filling it with water. If the water sits for more than an hour, you need to improve drainage.
Mix in coarse sand, perlite, or small gravel to lighten heavy clay soil. Raised beds work beautifully for thyme if your yard has naturally poor drainage, giving roots the air circulation they need.
Sandy or gravelly soil that might frustrate other gardeners actually makes thyme growers happy. Even poor, rocky soil supports healthy thyme growth as long as water moves through it freely.
If you have naturally well-draining soil, you are already ahead of the game. Just avoid adding too much compost or organic matter, which can hold excess moisture and create the damp conditions thyme dislikes.
Remember, thyme prefers lean, gritty soil over rich, moisture-retentive mixes.
Plant In Spring After Last Frost
Timing your planting makes a big difference in how quickly your thyme establishes itself. Spring planting, after the last frost date has passed, gives young plants the entire growing season to develop strong roots before winter arrives.
In most Oregon locations, this means planting between late March and May, depending on your specific zone and elevation.
Young thyme plants need warm soil to get their roots growing actively. Planting too early, when soil stays cold and wet, invites problems.
Wait until daytime temperatures consistently reach the 60s and the soil feels workable and slightly warm to the touch. This patience pays off with faster establishment and healthier plants.
Fall planting can work too, especially in milder Oregon coastal areas, but spring gives better results overall. Plants installed in spring have months of favorable weather to spread and toughen up.
By the time winter rains arrive, spring-planted thyme has developed enough root mass to handle wet conditions.
Early planting also means you might enjoy some blooms the first summer, though the real show usually comes in year two after plants mature fully.
Space Plants Six To Twelve Inches Apart
Proper spacing helps your thyme fill in quickly while giving each plant room to develop healthy roots.
Most gardeners find that spacing plants eight to ten inches apart creates a nice balance between fast coverage and reasonable cost.
Closer spacing fills in faster but requires more plants, while wider spacing takes longer but costs less upfront.
For faster results, space plants six inches apart, and you will see a solid carpet within one growing season. If you have more patience or a tight budget, twelve-inch spacing works fine and still fills in completely by the second year.
Think about your timeline and how much you want to spend on starter plants when deciding on spacing.
Mark your planting spots before you dig to keep spacing consistent and avoid that random, uneven look. A measuring tape or even a stick cut to your chosen length helps maintain uniform distances.
Stagger your plants in a triangular pattern rather than straight rows for more natural coverage. This arrangement helps plants meet up faster as they spread.
Remember that thyme spreads both by growing outward and by rooting where stems touch soil, so even wider spacing eventually creates complete coverage.
Water Regularly Until Established
New thyme plants need consistent moisture during their first few months while roots grow and spread.
Water every few days if rain does not provide enough moisture, keeping soil lightly damp but never soggy.
In Oregon’s typically wet spring, you might not need to water much at all, but check soil moisture regularly to be sure.
Established thyme handles drought beautifully, but young plants lack the deep roots needed to find moisture during dry spells. For the first six to eight weeks after planting, monitor soil closely and water when the top inch feels dry.
Use your finger to check moisture levels rather than following a rigid schedule, since natural rainfall varies so much.
Once plants show new growth and start spreading, you can reduce watering gradually. By late summer of the first year, most thyme plantings need water only during extended dry periods.
Oregon’s summer drought means you might need occasional deep watering even after establishment, but far less than most garden plants require.
Overwatering established thyme causes more problems than underwatering, so err on the dry side once plants mature.
A good rule: when in doubt, wait another day before watering established thyme.
Skip The Fertilizer For Best Results
Red creeping thyme actually grows better in lean soil without added fertilizer. Rich, heavily fertilized soil encourages weak, floppy growth and reduces the concentration of aromatic oils that make thyme smell so wonderful.
Plants grown without fertilizer develop tougher stems, more compact growth, and stronger fragrance.
In nature, thyme thrives on rocky slopes with minimal nutrients, and your garden thyme keeps those same preferences.
Adding fertilizer, especially nitrogen-rich types, pushes plants to produce lots of soft green growth that flops over and invites problems.
Unfertilized thyme stays low, dense, and better able to handle foot traffic and weather stress.
If your soil is extremely poor or sandy, a light application of compost at planting time provides enough nutrition for healthy growth. After that initial boost, leave your thyme alone.
Oregon soils generally contain adequate nutrients for thyme without any amendments. The money you save on fertilizer is just one more reason thyme makes such an economical ground cover.
Plants that receive no fertilizer also tend to flower more abundantly, producing those stunning purple-pink blooms that make red creeping thyme so attractive in early summer.
Weed Carefully During First Season
Young thyme plantings need help competing with weeds until they fill in completely. During the first growing season, pull weeds by hand regularly to prevent them from overwhelming your small thyme plants.
Weeds grow faster than young thyme and can shade out or crowd your ground cover before it gets established.
Check your planting every week or two and remove any weeds while they are still small. Hand-pulling works best since it avoids disturbing shallow thyme roots.
Pull weeds when soil is slightly moist, which makes removal easier and reduces root disturbance.
A few minutes of regular weeding saves hours of work later and helps your thyme spread faster.
Mulching between young plants helps suppress weeds, but use caution with mulch depth and type. A thin layer of fine gravel or sand works better than organic mulch, which can hold too much moisture against thyme stems.
Once your thyme fills in and creates a solid mat, weeds struggle to get started. Established thyme crowds out most weeds naturally, making maintenance nearly effortless after that first season.
The dense growth and aromatic oils even seem to discourage some common garden weeds from sprouting nearby.
Trim Back After Flowering Finishes
A light trim after the bloom period ends keeps your thyme looking neat and encourages fresh, compact growth.
Once flowers fade, usually in mid to late summer, use garden shears or even a string trimmer to cut plants back by about one-third.
This quick maintenance step takes just minutes but makes a noticeable difference in plant appearance and vigor.
Trimming removes spent flower stems and any dead or woody growth, allowing fresh green shoots to fill in. The new growth comes in thick and tidy, creating a more attractive carpet than untrimmed plants.
In Oregon, where thyme stays semi-evergreen through mild winters, this fresh growth looks good all year long.
You can skip trimming if you prefer a more natural, meadow-like appearance, but most gardeners like the polished look that post-bloom shearing provides.
Trimming also prevents plants from getting too woody in the center, a common problem with older thyme plantings.
Set your mower to its highest setting or use manual shears, cutting just enough to remove old flowers and shape plants without cutting into woody stems. The trimmed material makes wonderful compost or can be dried for herbal use.
Divide And Replant To Speed Spreading
Speeding up your ground cover expansion costs nothing if you divide existing plants and replant the divisions. After thyme grows for a full season, you can carefully dig up sections and separate them into smaller pieces, each with roots attached.
Replant these divisions in new areas to extend your thyme carpet faster than waiting for natural spreading alone.
Spring or early fall work best for dividing thyme, when plants recover quickly from the disturbance. Use a sharp spade to cut through the plant mat, lifting sections that include both foliage and roots.
Gently pull or cut apart larger clumps into palm-sized pieces, making sure each division has healthy roots. Replant divisions immediately at the same depth they were growing before.
This simple technique turns one small planting into a much larger area within a year or two. Divisions establish quickly since they are already adapted to your garden conditions.
Water new divisions regularly for the first few weeks until roots settle in. Some gardeners divide their thyme every spring, using the extra plants to expand coverage or share with friends.
This method costs nothing but a little time and effort, making it perfect for covering large areas on a budget.