Oregon Gardeners Are Using This Simple Seed Trick For Healthier Plants
Gardeners in Oregon are discovering a simple trick that gives seeds a head start and leads to healthier, stronger plants.
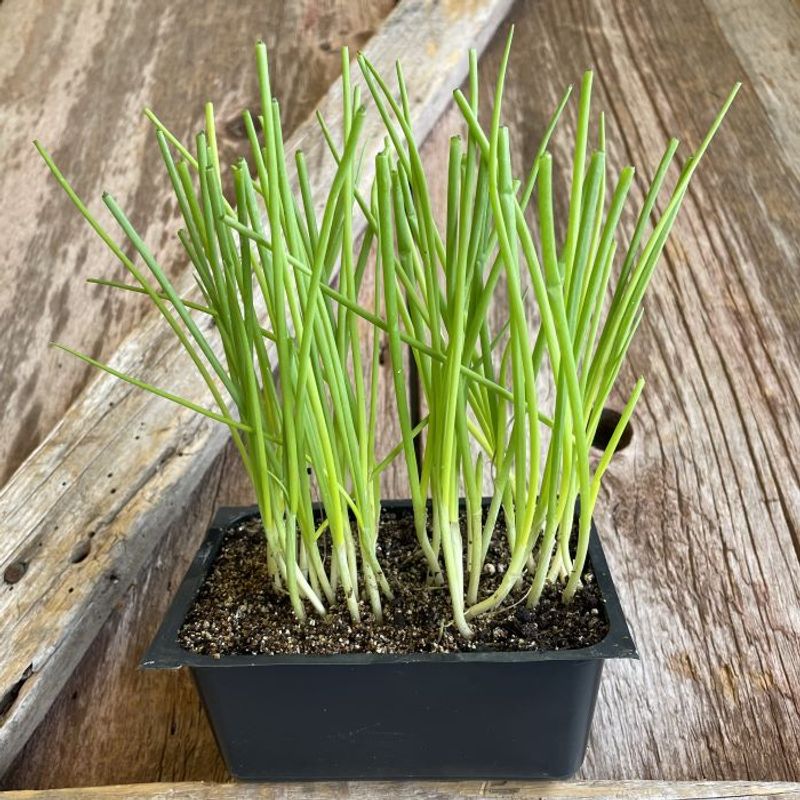
Pre-sprouting seeds before planting helps tiny seedlings grow faster, survive transplant shock, and produce better results in vegetable beds, flower pots, or raised gardens.
This method is easy, low-cost, and works for a wide variety of plants, from tomatoes and peppers to herbs and even some perennials.
By giving seeds a little jumpstart indoors or in a protected space, gardeners can reduce wasted seeds, improve germination rates, and enjoy earlier, more reliable harvests.
Even beginners can try it. With just a few simple tools, paper towels, a shallow tray, and a bit of moisture, pre-sprouting makes planting less guesswork and more success.
Oregon gardeners who adopt this technique find their plants stronger, healthier, and ready to thrive when they hit the soil.
1. What Pre-Sprouting Seeds Actually Means
Pre-sprouting is exactly what it sounds like: you get your seeds to sprout before you put them in the ground. Instead of planting dry seeds and hoping they’ll germinate in cold, wet soil, you give them a head start indoors where conditions are warm and controlled.
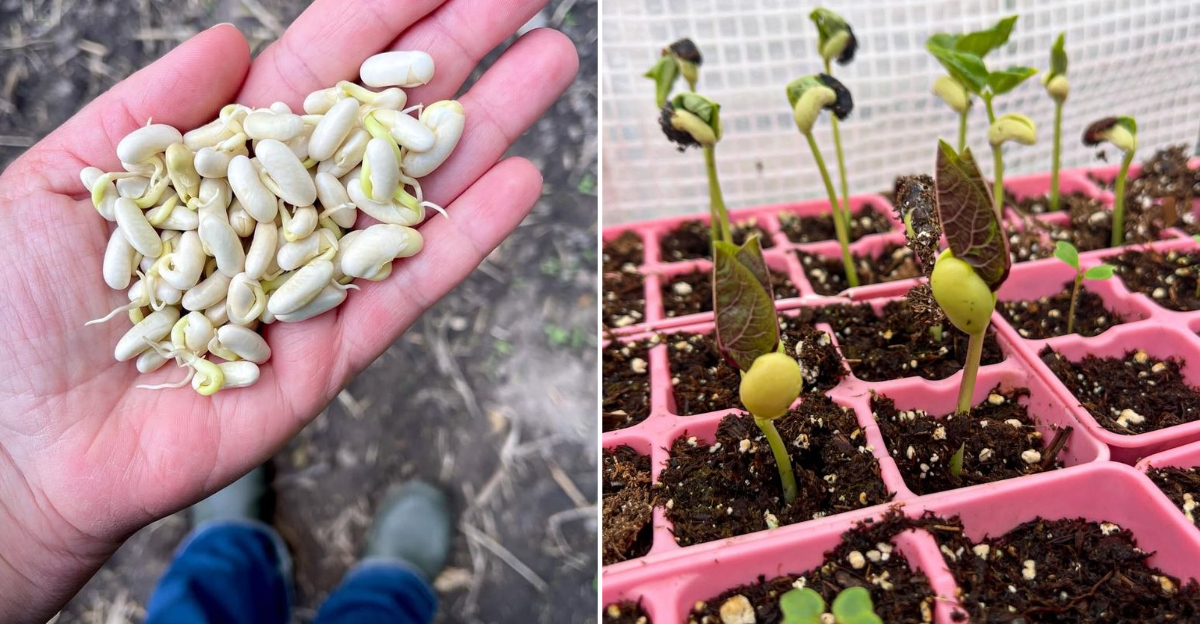
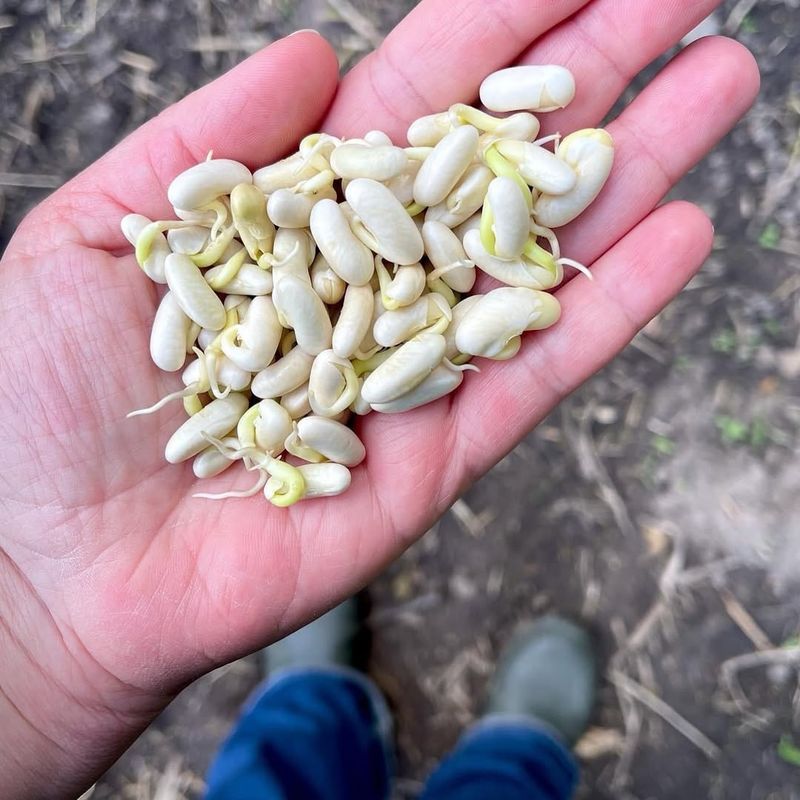
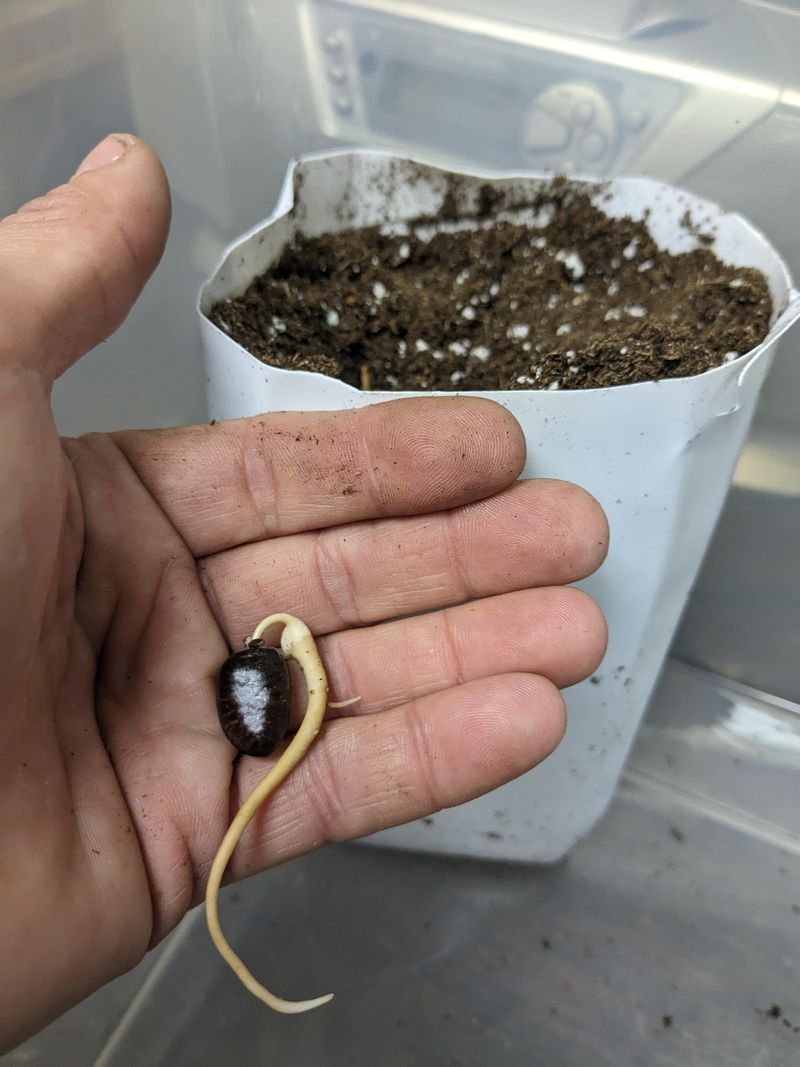
You soak the seeds in water, keep them moist on a damp paper towel or cloth, and wait for that little root tip to poke out.
Once you see that tiny white root emerging, you know the seed is alive and ready to grow. That’s your signal to carefully plant it in soil or a seedling tray.
The whole process usually takes just a few days, depending on the type of seed.
This method isn’t new or fancy, gardeners have been doing it for generations. But it’s especially useful in Oregon because our spring weather can be unpredictable.
Instead of leaving seeds vulnerable to rot or slugs while they slowly wake up underground, you’re planting seedlings that are already growing.
You’ll notice faster growth, better survival rates, and fewer disappointing gaps in your garden rows. Pre-sprouting gives you more control over timing and helps you make the most of Oregon’s short growing season.
2. Why Oregon’s Cool Spring Weather Makes Pre-Sprouting Helpful
Oregon springs are beautiful, but they’re not always warm. Our soil stays cold well into April and sometimes May, especially if you’re gardening in the Willamette Valley or along the coast.
Seeds that need warmth to germinate just sit there waiting, and while they wait, they can rot or get eaten by pests.
Pre-sprouting lets you work around that problem. You’re giving seeds the warmth they need indoors, on your kitchen counter or in a sunny windowsill, instead of asking them to germinate in 50-degree mud.
By the time you plant them, they’re already growing and ready to take off.
This trick is especially helpful for warm-season crops like beans, squash, cucumbers, and melons. These seeds really struggle in cold soil and often fail to sprout at all if planted too early.
Pre-sprouting them means you can plant as soon as the weather is safe without losing weeks to slow germination.
Even cool-season crops like peas and lettuce benefit from pre-sprouting when the soil is waterlogged. You’re reducing the risk of seed rot and giving your plants a better chance to establish strong roots before summer heat arrives.
3. Faster Germination And Earlier Planting Windows
Waiting for seeds to sprout can feel like forever, especially when you’re excited to get your garden going. Some seeds take a week or more to germinate in the ground, and if conditions aren’t perfect, it can take even longer.
Pre-sprouting cuts that waiting time way down because you’re only planting seeds that have already started growing.
You’ll see green shoots popping up in just a few days instead of weeks. That means you can harvest sooner and enjoy fresh vegetables earlier in the season.
For Oregon gardeners trying to squeeze the most out of a shorter growing season, those extra weeks really matter.
Pre-sprouting also lets you plant a little earlier than you normally would. Since the seed has already germinated indoors, it doesn’t need warm soil to wake up—it just needs soil that’s workable and not frozen.
You’re essentially giving yourself a head start without taking big risks.
This is especially useful if you want to succession plant crops like beans or lettuce. You can start a new batch of pre-sprouted seeds every couple of weeks and keep a steady harvest going all summer long without worrying about slow germination slowing you down.
4. Stronger Seedlings From Day One
When seeds germinate in cold, wet soil, they often struggle. They can grow slowly, develop weak stems, or become vulnerable to diseases like damping off.
Pre-sprouted seeds skip that vulnerable stage entirely because they’re already growing when you plant them.
You’re planting a living seedling with a root and shoot already formed, not a dormant seed hoping for the best. That means the plant can focus its energy on growing strong roots and leaves instead of just trying to survive.
The result is healthier, more vigorous plants that can better handle pests, weather stress, and competition from weeds.
Stronger seedlings also mean better yields later on. Plants that get off to a good start tend to produce more fruit, flowers, or vegetables because they’re not spending weeks recovering from a rough germination period.
You’ll notice the difference in how quickly they grow and how well they perform throughout the season.
Pre-sprouting is especially helpful for gardeners dealing with heavy clay soil or areas with poor drainage.
These conditions make it hard for seeds to germinate successfully, but a pre-sprouted seedling with an established root can push through and thrive where a dry seed would fail.
5. Saving Seeds And Reducing Waste
One of the most frustrating parts of gardening is planting a whole row of seeds and having only half of them come up. You end up with gaps in your rows, wasted seeds, and the disappointment of a smaller harvest than you planned.
Pre-sprouting helps you avoid that problem entirely.
When you pre-sprout seeds, you can see which ones are viable before you plant them. If a seed doesn’t sprout on the paper towel, you know it wasn’t going to sprout in the ground either.
You’re only planting seeds that are already growing, so your success rate goes way up.
This is especially helpful if you’re using older seeds or seeds you saved from your own garden. Germination rates drop as seeds age, and pre-sprouting lets you test them without wasting garden space.
You’ll know exactly how many plants you’re going to get, so you can plan your rows more accurately.
You’ll also save money because you’re not overplanting to compensate for poor germination. Instead of sowing twice as many seeds as you need and hoping for the best, you can plant exactly what you want and know it’s going to grow.
6. Which Seeds Work Best For Pre-Sprouting
Not all seeds are good candidates for pre-sprouting, but many of the most popular garden vegetables work beautifully with this method.
Beans, peas, squash, cucumbers, melons, and corn are all excellent choices because they have large seeds that are easy to handle and sprout quickly.
These seeds also tend to struggle in cold, wet soil, so pre-sprouting gives them a real advantage. You’ll see much better germination rates and faster growth compared to direct seeding in less-than-ideal conditions.
Tomatoes and peppers can also be pre-sprouted, though they’re usually started indoors in pots anyway.
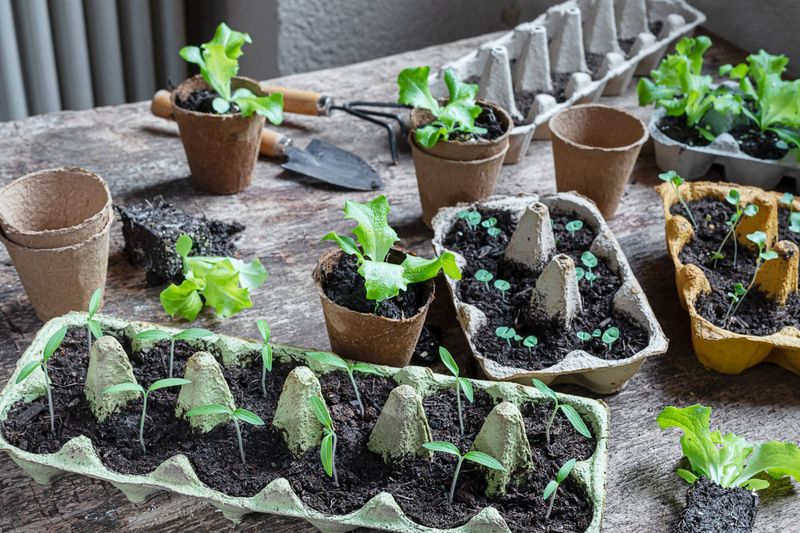
Tiny seeds like carrots, lettuce, and herbs are trickier to pre-sprout because they’re so small and delicate. The roots can tangle together, and transplanting them without damage is difficult.
For these crops, direct seeding or starting them in trays works better than pre-sprouting on paper towels.
Root vegetables like beets and radishes can be pre-sprouted, but you need to be extra careful when planting them so you don’t damage the emerging root. If you’re new to pre-sprouting, start with beans or peas—they’re forgiving, fast, and almost foolproof.
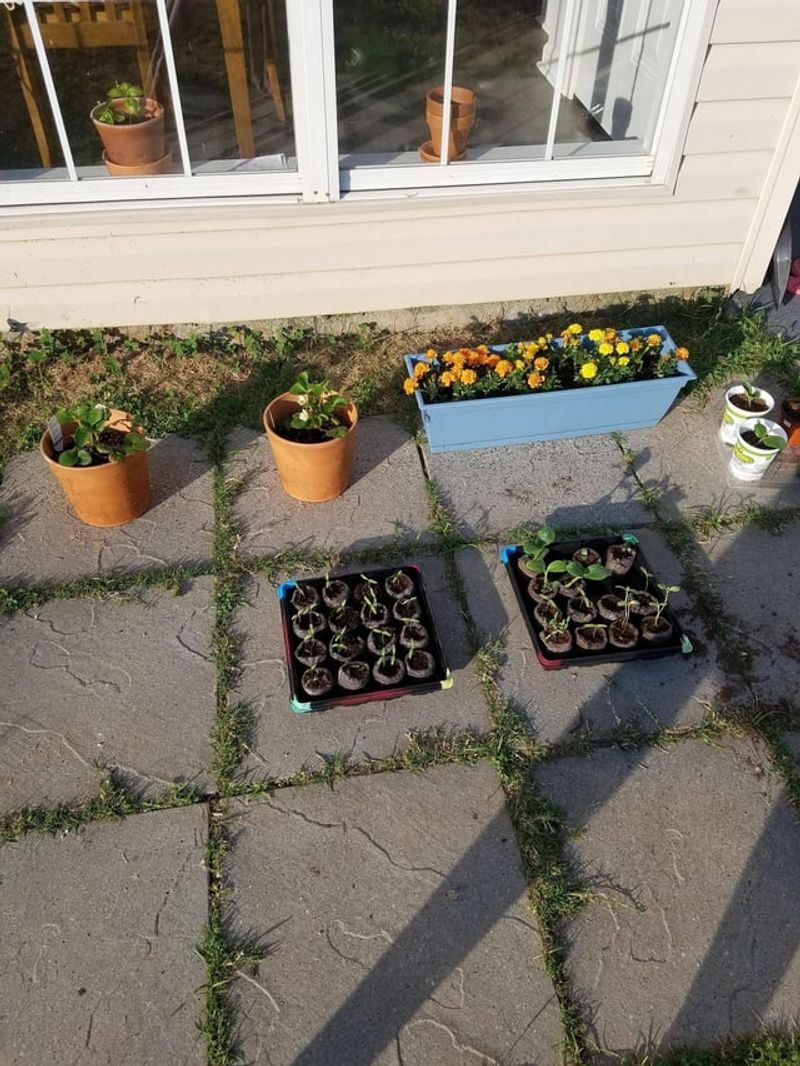
7. Simple At-Home Pre-Sprouting Method Anyone Can Do
You don’t need any special equipment to pre-sprout seeds, just a few basic supplies you probably already have. Start by soaking your seeds in a jar of room-temperature water for 8 to 12 hours.
This softens the seed coat and kick-starts the germination process.
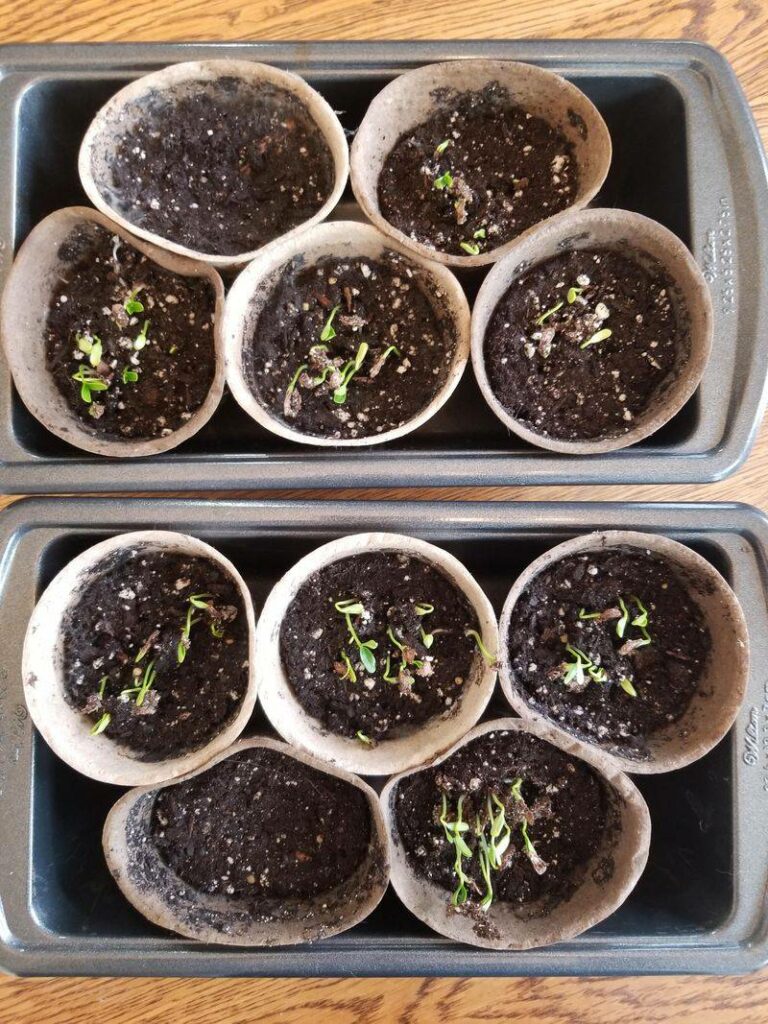
After soaking, drain the water and spread the seeds out on a damp paper towel or a piece of clean cotton cloth. Fold the towel over the seeds so they’re covered but not buried.
Place the whole thing in a shallow dish or container to catch any drips.
Keep the towel moist by misting it with water once or twice a day. You want it damp, not soaking wet.
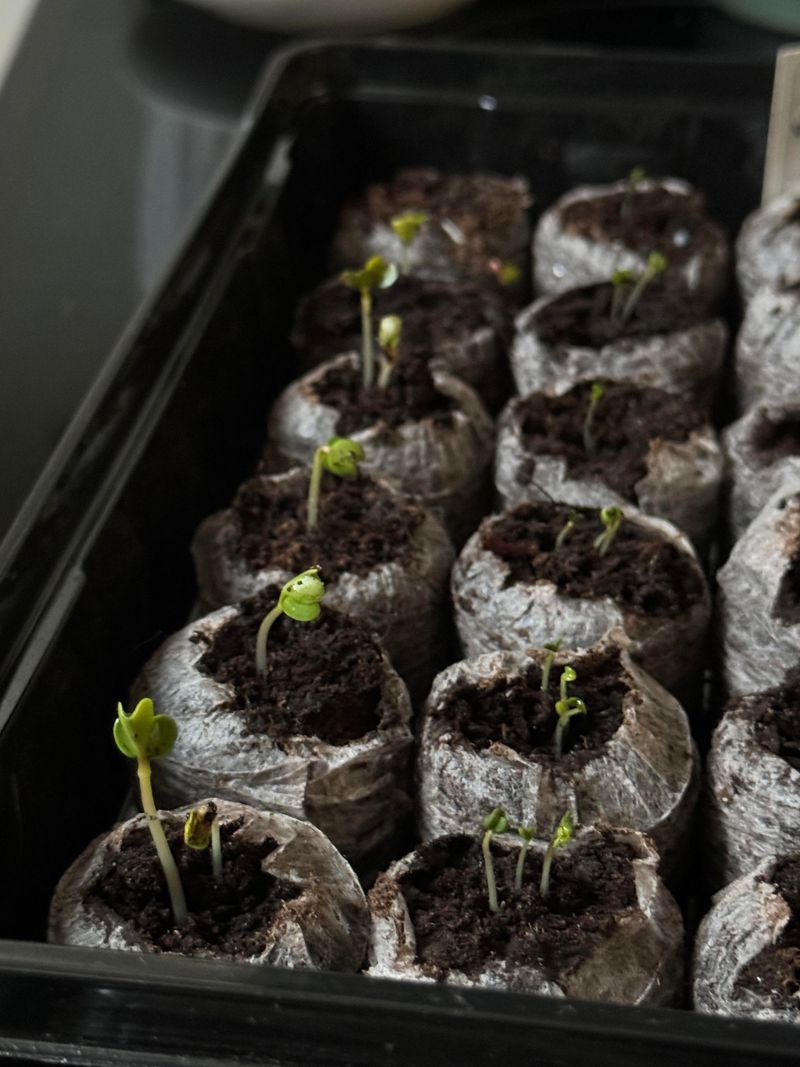
Set the container somewhere warm, like on top of your refrigerator or in a sunny windowsill. Most seeds will start sprouting within 2 to 5 days.
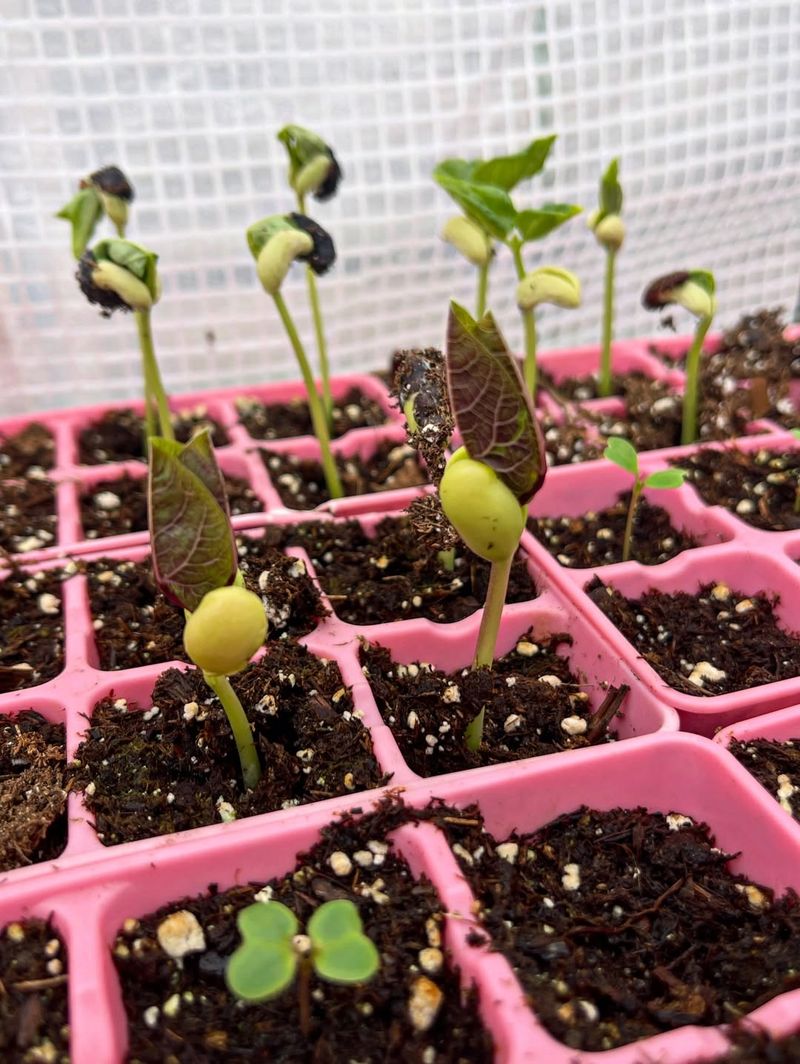
Check your seeds daily and plant them as soon as you see that little white root tip poking out. Don’t wait too long, if the roots get too long, they’ll be fragile and harder to transplant without breaking.
Handle them gently and plant them root-side down in moist soil.
8. Transplanting Pre-Sprouted Seeds Without Stress
The key to successful transplanting is being gentle and working quickly. Pre-sprouted seeds are delicate because that little root is exposed and easy to damage.
Use a spoon or your fingers to carefully pick up each seed, holding it by the seed itself rather than the root.
Make a small hole in your prepared soil or seedling tray, about half an inch to an inch deep depending on the seed size. Place the seed in the hole with the root pointing down and the seed just below the surface.
Cover it lightly with soil and pat it down gently.
Water the area immediately after planting to settle the soil around the seed and keep the root moist. The seedling will establish quickly because it’s already growing, and you should see green shoots within a day or two.
Keep the soil consistently moist but not waterlogged during the first week.
If you’re planting directly in the garden, consider covering the row with a light row cover or cloche to protect the young seedlings from birds, slugs, and unexpected cold snaps.
Pre-sprouted seeds are tougher than they look, but a little extra protection in the first few days helps them get established without setbacks.