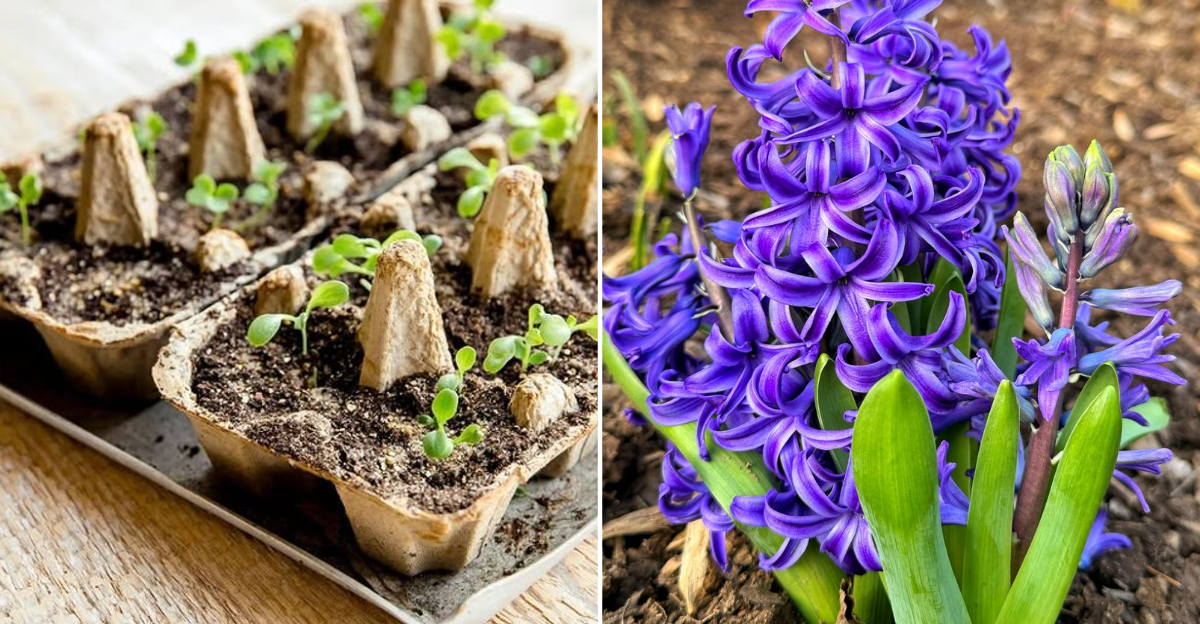
Plant Bulbs Fast With This Simple Egg Carton Hack In Oregon Gardens
Planting bulbs doesn’t have to be slow or boring. And it definitely doesn’t need fancy tools.
With one simple egg carton trick, you can space bulbs faster and get better results. It’s easy, affordable, and surprisingly helpful.
If you garden in Oregon, you know weather can change quickly. Rain and cooler temperatures arrive fast, which makes timing important.
This small hack helps you stay ahead without rushing.
I tried this on a busy weekend and was surprised by how well it worked. Spacing felt more accurate and planting went much faster.
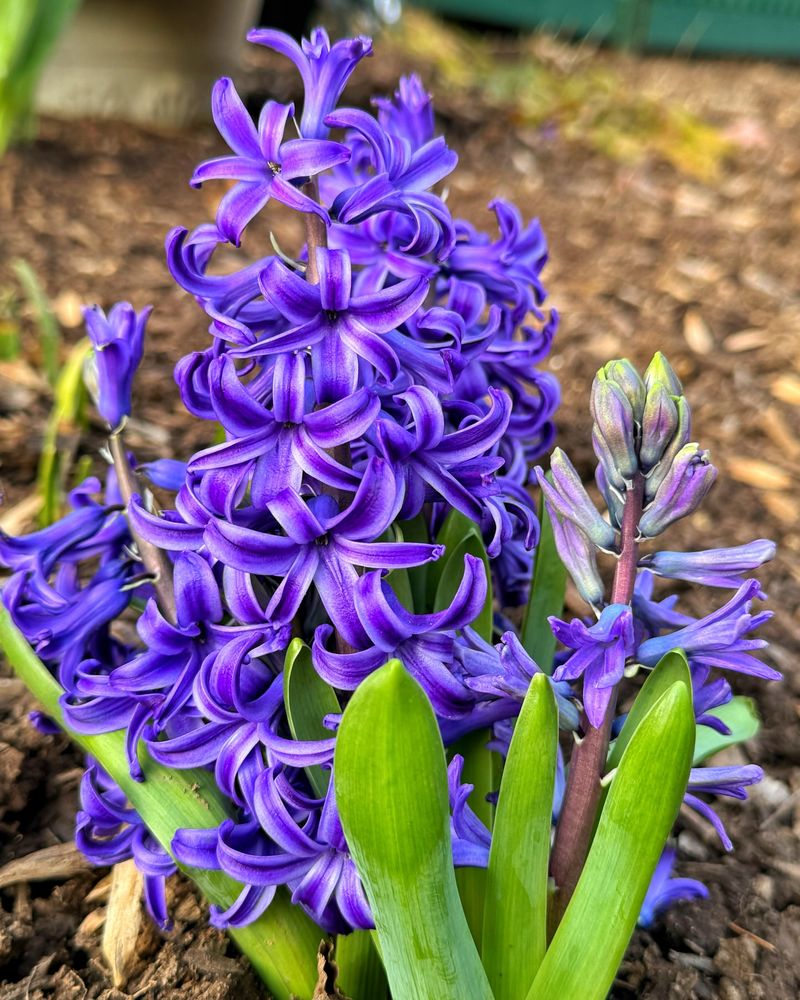
It works well for tulips, daffodils, crocus, and other bulbs. Less guessing, less strain on your back, and more time to enjoy your garden.
1. Choose The Right Bulbs!
You’re standing in the garden center, staring at rows of bulb bins, wondering which ones will actually thrive in your Oregon backyard.
Not every bulb is a good fit for our rainy winters and moderate summers, so picking varieties that love our climate is your first smart move.
Tulips, daffodils, crocuses, and alliums are all stars here because they need that cold dormancy period our winters naturally provide.
Spring-blooming bulbs should be planted in fall, but if you’re starting them indoors in egg cartons, you can get a jump on the season by beginning in late winter.
Summer bloomers like dahlias and gladiolus can be started indoors in early spring, around March or April, then moved outside once the soil warms up.
This timing works beautifully with Oregon’s typical last frost date, which hovers around mid-April in the valleys.
Avoid tropical bulbs that need intense heat or bone-dry conditions, they’ll struggle in our clay-heavy, moisture-retentive soils. Instead, lean into bulbs that naturalize well and come back year after year without much fuss.
Think of varieties like grape hyacinths, species tulips, and native camas lilies, which not only survive but actually thrive in Oregon gardens.
Starting them in egg cartons gives you control over their early growth, letting you monitor moisture and light before they face the unpredictable outdoors.
2. Prepare Your Egg Cartons
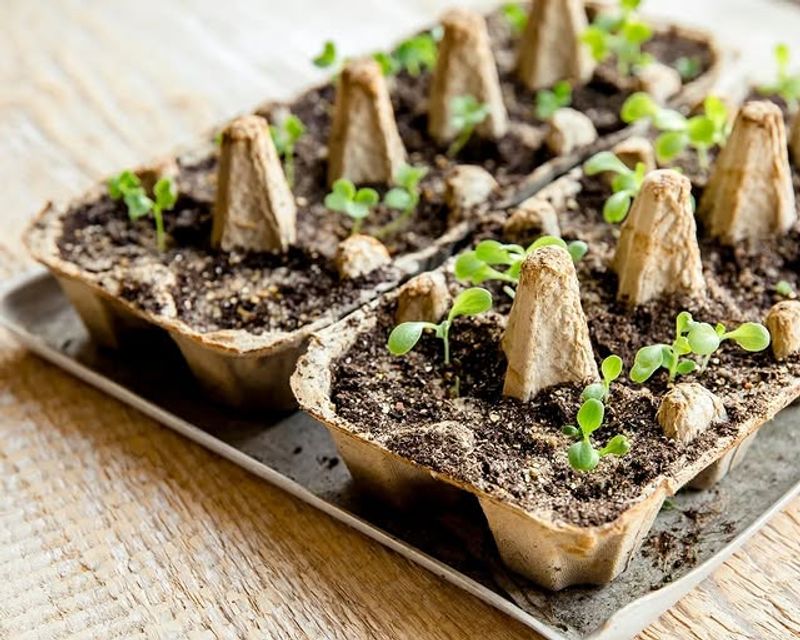
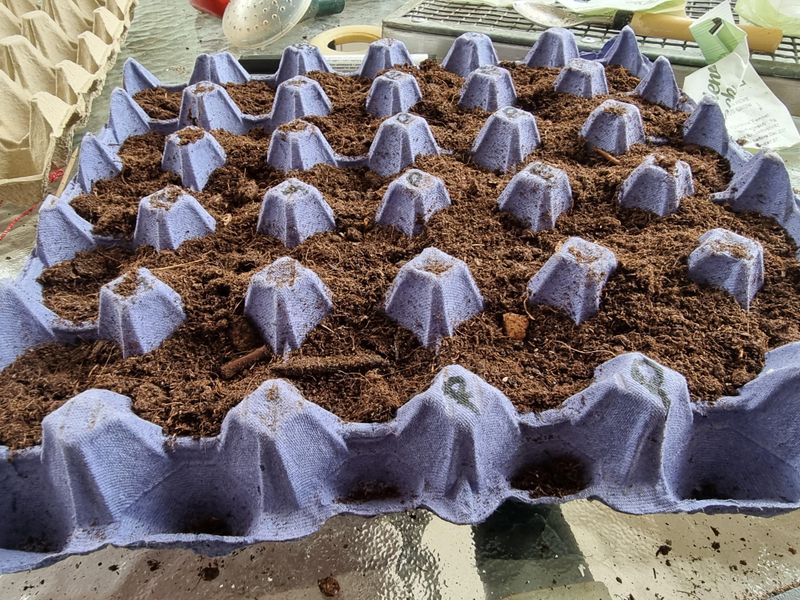
That stack of egg cartons sitting by your recycling bin is about to become your secret weapon for bulb starting.
Cardboard cartons work best because they’re biodegradable and can go straight into the ground with your bulbs when it’s transplant time, reducing root disturbance.
Foam or plastic cartons can work too, but you’ll need to pop the bulbs out carefully later, and they don’t break down in the soil.
Start by poking drainage holes in the bottom of each egg cup using a pencil or skewer. This step is critical because bulbs are prone to rot if they sit in waterlogged soil, especially during Oregon’s damp spring months.
Make at least two or three holes per cup so excess water can escape freely. If you’re using cardboard cartons, the material will naturally wick away some moisture, but drainage holes still help prevent soggy conditions.
Once your holes are ready, set the cartons on a waterproof tray or in a shallow plastic bin to catch drips. You can also cut the carton lids off and use them as makeshift drip trays underneath.
Label each carton with the bulb variety and planting date using a permanent marker or masking tape. This simple prep work takes just a few minutes but sets you up for success, giving your bulbs the drainage and organization they need to sprout healthy and strong.
3. Select A Well-Draining Potting Mix
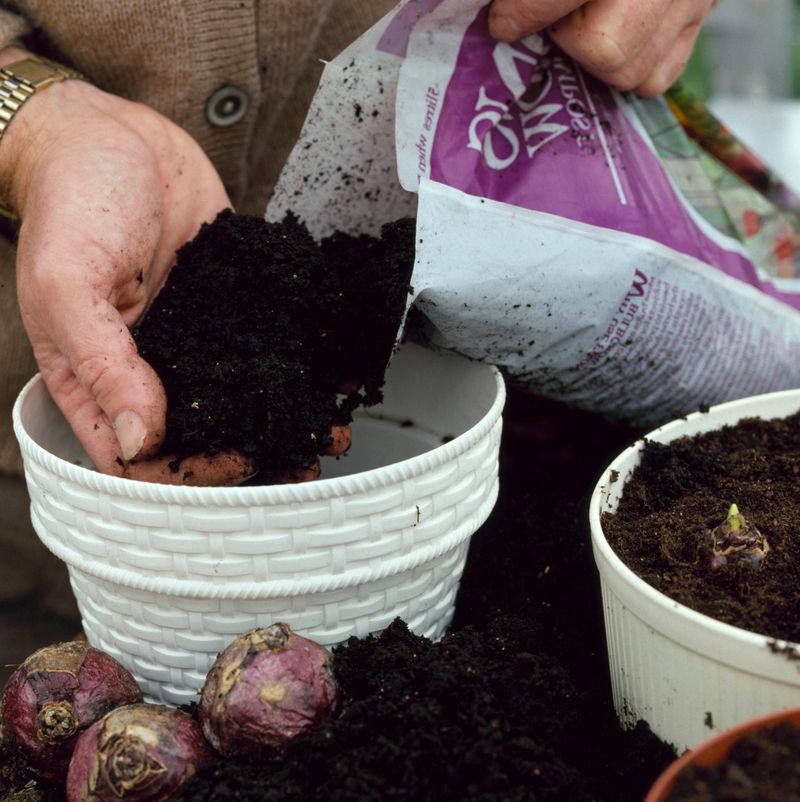
Walk into any garden supply store in Oregon and you’ll find shelves stacked with potting mixes, but not all of them are right for bulbs. Bulbs need a light, fluffy medium that drains quickly while still holding just enough moisture to keep roots happy.
Heavy, water-retentive mixes can lead to rot, especially when you’re starting bulbs indoors where air circulation is limited and temperatures are cool.
Look for a potting mix labeled for seed starting or containers, ideally one that contains perlite, vermiculite, or coarse sand to improve drainage. You can also make your own blend by mixing equal parts peat moss or coconut coir, perlite, and compost.
The compost adds a gentle nutrient boost without overwhelming the bulbs, which store most of their energy internally and don’t need heavy feeding at the start.
Avoid using garden soil straight from your yard, especially if you have the clay-heavy soil common in the Willamette Valley.
Garden soil compacts too easily in small containers like egg cartons, cutting off oxygen to the roots and creating a dense, soggy environment.
A good potting mix stays loose and airy, giving bulb roots room to stretch and breathe. Fill each egg cup about three-quarters full, leaving space at the top for the bulb and a thin layer of soil to cover it.
This simple choice of soil can make or break your bulb-starting success.
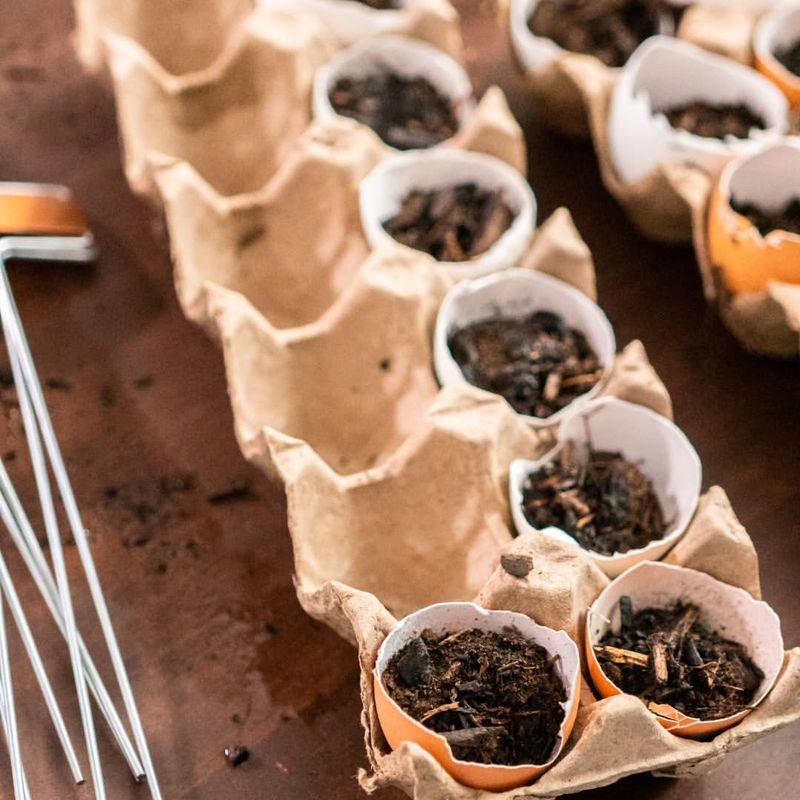
4. Plant Bulbs At The Correct Depth
One of the most common mistakes new gardeners make is planting bulbs too deep or too shallow, and egg cartons actually make it easier to get this right.
Because the cups are small, you’re working with limited depth, which naturally guides you toward the shallow planting that works well for starting bulbs indoors.
The general rule is to plant bulbs at a depth about two to three times their height, but in egg cartons, you’ll adjust this slightly.
For smaller bulbs like crocuses or grape hyacinths, nestle them into the soil so the pointed tip is just barely covered or even peeking out. Larger bulbs like tulips or daffodils should sit with their tips at or just below the soil surface.
The key is making sure the base of the bulb, the flat part where roots emerge, is in firm contact with the soil. Gently press each bulb down so it’s snug but not buried too deeply.
In Oregon, where spring rains can be relentless, shallow planting in egg cartons gives you control over moisture levels and prevents the bulbs from sitting in cold, wet soil outdoors.
Once the bulbs sprout and you transplant them into the garden, you can plant them at their full recommended depth.
For now, keep it simple and shallow. This approach lets you monitor root development and ensures each bulb gets the light and air it needs to break dormancy and start growing strong, healthy shoots.
5. Water Your Bulbs Carefully
Watering bulbs in egg cartons is a delicate dance, especially in Oregon where our instinct is to water generously because of our rainy reputation.
But indoors, in those small cardboard or foam cups, too much water is the fastest way to rot your bulbs before they ever get a chance to sprout.
The goal is to keep the soil lightly moist, not soaking wet, mimicking the damp but not drenched conditions bulbs experience in nature.
After planting, give each cup a gentle watering using a spray bottle or a small watering can with a narrow spout. You want to moisten the soil evenly without flooding the cups.
Check the drainage holes to make sure water is flowing through, which tells you the soil is saturated enough. Then let the excess drain away completely before placing the cartons in their growing spot.
Over the next few weeks, check the soil every few days by sticking your finger into the top layer. If it feels dry, add a little water; if it’s still damp, hold off.
Oregon’s indoor winter air can be dry thanks to heating systems, so you might need to water more often than you’d expect. On the flip side, if you’re growing bulbs in a cool garage or unheated mudroom, they’ll need less frequent watering.
The key is consistency and restraint, think of it as giving your bulbs a drink, not a bath. This careful attention to moisture will reward you with strong, rot-free bulbs ready to transplant.
6. Provide Proper Light And Temperature
Your bulbs are tucked into their egg carton homes, watered, and ready to grow, but now they need the right environment to wake up and start sprouting. Light and temperature are the two big factors that will determine whether your bulbs thrive or sit dormant for weeks.
Most spring bulbs need a cool period to break dormancy, which they usually get naturally outdoors, but starting them indoors means you need to replicate those conditions.
Place your egg cartons in a cool spot with indirect light, think a bright windowsill, unheated mudroom, or even a garage with a window.
Temperatures between 40 and 60 degrees Fahrenheit are ideal for encouraging root growth without forcing the shoots up too quickly.
If your indoor space is too warm, the bulbs may sprout weak, leggy growth that flops over. Oregon homes in winter often stay on the cooler side, which actually works in your favor here.
Once the bulbs start sending up green shoots, move them to a brighter location where they’ll get at least six hours of indirect sunlight daily. A south-facing window works well, or you can use a grow light if natural light is limited.
Keep them cool, though, too much heat will stress the young plants and make them bolt before they’re ready to transplant.
This balance of cool temperatures and bright light mimics the early spring conditions bulbs love, setting them up for a smooth transition into your garden beds when the time comes.
7. Harden Off Seedlings Before Transplanting
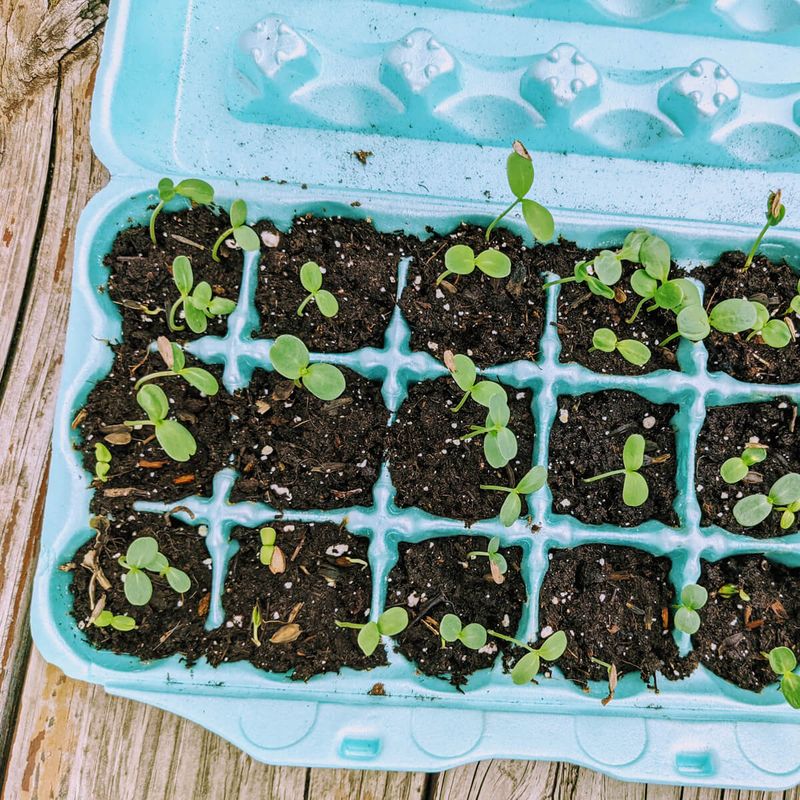
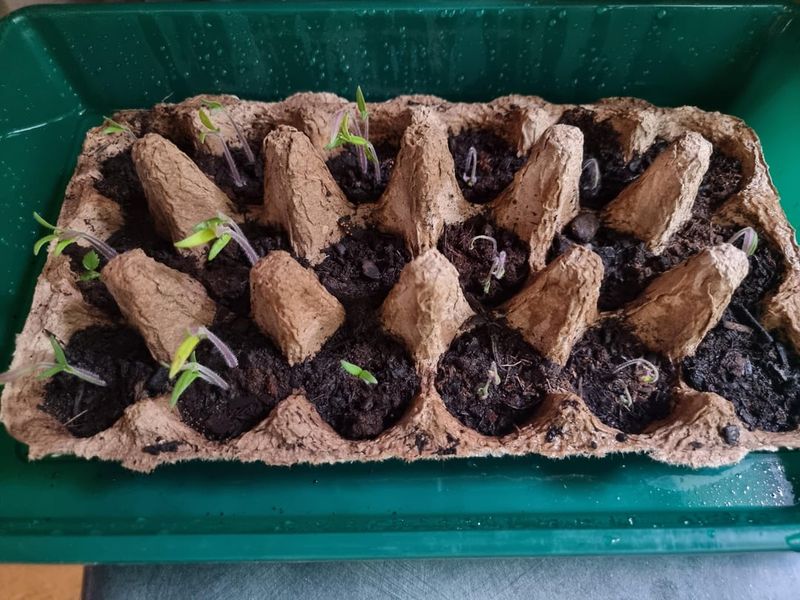
After weeks of cozy indoor growing, your bulbs have sent up strong green shoots and maybe even a few buds, and you’re itching to get them into the garden.
But hold on, transplanting them straight from indoors to the great outdoors is a shock they might not recover from.
Oregon’s spring weather can swing from warm and sunny to cold and rainy in a matter of hours, and your tender indoor-grown bulbs need time to adjust.
Hardening off is the process of gradually acclimating your plants to outdoor conditions, and it’s especially important for bulbs started in the controlled environment of your home.
Start by placing your egg cartons outside in a sheltered spot for just an hour or two on a mild day.
Bring them back inside before temperatures drop in the evening. Over the course of a week to ten days, gradually increase their outdoor time and exposure to direct sun and wind.
Watch the weather forecast and avoid hardening off during cold snaps or heavy rain. Oregon’s spring can be unpredictable, so be patient and flexible.
By the end of the hardening-off period, your bulbs should be outside all day and night, fully adjusted to the temperature swings and wind. This step might seem like extra work, but it’s the difference between bulbs that thrive and bulbs that wilt or stall out after transplanting.
Think of it as giving them a gentle introduction to their new home, setting them up for a season of beautiful blooms.
8. Transplant Bulbs Into Your Garden Beds
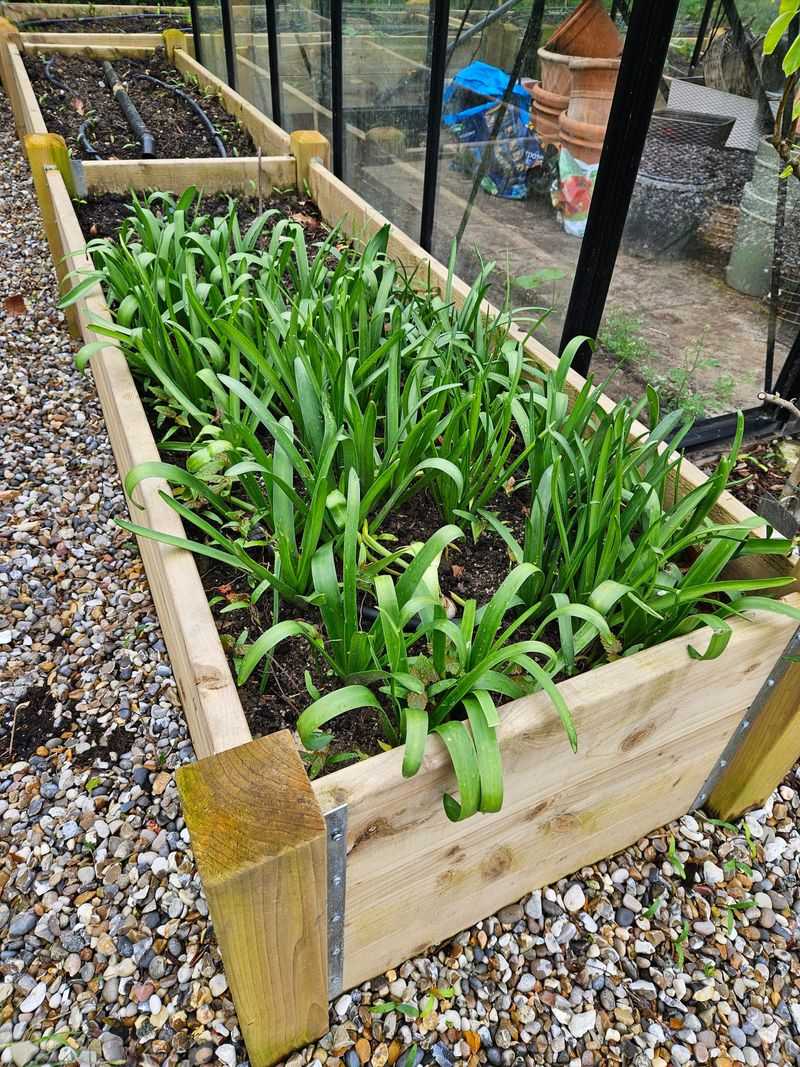
The moment has finally arrived, your bulbs are hardened off, the soil is warming up, and it’s time to get them into the ground.
In Oregon, mid-April to early May is usually a safe window for transplanting spring-started bulbs, once the risk of hard frost has passed and the soil is workable.
Choose a spot in your garden that gets at least six hours of sunlight and has good drainage, avoiding low areas where water tends to pool after our frequent spring rains.
If you used cardboard egg cartons, you can plant the entire cup directly into the soil, which minimizes root disturbance and makes transplanting a breeze. Just tear or cut the carton apart, separating each cup, and plant them with the rim of the cup at or just below soil level.
The cardboard will break down naturally over time. For plastic or foam cartons, gently squeeze the cup and slide the bulb and soil out in one piece, then plant it at the same depth it was growing in the carton.
Dig a hole slightly larger than the root ball, set the bulb in place, and backfill with soil, firming it gently around the base. Water thoroughly after planting to settle the soil and help the roots make contact with their new home.
Mulch around the plants with a thin layer of compost or bark to retain moisture and suppress weeds. Over the next few weeks, keep an eye on soil moisture, watering during dry spells but letting Oregon’s natural rainfall do most of the work.
Your egg carton-started bulbs are now ready to bloom and brighten your garden all season long.