18 Possible Reasons Your Tulips Didn’t Bloom This Spring (And What To Do Differently Next Year)
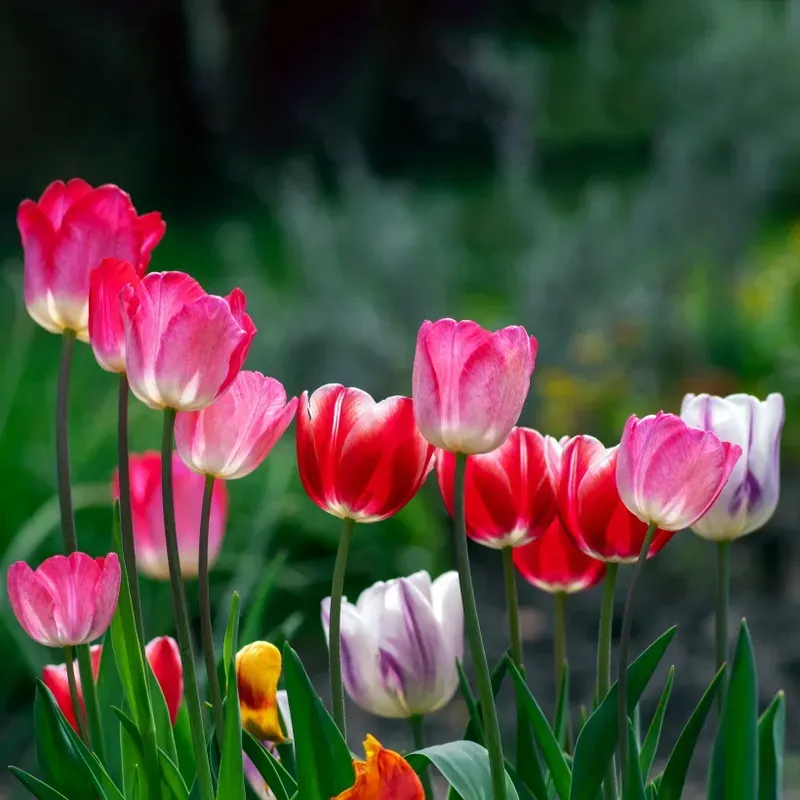
Spring arrived with all its promises, but your garden lacked the colorful display you were expecting from those carefully planted bulbs last fall. Nothing quite matches the disappointment of checking your flower beds day after day, only to find bare stems where beautiful blooms should be.
I planted over 40 bulbs one fall, only to get just three sad-looking flowers the next spring. It took me a while to figure out what went wrong.
If you’re wondering why your garden missed its tulip show this year, there are several potential culprits. Below are 18 distinct reasons your tulips might have failed to perform, along with practical solutions to help ensure next spring tells a different story.
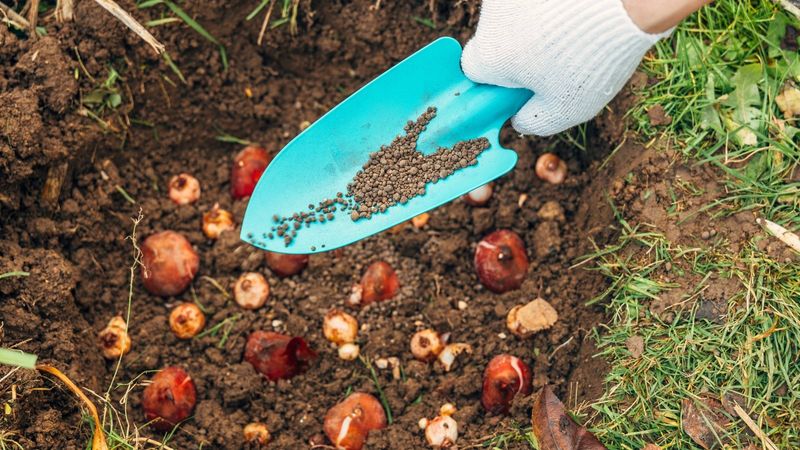
1. Planting Depth Mistakes

Bulbs need the right burial depth to thrive. When planted too shallow, they’re exposed to temperature fluctuations that confuse their growth cycle. Too deep, and they waste energy pushing through excess soil.
The golden rule? Plant tulip bulbs at a depth three times their height – typically 6-8 inches down. Mark your trowel or shovel with tape as a depth guide.
Last year, I rushed planting and set bulbs just 3 inches deep. Come spring, I had plenty of leaves but hardly any flowers. Proper depth provides the stable environment bulbs need for spectacular blooms.
2. Poor Drainage Caused Rot
Standing water is a death sentence for tulip bulbs. Heavy clay soil or low-lying garden areas trap moisture around bulbs, causing them to rot before they can bloom.
Check drainage by digging a test hole about 12 inches deep and filling it with water. If it hasn’t drained within a few hours, you’ve found your problem.
Mix in coarse sand, perlite, or compost to improve heavy soils. For persistent issues, consider raised beds or planting tulips in containers where you control the soil mix. I lost an entire bed of expensive varieties before learning to add drainage material beneath each bulb.
3. Planted Too Late In Season
Timing matters tremendously with tulips. Bulbs need adequate time to establish roots before winter freezes the ground. Late planting means underdeveloped root systems that can’t support spring growth.
Mark your calendar for mid-September through late October planting in most zones. Northern gardeners should aim for the earlier side of this window, while southern regions can extend into November.
One year I found a forgotten bag of premium bulbs in December. I planted them anyway and got only green shoots the following spring. The cold soil had prevented proper root development, leaving the bulbs too weak to produce flowers.
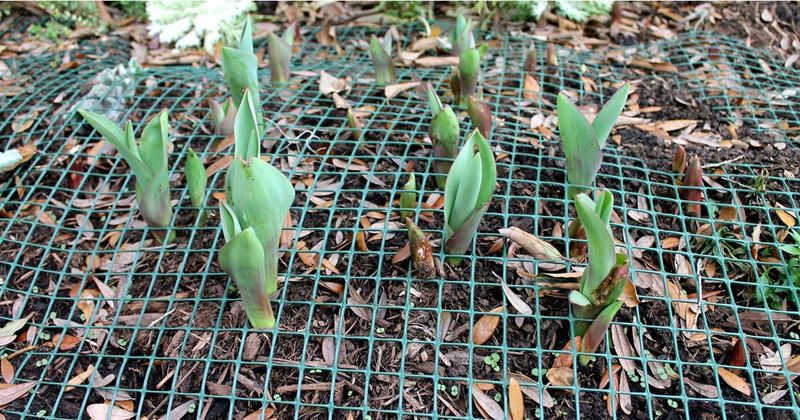
4. Squirrel Or Rodent Damage
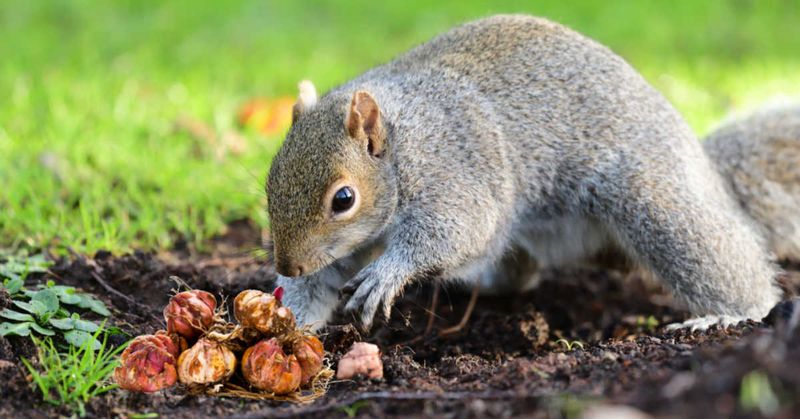
Those innocent-looking garden visitors have expensive taste! Squirrels, chipmunks, mice, and voles consider tulip bulbs a gourmet meal and will dig them up shortly after planting or eat them from below.
Hardware cloth is your best defense. Create a protective cage by lining planting holes with 1/2-inch mesh before adding bulbs. Some gardeners swear by sprinkling crushed oyster shells or sharp gravel around and over plantings.
My neighbor’s cat helped save my garden. Before adopting her, I’d find suspicious holes where bulbs should be. Natural predators create zones where rodents fear to tread, protecting your precious spring display from becoming someone’s winter snack.
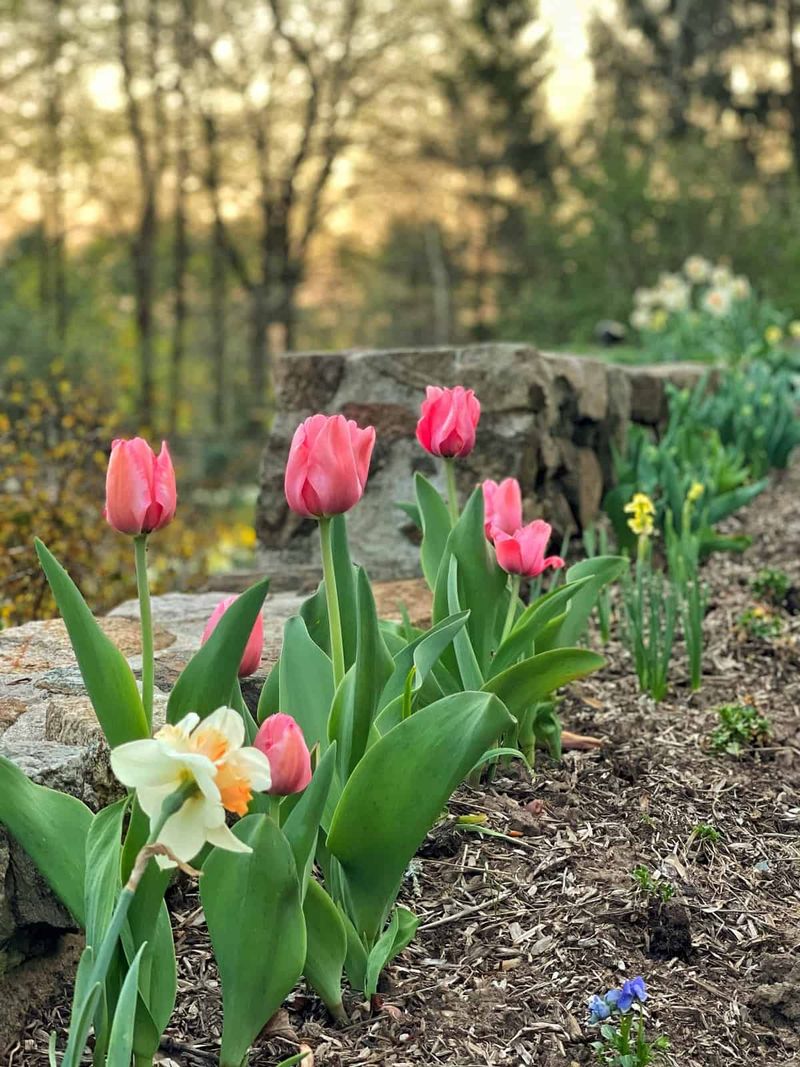
5. Deer Ate The Buds
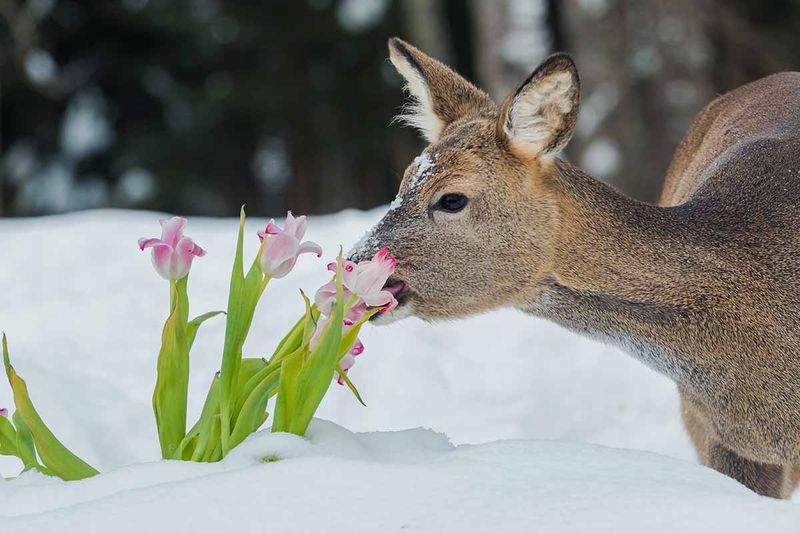
You might have done everything right, only to have deer treat your garden like a salad bar just as buds were forming. Deer particularly love tulips and can decimate a bed overnight, leaving stems neatly clipped.
Motion-activated sprinklers provide humane deterrence. Blood meal, predator urine, or commercial repellents need regular reapplication but can be effective. Physical barriers like temporary fencing during spring emergence offer the surest protection.
After losing two seasons of blooms, I planted daffodils among my tulips. Deer avoid daffodils’ bitter taste, and this companion planting creates a natural deterrent. The mixed planting looks beautiful and confuses deer who might otherwise munch every tulip in sight.
6. Overcrowded Bulbs Need Dividing
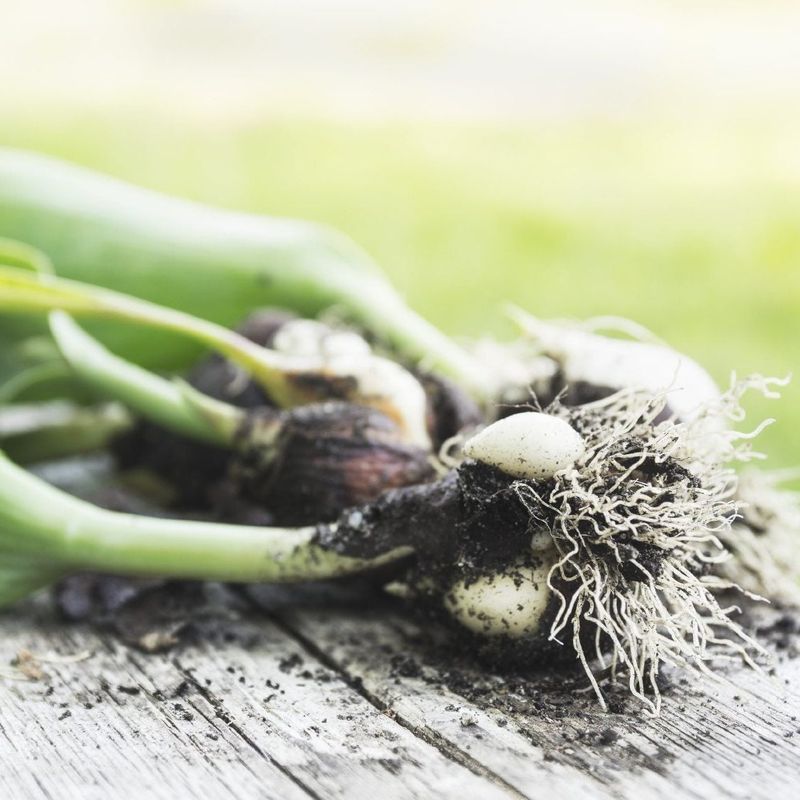
Mature tulips multiply underground, creating daughter bulbs clustered around the parent. This natural process leads to competition for nutrients and space, resulting in smaller flowers or none at all.
Dig up bulbs after foliage yellows completely, typically 6-8 weeks after blooming would have occurred. Separate clusters, discarding any soft or damaged bulbs, and replant with proper spacing – about 4-6 inches apart.
My grandmother’s garden taught me this lesson. Her once-magnificent display gradually diminished until we discovered densely packed bulbs underneath. After dividing and replanting, the following spring brought a spectacular comeback that reminded us why we love gardening.
7. Lack Of Winter Chill Hours
Tulips evolved in cold mountain regions and require a dormancy period triggered by sustained cold temperatures. Without adequate chill hours (typically 12-16 weeks below 45°F), the biochemical processes that initiate flowering simply don’t activate.
Southern gardeners can pre-chill bulbs in the refrigerator for 6-8 weeks before planting. Keep them away from fruits, which release ethylene gas that damages flower embryos.
During an unusually warm winter, my tulips produced only leaves. Now I choose varieties labeled “good for southern gardens” or “low-chill” when our winters seem milder than usual. These specialized cultivars need fewer cold hours to bloom successfully.
8. Premature Foliage Removal
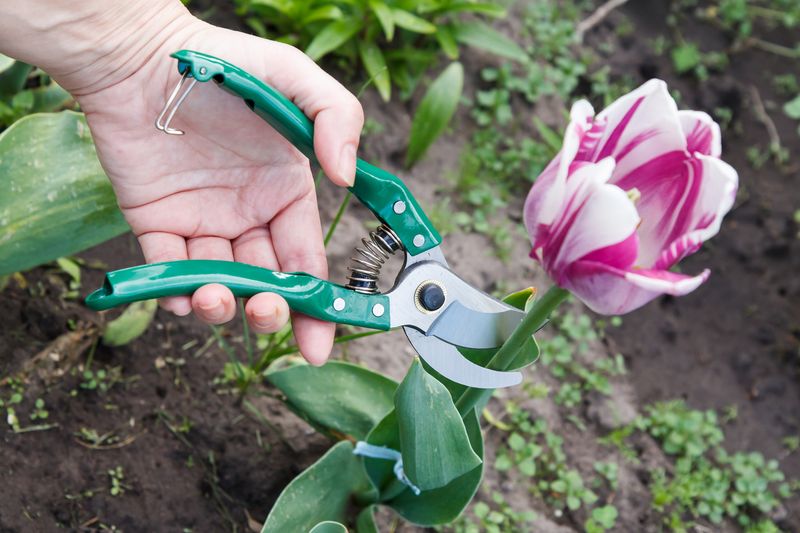
Those yellowing leaves might look untidy after blooming ends, but they’re crucial factories producing energy for next year’s flowers. Cutting foliage too early starves the bulb of nutrients needed for future blooms.
Allow leaves to yellow completely before removing them – usually 6-8 weeks after flowering. If the messy look bothers you, plant perennials like hostas or daylilies nearby to hide fading tulip foliage.
My tidiness once cost me an entire season of blooms. I’d neatly trimmed yellowing leaves, not realizing I was cutting off the bulbs’ energy supply. Patience with post-bloom foliage pays off with stronger blooms the following year.
9. Fertilizer Timing Issues
Feeding tulips at the wrong time can backfire spectacularly. High-nitrogen fertilizers applied in spring promote lush foliage at the expense of flowers. Fertilizing after blooming ends can interfere with the bulb’s natural dormancy cycle.
Apply a low-nitrogen, high-phosphorus fertilizer (like 5-10-5) in fall at planting time and again when shoots first emerge in spring. Bone meal works wonderfully as an organic alternative.
My garden center recommended a “bloom booster” mid-spring when I complained about flowerless tulips. This actually worsened the problem by pushing growth when bulbs needed to rest. Proper timing matters as much as the fertilizer type.
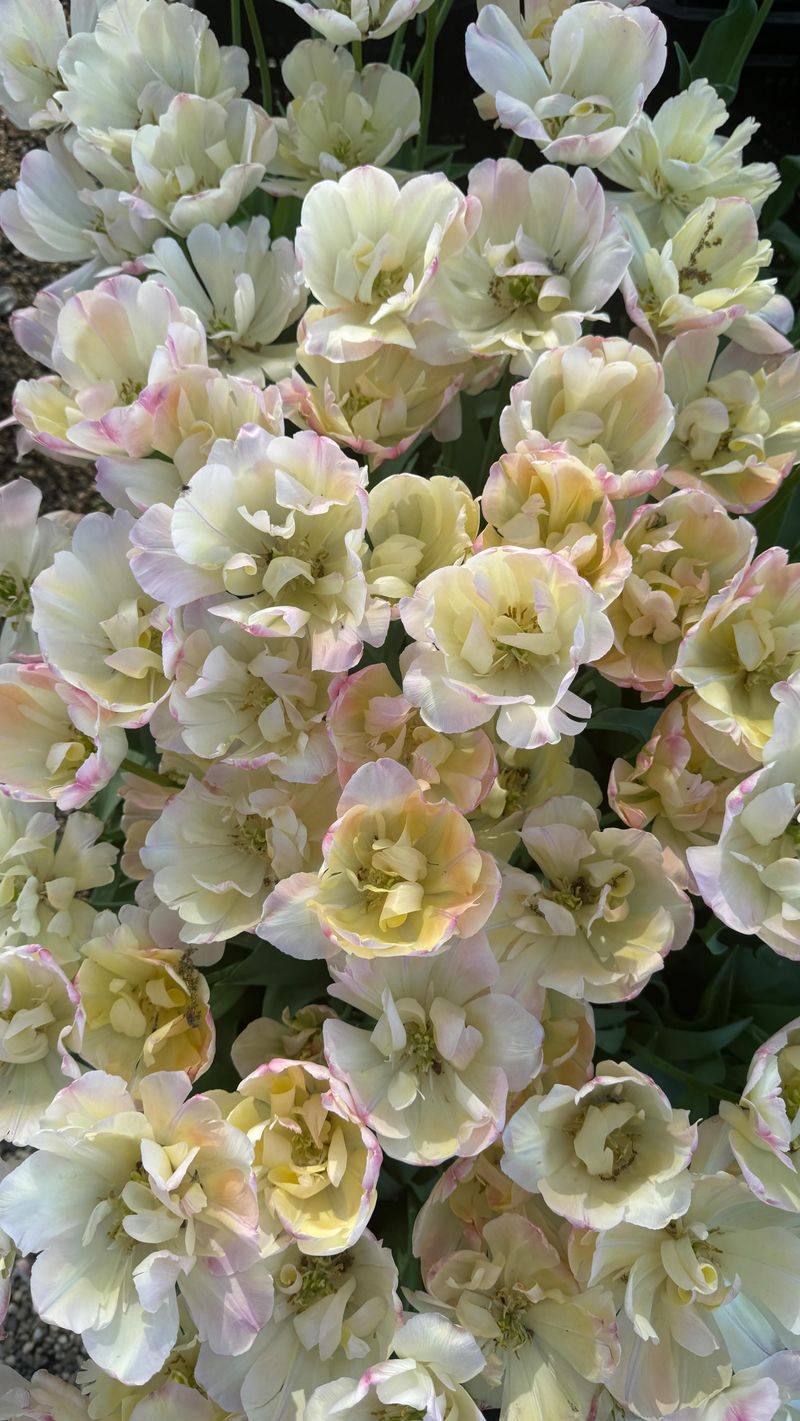
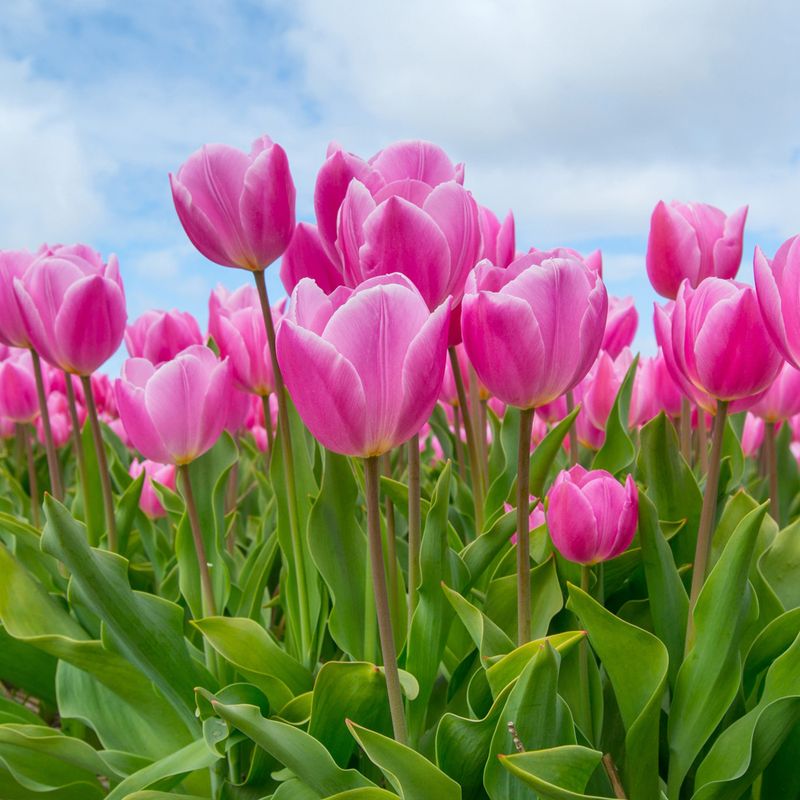
10. Hybrid Tulips Running Out Of Steam
Many gorgeous hybrid tulips are bred for spectacular first-year blooms but aren’t truly perennial. These showy varieties often decline after their debut performance, regardless of perfect care.
Check bulb packages for words like “perennial,” “naturalizing,” or “good for multiple years.” Species tulips and Darwin hybrids generally return reliably year after year.
My garden journal revealed this pattern: expensive tulips dazzled their first season but gradually disappeared. Now I treat certain varieties as annuals, replanting fresh bulbs each fall. This approach guarantees both spectacular displays and long-term garden investment.
11. Bulbs Planted Upside Down
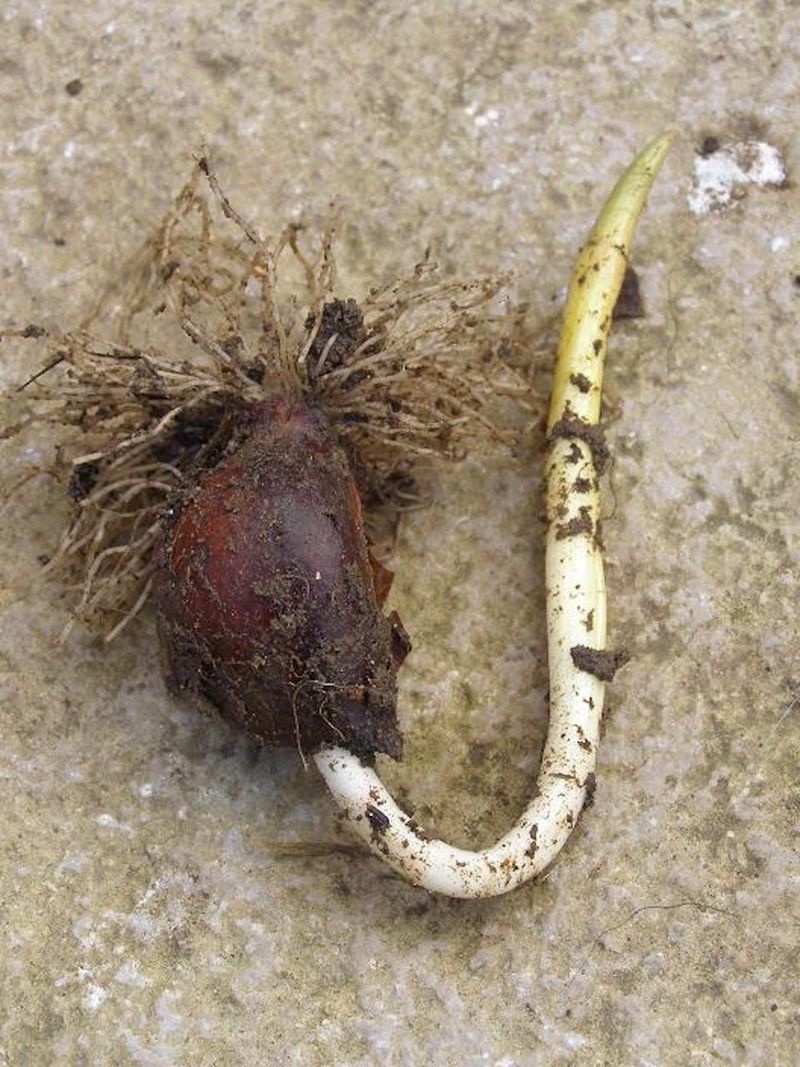
Orientation matters tremendously when planting tulips. Bulbs planted upside-down waste critical energy making a U-turn underground to reach sunlight. This exhausts their resources before they can produce flowers.
The pointed end should always face upward. If you’re unsure which end is which, plant bulbs sideways – they’ll figure it out, though with slightly delayed growth.
During a community garden planting day, several volunteers accidentally inverted dozens of bulbs. The following spring revealed the mistake: sparse, weak growth where we expected a colorful display. A simple planting guide or demonstration would have prevented this disappointing outcome.
12. Soil PH Imbalance
Tulips prefer slightly acidic to neutral soil with pH between 6.0 and 7.0. When soil becomes too acidic or alkaline, nutrients become chemically locked and unavailable to plants, regardless of how fertile your garden might be.
Invest in an inexpensive soil test kit before planting. Add lime to raise pH if too acidic, or sulfur to lower pH if too alkaline, following package directions for application rates.
After struggling with tulips in one corner of my yard, a soil test revealed highly alkaline conditions from concrete runoff from a nearby patio. Adding composted pine needles gradually corrected the imbalance, and my tulips finally performed as expected.
13. Inadequate Sunlight Exposure
Trees that were dormant during fall planting leaf out by spring, casting shade where sun once reached. Tulips need at least 6 hours of direct sunlight to generate enough energy for blooming.
Observe your garden through different seasons before selecting planting locations. Areas that seem sunny in autumn may become shaded by spring as deciduous trees leaf out.
When my neighbor’s maple tree grew larger, my once-reliable tulip display gradually diminished. Moving the bulbs to a consistently sunny location restored their vigor. For partially shaded areas, consider shade-tolerant spring bloomers like wood anemones or certain daffodil varieties instead.
14. Weather Extremes Damaged Buds
Erratic spring weather can destroy developing flower buds even when everything else goes right. Late freezes, hailstorms, or extreme temperature fluctuations can damage or kill the delicate embryonic flowers inside otherwise healthy plants.
Watch weather forecasts during early spring. Cover emerging shoots with row cover fabric, buckets, or cardboard boxes during unexpected freezes. Remove covers promptly when temperatures rise.
My promising tulip bed once fell victim to a brutal April ice storm. The plants looked healthy but never bloomed. Weather journals help identify patterns and prepare protective measures for vulnerable periods in your growing zone.
15. Diseased Bulbs From The Start
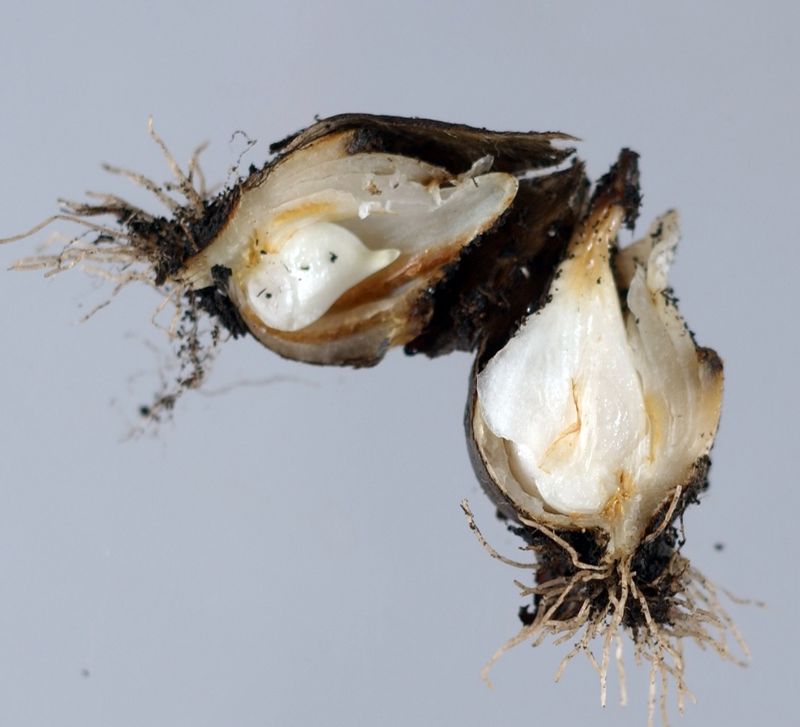
Quality matters tremendously with tulip bulbs. Infected bulbs often look normal but harbor diseases like tulip fire, botrytis, or basal rot that prevent proper development.
Purchase bulbs from reputable sources and inspect before planting. Healthy bulbs feel firm and heavy for their size, with no soft spots, mold, or unusual discoloration.
Bargain bulbs proved costly in my garden one year. The discount bin special yielded sickly plants with distorted leaves and no flowers. I now consider quality bulbs an investment rather than an expense. When buying, remember that larger caliber bulbs (12cm+ circumference) generally produce more impressive flowers.
16. Soil Lacking Essential Nutrients
Tulips are surprisingly hungry plants that deplete soil quickly. Without key nutrients – particularly phosphorus and potassium – bulbs can’t store enough energy to produce flowers the following year.
Incorporate well-rotted compost or aged manure into planting beds. Avoid fresh manure, which can burn bulbs and introduce pathogens. A soil test can identify specific deficiencies requiring targeted amendments.
My sandy garden soil naturally lacks nutrients that tulips crave. Adding organic matter each fall dramatically improved flowering. For container-grown tulips, I use fresh potting mix annually rather than trying to amend depleted soil, which ensures proper nutrition without guesswork.
17. Inconsistent Watering Practices
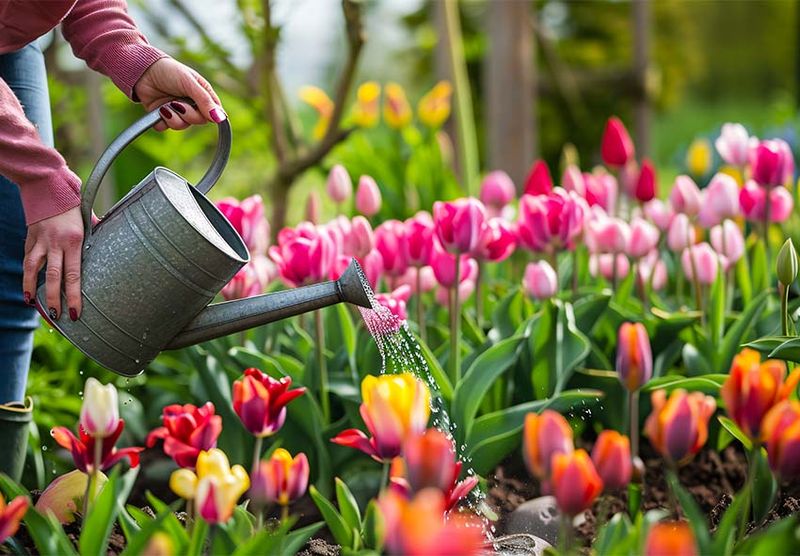
Bulbs need consistent moisture during active growth but suffer in waterlogged conditions. The tricky balance often trips up even experienced gardeners, especially during spring’s unpredictable rainfall patterns.
Water deeply when planting in fall, then again in early spring when shoots emerge. During bud development, provide about an inch of water weekly if rainfall is insufficient. After blooming, gradually reduce watering as foliage yellows.
Drought stress during critical growth stages once ruined my display. The bulbs formed tiny flower buds that withered before opening. A simple rain gauge helps track natural precipitation, while moisture meters eliminate guesswork in determining when supplemental watering is needed.
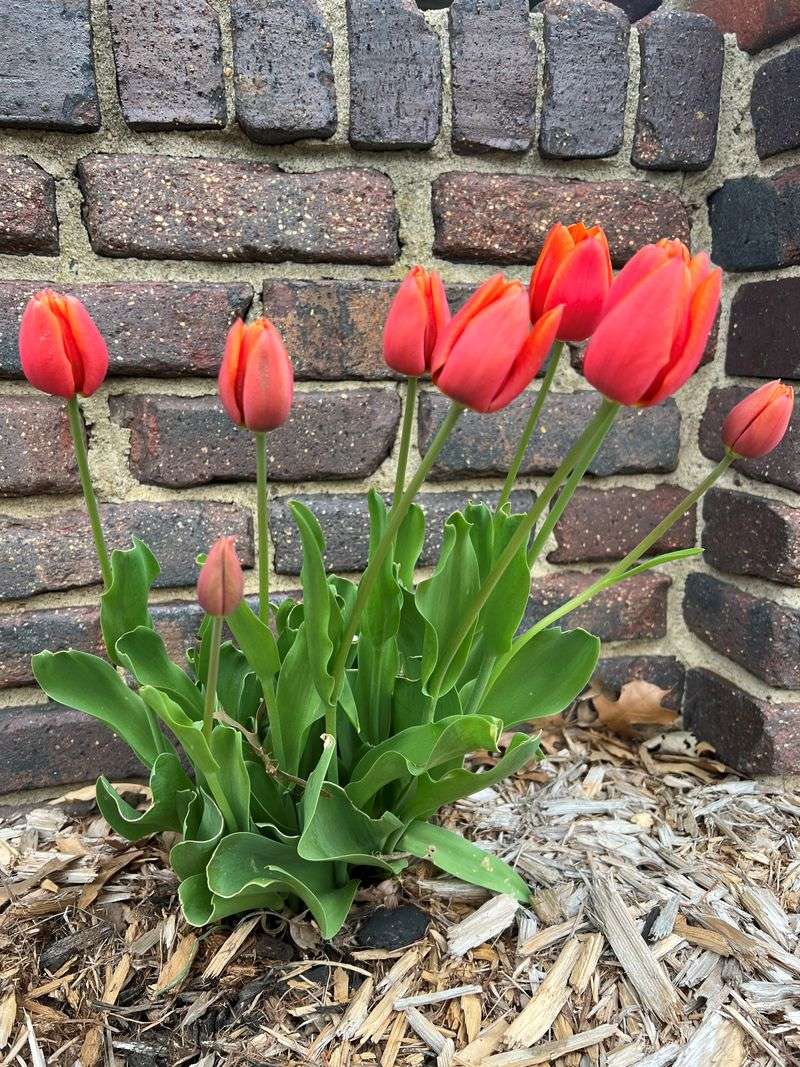
18. Heat Stress From Nearby Structures
Buildings, walls, and hardscaping elements absorb and radiate heat, creating microclimate pockets that can force tulips out of their natural growth cycle. This premature warming tricks bulbs into early growth that often leads to stunted development.
Observe snow melt patterns in winter – areas that clear first are likely too warm for reliable tulip performance. Plant heat-sensitive bulbs at least 3 feet away from south-facing walls or large rocks.
My tulips planted along the house foundation emerged weeks before those in open beds, only to stall when hit by late frosts. These temperature-confused bulbs rarely bloomed well. Now I reserve these warm spots for heat-loving summer plants instead.