9 Pre-Winter Coneflower Tasks That Help Them Come Back Stronger In Spring
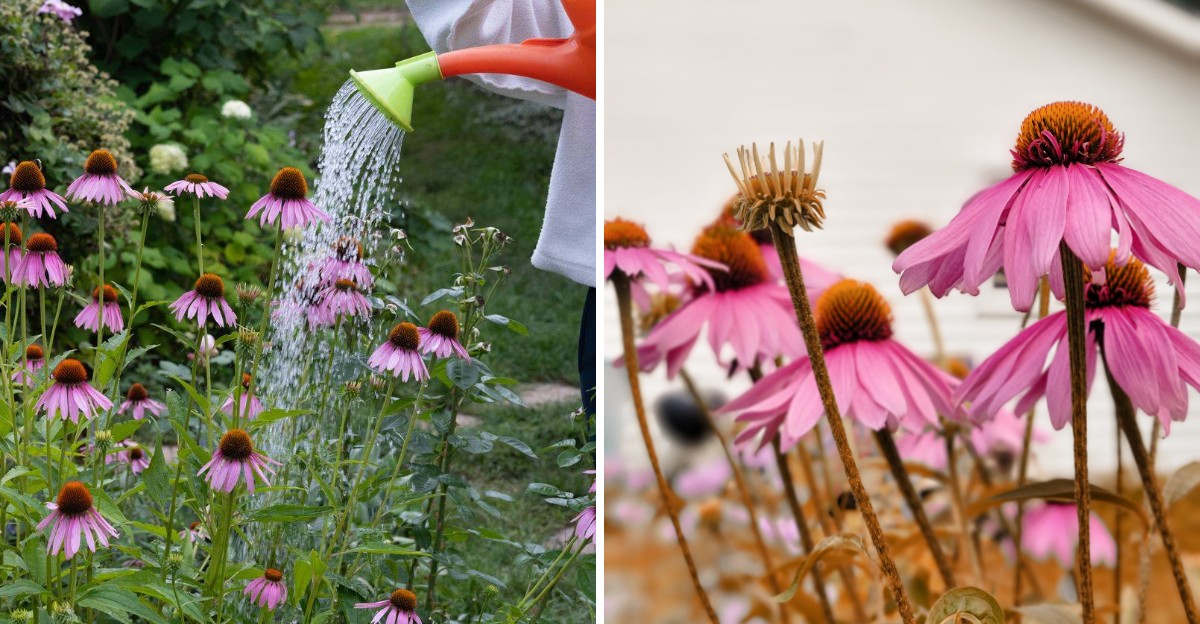
American goldfinches will cling to swaying seed heads in January, plucking out tiny seeds one at a time like jewelers. That bristly winter snack comes from a tough prairie flower that many tidy gardeners chop down far too early.
Underground, the story gets even better, because the roots of some prairie species stretch several feet into the soil. Those deep roots keep working through cool autumn weeks, storing energy for a fresh round of summer blooms.
I’ll be honest, I used to treat fall cleanup like a race to bare soil before the first hard frost. My knees have opinions about that habit now, and my flower beds look happier since I slowed down.
A few smart moves before winter can turn a so-so clump into a crowd of sturdy stems next June. So which autumn chores truly matter for these prairie favorites, and which ones can you happily skip?
1. Leave Coneflower Seed Heads Standing For Goldfinches
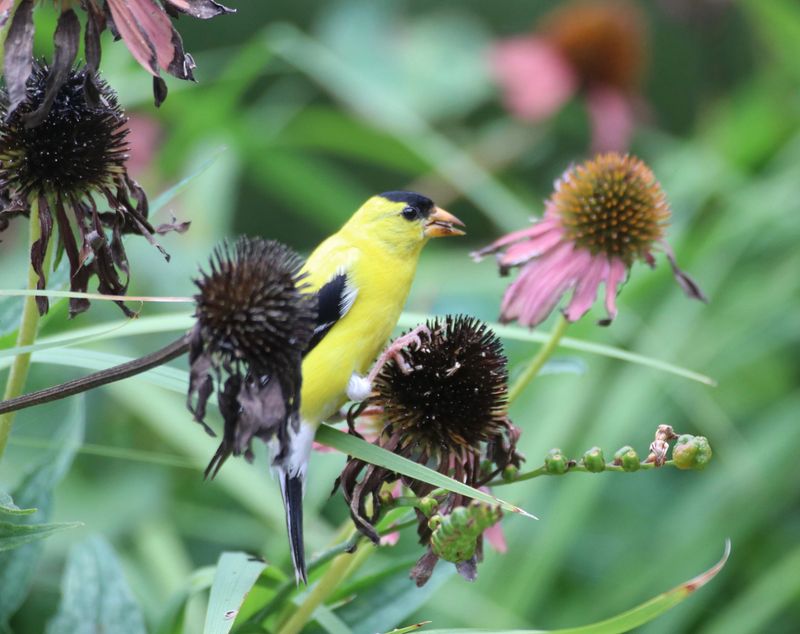
Few winter sights beat a goldfinch swinging on a brown coneflower cone while snow dusts the garden. Those spiky seed heads become a free bird feeder, and you skip a chilly afternoon of snipping.
American goldfinches eat mostly seeds, and coneflower seeds rank high on their winter shopping list in many regions. Leaving stems standing also gives the bed some height and shape after the colorful petals fade away.
Hollow stems and fallen leaves can shelter small native bees and other helpful insects through the cold months. Many gardeners now wait until spring to cut back perennials so those tiny guests can move out first.
Call me lazy, but I love any garden task that asks me to simply do less in November. My coneflower patch looks scruffy to some neighbors, yet the birds clearly approve of my choice.
Standing seed heads also drop seeds onto the soil, so you may find bonus seedlings popping up nearby. Seedlings from fancy hybrids may look different from the parent, which can be a fun little surprise.
If self-sowing bothers you, snip a few heads and leave the rest standing for the hungry birds. In spring, cut the old stems down to a few inches before fresh green growth appears at the base.
Healthy stems are the only ones worth saving, so remove any spotted or moldy foliage right away. That small compromise keeps your bed tidy enough while still feeding the wildlife that makes winter fun.
2. Cut Back Diseased Coneflower Stems And Leaves
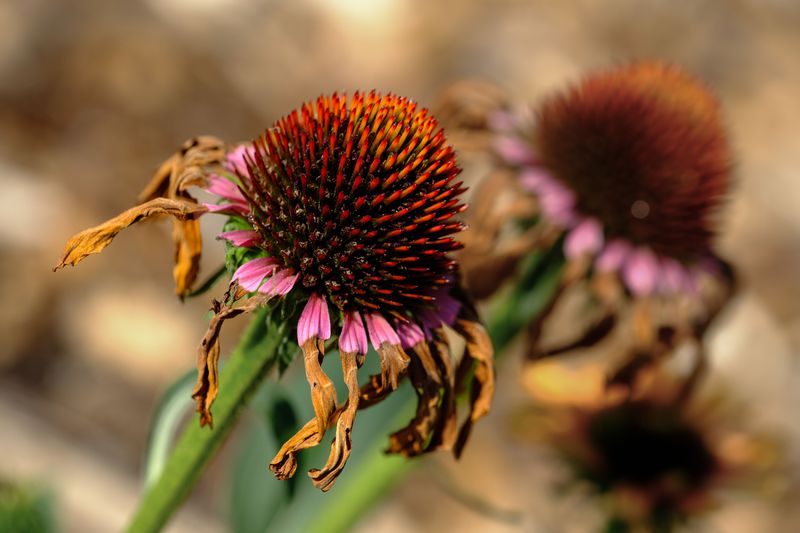
Gray powdery patches on coneflower leaves look like someone sprinkled flour across the bed during late summer. That coating is powdery mildew, a common fungal problem that shows up when air circulation stays poor.
Fungal spores can rest on fallen leaves through winter, then splash back onto new growth in spring. Removing infected foliage before the snow flies gives next year’s shoots a much cleaner starting point.
I keep a bucket beside me and drop every spotted leaf straight into it while I work. Infected plant material belongs in the trash, not the compost pile, because home piles rarely heat enough.
Use sharp, clean pruners and cut stems a few inches above the soil, leaving the crown untouched. Wiping blades with rubbing alcohol between plants helps stop you from carrying spores from one clump to another.
Leaf spot diseases also show up on coneflowers, appearing as brown or black blotches with darker edges. Those spots usually look worse than they are, but cleaning them up reduces the trouble next season.
Trust me on this one, a twenty-minute cleanup now saves hours of frustration when June humidity arrives. Healthy-looking stems can stay standing for birds, so you only need to target the troubled ones.
Next spring, give each clump a little extra elbow room so breezes can dry the leaves quickly. Better spacing paired with this fall tidying gives your coneflowers a fresh, healthy start after winter.
3. Spread Shredded Leaf Mulch Around Coneflower Crowns
Freezing and thawing over and over can actually push shallow-rooted perennials right out of the ground. Gardeners call this frost heaving, and it leaves roots exposed to icy winds and drying air.
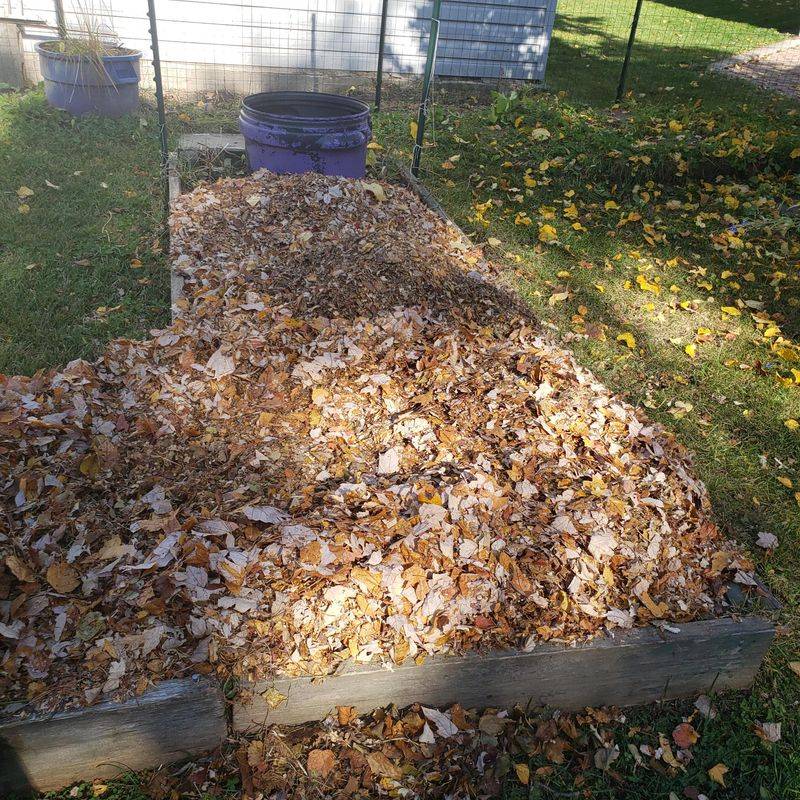
A loose layer of mulch acts like a cozy quilt, keeping soil temperatures steadier through wild winter swings. Shredded leaves, pine needles, or clean straw work well, and fallen leaves cost you nothing at all.
Spread about two to three inches around each plant, but pull it back a few inches from the crown. Mulch piled against stems traps moisture, and coneflowers are prone to crown rot in soggy conditions.
Timing matters more than most people expect, so wait until the ground has started to freeze. Mulching too early can invite voles to build cozy nests and nibble on roots all winter long.
I’m not proud of this, but I once smothered a new clump under a mountain of wet leaves. That spring it came back weak and mushy, and I learned to keep the layer light and fluffy.
First-year plants benefit most from mulch because their roots have not spread deep into the soil yet. Gardeners in USDA zones 3 through 5 will also want this extra layer for steady winter protection.
Once spring warms up, rake the mulch back slightly so the soil can warm and shoots can emerge. Leftover leaves break down into rich organic matter that quietly improves your soil over the following months.
4. Give Coneflowers A Deep Drink Before The Ground Freezes
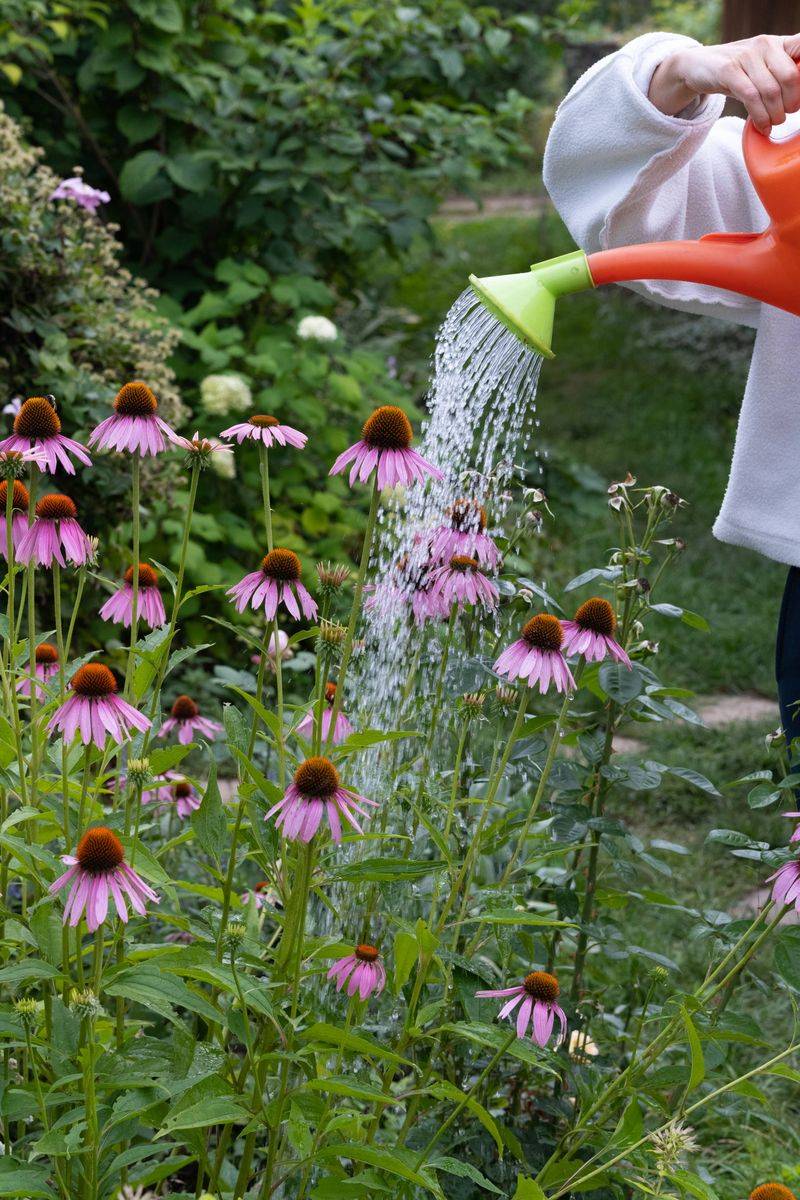
Coneflowers have a reputation as drought-tough prairie plants, yet their roots still need moisture heading into winter. Dry autumn soil sends plants into dormancy stressed, and winter winds can pull even more water away.
If your fall has been rainy, you can relax and let nature handle this chore for you. During a dry stretch, though, a slow soaking every week or two helps roots stay plump and healthy.
Water at the base of the plant in the morning, aiming to moisten the top six inches of soil. Skip overhead sprinklers, since wet leaves on cool evenings can encourage fungal problems you just cleaned up.
You’ll catch me poking a finger into the soil before I ever reach for the garden hose. If the top inch or two feels dry, it is time for a drink, otherwise wait.
Stop watering once the ground freezes, because water cannot soak into frozen soil and may simply pool. Standing water around the crown creates exactly the soggy conditions that lead to rot in coneflowers.
Clay soil holds water much longer than sandy soil, so adjust your routine based on how beds drain. Heavy clay beds may need only one or two deep waterings during an unusually dry autumn.
Roots of perennials keep growing until soil temperatures drop quite low, often well after the leaves brown. A steady supply of moisture during those weeks helps them store energy for a strong spring comeback.
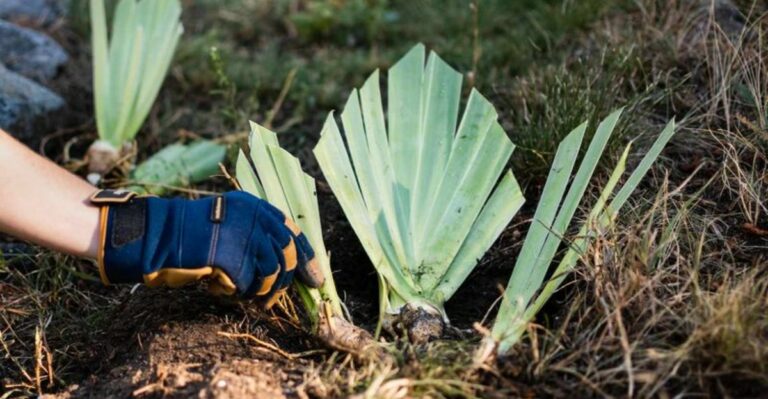
5. Divide Crowded Coneflower Clumps Before Winter
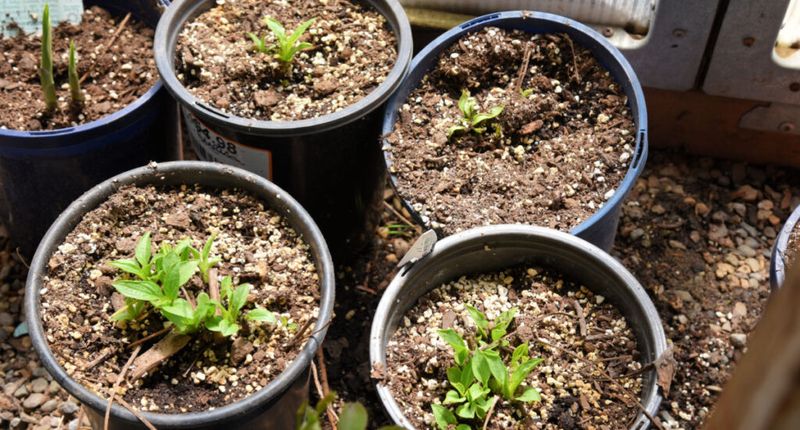
A coneflower clump with a bare, woody center and blooms only around the edges is asking for help. Older plants can get crowded after several years, and division gives them a fresh, energetic restart.
Coneflowers generally need division less often than many perennials, so wait until you notice crowding or fewer flowers. Early spring is often preferred, but early fall works if you allow time before the ground freezes.
Aim to finish dividing at least four to six weeks before your average first hard freeze arrives. That window lets new roots anchor into the soil instead of heaving out during the first cold snap.
Dig around the whole clump with a sharp spade, then lift it gently and shake off loose soil. Use a knife or spade to separate pieces, making sure each one has healthy roots and several shoots.
Don’t laugh, but I talk to my divisions while replanting them, mostly apologizing for the rough handling. Set each piece at the same depth it grew before, then firm the soil and water it well.
Keep the soil lightly moist for the next couple of weeks while those roots settle into new homes. Hold off on heavy mulch until the ground starts freezing, then add a light layer for protection.
Some popular hybrid coneflowers resent division, so check your variety’s tag before you start digging around. Divided plants may bloom lightly the next summer, but they usually return fuller within a season or two.
6. Check Coneflower Blooms For Aster Yellows
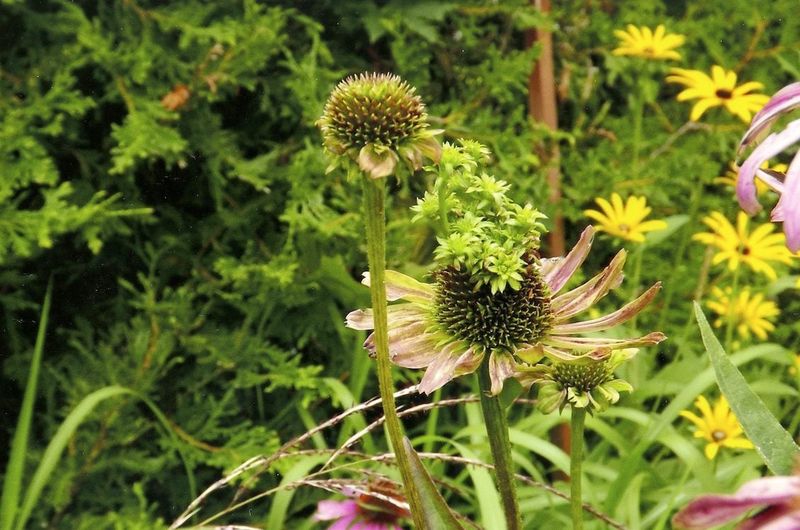
Ever spotted a coneflower with weird green tufts sprouting from its cone like a messy haircut? That strange look is often aster yellows, a disease caused by a tiny bacteria-like organism called a phytoplasma.
Leafhoppers spread it as they feed, carrying the phytoplasma from infected plants to healthy ones nearby. Symptoms include greenish petals and odd leafy growths where the seeds would normally develop on the cone.
No cure exists for aster yellows, and infected plants stay infected for the rest of their lives. Fall is a smart time to pull those plants, roots included, before they act as a source next spring.
Bag the plants and put them in the trash instead of your compost bin to limit any spread. I learned the hard way that hoping a sick plant recovers just gives the problem another year to travel.
Not every green tuft means aster yellows, since eriophyid mites can also cause similar distorted cone growth. Mite damage usually stays on the flower heads, so trimming affected cones often keeps the problem manageable.
If you are unsure, snap a clear photo and send it to your local county extension office. Their experts can help identify the issue, which saves you from removing a plant that only needed trimming.
Weeds like dandelion and plantain can also host the phytoplasma, so keep the area around coneflowers tidy. A careful look now means healthier, better-looking blooms when your garden wakes up again next summer.
7. Pull Weeds From Around Your Coneflower Bed
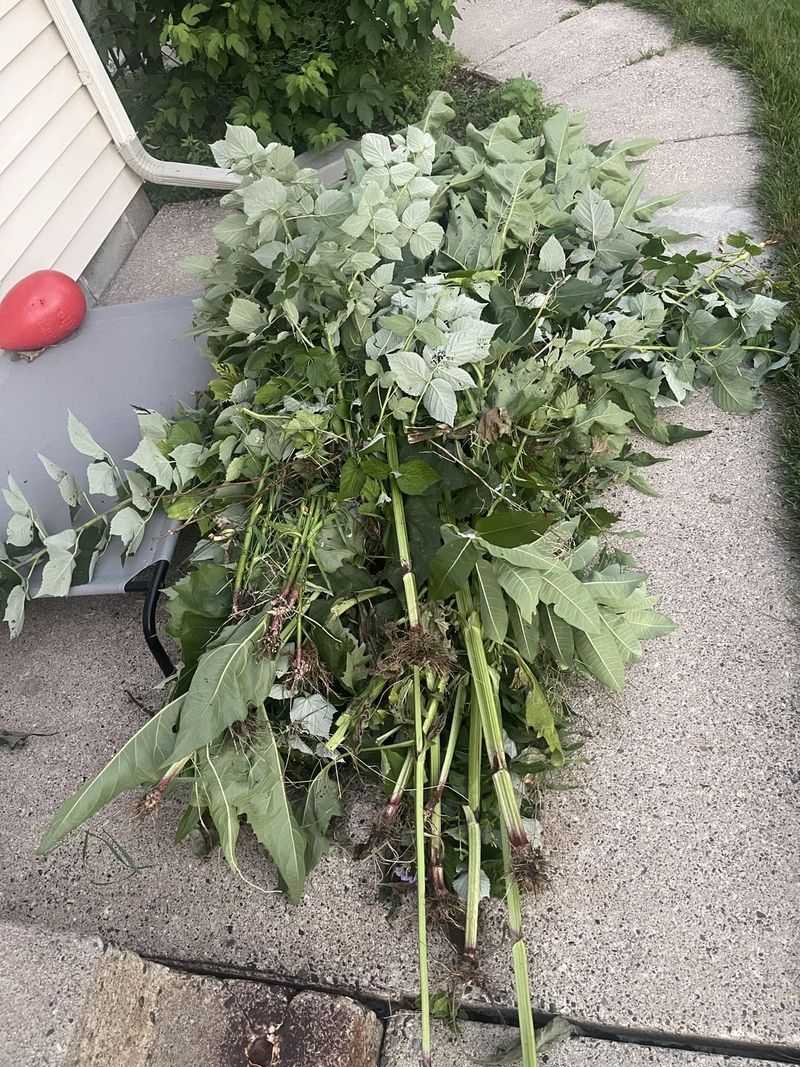
Cool fall days make weeding feel almost pleasant, especially compared with sweaty July afternoons in the garden. Moist autumn soil also lets roots slide out easily, so stubborn weeds give up with less fight.
Many weeds, like henbit and chickweed, sprout in fall and quietly settle in for an early spring start. Pulling them now stops them from setting seed before your coneflowers even wake up from their winter rest.
Weeds compete for water and nutrients, and they crowd the air space your coneflower crowns need to stay dry. Better airflow around the base means fewer chances for rot and fungal trouble during wet winter weather.
Some weeds also shelter insects such as leafhoppers, which can carry aster yellows into your flower bed. Clearing those hiding spots is a simple way to make your garden less welcoming to unwanted visitors.
Guilty as charged, I once ignored a patch of creeping grass that tangled itself right through my coneflowers. Separating those roots the next spring took forever, and a couple of plants struggled for the whole season.
Use a hand weeder or hori-hori knife to loosen roots without disturbing the coneflower crowns nearby. Work gently around the base, since the crown holds the buds that will become next year’s stems.
After weeding, wait until the ground begins to freeze, then add a light layer of mulch to help block new weed seeds from reaching sunlight and sprouting. Your coneflowers then get the bed to themselves, with plenty of room to stretch their roots underground.
8. Skip The Heavy Fertilizer For Fall Coneflowers

Coneflowers grew up on prairies with lean soil, so they rarely ask for the rich meals other perennials crave. Feeding them too much nitrogen often leads to floppy stems and fewer flowers, which nobody wants to see.
Fall fertilizing can also nudge plants into soft new growth just when they should be slowing down. That tender growth is easily damaged by frost, wasting energy the plant would rather store in its roots.
What gets me, though, is how much a thin layer of compost can help tired, worn-out soil. Compost releases nutrients slowly and improves soil structure without pushing a sudden burst of leafy growth.
Spread about half an inch of compost around the plants, keeping it away from the crowns. Rain and soil life will gently work it into the ground over the cold months ahead.
If your plants bloomed poorly, a soil test from your county extension office can show what’s lacking. Testing beats guessing, and it keeps you from adding nutrients your soil already has in good supply.
Container coneflowers are the exception, since frequent watering washes nutrients out of potting mix during the summer months. Even so, stop feeding potted plants by late summer so they can harden off before cold weather.
I think of fall feeding as a light snack rather than a feast for my coneflowers. A modest approach keeps stems sturdy and roots strong, setting up a healthy, upright display next summer.
9. Protect Potted Coneflowers From Freezing Roots
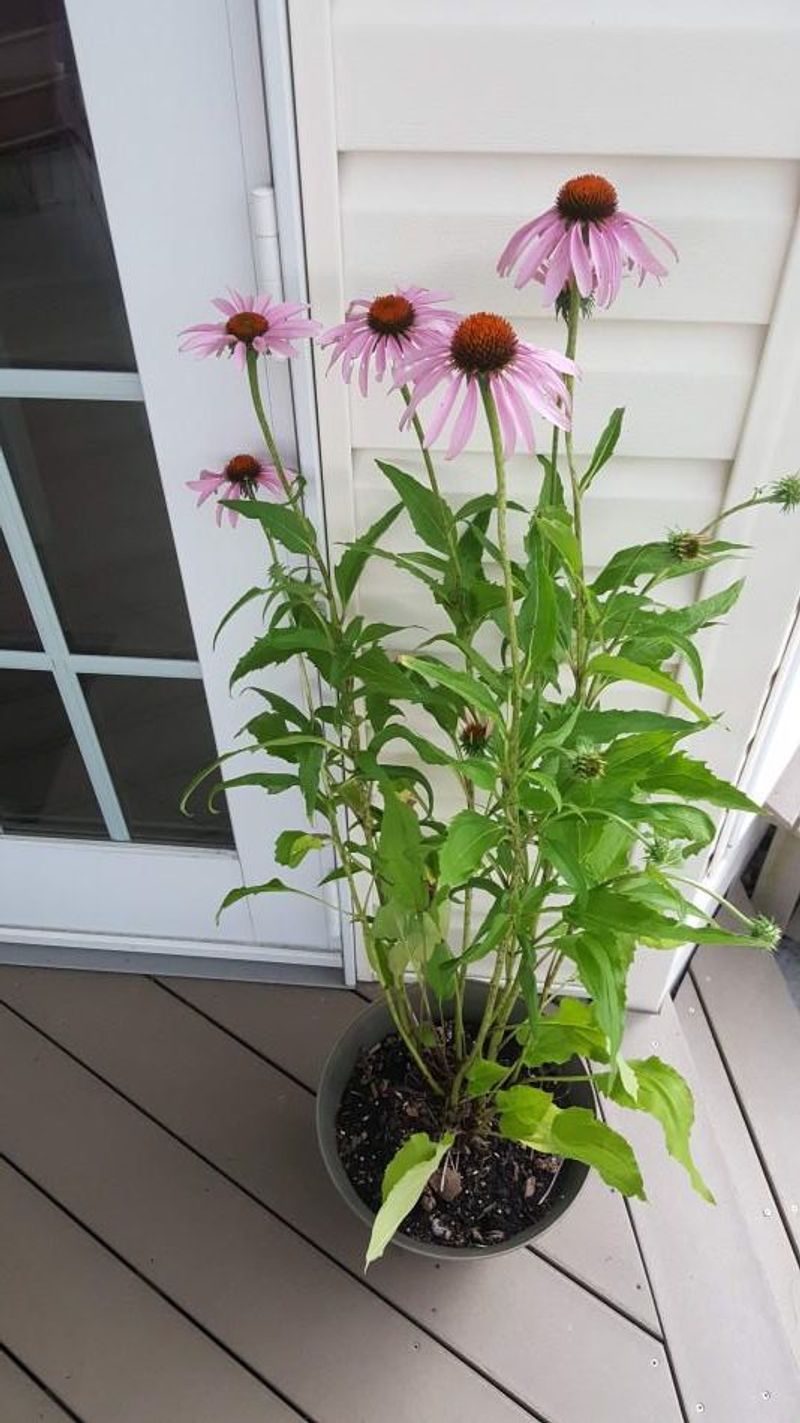
Roots in a pot face winter with just a thin wall between them and the icy air. Garden soil insulates in-ground plants, but container roots can freeze harder and faster than you might expect.
A common rule of thumb says potted perennials should be hardy two zones colder than your area. Most coneflowers are hardy in USDA zones 3 through 8 or 9, which helps, but pots still need care.
Moving containers into an unheated garage or shed keeps them cold enough to stay dormant but sheltered. Skip bringing them into a warm house, since coneflowers need a cold rest period to perform well.
Without garage space, group pots tightly together against a sheltered wall and wrap them in burlap. Some gardeners even sink pots into an empty garden bed, letting the surrounding soil act as insulation.
You’d think potted plants need lots of water in winter, but soggy, frozen soil causes more trouble. Water lightly only when the mix feels dry and temperatures sit above freezing for a day or two.
There’s a soft spot in my heart for my patio coneflowers, so I check them once a month. A quick peek lets me spot dry soil or chewed roots before small problems turn into big ones.
Make sure drainage holes stay clear, because trapped water can freeze and crack ceramic or terracotta pots. Bring containers back outside once hard freezes pass, and fresh shoots will soon push through the soil.