15 Proven Ways To Make Your Orchids Live For Years

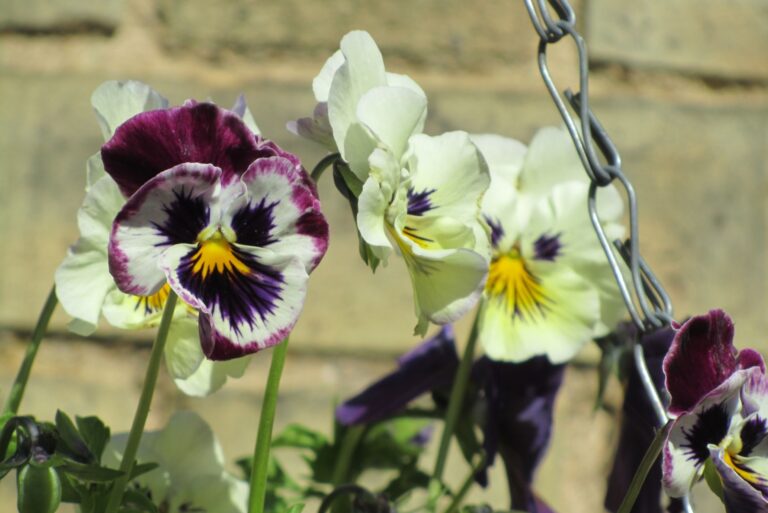
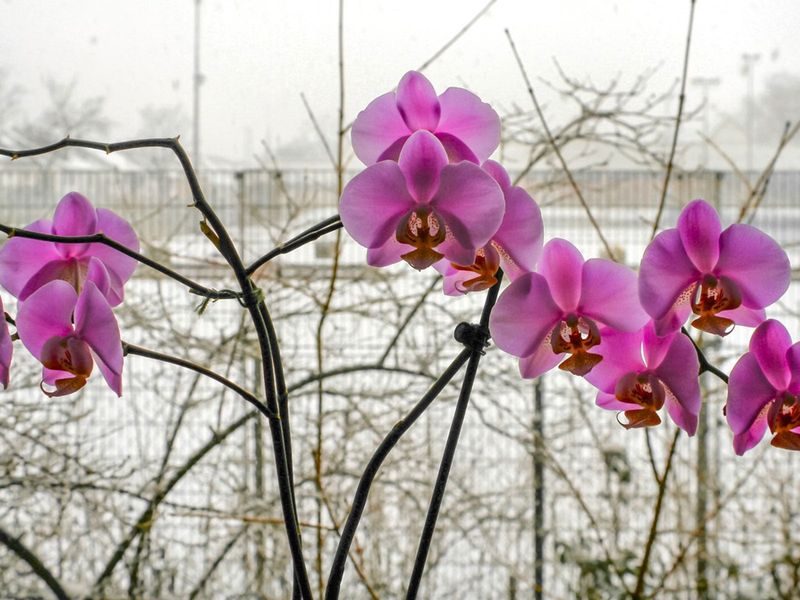
Getting orchids to thrive shouldn’t feel like solving a mystery. These stunning flowers have a reputation for being fussy, but with the right approach, they can become long-term companions in your home.
When I first brought home an orchid, it dropped all its blooms within weeks. After some research, I discovered that these plants actually communicate their needs quite clearly—if you know what to look for.
Most orchid troubles stem from a handful of common mistakes that are surprisingly easy to fix. The following tips have helped me transform struggling plants into repeat bloomers that have stuck around for years.
1. Choose The Right Potting Medium
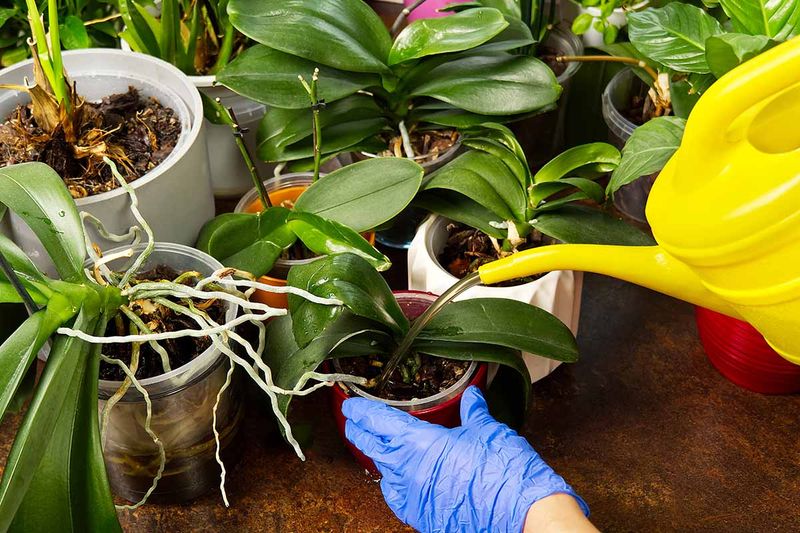
Forget regular potting soil—it’s a death sentence for most orchids. These plants evolved growing on trees with their roots exposed to air, not buried in dirt.
I learned this lesson the hard way after killing my first phalaenopsis. Now I use special orchid mix made of bark chunks, perlite, and sometimes sphagnum moss that allows air circulation while retaining just enough moisture.
The right medium should feel light and chunky between your fingers, never soggy or compacted. Replace it every 1-2 years as it breaks down to prevent root rot and keep your orchid breathing freely.
2. Master The Watering Schedule
Most orchid deaths trace back to overwatering. I’ve found success with a simple test: stick your finger into the potting medium—if it feels damp, wait another day.
For most home environments, watering once every 7-10 days works well. During winter, I stretch this to every two weeks as growth slows down. The clear pot method has been a game-changer for me; I can actually see when roots turn silvery-green, signaling they’re ready for water.
When you do water, be thorough. I soak mine in the sink for 15 minutes, then let them drain completely before returning them to decorative pots.
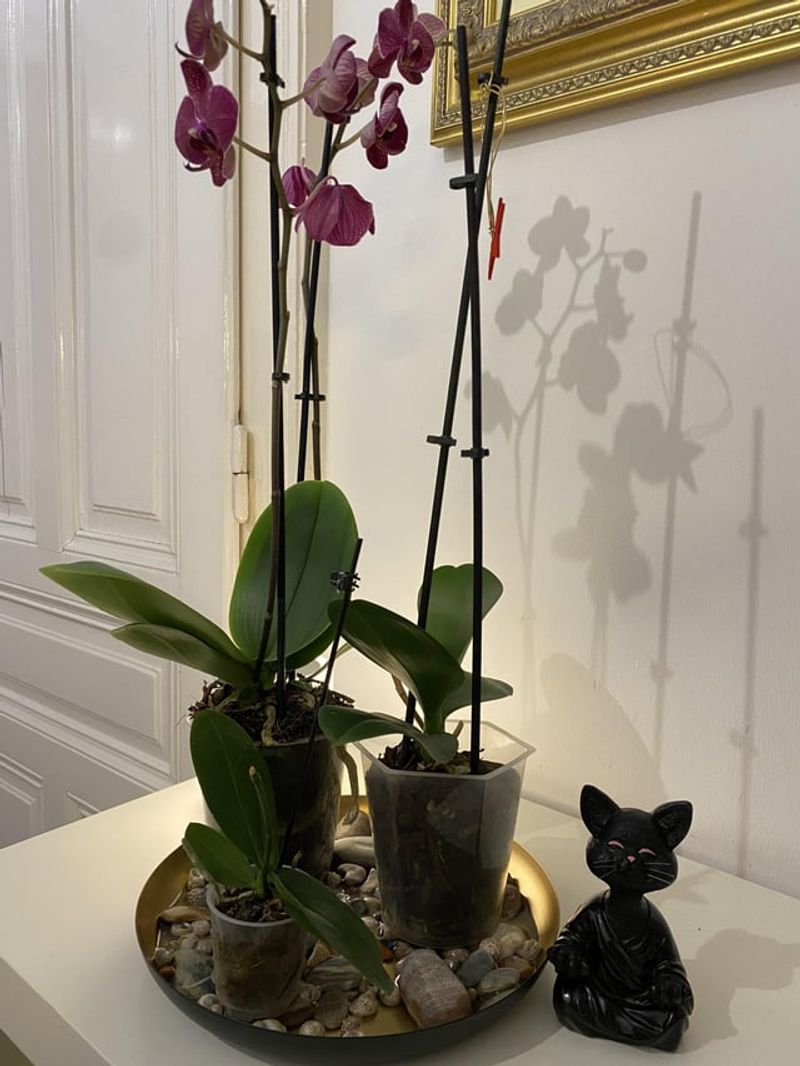
3. Find The Sweet Spot For Light

Bright indirect light makes all the difference between an orchid that merely survives and one that thrives year after year. My east-facing window became the perfect spot after years of guesswork.
Too little light means your orchid might stay green but won’t bloom again. Too much direct sunlight burns the leaves—I learned this when my prized dendrobium developed crispy brown patches after a summer afternoon.
The ideal light creates a faint shadow when you hold your hand between the plant and light source. For dark corners, consider supplementing with grow lights specifically designed for flowering plants.
4. Keep Humidity Levels Up
Orchids thrive in higher humidity than most homes naturally provide. After watching my plants struggle with wrinkled leaves and bud blast, I invested in a small humidifier that transformed their health.
You don’t need tropical conditions—just boosting humidity to 40-60% makes a remarkable difference. Before buying equipment, I tried simple methods like grouping plants together or placing them on pebble trays filled with water (making sure the pot sits above the water line).
For me, the bathroom became an unexpected orchid haven. The shower creates perfect humidity spikes, and my vandas especially love it there.
5. Feed Lightly But Consistently
“Weakly, weekly” became my fertilizing mantra after burning some roots with full-strength plant food. Orchids need nutrients, but they’re light eaters compared to other houseplants.
I use a balanced orchid fertilizer (look for 20-20-20 on the label) diluted to quarter-strength every other watering during growing season. During winter months, I cut back to once monthly since the plants aren’t actively growing.
The biggest game-changer was flushing the pot thoroughly with plain water once a month. This prevents fertilizer salt buildup that can damage delicate roots—something I wish I’d known before wondering why my first orchids developed brown root tips.
6. Respect The Rest Period
Forcing orchids to bloom year-round exhausts them quickly. After flowers fade, I used to panic and try everything to make new buds appear immediately—a mistake that weakened my plants.
Now I understand that the post-bloom period is when orchids gather strength for future flowers. My phalaenopsis typically needs 6-9 months between flowering cycles to build energy. During this time, I continue regular care but accept the focus is on leaf and root growth.
Temperature shifts actually trigger many orchids to set flower spikes. For my phals, exposing them to cooler nighttime temperatures (around 55-65°F) for a few weeks in fall reliably initiates new bloom spikes.
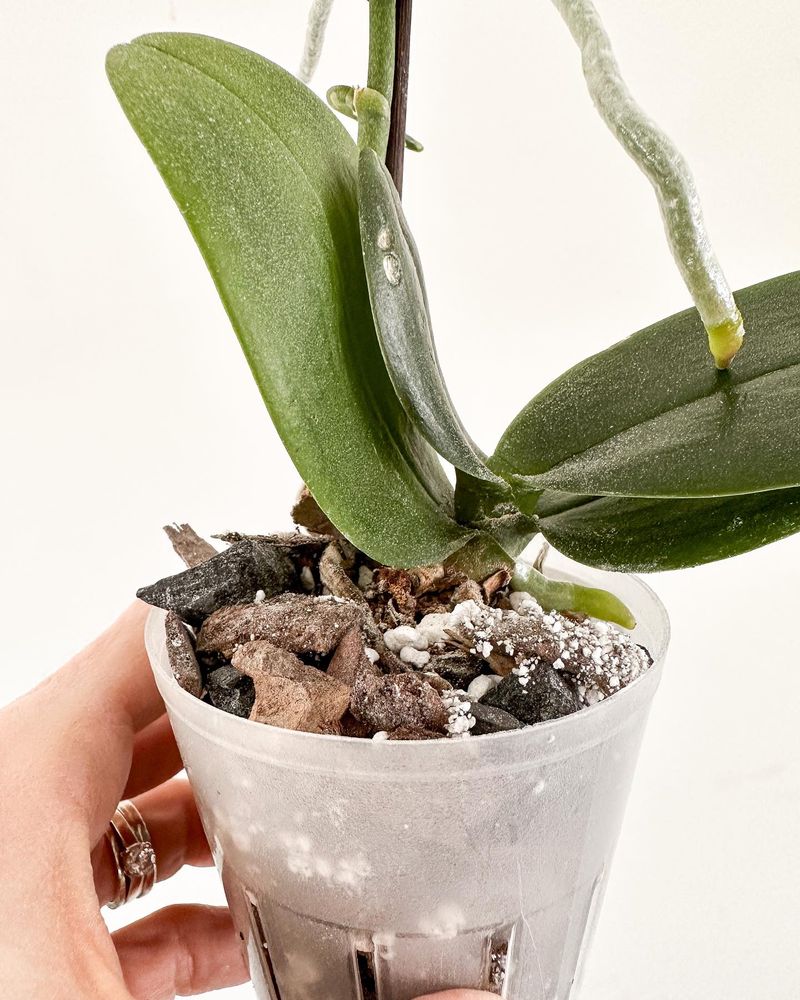
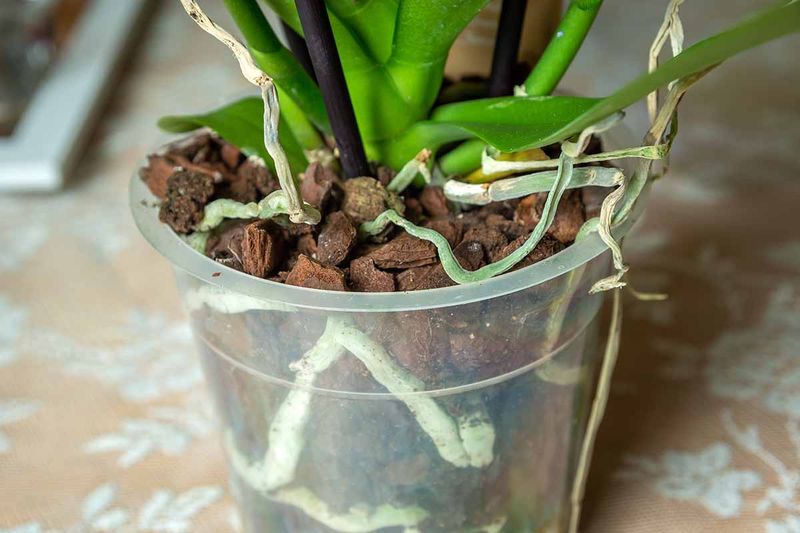
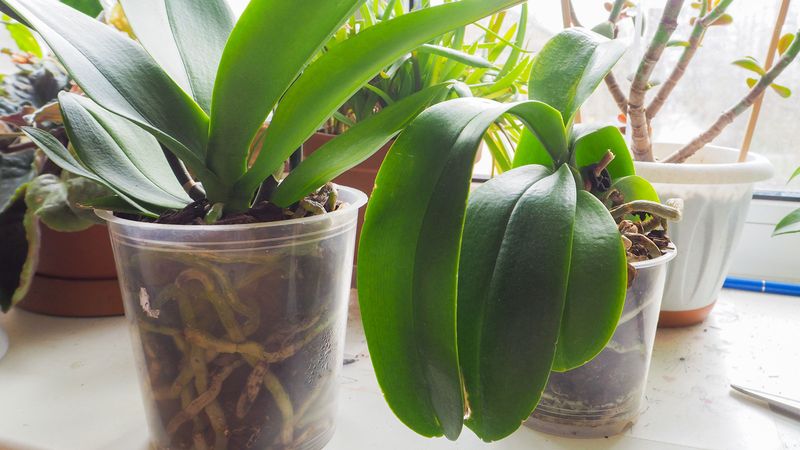
7. Use Clear Pots For Root Monitoring
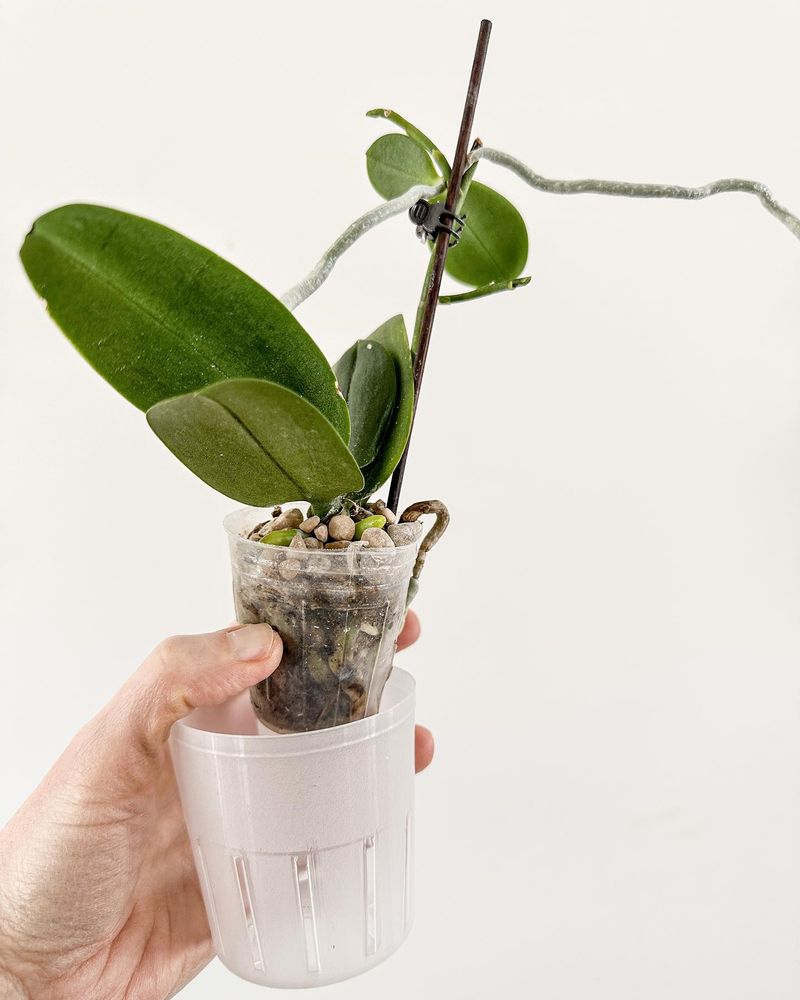
Switching to transparent containers revolutionized my orchid care. These plants have photosynthetic roots that actually benefit from light exposure, something I never knew when I started growing them.
Clear pots let me monitor root health without disturbing the plant. Healthy roots appear green after watering and silvery-white when dry. Brown, mushy sections signal trouble and need immediate attention—I’ve saved several plants by catching rot early.
For aesthetics, I simply slip the clear plastic pots into decorative containers. This two-pot system offers another benefit: better drainage and air circulation around the roots, preventing the soggy conditions that lead to root death.
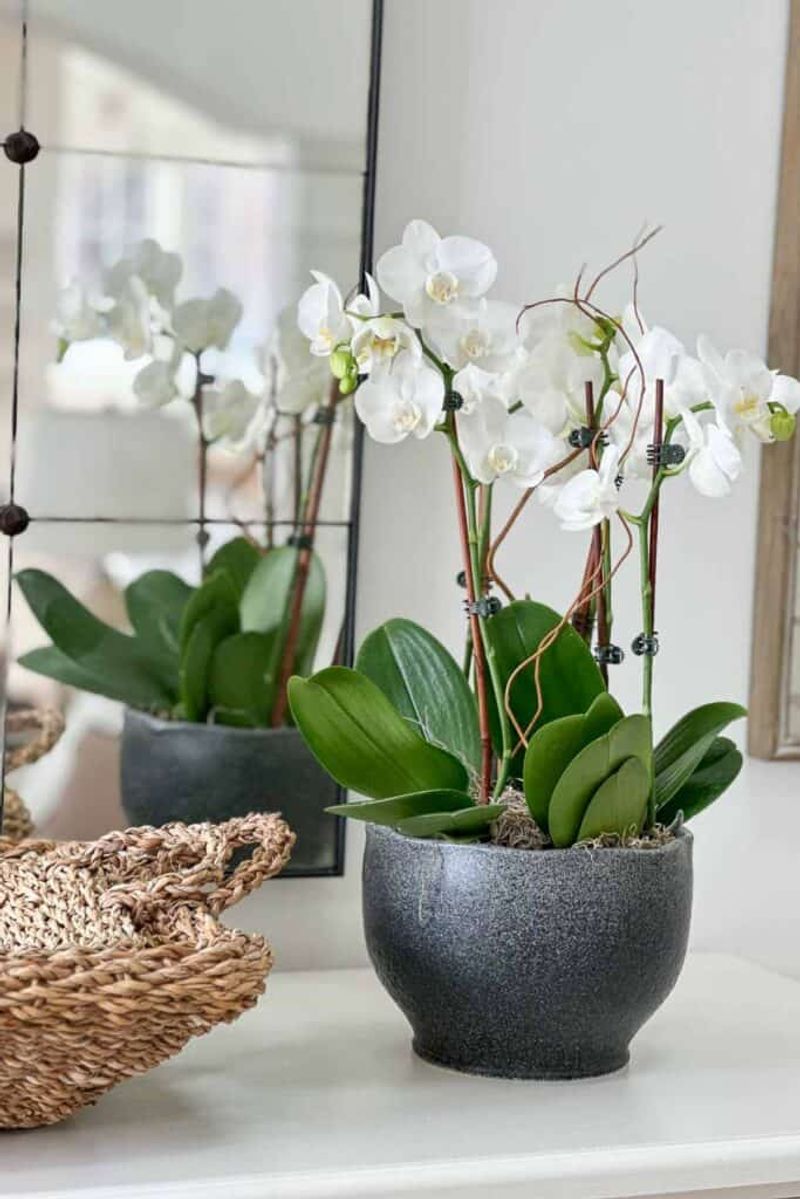
8. Perfect Your Pruning Technique
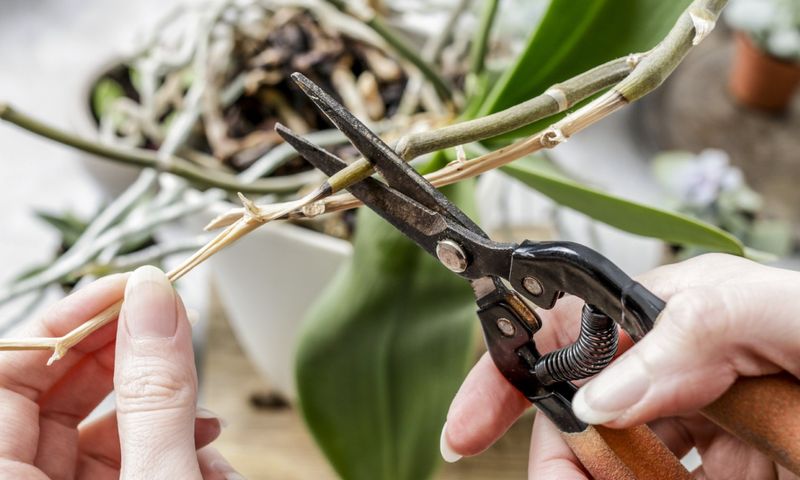
Cutting spent flower spikes intimidated me until I learned where to make the cut. For years, I snipped too high, missing the opportunity for secondary blooms, or too low, removing the chance for reblooming entirely.
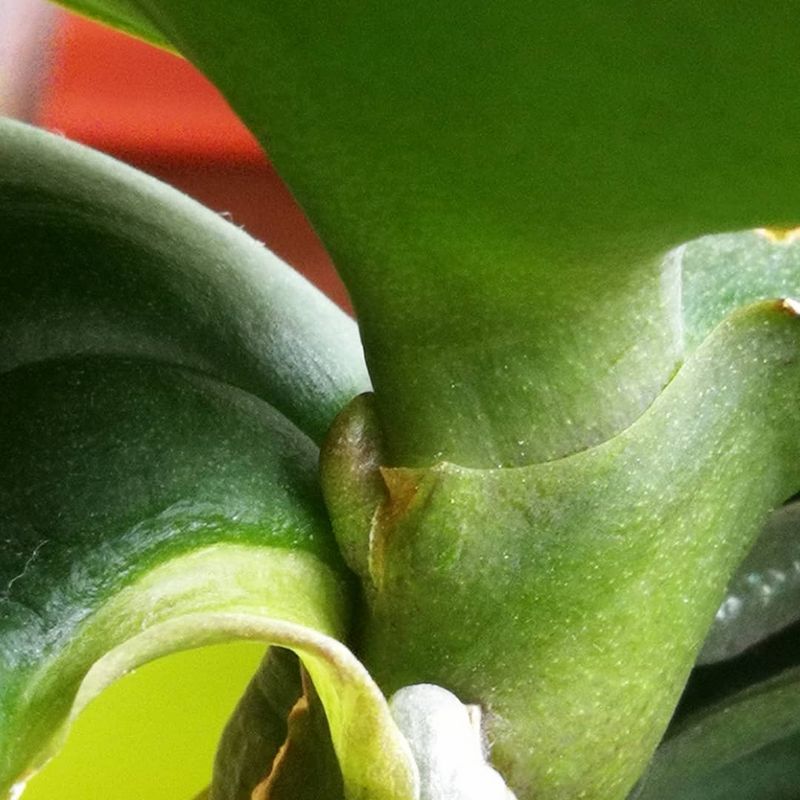
On phalaenopsis orchids, I now examine the spike after flowers fall. If it remains green, I cut just above the node (those little bumps) closest to the base. Often, this triggers a new bloom spike from that node within months.
For completely brown or yellow spikes, cutting at the base makes sense. Always use sterilized tools—I dip my scissors in alcohol between cuts to prevent spreading any potential disease from plant to plant.
9. Monitor Temperature Fluctuations
Orchids have taught me to pay attention to the subtle temperature changes in my home. Most common varieties prefer daytime temperatures between 65-75°F and nighttime drops of about 10-15 degrees—mimicking their natural habitat.
My orchids struggled until I moved them away from heating vents and drafty windows. The constant temperature fluctuations stressed them, causing bud drop and weak growth.
Creating a slight temperature differential between day and night actually encourages blooming. I noticed this accidentally when I started lowering my thermostat at night to save energy—suddenly my orchids began producing flower spikes more reliably, especially during fall and winter months.
10. Repot With Perfect Timing
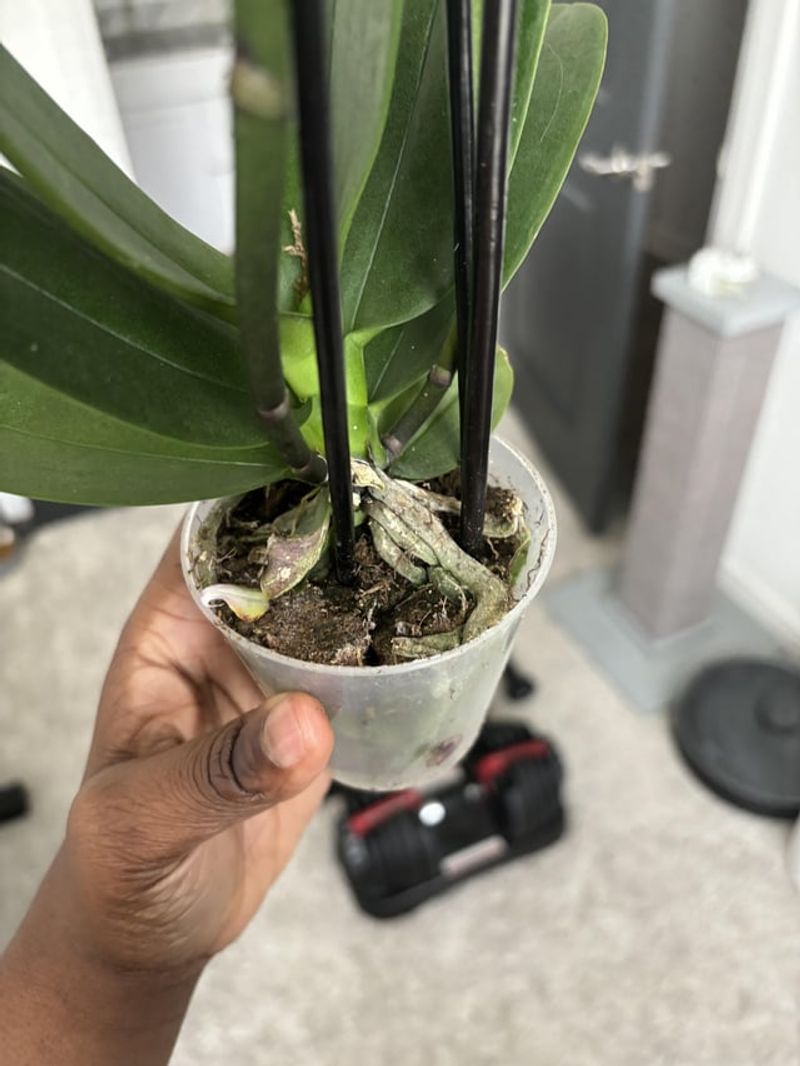
Repotting used to terrify me—I’d heard horror stories about orchids declining afterward. The secret, I discovered, is timing. Repotting right after flowering when new root growth begins gives plants the best chance to establish without interrupting blooming.
Most orchids only need repotting every 2-3 years, not annually like other houseplants. Signs it’s time include roots growing wildly outside the pot, potting medium breaking down into mush, or decreased blooming.
The process requires gentleness. I soak roots first to make them pliable, trim only clearly dead roots (they’ll be mushy or hollow), and use a pot just big enough to accommodate 2 years of growth—oversized containers lead to root rot.
11. Provide Air Circulation

Stagnant air creates the perfect environment for fungal and bacterial problems. After losing an orchid to mysterious black spots, I realized my plants needed better airflow to thrive long-term.
A small oscillating fan running on low for a few hours daily made a remarkable difference. The gentle breeze strengthens stems, dries excess moisture from leaves, and prevents the humid pockets where pathogens flourish.
I position the fan to create movement without directly blasting the plants. This subtle air circulation, combined with proper spacing between plants, has virtually eliminated the fungal issues that once plagued my collection. Healthy air means healthy orchids that can live for decades.
12. Learn To Read Leaf Signals
Orchid leaves tell stories if you know how to interpret them. Yellow leaves alarmed me until I realized bottom leaves naturally yellow and drop as part of the aging process—it’s only concerning when multiple leaves yellow simultaneously.
Wrinkled leaves typically indicate dehydration, while dark spots might signal sunburn or fungal issues. The leaf color itself provides clues: deep green often means too little light, while yellowish-green can indicate perfect light levels for reblooming.
My favorite indicator is new leaf growth—when a phalaenopsis produces a fresh leaf, it signals the plant is happy and building energy. I celebrate these small green victories as signs my orchid will be with me for years to come.
13. Stabilize Growing Conditions
Orchids hate sudden changes. Moving mine around the house constantly or drastically altering care routines used to result in dropped buds and stress responses.
Finding the right spot and sticking with it transformed my success rate. When I brought home new orchids, they’d often drop blooms within days—until I started quarantining newcomers in conditions similar to the store before gradually acclimating them to my home environment.
Seasonal adjustments should be gradual too. I slowly reduce watering as winter approaches rather than abruptly changing schedules. This consistency with minor, thoughtful adjustments helps orchids settle into a rhythm that supports their long-term health and repeated blooming cycles.
14. Treat Pests Promptly
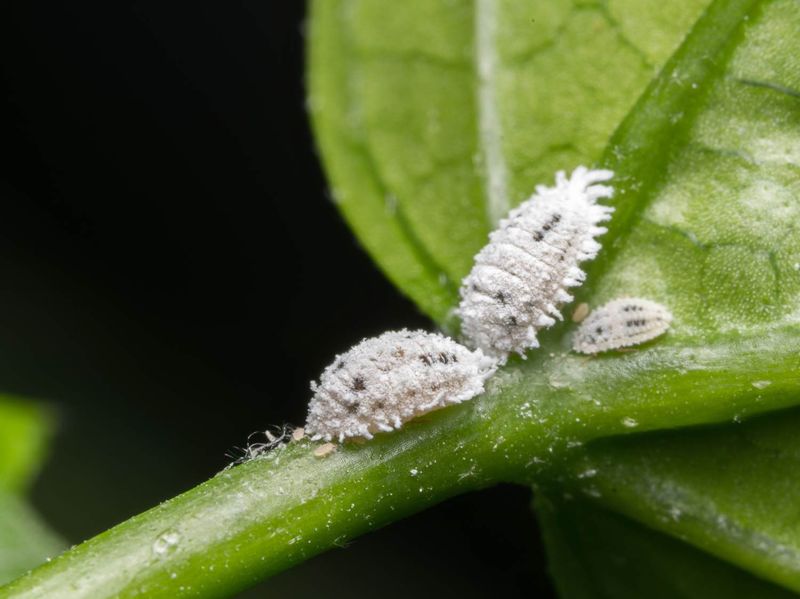
Ignoring early signs of pests cost me several beautiful orchids before I learned to act quickly. Scale insects and mealybugs particularly love orchids, hiding in leaf joints and under sheaths where they’re easy to miss.
Regular inspection became part of my routine—I check new growth and leaf undersides while watering. For minor infestations, I dab insects with alcohol-soaked cotton swabs, which dissolves their protective coating without harming the plant.
Prevention works best. I keep new plants isolated for three weeks before introducing them to my collection, and I avoid the common mistake of overfeeding, which creates soft growth that attracts pests. Healthy orchids naturally resist invaders better than stressed ones.
15. Keep Detailed Care Records
My orchid collection transformed when I started tracking care details instead of relying on memory. A simple notebook where I record watering dates, fertilizing schedule, and blooming cycles helps identify patterns that lead to success.
Photos taken monthly reveal subtle changes that might otherwise go unnoticed. When my cattleya rebloomed spectacularly, I could look back and replicate the exact conditions that led to that success—information I would have forgotten without notes.
Labels matter too. I mark each pot with the orchid type and acquisition date. This simple habit helps me adjust care based on specific needs and track which varieties thrive in my particular home environment, leading to years of successful growth.