7 Reasons Why Your Aloe Vera Is Turning Brown Or Mushy
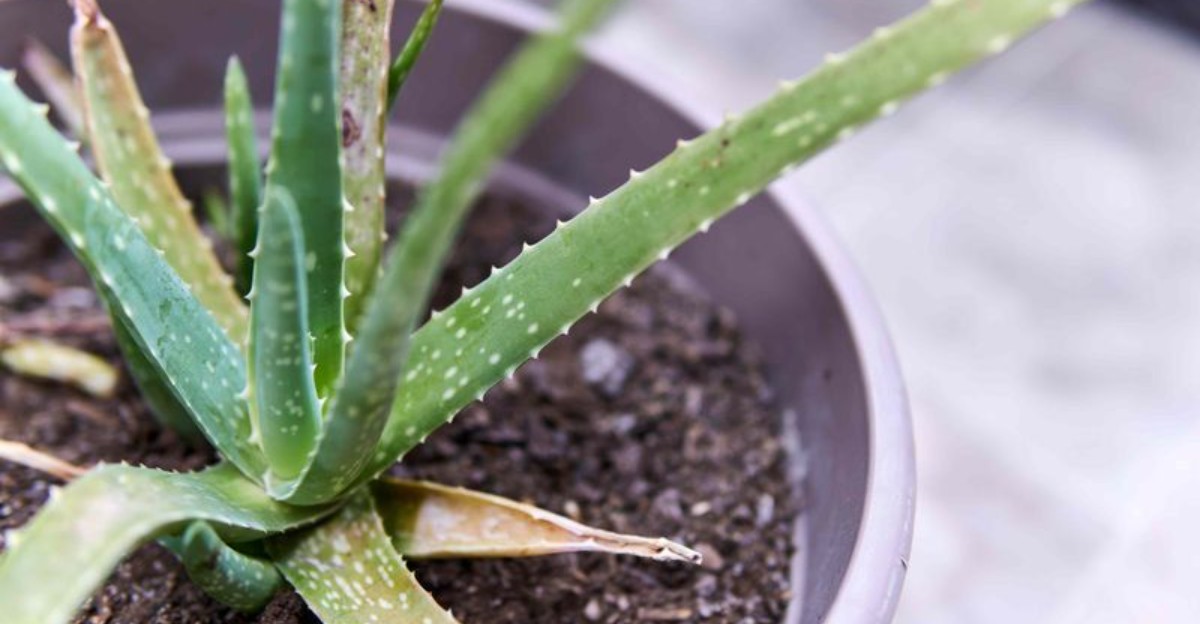
You walked past the windowsill this morning and noticed your favorite spiky houseplant looking a little sad and droopy. One leaf felt squishy like an old grape, and another had turned the color of weak breakfast tea.
Plants with thick, juicy leaves seem tough, but they can be surprisingly dramatic when something in their routine goes wrong. A little too much love, a chilly draft, or the wrong pot can show up fast as brown patches.
Early fall makes things trickier, since cooler nights and shorter days change how quickly soil dries out indoors and outside. Many plant owners keep the same summer habits going, and their green friends quietly start to protest.
Luckily, most brown or mushy spots tell a clear story when you know how to read the clues. Think of yourself as a plant detective, with a magnifying glass, a curious nose, and slightly dirty fingernails.
Small changes can help a struggling plant recover, though firmer new growth may take a few weeks to show. Until then, your windowsill buddy will keep sulking like a teenager who got asked to clean their room.
1. Too Much Water In The Soil
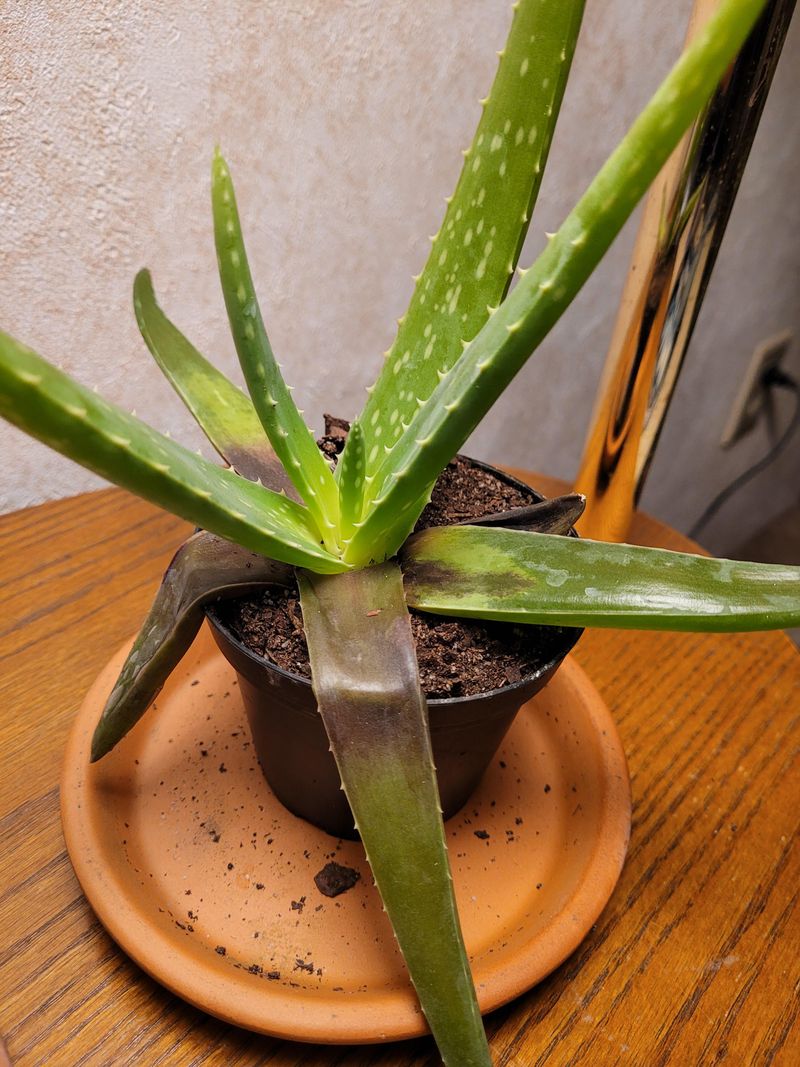
Picture a kitchen sponge that stays wet all week, and you will understand what soggy soil does to roots. Overwatering is the most common reason these desert plants turn mushy, especially when cooler fall weather slows everything down.
Aloe leaves store water like tiny canteens, so the plant needs far less from you than most houseplants. When roots sit in wet soil for days, the leaves swell, soften, and start to look see-through.
In early October, a pot that dried out in five days during August might now take two weeks. Shorter days and lower temperatures mean the plant drinks slower, so the old watering schedule often becomes too much.
A simple finger test works better than any calendar, and it costs nothing except a little dirt under your nail. Push your finger two inches into the soil, and only water if it feels dry all the way down.
If the plant already looks puffy, stop watering for a while and move it somewhere bright with good airflow. Mushy leaves rarely firm back up, so trim them off with clean scissors to keep the plant looking tidy.
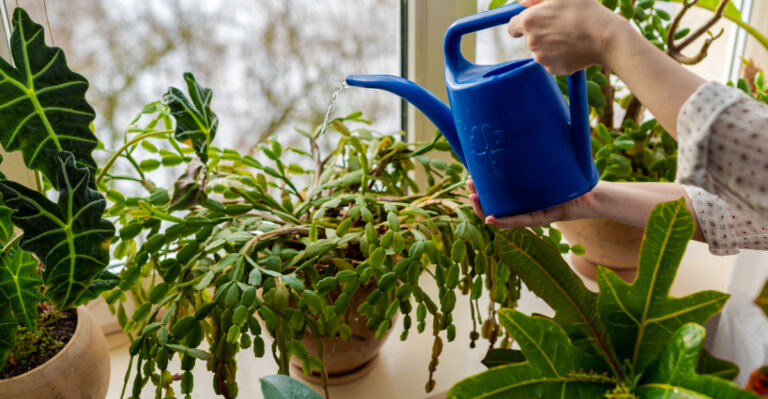
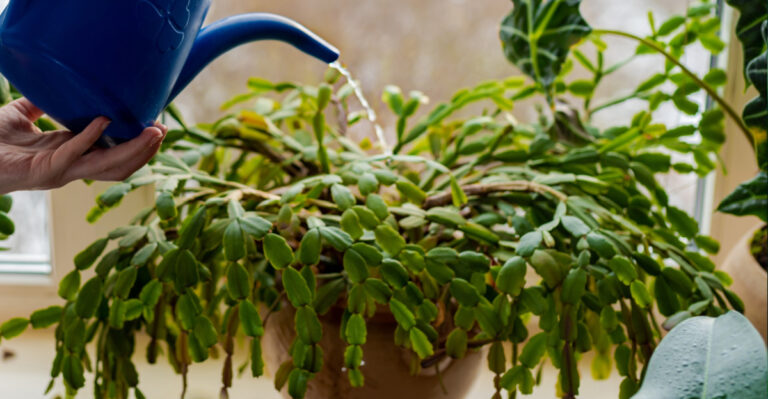
Many growers find that watering once every three or four weeks works well during fall and winter indoors. Pour slowly until water runs out the bottom, then empty the saucer so the roots are not left soaking.
Think of watering as a treat your plant earns, rather than a chore you check off every Sunday. A thirsty aloe looks slightly wrinkled and thin, which is a much easier problem to fix than mush.
2. Root Rot Beneath The Surface
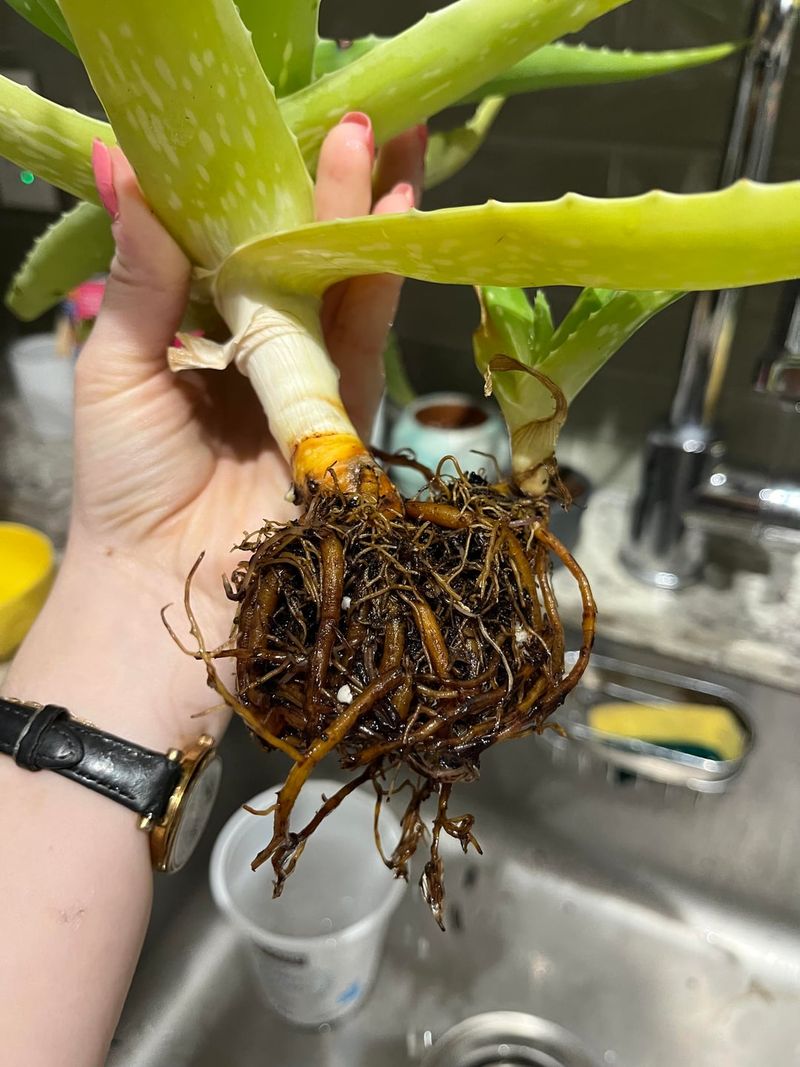
Sometimes the real trouble hides underground, where you cannot see it until the leaves start sending distress signals. Root rot happens when soggy conditions let fungi and bacteria feed on the roots and turn them into brown slime.
Healthy aloe roots look white or pale tan, and they feel firm like cooked spaghetti that still has bite. Rotting roots turn dark brown or black, feel mushy, and often smell sour, like a forgotten bag of potatoes.
Above the soil, you might notice the base of the plant going soft or the whole thing leaning sideways. Lower leaves often turn soft and brown first, since rot creeps upward from the roots into the stem.
To check, gently slide the plant out of its pot and shake away the old soil over some newspaper. Use clean, sharp scissors to cut off every soft or dark root until only firm, healthy tissue remains.
Let the trimmed plant sit bare for two or three days so the cut ends can dry and seal. Then replant it in fresh cactus mix and wait about a week before giving it a small drink.
If the rot has reached the main stem, look for healthy baby plants, called pups, growing around the base. Those little offshoots can be separated and potted on their own, giving your aloe a fresh second chance.
Fun fact, aloes native to Africa and the Arabian Peninsula often grow in gritty, rocky ground that drains quickly. Copying those dry, airy conditions at home is a reliable way to keep root rot from coming back.
3. Pots Without Drainage Holes
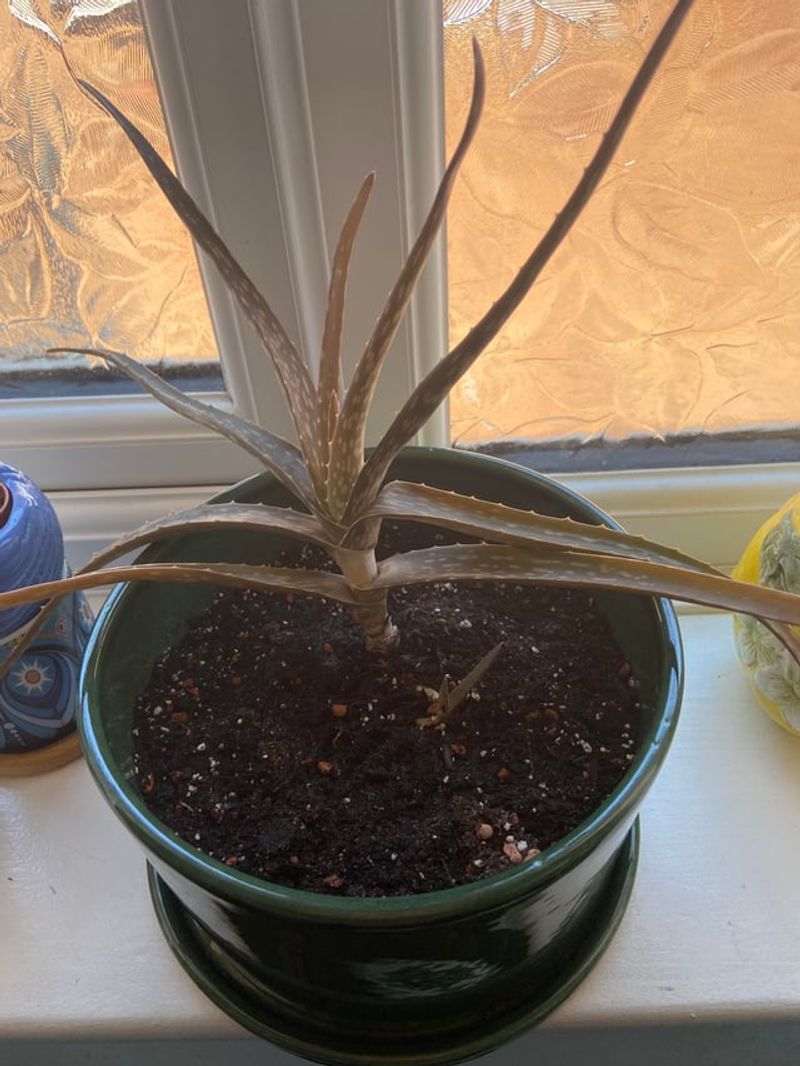
That adorable ceramic pot from the craft fair might be the sneaky reason your plant keeps turning soft and brown. Without a hole in the bottom, extra water has nowhere to go, so it pools quietly around the roots.
You might water a small amount each time and think you are being careful, but the moisture keeps building. After a few weeks, the bottom of the pot turns into a tiny swamp that your aloe cannot escape.
Many people add a layer of gravel at the bottom, hoping it will help, but that trick rarely works. Water actually tends to hang in the soil above the gravel, which keeps the roots even wetter than before.
The easiest fix is moving your plant into a plain pot with at least one good drainage hole underneath. You can still use the pretty pot as an outer cover, as long as you dump out extra water afterward.
Terracotta pots are a favorite among succulent fans because the clay walls breathe and pull moisture away from soil. Plastic pots hold water longer, so they work best for people who tend to forget about watering.
Size matters too, since a giant pot holds extra soil that stays damp long after the roots finish drinking. Pick a container only an inch or two wider than the root ball for the healthiest, happiest growth.
Spring or early summer is the best time to repot a healthy aloe, though a plant with rot should be repotted right away. Your aloe will thank you with firmer leaves, and your windowsill will finally stop smelling faintly like a pond.
4. Heavy Soil That Holds Moisture
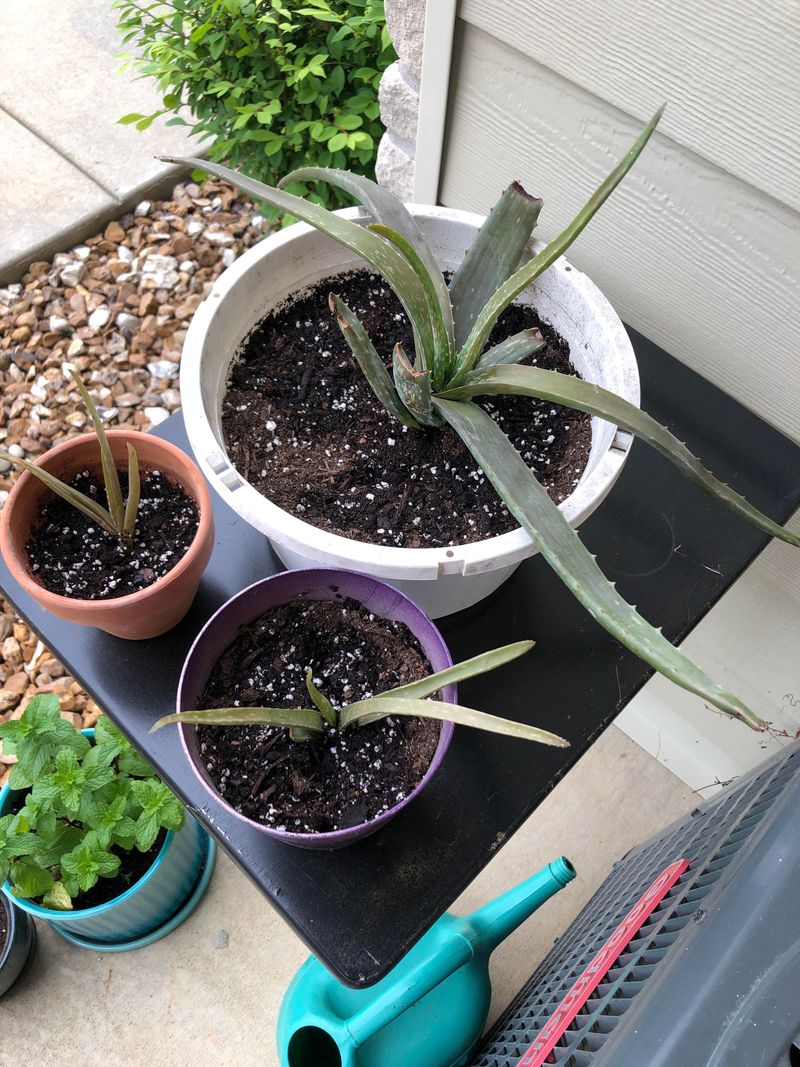
Regular potting soil feels soft and fluffy in the bag, but it acts like a wet blanket for desert plants. Most bagged mixes are made for leafy houseplants that enjoy steady moisture, not for thick-leaved succulents like aloe.
Peat and compost soak up water and hold it for days, which keeps aloe roots damp far too long. Over time, that heavy mix packs down tight, squeezing out air pockets that roots need to breathe properly.
One quick clue is soil that still feels cold and muddy a full week after you watered the pot. Another possible sign is a crusty white or green film on top, which can point to moisture lingering at the surface.
A gritty cactus and succulent mix drains much faster, letting water rush through like rain over a gravel driveway. You can buy it ready-made at most garden centers, or you can easily mix your own blend at home.
A simple recipe uses one part potting soil, one part coarse sand, and one part perlite or pumice. Those little white perlite bits look like popcorn, and they keep the mix loose, airy, and quick to dry.
Skip fine play sand, since its tiny grains can pack together and actually slow drainage instead of helping it. Coarse builder sand or horticultural grit works much better, giving water plenty of open space to flow through.
Swapping old, heavy soil for a fresh gritty blend when you repot can make a noticeable difference in leaf color. Over the following weeks, leaves often look plumper and feel firmer when you give them a gentle squeeze.
5. Sunburn From Sudden Bright Light
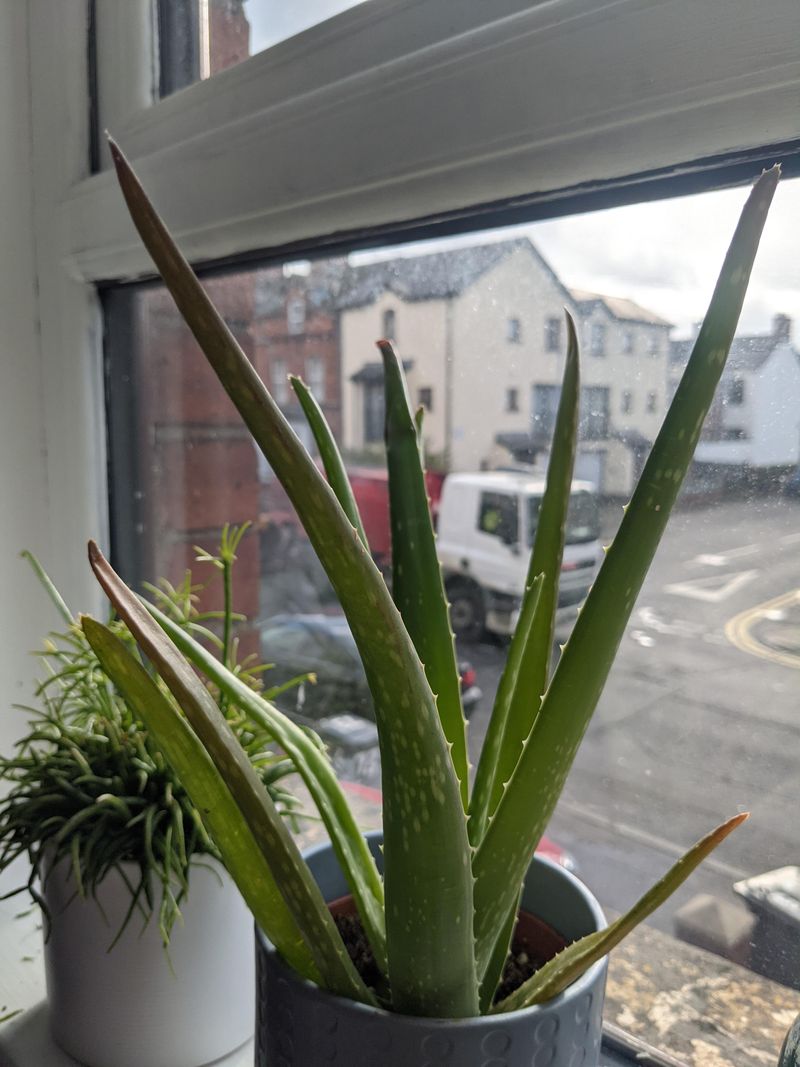
Yes, a plant built for the desert can still get a sunburn, even though it looks different from the kind people get. Leaves may turn reddish brown, orange, or even crispy tan on the side facing the brightest window or sky.
Sunburn usually happens when an aloe moves too quickly from a shady spot into strong, direct sunlight. Plants need time to build up protection, much like your skin needs time after a long winter indoors.
In early October, many people bring outdoor aloes inside, and some get placed right against a hot southern window. Strong afternoon sun through glass can heat the leaves, so a leaf pressed against the pane may burn faster than you might expect.
Unlike soggy damage, sunburned spots feel dry and papery instead of soft, which makes the two easy to tell apart. A slightly reddish tint on the whole plant is often just stress, and it usually fades with gentler light.
To help a sunburned aloe, slide it a foot or two back from the glass or add a sheer curtain. Bright, filtered light keeps the plant growing well without stressing the leaves or leaving fresh burn marks behind.
Burned patches will not turn green again, but the plant can keep growing new, healthy leaves from its center. Trim badly scorched leaves at the base if they bother you, or simply leave them until fresh growth fills in.
Whenever you change your plant’s location, give it about a week or two to adjust step by step. Think of it as easing into a cold pool, one toe at a time, instead of leaping in at once.
6. Cold Drafts In Early Fall
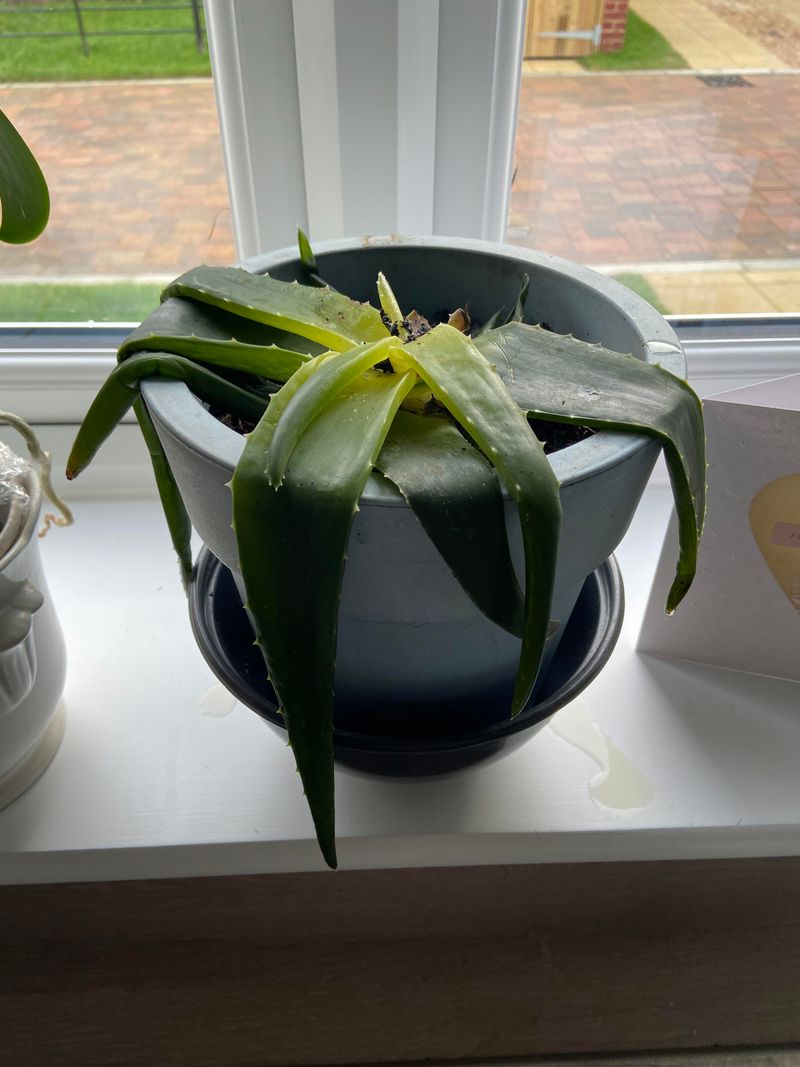
Aloe comes from warm, sunny places, so a chilly breeze from a drafty window can feel like a rude surprise. Once October nights dip into the forties, leaves near cold glass may start showing soft, dark, water-soaked patches.
Most aloes feel comfortable between about 55 and 80 degrees, and they start to struggle below 50 degrees. Cold temperatures can damage the water-filled cells inside the leaves, which makes them turn soft and watery.
Watch out for spots near outside doors, leaky window frames, and air conditioners that still blow on cooler days. Even a window that feels fine at noon can turn surprisingly cold after sunset, when the glass loses heat quickly.
Heating vents cause trouble too, since blasts of hot, dry air can make leaf tips turn brown and crispy. Your aloe prefers steady conditions, so keep it a few feet away from anything that suddenly heats or cools.
A quick hand test helps here, so place your palm near the window at night and feel for chills. If it feels cold to you, scoot the pot back a little or tuck a towel along the frame.
Leaves touched by cold often turn mushy within a day or two, and they rarely recover their firm texture. Snip those leaves off near the base so the plant can focus its energy on staying healthy this season.
Cooler weather also means your aloe needs less water, so combining chilly air with wet soil spells double trouble. Keep the soil on the dry side through fall, and your plant will handle temperature swings much more gracefully.
7. Fungal Leaf Spots
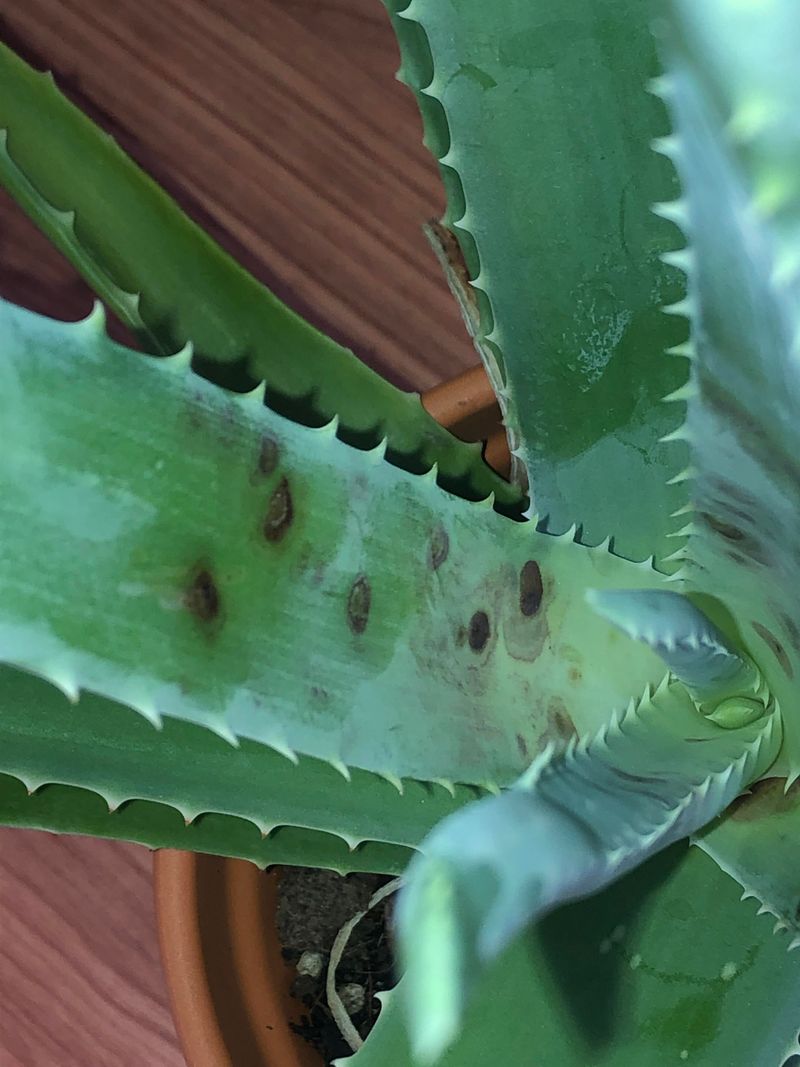
Little brown or black freckles on your aloe might look harmless at first, but they can signal a fungal problem. Fungi love damp, still air, and cooler fall days with high humidity give them a cozy place to grow.
Leaf spot usually starts as small, round, sunken marks that slowly spread and darken over a week or two. Some spots have a yellow ring around them, while others ooze slightly and feel soft when you press gently.
Water sitting on the leaves is the main troublemaker, especially when droplets collect in the center rosette overnight. Try pouring water directly onto the soil instead of spraying the plant, and do it early in the day.
Crowded plants share germs easily, a bit like kids passing around a cold in a packed classroom. Give your aloe some breathing room, and run a small fan nearby on muggy days to keep air moving.
If only a few leaves have spots, cut them off cleanly at the base and toss them in the trash. Wipe your scissors with a disinfecting solution afterward so you do not carry the fungus to other plants.
For stubborn cases, a copper-based or sulfur fungicide from the garden center can help slow the spread. Follow the label closely, and test a small area first, since some succulents react poorly to certain sprays.
Old spots will not vanish, but new leaves should come in clean once conditions stay dry and breezy. Your aloe may look a little freckled for a while, which is honestly kind of charming in its own way.