Repot Your Peace Lily The Right Way With These 9 Simple Steps In California
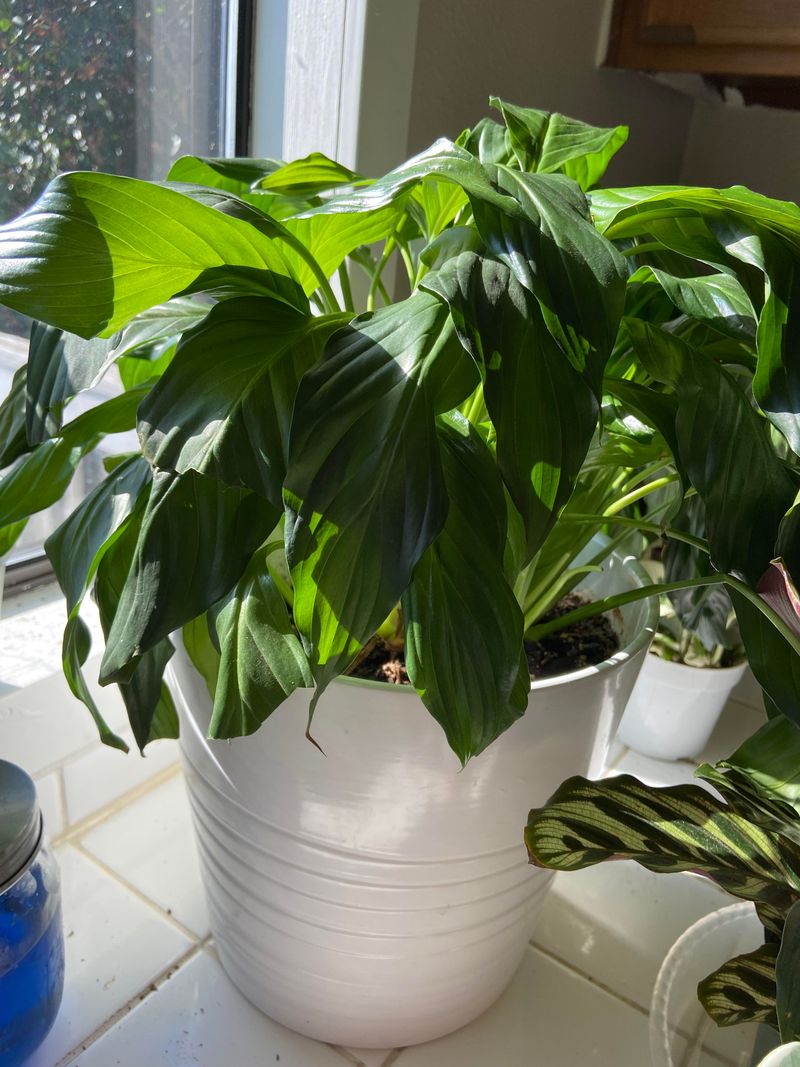
Does your peace lily look healthy, but something about it makes you hesitate before touching it?
That feeling is common in California homes, where indoor plants often appear fine even when subtle changes are happening.
Repotting is one of those moments that makes people pause, not because it’s complicated, but because it feels important. Many plant owners worry about choosing the wrong time or disrupting a plant that seems settled.
This task isn’t about rushing or correcting a mistake, but about responding thoughtfully when the moment feels right.
Small decisions during repotting can influence how the plant adjusts afterward, even if nothing seems urgent at first.
California’s steady indoor conditions can make those signals easier to miss, which adds to the uncertainty.
Learning how to approach repotting calmly can make the entire process feel more natural and far less intimidating.
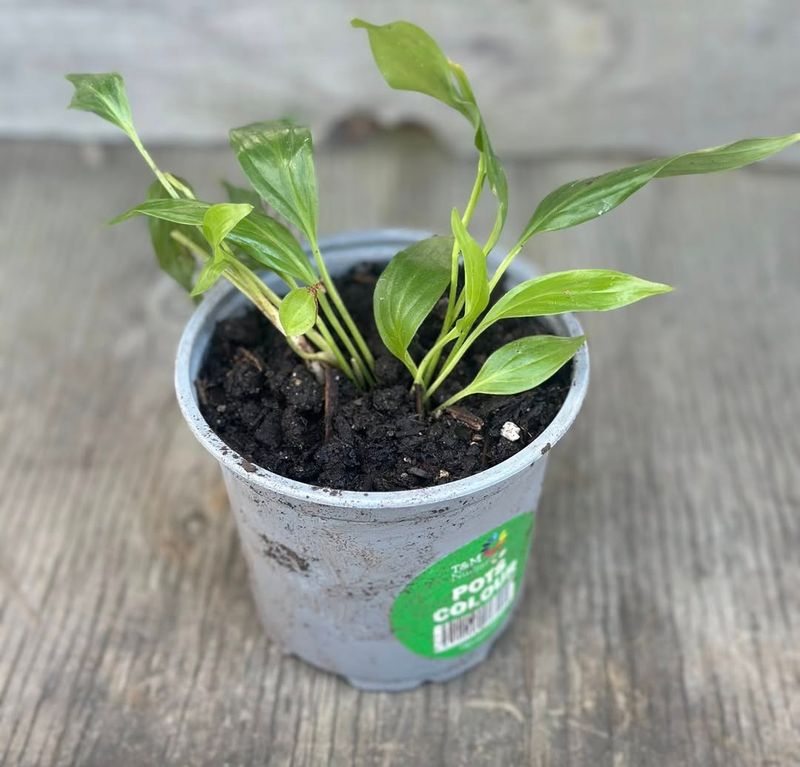
1. Choose A Pot One Size Larger With Drainage Holes

Picking the right container is crucial for your plant’s long-term success. Many California gardeners make the mistake of jumping to a pot that’s way too big, thinking it will save them from repotting again soon.
However, a container that’s too large can hold excess moisture, which leads to soggy soil and unhappy roots.
Going up just one size from your current pot is the sweet spot. This gives your peace lily enough room to grow without overwhelming it with too much space.
The roots will have fresh soil to explore while still staying cozy and secure.
Drainage holes are absolutely non-negotiable. Without them, water has nowhere to escape, and your plant could suffer from root issues.
Even the most beautiful decorative pot won’t help if it traps water inside.
California’s indoor climate can vary depending on where you live, from dry desert areas to more humid coastal zones. Proper drainage helps balance moisture levels no matter your local conditions.
Look for pots made from ceramic, plastic, or terracotta with multiple holes at the bottom.
If you fall in love with a pot that doesn’t have drainage, you can use it as an outer sleeve. Just place a smaller pot with holes inside it, and you’ll get the best of both worlds.
2. Use A Light Well-Draining Indoor Potting Mix
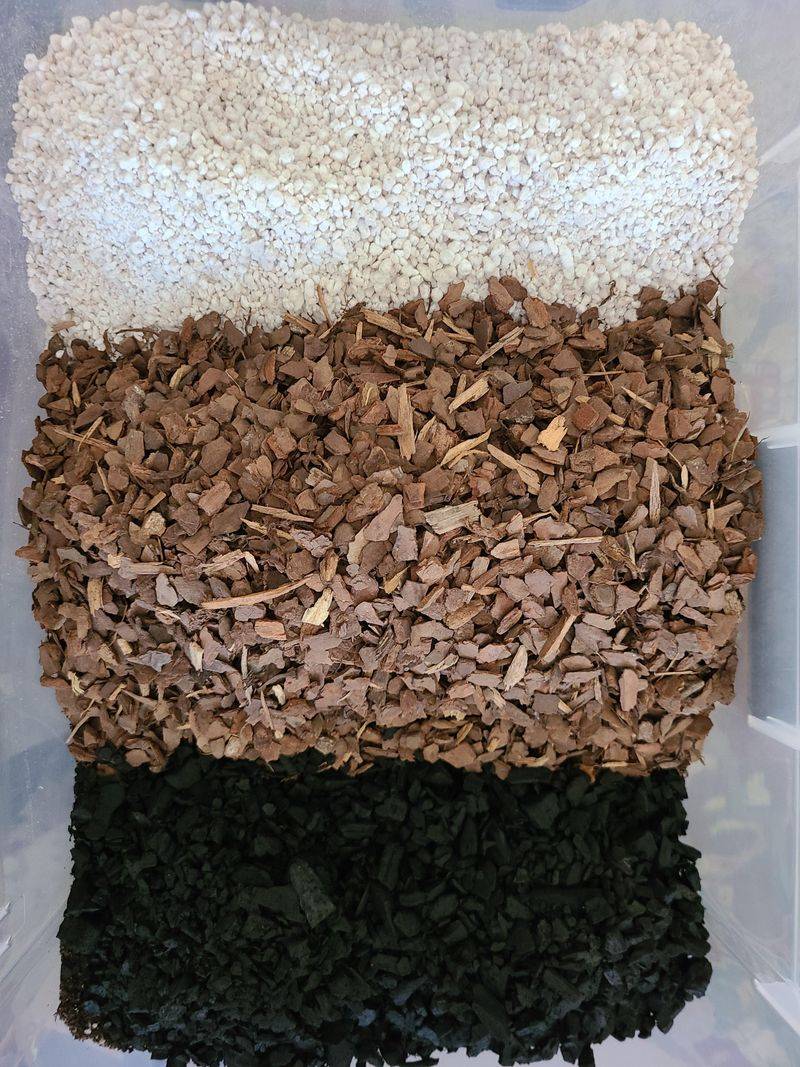
Soil quality makes or breaks the repotting process. Regular garden dirt is far too heavy and dense for indoor plants like peace lilies.
It compacts easily, suffocates roots, and doesn’t allow proper airflow or water movement.
A high-quality indoor potting mix is specifically designed to stay light and fluffy. It contains ingredients like peat moss, perlite, and coconut coir that help water drain quickly while still holding just enough moisture.
Your peace lily’s roots need both water and oxygen to stay healthy.
California’s dry indoor air, especially during summer, can make soil dry out faster than in other regions. A well-draining mix prevents water from sitting too long while still keeping roots hydrated between waterings.
This balance is key to avoiding common problems.
Avoid mixes labeled for outdoor use or ones that feel heavy and clay-like. These won’t provide the aeration your peace lily needs.
Instead, look for bags specifically marked for houseplants or tropical plants.
Some gardeners in California like to add a bit of extra perlite to their mix for even better drainage. This is especially helpful if you tend to water frequently or live in a more humid part of the state.
3. Water The Peace Lily Before Removing It From The Pot
Hydrating your plant before you begin might seem odd, but it’s actually a smart move. When soil is slightly moist, it holds together better and doesn’t crumble away from the roots as easily.
This makes the entire process smoother and less stressful for both you and your plant.
Dry soil tends to fall apart in chunks, which can expose delicate roots and cause unnecessary damage. Moist soil, on the other hand, stays cohesive and protects the root system as you work.
It also makes the plant easier to slide out of its old container.
California tap water can sometimes be hard or contain minerals that build up over time. If you’ve noticed white crusty deposits on your soil or pot, consider using filtered water for this step.
It’s a small detail that can make a difference in plant health.
Water your peace lily about an hour or two before you plan to repot. This gives the soil time to absorb moisture evenly without being soaking wet.
You want damp, not muddy.
Skip this step if your plant is already freshly watered. Overly soggy soil can be just as tricky to work with as bone-dry soil, so aim for that middle ground.
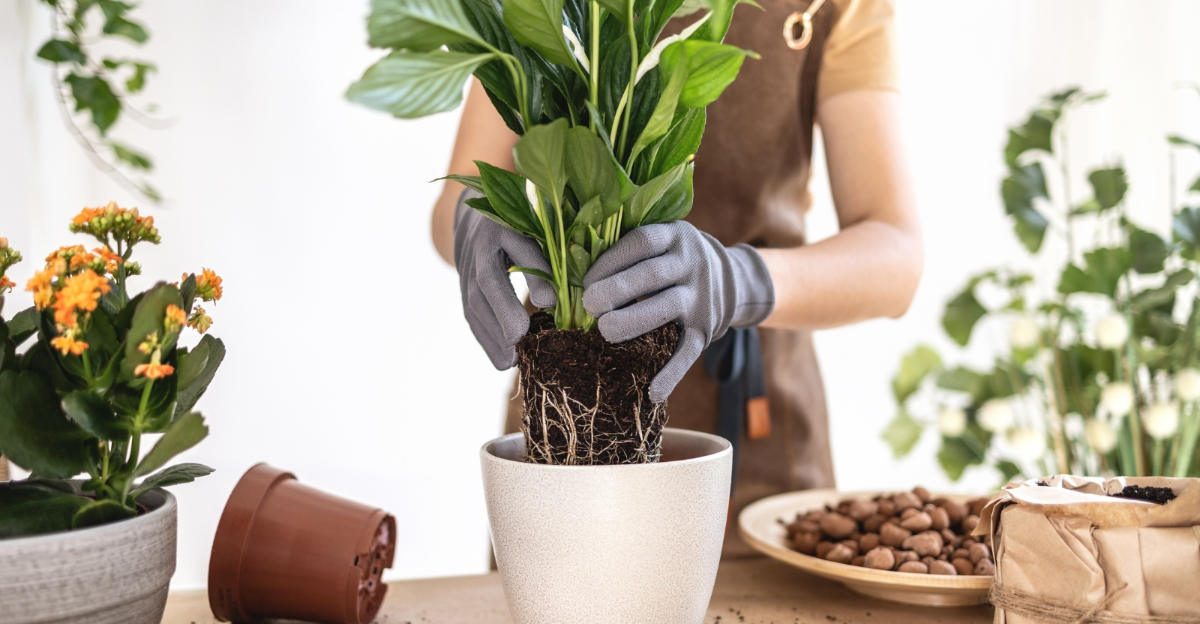
4. Gently Loosen The Roots Without Pulling Or Tearing
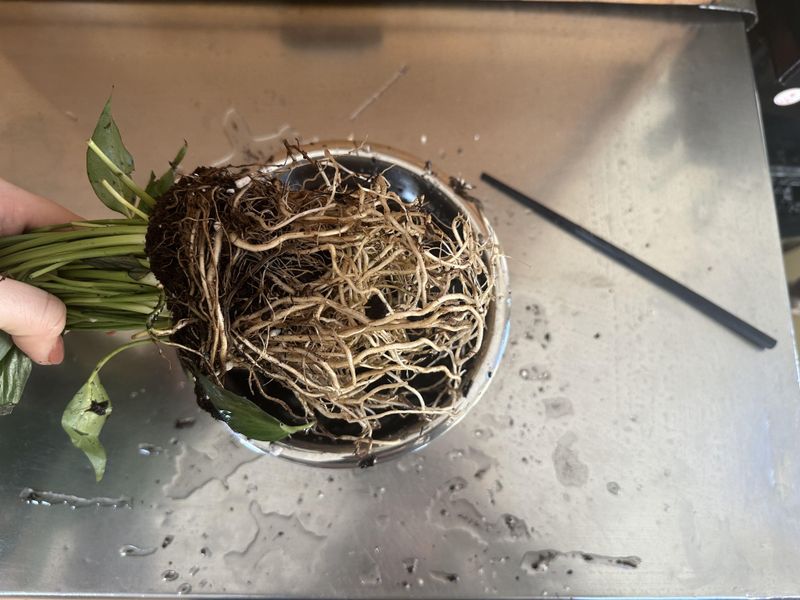
Roots are the lifeline of your peace lily, so treating them with care is essential. After removing the plant from its old pot, you’ll likely notice the roots have formed a tight mass.
This is completely normal, especially if the plant has been in the same container for a while.
Using your fingers, gently tease apart the outer roots to encourage them to spread out in their new home. This process helps the roots adapt and grow into the fresh soil more easily.
If they stay in a tight ball, they might continue growing in a circle instead of reaching outward.
California’s warm indoor temperatures can sometimes cause roots to dry out quickly once exposed. Work efficiently but carefully, and don’t leave the roots sitting out in the open for too long.
A few minutes is fine, but don’t take a long break mid-process.
If the roots are extremely tangled or circling the bottom of the pot, you might need to gently pull them apart with a bit more effort. Just be mindful not to rip or break them.
Healthy roots are flexible and should separate with gentle pressure.
Damaged or mushy roots should be trimmed away with clean scissors. Healthy roots are white or light tan and firm to the touch.
5. Remove Old Compact Soil From Around The Root Ball
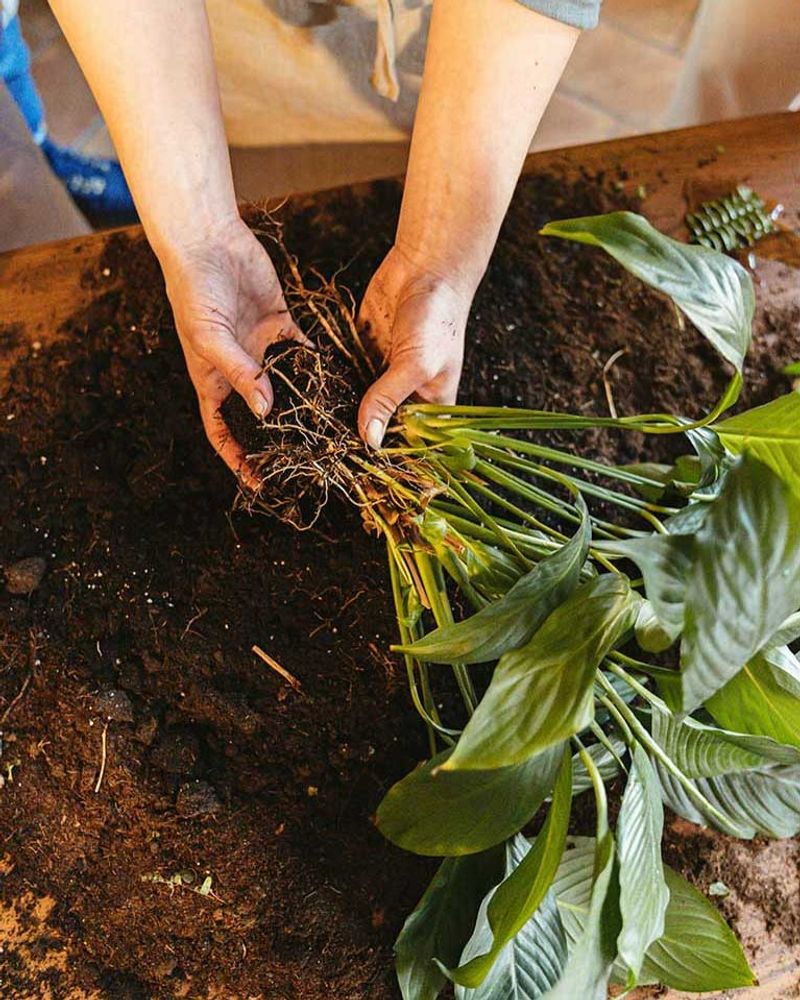
Old soil loses its effectiveness over time. Nutrients get depleted, and the texture becomes dense and compacted, which restricts root growth and water flow.
Removing some of this old material gives your peace lily a fresh start.
You don’t need to strip away every bit of soil, but aim to clear away at least a third of it, especially from the outer edges and bottom of the root ball. This creates space for new, nutrient-rich soil to surround the roots.
It also helps break up any hard clumps that may have formed.
California’s indoor environments can cause soil to break down faster due to temperature fluctuations and watering patterns. Old soil might look fine on the surface but be compacted and lifeless underneath.
Clearing it out prevents future problems.
Use your fingers or a small tool to gently brush away the old soil. Be careful not to damage the roots while you work.
If the soil is really packed in there, you can rinse the roots lightly with lukewarm water to help loosen things up.
Avoid shaking the plant aggressively or yanking at the roots. Slow and steady wins the race here, and your peace lily will thank you for the gentle treatment.
6. Position The Plant At The Same Depth In The New Pot
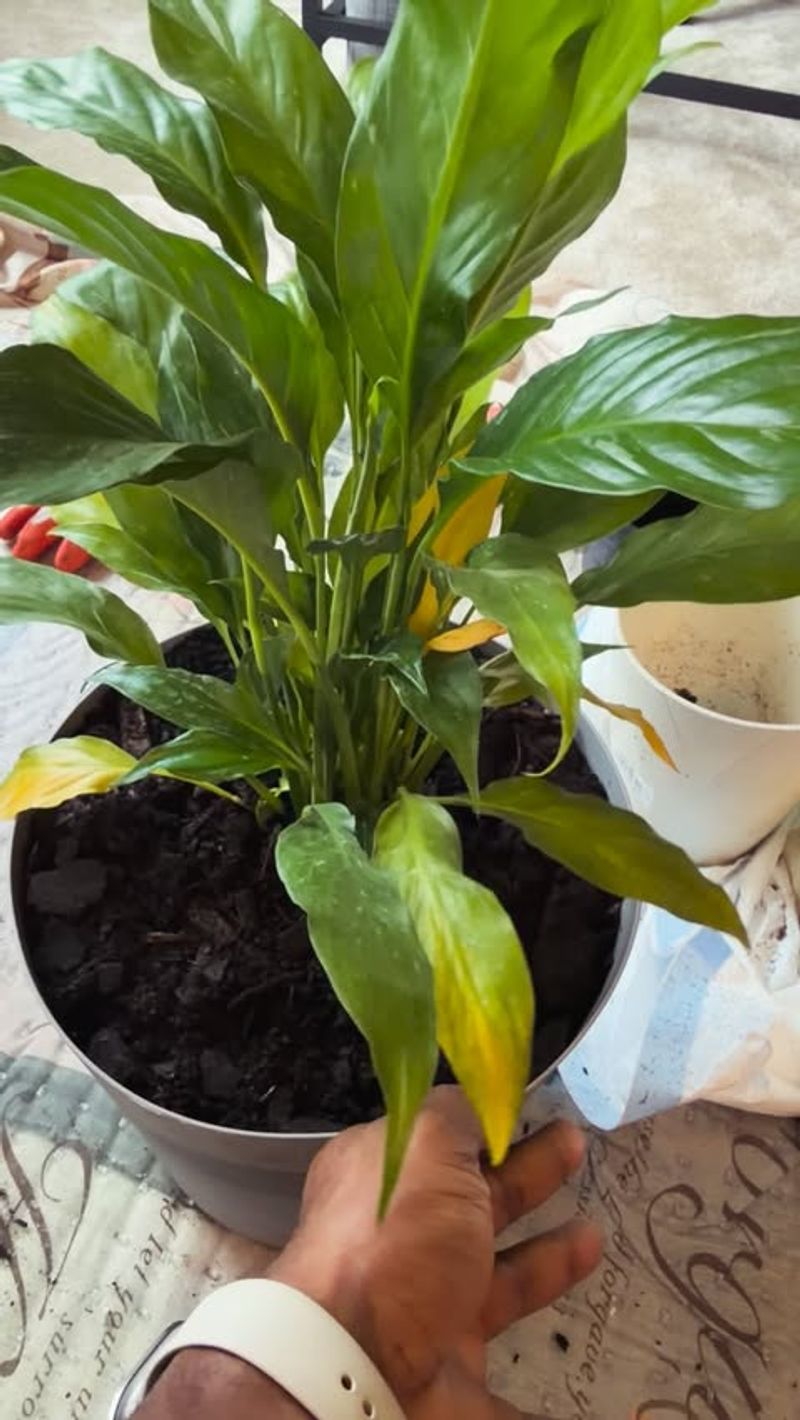
Planting depth matters more than most people realize. If your peace lily sits too deep in its new pot, the base of the stems can stay too moist and develop problems.
If it’s too shallow, the roots might be exposed and dry out quickly.
The goal is to replicate the original planting depth. Your peace lily should sit at the same level it was in its old pot, with the soil line matching where it was before.
This keeps the plant stable and comfortable in its new environment.
California homes often have varying humidity levels depending on the season and location. Proper planting depth helps regulate moisture around the base of the plant, preventing issues caused by too much or too little water exposure.
It’s a simple detail that supports overall plant health.
Start by adding a layer of fresh soil to the bottom of your new pot. Then, place the plant inside and check the height.
You should be able to see where the old soil line was on the stems, which serves as your guide.
Adjust the amount of soil underneath until the plant sits at the right level. The top of the root ball should be about an inch below the rim of the pot, leaving room for watering without overflow.
7. Fill In With Fresh Soil And Press Lightly To Settle
Now comes the satisfying part: tucking your peace lily into its new home with fresh soil. Pour the potting mix around the sides of the root ball, filling in the gaps evenly.
Take your time to make sure the soil reaches all the way down and doesn’t leave air pockets.
Air pockets can cause roots to dry out or grow unevenly. Gently pressing the soil as you go helps eliminate these spaces and gives the roots good contact with the new medium.
You want the soil to be firm but not packed down hard.
California’s climate means your peace lily might experience different watering needs depending on the time of year. Well-settled soil ensures water distributes evenly throughout the pot, reaching all the roots instead of running down the sides.
This promotes consistent growth and healthy foliage.
Use your fingers or the back of a spoon to lightly tamp down the soil as you add it. Stop when the soil level reaches about an inch below the pot’s rim.
This space is important for watering without making a mess.
Give the pot a gentle shake or tap on the counter to help the soil settle naturally. Add a bit more if needed to maintain the right level.
8. Water Thoroughly Until Excess Drains Out
Watering right after repotting is a critical step that many beginners overlook. This initial watering helps settle the soil further, eliminates any remaining air pockets, and gives the roots immediate access to moisture in their new environment.
It’s like a welcome drink after a long journey.
Pour water slowly and evenly over the entire surface of the soil. Keep going until you see water beginning to trickle out of the drainage holes at the bottom.
This ensures that moisture has reached every part of the root system, not just the top layer.
California tap water quality varies by region, so if yours is particularly hard or chlorinated, letting it sit out overnight or using filtered water can benefit your peace lily. Plants are sensitive to chemicals, and this small step can help them adjust more smoothly to their new pot.
Allow the excess water to drain completely before placing the pot back on a saucer or in its decorative cover. Standing water at the bottom can lead to soggy soil, which is one of the main issues peace lilies face indoors.
After this thorough watering, let the soil dry out slightly before watering again. Your plant needs time to recover and establish itself in the new pot.
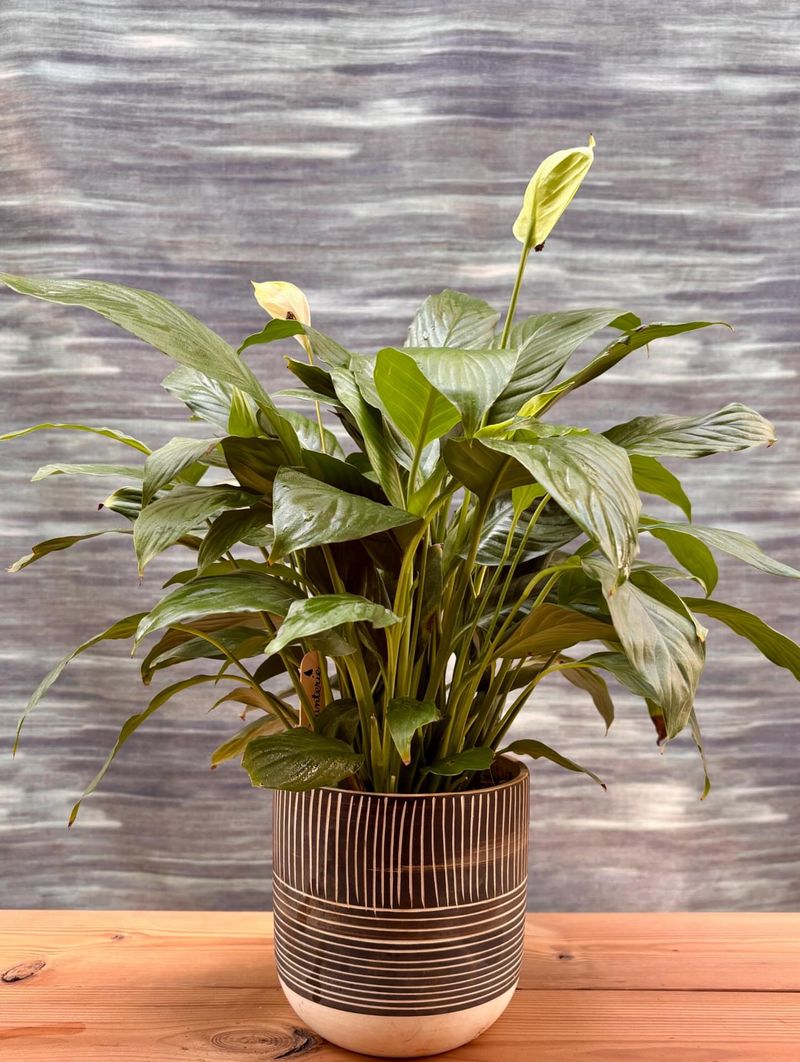
9. Place The Plant In Bright Indirect Light To Recover
Repotting can be a bit stressful for your peace lily, even when done carefully. Giving it the right light conditions afterward helps it bounce back quickly and start growing in its new pot.
Bright indirect light is ideal because it provides energy without overwhelming the plant.
Direct sunlight can be too harsh, especially right after repotting when the plant is in recovery mode. California’s strong sunshine, particularly during summer, can scorch the leaves if your peace lily is placed in a south-facing window without any shade.
A spot near an east or north-facing window works beautifully.
Indirect light means the plant gets plenty of brightness but isn’t sitting in a direct beam of sun. You can achieve this by placing your peace lily a few feet away from a window or using sheer curtains to filter the light.
This gentle environment allows the plant to focus its energy on root establishment.
Avoid moving your peace lily around too much during the first few weeks after repotting. Stability helps it adjust without added stress.
Keep it in a consistent spot with stable temperature and light conditions.
Monitor your plant over the next several days. Healthy recovery signs include perky leaves and new growth appearing within a few weeks.