16 Signs Your Calendula Needs Deadheading (And How To Do It Without Damaging The Plant)
Keeping your calendulas blooming all season long takes just a little bit of care, and deadheading is key. Removing those spent flowers not only tidies up your garden but also encourages your plants to keep producing vibrant blooms.
Plus, it helps stop them from taking over with self-seeding when you don’t want it. I remember the first time I tried deadheading—wondering if I’d hurt the plant—but it turned out to be super simple and really pays off. Knowing when your calendulas need a little snip can make all the difference between a so-so patch and a garden full of cheerful color.
Let’s dive into the signs that show your calendulas are ready for some deadheading love, and I’ll share gentle techniques that keep your plants happy and healthy without any stress.
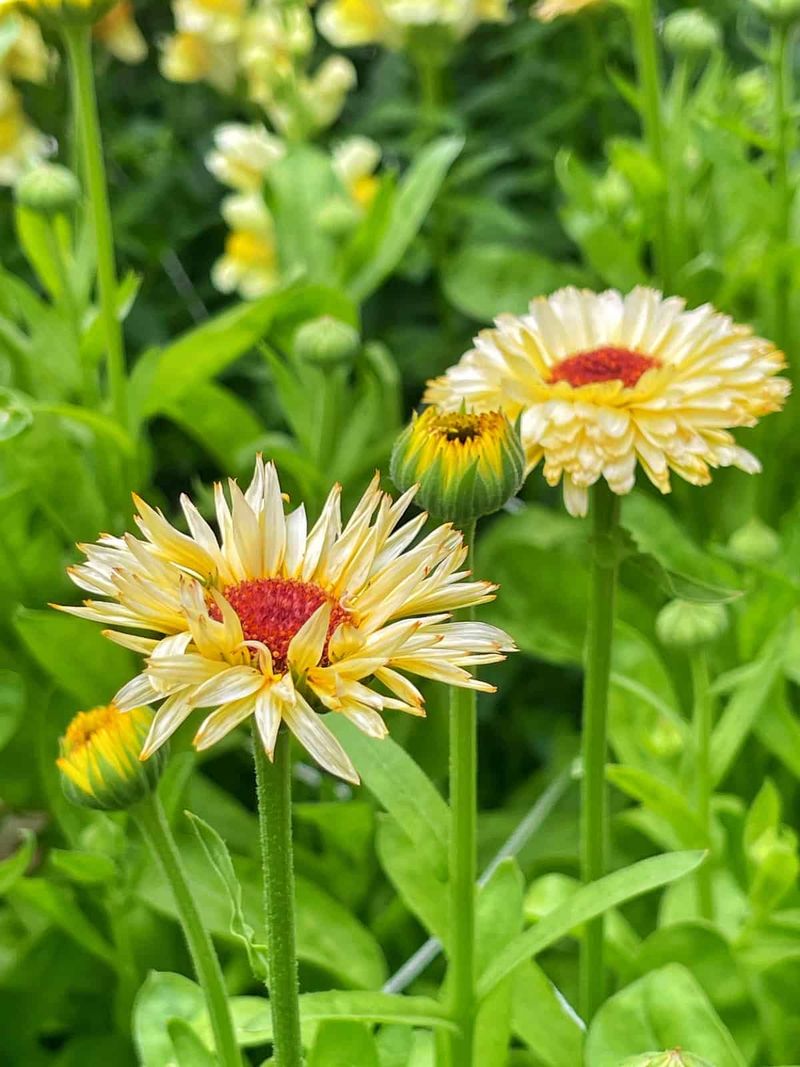
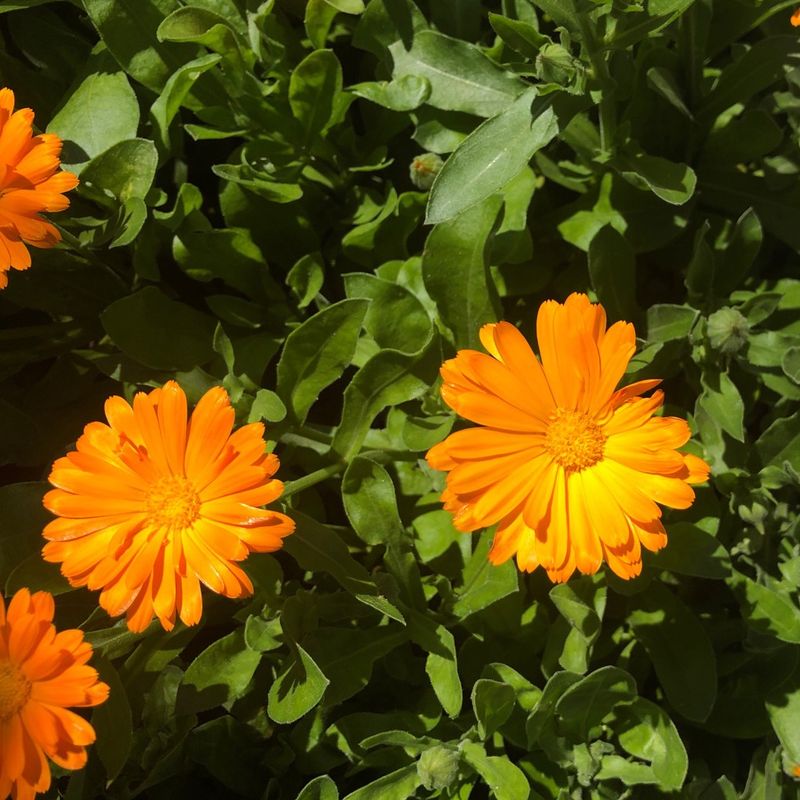
1. Faded Flower Color
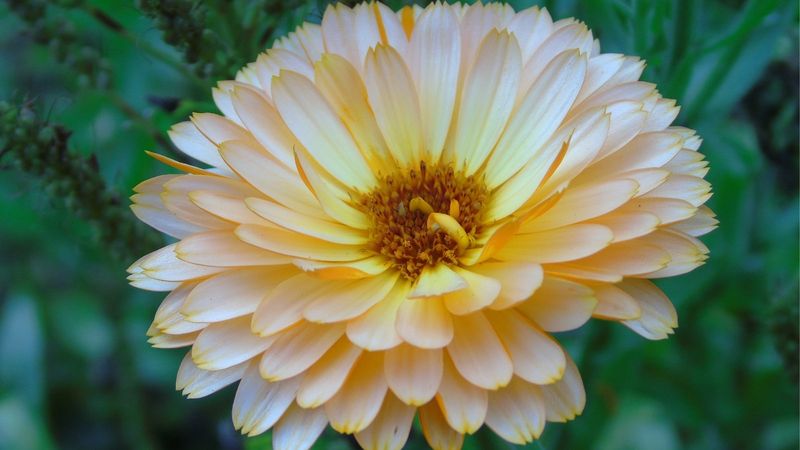
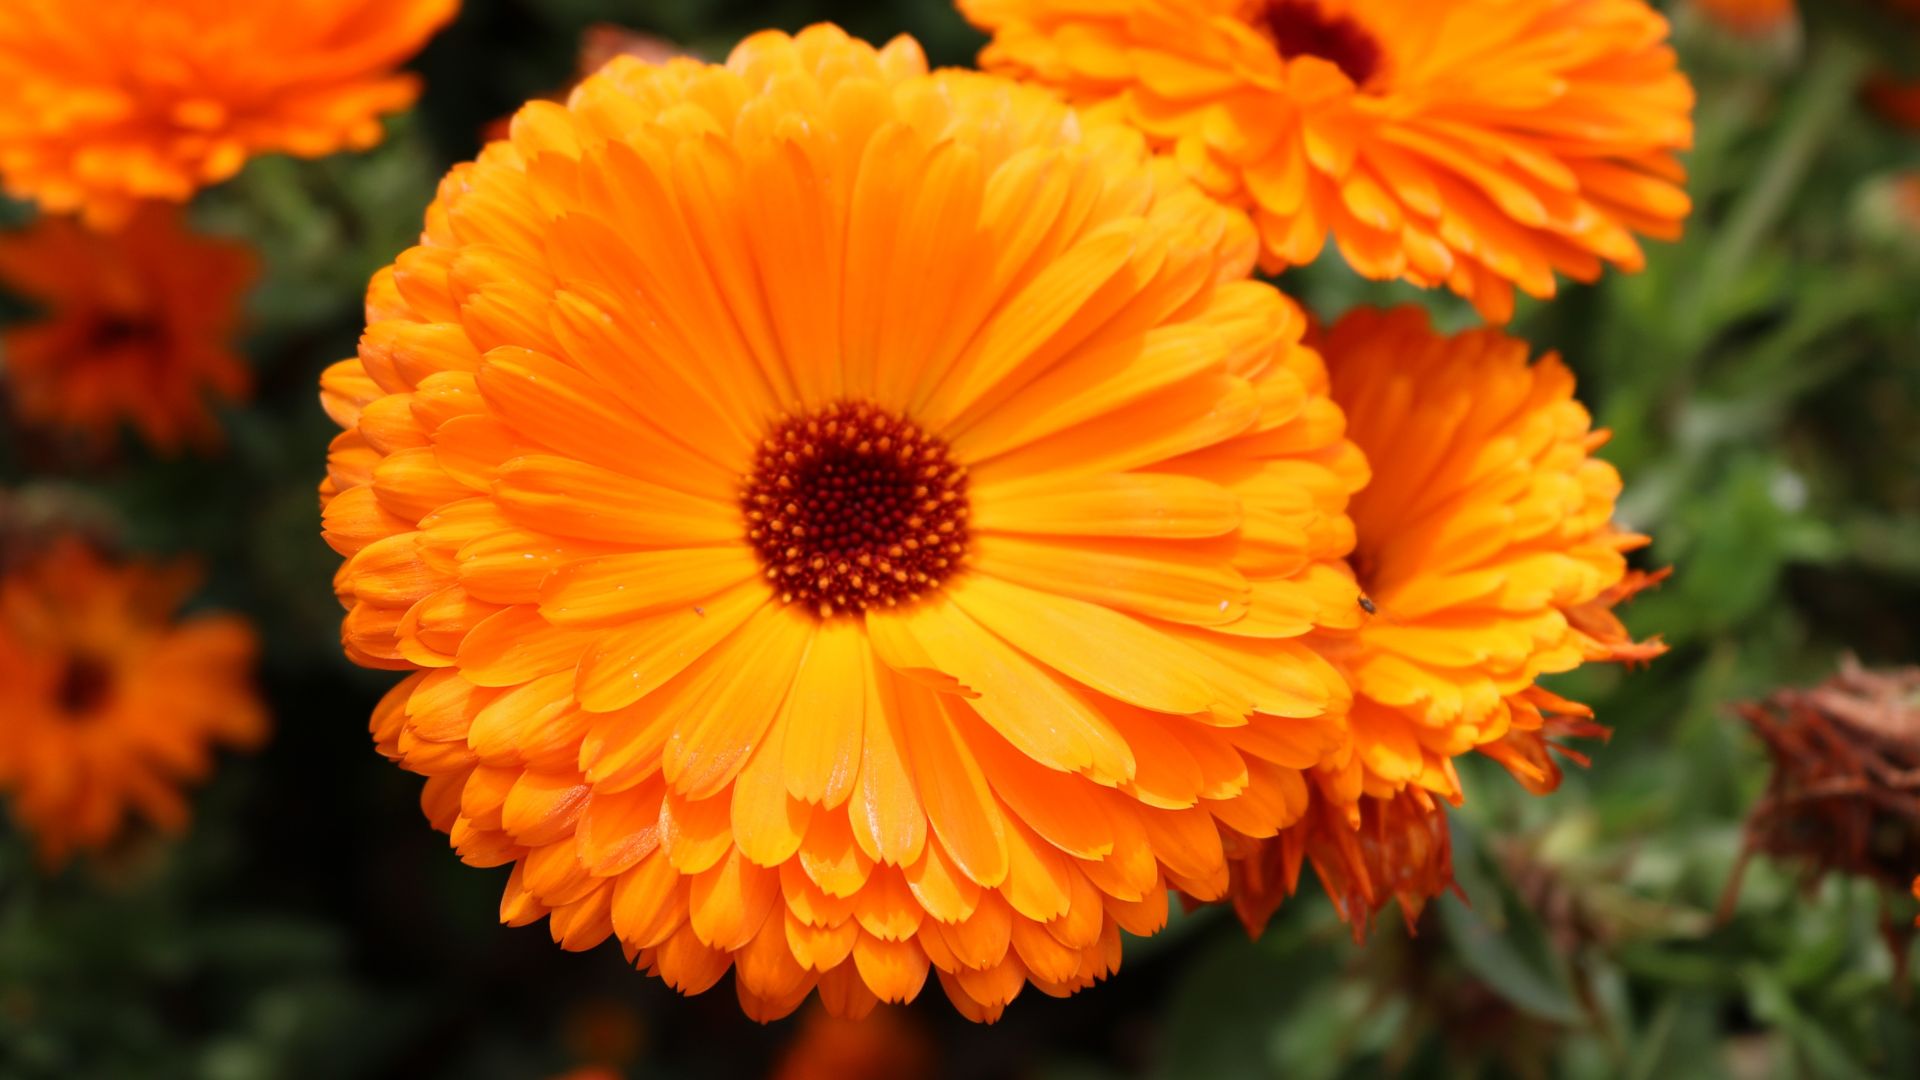
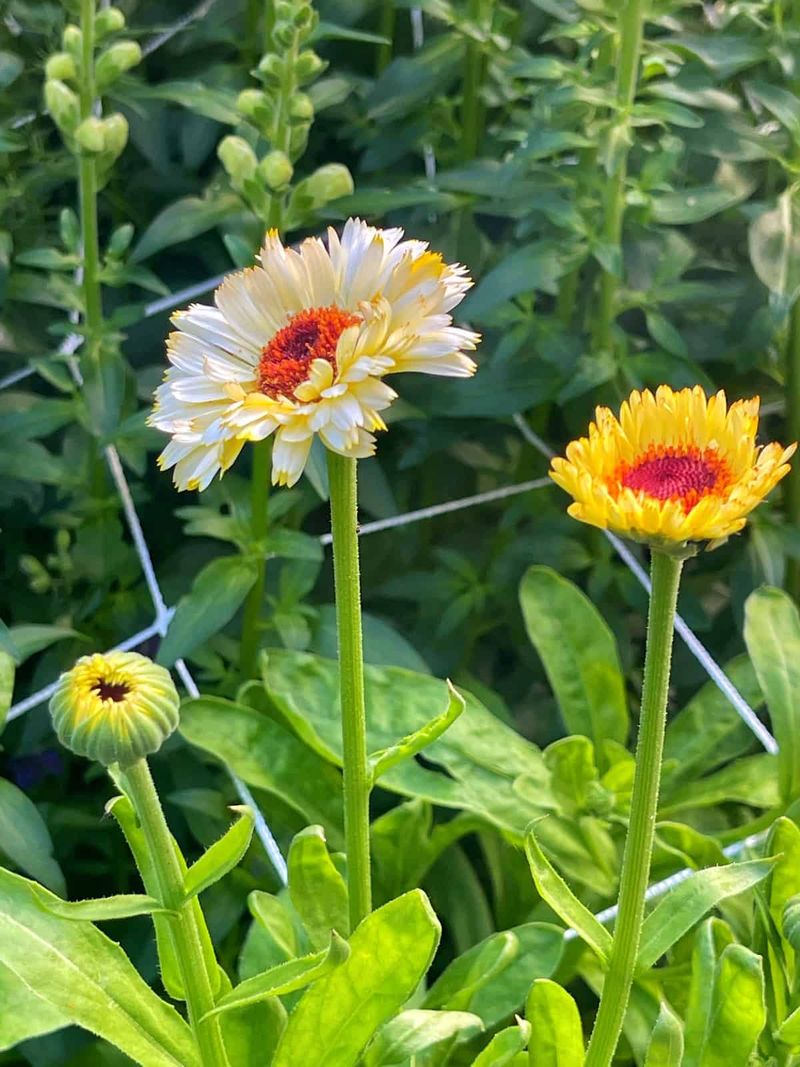
Once-bright orange or yellow petals turn pale and lackluster when the flower is past its prime. This color change is nature’s first hint that the bloom has fulfilled its purpose and is beginning to form seeds instead of maintaining vibrant petals.
The fading happens gradually, usually starting at the petal tips and moving inward. I’ve noticed in my garden that this change often happens 5-7 days after the flower fully opens, depending on weather conditions.
To deadhead these faded blooms, hold the stem just below the flower head between your thumb and forefinger. With sharp, clean scissors, make a clean cut at a 45-degree angle about a quarter-inch above the first set of healthy leaves.
2. Petals Turning Crispy
The once-soft petals develop a papery, crisp texture that crackles when touched. This texture change indicates the flower is drying out naturally as it redirects energy toward seed production rather than maintaining the bloom.
These crispy petals are more prone to breaking off in the wind, potentially creating a messy garden appearance. My calendula beds always look tidier when I catch these blooms before they reach this stage.
When removing crispy-petaled flowers, avoid pulling or tugging which could damage the stem. Instead, use clean pruning shears to snip the stem below the flower head, making your cut just above a leaf node to encourage bushy growth.
3. Petal Drop Has Begun
When petals start falling from the flower head one by one, the bloom is definitely ready for deadheading. The center disk will remain firmly attached while the colorful ray petals detach easily, often leaving a sparse, uneven appearance.
This natural shedding process is the plant’s way of transitioning to seed production. If left unchecked, you’ll soon find tiny calendula seedlings popping up everywhere – which might be welcome or a nuisance depending on your garden plans.
For these partially shed blooms, I gently cup my hand beneath the flower head while cutting to catch any loose petals. This prevents them from falling into the plant’s center where they might rot and cause disease issues.
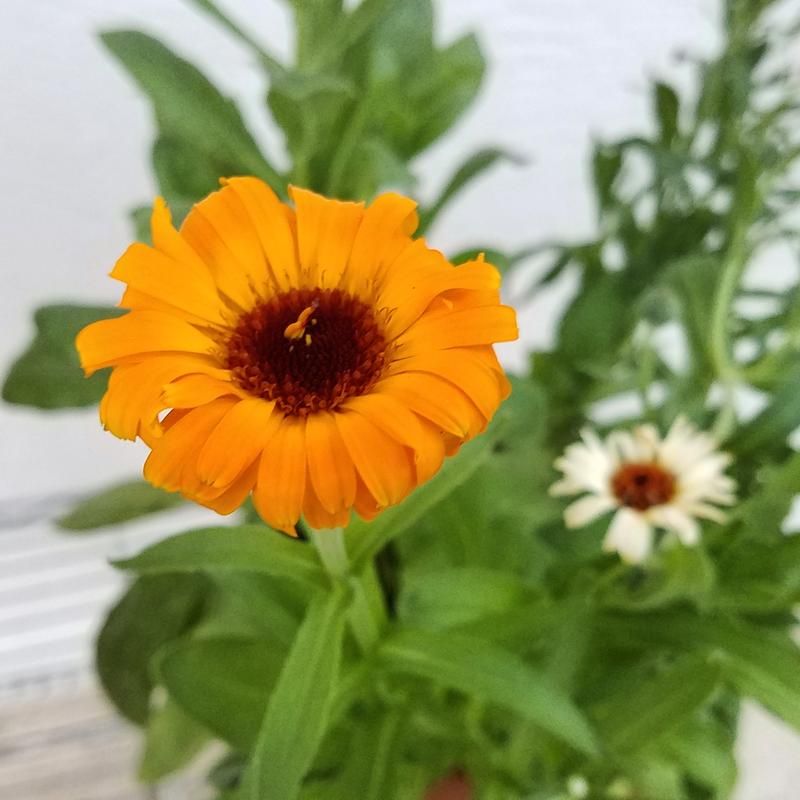
4. Center Disk Turns Brown
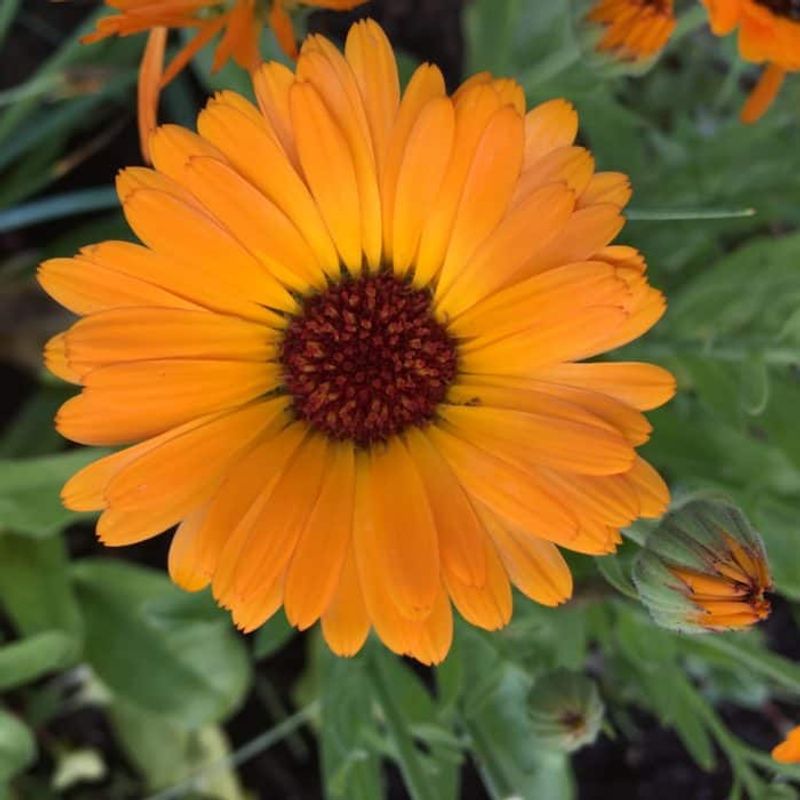
The green or yellow center disk of the flower darkens to brown or black as the bloom ages. This central part houses the reproductive structures and transforms as pollination completes and seed formation begins.
A brown center with intact petals indicates the perfect timing for deadheading – caught just before seed production goes too far. The flower has completed its showy phase but hasn’t yet invested heavy resources in seeds.
Use your thumb and forefinger to hold the stem steady about two inches below the flower head. With your other hand, make a clean cut with sharp scissors, being careful not to shake or disturb neighboring blooms that might still be attracting beneficial pollinators.
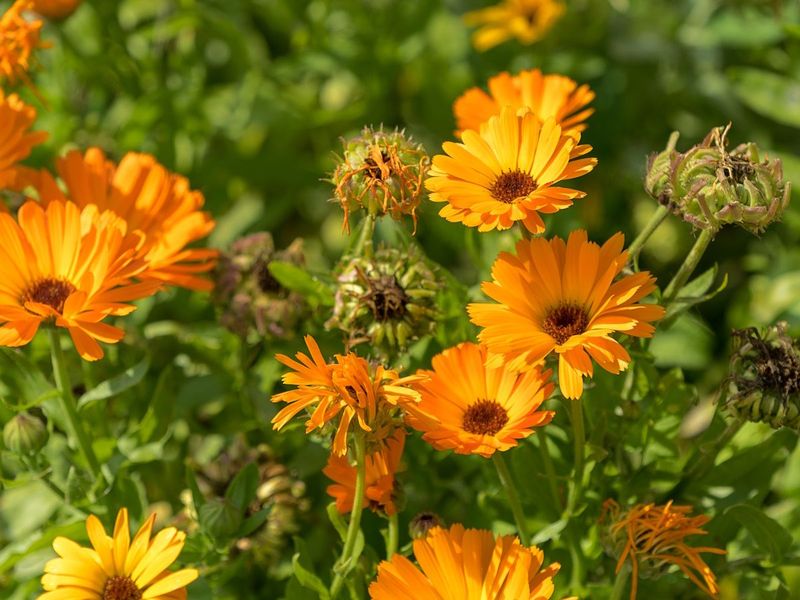
5. Seed Head Formation Visible

Small green seed structures begin forming in a circular pattern where the center disk used to be. These tiny comma-shaped seeds start pale green and gradually darken as they mature, signaling the flower’s reproductive cycle is well underway.
Left alone, these seeds will eventually dry completely and disperse, potentially creating calendula plants where you don’t want them. I’ve learned this lesson after finding calendula popping up in my vegetable beds the following season!
To deadhead at this stage, you’ll need to be extra gentle to avoid accidentally spreading seeds. Cup one hand beneath the seed head while cutting with the other, then dispose of the cut flower in your compost or trash rather than dropping it in the garden.
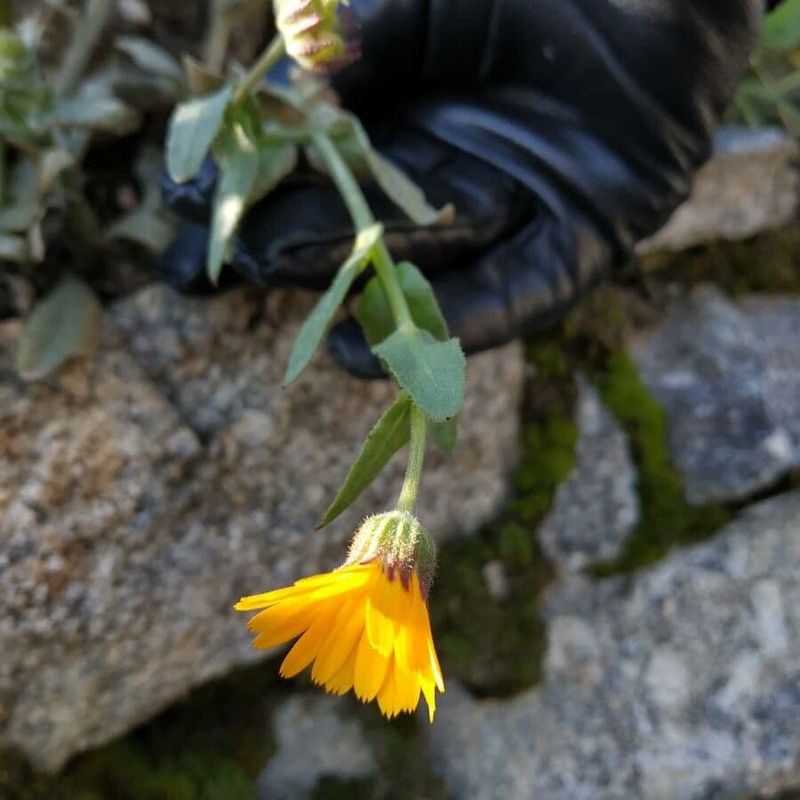
6. Drooping Flower Heads

Healthy calendula blooms stand upright on sturdy stems, but aging flowers begin to droop and face downward. This posture change happens as the flower head becomes heavier with developing seeds and the stem naturally begins to dry out.
The downward position also helps with natural seed dispersal, allowing seeds to drop directly below the plant when mature. While this is clever plant adaptation, it’s not ideal if you’re trying to control where your calendulas grow.
When deadheading drooping flowers, support the stem with one hand to prevent jerking or snapping. Make your cut at a point where the stem still feels firm and green, usually about 2-3 inches below the flower head or at the first strong branch junction.
7. Elongated Stem Below Flower
The stem section just below the flower head sometimes stretches and elongates as the bloom ages. This subtle change is easy to miss but signals the plant is preparing its seed dispersal strategy by positioning the developing seeds for optimal release.
You might notice this stem portion looks thinner and slightly paler than the rest of the stem. During morning garden walks, I’ve found this elongation often happens quite suddenly, sometimes overnight during the final stages of flowering.
When removing these blooms, cut below the elongated section where the stem returns to normal thickness. This approach removes the weakened portion entirely and encourages the plant to direct energy to new growth points rather than trying to support a compromised stem.
8. Flower Size Diminishes
Blooms that were once large and showy become noticeably smaller as the plant ages. This size reduction happens when the plant can’t sustain full-sized flowers while simultaneously developing seeds from older blooms that weren’t deadheaded promptly.
Smaller flowers aren’t necessarily unhealthy, but they do indicate your plant is struggling to balance resources. The reduction might be gradual across the whole plant or more pronounced on specific stems that are supporting seed development.
To revitalize your calendula and encourage larger blooms again, do a thorough deadheading session removing all spent flowers. Then give the plant a gentle boost with some compost tea or diluted organic fertilizer to replenish nutrients, following up with consistent deadheading moving forward.
9. Petal Edges Curl Inward
Fresh calendula petals lay flat or gently curve outward, but aging blooms show distinctive inward curling along the petal edges. This curling creates a more closed appearance as the flower prepares to complete its lifecycle and focus on seed production.
The inward curl typically starts at the petal tips and progressively works inward. I’ve found this sign particularly reliable in predicting which flowers will fully fade within the next day or two, making it perfect for proactive deadheading.
For these curling blooms, use clean, sharp pruners and cut the stem at a 45-degree angle about ¼ inch above a leaf node or branching point. This angled cut increases the surface area for water uptake and reduces the chance of stem rot after cutting.
10. Decreased Fragrance
Calendula flowers emit a distinctive spicy-sweet aroma when fresh, but this scent fades significantly as the bloom ages. The loss of fragrance indicates the flower is no longer actively producing the volatile compounds that attract pollinators.
This scent change is subtle but becomes obvious if you compare a fresh bloom to an older one. After years of growing calendulas, I’ve trained my nose to detect this change almost instinctively during my morning garden checks.
When deadheading based on fragrance loss, be sure to verify with visual cues too. Hold the stem firmly but gently about halfway down its length, then make a clean cut with sharp scissors or pruners, being careful not to damage nearby developing buds or fresh flowers.
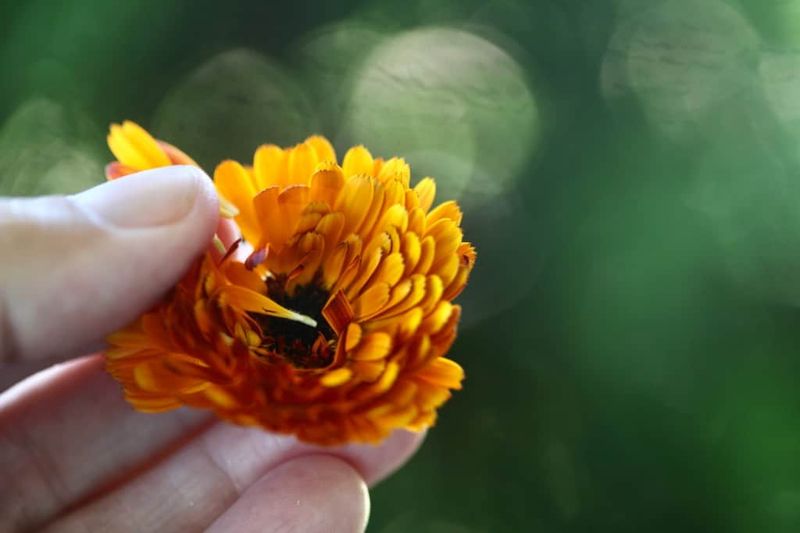
11. Flower Feels Dry When Touched
Fresh calendula petals have a slightly velvety texture with a certain sponginess when gently pressed. As the flower ages, this texture changes noticeably – petals become dry and papery, lacking the slight moisture content of fresh blooms.
This textural change is one of the most reliable hands-on ways to identify flowers ready for deadheading. During my daily garden checks, I’ll lightly touch suspicious-looking blooms to confirm their dryness before deciding to remove them.
When deadheading these dry blooms, avoid the temptation to simply pinch them off with your fingers. Despite their dryness, pulling can still damage the stem. Instead, use clean scissors to make a precise cut, removing the entire flower head and a small portion of stem down to the next leaf node.
12. Petals Develop Dark Spots
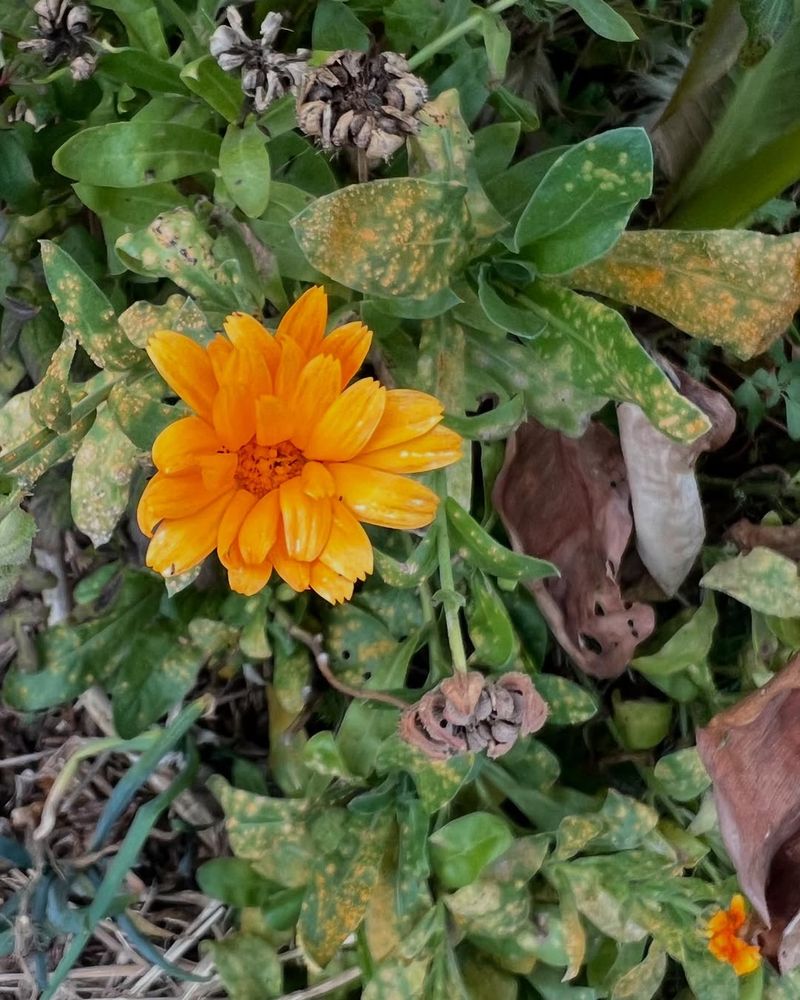
Small dark spots or streaks appearing on previously unblemished petals signal the flower is past its prime. These discolorations might be brown, black, or sometimes a darker version of the flower’s natural color, often starting at the petal edges.
These spots aren’t necessarily disease—they’re usually just part of the natural aging process as cell structures break down. However, in humid conditions, they can sometimes indicate the beginning of fungal issues, making prompt removal even more important.
For spotted blooms, make your cut slightly lower on the stem than you normally would, especially if you suspect any fungal involvement. Clean your pruning tools with alcohol between cuts if you notice any unusual discoloration patterns to prevent spreading potential pathogens.
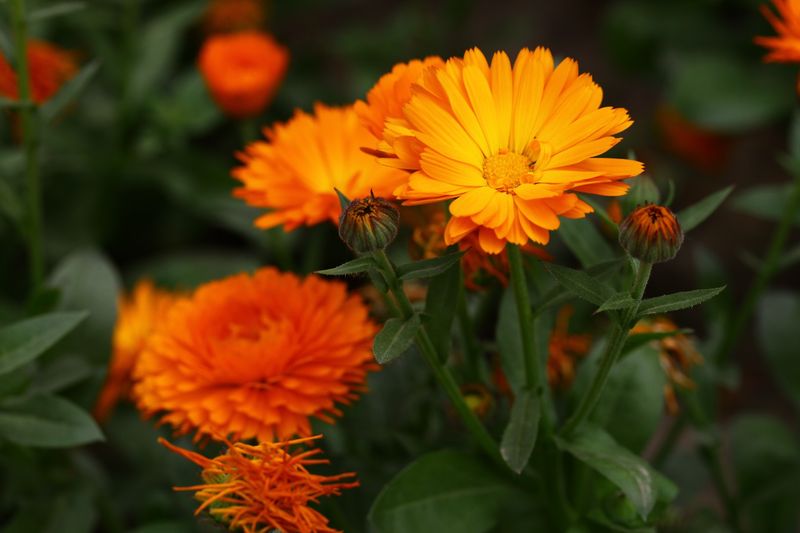
13. Neighboring Buds Outgrowing Older Blooms
When fresh buds on the same stem begin overtaking older flowers in size and vigor, it’s definitely time to remove those aging blooms. This growth pattern creates a visual imbalance where new buds strain around or past fading flowers to reach sunlight.
The plant is essentially telling you where it wants to direct its energy—toward fresh growth rather than maintaining spent blooms. In my garden, I’ve noticed this happens more quickly during hot summer periods when growth accelerates.
To deadhead in this situation, carefully identify which stem belongs to the old bloom versus the new buds, as they’re often closely positioned. Use precision pruners to snip only the stem of the spent flower, being extremely careful not to damage the developing buds that are the plant’s future blooming potential.
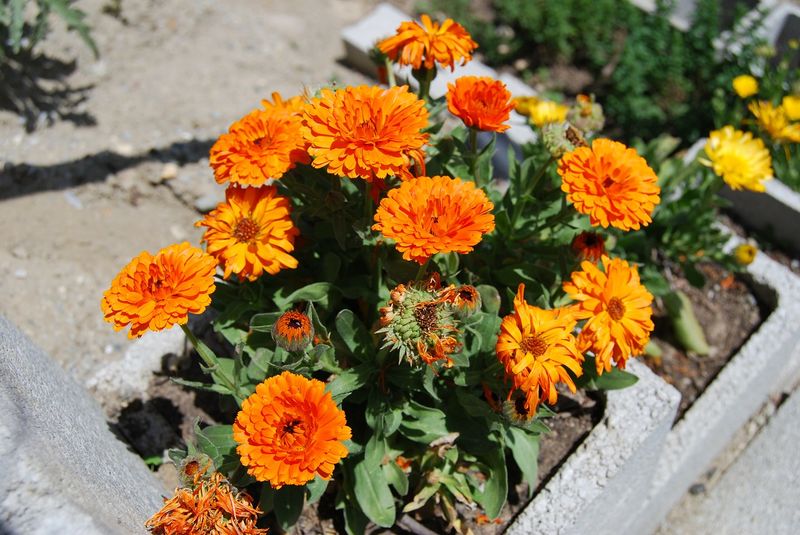
14. Overall Plant Appears Less Vigorous
A calendula plant covered with spent blooms often shows reduced overall vigor—fewer new buds forming, smaller leaves, and a generally tired appearance. This whole-plant symptom occurs when too much energy is diverted to seed production rather than new growth.
The effect is cumulative—the more spent flowers remain, the more resources are diverted from new growth. This creates a downward spiral that can significantly reduce your season-long flower display if not addressed promptly.
The solution is a thorough rejuvenation deadheading session. Set aside 15 minutes with your favorite pruners and methodically remove all spent blooms. Follow up with a gentle watering and a light feeding of compost tea or diluted organic fertilizer to give your plant the boost it needs to redirect energy to fresh growth.
15. Reduced Flowering Rate
A noticeable slowdown in new bud production often indicates your calendula needs deadheading attention. When the plant devotes energy to developing seeds in spent flowers, it naturally produces fewer new buds as a resource-conservation strategy.
This reduced flowering rate becomes apparent when you realize you’re not getting the continuous bloom display that calendulas are famous for. After maintaining calendulas for years, I’ve found this sign particularly evident when comparing current flowering rates to previous weeks.
The fix is simple but requires consistency: establish a regular deadheading routine, ideally checking your plants every 2-3 days during peak flowering season. Even spending just five minutes removing spent blooms can make a remarkable difference in stimulating fresh flower production within a week.
16. Flower Heads Remain Closed During Peak Daylight
Healthy calendula flowers open wide during daylight hours, but spent blooms often remain partially or fully closed even in full sun. This behavior change happens as the flower transitions from attracting pollinators to protecting developing seeds.
The closed position is easily mistaken for a new bud, especially from a distance. I’ve been fooled many times until closer inspection revealed it was actually an aging flower refusing to open fully as it had days earlier.
When deadheading these sneaky closed blooms, use the same gentle technique as with other spent flowers. Make a clean cut with sharp scissors at a 45-degree angle just above a healthy leaf node. This strategic cutting location encourages the plant to branch at that point, potentially creating more flowering stems in the future.