8 Simple Steps Arizona Plant Owners Use To Repot Aloe Vera And Keep It Thriving
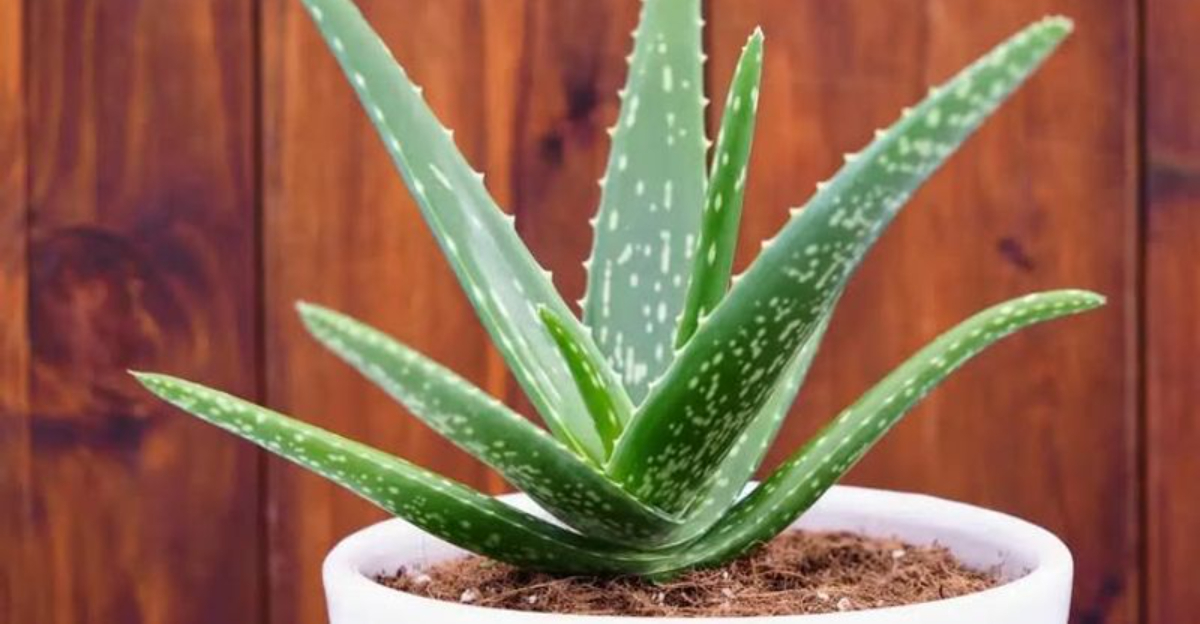
Aloe vera is a popular succulent in Arizona homes because it is hardy, low-maintenance, and useful for natural remedies. Repotting it correctly ensures strong growth, prevents root rot, and keeps the plant healthy for years.
Repot your aloe properly and enjoy a thriving, long-lasting plant. These steps guide homeowners through choosing the right container, preparing well-draining soil, removing the plant carefully, and positioning it properly in its new pot.
Proper watering, sunlight, and post-repotting care help aloe establish quickly and continue growing strong. Following these steps prevents stress and encourages lush, vibrant leaves.
Simple techniques make the difference between a struggling plant and a thriving aloe.
Arizona plant owners who follow these steps enjoy robust, attractive aloe vera that adds greenery and function to any indoor or outdoor space. Repot aloe successfully and keep your succulent flourishing.
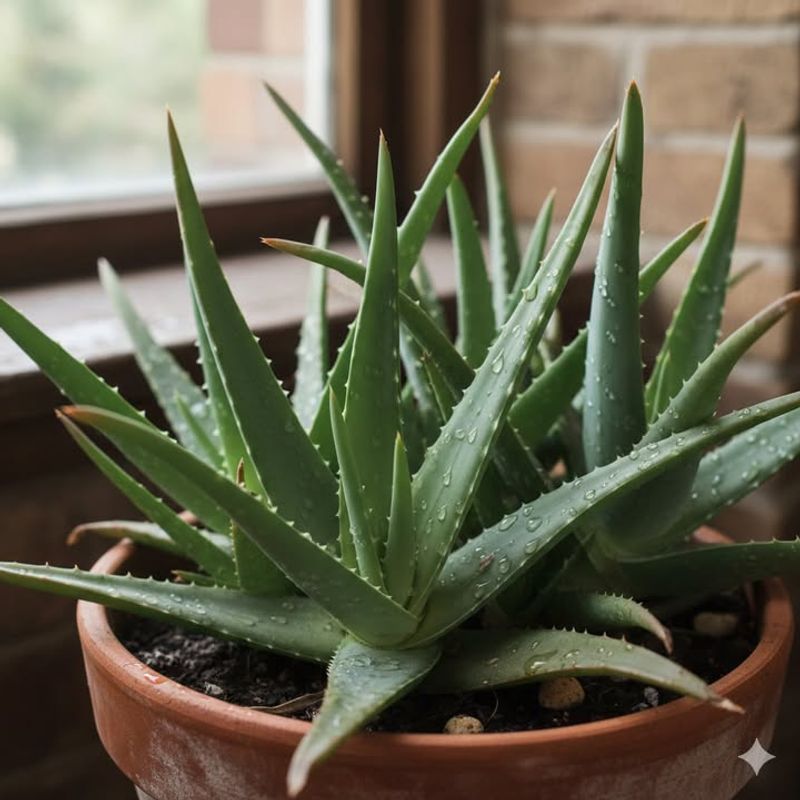
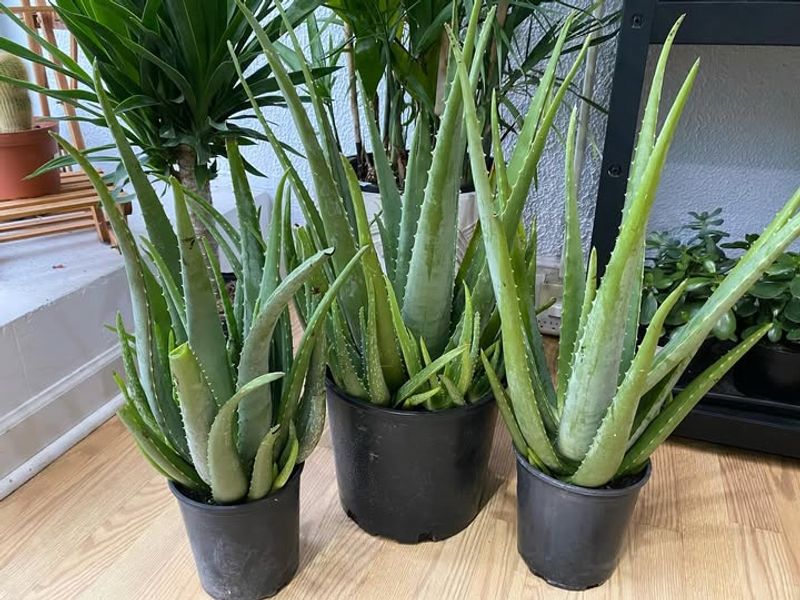
1. Choose A Container With Drainage Holes
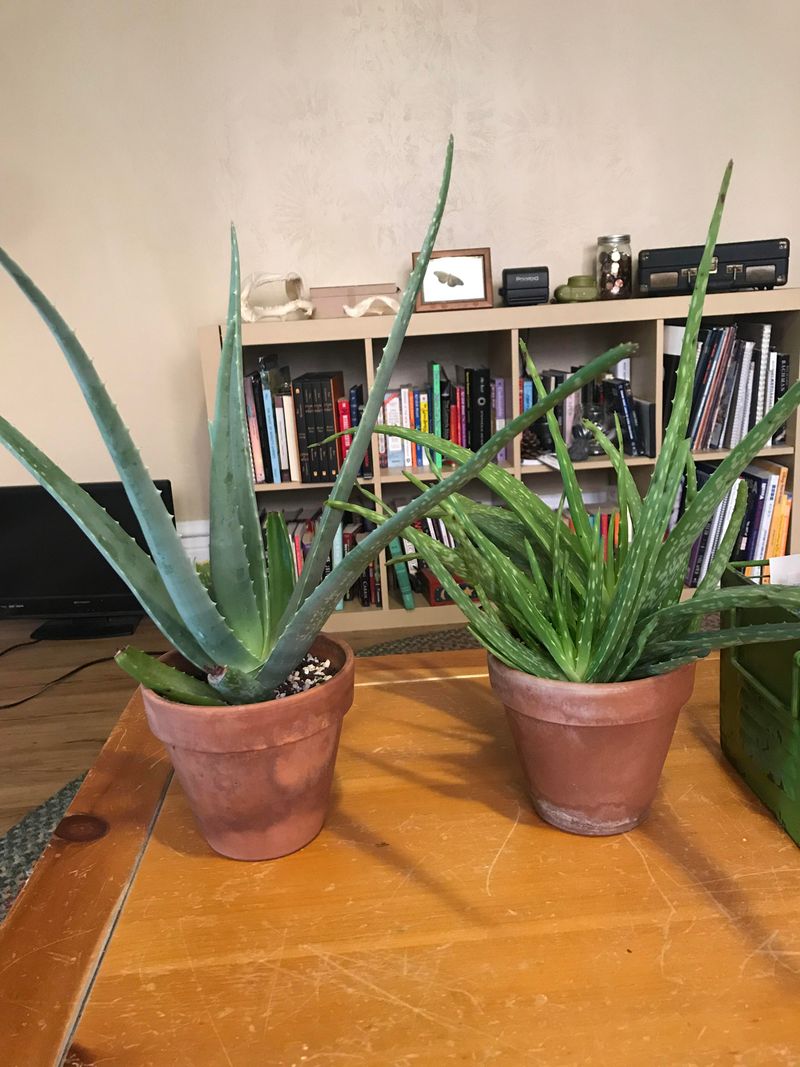
Selecting the right container is absolutely essential when repotting your aloe vera, especially in Arizona’s intense heat.
Aloe roots are highly sensitive to moisture, and without proper drainage, water can accumulate at the bottom of the pot and create a soggy environment that stresses the roots.
Drainage holes allow excess water to escape quickly, preventing the soil from staying wet for too long.
Arizona’s dry climate and high temperatures cause water to evaporate rapidly from the soil surface, but moisture can still linger deep in the pot if drainage isn’t adequate. This creates a deceptive situation where the top looks dry while the roots sit in dampness.
Over time, this imbalance puts pressure on the root system and weakens the entire plant. When shopping for a pot, look for containers with multiple drainage holes rather than just one small opening.
Terra cotta and unglazed ceramic pots are excellent choices because they’re porous and allow air circulation around the roots. Plastic pots can work too, as long as they have sufficient drainage.
Always place a saucer underneath to catch runoff, but make sure to empty it promptly after watering.
Letting your aloe sit in standing water defeats the purpose of good drainage and can quickly lead to root troubles, even in Arizona’s arid conditions.
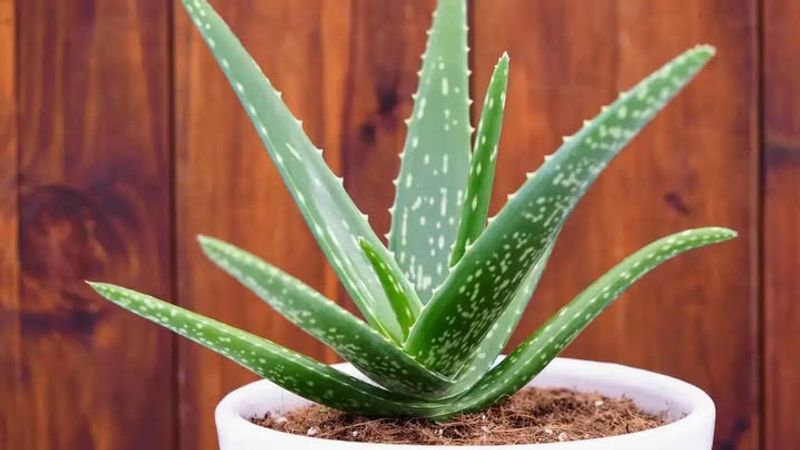
2. Use A Cactus Or Succulent Soil Mix
Standard potting soil might work wonders for tropical houseplants, but it’s far too moisture-retentive for aloe vera, particularly in desert environments like Arizona.
Aloe roots thrive in a gritty, fast-draining medium that mimics their natural habitat where water drains away quickly after rain.
A specialized cactus or succulent soil mix provides exactly what these plants need to flourish. The ideal soil composition includes coarse sand, perlite, pumice, or small gravel mixed with a minimal amount of organic matter.
These ingredients create air pockets in the soil, allowing water to flow through rapidly while still providing some moisture retention for the roots to access.
Regular potting soil, on the other hand, contains high levels of peat moss and organic material that hold water like a sponge.
In Arizona’s climate, where temperatures regularly soar above 100 degrees, using the wrong soil can be particularly problematic.
The heat causes rapid surface evaporation, which might make you think your plant needs more water. However, dense soil can still be waterlogged several inches down, creating root stress even when the surface feels bone dry.
You can purchase pre-mixed cactus soil at most garden centers, or create your own blend by mixing regular potting soil with equal parts coarse sand and perlite for optimal drainage and aeration.
3. Repot During Warm Growing Months
Timing matters tremendously when repotting aloe vera, and Arizona’s climate offers a perfect window during the warm growing season.
Spring through early summer provides ideal conditions because aloe plants are actively growing during these months, which means their roots can establish quickly in fresh soil.
Repotting during dormancy or cooler months can slow recovery and stress the plant unnecessarily.
In Arizona, temperatures during late spring typically range from the mid-70s to low 90s, which is the sweet spot for aloe growth.
The plant’s metabolism is running at full speed, producing new cells and extending roots into surrounding soil. This active growth phase helps the aloe recover from any root disturbance much faster than it would during winter dormancy.
Avoid repotting during the extreme heat of July and August when temperatures exceed 110 degrees, as this can compound stress on a plant that’s already adjusting to new surroundings.
Similarly, winter repotting isn’t recommended because cooler temperatures slow down root development and increase the risk of moisture-related issues since the plant isn’t actively taking up water.
Plan your repotting for April, May, or early June when your aloe is energized and ready to grow. Watch for signs of active growth like new leaf formation or pups emerging from the base, which indicate your plant is in prime condition for the transition.
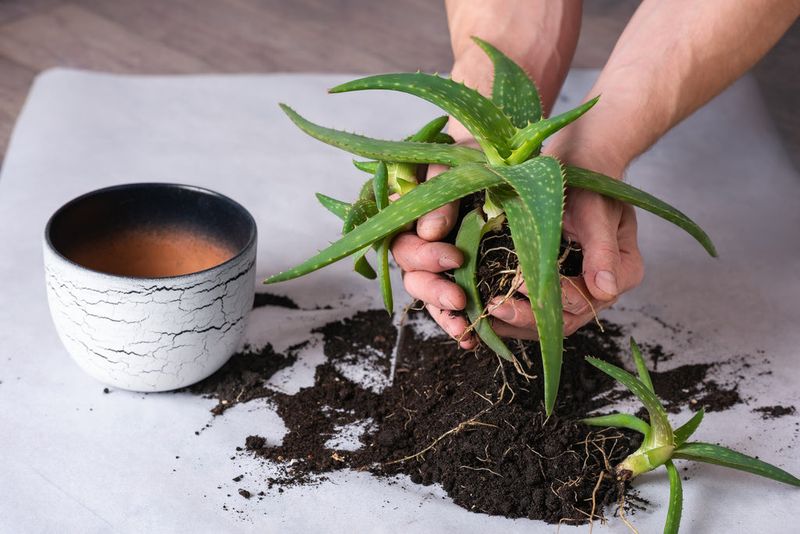
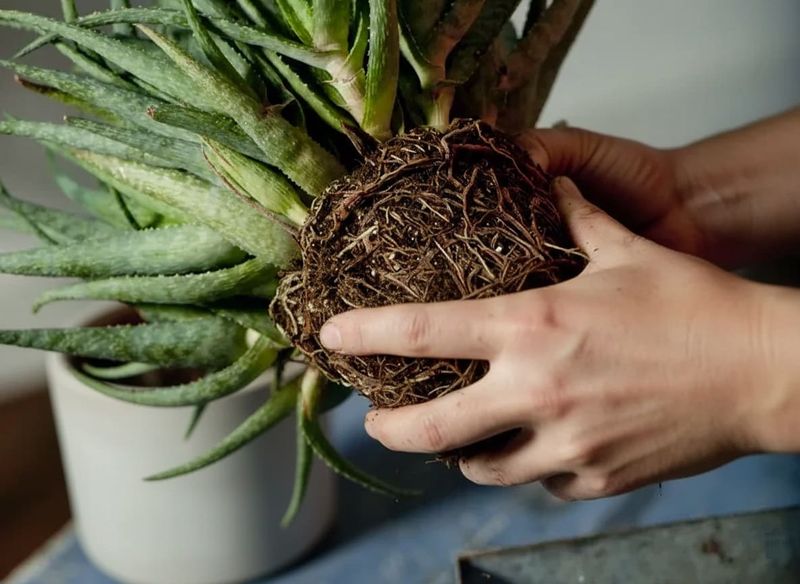
4. Gently Remove And Inspect Roots
Getting your aloe out of its old pot requires a gentle touch and careful observation of the root system.
Start by turning the pot on its side and tapping the bottom and sides to loosen the root ball from the container walls.
If the plant is stubborn, you can run a butter knife around the inside edge to break any stuck roots free without causing damage.
Once removed, take time to examine the roots closely because they tell you a lot about your plant’s health. Healthy aloe roots should appear firm, pale cream or white in color, and have a slightly succulent texture.
They might be tightly wound around the root ball if the plant was pot-bound, which is common and not a cause for concern.
Gently tease apart compacted roots with your fingers, working from the outside toward the center to encourage them to spread outward in their new container.
If you encounter roots that feel mushy, dark brown, or have an unpleasant odor, carefully trim them away with clean scissors or pruning shears.
These compromised roots won’t recover and can actually harm the plant if left in place. Arizona’s low humidity means roots dry out quickly once exposed to air, so work efficiently but don’t rush.
Keep the root ball in shade while you prepare the new pot to prevent unnecessary moisture loss during the transition process.
5. Allow Cut Roots To Dry Briefly Before Replanting
After trimming away any problematic roots, resist the urge to immediately plant your aloe into its new home.
Allowing the cut surfaces to air-dry for several hours helps form a protective callus that reduces the risk of moisture-related stress once the plant is back in soil.
This step is particularly valuable in Arizona’s climate where humidity levels are naturally low and drying happens efficiently.
Place your aloe in a shaded, well-ventilated area where air can circulate around the exposed roots. A covered patio or shaded garage works perfectly for this purpose.
The low humidity in Arizona actually works to your advantage here, as the drying process happens much faster than it would in humid climates where moisture lingers in the air.
Depending on how extensive your root trimming was, you might need anywhere from two to six hours of drying time.
Smaller cuts callus over quickly, while more significant pruning benefits from a longer drying period. You’ll know the roots are ready when the cut surfaces no longer look moist and have developed a slightly papery texture.
This drying period might seem like an unnecessary delay, but it’s actually a protective measure that helps your aloe adjust more smoothly to its new environment.
The callused surfaces are less vulnerable to moisture absorption, which gives your plant a better start in its fresh soil mix.
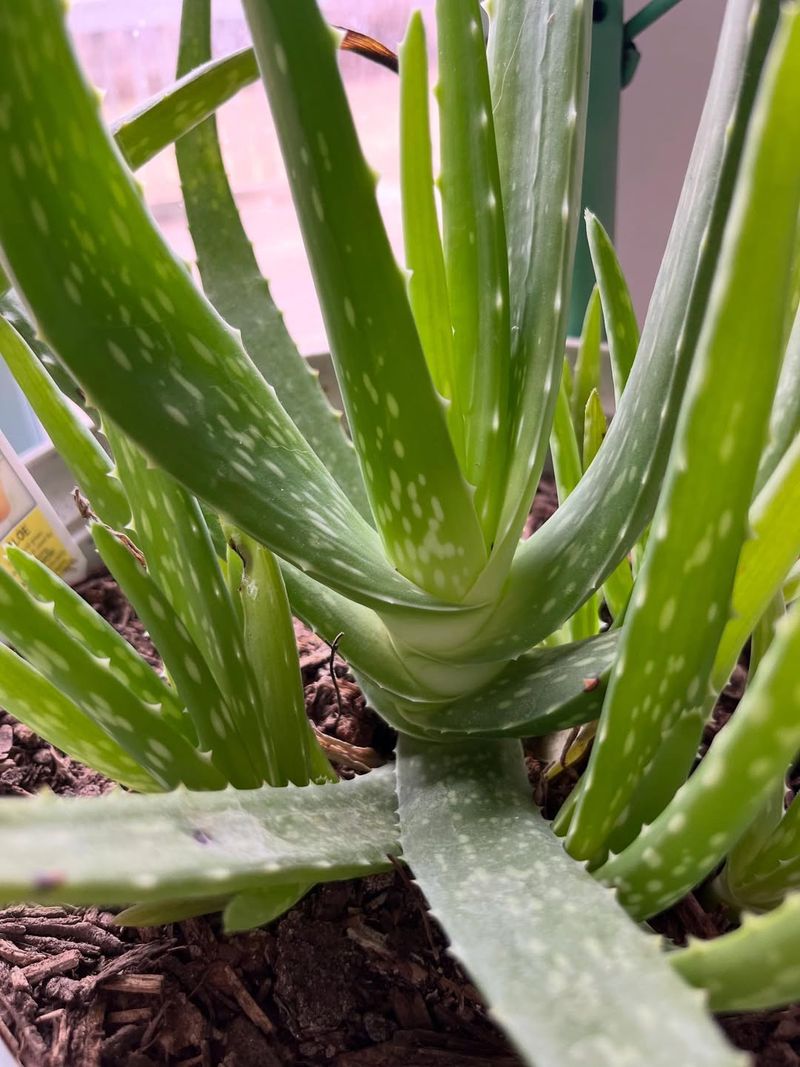
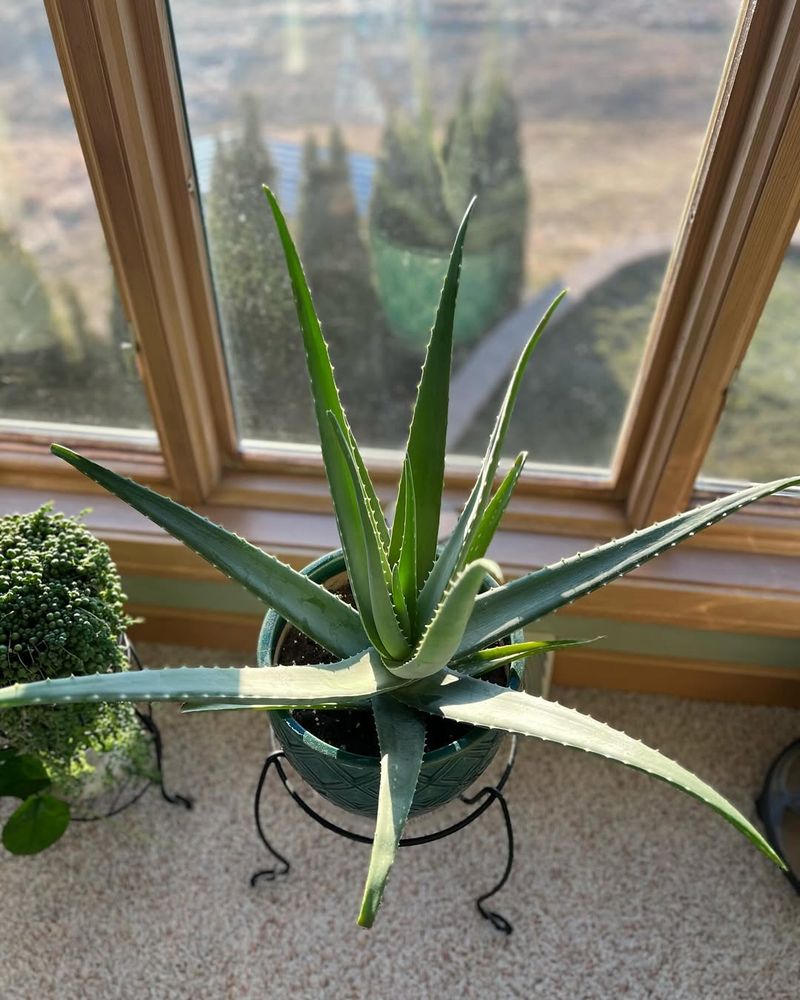
6. Position Plant At The Same Soil Depth
Proper planting depth is crucial for aloe vera success, yet it’s one of the most commonly overlooked aspects of repotting.
Your aloe should sit at approximately the same depth in its new container as it did in the old one, with the base of the lowest leaves just above the soil surface.
This positioning prevents moisture from accumulating around the stem, which can lead to serious stress in the plant’s crown.
When you plant too deep, soil comes into contact with the stem and lower leaf bases, creating a constantly moist environment that aloe stems simply aren’t designed to handle.
Arizona’s intense sun might dry the soil surface quickly, but moisture can persist where the stem meets the soil, especially right after watering. This trapped moisture puts pressure on the plant’s most vulnerable area.
Fill your new pot with enough soil mix so that when you set the root ball on top, the plant sits at the correct height. Hold the aloe in position with one hand while adding soil around the roots with the other, gently firming as you go.
Leave about an inch of space between the soil surface and the pot rim for easier watering. If you’re unsure about the right depth, err on the side of planting slightly high rather than too deep.
You can always add a bit more soil around the base if needed, but removing soil from around a buried stem is much trickier once the plant is settled.
7. Wait Several Days Before Watering
Patience becomes your greatest ally after repotting aloe vera, especially when it comes to watering. Newly transplanted aloe benefits significantly from a short dry period that allows any root disturbances to heal and adjust before encountering moisture.
This waiting period typically lasts three to five days in Arizona’s climate, though you can extend it to a full week if you trimmed extensive roots.
The reasoning behind this dry spell relates to how succulent roots respond to moisture after experiencing stress.
Fresh cuts or damaged areas on roots are vulnerable entry points for issues if they encounter water before forming protective barriers.
By waiting, you give these areas time to callus over completely, creating a stronger foundation for healthy growth. Arizona’s rapid evaporation rates and low humidity actually make this waiting period easier on your plant than it would be in more humid regions.
The soil will stay relatively dry during this time, and your aloe’s thick leaves contain enough stored moisture to sustain the plant comfortably.
Watch for any signs of severe shriveling, though this is rare and usually only happens if you wait much longer than a week.
When you do finally water, do it thoroughly but carefully, allowing water to soak through the entire root zone and drain completely from the bottom holes.
Then return to your normal watering schedule, adjusting frequency based on Arizona’s seasonal temperature changes and your specific growing conditions.
8. Acclimate To Full Sun Gradually
Even though aloe vera loves sunshine, sudden exposure to Arizona’s intense rays after repotting can cause unexpected stress and leaf discoloration.
Your plant needs a gradual adjustment period to build up tolerance, especially if it was previously growing indoors or in partial shade.
Think of this process like building a tan rather than getting sunburned on the first day of summer. Start by placing your freshly repotted aloe in bright indirect light or morning sun only for the first week.
Early morning sunlight is gentler and less likely to cause surface damage while the plant is still recovering from the repotting process.
Arizona’s morning temperatures are also more moderate, giving your aloe a chance to warm up gradually rather than facing immediate intense heat.
After the first week, gradually increase sun exposure by moving the plant into direct sunlight for an additional hour or two each day.
Watch the leaves carefully for signs of stress like reddish-brown discoloration, pale patches, or a bleached appearance. These symptoms indicate the plant is getting too much sun too quickly and needs more time in partial shade.
By the end of three to four weeks, your aloe should be fully acclimated and ready for its permanent sunny location.
Arizona aloe plants can eventually handle full sun for most of the day once established, but this gradual introduction prevents shocking the plant and ensures those gorgeous green leaves stay healthy and vibrant throughout the adjustment period.