16 Simple Steps To Pinch Dahlias The Right Way (For Bigger And Better Blooms)
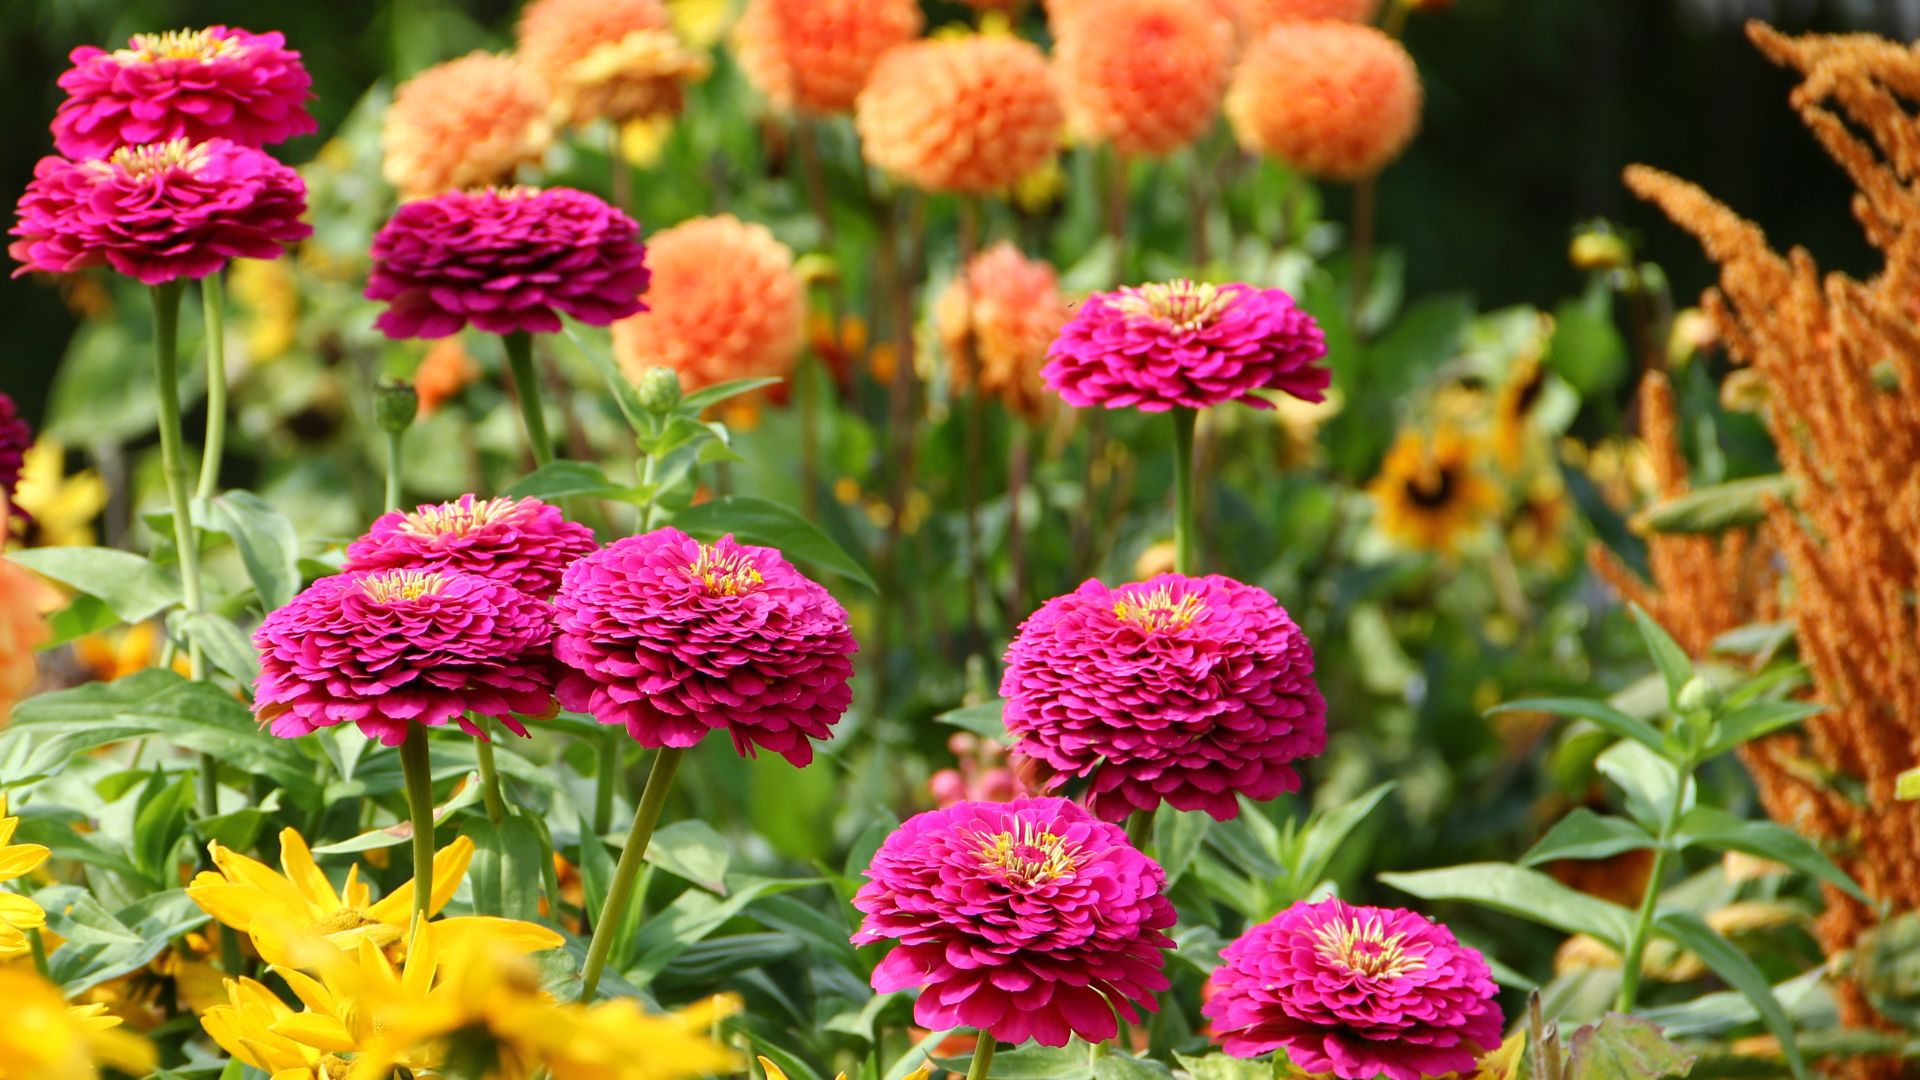
Pinching dahlias was one of those gardening tricks I ignored for years—until I saw the difference it made in a neighbor’s garden. One quick snip, and suddenly your dahlias go from tall and lanky to full, bushy, and packed with blooms.
Instead of one main stem, pinched dahlias send out multiple shoots, giving you a much fuller plant. More stems mean more buds, and that means more flowers for bouquets or just to enjoy outside your window.
Whether you’re new to dahlias or you’ve been growing them for a while, this easy technique can really change the game. These 16 practical steps will walk you through the how, when, and why—so you can enjoy a dahlia display that turns heads.
1. Wait For The Right Height
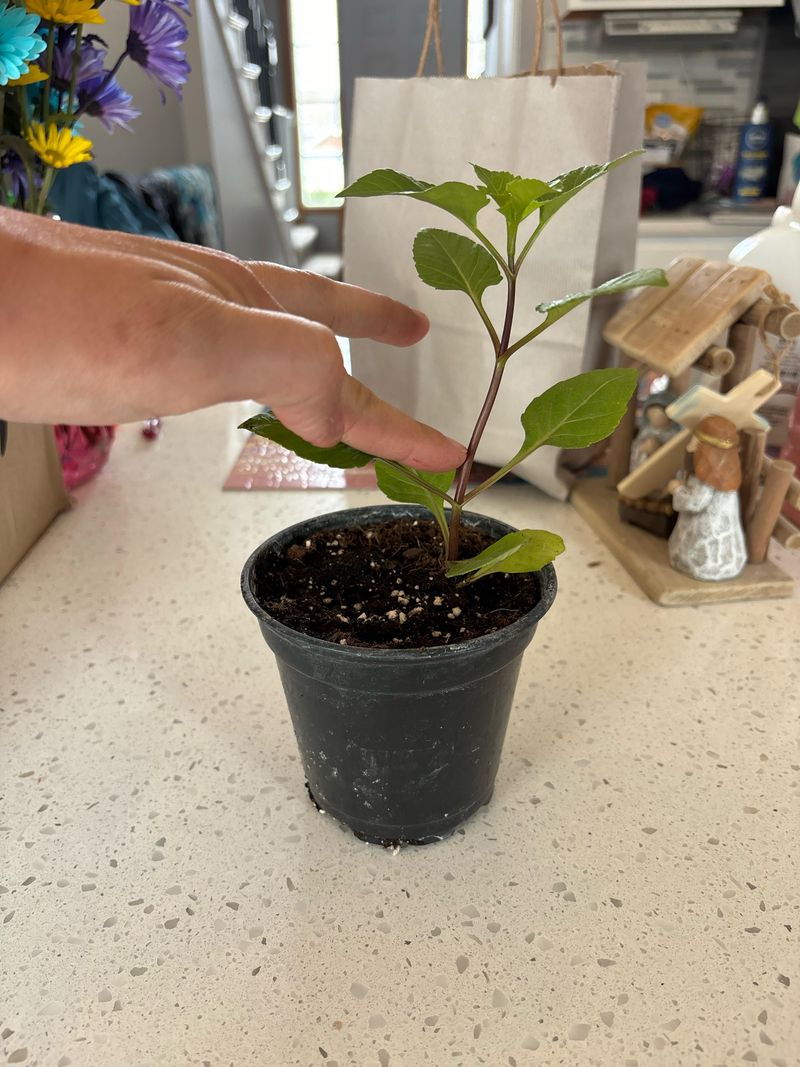
Patience pays off when starting the pinching process. Your dahlia plants should reach about 12-18 inches tall before you consider making any cuts. At this stage, they’ve established a strong root system but haven’t yet committed to their flowering pattern.
Young plants need time to develop several sets of leaves. Look for plants with at least 3-4 sets of leaves before pinching, as this indicates they’re strong enough to handle the stress of being cut.
The timing typically falls around late spring to early summer, depending on when you planted. Mark your calendar about 3-4 weeks after planting as a reminder to check your dahlias’ height.
2. Gather The Right Tools
Sharp, clean tools make all the difference in successful pinching. Use pruning shears, garden scissors, or even your fingernails if they’re strong enough. Whatever tool you choose, ensure it’s capable of making a clean cut without crushing the stem.
Sanitize your cutting tools before starting. A quick wipe with rubbing alcohol or a diluted bleach solution prevents the spread of disease between plants and gives your dahlias the best chance of healthy regrowth.
Keep a small bucket or garden bag nearby to collect the trimmings. Some gardeners even root these cuttings to create new dahlia plants, giving you more blooms for free!
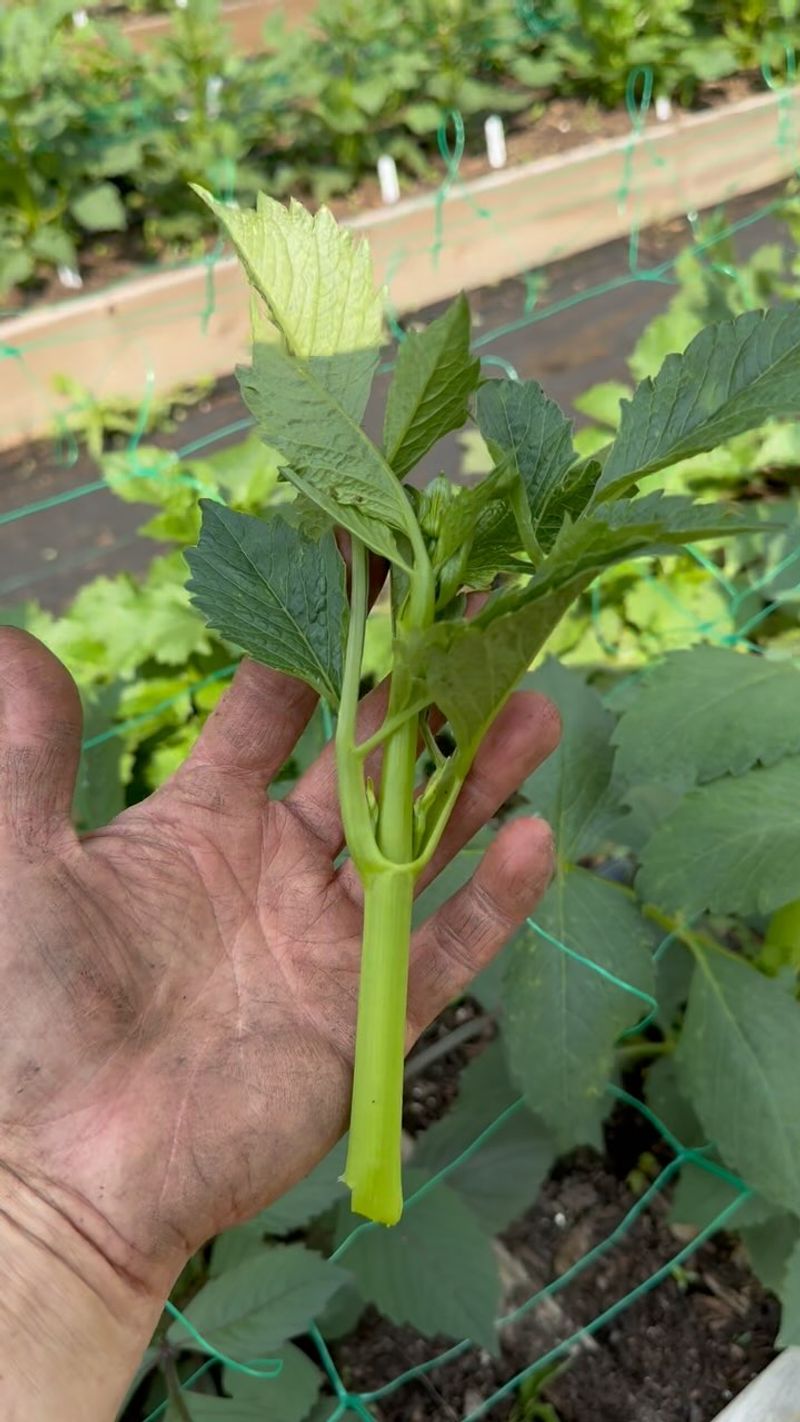
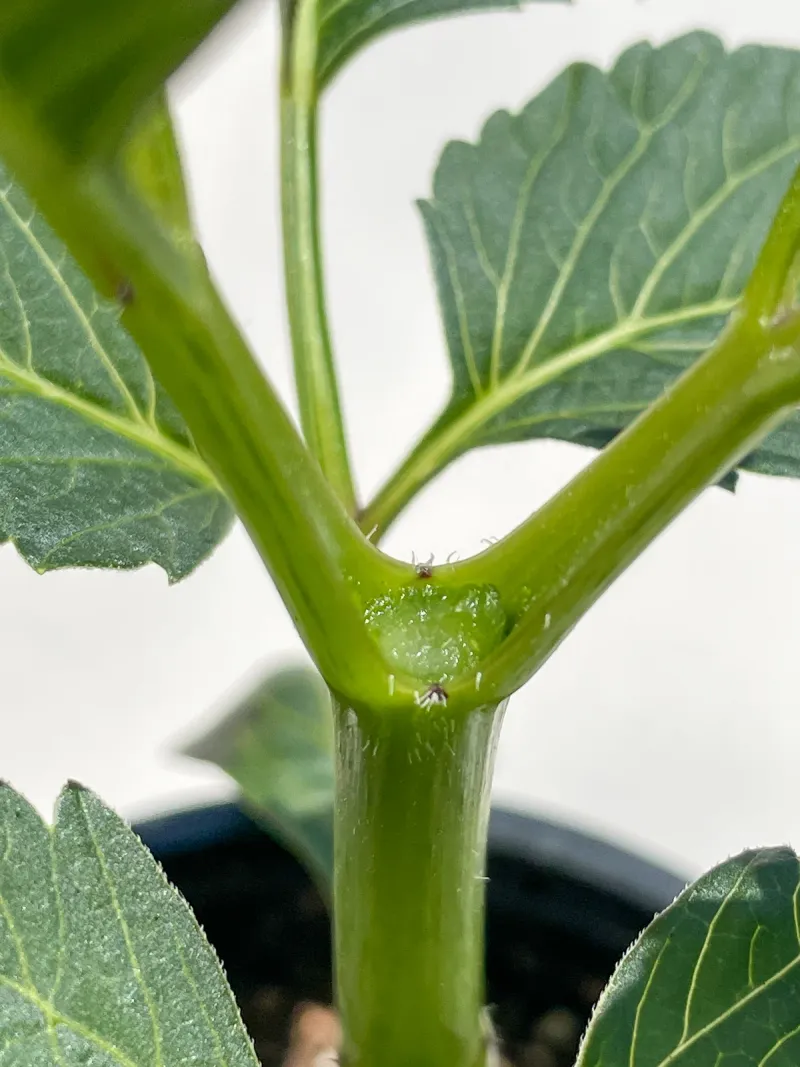
3. Identify The Main Stem

The central stem is your primary target when pinching dahlias. Stand back and look at your plant to identify the main vertical growth shooting straight up from the base. This is typically thicker and more prominent than any side shoots.
Notice how the main stem has nodes where leaves emerge. These nodes are crucial because they contain dormant buds that will activate after pinching, creating new branching stems.
Avoid confusing the main stem with any early side branches that might have already developed. The goal is to remove the topmost portion of the central growing stem to encourage more branching from lower down.
4. Find The Right Spot To Pinch
Locate a node with a healthy pair of leaves about 3-4 sets down from the top of the plant. This sweet spot ensures you’re not cutting too much or too little off your dahlia. The remaining stem should have enough leaf sets to continue strong growth.
Examine the area carefully before cutting. Look for the slight swelling where the leaves meet the main stem – this junction is where new growth will emerge after pinching.
Running your finger gently along the stem can help you feel the nodes if they’re not immediately visible. Some gardeners mark their intended cut spot with a small piece of colored string or twist tie before making the final cut.
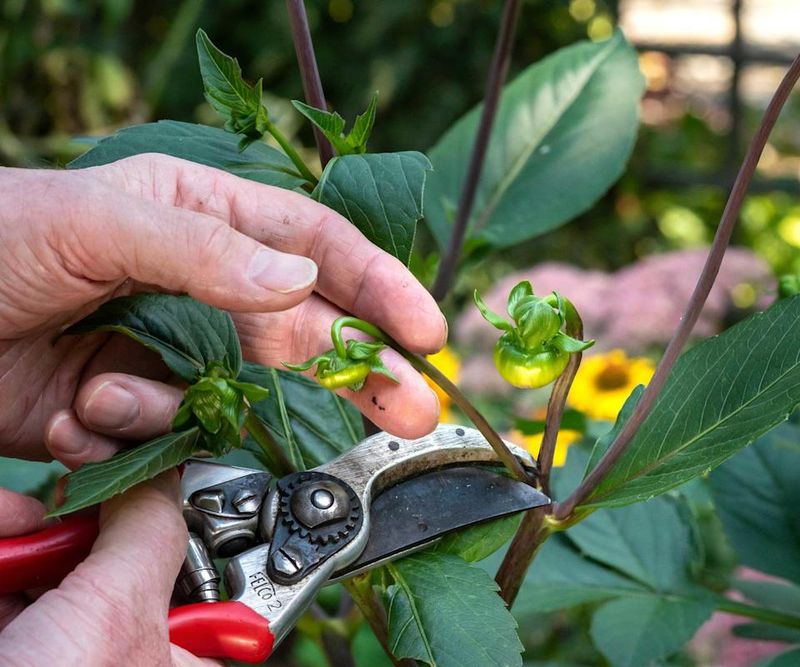
5. Make A Clean Angled Cut
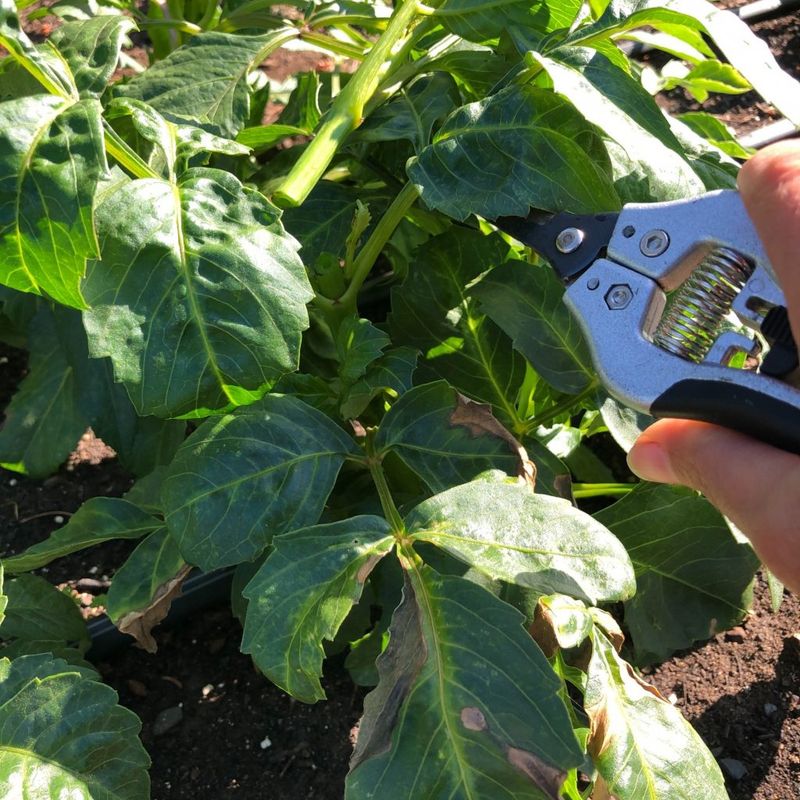
Position your scissors or pruners at a 45-degree angle just above the leaf node you’ve selected. This angled cut increases the surface area for healing and prevents water from pooling on the cut surface, which could lead to rot.
Apply firm, decisive pressure to make a clean cut through the stem in one motion. Hesitant or sawing motions can damage the surrounding tissue and slow the plant’s recovery process.
Leave about a quarter-inch of stem above the node rather than cutting flush against it. This small buffer protects the dormant buds at the node from accidental damage while still being short enough to look tidy as the plant continues growing.
6. Pinch Secondary Growth Points
After your initial main stem pinch, your dahlia will develop multiple new stems. When these secondary stems reach about 3-4 inches long, consider pinching them too for even more branching. Not every gardener takes this extra step, but it can dramatically increase your flower count.
Follow the same principles as your first pinch – make clean cuts just above nodes with healthy leaves. This second round of pinching requires more precision since you’re working with smaller, more delicate stems.
Limit yourself to pinching just the strongest secondary stems if your plant seems stressed. Observing how your specific dahlia variety responds to the first pinch will guide your decision about whether to continue with secondary pinching.
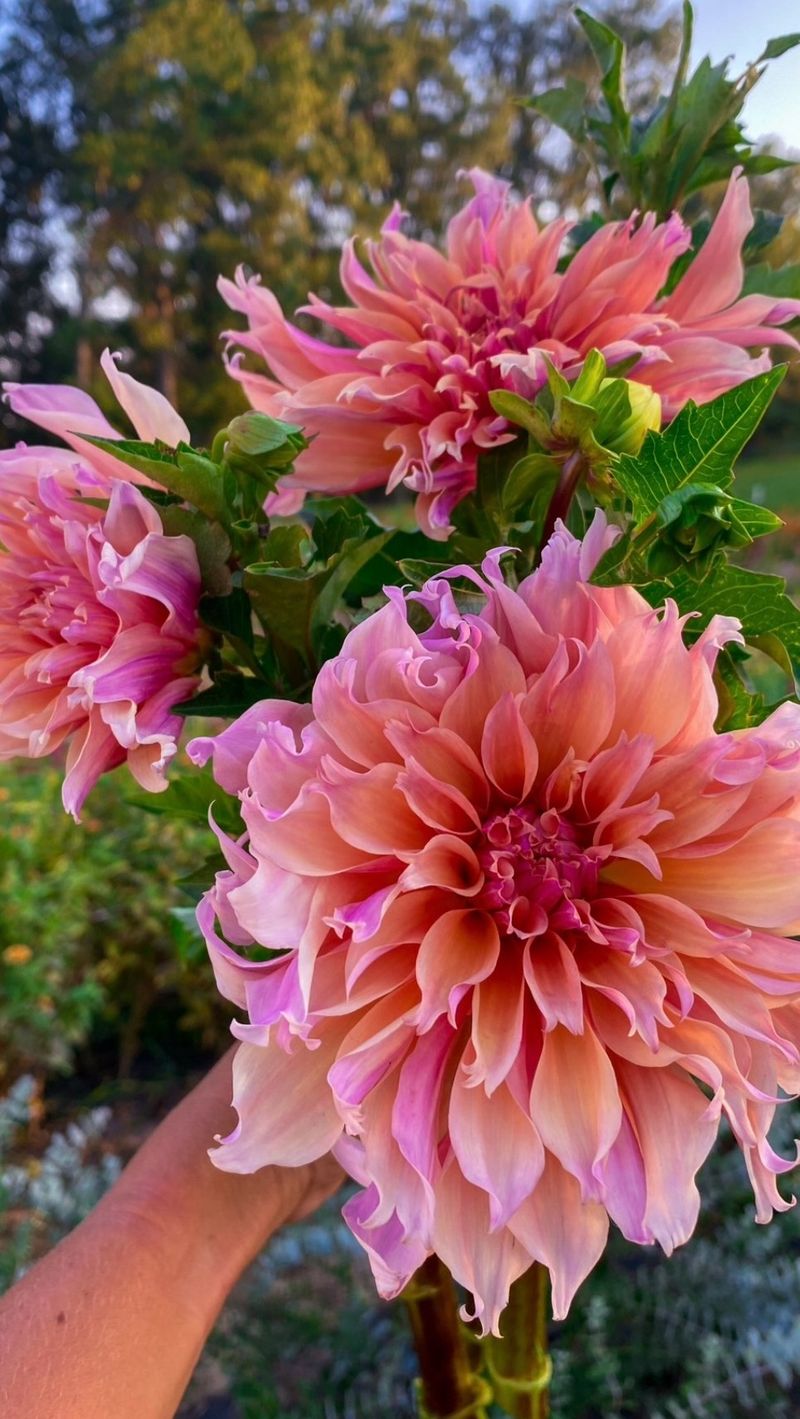
7. Know When To Stop Pinching
Timing the end of your pinching schedule is crucial for flower production. Most gardeners stop pinching dahlias by early July (in the Northern Hemisphere) to allow enough time for flower development before the season ends.
Count backward from your first expected frost date. Dahlias typically need 6-8 weeks from their final pinch to produce flowers, so plan accordingly. Late pinching might result in beautiful plants with few or no blooms before frost hits.
Watch for the development of tiny buds at stem tips – once these appear, the plant has shifted from vegetative growth to flowering mode. At this point, further pinching will remove potential flowers rather than encourage branching.
8. Water Thoroughly After Pinching
Immediately after pinching, give your dahlias a generous drink. The stress of being cut triggers the plant’s healing response, and proper hydration supports this recovery process. Aim to moisten the soil to a depth of several inches without creating soggy conditions.
Morning watering works best after pinching. This timing allows any splashed foliage to dry before evening, reducing disease risks while giving the plant all day to absorb the moisture it needs for recovery.
Consider using a gentle shower setting on your hose nozzle or watering can. The soft spray won’t damage the freshly cut stems or wash away soil from around the plant’s base, where delicate feeder roots might be growing.
9. Apply Light Fertilizer
Boost recovery and new growth with a diluted liquid fertilizer application about 3-5 days after pinching. A balanced formula (like 10-10-10) provides the nutrients needed without overwhelming the healing plant. Always dilute to half the recommended strength for this post-pinching feeding.
Focus your fertilizer application at the soil level around the plant’s drip line. This placement encourages roots to grow outward for better stability, especially important as your dahlia develops multiple stems that will need strong support.
Skip high-nitrogen fertilizers at this stage. While nitrogen promotes leafy growth, too much can delay flowering and create weak, floppy stems that might require excessive staking later in the season.
10. Monitor For New Growth
Keep a watchful eye on your pinched dahlias during the 7-10 days following their trim. Tiny new shoots should emerge from the leaf axils below your cut. These small growths confirm that your pinching technique was successful and the plant is responding as desired.
The pattern of new growth tells an important story. Ideally, you’ll see multiple shoots developing symmetrically around the stem. Lopsided growth might indicate that some buds were damaged during pinching or that the plant is leaning toward available sunlight.
Take photos every few days to document the branching progress. This visual record helps you learn your dahlia varieties’ specific responses to pinching, valuable knowledge for improving your technique in future seasons.
11. Provide Adequate Support
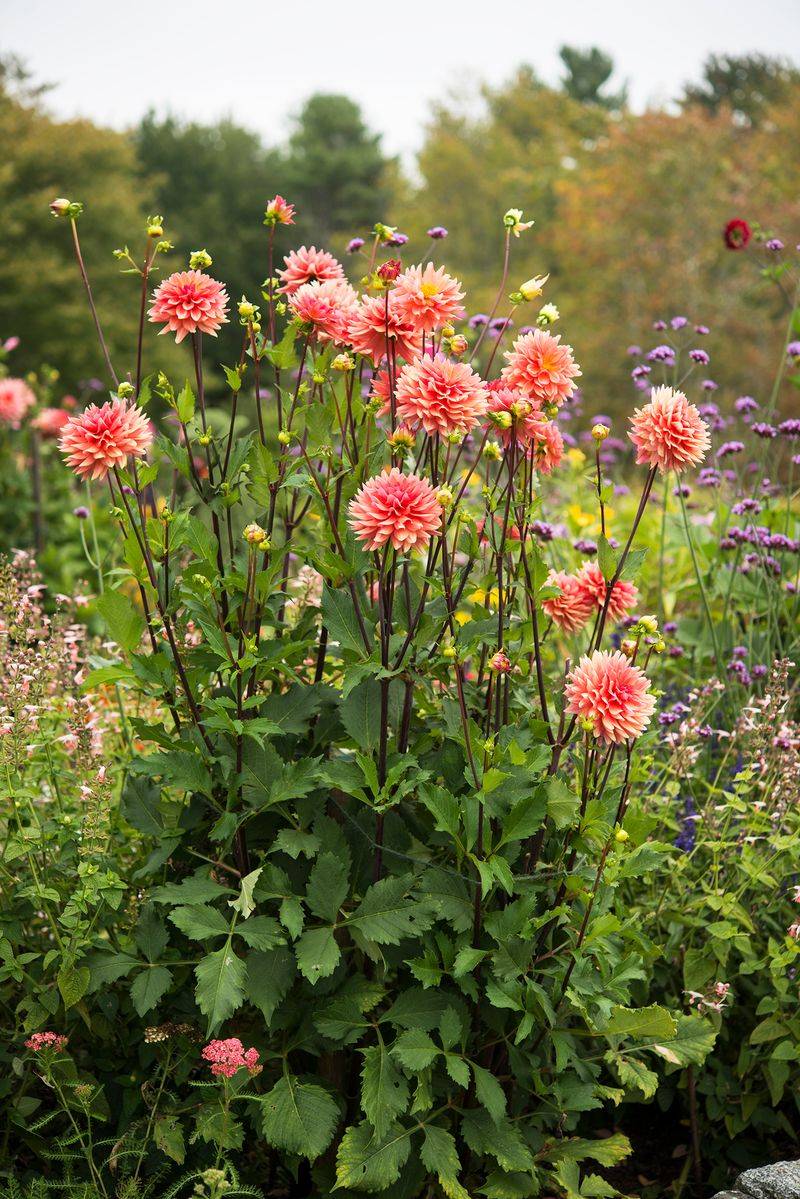
Install stakes or cages soon after pinching while plants are still manageable. Pinched dahlias develop multiple stems that grow heavier with blooms, making them particularly prone to breaking in wind or rain. Getting support in place early prevents damage to developing stems.
Choose support systems based on your dahlia variety’s expected height. Taller varieties (over 3 feet) benefit from individual stakes placed about 2 inches from the main stem, while bushier medium varieties do well with tomato cages or circular supports.
Secure stems to supports using soft plant ties or strips of old pantyhose. These flexible materials expand with the growing stems and prevent damage that can occur with wire ties or rigid fasteners.
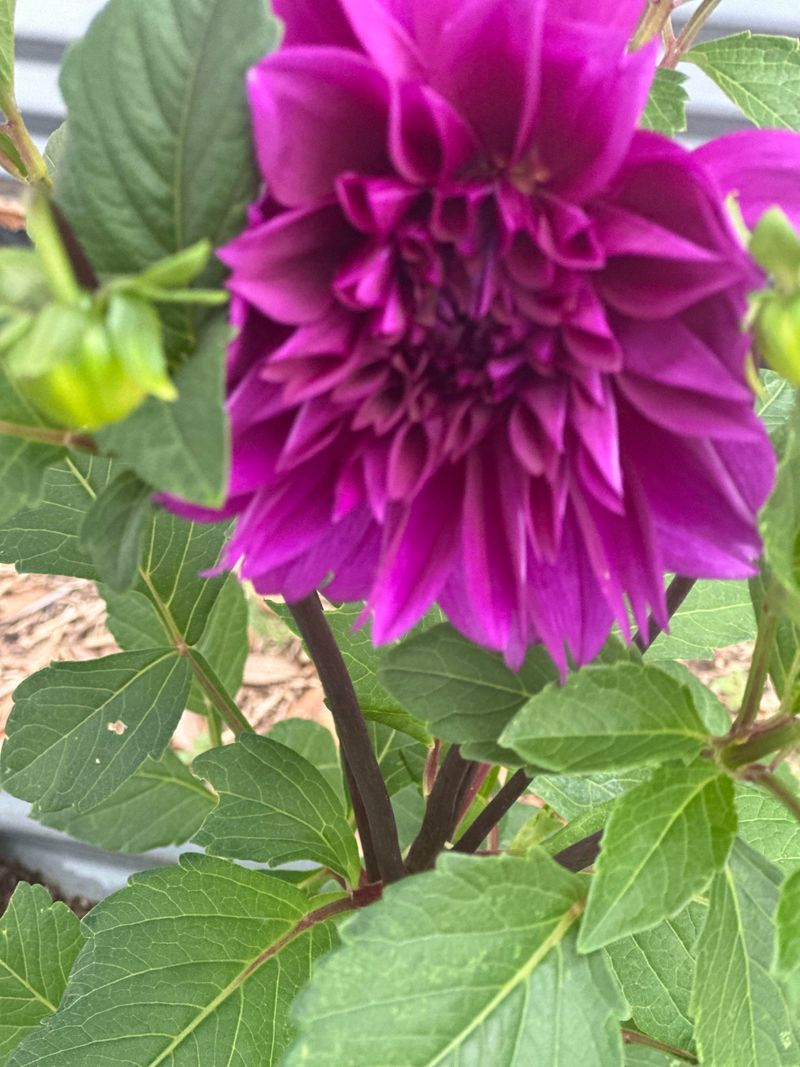
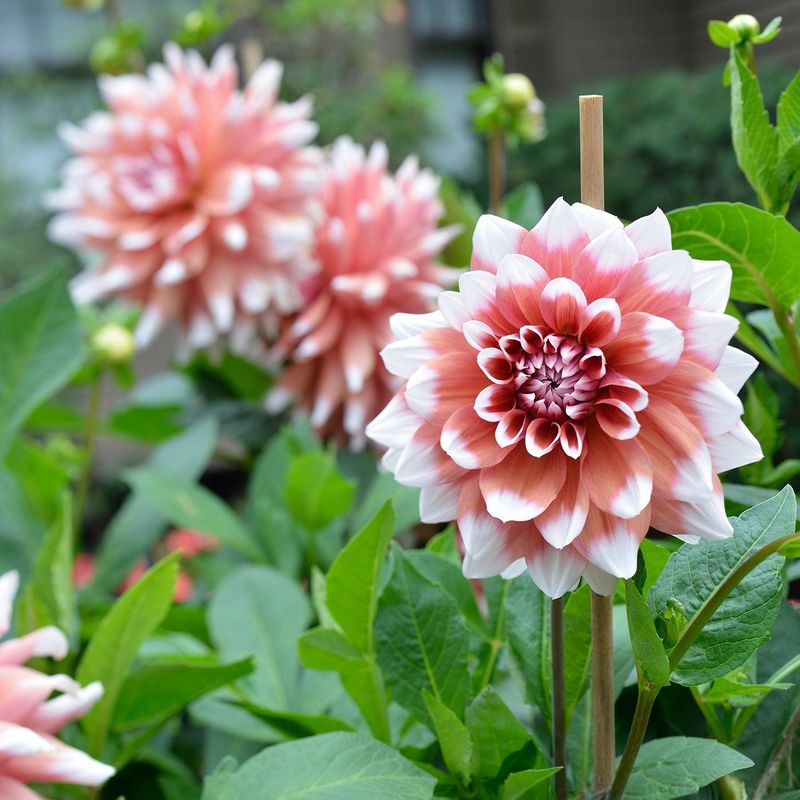
12. Manage Side Buds For Bigger Blooms

As flower buds form, you’ll notice a main central bud flanked by smaller side buds on each stem. For maximum bloom size, remove these smaller side buds by pinching them off with your fingers. This technique, called disbudding, directs the plant’s energy to fewer, but larger, flowers.
Timing matters when disbudding. Wait until side buds are about the size of a small pea but before they show color. At this stage, they’re easy to identify yet removing them won’t damage the main bud.
Leave the side buds in place if you prefer more numerous, though smaller, flowers for cutting. Some gardeners compromise by disbudding only a portion of their dahlia plants, giving them both statement blooms and plentiful cutting flowers.
13. Maintain Consistent Watering
Establish a regular watering schedule after pinching to support the development of new stems. Pinched dahlias with their multiple growth points require more consistent moisture than single-stemmed plants. Aim for deep watering 2-3 times weekly rather than frequent shallow watering.
Feel the soil before watering by inserting your finger about 2 inches deep. If it feels dry at that depth, it’s time to water. This simple test prevents both overwatering and underwatering, which can stress your plants during the critical branching phase.
Consider installing soaker hoses or drip irrigation around your dahlias. These systems deliver water directly to the soil, keeping foliage dry and reducing disease problems while ensuring your multi-stemmed plants receive adequate moisture.
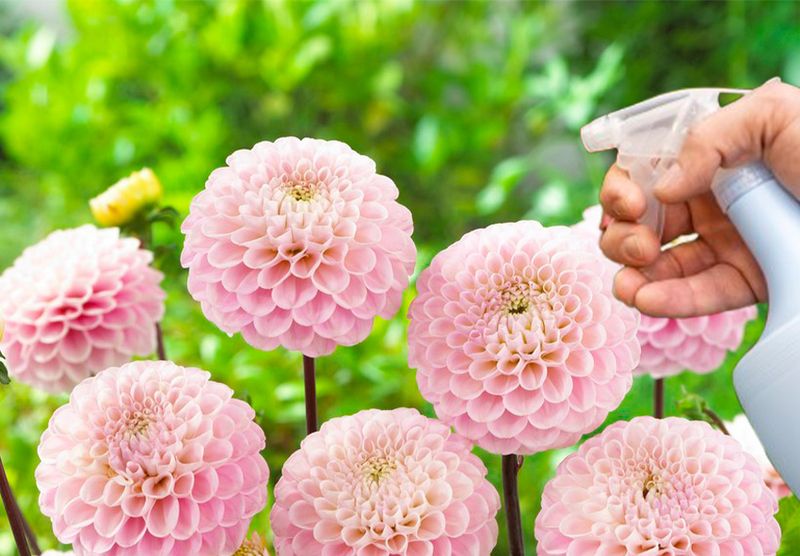
14. Address Pest Issues Promptly
Newly pinched dahlias with their tender growth can attract aphids, thrips, and other sap-sucking insects. Inspect the new shoots twice weekly, paying special attention to the undersides of leaves and stem junctions where pests often gather.
A strong spray of water from the hose often dislodges minor pest infestations before they become serious. Direct the spray particularly at the emerging growth points, but do this in the morning so plants can dry completely before evening.
Consider introducing beneficial insects like ladybugs or lacewings if pest problems persist. These natural predators provide ongoing protection without chemicals that might harm pollinators visiting your dahlia flowers later in the season.
15. Continue Deadheading Throughout Season
Once your pinched dahlias start flowering, remove spent blooms promptly to extend the blooming period. Cut the stem back to the first set of full leaves below the faded flower. This practice prevents the plant from wasting energy on seed production.
Morning is the ideal time for deadheading when stems are fully hydrated and crisp. Use clean, sharp scissors or pruners for these cuts, just as you did during the initial pinching process.
Collect deadheaded blooms in a separate container from your healthy cut flowers. Spent blooms can sometimes harbor botrytis or other fungal issues that you don’t want to introduce to your flower arranging area or compost pile while still fresh.
16. Record Your Results For Next Season
Create a simple garden journal entry documenting which dahlia varieties responded best to pinching. Note the pinching dates, specific techniques used, and subsequent flowering performance. This information becomes invaluable for refining your approach next season.
Take “before and after” photos showing your dahlias pre-pinch and then at full bloom. These visual records help you evaluate the effectiveness of your pinching strategy more accurately than memory alone.
Compare notes with fellow dahlia growers or garden club members. Different varieties respond uniquely to pinching, and collecting varied experiences helps build a knowledge base that benefits everyone’s future dahlia success.