16 Simple Tips For Growing Raspberries In Pots And Containers Like A Pro
You don’t need a sprawling garden to enjoy the sweet rewards of homegrown raspberries. Container gardening opens up possibilities for anyone with a sunny balcony, patio, or even just a windowsill.
When I first tried growing berries on my small balcony, I assumed they’d be fussy or need more room than I had. Turns out, containers work just fine—if you know a few key things. The satisfaction of plucking fresh berries from plants you’ve nurtured yourself is worth mastering these simple techniques.
I’ve gathered fifteen practical tips over the years (and yes, a few dead plants along the way). These aren’t complicated gardening theories—just straightforward advice that actually works for container raspberry growing, even if you’re just starting out.
1. Choose The Right Raspberry Variety
Not all raspberry types play nicely in containers. Everbearing (fall-bearing) varieties like ‘Heritage’ or ‘Autumn Bliss’ typically perform better than summer-bearing ones because they have more compact growth habits.
These varieties produce two harvests per year—a bonus for container gardeners! Dwarf varieties like ‘Raspberry Shortcake’ were specifically bred for container growing and stay naturally compact without needing much pruning.
They’re perfect for small spaces. I once tried growing a sprawling summer variety in a pot and ended up with a tangled mess that produced very little fruit.
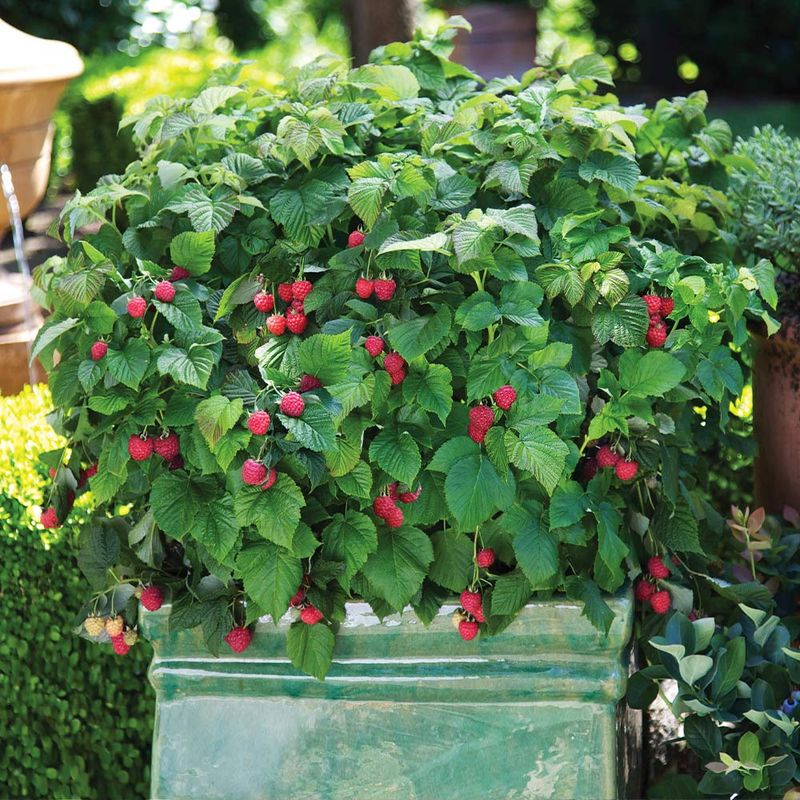
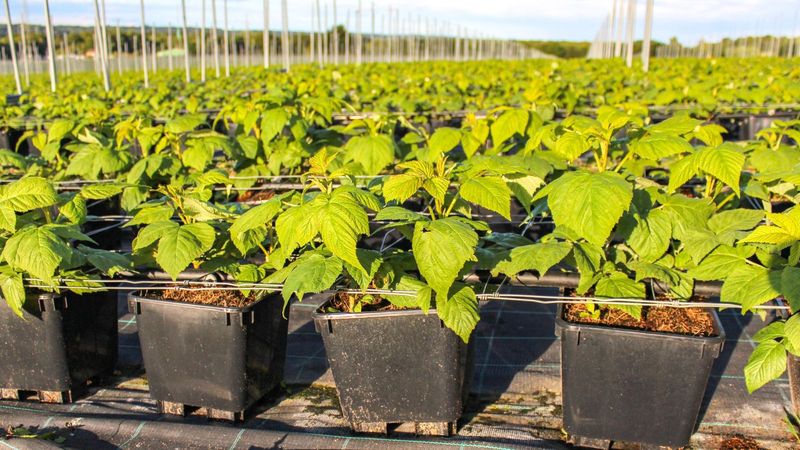
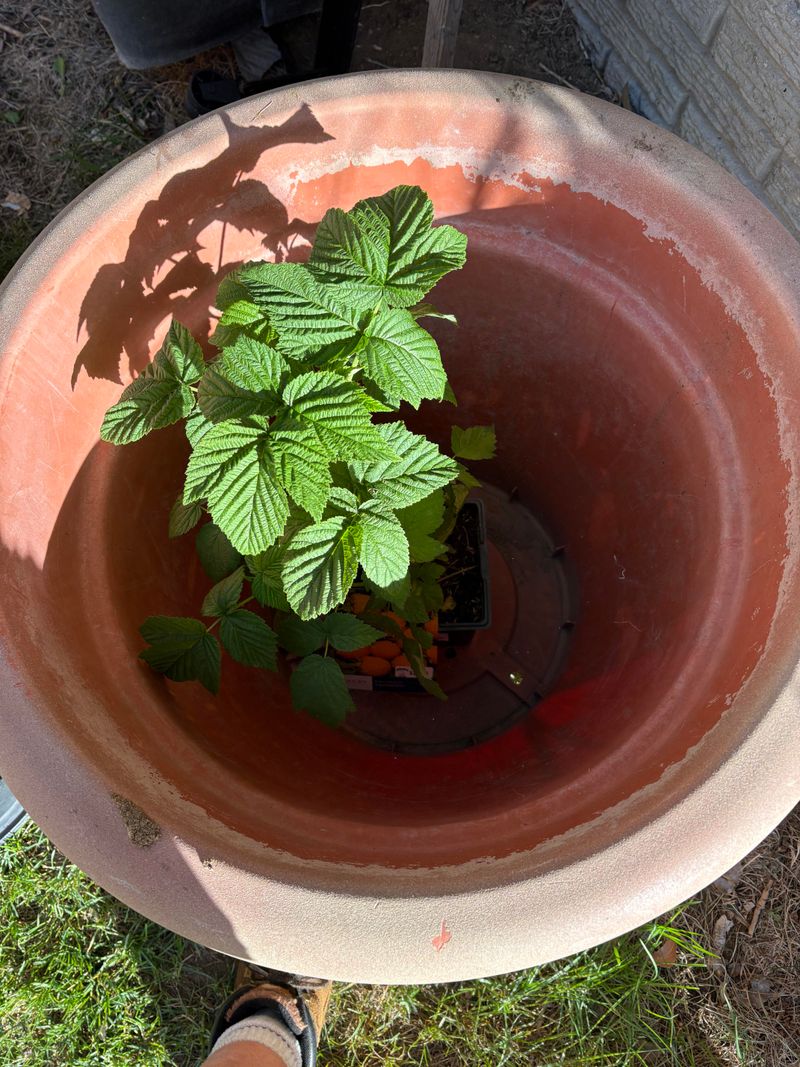
2. Select A Spacious Container
Container size matters tremendously when growing these hungry plants. A minimum of 15 inches in diameter and 15-24 inches deep gives roots the space they need to develop properly.
The first time I grew raspberries, I tried using a cute 10-inch pot and wondered why my plant looked so sad. Half whiskey barrels, large terracotta pots, or dedicated vegetable planters all work wonderfully.
Materials like ceramic, plastic, or wood are all suitable, though plastic retains moisture better in hot weather. Just make sure whatever container you choose has several drainage holes at the bottom.
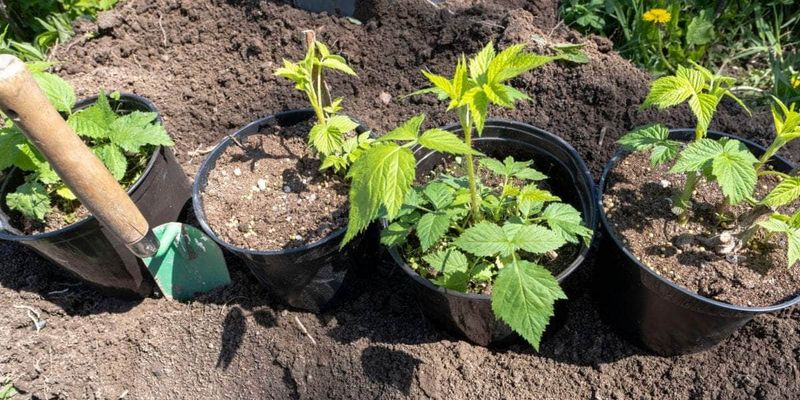
3. Use Premium Potting Mix
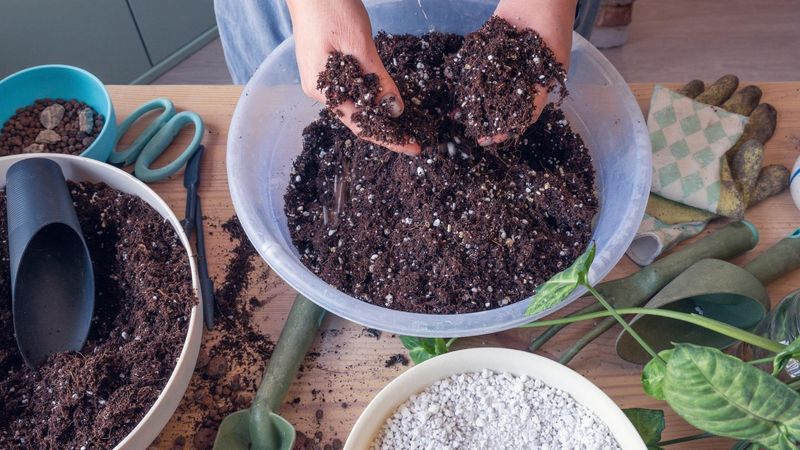
Garden soil is far too dense for container growing and will suffocate raspberry roots. Instead, invest in a high-quality potting mix specifically formulated for containers. Look for mixes containing peat moss, perlite, and vermiculite that provide both good drainage and moisture retention.
For even better results, mix in about 20% compost to your potting soil to provide additional nutrients and beneficial microorganisms. My container raspberries really took off when I started using premium potting mix instead of the bargain brand I’d been using.
The soil should feel light and fluffy, not compacted or heavy.
4. Ensure Perfect Drainage
Soggy roots spell disaster for raspberry plants. Before adding soil, place a layer of broken pottery pieces or large pebbles at the bottom of your container to prevent drainage holes from clogging. This simple step has saved countless plants in my container garden.
If your pot sits on a flat surface, elevate it slightly using pot feet or even small rocks to allow water to escape freely. During one particularly rainy week, my elevated pots thrived while a friend’s ground-sitting containers developed root rot.
Check drainage holes occasionally to ensure they haven’t become blocked by roots or debris.
5. Find the Sunniest Spot
Raspberry plants are sun worshippers that need at least 6-8 hours of direct sunlight daily to produce a good harvest. Moving containers around to chase the sun is one major advantage of growing in pots rather than in the ground!
Morning sun tends to be gentler than afternoon rays, especially in hot climates. My east-facing balcony produces sweeter berries than when I tried growing them on my west-facing patio that got scorching afternoon heat. If you live in a very hot region, providing afternoon shade might actually benefit your plants.
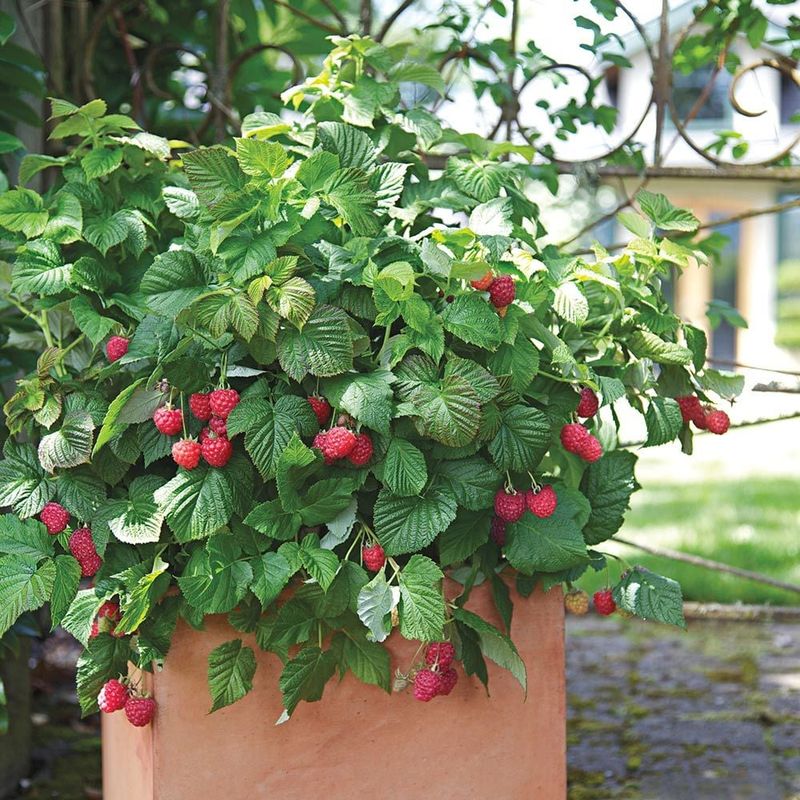
6. Install Support Structures
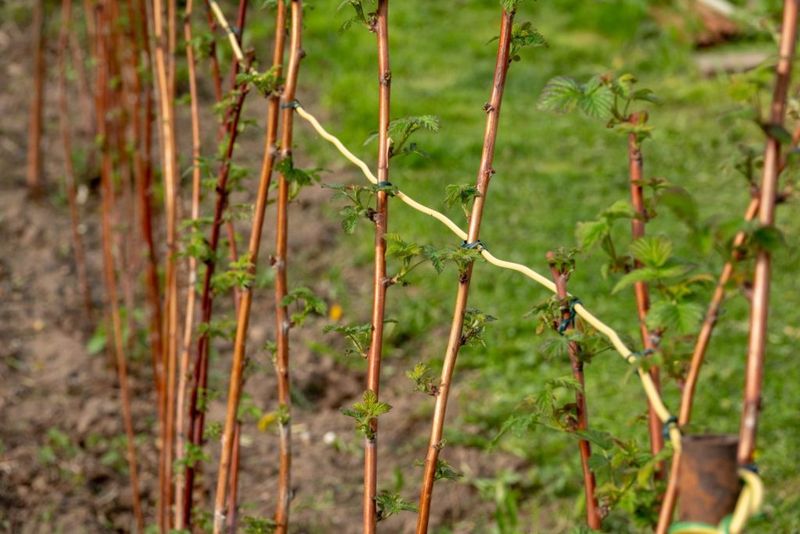
Even compact varieties need something to lean on. Insert stakes, small trellises, or decorative obelisks into your containers at planting time to avoid damaging roots later. The structures should be at least 3-4 feet tall to accommodate the plant’s mature height.
Bamboo stakes arranged in a tepee shape work beautifully and add visual interest to your container garden. For a more rustic look, try twisted branches collected from pruning trees.
Securing canes to supports prevents wind damage and keeps fruit off the soil, reducing disease problems.
7. Master Watering Techniques
Container raspberries need consistent moisture without becoming waterlogged. Typically, this means watering deeply whenever the top inch of soil feels dry to the touch. During summer heat, daily watering may be necessary, while spring and fall might require only 2-3 waterings per week.
Drip irrigation systems with timers have revolutionized my container gardening. Before installing one, I’d return from weekend trips to find stressed plants. Self-watering containers also work well for busy gardeners.
Always water at the soil level rather than spraying leaves, which can promote fungal diseases.
8. Feed Regularly With Balanced Fertilizer
Container plants can’t forage for nutrients like ground-planted ones, so regular feeding is essential. Begin with a slow-release organic fertilizer mixed into your potting soil at planting time.
Then supplement with liquid fertilizer diluted to half-strength every 2-3 weeks during the growing season. Fertilizers with balanced NPK ratios like 10-10-10 work well during vegetative growth.
Switch to formulations higher in phosphorus and potassium (like 5-10-10) when flowering begins to encourage better fruit production. My berries doubled in size the year I got serious about proper feeding schedules.
9. Mulch The Surface
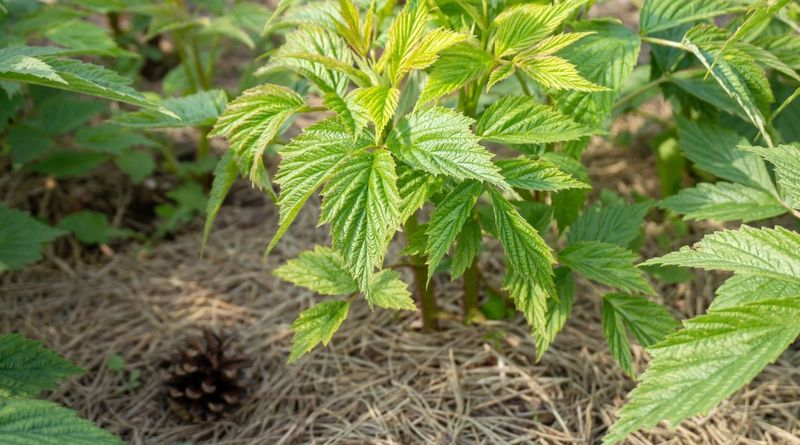
A 2-inch layer of mulch on top of your container soil works wonders for raspberry plants. Organic materials like straw, pine needles, or shredded leaves help retain moisture, suppress weeds, and regulate soil temperature. They also slowly break down to add nutrients to the soil.
Leave a small gap between the mulch and raspberry stems to prevent rot issues. During a heatwave last summer, my mulched containers needed half as much water as unmulched ones. The plants showed noticeably less stress too.
Refresh your mulch layer whenever it begins to break down significantly.
10. Prune For Productivity
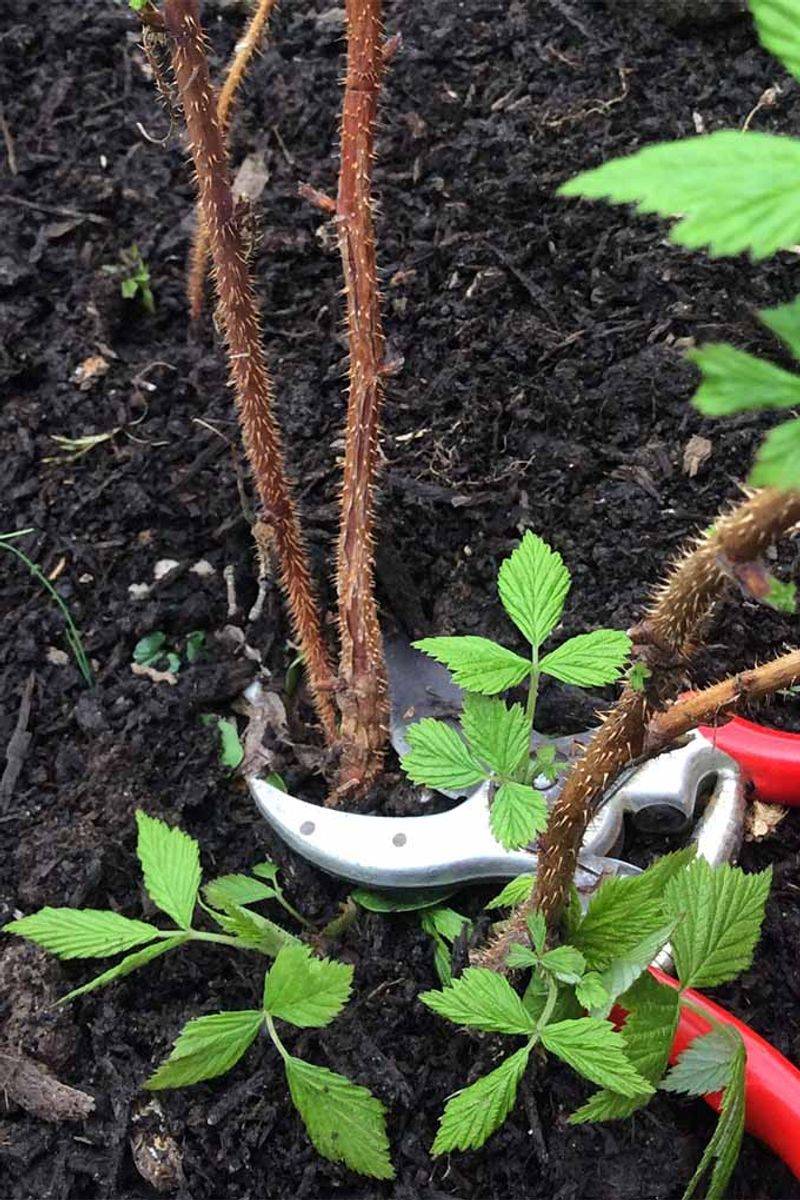
Proper pruning transforms scraggly raspberry plants into productive powerhouses. For fall-bearing varieties, you have two options: prune all canes to ground level in late winter for one larger fall crop, or selectively remove only the spent canes for both summer and fall harvests.
Container plants especially benefit from thinning overcrowded canes to improve air circulation. Remove any weak, damaged, or crossing canes first.
My container raspberries produced twice as much fruit after I learned to prune confidently instead of timidly leaving too many canes. Always use clean, sharp pruners to make clean cuts.
11. Protect From Temperature Extremes
Container plants experience more temperature fluctuation than ground-planted ones because their roots are more exposed.
During summer heat waves, move containers to shadier spots or use shade cloth to prevent scorching. Clustering pots together creates a more stable microclimate. Winter protection is crucial in cold regions since containers offer less insulation than the ground.
Wrap pots with bubble wrap or burlap, move them against a protected wall, or even bury the containers in mulch or soil. I learned this lesson the hard way after losing two beautiful plants to a harsh winter freeze.
12. Hand Pollinate For Better Yields
While raspberries are self-fertile, they still benefit from pollination assistance, especially in containers on balconies or areas with few natural pollinators.
A gentle shake of flowering branches on calm, dry days helps distribute pollen effectively. For even better results, use a small, soft paintbrush to transfer pollen between flowers.
Morning hours between 10 am and noon typically offer optimal pollination conditions. This simple trick increased my container berry yield by about 30% last season. The process takes just seconds per plant but makes a significant difference in fruit set.
13. Rotate Container Positions
Even in seemingly uniform sunlight, subtle differences in exposure can affect plant growth. Rotating your containers a quarter-turn weekly helps plants develop evenly on all sides.
I noticed this need when one side of my raspberry plant had lush growth while the other looked sparse. This practice also prevents roots from growing through drainage holes into the ground below. For larger containers that are difficult to turn, consider placing them on plant caddies with wheels.
Besides improving growth uniformity, rotation allows you to notice developing problems on all sides of the plant before they become serious.
14. Refresh Soil Annually
Container soil becomes depleted and compacted over time, leading to declining plant health. Each spring, remove the top 2-3 inches of old soil without disturbing the roots, then replace it with fresh potting mix enriched with compost.
This rejuvenates the growing medium and provides new nutrients. Every 2-3 years, consider a complete soil change and root pruning when plants are dormant.
The first time I did this complete refresh, my three-year-old struggling plants bounced back with incredible vigor. The difference was so dramatic that I now mark this maintenance task on my calendar as non-negotiable.
15. Scout Regularly For Pests
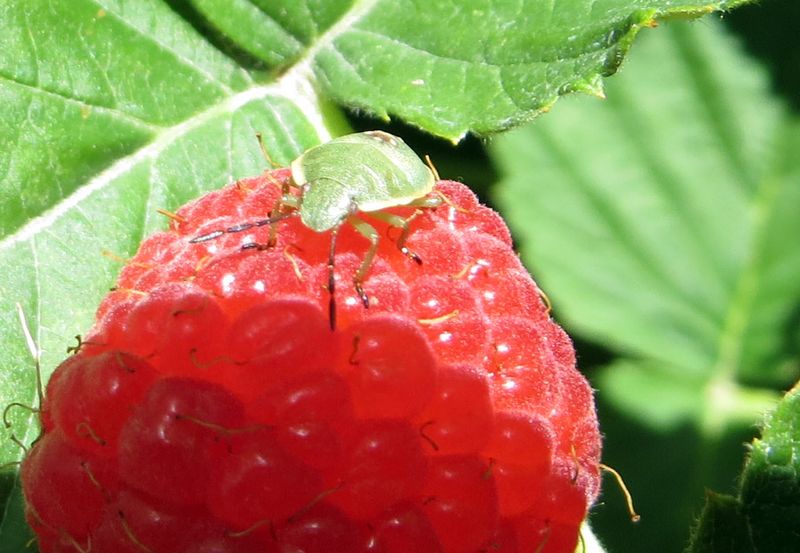
Container plants can still attract unwanted visitors, but early detection makes control much easier. Check under leaves weekly for aphids, spider mites, and Japanese beetles. A strong spray of water often dislodges minor infestations before they become problematic.
Introduce beneficial insects like ladybugs or use insecticidal soap for persistent problems. I’ve had great success with neem oil as an organic deterrent.
The strangest but most effective trick I’ve found is placing reflective mulch (like aluminum foil) around plants to confuse certain pests that navigate by light reflection.
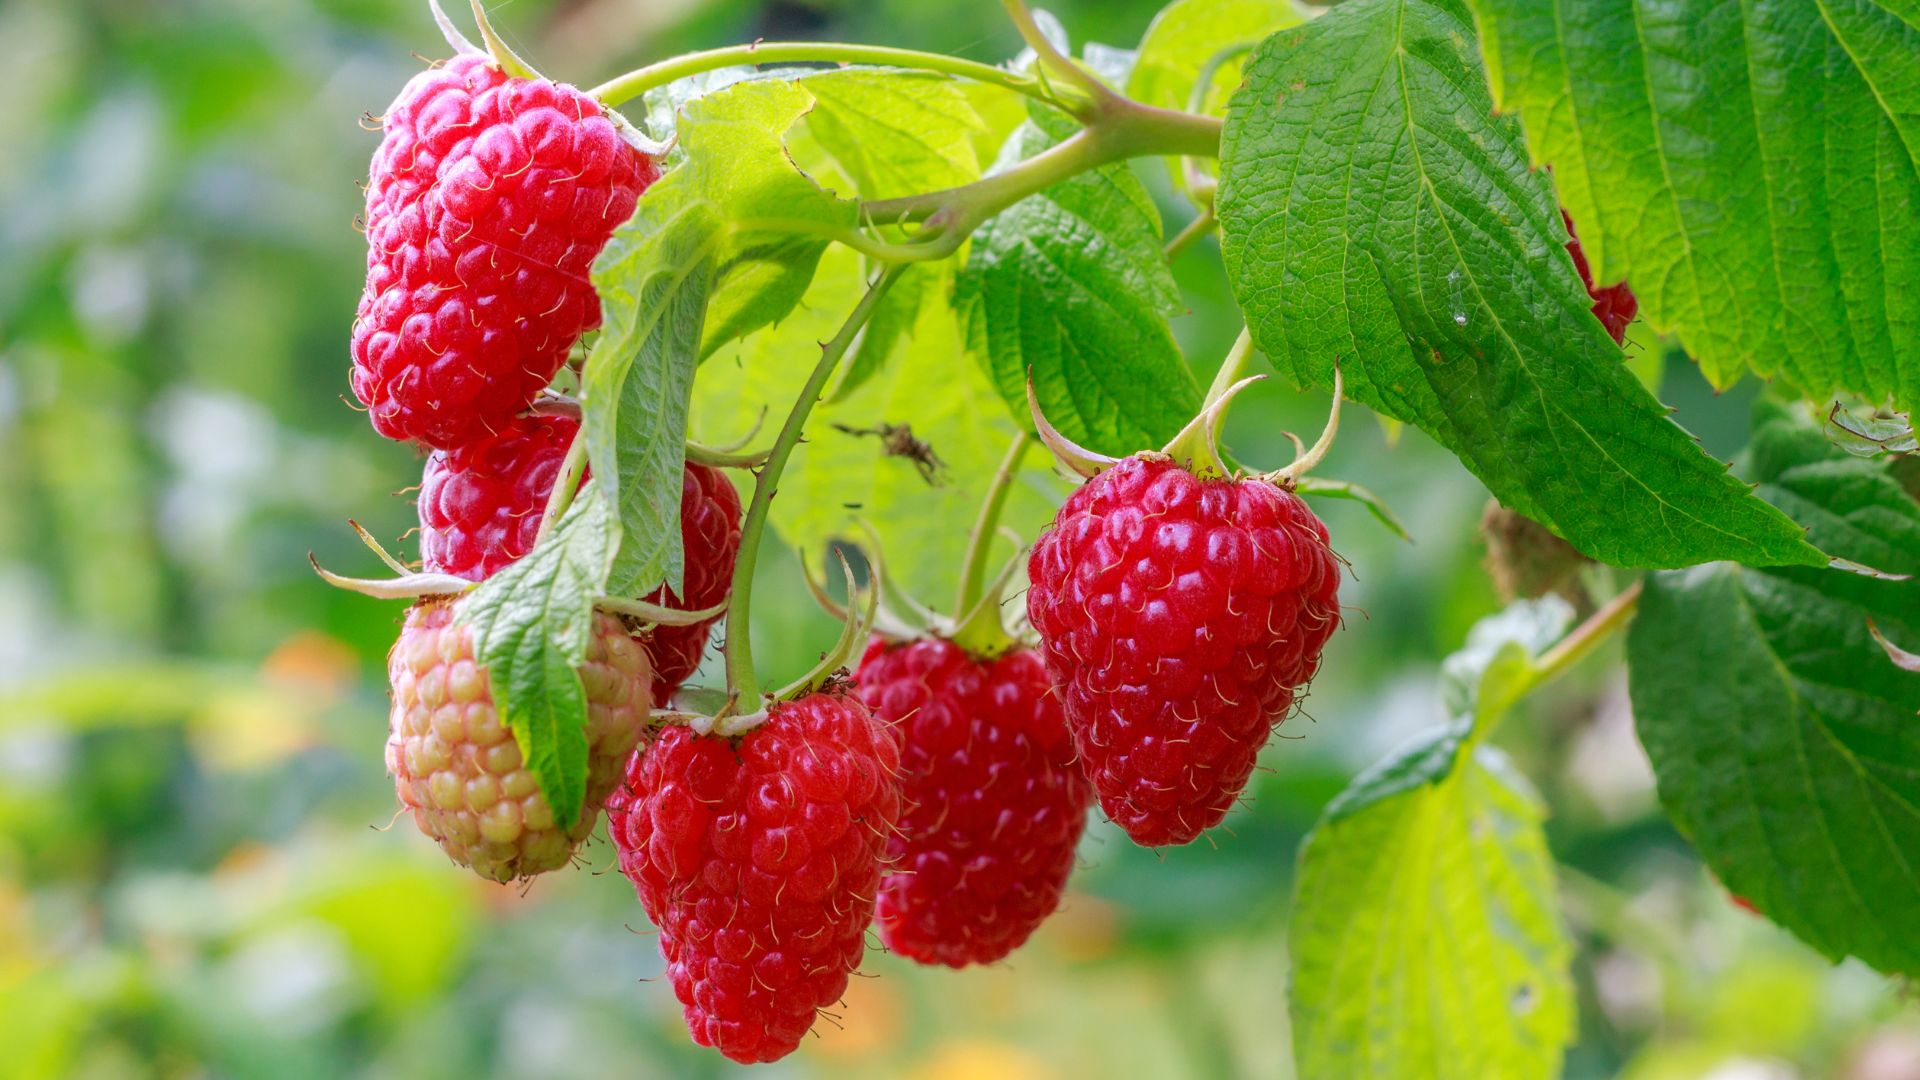
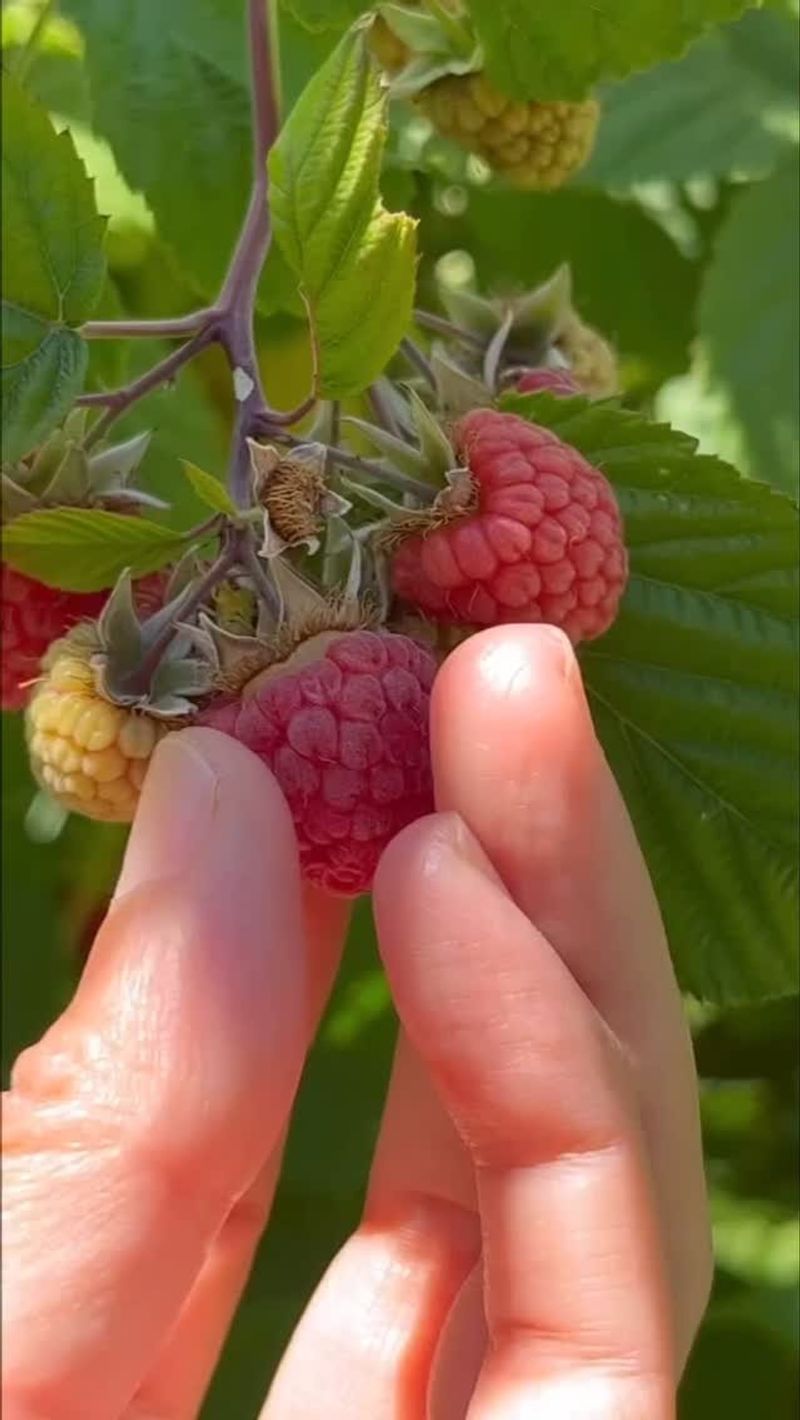
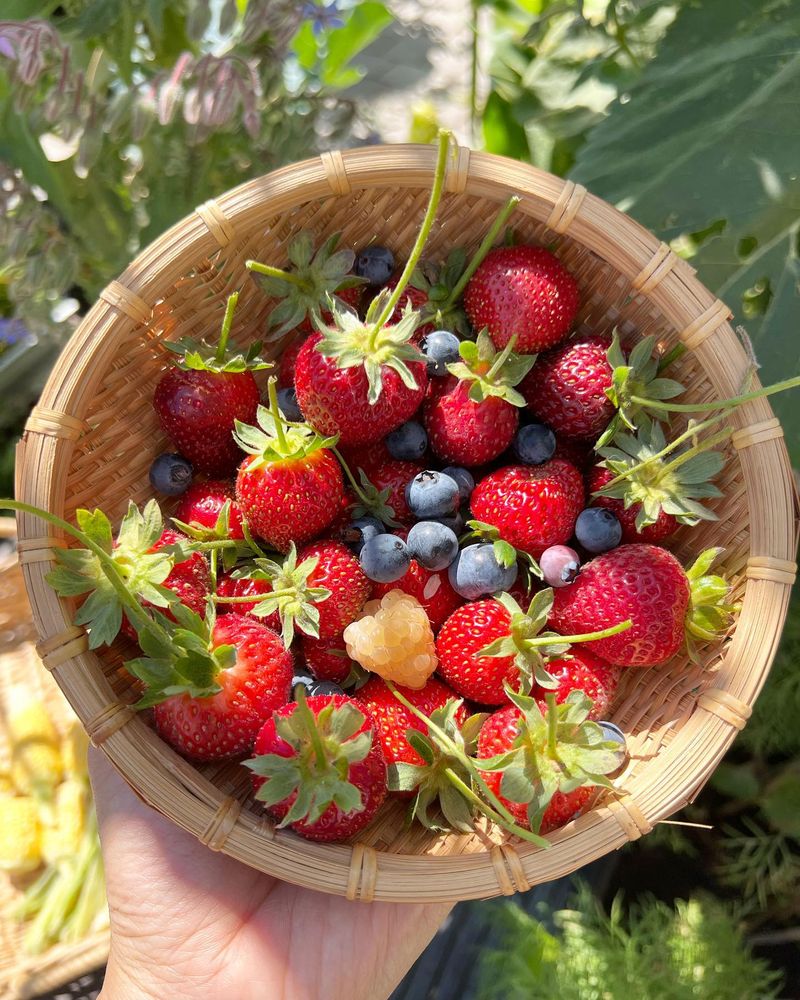
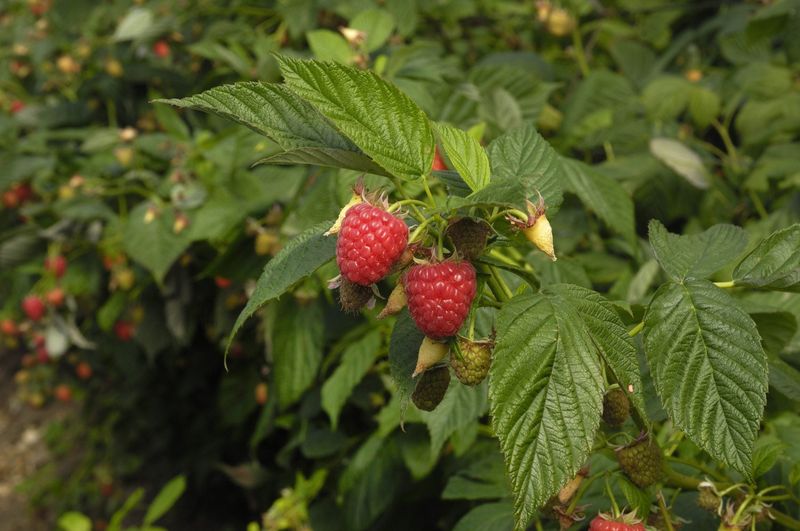
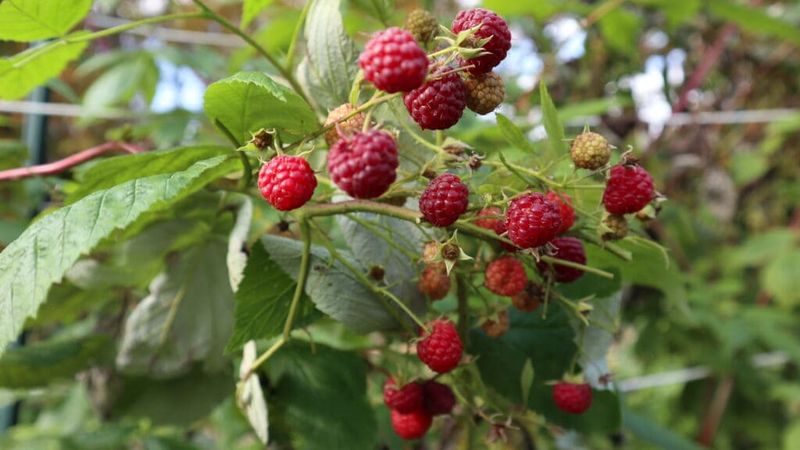
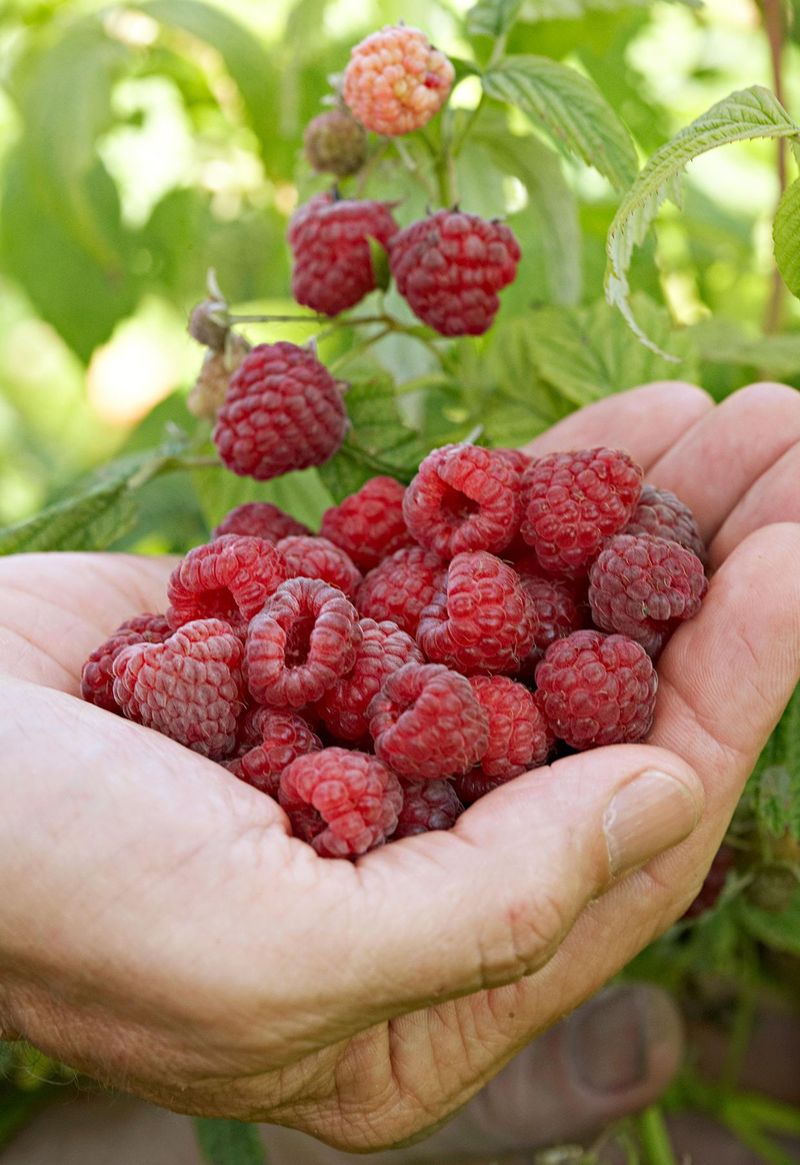
16. Harvest With Perfect Timing
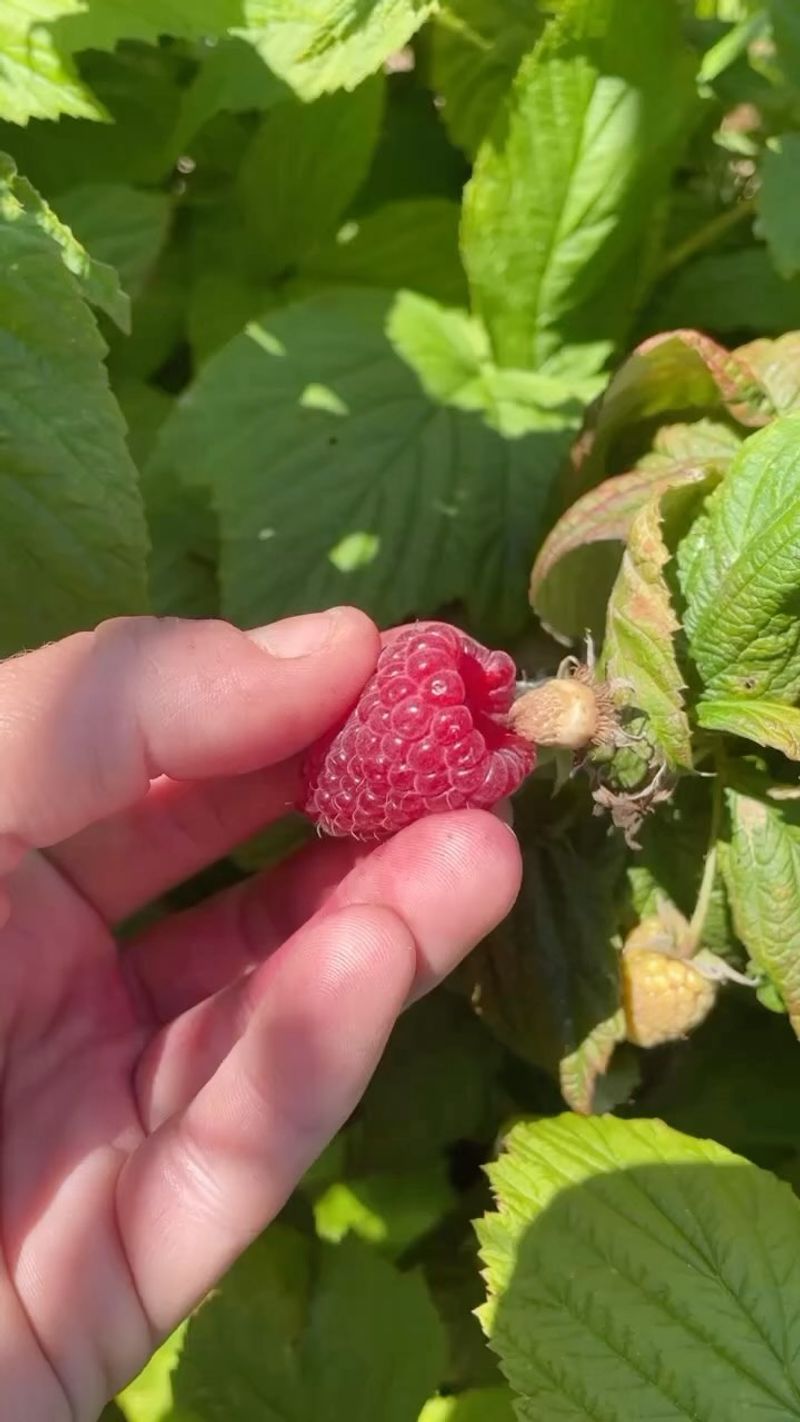
The sweetest raspberries come from knowing exactly when to pick them. Berries are ready when they detach easily from the plant with gentle pulling and have developed full color. Unlike store-bought berries, homegrown raspberries won’t continue ripening after picking.
Harvest in the cool morning hours when flavor is most concentrated. Use shallow containers when collecting to prevent crushing.
The biggest mistake I made as a beginner was picking too early—patience rewards you with dramatically better flavor! Regular harvesting encourages plants to produce more fruit, so check plants every 1-2 days during peak season.