16 Simple Tips To Clean And Reuse Grow Bags In Your Garden (So They Last Season After Season)
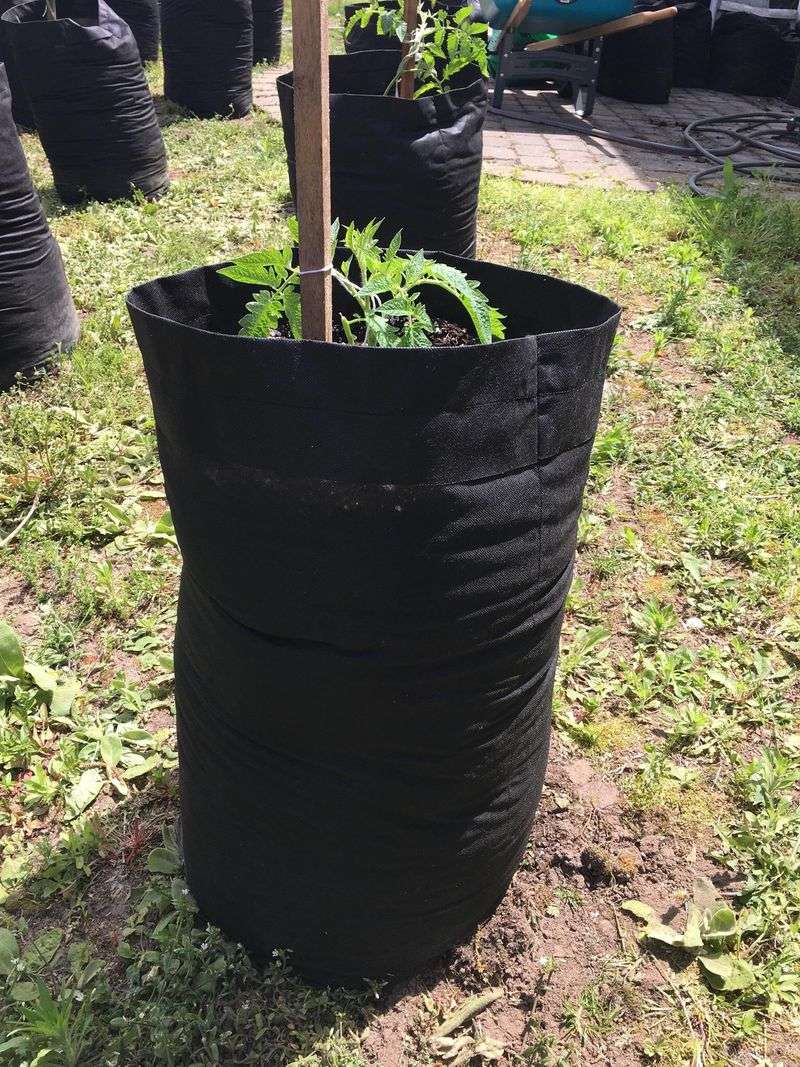
Grow bags completely changed the way I garden, especially with limited space and less-than-perfect soil. At first, I treated them like disposable containers, but after learning a few tricks, I realized they can last season after season. It felt like such a win—saving money and cutting down on garden waste at the same time.
Now, at the end of each growing season, I just empty the soil, shake out the bags, and give them a good rinse. A little mild soap and a sunny spot to dry go a long way in keeping them fresh for the next round. It’s surprisingly easy and kind of satisfying once it becomes part of the routine.
Storing them flat in a dry spot takes up hardly any space, which is another bonus. If you’ve been tossing your grow bags after one use, trust me—it’s worth the few extra minutes to clean and save them. They’ve become one of the most low-effort, high-reward parts of my gardening toolkit.
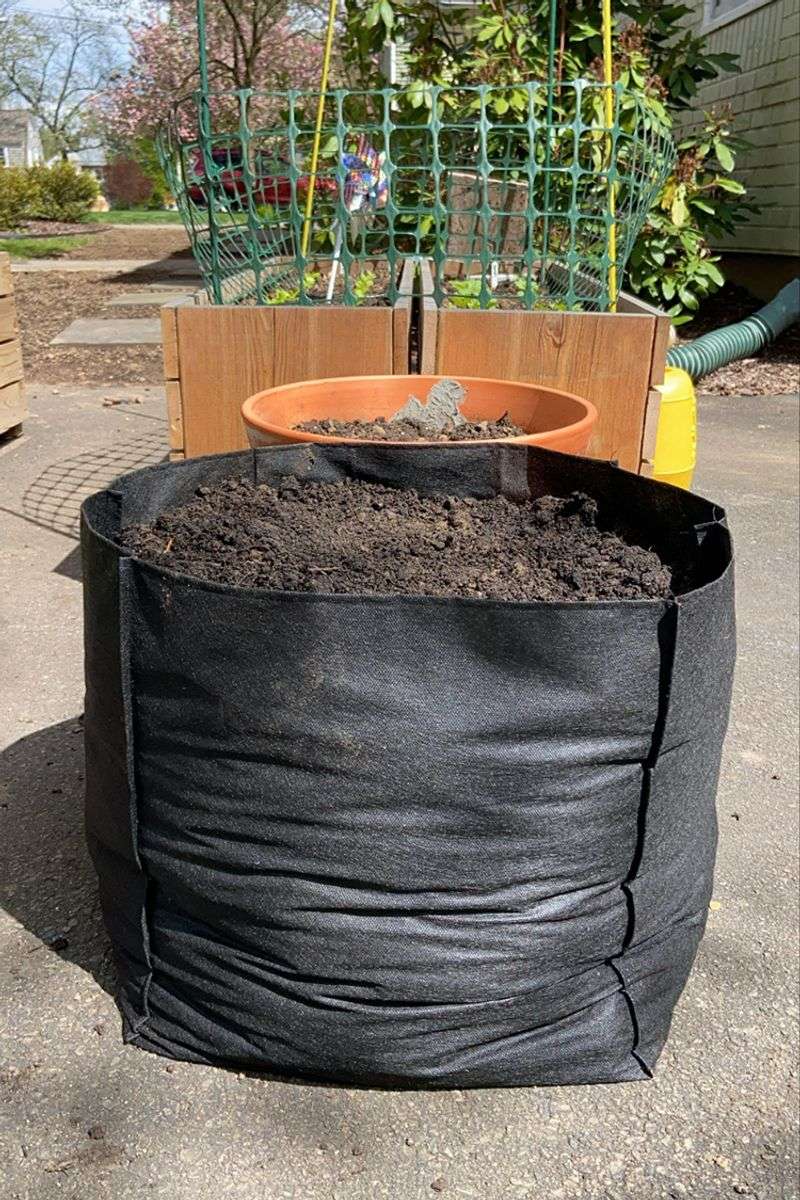
1. Empty Bags Completely Before Cleaning
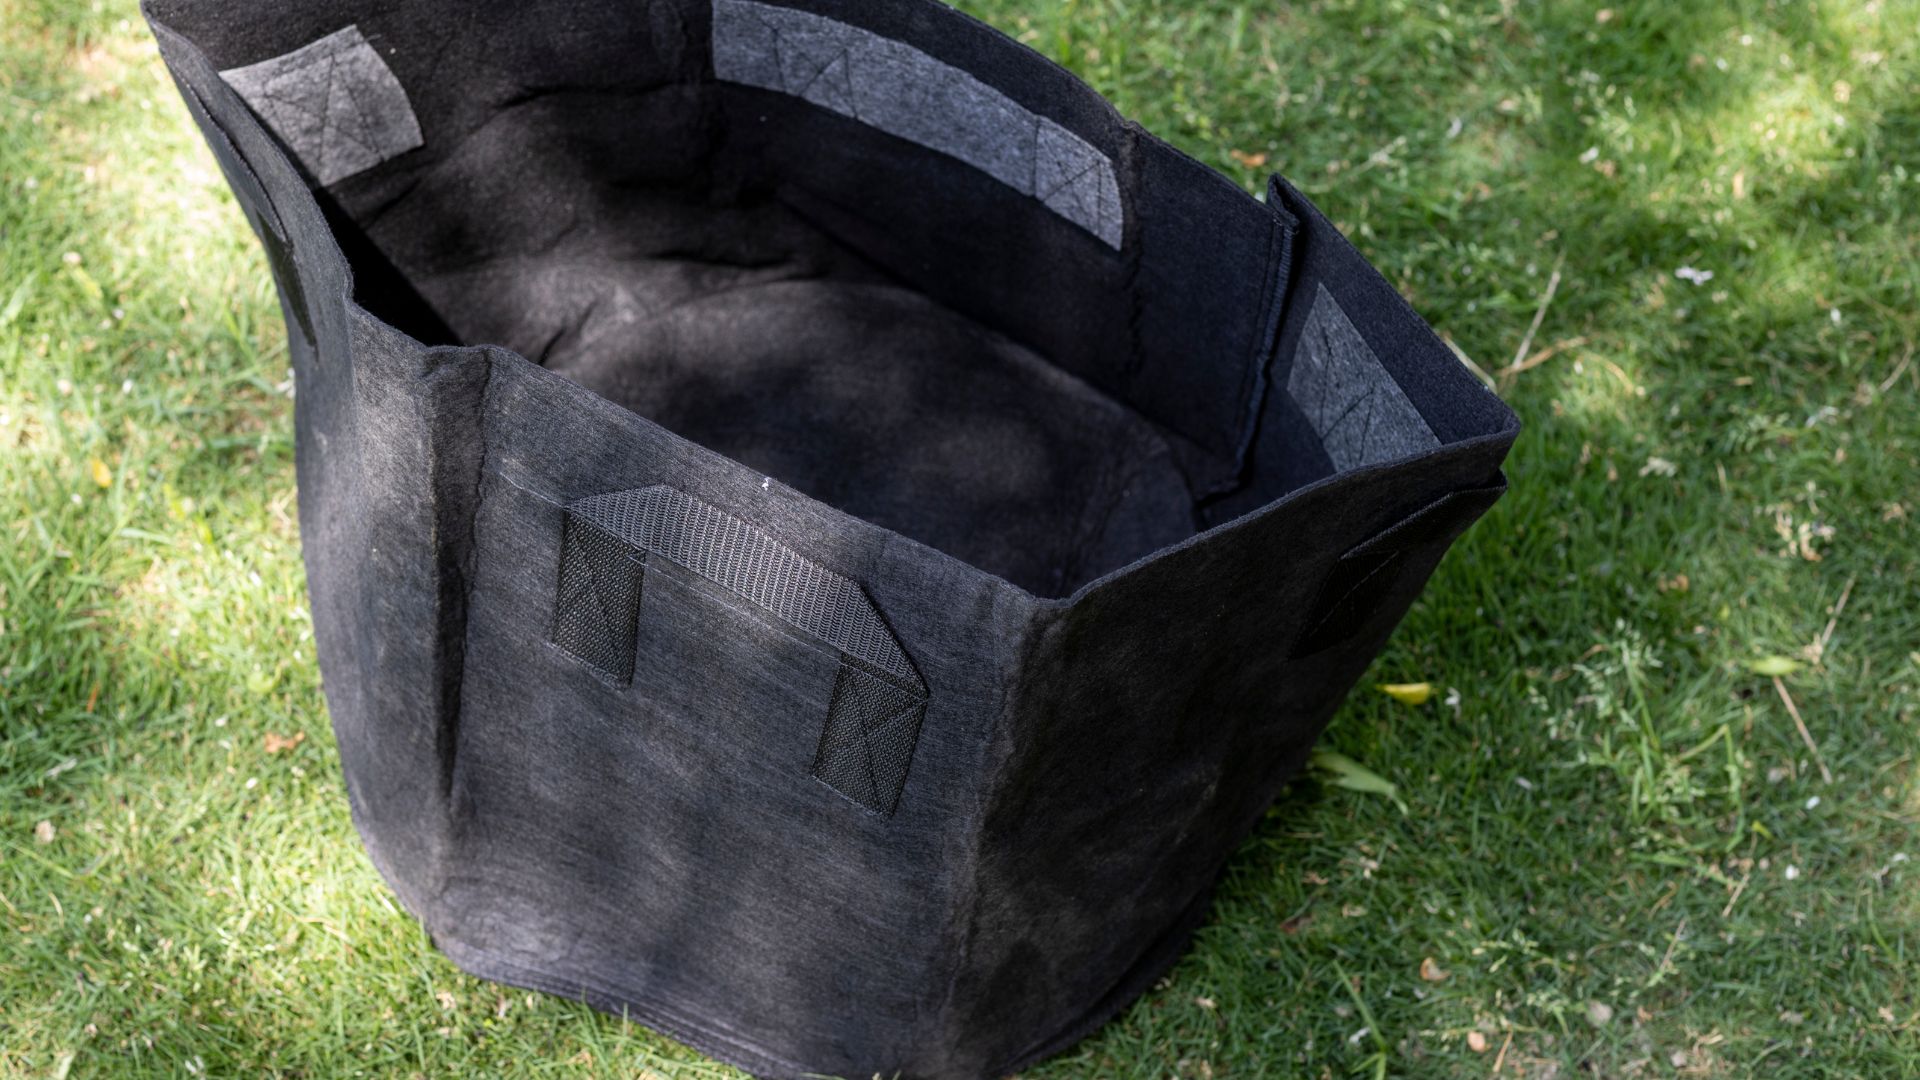
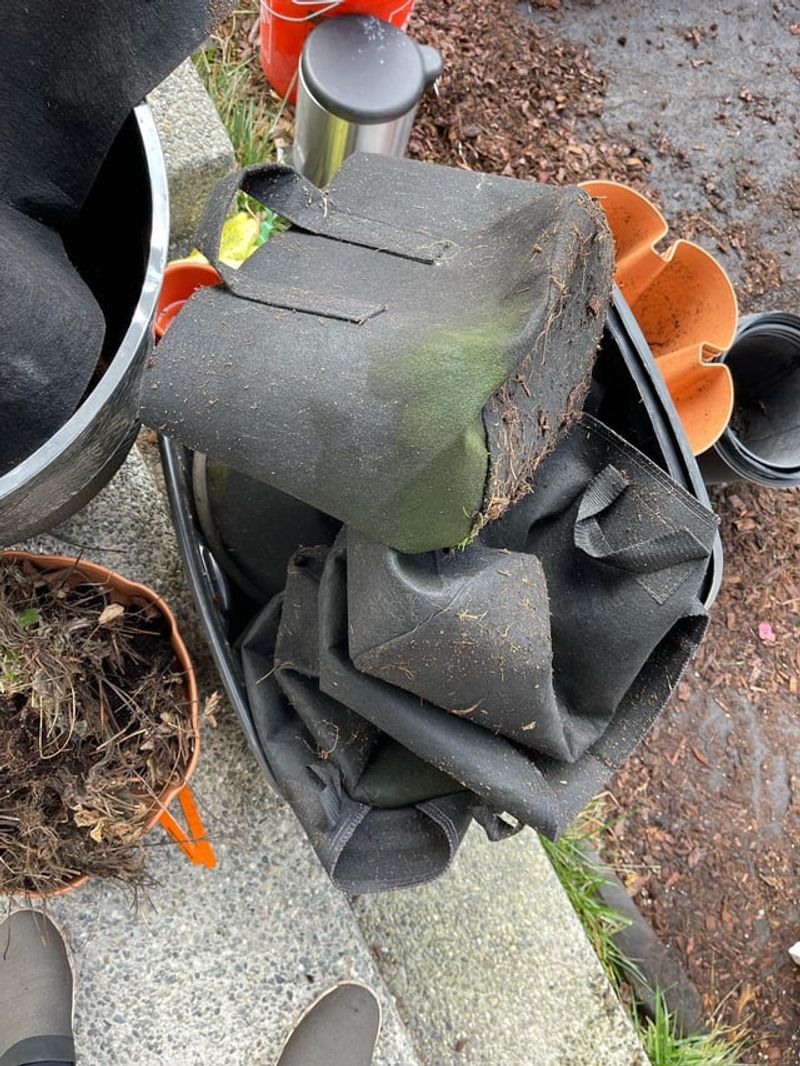
Getting every bit of soil out is crucial for proper cleaning. Dump most of the soil into a wheelbarrow, then turn the bag inside out to remove those stubborn bits hiding in the corners. I learned this trick after finding mold in supposedly “clean” bags I’d stored.
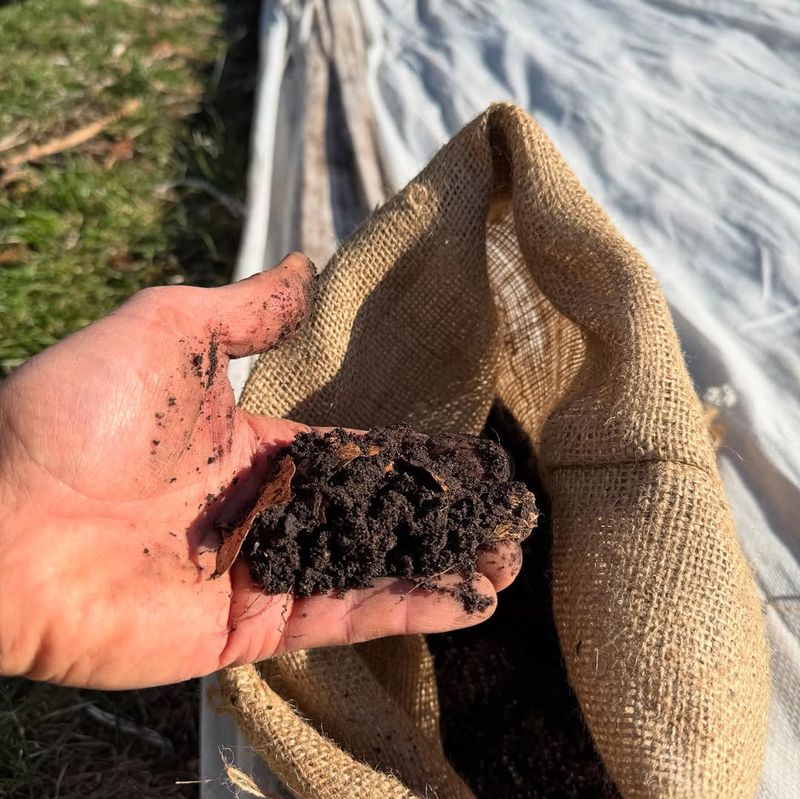
Used soil can be refreshed with compost for your next planting or added to garden beds. The tiny root fragments left behind can harbor disease or pests if not removed completely.
A soft brush helps dislodge compacted soil from fabric fibers without damaging the material. This thorough emptying step might seem tedious, but it prevents 90% of potential problems that could shorten your grow bags’ lifespan.
2. Brush Away Dried Debris First
Dry brushing removes loose soil and plant matter before introducing water. A stiff-bristled brush works wonders for this initial cleaning stage, saving you from dealing with muddy messes later on. My favorite tool is actually an old dish brush dedicated solely to garden tasks.
Work in circular motions across both inner and outer surfaces. Pay special attention to the seams and corners where debris loves to hide.
This preliminary cleaning step significantly reduces the amount of water and soap needed for the main wash. Taking five minutes for dry brushing now can extend your grow bags’ life by preventing soil particles from permanently embedding in the fabric fibers.
3. Soak In Mild Soapy Water
Fill a large tub with lukewarm water and add a small amount of gentle dish soap. Harsh chemicals can break down the fabric fibers prematurely. After years of trial and error, I’ve found that castile soap works perfectly—it cleans thoroughly without compromising the material.
Submerge your grow bags completely and gently agitate them underwater. Let them soak for 15-20 minutes to loosen stubborn dirt and dissolve mineral deposits from fertilizers.
For extremely dirty bags, you might need to change the water halfway through if it becomes too muddy. Never use bleach or strong detergents, as they weaken the fabric and can leave residues harmful to future plants.
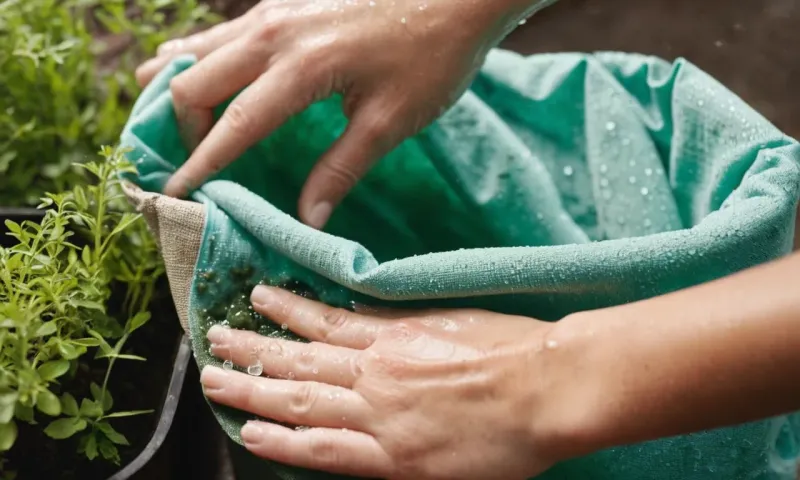
4. Scrub Gently To Preserve Fabric
Gentle scrubbing preserves the fabric while removing stubborn stains. Using a soft-bristled brush or sponge, work in small circles across the entire surface. Avoid the temptation to scrub vigorously even on tough stains—patience beats force when cleaning grow bags.
Root stains may remain visible despite cleaning, but that’s perfectly normal. These cosmetic marks don’t affect functionality and actually give your garden a charming, lived-in look.
For particularly stubborn spots, a paste of baking soda and water applied directly to the area works wonders. Let it sit for 10 minutes before gently scrubbing. Remember that over-aggressive cleaning wears down the fabric faster than gentle, regular maintenance.
5. Rinse Until Water Runs Clear
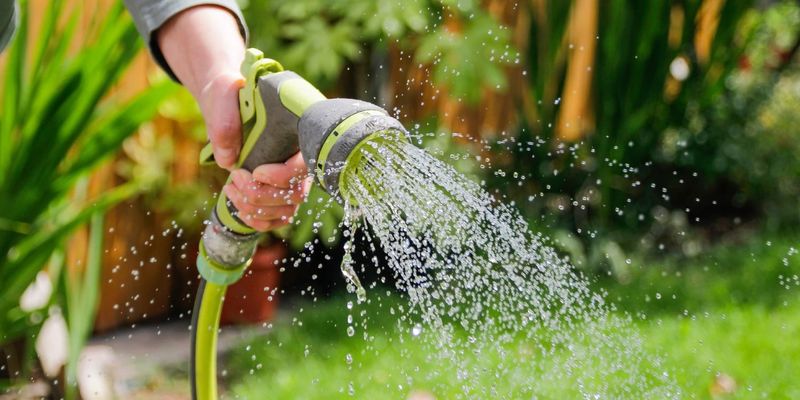
Soap residue can harm next season’s plants, so thorough rinsing is non-negotiable. Hold each bag under running water, turning it repeatedly until the water flowing through comes out completely clear. The first time I skipped this step, my tomato seedlings developed mysterious yellow leaves from leftover soap.
Garden hoses with adjustable nozzles work perfectly for this task. Set to a medium pressure that flushes out soap without damaging the fabric.
Don’t rush this step—it typically takes 2-3 minutes per bag. Residual soap not only affects plant health but can also break down the fabric over time, shortening your grow bags’ lifespan and wasting your initial investment in quality containers.
6. Sanitize To Prevent Disease Spread
Sanitizing prevents diseases from transferring between growing seasons. Mix one part white vinegar with four parts water in a spray bottle for a natural disinfectant that won’t harm future plants. After battling fungal issues one year, this simple sanitizing step saved my entire container garden the following season.
Spray both the inside and outside thoroughly, paying special attention to seams. Let the solution sit for 10-15 minutes to kill pathogens.
For bags that previously held diseased plants, consider a stronger solution of hydrogen peroxide (1 part 3% solution to 10 parts water). While commercial fungicides exist, these household solutions are gentler on the fabric while still effectively eliminating most common garden pathogens.
7. Sun-Dry Completely Before Storage

Sunlight naturally disinfects while thoroughly drying your grow bags. Position them in direct sunlight with good airflow, turning them inside out halfway through the drying process. UV rays help kill remaining bacteria and fungi that water alone can’t eliminate.
Depending on humidity and temperature, complete drying might take 1-3 days. Never put away damp bags—even slight moisture can lead to mildew growth during storage.
After losing several bags to hidden moisture that created mold, I now perform the “touch test” in multiple spots before storage. If any part feels cool to the touch, it’s still retaining moisture and needs more drying time. This simple check has saved countless grow bags from premature deterioration.
8. Inspect For Damage Before Storing
Careful inspection reveals fixable issues before they become terminal problems. Hold each bag up to the light to spot tiny holes or weakened areas in the fabric. Small tears caught early can often be repaired with a few simple stitches.
Check handles and seams for signs of stress or separation. These high-tension areas typically fail first but can be reinforced with heavy-duty thread and a large needle.
Faded fabric isn’t necessarily a concern—it’s a natural result of sun exposure. However, brittleness or fabric that easily tears when gently stretched indicates UV damage that can’t be repaired. Last season, this inspection step helped me identify and fix four bags with minor damage that would have worsened beyond repair by spring.
9. Patch Small Holes Immediately
Small holes become big problems if left unaddressed. Fabric patches work wonderfully for larger tears—simply cut a piece slightly larger than the damaged area from similar material. Heavy-duty fabric glue creates a waterproof bond that withstands repeated watering.
For tiny punctures, a dab of flexible waterproof silicone sealant often does the trick. Apply to both sides of the fabric for maximum durability.
My favorite repair method uses iron-on patches from old jeans or canvas scraps. The heat-activated adhesive creates a surprisingly strong bond when applied to completely dry bags. After repairing a quarter-sized hole in my favorite tomato grow bag, it lasted three more seasons without issues.
10. Store In Dry, Rodent-Free Locations
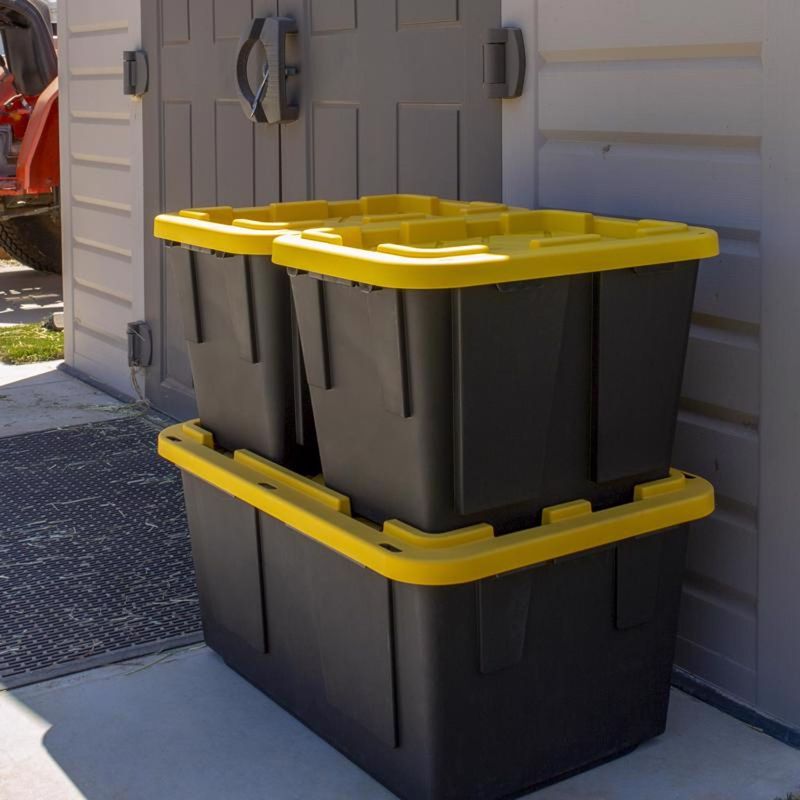
Proper storage location dramatically affects grow bag longevity. Choose somewhere completely dry, as even minimal humidity can foster mold growth over winter months. A closet shelf or plastic storage bin with a tight-fitting lid offers perfect protection.
Mice and other rodents love to nest in fabric items during cold months. Adding a few cedar blocks or lavender sachets naturally deters pests without using chemicals that might harm next season’s plants.
Avoid storing bags in uninsulated garden sheds or garages where temperature fluctuations cause condensation. After losing half my collection to mice one winter, I now use lidded plastic totes with cedar blocks inside. This simple system has kept my grow bags pristine through five Minnesota winters.
11. Fold Properly To Prevent Creases
Strategic folding prevents permanent creases that can weaken fabric over time. Rather than creasing sharply, gently roll your bags into loose cylinders secured with twine or fabric strips. Sharp folds create stress points where water eventually pools, leading to premature deterioration.
For square or rectangular bags, fold them like clothing—in thirds lengthwise, then in half. This distributes fold lines across different areas rather than repeatedly creasing the same spots.
Alternating your folding pattern each year further prevents stress concentration. I track my folding method with a simple note tucked into my storage container. This attention to detail has kept my oldest grow bags looking nearly new after four seasons of heavy use.
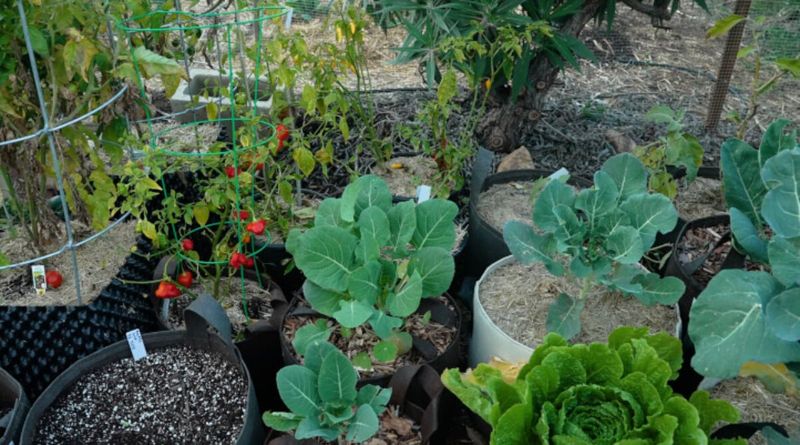
12. Rotate Usage Between Seasons
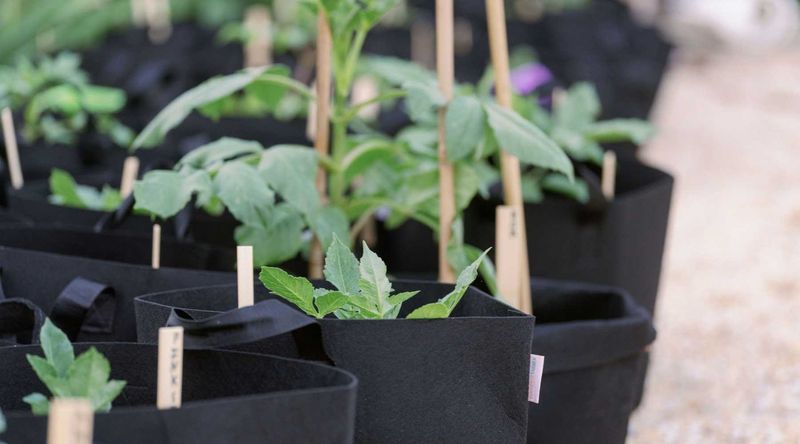
Strategic rotation extends the life of your entire grow bag collection. Number your bags with a waterproof marker on the bottom rim, then track which crops they hold each season. This simple system prevents using the same bag repeatedly for high-demand crops like tomatoes that significantly stress containers.
Plants with aggressive root systems cause more wear than shallow-rooted crops. By alternating between heavy feeders and gentler plants, you distribute stress more evenly across your collection.
Root vegetables that require frequent soil disturbance during harvest should be rotated to different bags each year. My numbered rotation system has dramatically extended my grow bags’ useful life—what began as a 12-bag collection seven years ago still includes 10 of the originals.
13. Refresh With Fabric Protector Spray
Fabric protector sprays can revitalize older grow bags between seasons. Look for water-resistant sprays specifically labeled as safe for garden use and non-toxic when dry. These products restore some water resistance without sealing the fabric completely, maintaining the crucial breathability that makes grow bags effective.
Apply to completely clean, dry bags outdoors, allowing 24-48 hours of drying time before storage or reuse. Focus on the bottom third where moisture exposure is highest.
Not all protector sprays are created equal—avoid those containing chemicals that persist in soil. I’ve had excellent results with beeswax-based fabric refreshers that add water resistance while remaining completely plant-safe. This treatment has doubled the lifespan of my most frequently used pepper and herb containers.
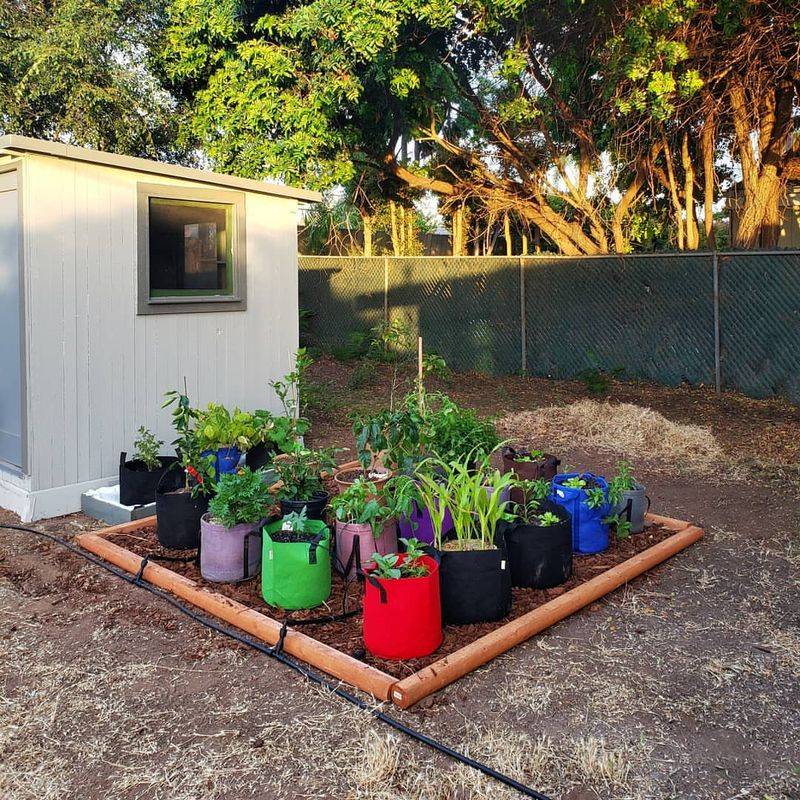
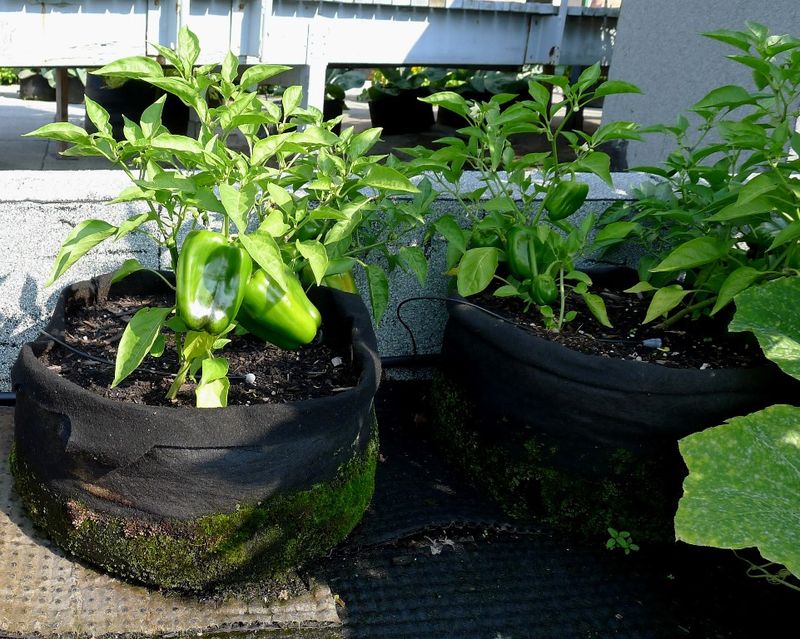
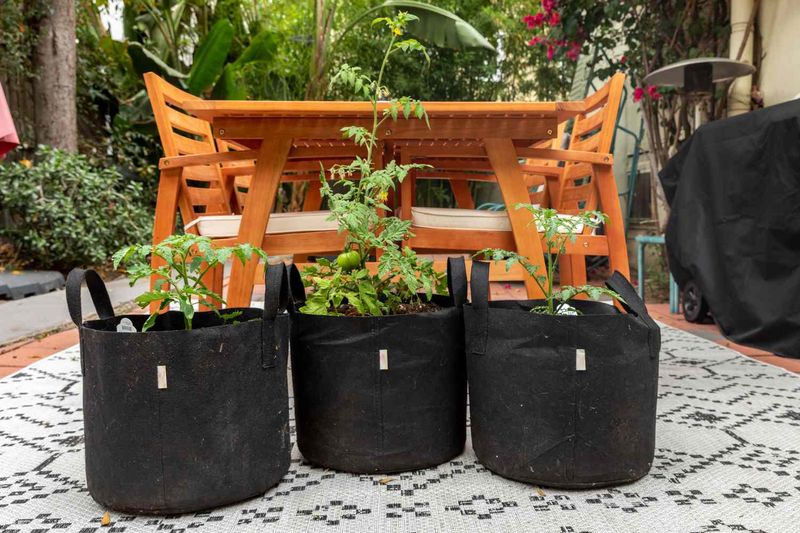
14. Elevate Bags During Growing Season
Elevating grow bags during use significantly extends their lifespan. Plastic pot feet, small stones, or purpose-made plant stands create crucial airflow underneath, preventing the fabric bottom from sitting in moisture after watering. This simple step eliminates the leading cause of premature grow bag failure.
Constant ground contact encourages mildew and accelerates decomposition of fabric fibers. Even 1-2 inches of elevation makes a remarkable difference in durability.
For larger bags, consider placing them on metal cooling racks or wooden slats. After implementing this practice, I noticed my bags dried much faster between waterings and showed significantly less staining and deterioration at season’s end.
15. Use Landscape Fabric Underneath
Placing landscape fabric under your grow bags creates a protective barrier during the growing season. This simple buffer prevents direct contact with rough surfaces like concrete or gravel that can abrade the bottom fabric over time. The barrier also blocks weeds from growing up through the breathable bottom.
Choose woven landscape fabric rather than plastic sheeting. Plastic traps moisture between surfaces, creating the perfect environment for mildew and rot.
Cut pieces slightly larger than your grow bags to ensure complete coverage. Last summer, I started using this method under my patio containers, and during fall cleaning, I noticed significantly less wear on the bottoms compared to previous years.
16. Apply Preventative Maintenance Mid-Season
Mid-season maintenance catches problems before they become serious. Around the halfway point of your growing season, take a few minutes to inspect each bag while plants are still actively growing. Gently brush away soil buildup around the upper rim and handles where watering often creates muddy deposits.
Check drainage holes for clogging from root masses or compacted soil. A chopstick gently worked around edges improves drainage without disturbing plants.
Lift each container slightly to inspect the bottom for signs of wear or fungal growth. Catching a small hole or worn spot early means you can plan repairs during end-of-season cleaning rather than discovering unusable bags in spring. This quick check has saved numerous grow bags that would otherwise have developed damage.