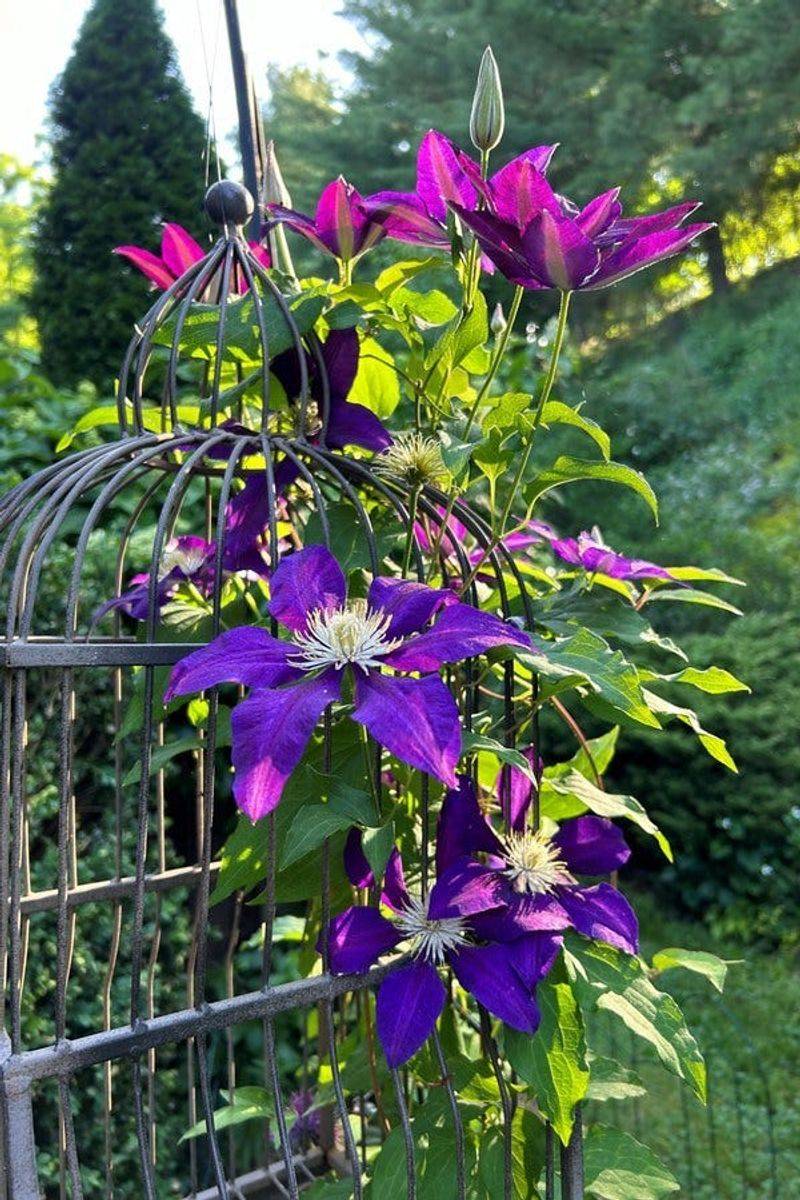
17 Easy Ways To Revive Your Struggling Clematis
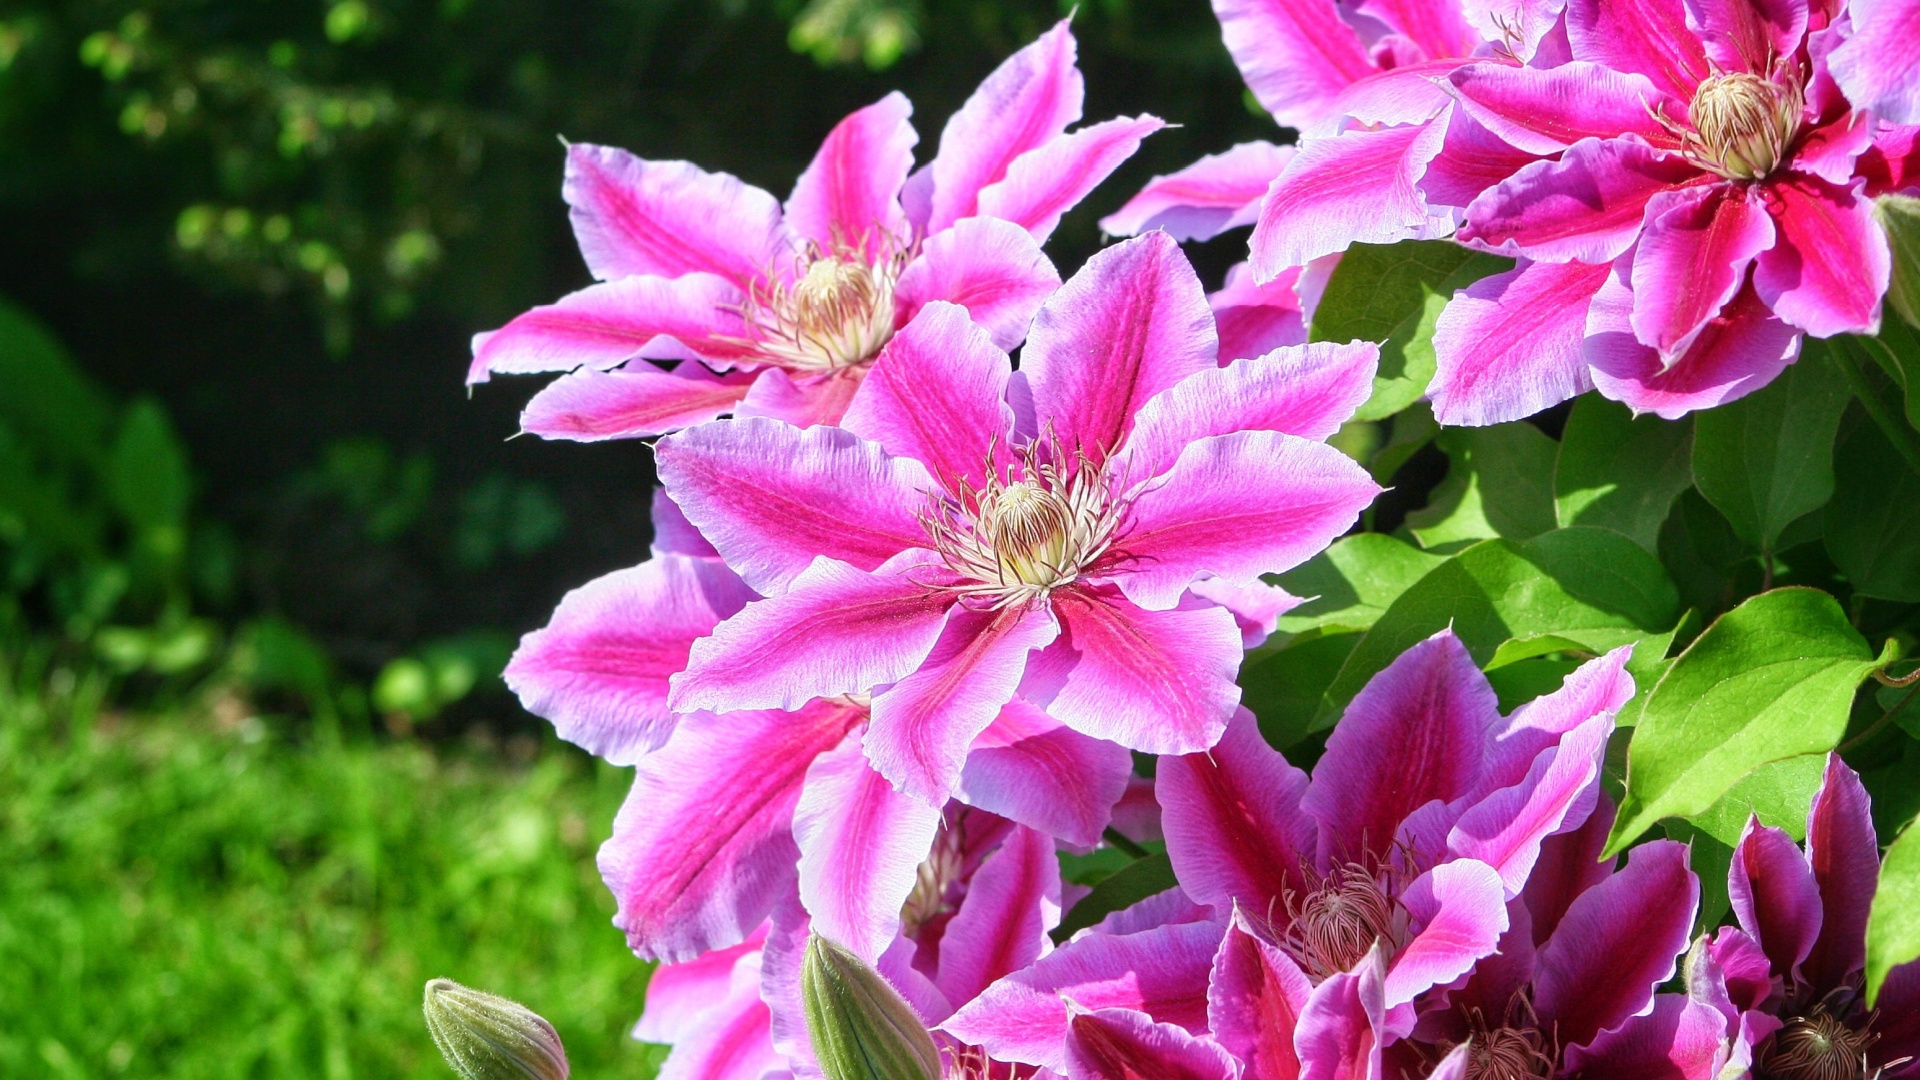
A struggling clematis can go downhill fast—leaves droop like wilted sails, blooms lose their sparkle, and stems just sit there, stuck in neutral. But don’t count this climber out just yet. Beneath that tired exterior lies a fighter waiting for a second wind.
With a little TLC and a few well-placed tricks up your sleeve, you can breathe new life into your clematis. These 17 simple ways will help it bounce back, bloom brighter, and climb like it’s got something to prove.
1. Check Your Watering Routine

Clematis vines need consistent moisture, especially during hot weather. Too little water causes wilting and browning, while too much leads to root rot. Stick your finger about an inch into the soil near the base.
If it’s dry, water deeply but slowly to allow proper absorption. A good rule is providing about 1 gallon per week during growing season, applied at the base rather than overhead to prevent fungal issues.
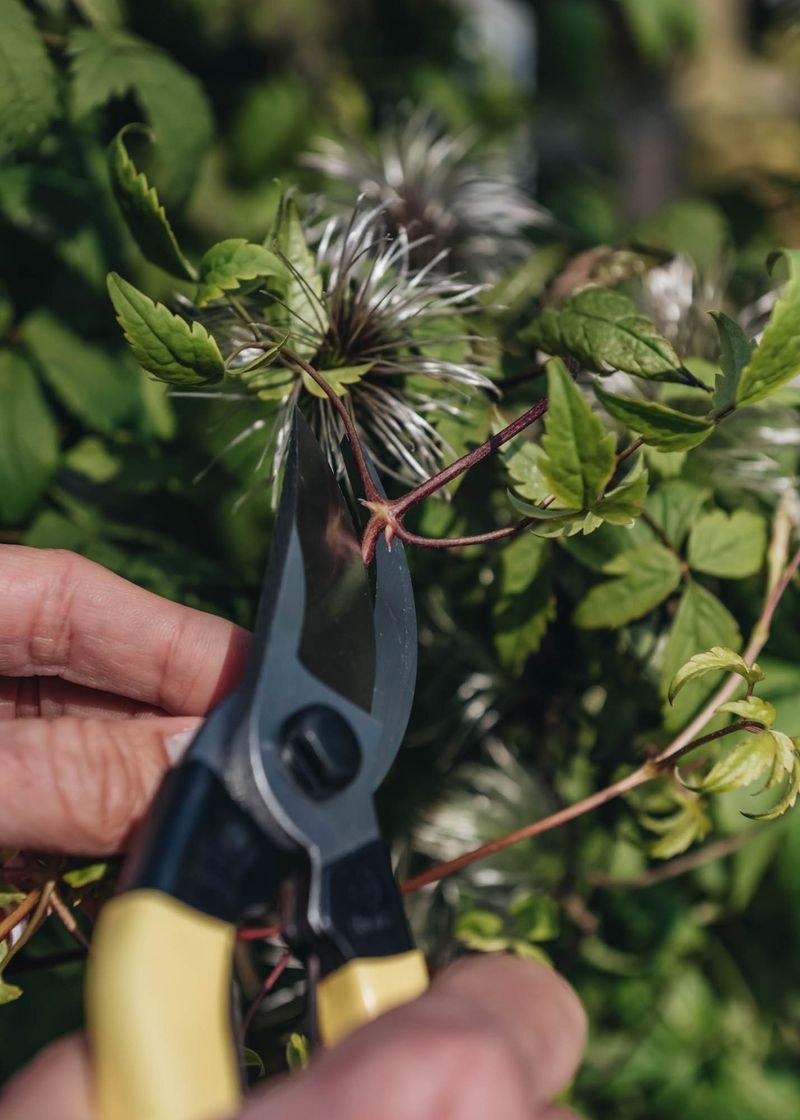
2. Examine For Clematis Wilt

Sudden wilting and blackening of stems often signals clematis wilt, a fungal disease that strikes quickly. Don’t panic! The roots usually remain healthy even when the top growth collapses.
Cut affected stems back to healthy tissue using clean, sharp pruners. Remove and destroy all infected material rather than composting it. Many clematis plants can recover completely by the following season with proper care and cleanup.
3. Refresh The Mulch Layer
Clematis roots crave cool, moist conditions while their flowering tops need sunshine. A 2-3 inch layer of organic mulch creates this perfect balance. Pull away any old, compacted mulch first.
Apply fresh compost, bark chips, or shredded leaves around the base, keeping it a few inches away from the stems to prevent rot. This protective blanket regulates soil temperature, retains moisture, and slowly feeds your plant as it breaks down.
4. Relocate Struggling Plants
Sometimes location spells the difference between thriving and dying. Most clematis varieties want their roots in shade and their tops in sun – the classic “cool feet, warm face” requirement.
Fall or early spring offers the best transplanting window. Dig widely around the root ball, keeping as much soil intact as possible. Prepare the new spot with compost-enriched soil and water thoroughly after moving. Consider planting low-growing perennials nearby to shade the root zone.
5. Adjust Your Soil pH
Clematis typically prefers slightly alkaline soil with a pH between 6.5 and 7.0. Yellowing leaves often signal pH problems preventing nutrient absorption. Get a simple soil test kit from your garden center to check.
For overly acidic soil, work in some garden lime according to package directions. If your soil is too alkaline (rare for clematis issues), add elemental sulfur or acidic organic matter like pine needles. Changes happen gradually, so be patient while waiting for results.
6. Feed With Balanced Fertilizer

Undernourished clematis shows pale leaves and reduced flowering. Spring brings the perfect opportunity for a nutritional boost. Apply a balanced, slow-release fertilizer (like 10-10-10) when new growth appears.
Scratch it lightly into the soil around the drip line, not directly against the stems. For established plants, a second light feeding after the first flush of flowers can promote additional blooms. Avoid high-nitrogen fertilizers that produce lush foliage at the expense of flowers.
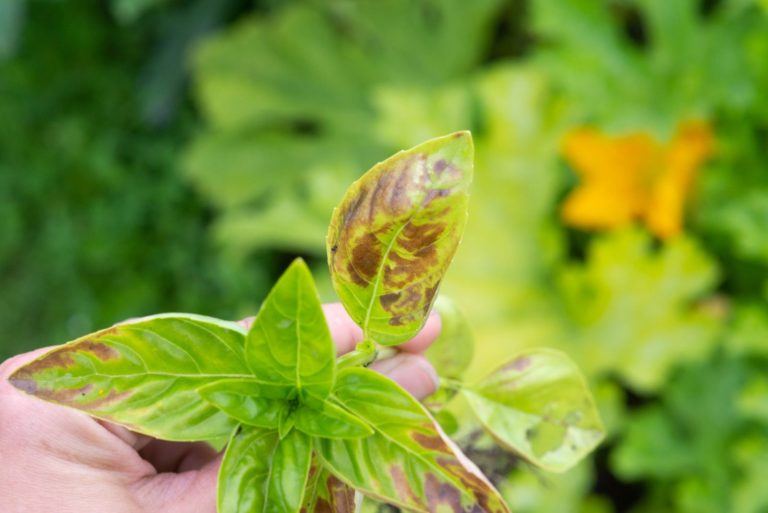
7. Protect From Clematis Leaf Spot
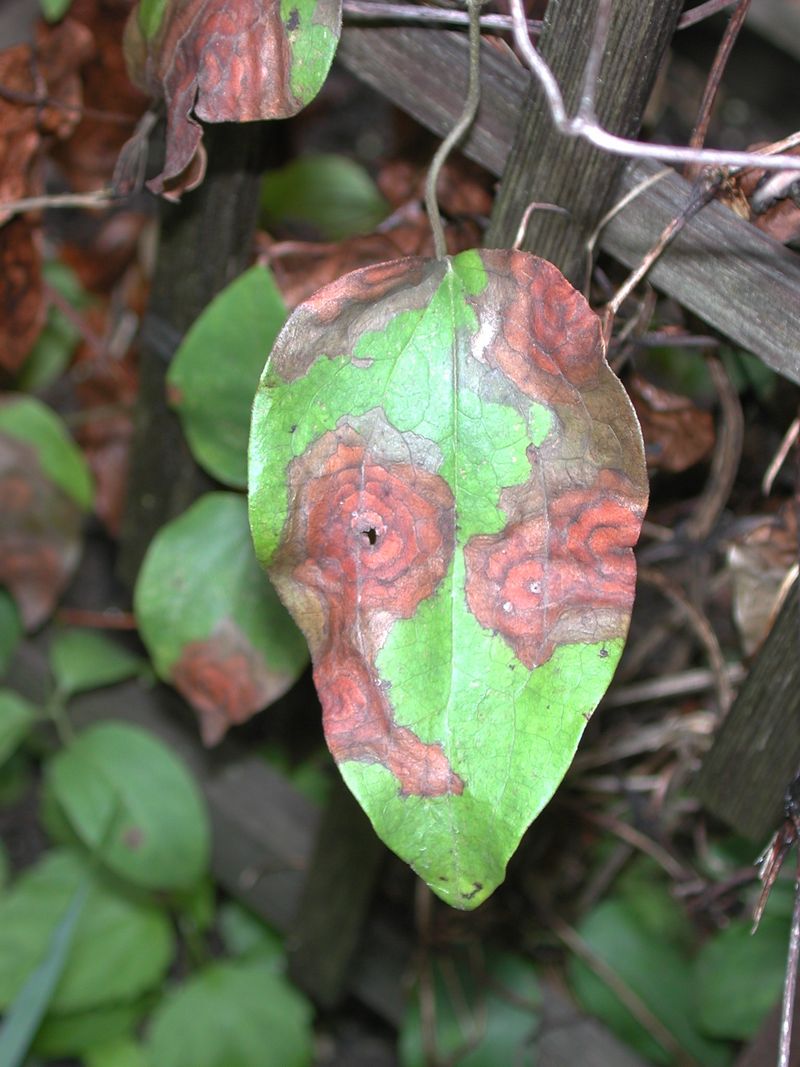
Brown or black spots with yellow halos indicate fungal leaf spot disease, especially common during wet, humid weather. Good air circulation forms your first line of defense. Thin overcrowded stems to improve airflow.
Remove and destroy affected leaves promptly – never compost them. Water at the base rather than overhead to keep foliage dry. In severe cases, apply a fungicide labeled for ornamentals, following package directions carefully. Prevention works better than cure with this persistent problem.
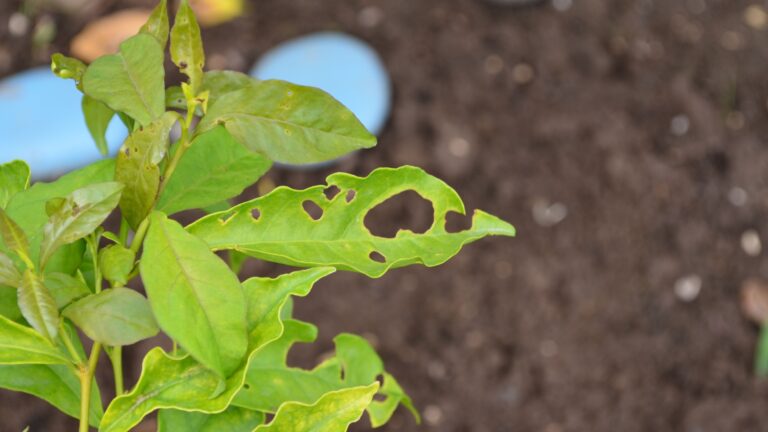
8. Combat Pest Invasions
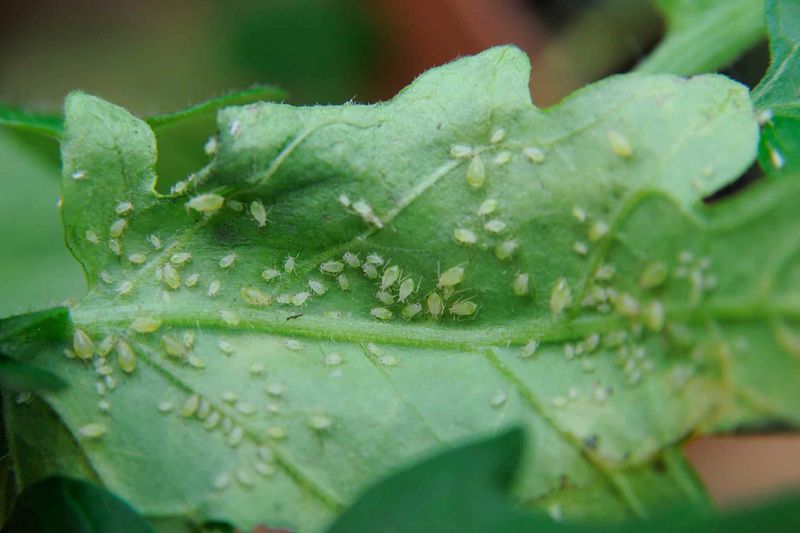
Slugs, snails, and aphids particularly enjoy tender clematis growth. Check stems and undersides of leaves regularly for unwelcome visitors. For slugs and snails, set shallow dishes of beer nearby as traps or apply diatomaceous earth around plants.
Aphids can be dislodged with a strong spray of water or treated with insecticidal soap. Encourage beneficial insects like ladybugs by avoiding broad-spectrum pesticides. Remember that some leaf damage is normal and doesn’t necessarily threaten the plant’s survival.
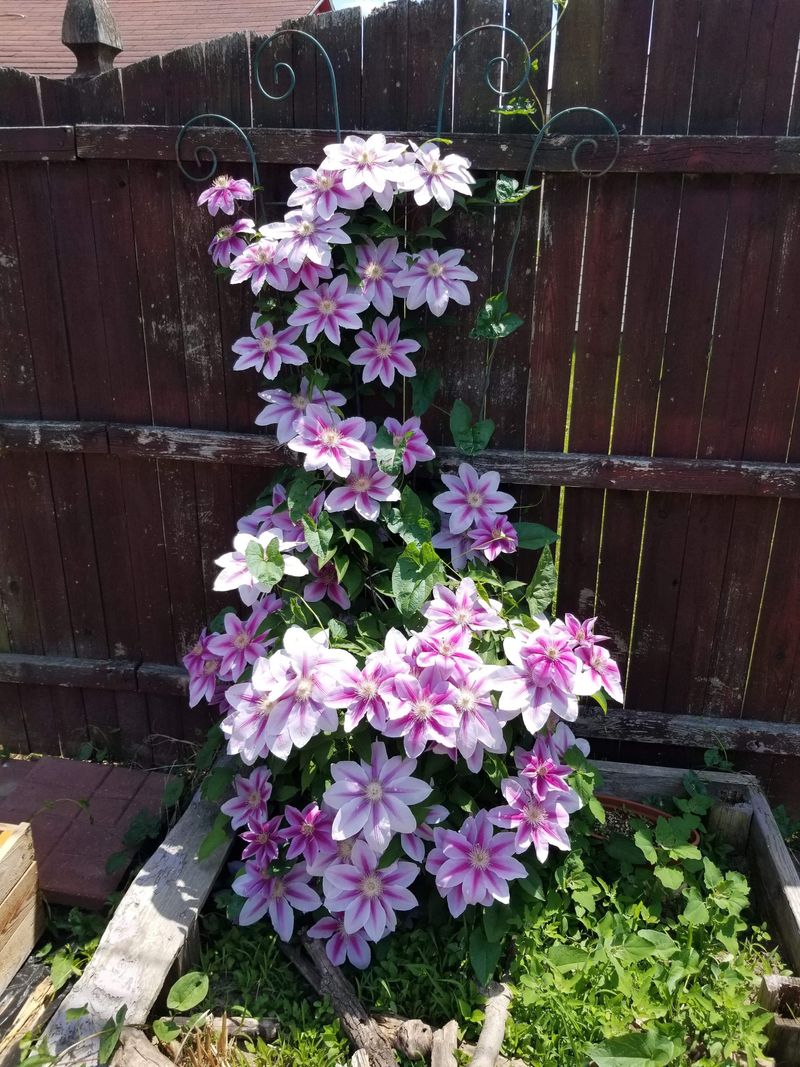
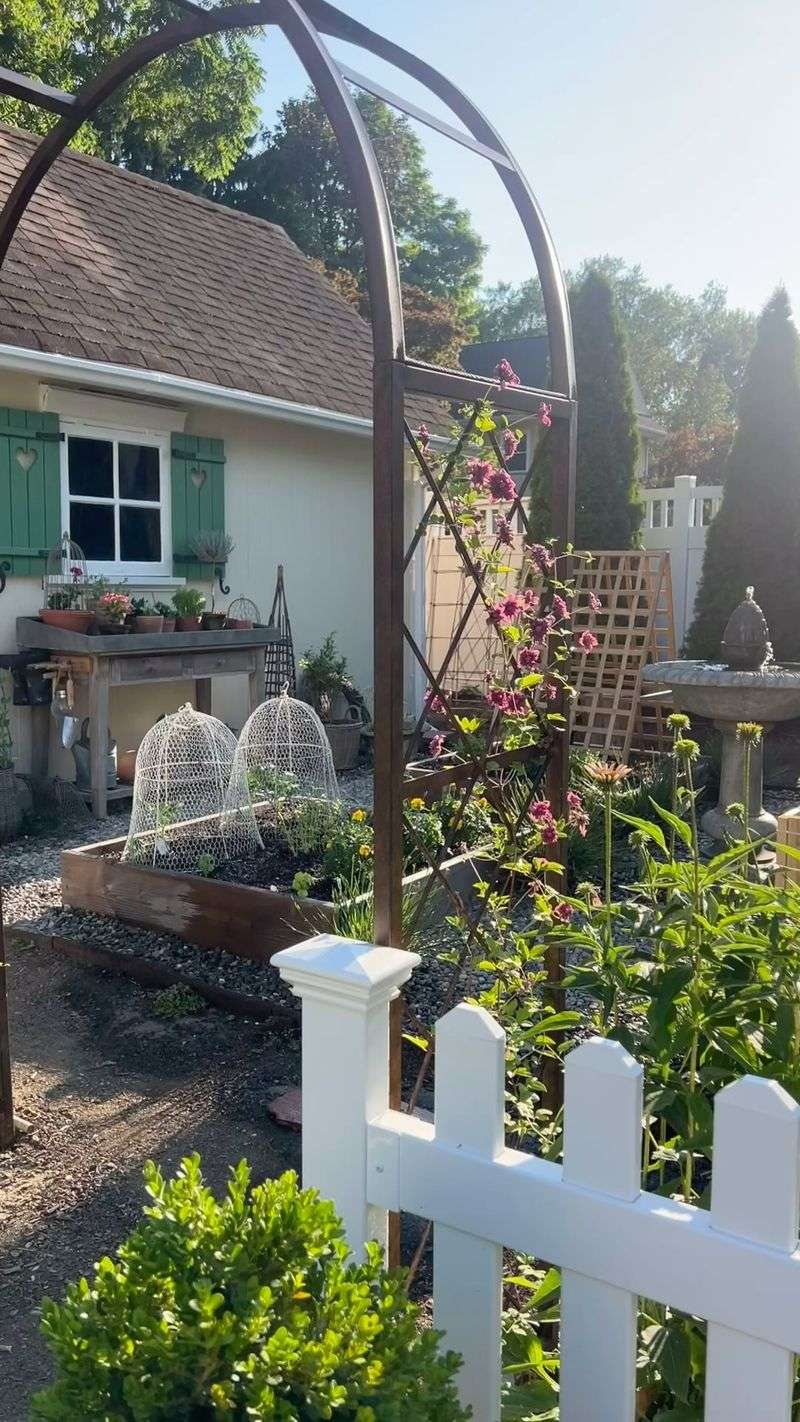
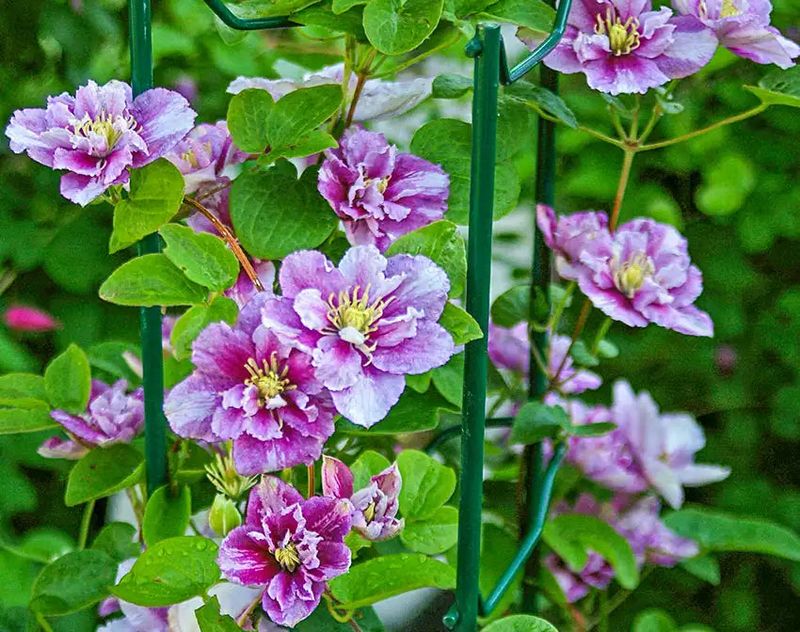
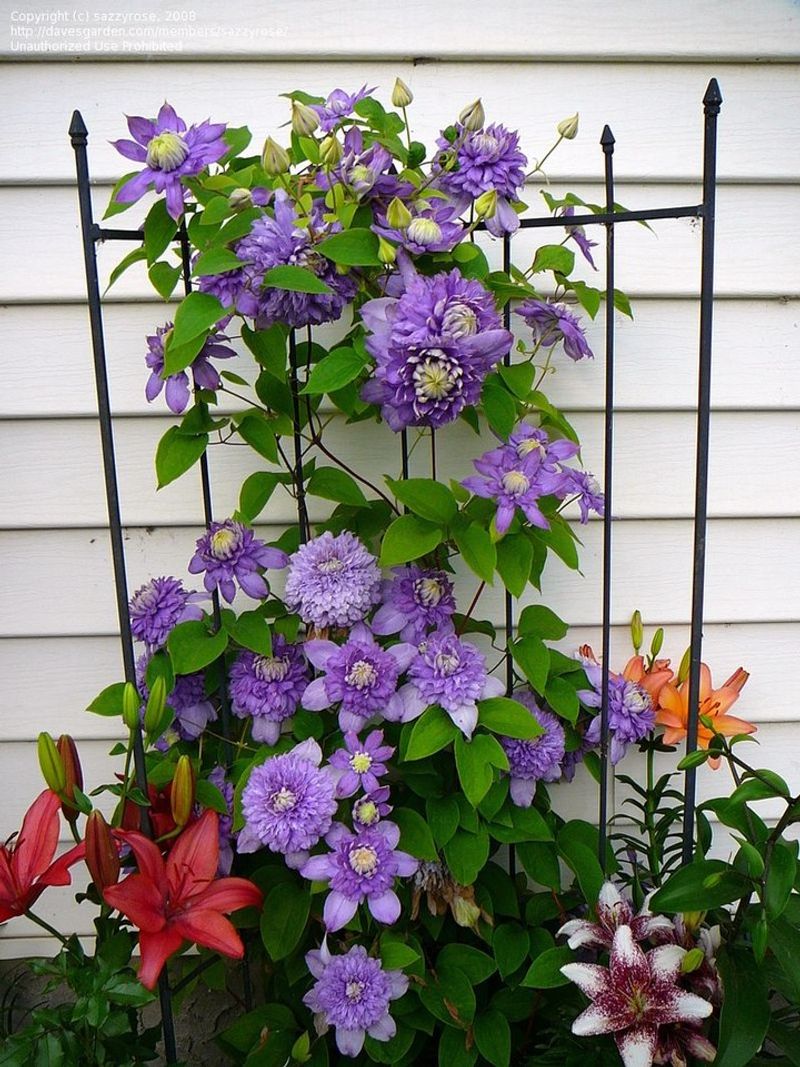
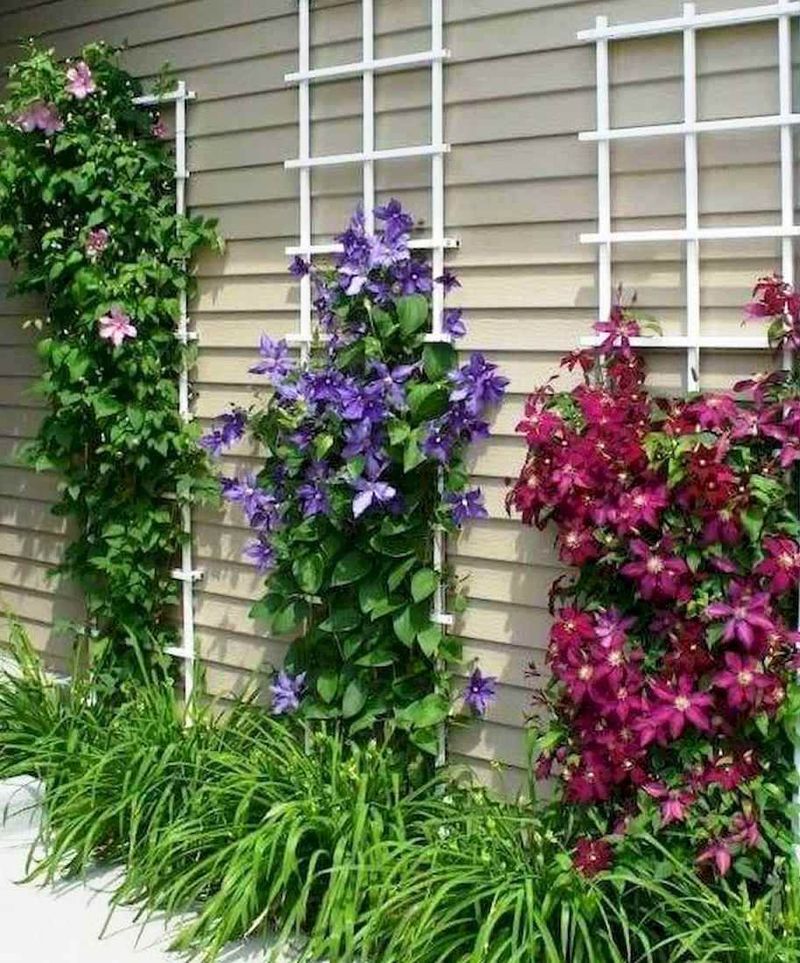
9. Provide Proper Support

Clematis climbs using leaf stems that twist around supports. Without adequate structure, plants sprawl on the ground, leading to poor air circulation and disease. Check that your trellis, fence, or support has thin enough elements for the leaf stems to grasp.
Gently untangle and reposition wayward stems, securing them with soft plant ties if needed. Avoid metal supports that heat up in summer sun and can burn delicate stems. Wooden trellises, coated wire, or string grids make ideal climbing surfaces.
10. Correct Pruning Techniques
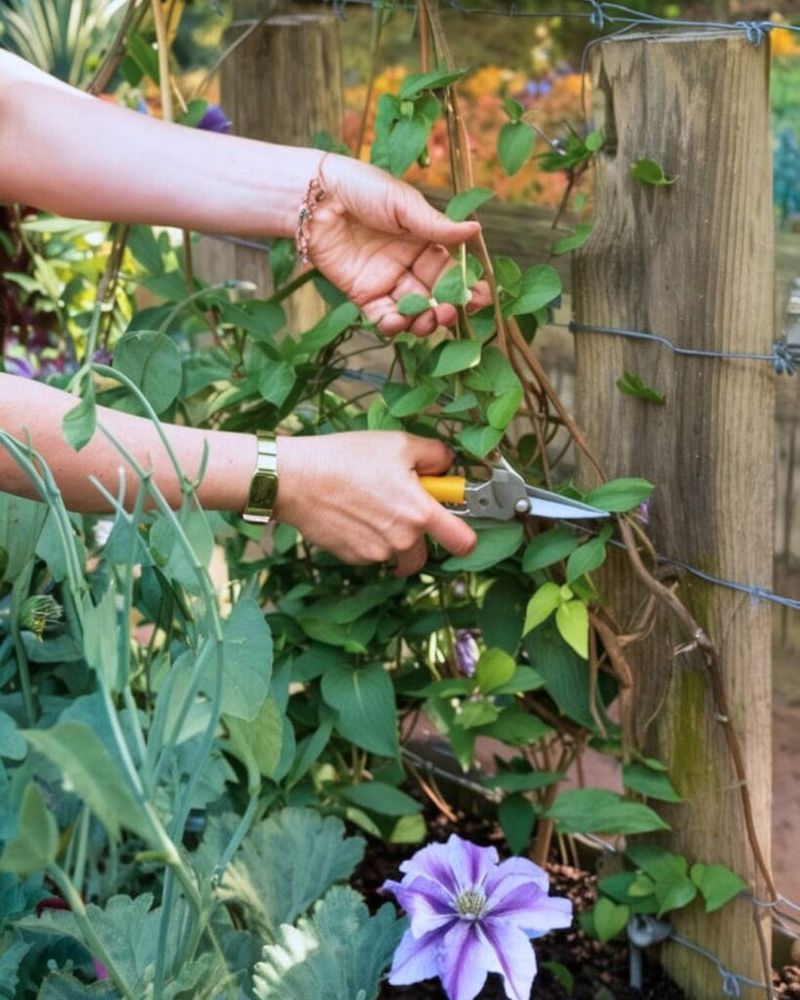
Improper pruning ranks among top clematis killers. First, identify your clematis type – Group 1 (early flowering), Group 2 (large-flowered), or Group 3 (late flowering). Each requires different timing and techniques.
Group 1 needs minimal pruning right after flowering. Group 2 requires light shaping and removal of dead wood in early spring. Group 3 can be cut back hard in late winter. Using clean, sharp tools prevents disease spread between cuts.
11. Address Root Competition
Clematis roots often struggle when competing with aggressive neighbors like trees and shrubs. The symptoms appear as stunted growth and reduced flowering despite otherwise good care.
Consider planting clematis in a large plastic pot with drainage holes, then sinking this container into your garden soil. This creates a protective barrier while allowing the top to grow normally. Alternatively, install root barriers around particularly aggressive plants to give your clematis breathing room.
12. Try Deep Planting Method
Unlike most perennials, clematis benefits from being planted deeply – with the first set of true leaves below soil level. This encourages multiple stem production from below ground, creating a stronger plant.
For established struggling plants, carefully mound additional soil around the base to cover the first few inches of stems. This protective technique helps plants recover from damage and produces new shoots from buried nodes. The buried portions will develop new roots over time.
13. Provide Winter Protection
Cold damage frequently kills clematis in harsh winter regions. Before winter arrives, apply a thick mulch layer (4-6 inches) over the root zone. In very cold areas, wrap the lower portions of stems with burlap or frost cloth.
Leave dead foliage attached until spring as additional insulation. For container-grown clematis, move pots to a protected location or insulate them with bubble wrap and mulch. These measures protect the crown – the critical junction between roots and stems.
14. Manage Sunlight Exposure
Scorched leaves and wilting often indicate sun stress, especially for varieties that prefer partial shade. Most clematis want morning sun with afternoon protection in hot climates. Observe your garden throughout the day to understand light patterns.
If your plant receives too much harsh afternoon sun, consider adding taller companion plants on the west side for filtered shade. Temporary shade cloth during the hottest months can also help stressed plants recover while you develop a permanent solution.
15. Rejuvenate With Hard Pruning
Sometimes the most drastic solution saves the most desperate cases. For severely declining clematis, especially Group 3 types, cutting the entire plant down to 12 inches above ground level can stimulate robust regrowth.
Perform this radical pruning in early spring before new growth begins. Follow with balanced fertilizer and consistent watering. While you’ll sacrifice one season’s blooms, the plant often returns with renewed vigor the following year, provided the roots remain healthy.
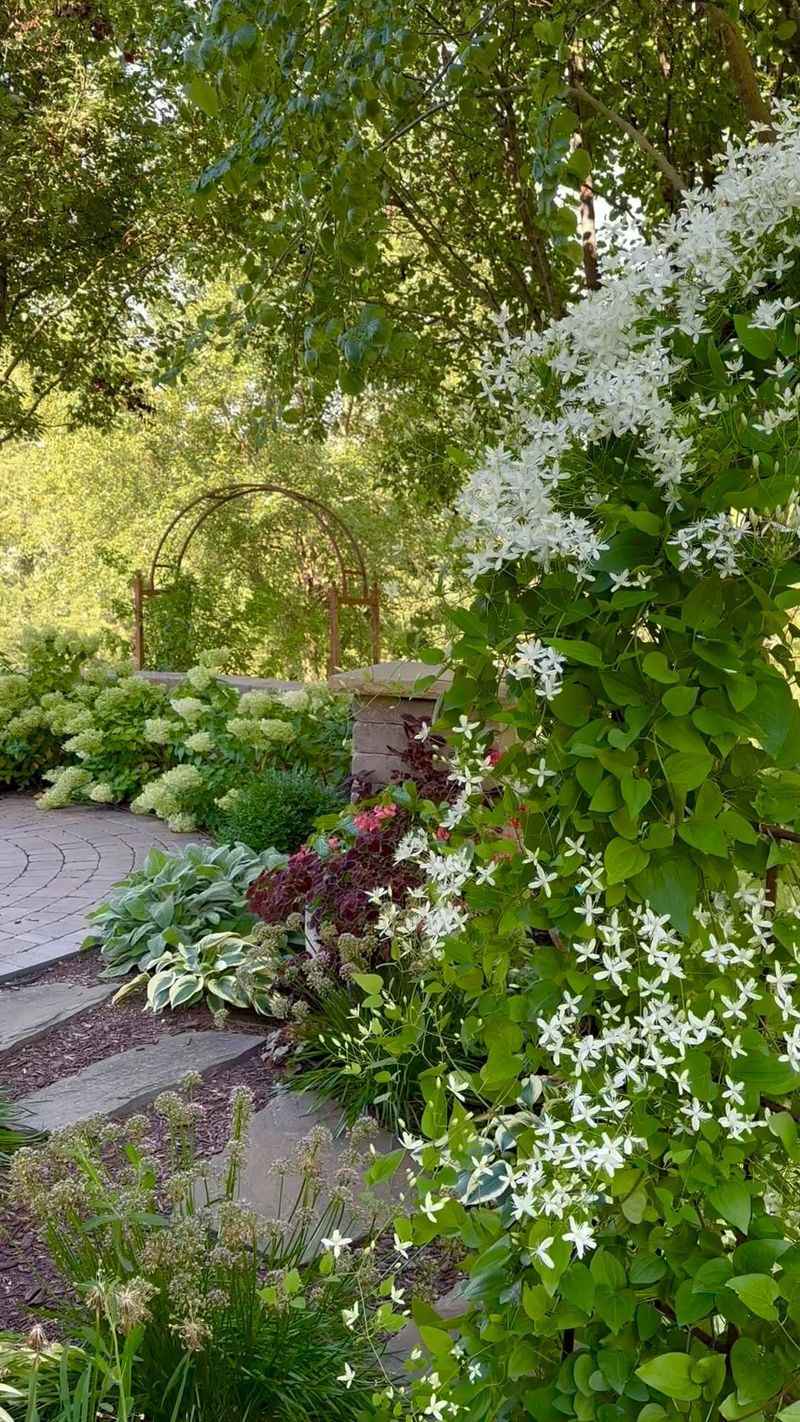
16. Consider Clematis Companions
Strategic companion planting creates microclimates that benefit struggling clematis. Low-growing, shallow-rooted perennials like geraniums, hostas, or heucheras shade the root zone while allowing the vine to climb above.
Avoid deep-rooted aggressive plants that compete for nutrients. Companions also hide the sometimes bare lower portions of clematis stems, creating a more attractive display. As a bonus, diverse plantings reduce pest problems by attracting beneficial insects and creating habitat complexity.
17. Revive With a Compost Tea Soak
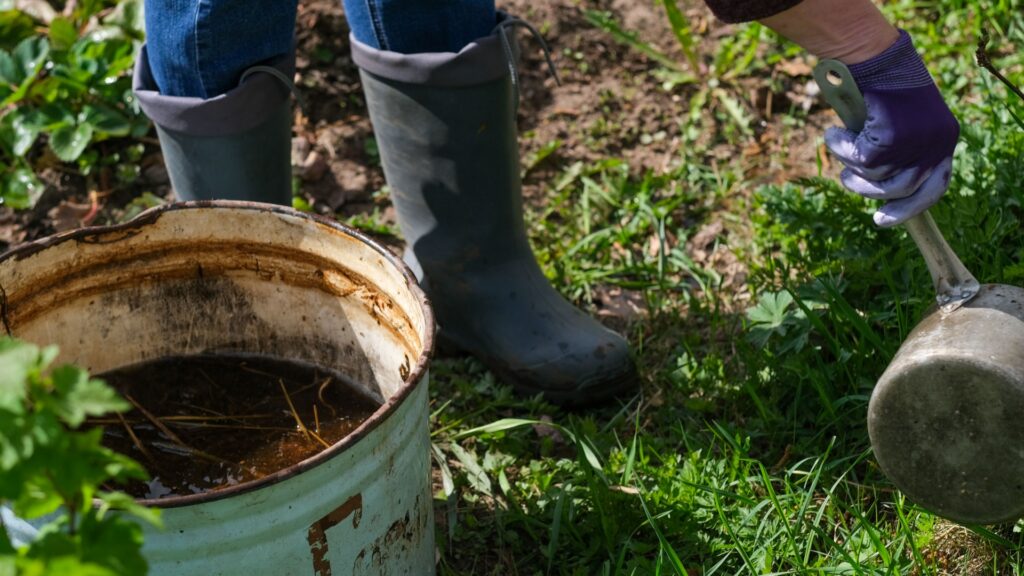
When your clematis looks weak despite good soil and watering habits, a dose of compost tea might be the gentle tonic it needs. This natural, nutrient-rich solution boosts beneficial microbes in the soil and delivers trace minerals directly to the roots.
To make it, steep a shovelful of finished compost in a 5-gallon bucket of water for 24–48 hours, stirring occasionally. Strain the liquid and pour it around the base of the plant, allowing it to soak in slowly. Apply every 2–3 weeks during the growing season to build resilience and promote steady, healthy growth.