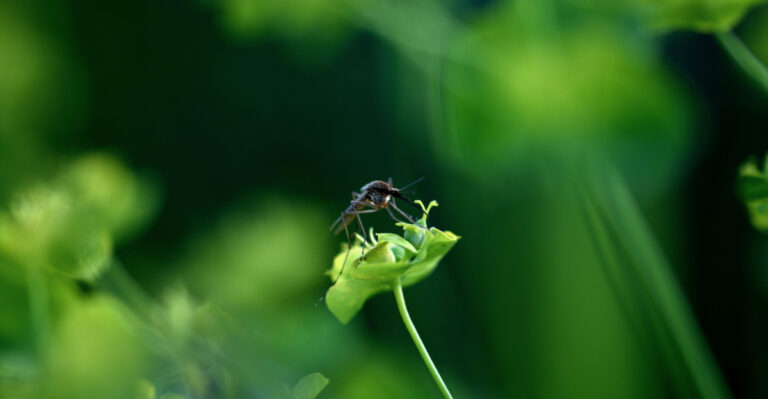
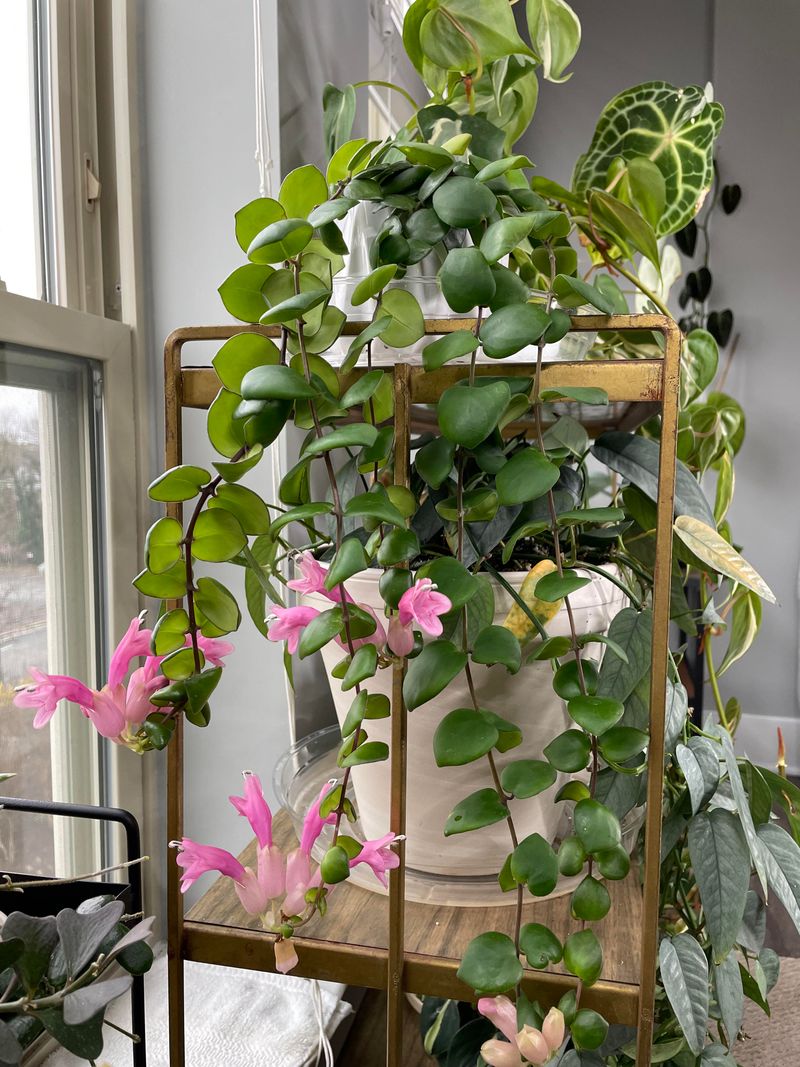
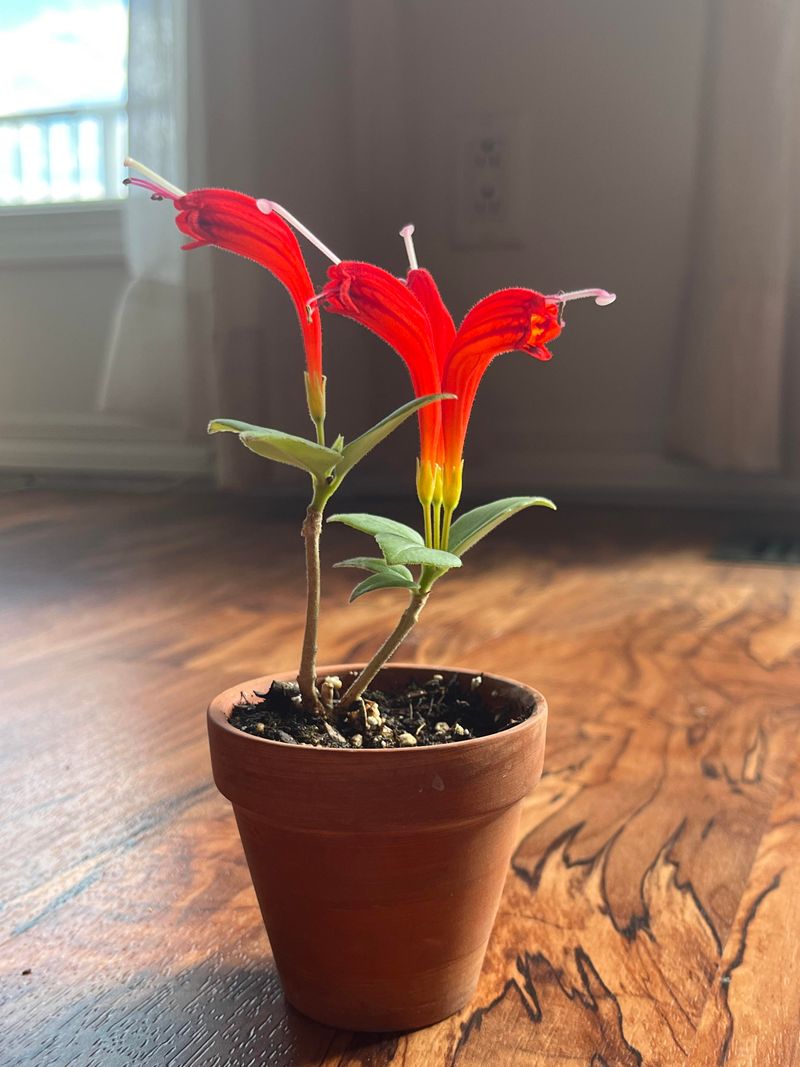
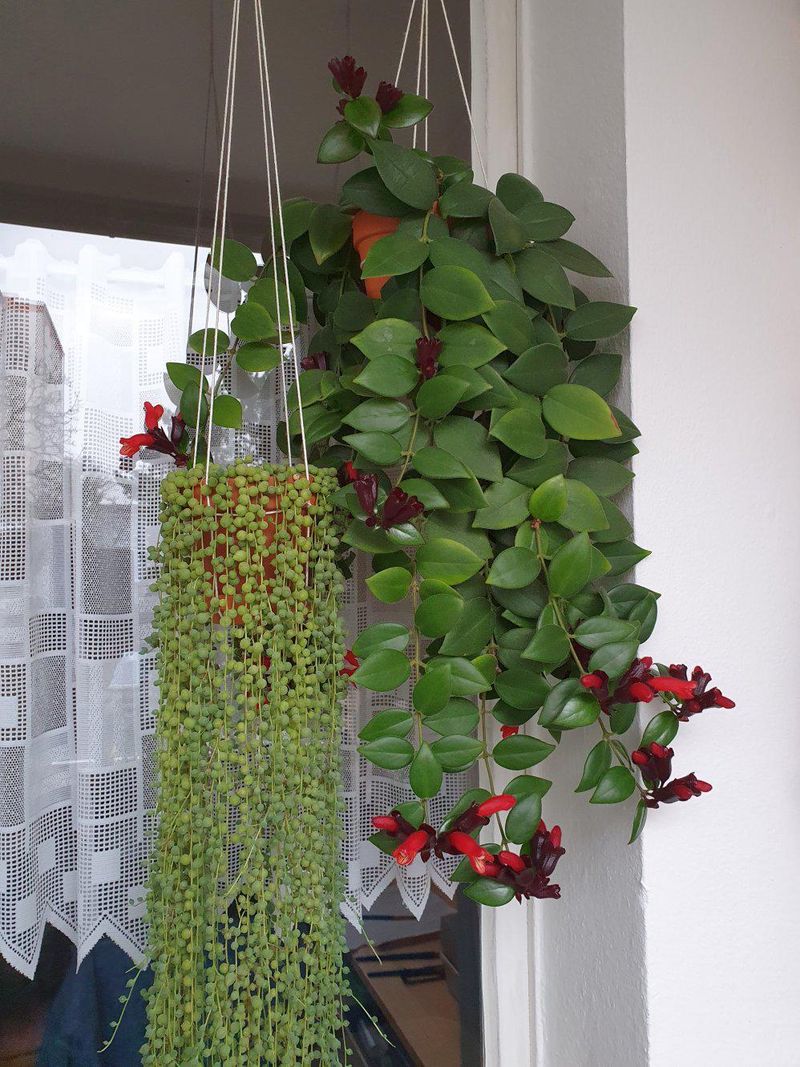
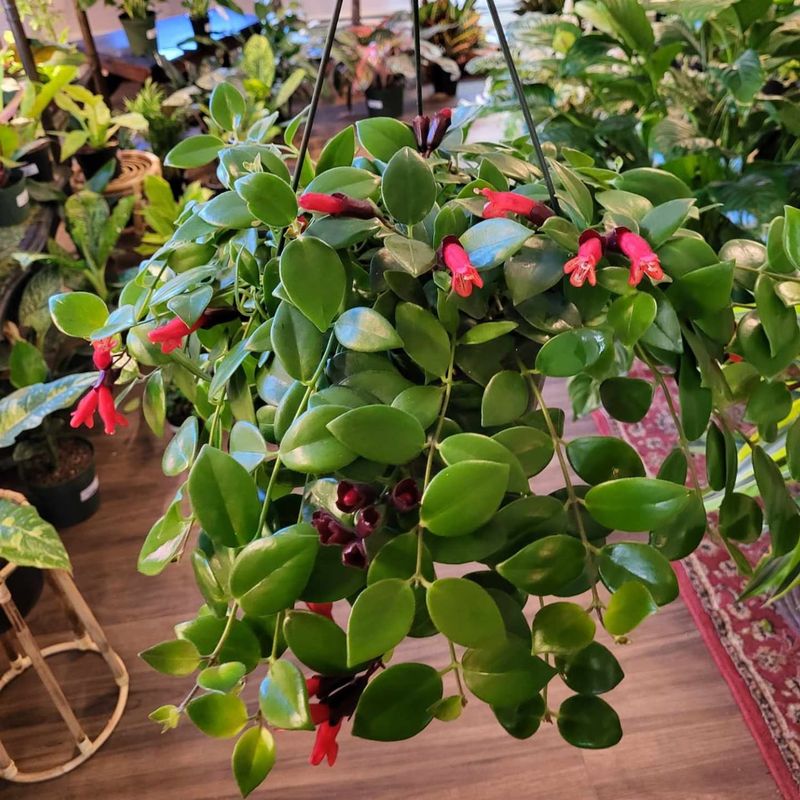
8 Simple Ways You Can Propagate Lipstick Plants In North Carolina
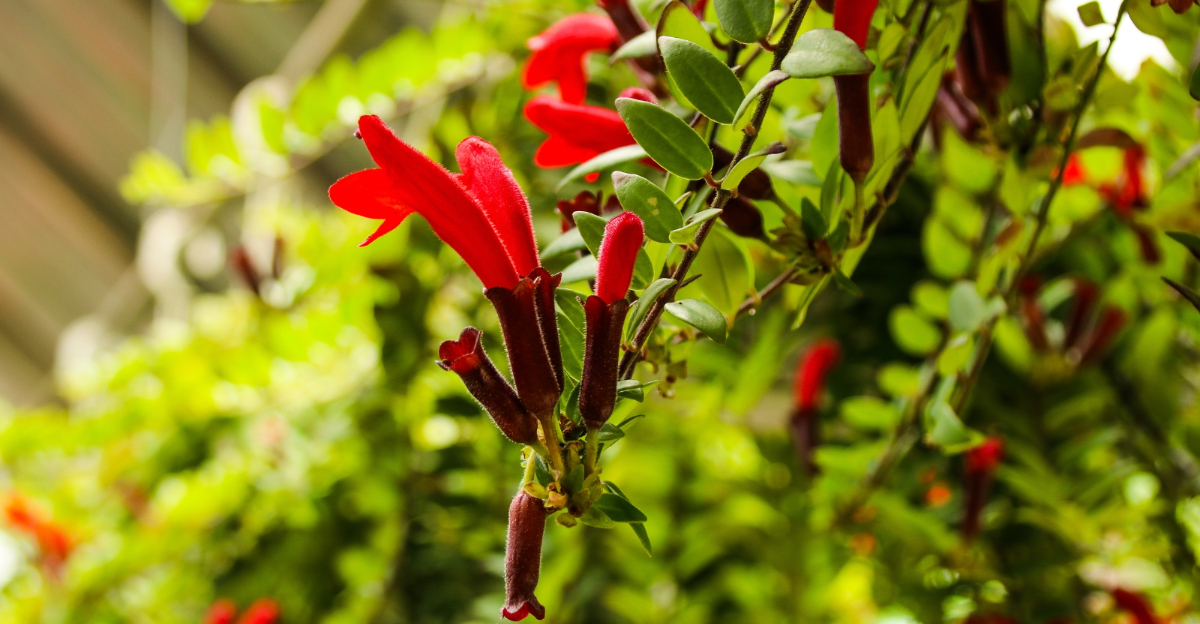
Have you ever looked at your lipstick plant and thought it feels like it should be easier to make more of it?
That thought comes up often in North Carolina homes, where indoor plants tend to grow well but don’t always multiply the way people expect.
Propagation sounds technical at first, yet it’s usually much simpler than it seems when the conditions are right.
Lipstick plants respond well to gentle handling and predictable routines rather than complicated methods.
Small changes in how and where you take cuttings can quietly influence how successful the process feels.
North Carolina’s indoor climate plays a role too, especially when warmth and humidity stay fairly consistent. Instead of treating propagation like a risky experiment, it can become a natural extension of regular plant care.
Learning a few straightforward approaches can turn one healthy lipstick plant into several without adding stress to the process.
1. Stem Cuttings Rooted In Water
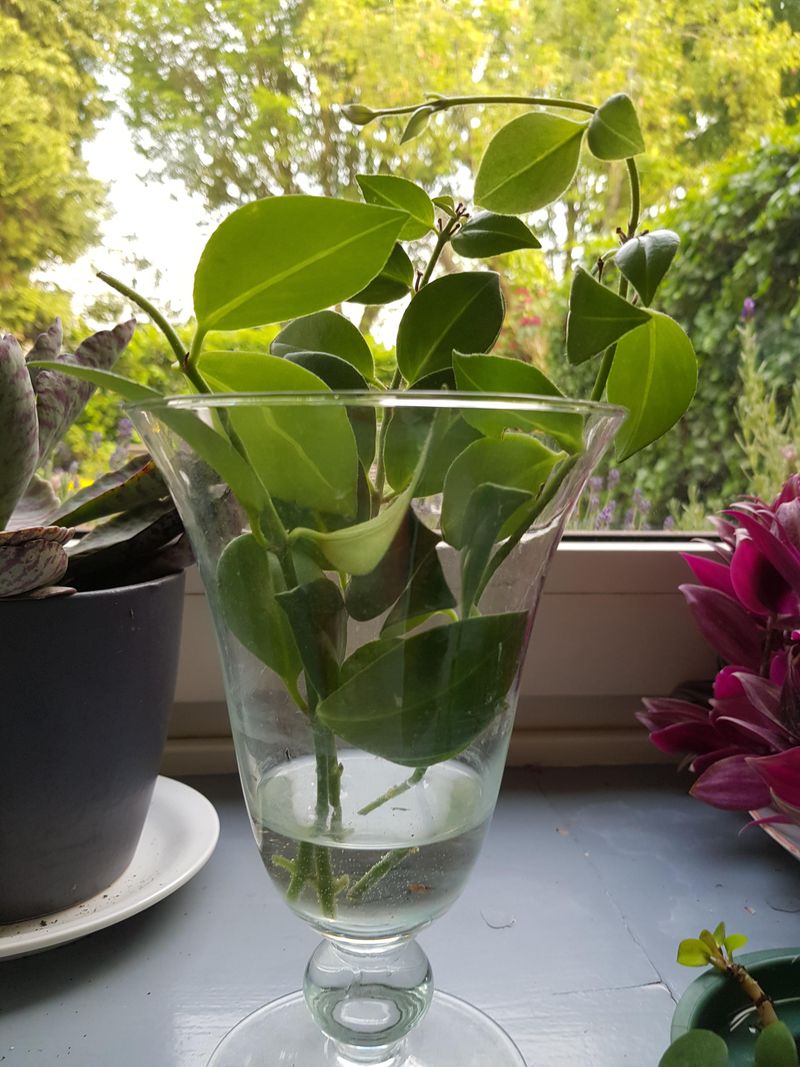
Many gardeners find that water propagation offers a clear view of root development, making it easier to monitor progress without disturbing the cutting. This method works exceptionally well for lipstick plants because their stems readily form roots when submerged in clean water.
North Carolina plant lovers often use this technique during warmer months when growth hormones are naturally more active.
Start by selecting a healthy stem section that measures about four to six inches in length. Make your cut just below a leaf node using clean, sharp scissors or pruning shears.
Remove the lower leaves to prevent them from rotting in the water, leaving only two or three leaves at the top.
Place the cutting in a glass jar or vase filled with room-temperature water. Position the container in a spot that receives bright but indirect sunlight, away from harsh afternoon rays.
Change the water every few days to keep it fresh and prevent bacterial growth.
Roots typically begin appearing within two to three weeks, though some cuttings may take slightly longer depending on environmental conditions. Once the roots reach about an inch or two in length, your cutting is ready for transplanting into soil.
Patience during this stage ensures stronger root systems that adapt better to potting mix.
2. Stem Cuttings Rooted Directly In Soil
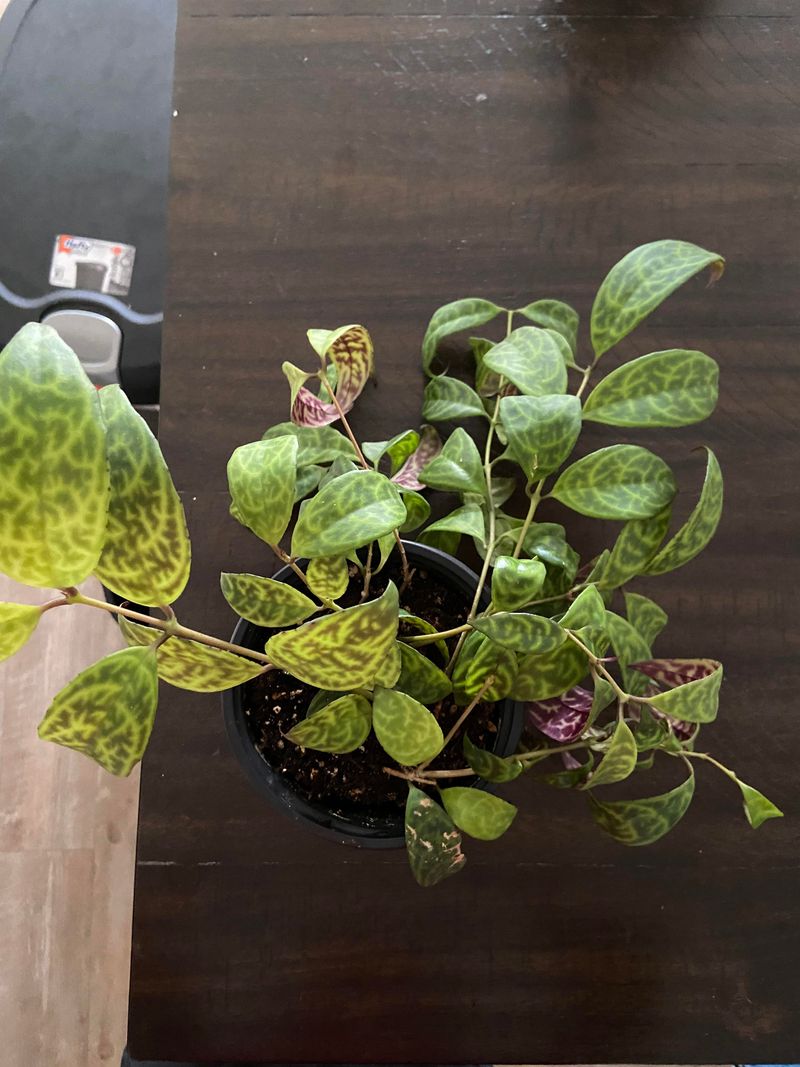
Skipping the water stage and planting cuttings straight into soil can save time and reduce the shock plants sometimes experience when transitioning from water to potting medium. This approach mimics natural propagation more closely and often results in sturdier root systems from the start.
Gardeners throughout North Carolina appreciate this method for its simplicity and effectiveness.
Choose a well-draining potting mix that contains perlite or vermiculite to prevent waterlogging. Fill a small pot with this mixture and water it lightly so the soil is moist but not soggy.
Take a cutting from your parent plant, making sure it has at least two or three nodes along its length.
Remove the bottom leaves and dip the cut end into rooting hormone powder if you have it available, though this step remains optional. Insert the cutting about an inch or two deep into the prepared soil, then gently firm the mix around the stem to hold it upright.
Mist the soil surface lightly to settle it around the cutting.
Keep the pot in a warm location with consistent temperatures between 70 and 75 degrees Fahrenheit. Check the soil moisture regularly, watering only when the top layer feels dry to the touch.
Within three to four weeks, gentle tugging will reveal resistance, indicating successful root formation.
At that point, you can gradually reduce misting and allow the cutting to adjust to normal watering habits.
Once roots are well established, transplanting into a larger container encourages steady growth without disrupting the new root system.
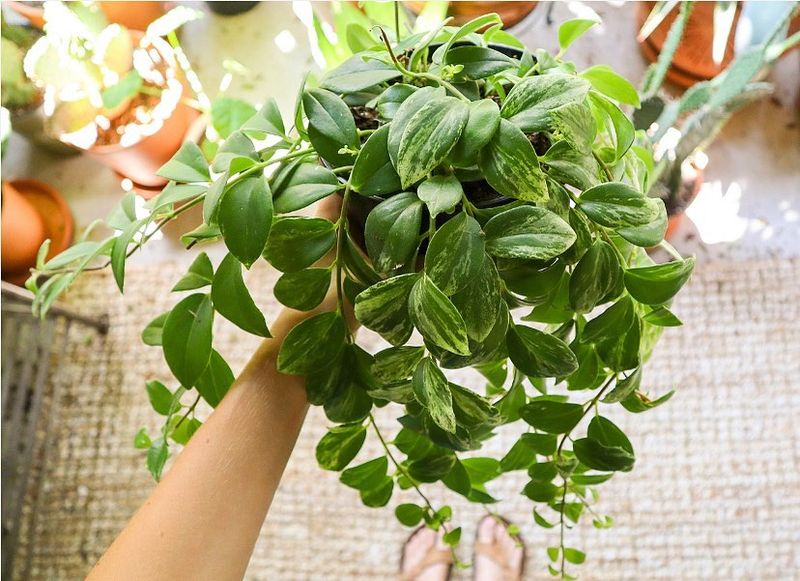
3. Propagation Using Fresh Healthy Tip Cuttings
Selecting the right cutting material makes all the difference when propagating lipstick plants, and tip cuttings from actively growing stems tend to root fastest. These young, flexible sections contain higher concentrations of growth hormones that encourage rapid root development.
North Carolina gardeners who want quick results often focus on harvesting these vigorous tips during peak growing seasons.
Look for stems that show new leaf growth at their ends, as these indicate active metabolism and cellular division. Cut just below the third or fourth node from the tip, ensuring your cutting includes several healthy leaves.
Avoid taking cuttings from stems that appear woody or hardened, as these root more slowly.
The freshness of your cutting matters significantly for successful propagation. Work quickly to get your cutting into water or soil within a few minutes of taking it from the parent plant.
This prevents the cut surface from drying out and forming a callus that could slow root emergence.
Tip cuttings typically measure between three and five inches long, making them easy to handle and pot. Their compact size also means they require less energy to support existing foliage while developing new roots.
Most gardeners see visible root growth within two weeks when conditions remain optimal throughout the rooting period.
Using clean, sharp tools when taking cuttings further improves success by making smooth cuts that heal efficiently.
Healthy starting material combined with proper handling creates the best foundation for strong, long-term growth.
4. Rooting Cuttings In Warm Humid Indoor Conditions
Temperature and humidity levels dramatically influence how quickly lipstick plant cuttings establish root systems, with warmth and moisture working together to create ideal conditions. These tropical plants naturally thrive in environments that mimic their native rainforest habitats.
Gardeners across North Carolina often create mini greenhouse conditions indoors to replicate these settings.
Aim to maintain temperatures between 70 and 80 degrees Fahrenheit throughout the rooting process. Avoid placing cuttings near cold drafts from air conditioning vents or windows during winter months.
Consistent warmth encourages cellular activity and speeds up root formation significantly.
Humidity levels should stay around 60 to 70 percent for optimal results. You can increase moisture in the air by grouping plants together, placing water-filled trays nearby, or running a small humidifier in the room.
Some gardeners mist their cuttings lightly once or twice daily to boost humidity around the foliage.
Creating a stable environment prevents stress that could slow down or halt root development. Fluctuating conditions force cuttings to constantly adjust rather than focusing energy on growing roots.
Monitor your space with a simple thermometer and hygrometer to track these important factors and make adjustments as needed for consistent success.
When temperature and humidity stay steady, cuttings can direct all their energy toward producing strong, healthy roots instead of surviving stress.
This consistency often leads to faster establishment and a higher success rate overall, especially during the cooler months.
5. Using A Clear Cover To Maintain Moisture
Covering your cuttings creates a miniature greenhouse effect that traps moisture and maintains steady humidity levels around developing roots. This technique proves especially useful in drier climates or air-conditioned homes where humidity naturally stays low.
Many North Carolina gardeners rely on this simple trick to boost their propagation success rates dramatically.
Clear plastic bags work perfectly when draped loosely over pots and secured with rubber bands around the container rim. Make sure the plastic does not touch the leaves directly, as this contact can encourage fungal growth.
Alternatively, cut plastic bottles can serve as individual cloches for single cuttings.
The transparent material allows light to reach the cutting while preventing moisture from escaping into the surrounding air. This enclosed environment keeps the soil consistently moist and reduces how often you need to water.
Check inside the cover daily to ensure condensation appears on the plastic surface, indicating proper humidity levels.
Remove the cover for a few minutes each day to allow fresh air circulation and prevent mold development. Gradually increase ventilation time as roots begin forming to help cuttings acclimate to normal household conditions.
Once roots measure about two inches long, you can remove the cover completely without shocking your new plant.
6. Propagating During Spring And Early Summer Growth
Timing your propagation efforts to coincide with natural growth cycles gives cuttings the best chance of developing strong root systems quickly. Lipstick plants enter their most active growth phase as days lengthen and temperatures warm during spring months.
North Carolina gardeners who propagate during this window typically see faster rooting and healthier new plants.
Spring brings increased daylight hours that boost photosynthesis and energy production in plant tissues. This abundance of resources means cuttings have more stored energy to dedicate toward root formation.
The parent plant also recovers more quickly from having stems removed when it is actively growing.
Early summer continues this favorable growing period before the stress of extreme heat sets in. Cuttings taken in May or June root readily and have time to establish themselves before fall arrives.
Avoid propagating during late summer when plants begin slowing their growth in preparation for dormancy.
Watch your parent plant for signs of new growth like fresh leaves or extending stems as indicators that the time is right. These visual cues tell you the plant is in an active metabolic state.
Taking cuttings during this period means you are working with plant material that is already primed for growth and development.
This timing reduces setbacks and increases the likelihood that new plants settle in without struggle.
When propagation aligns with active growth, results tend to be more predictable and consistent for home gardeners.
7. Placing Cuttings In Bright Indirect Light
Light quality and intensity play crucial roles in successful propagation, with lipstick plant cuttings needing enough brightness to photosynthesize without getting scorched by direct rays. Finding the right balance helps cuttings maintain their existing leaves while channeling energy into root production.
Gardeners throughout North Carolina position their cuttings near windows that receive filtered sunlight for best results.
East-facing windows provide gentle morning sun followed by bright indirect light for the rest of the day. This orientation works particularly well because morning rays are less intense than afternoon sun.
South-facing windows can work too if you place cuttings a few feet back from the glass or use sheer curtains to diffuse the light.
Avoid placing cuttings in direct sun, as they lack established root systems to replace water lost through leaf transpiration. Scorched or wilted leaves indicate too much light exposure and stress the cutting unnecessarily.
If leaves begin yellowing or dropping, move the cutting to a slightly shadier location.
Insufficient light causes different problems, including slow or absent root development and leggy growth. Cuttings need adequate brightness to produce the sugars that fuel root formation.
Using a simple light meter or smartphone app can help you measure light levels and find the perfect spot in your home.
Stable light conditions allow cuttings to focus on steady root growth instead of constantly adjusting to new stress.
Once roots form, maintaining similar light levels helps the young plant transition smoothly into active growth.
8. Transplanting Once Strong Roots Have Formed
Knowing when to move your rooted cutting into its permanent container prevents setbacks and ensures continued healthy growth. Rushing this step can damage fragile new roots, while waiting too long may cause roots to become tangled or pot-bound.
North Carolina gardeners check for specific signs that indicate cuttings are ready for their new homes.
Roots should measure at least one to two inches long before transplanting, with multiple root strands visible rather than just one or two. Water-rooted cuttings show white, branching roots that spread outward from the stem.
For soil-rooted cuttings, gentle resistance when tugging indicates an established root system holding the plant in place.
Prepare a pot that is slightly larger than your current container, with drainage holes to prevent water accumulation. Use a well-draining potting mix formulated for tropical plants or houseplants.
Water the new soil lightly before transplanting so it is evenly moist but not waterlogged.
Handle roots carefully during the transfer, supporting them gently to avoid breakage. Plant at the same depth the cutting was growing previously, then firm the soil around the stem.
Water lightly after transplanting and keep the new plant in consistent conditions while it adjusts to its permanent home over the following weeks.
Avoid fertilizing immediately after transplanting, as new roots need time to settle without extra stimulation.
After a couple of weeks, steady new growth signals that the cutting has adjusted and can be cared for like a mature plant.