The Easy Way North Carolina Gardeners Can Grow Thriving Cherry Tomatoes In Pots
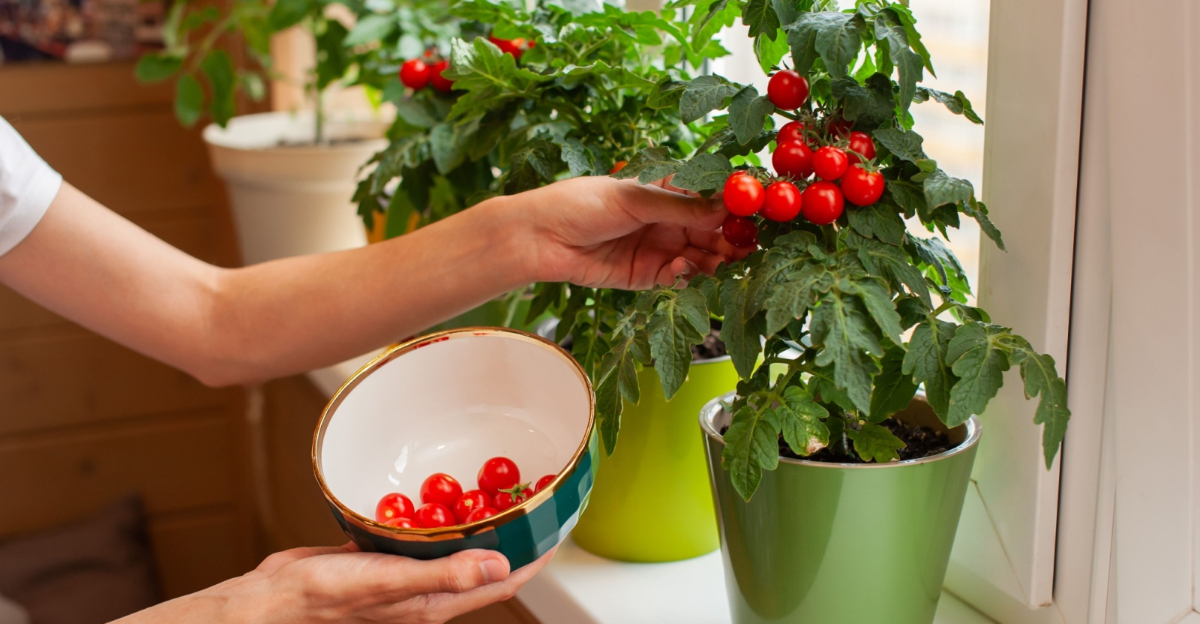
A sunny porch or back patio in North Carolina can turn into a surprisingly productive tomato spot with the right setup.
If your yard is small, your soil is stubborn, or you only have room for a few containers, cherry tomatoes make a lot of sense.
They fit neatly into pots, produce heavily for their size, and often handle summer conditions better than larger tomato types. The biggest difference usually comes down to getting the basics right early.
Variety choice, container size, drainage, sunlight, watering, and support all shape how well those plants grow once the heat settles in.
Nail those first steps, and picking homegrown cherry tomatoes gets a whole lot easier.
1. Start With A Compact Cherry Tomato Variety That Suits Containers
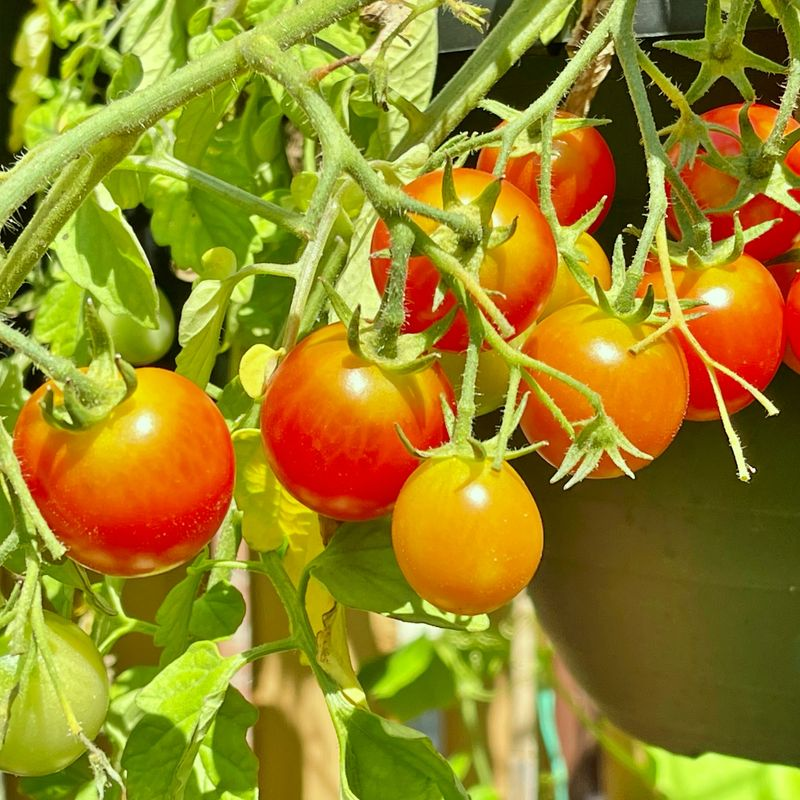
Not every cherry tomato variety is built for pot life, and picking the wrong one can mean a plant that outgrows its container before summer even peaks.
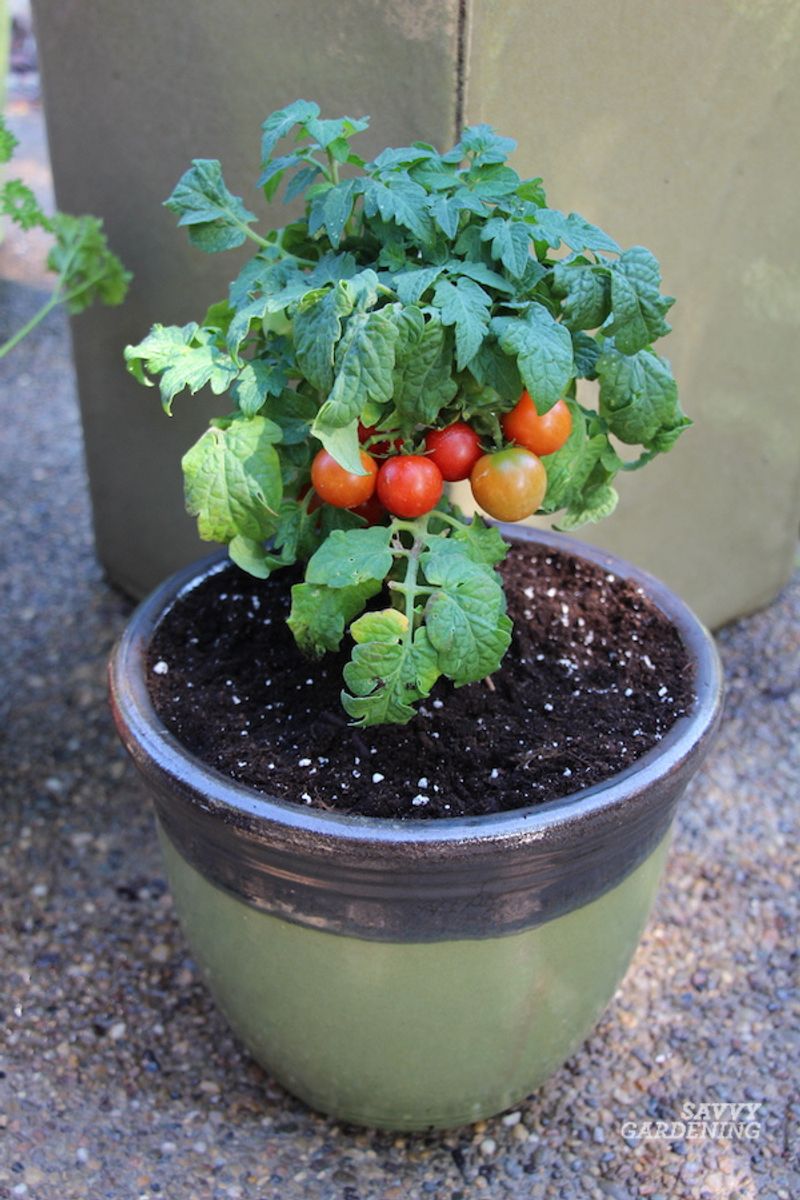
Compact or dwarf varieties are specifically bred to stay manageable in small spaces, which makes them a much better fit for pots on a porch, patio, or balcony.
Varieties like Tumbler, Patio Princess, Husky Cherry Red, and Bush Early Girl are popular choices among container gardeners across North Carolina because they stay bushy and productive without needing a ton of vertical space.
Determinate varieties are worth paying attention to here. These plants grow to a set size, then put their energy into producing fruit all at once, which is helpful when you are working with limited container space.
Indeterminate types keep growing and fruiting all season, which sounds appealing, but they can get quite large and may need more support and root room than a standard pot offers.
In North Carolina, the long warm season from the Piedmont down to the coastal plain means you have a solid window to grow and harvest.
Mountain gardeners tend to work with a shorter frost-free period, so choosing an early-maturing compact variety gives those plants the best shot at a full harvest before temperatures drop in the fall.
Starting with the right variety truly sets the tone for everything that follows.
2. Pick A Pot That Gives Roots Enough Room To Grow
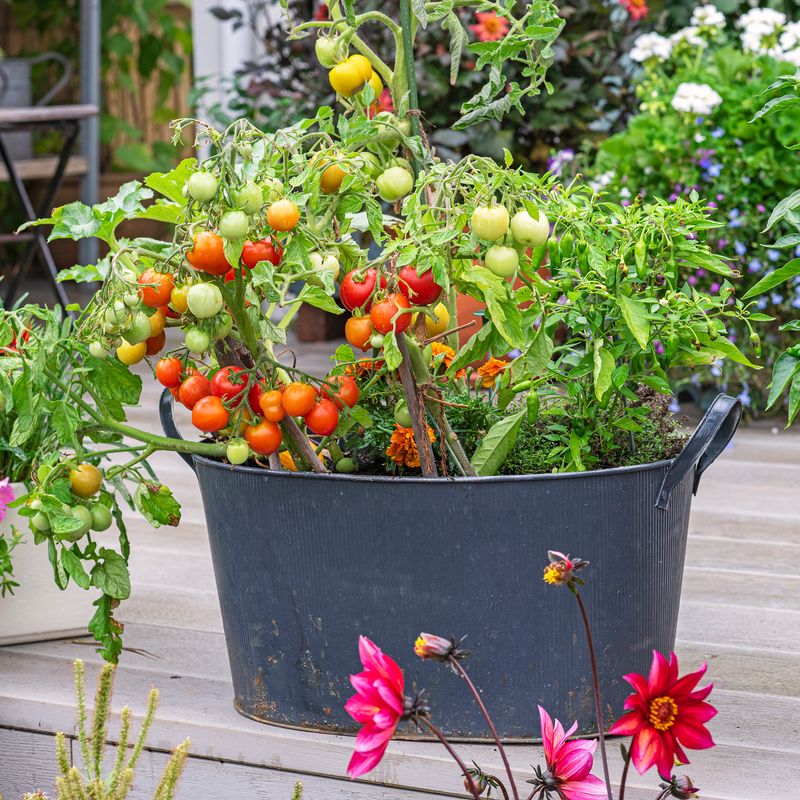
A cramped root system leads to a stressed plant, and a stressed plant simply does not produce the way you want it to.
Cherry tomatoes, even the compact varieties, need a good amount of soil volume to anchor themselves, access moisture, and pull in nutrients throughout the season.
A container that holds at least five gallons is the minimum to aim for, but ten gallons or larger gives the roots more breathing room and helps the soil stay moist longer during North Carolina’s hot, dry summer stretches.
Container material matters more than most gardeners expect. Dark-colored plastic pots can absorb a lot of heat from the sun, which raises soil temperatures to levels that can stress roots during the hottest weeks of a Carolina summer.
Light-colored plastic, glazed ceramic, or fabric grow bags tend to manage heat better. Fabric pots in particular allow for air pruning of roots, which encourages a healthier, more branched root structure overall.
Whatever pot you choose, make sure it is wide enough to feel stable once the plant gets taller and begins carrying fruit.
A top-heavy tomato plant in a narrow container can tip over on a breezy day, especially on an elevated deck or balcony.
Choosing a container with good proportions, both deep and wide, gives your cherry tomatoes the foundation they need to thrive through the full growing season.
3. Make Sure Drainage Is Working Before You Plant
Standing water at the bottom of a pot is one of the quickest ways to run into trouble with container tomatoes.
Roots need oxygen as much as they need water, and when soil stays waterlogged for too long, root health declines and the plant struggles to absorb nutrients properly.
Before you add a single scoop of potting mix, check that your container has drainage holes and that they are not blocked or too small to let water move through freely.
Some gardeners place a layer of gravel or broken pottery shards at the bottom of the pot, thinking it will improve drainage.
Research from horticulture programs actually suggests this can create a perched water table effect, where moisture gets trapped just above the gravel layer rather than draining out.
A better approach is to simply use a well-draining potting mix throughout the entire container and make sure the holes at the bottom are clear.
If you are using a saucer under your pot to protect a deck or patio surface, empty it after a heavy rain or deep watering so the container is not sitting in pooled water for hours.
North Carolina summers can bring intense downpours followed by heat, which makes drainage management especially important.
Getting this right before planting saves a lot of frustration later in the season when plants are full-grown and harder to move or repot.
4. Use A Quality Potting Mix Instead Of Garden Soil
Garden soil might seem like a convenient and cost-effective option for filling containers, but it tends to cause more problems than it solves.
In a pot, garden soil compacts quickly, restricts root growth, and often drains poorly, leaving roots sitting in soggy conditions.
It can also carry weed seeds, fungal spores, or soil pests that are much harder to manage when everything is confined to a container.
A high-quality potting mix made specifically for vegetables is a much better investment. Look for a blend that includes ingredients like composted pine bark, peat moss or coconut coir, and perlite.
That combination creates a light, airy texture that holds moisture without becoming waterlogged, and it gives roots the loose structure they need to spread and grow quickly.
Some mixes come with a slow-release fertilizer already blended in, which can give young transplants a helpful early boost.
Across North Carolina, where summer heat arrives fast and containers can dry out in a single afternoon, a potting mix with good moisture retention is worth seeking out.
Some gardeners mix in a small amount of water-retaining granules to help the soil hold onto moisture a little longer between waterings.
Refreshing or replacing potting mix each season is also a smart habit, since the mix breaks down over time and loses the structure and fertility that container tomatoes depend on to stay productive.
5. Give Cherry Tomatoes The Full Sun They Need To Produce Well
Sunlight is basically the engine behind tomato production, and cherry tomatoes are no exception. Without enough direct sun, plants put more energy into leafy growth than into flowering and setting fruit.
For a genuinely productive container harvest, aim to place your pots somewhere that receives six to eight hours of direct sunlight each day, with eight being the sweet spot during the main growing season.
One of the real advantages of growing in containers is that you can move them. If your patio or deck has a spot that gets morning sun but falls into shade by early afternoon, try shifting the pot to follow the light.
South-facing and west-facing exposures tend to offer the most sun hours in North Carolina, though a west-facing spot can get quite intense during peak summer heat.
Watching how the sun moves across your space over a few days helps you find the best position before plants get established.
Gardeners in the western mountains of North Carolina sometimes deal with more cloud cover and shorter days compared to those in the Piedmont or coastal plain.
If you are growing in a shadier mountain location, choosing an early-maturing variety and placing containers in the sunniest available spot becomes even more critical.
Tomatoes growing in too much shade tend to produce sparse fruit, develop leggy stems, and become more vulnerable to fungal issues from reduced airflow and slower drying of the foliage after rain.
6. Plant Deep So The Stem Can Root Along The Way
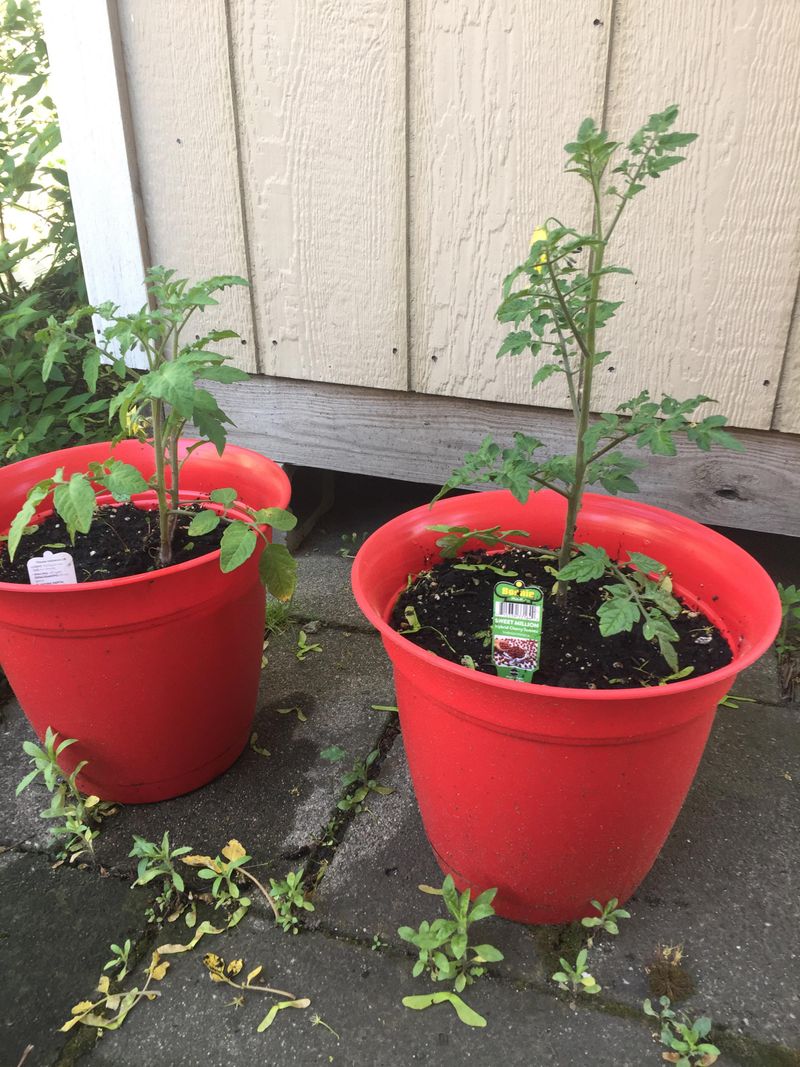
Tomatoes have a remarkable ability that most vegetables do not share: they can grow roots all along their buried stem.
When you plant a tomato seedling deep, those tiny hairs along the stem develop into actual roots, giving the plant a much stronger and more extensive root system than it would have if planted at the same depth it was growing in its starter pot.
More roots mean better water and nutrient uptake, which translates directly into a healthier, more productive plant.
To do this, remove the lower leaves from the stem, leaving just the top cluster of leaves above the soil line. Then plant the seedling so that the stripped portion of the stem is completely buried in the potting mix.
In a container, you can plant straight down if the pot is deep enough, or you can angle the stem slightly and bury it diagonally, which works well in shallower pots while still getting a long section of stem underground.
This technique is especially helpful in North Carolina, where summer heat can stress young transplants quickly.
A plant with a deep, well-developed root system handles heat and short dry spells much better than one with a shallow root base.
Transplanting in the late afternoon or on a cloudy day also reduces the shock that comes from moving a seedling into a warm, sunny container environment, giving roots a calmer start as they settle in.
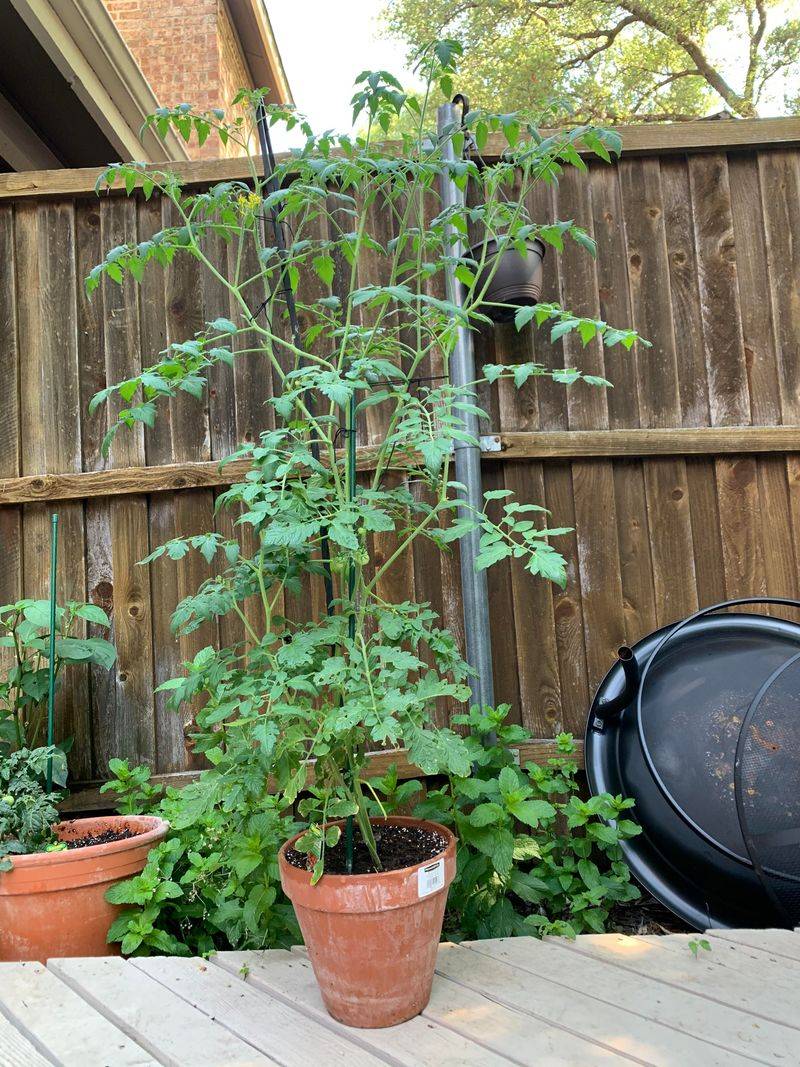
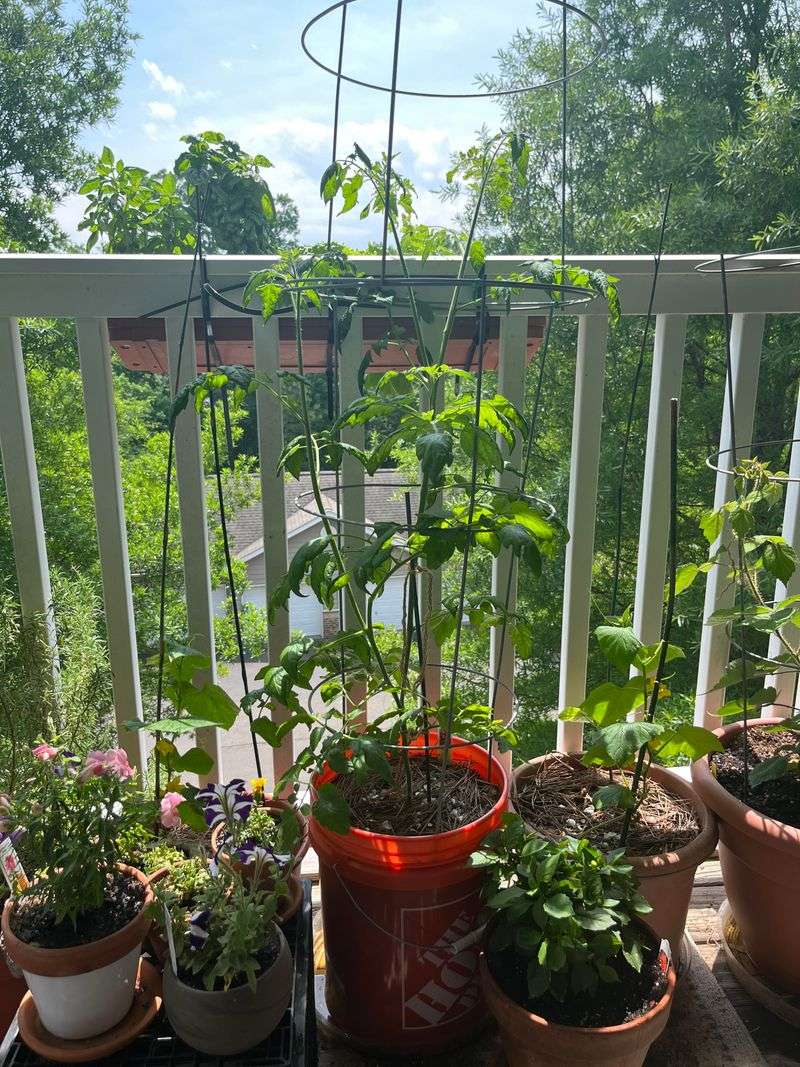
7. Add A Cage Or Stake Early While The Plant Is Still Small
Waiting until a tomato plant is already tall and floppy to add a cage or stake is a recipe for broken stems and damaged roots. By the time most gardeners realize their plant needs support, it has already started leaning awkwardly or sprawling over the edge of the pot.
Getting a cage or stake in place when the plant is still young and compact makes the whole process easier and avoids disturbing the root zone later in the season.
For compact container varieties, a small conical wire cage works well and fits neatly inside most five-to-ten-gallon pots.
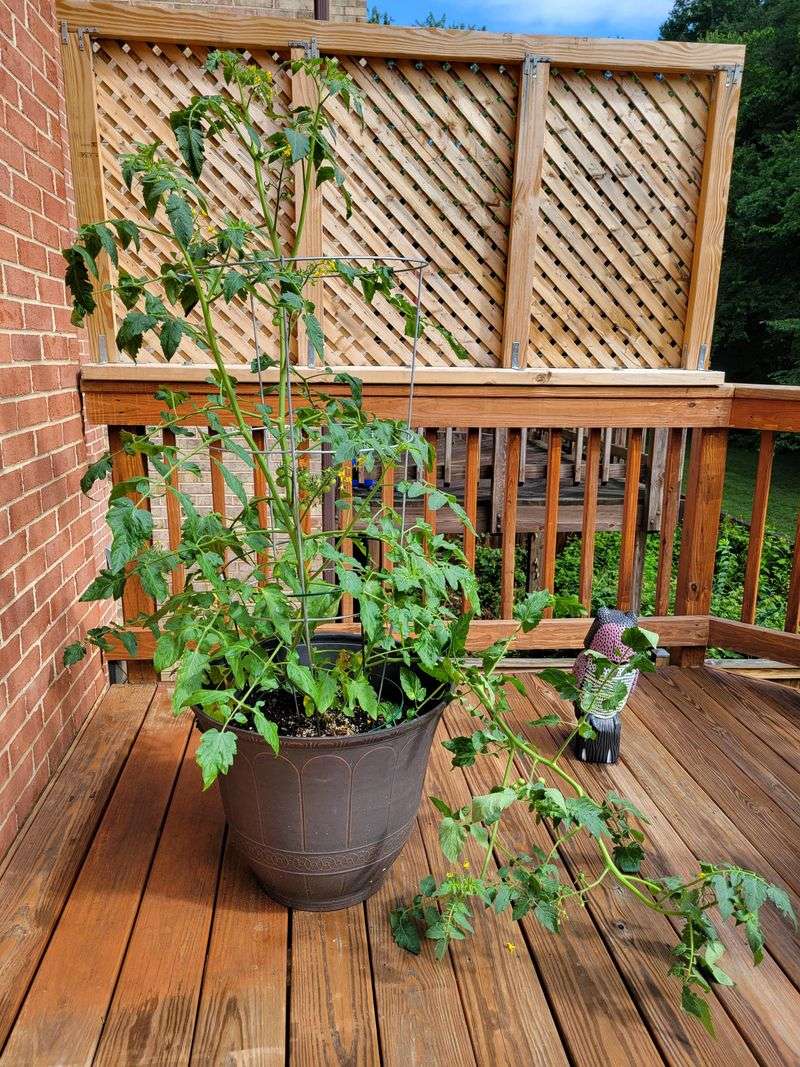
If you are growing a slightly larger indeterminate variety in a bigger container, a sturdy single stake or a Florida weave setup using two stakes and twine gives you more flexibility as the plant grows.
The goal is to keep stems upright, improve airflow through the foliage, and keep fruit off the soil surface of the pot where it can rot or attract pests.
Good airflow around a container tomato matters quite a bit in North Carolina’s humid summers, particularly in the Piedmont and coastal plain where heat and humidity can encourage fungal issues like early blight.
An upright, well-supported plant dries off faster after rain or irrigation, which reduces the conditions that allow fungal problems to take hold.
Setting up support early is one of those small habits that pays off in a noticeably healthier plant by midsummer.
8. Keep Moisture Steady To Support Healthy Growth And Better Fruit
Containers dry out much faster than garden beds, and during a North Carolina summer, a pot sitting in full sun can go from moist to bone dry in less than a day.
Inconsistent watering is one of the most common reasons container tomatoes underperform, leading to problems like blossom end rot and cracked fruit, both of which are linked to uneven moisture levels in the soil.
Getting into a regular watering routine makes a bigger difference than most gardeners expect.
Check the soil moisture by pressing your finger about an inch into the potting mix. If it feels dry at that depth, it is time to water.
When you do water, do it thoroughly, letting water flow freely out of the drainage holes at the bottom of the pot. This ensures the entire root zone gets moisture rather than just the top layer of soil.
Shallow, frequent watering encourages roots to stay near the surface, where they are more vulnerable to heat and drought stress.
Self-watering containers and drip irrigation setups can take a lot of the daily guesswork out of the process, which is especially helpful during busy weeks or short trips away from home.
Mulching the top of the potting mix with a thin layer of straw or shredded leaves can also slow evaporation noticeably.
In the hottest parts of summer across the coastal plain and Piedmont, some gardeners find they need to water their containers twice a day to maintain the steady moisture that cherry tomatoes need.
9. Feed Regularly Once Plants Begin Growing And Fruiting
Potting mix, no matter how nutrient-rich it is at the start, gets depleted faster than garden soil because containers have a limited volume and because frequent watering flushes nutrients out through the drainage holes over time.
Once your cherry tomato plants are actively growing and especially once they start flowering, regular feeding becomes an important part of keeping them productive through the full season.
A balanced, water-soluble fertilizer works well during the early vegetative stage when plants are putting on leaves and stems. Look for a product with roughly equal parts nitrogen, phosphorus, and potassium to support all-around growth.
Once flowers appear and fruit begins to set, shifting to a fertilizer with higher potassium supports better fruit development and can improve both flavor and overall yield.
Applying fertilizer every one to two weeks, following the product label for rates, keeps nutrients consistently available without overdoing it.
Too much nitrogen late in the season can push the plant toward lush foliage at the expense of fruit, so paying attention to what stage your plant is in helps you feed it more strategically.
Slow-release granular fertilizers are another option, worked into the top layer of potting mix, though they tend to be less precise than liquid feeding for containers.
North Carolina’s long growing season means your plants may be producing well into September or even October in warmer regions, making consistent fertilizing worthwhile from first flower all the way through the final harvest.