The Garden Shrub Ohio Gardeners Can Easily Propagate In Winter
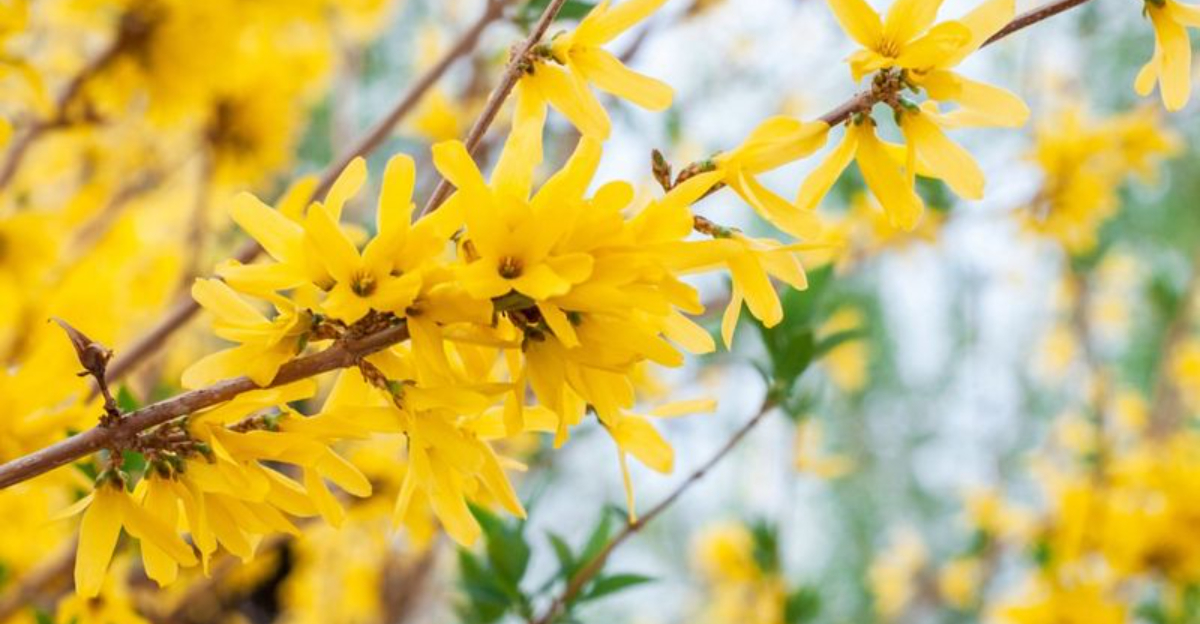
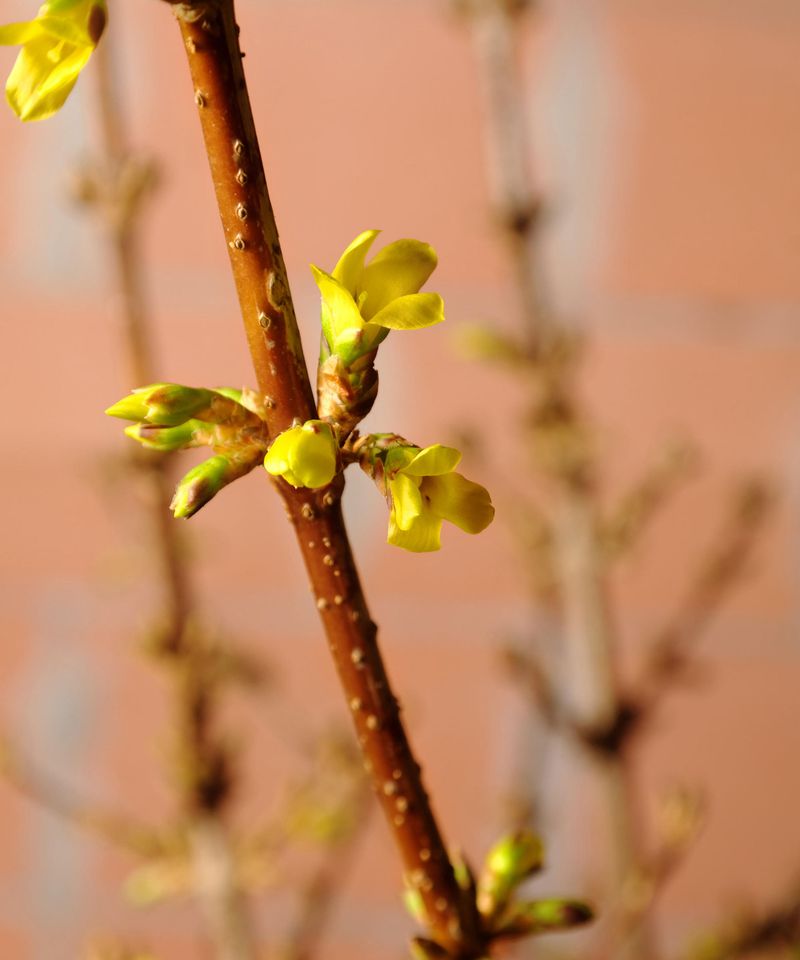
Forsythia stands as one of the most beloved flowering shrubs across Ohio, famous for its explosion of golden-yellow blooms that signal spring’s arrival.
What many gardeners don’t realize is that winter offers a perfect opportunity to multiply these cheerful plants through simple propagation techniques.
During the cold months when forsythia enters dormancy, its hardwood stems become ideal candidates for creating new plants at virtually no cost.
Ohio’s climate provides just the right conditions for this process, and with a few basic supplies and some patience, you can grow an entire hedge of forsythia from a single parent plant.
Winter propagation takes advantage of the plant’s natural rest period, reducing stress and increasing success rates.
Best of all, this method requires minimal equipment and fits perfectly into a gardener’s slower winter schedule.
By understanding the timing, techniques, and care requirements, you’ll discover how rewarding it can be to watch your cuttings transform into thriving shrubs ready for spring planting.
1. Why Forsythia Is Ideal For Winter Propagation in Ohio
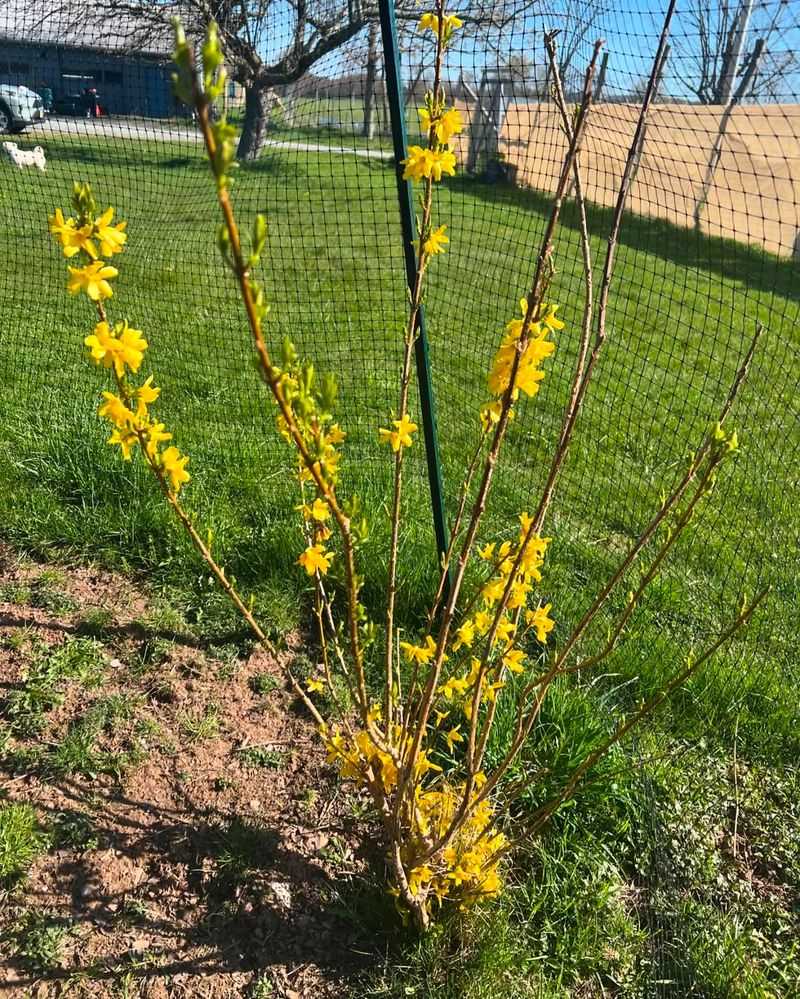
Forsythia possesses a remarkable ability to root from hardwood cuttings, making it one of the easiest shrubs for home gardeners to propagate.
Its vigorous growth habit and hardy nature mean that even beginners can achieve impressive success rates with minimal effort.
Ohio’s winter climate creates perfect conditions for this process, as the cold temperatures keep the cuttings dormant while their root systems develop slowly and steadily.
Unlike many plants that require mist systems or heated greenhouses, forsythia cuttings thrive in simple indoor setups with basic care.
The shrub’s natural tendency to produce roots from stem nodes makes propagation almost foolproof when done correctly.
Winter dormancy also means the plant channels all its energy into root development rather than leaf growth, resulting in stronger, more established root systems by spring.
Another advantage comes from the timing itself—winter gives you several months for roots to form before outdoor planting season arrives.
This extended period allows even slow-rooting cuttings to establish themselves thoroughly.
Forsythia’s tolerance for various soil types and its resistance to most diseases further enhance its reputation as a beginner-friendly propagation project.
For Ohio gardeners looking to expand their landscape without spending money at nurseries, forsythia offers the perfect starting point for mastering plant propagation skills.
2. When To Take Forsythia Cuttings During Dormancy

Timing plays a crucial role in successful forsythia propagation, and the sweet spot falls between late December and early February in Ohio.
During this window, the shrub has entered full dormancy, and the sap flow has slowed considerably.
Taking cuttings too early in autumn risks working with stems that haven’t fully hardened off yet, which can lead to rot rather than root formation.
Waiting until after several hard frosts ensures the plant has truly settled into its winter rest period.
Mid-January often provides the ideal conditions—cold enough to guarantee dormancy but not so frigid that working outdoors becomes unbearable.
Choose a day when temperatures hover above freezing if possible, as this makes cutting and handling the stems more comfortable.
Avoid collecting cuttings during active thaws when the plant might be experiencing temporary metabolic activity.
The goal is to work with completely dormant wood that shows no signs of bud swelling or green tissue beneath the bark.
Ohio gardeners should also consider their indoor propagation schedule—cuttings taken in January will have ample time to root before the outdoor planting window opens in April or May.
Mark your calendar for mid-winter and prepare your supplies in advance so you can act quickly when conditions align perfectly for collecting your forsythia cuttings.
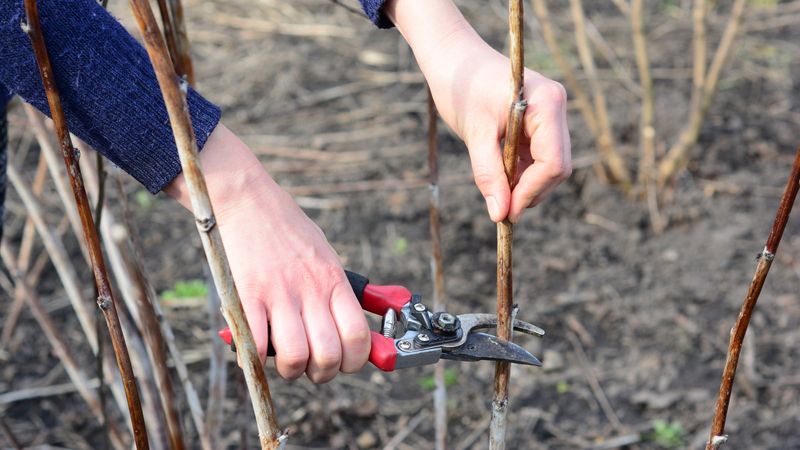
3. How To Choose The Right Hardwood Stems
Success begins with selecting high-quality stem material from your forsythia shrub.
Look for branches that grew during the previous growing season—these will be approximately pencil-thick in diameter and show a healthy brown color.
Stems that are too thin or too thick won’t root as reliably, so aim for that goldilocks zone of about one-quarter to one-half inch across.
Examine each potential cutting for signs of disease, damage, or insect activity, and avoid any stems with suspicious spots, cracks, or unusual discoloration.
The best candidates display smooth bark and several evenly-spaced leaf nodes along their length.
These nodes, which appear as slight bumps where leaves emerged during the growing season, are critical because roots will develop from these points.
Choose stems from the outer portions of the shrub where they received adequate sunlight and developed strong, vigorous growth.
Avoid taking cuttings from the very center of dense forsythia bushes, as these shaded stems often lack the vigor needed for successful rooting.
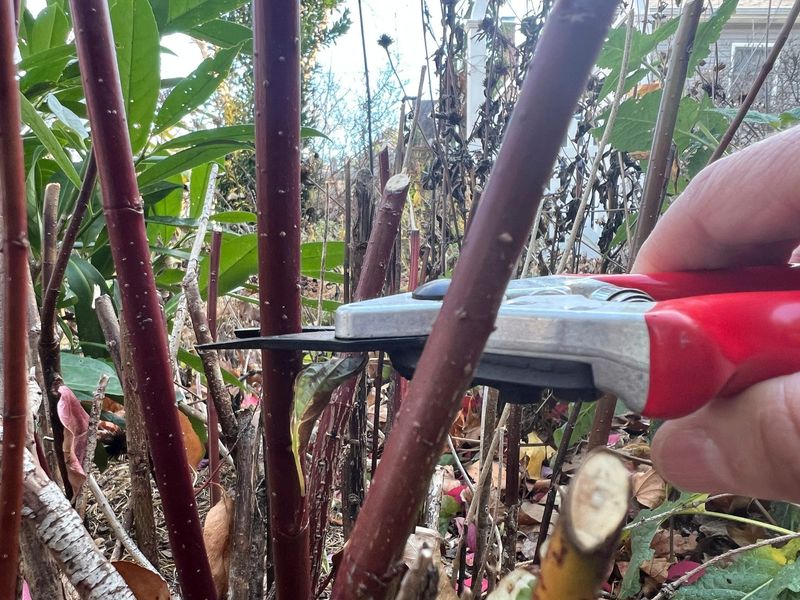
Each cutting should measure between six and eight inches long and contain at least four to six nodes.
Make your cuts just below a node at the bottom and just above a node at the top, using clean, sharp pruning shears to create smooth cuts rather than ragged tears that invite infection.
4. Step-by-Step: Propagating Forsythia Indoors In Winter
Begin by preparing your cuttings immediately after bringing them indoors from the cold.
Strip away any remaining leaf buds from the lower two-thirds of each stem, leaving only the top portion intact.
This prevents moisture loss and directs the cutting’s energy toward root development rather than leaf production.
Fill small pots or containers with a well-draining rooting medium—a mixture of perlite and peat moss works wonderfully, or you can use standard potting soil lightened with extra perlite.
Moisten the medium thoroughly until water drains from the bottom holes, then allow excess water to drain completely.
Using a pencil or chopstick, create holes in the medium deep enough to accommodate the lower half of your cuttings.
Insert each forsythia stem into its prepared hole, ensuring at least two or three nodes sit below the soil surface.
Firm the medium gently around each cutting to eliminate air pockets and provide stable support.
Place your containers in a cool location that receives bright, indirect light—a basement window or unheated spare room works perfectly.
Temperatures between 40 and 60 degrees Fahrenheit encourage root development without promoting premature leaf growth.
Water sparingly throughout winter, keeping the medium barely moist but never soggy, as excessive moisture encourages rot in dormant cuttings.
5. Soil vs. Water Propagation: What Works Best

Both soil and water methods can successfully root forsythia cuttings, though each approach offers distinct advantages and challenges.
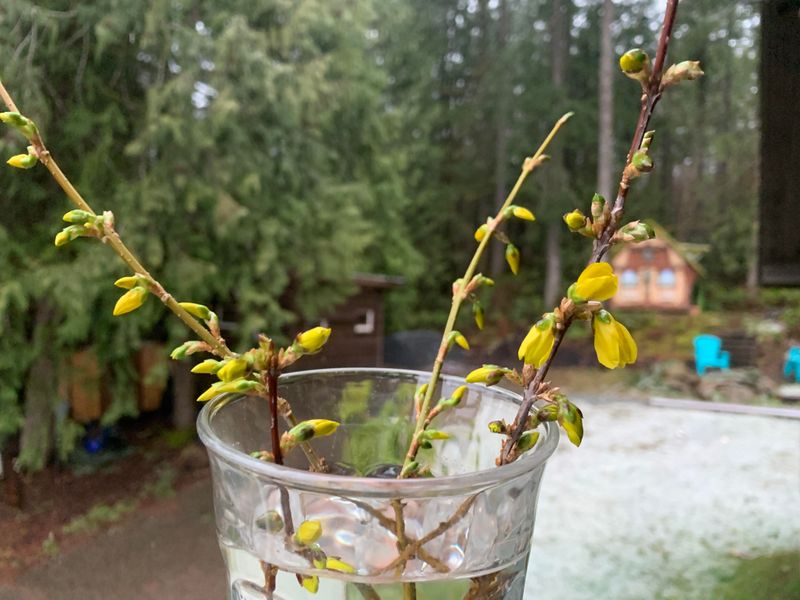
Water propagation provides the satisfaction of watching roots emerge and grow, making it especially appealing for curious gardeners or children learning about plant biology.
Simply place your prepared cuttings in a jar or vase filled with room-temperature water, ensuring at least two nodes remain submerged.
Change the water every few days to prevent bacterial growth and maintain oxygen levels.
However, roots that develop in water often struggle when transplanted to soil, as they’ve adapted to an aquatic environment and must adjust to drawing moisture and nutrients from soil particles.
Soil propagation, while less visually dramatic, produces cuttings better prepared for eventual outdoor planting.
Roots that develop in potting medium immediately learn to seek nutrients and moisture from soil, creating stronger, more adaptable root systems.
The transition from indoor pot to outdoor garden bed becomes much smoother for soil-propagated plants.
For Ohio gardeners focused on long-term success rather than short-term observation, soil propagation typically yields superior results.
That said, water propagation can work well if you transplant cuttings to soil as soon as roots reach one to two inches long, giving them time to adjust before outdoor planting.
6. Common Winter Mistakes That Prevent Rooting
Even with forsythia’s forgiving nature, several common errors can sabotage your winter propagation efforts.
Overwatering ranks as the most frequent culprit, as enthusiastic gardeners often assume dormant cuttings need constant moisture.
In reality, soggy conditions promote fungal growth and stem rot rather than root development.
Check soil moisture by inserting your finger an inch deep—if it feels damp, wait several more days before watering again.
Another mistake involves placing cuttings in excessively warm locations, which tricks them into breaking dormancy prematurely.
When tops leaf out before roots establish, the cutting exhausts its energy reserves and often fails to survive.
Keep your propagation area cool and avoid placing containers near heating vents or sunny south-facing windows.
Using dull or dirty cutting tools introduces pathogens that can infect your stems before they have a chance to root.
Always sterilize pruning shears with rubbing alcohol between cuts and maintain sharp blades for clean wounds.
Some gardeners also make the error of checking for roots too frequently, disturbing the cuttings by pulling them from the soil every few days.
Patience proves essential—resist the urge to test for roots until at least six to eight weeks have passed, and even then, check gently by tugging slightly rather than excavating the entire cutting.
7. How Long Forsythia Takes To Root And Leaf Out
Patience becomes your greatest virtue when propagating forsythia in winter, as the process unfolds much more slowly than spring or summer propagation.
Hardwood cuttings taken in January typically require eight to twelve weeks to develop substantial root systems.
During the first month, very little visible change occurs, which can test the nerves of anxious gardeners wondering if their cuttings remain viable.
Beneath the soil surface, however, callus tissue forms at the cut ends and along the buried nodes—this crucial first step precedes actual root emergence.
Around week six to eight, tiny white roots begin extending from the nodes into the surrounding medium.
These initial roots appear fragile and thread-like but quickly branch and thicken as they explore their environment.
As spring approaches and daylight hours increase, you’ll notice buds beginning to swell along the upper portion of your cuttings.
This signals that the cutting has established sufficient roots to support new growth.
Small leaves typically emerge in late March or early April for cuttings taken in mid-winter.
Once you observe both healthy root development and active leaf growth, your forsythia cuttings have successfully transitioned from dormant stems to independent plants ready for gradual acclimatization to outdoor conditions and eventual transplanting into your Ohio garden.
8. When And How To Transplant New Forsythia Plants Outdoors

Transplanting your rooted forsythia cuttings requires careful timing and a gradual adjustment process to ensure their survival.
Wait until after Ohio’s last frost date, which typically falls in mid to late April for most regions, though northern areas may need to wait until early May.
Before moving plants directly from indoors to the garden, they need a hardening-off period to adapt to outdoor conditions.
Begin this process about two weeks before your planned transplant date by placing your potted cuttings outside for a few hours each day in a sheltered, shady location.
Gradually increase their outdoor exposure time and sun intensity over the course of ten to fourteen days.
This adjustment prevents shock from sudden changes in temperature, wind, and light intensity.
Choose a planting site that receives full sun to partial shade and offers well-draining soil.
Forsythia tolerates various soil types but performs best in slightly acidic to neutral pH ranges.
Dig holes slightly larger than your pots and set plants at the same depth they grew in their containers.
Water thoroughly after transplanting and maintain consistent moisture during the first growing season while roots establish in their permanent location.
Space multiple plants four to six feet apart if creating a hedge, or give individual specimens more room to develop their characteristic arching form.