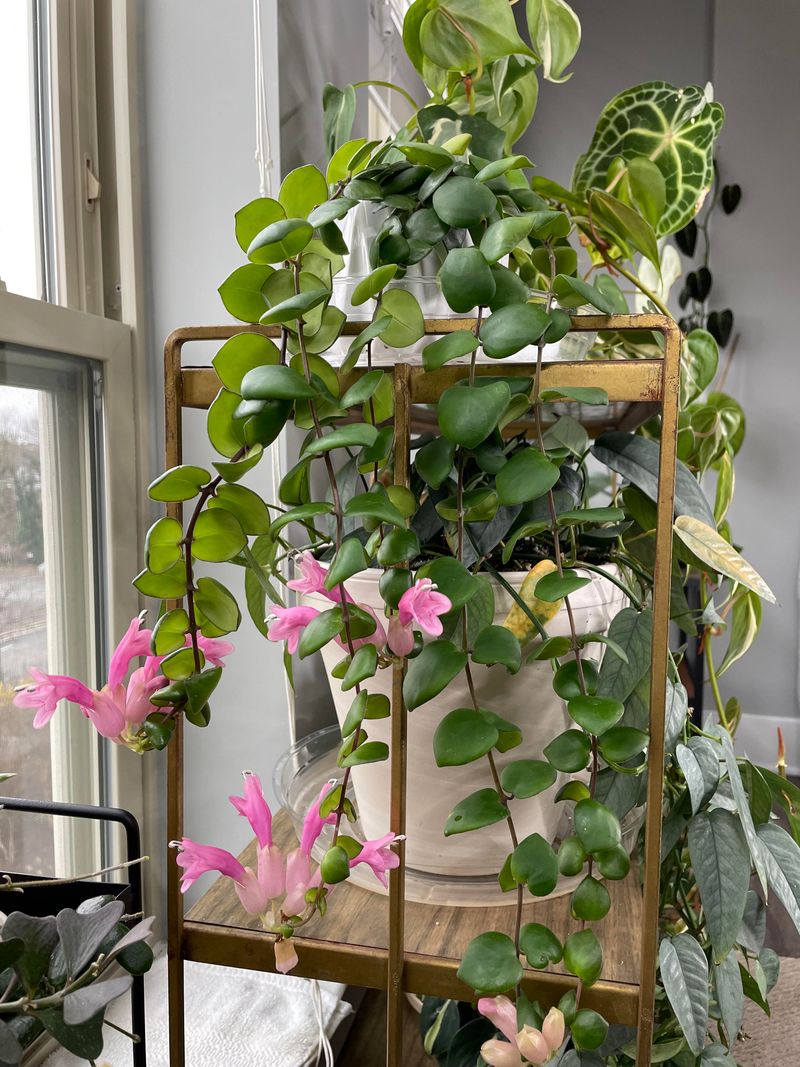
The 7 Lipstick Plant Propagation Tips Every California Gardener Should Know
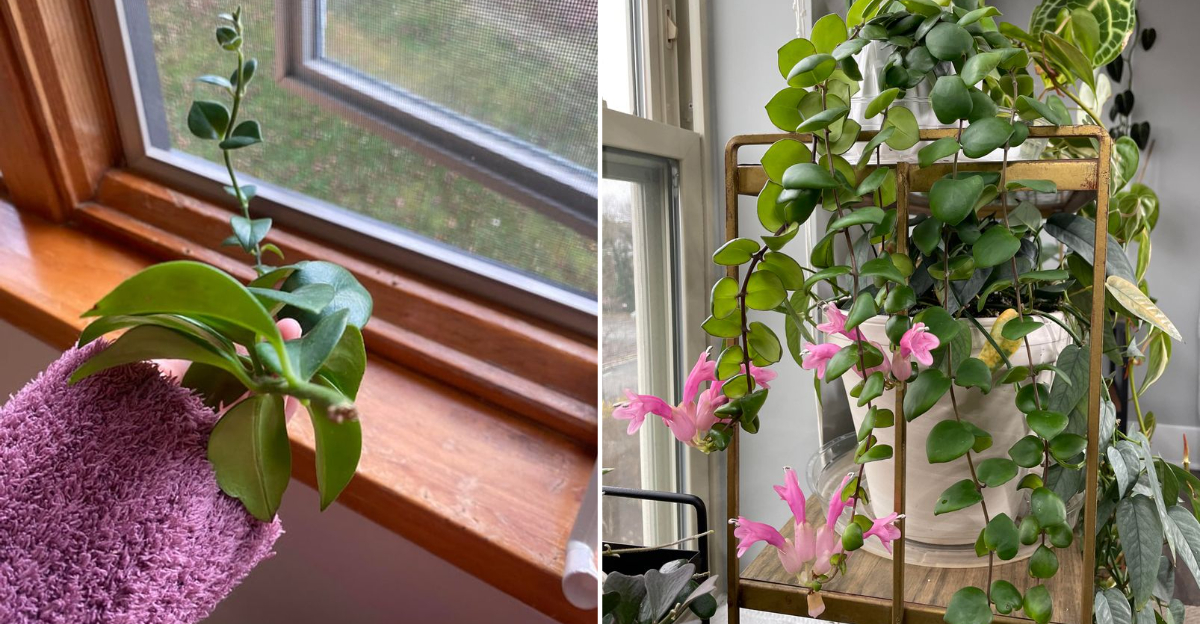
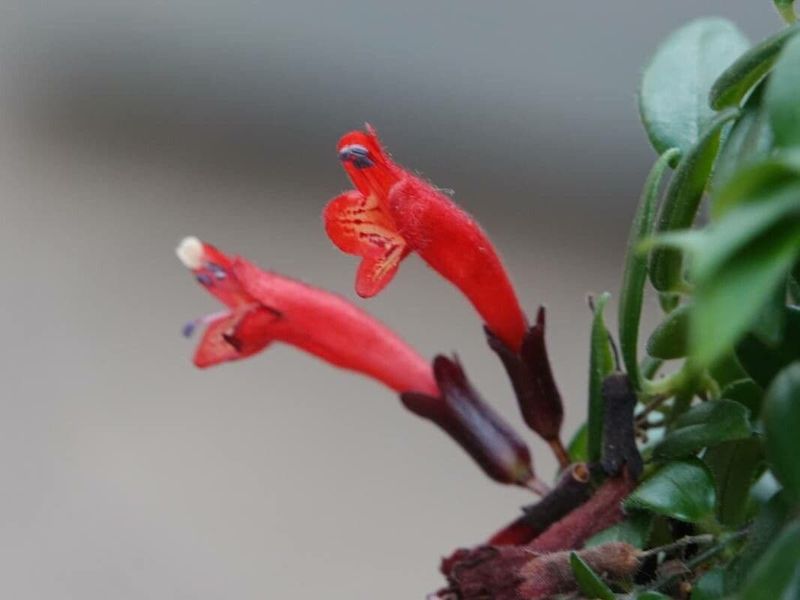
The lipstick plant is a favorite for California gardeners. Its bright flowers and glossy leaves add instant charm to any indoor or patio garden.
But keeping it thriving year after year often means learning how to propagate it properly.
Propagation might sound intimidating at first, but it’s actually simple with the right techniques. Cutting, rooting, and caring for new plants can multiply your collection without spending extra money.
California’s warm, mild climate makes it especially easy to propagate indoors or in protected outdoor spaces. Even small containers or shelves can become a mini lipstick plant nursery.
These tips cover everything you need to know to grow new plants successfully. They help ensure your lipstick plants stay healthy, vibrant, and flowering beautifully for years to come.
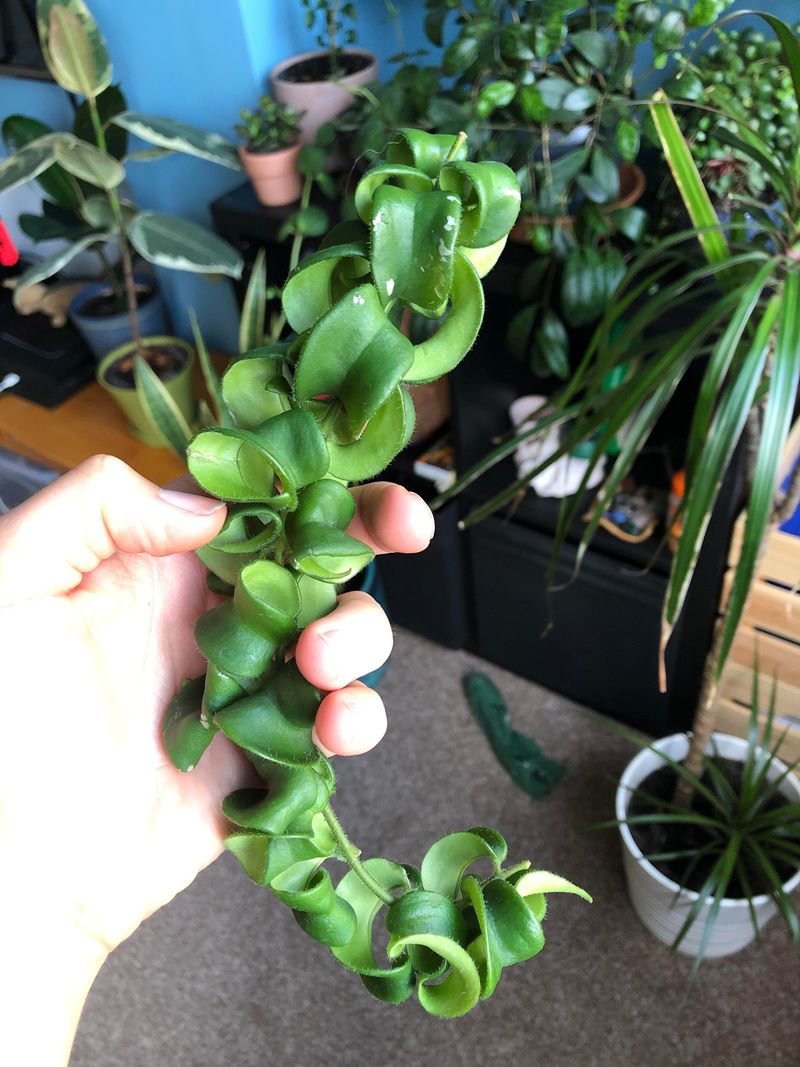
1. Choose Healthy Stem Cuttings
Many beginners grab the first stem they see, not realizing that weak or dormant growth rarely roots well. Your cutting’s success starts with selecting vibrant, healthy stems that show clear signs of active growth, new leaves unfurling, firm texture, and rich green color.
Look for stems that are at least four to six inches long with several sets of leaves. The ideal cutting comes from the tip of a vine where growth is most vigorous.
Avoid older, woody stems near the base of the plant, as these root much more slowly and inconsistently.
Check carefully for any signs of pests, disease, or damage before making your cut. Even minor issues can compromise rooting success and introduce problems to your propagation setup.
In California’s dry indoor air, healthy tissue is especially important since cuttings lose moisture quickly.
Timing matters too, spring and early summer are ideal when lipstick plants naturally push out new growth. During these months, stems contain higher levels of growth hormones that encourage faster root development.
Taking cuttings during active growing seasons gives you a significant advantage, especially in California homes where indoor conditions remain fairly consistent year-round.
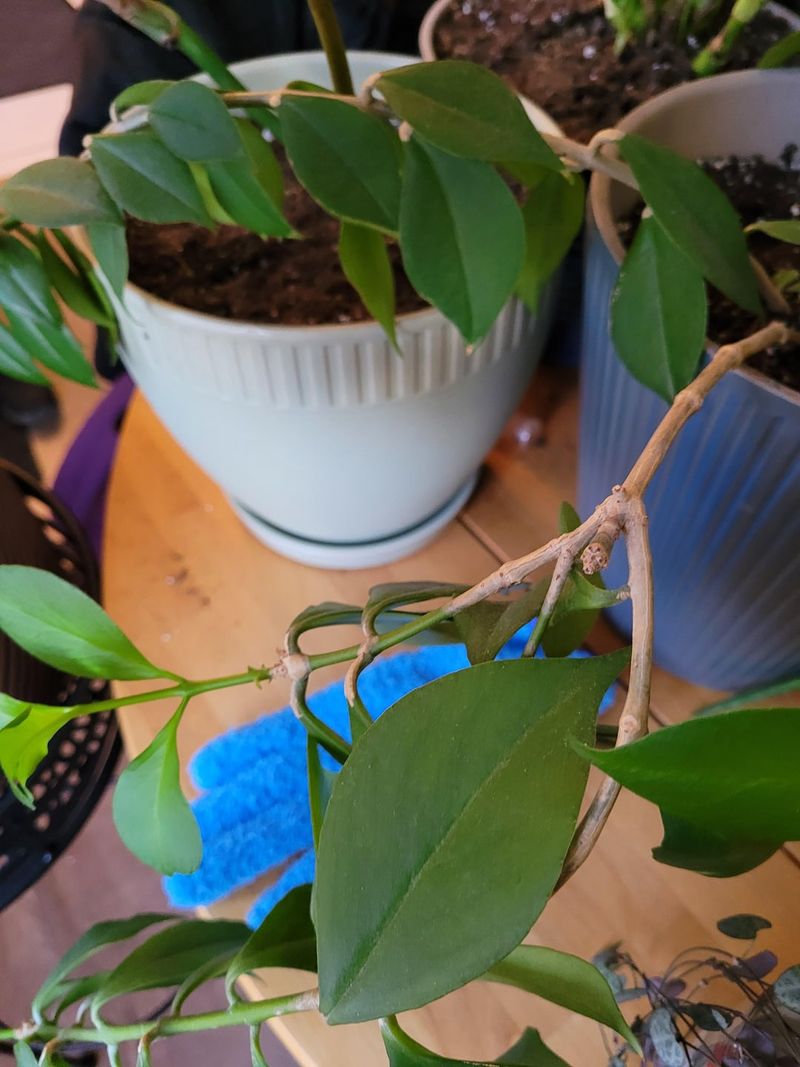
2. Make Clean Cuts Just Below A Leaf Node
One common mistake is cutting randomly along the stem without paying attention to node placement. Roots develop from nodes, those small bumps where leaves attach to the stem, so your cut placement directly affects rooting success.
Use sharp, clean scissors or pruning shears to make a precise cut about a quarter inch below a node. Dull blades crush stem tissue, creating ragged edges that invite rot and slow healing.
Sterilize your cutting tool with rubbing alcohol before each use to prevent transferring diseases between plants.
The angle of your cut matters less than cleanliness and proximity to the node. A straight cut works perfectly fine as long as it’s clean and positioned correctly.
After cutting, remove the bottom one or two sets of leaves to expose the nodes that will sit in your propagation medium.
Leaving too many leaves on the cutting forces the stem to support foliage instead of focusing energy on root development. In California’s bright homes, excess leaves also increase water loss through transpiration, stressing the cutting before roots form.
Strip leaves gently to avoid damaging the stem tissue, and leave at least two or three sets of healthy leaves at the top to support photosynthesis during the rooting process.
3. Water vs. Soil?
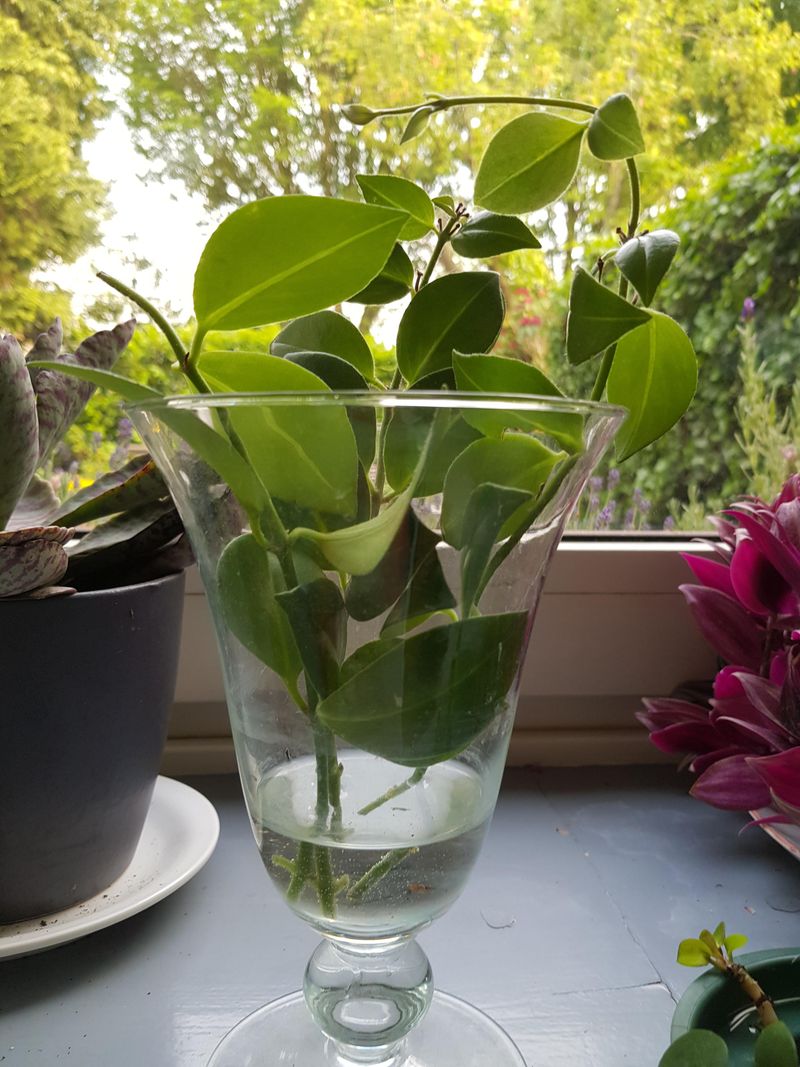
New propagators often wonder whether water or soil works better, and the truth is both methods succeed with lipstick plants, but each has distinct advantages.
Water propagation lets you watch roots develop, which is exciting and educational, while soil propagation skips the transplant step and may produce sturdier root systems.
For water propagation, use a clear glass or jar filled with room-temperature water. Place your cutting so nodes sit submerged while leaves stay above the waterline.
Change the water every three to five days to prevent bacterial growth and maintain oxygen levels. Roots typically appear within two to four weeks.
Soil propagation requires a light, well-draining medium like a mix of perlite and peat moss or coconut coir. Insert the cutting about an inch deep, firm the medium gently around the stem, and keep it consistently moist but never soggy.
This method works especially well in California homes where maintaining water clarity can be challenging due to mineral content in tap water.
Whichever method you choose, consistency matters more than perfection. Some growers prefer water for its simplicity and visibility, while others appreciate soil’s lower maintenance and smoother transition to permanent pots.
Experiment with both to see which fits your routine and space best.
4. Bright, Indirect Light Only

Placing cuttings in direct sunlight might seem helpful, but intense rays quickly stress tender stems that lack established roots to support water uptake.
California homes often have abundant natural light, which is wonderful, but knowing how to filter it makes all the difference during propagation.
Position your cuttings near an east-facing window where they receive gentle morning light, or a few feet back from a south or west window where bright indirect light fills the space.
North-facing windows work too, though rooting may take slightly longer due to lower light intensity.
The goal is consistent brightness without harsh direct sun that can scorch delicate leaves.
If your only option is a very bright window, use a sheer curtain to diffuse the light. You can also place cuttings on a shelf or table that receives reflected light rather than direct beams.
Watch for signs of too much light, leaf edges turning brown or crispy, or leaves looking bleached or faded.
Too little light causes different problems: slow or stalled root development, leggy growth, and increased susceptibility to rot. In California’s climate-controlled homes, finding the sweet spot is usually straightforward.
Aim for the same light conditions that keep your mature lipstick plant happy, and your cuttings will thrive during the rooting phase.
5. Keep Warm And Humid
Temperature and humidity challenges trip up many California propagators, especially since indoor air tends to be quite dry year-round.
Lipstick plants are tropical natives that root best in warm, humid conditions, typically between 70 and 80 degrees Fahrenheit with humidity above 50 percent.
Most California homes maintain comfortable temperatures in this range, so warmth is rarely an issue. Humidity, however, requires more attention.
Without roots to pull moisture from soil or water, cuttings rely on ambient humidity to prevent excessive water loss through their leaves.
Create a mini greenhouse effect by covering your cuttings with a clear plastic bag or placing them under a clear dome. This traps moisture around the leaves and maintains higher humidity levels.
Remove the cover daily for a few minutes to allow air circulation and prevent fungal problems.
Alternatively, group several cuttings together so they create a slightly more humid microclimate through collective transpiration. You can also place propagation containers on a pebble tray filled with water, ensuring the container bottom sits above the waterline.
As water evaporates, it raises humidity around the cuttings. Avoid placing cuttings near heating vents or air conditioning returns, as these create dry air currents that stress vulnerable stems and slow root development significantly.
6. Water Gently Until Roots Are Strong
It seems counterintuitive, but overwatering is one of the fastest ways to kill lipstick plant cuttings. Without an established root system, stems cannot absorb excess moisture efficiently, and constantly wet conditions encourage rot rather than root growth.
If you’re propagating in water, change it regularly but don’t overfill the container. Nodes should be submerged, but crowding too much stem underwater reduces oxygen availability and increases rot risk.
Watch for cloudy water or slimy stem texture, both signal bacterial problems that require immediate attention.
For soil propagation, the medium should feel like a wrung-out sponge: moist throughout but never dripping or soggy. Water lightly when the top half-inch feels dry, using just enough to moisten the medium without saturating it.
In California’s dry indoor climate, this might mean watering every few days, but always check before adding more moisture.
Root development happens in cycles of slight drying and re-moistening, which encourages roots to search for water and grow stronger. Constantly wet conditions eliminate this natural stimulus.
If you notice stems turning black or mushy at the base, remove affected cuttings immediately to prevent spread.
Adjust your watering approach, ensure good air circulation, and consider switching to a lighter, faster-draining propagation medium for remaining cuttings.
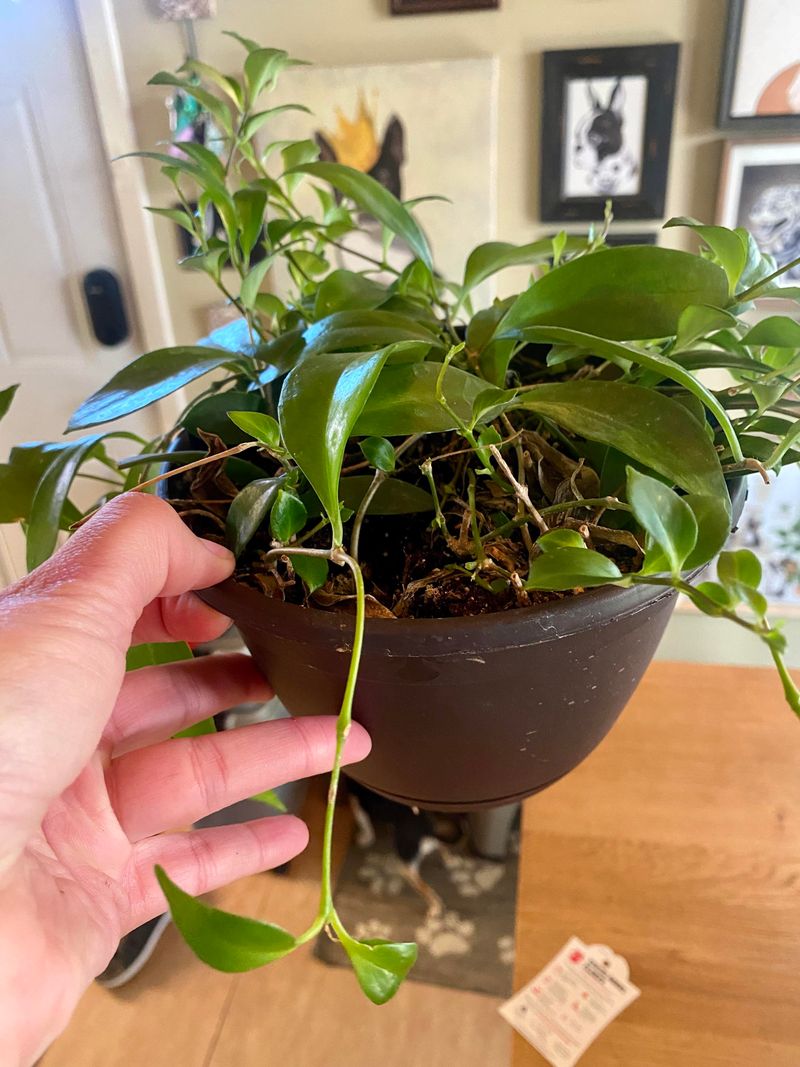
7. Established Roots? Time To Transplant
Rushing transplant is tempting once you see roots, but moving cuttings too early or too roughly can damage fragile new roots and set back your progress. Patience during this final step ensures your propagated plants establish successfully in their permanent homes.
Wait until roots reach at least one to two inches long before transplanting. For water-propagated cuttings, this length indicates roots are strong enough to handle soil transition.
For soil-propagated cuttings, gently tug the stem, if you feel resistance, roots have developed sufficiently to anchor the plant.
Prepare a small pot with well-draining potting mix formulated for tropical houseplants. A four-inch pot works well for most cuttings.
If transplanting from water, handle roots extremely gently as they’re more brittle than soil-grown roots. Create a hole in the potting mix, position the cutting carefully, and firm soil gently around the stem.
Water thoroughly after transplanting to settle soil around roots and eliminate air pockets. Place the newly potted plant in the same light conditions it enjoyed during propagation, no sudden increases in light intensity.
Keep soil consistently moist for the first week or two while roots adjust, then gradually transition to your normal lipstick plant care routine.
In California’s stable indoor conditions, transplanted cuttings typically show new growth within a few weeks, signaling successful establishment.