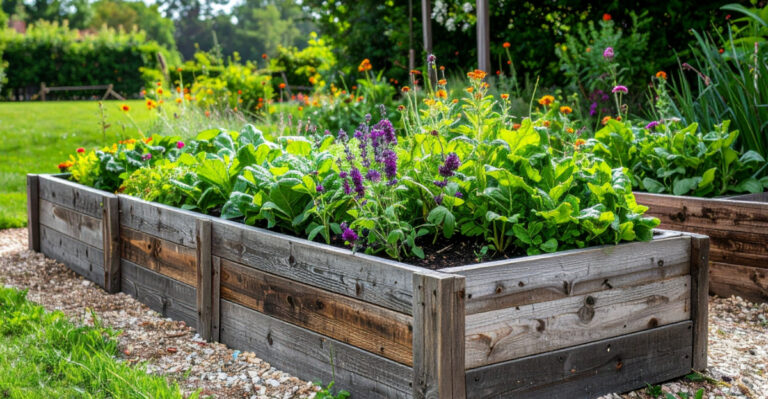
The Right Way To Plant Roses In Oregon For Years Of Blooms
Roses can thrive in Oregon, but getting them off to the right start makes all the difference. With cool, wet springs and mild summers, the state offers great growing conditions, as long as you plant them properly from day one.
A rushed planting job can lead to weak growth, poor blooms, and ongoing issues that are hard to fix later.
The key is setting up strong roots early. That means choosing the right spot, preparing the soil so it drains well, and planting at the correct depth.
These steps might seem simple, but they have a huge impact on how your roses perform year after year.
Do it right and your roses will reward you with fuller plants, healthier leaves, and far more blooms each season. It’s a small investment of effort upfront that pays off every time those flowers start to open.
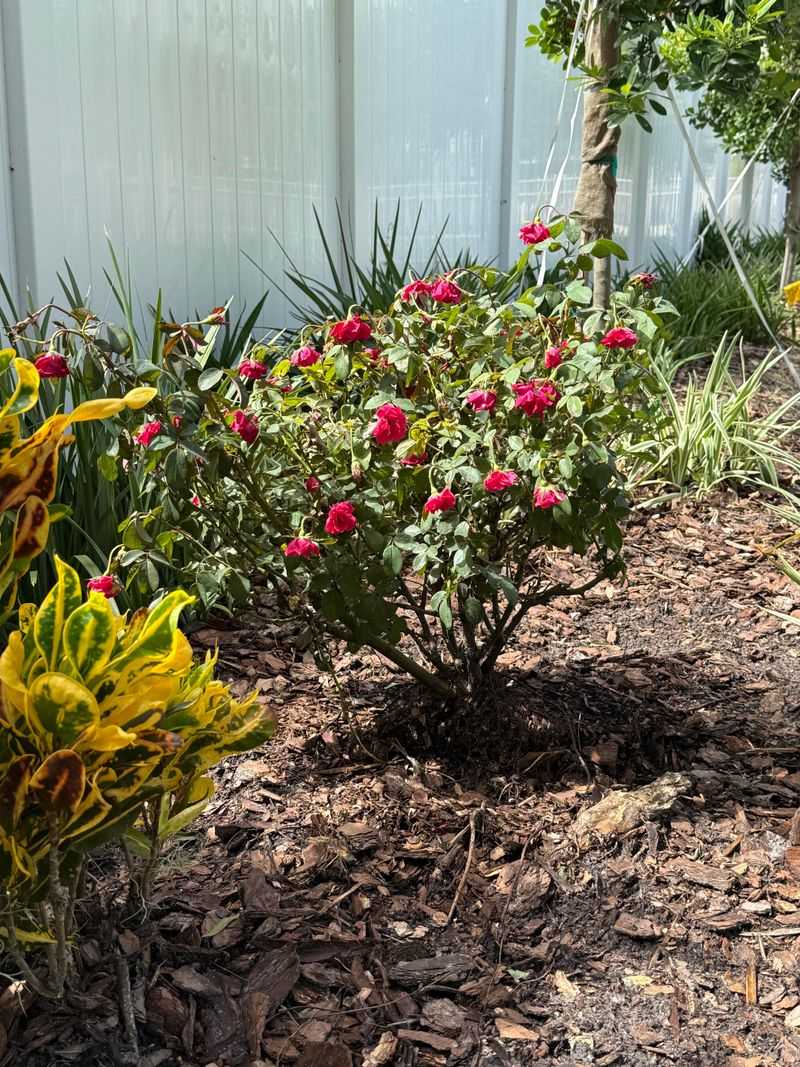
1. Choose The Right Rose
Not all roses are created equal, and picking the wrong variety for Oregon’s climate can leave you frustrated season after season. Oregon’s weather can be wet and cool, especially west of the Cascades, so disease-resistant varieties are your best friends.
Look for roses that handle moisture well without developing black spot or mildew.
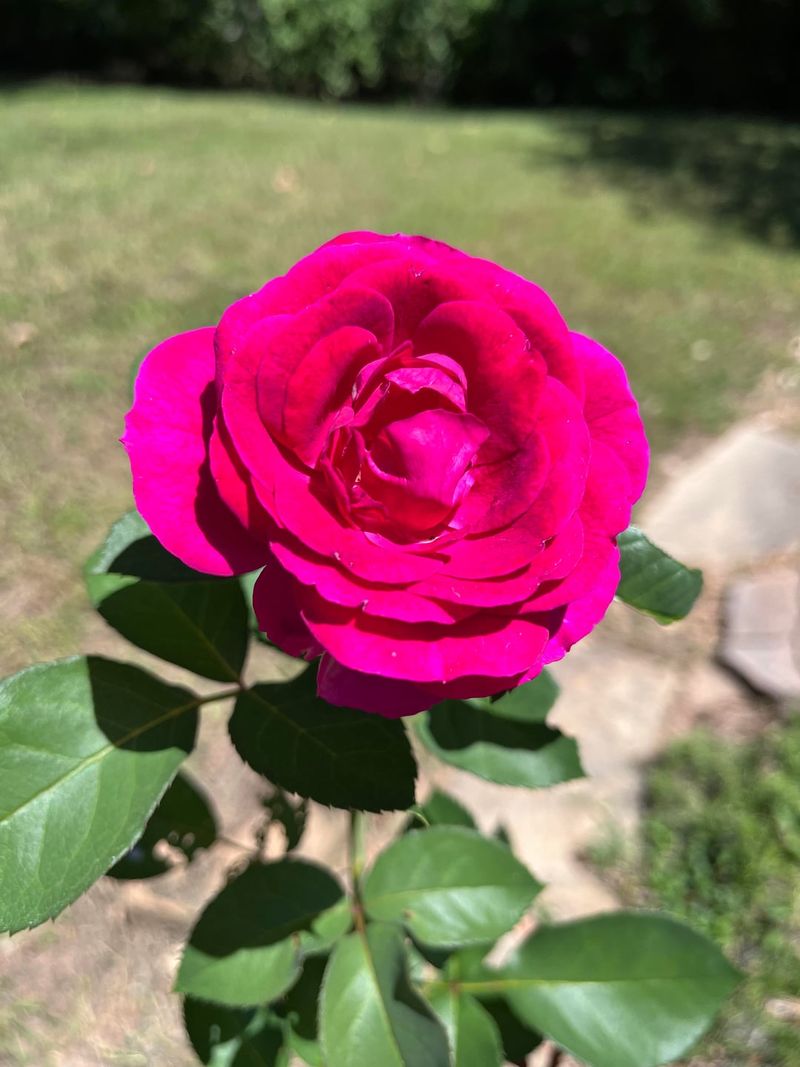
Native options like the Nootka rose and Baldhip rose are excellent picks for Oregon gardeners. They produce lovely pink blooms in spring and colorful hips in fall.
Hybrid options like “Pop the Cork” and “Sugar Moon” are also popular choices across the state.
Climbing roses such as “Altissimo” work beautifully on fences and trellises throughout Oregon yards. Visit a local nursery and ask staff which varieties perform best in your specific region.
Buying locally grown stock gives your roses a head start since they are already adjusted to Oregon’s unique conditions. Choosing the right rose from day one sets the foundation for years of gorgeous blooms.
2. Pick A Sunny Location
Sunlight is everything when it comes to growing roses successfully in Oregon. Roses need at least six to eight hours of direct sunlight every day to produce strong stems and abundant flowers.
Morning sun is especially valuable because it dries dew off the leaves quickly, which helps prevent fungal diseases common in Oregon’s damp climate.
Walk around your yard at different times of day before choosing a planting spot. Notice where shadows fall and where the sun hits longest.
South-facing and west-facing spots often get the most light in Oregon’s variable weather.
Good air circulation is just as important as sunlight. Avoid planting roses too close to large trees, shrubs, or walls that block airflow.
Stagnant air encourages mold and mildew, which are common problems in wetter parts of Oregon like Portland and Eugene. Also avoid low-lying areas where cold air settles overnight.
A well-chosen location with full sun and open airflow gives your roses the energy they need to thrive through Oregon’s long growing season and reward you with blooms from late spring through early fall.
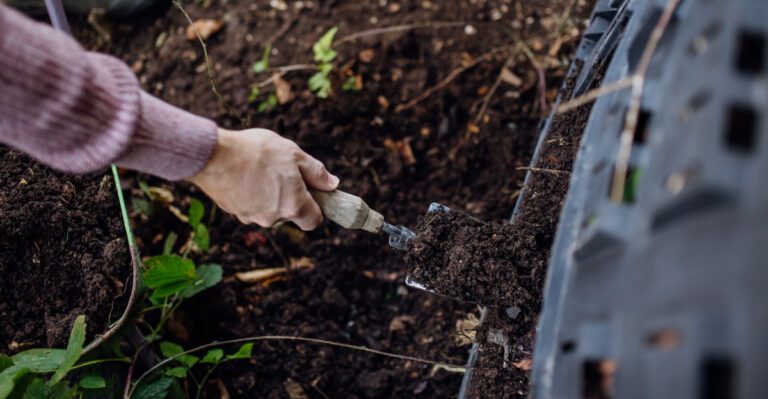
3. Improve Soil Before Planting
Oregon soil varies a lot depending on where you live in the state. The Willamette Valley has rich but sometimes heavy clay soil, while eastern Oregon tends to have sandier, drier ground.
Either way, roses need well-draining soil with a slightly acidic pH between 6.2 and 6.8 to absorb nutrients properly.
Before planting, dig your bed about 18 inches deep and mix in plenty of compost or aged manure. This improves drainage in clay soils and adds nutrients to sandy soils.
A simple soil test kit from a local Oregon garden center can tell you your exact pH so you know what to adjust.
If your soil is too acidic, lime can raise the pH. If it is too alkaline, sulfur can bring it down.
Taking the time to prepare your soil before planting is one of the smartest investments you can make for your rose garden. Healthy, well-amended soil encourages deep root growth, which means your roses will be better equipped to handle Oregon’s dry summers and wet winters without skipping a single bloom cycle.
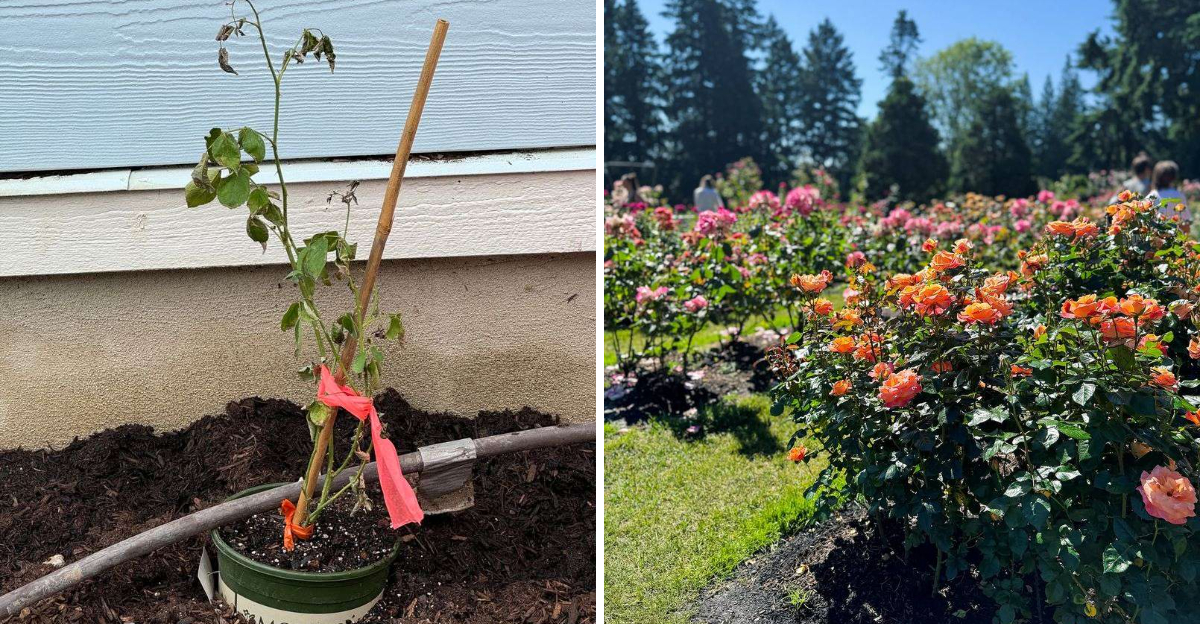
4. Plant At The Right Depth
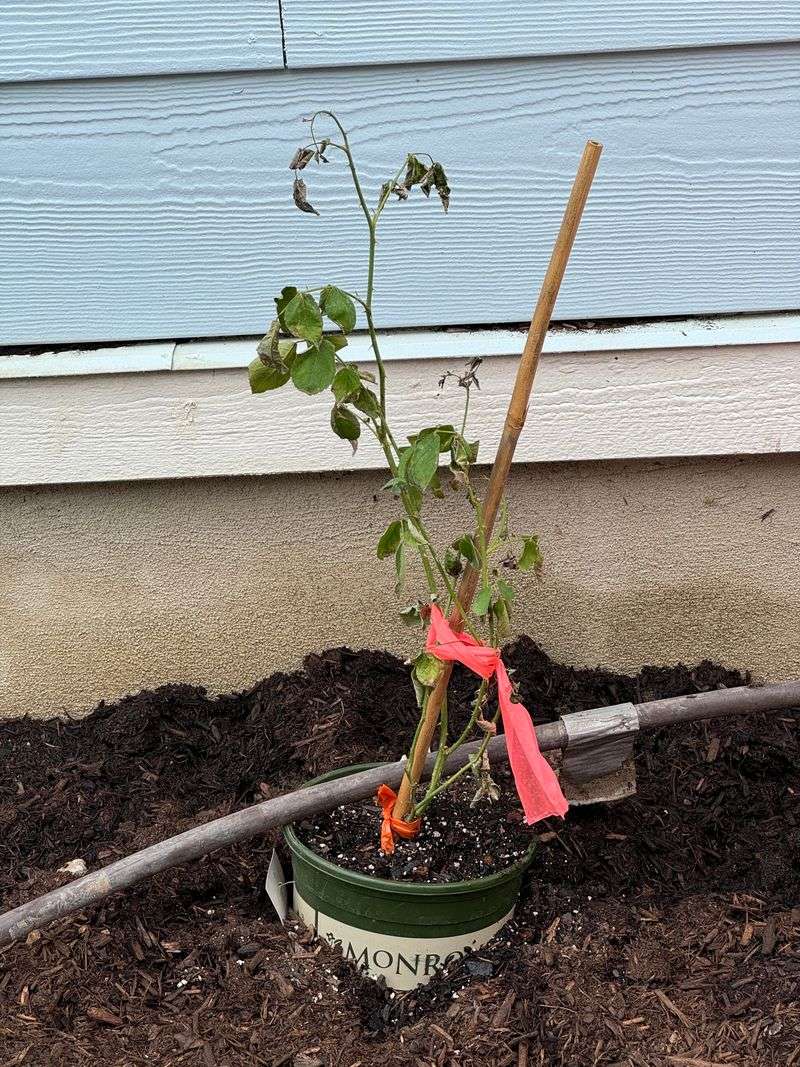
Planting depth might seem like a small detail, but it has a huge impact on how well your roses survive Oregon winters. For grafted roses, the bud union, which is the swollen knob where the canes meet the rootstock, should be placed two to four inches below the soil surface.
This protects it from freezing temperatures in colder parts of Oregon.
Dig a hole wide enough so the roots can spread out naturally without bending or crowding. Create a small mound of soil in the center of the hole and drape the roots over it.
This technique encourages the roots to grow outward and downward into the soil.
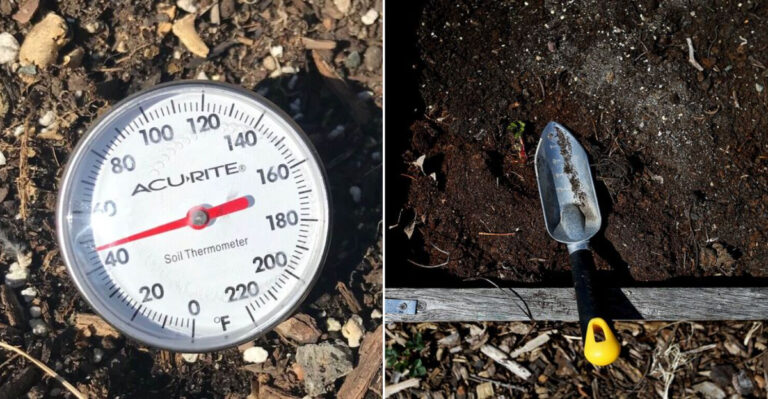
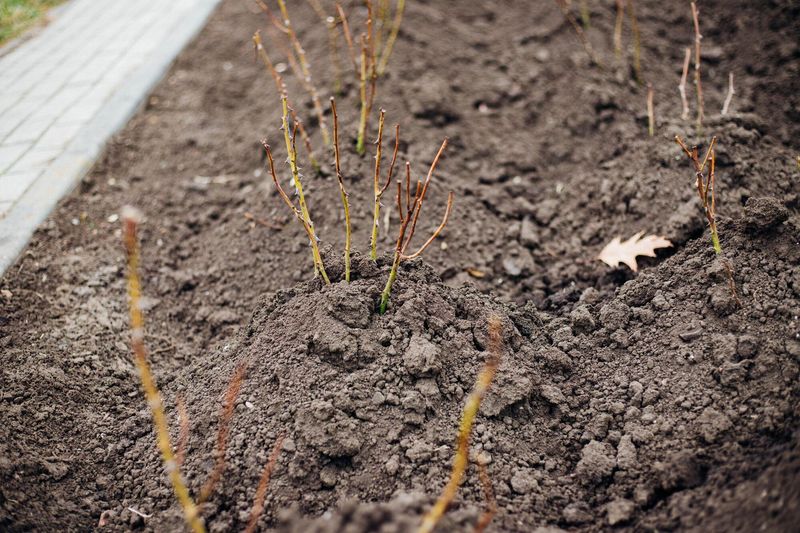
Bare-root roses are best planted in Oregon from mid-February through early April. At this time, soil temperatures are rising above 40 degrees Fahrenheit, which encourages active root development before the summer growing season begins.
After placing the rose at the correct depth, backfill with your amended soil and press it down gently to remove air pockets. Water the plant thoroughly right away.
Getting the planting depth right from the start helps your roses establish strong, healthy roots that support seasons of reliable blooming.
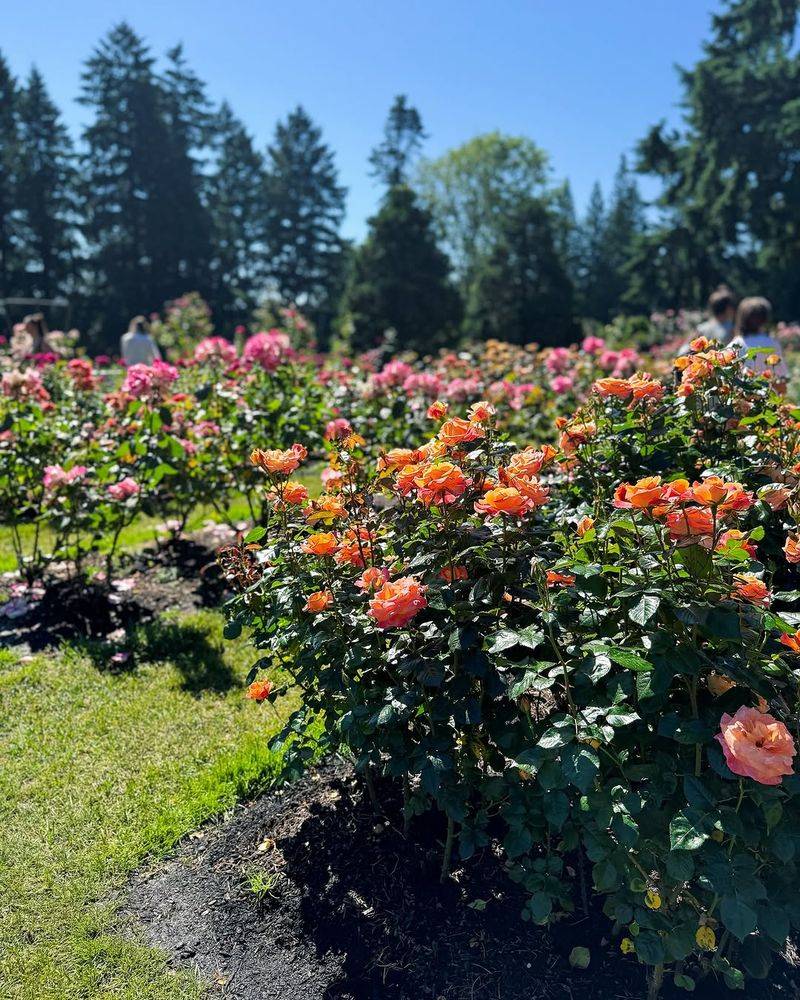
5. Space Roses Properly
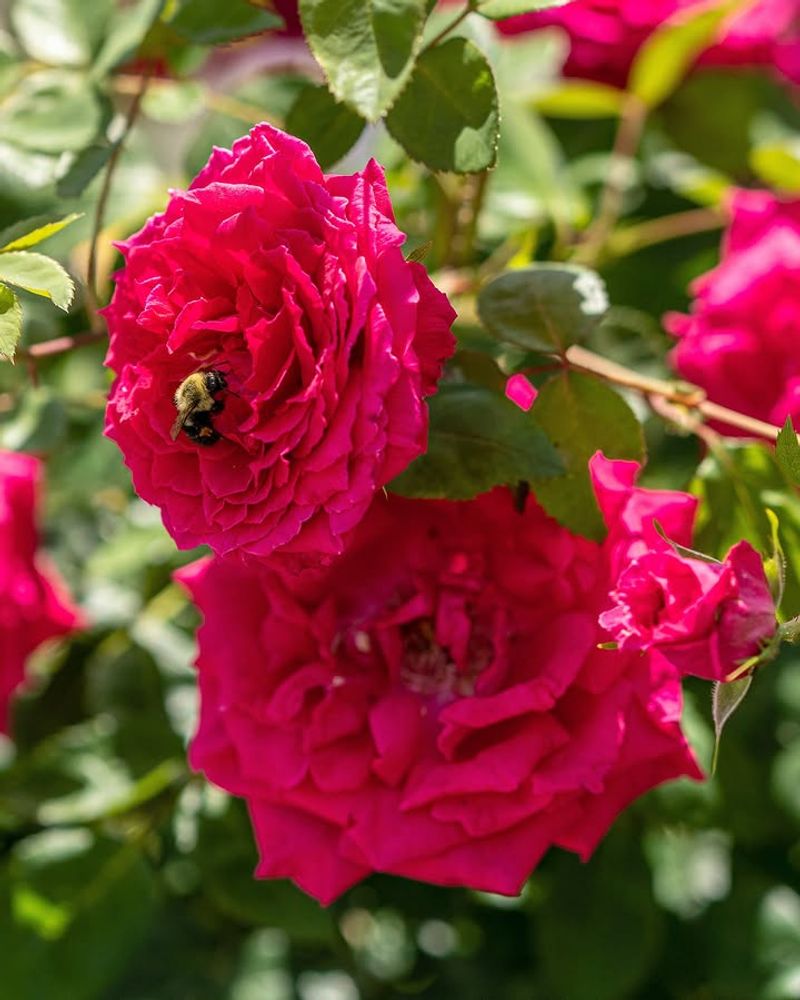
Crowding roses together is one of the most common mistakes gardeners make, and it causes real problems in Oregon’s moist climate. When roses are planted too close together, air cannot move freely between them.
Trapped moisture on leaves and stems creates the perfect environment for fungal diseases like black spot and powdery mildew.
Most shrub roses need about four to six feet of space between plants. Larger climbing roses may need even more room to spread out along a fence or trellis.
Miniature roses can be planted a bit closer, around two to three feet apart, but still need breathing room.
Proper spacing also means your roses will not have to compete as hard for nutrients and water in the soil. Each plant gets a fair share of what it needs to grow strong canes and produce lots of flowers.
In Oregon, where spring rains can linger well into June, good spacing is especially important for keeping disease pressure low. Take time to measure out your spacing before you plant.
It feels like extra work upfront, but your roses will reward you with healthier foliage and more vibrant blooms throughout the entire Oregon growing season.
6. Water Deeply After Planting

Right after planting, your roses need a generous, deep drink of water. Watering deeply encourages roots to grow down into the soil rather than staying shallow near the surface.
Deep roots make roses much stronger and more able to handle dry spells during Oregon’s warm summers east of the Cascades.
Always water at the base of the plant, not from overhead. Wet leaves invite fungal problems, which are already a concern in many parts of Oregon.
Using a soaker hose or drip irrigation system is ideal because it delivers water directly to the root zone without splashing foliage.
During the first growing season, water your roses about once or twice a week depending on rainfall. Oregon’s rainy season from October through May often takes care of most watering needs, but summers can be surprisingly dry.
Check the soil a few inches down before watering. If it feels dry, it is time to water.
If it still feels moist, wait another day or two. Overwatering can be just as harmful as underwatering, leading to root rot in poorly drained spots.
Consistent, deep watering builds the strong root system that keeps Oregon roses blooming beautifully year after year.
7. Mulch To Retain Moisture
Mulching is a simple step that pays off in a big way for Oregon rose gardeners. A two to three inch layer of organic mulch spread around the base of each rose bush does several important jobs at once.
It holds moisture in the soil, keeps roots cool during hot summer days, and slowly breaks down to feed the soil over time.
Wood chips, shredded bark, and compost all make excellent mulch choices for Oregon rose beds. Spread the mulch outward from the base of the plant but keep it a few inches away from the main canes.
Mulch piled directly against the stems can trap moisture and cause rot.
In colder parts of Oregon, such as the high desert areas around Bend or the mountain foothills, a thicker layer of mulch in late fall helps protect the bud union from freezing temperatures. Come spring, pull the mulch back slightly to let the soil warm up faster.
Refreshing your mulch each year keeps it working effectively. This one easy habit reduces how often you need to water, suppresses weeds that compete with your roses, and gives your plants a healthier growing environment throughout every season in Oregon.
8. Prune For Strong Growth
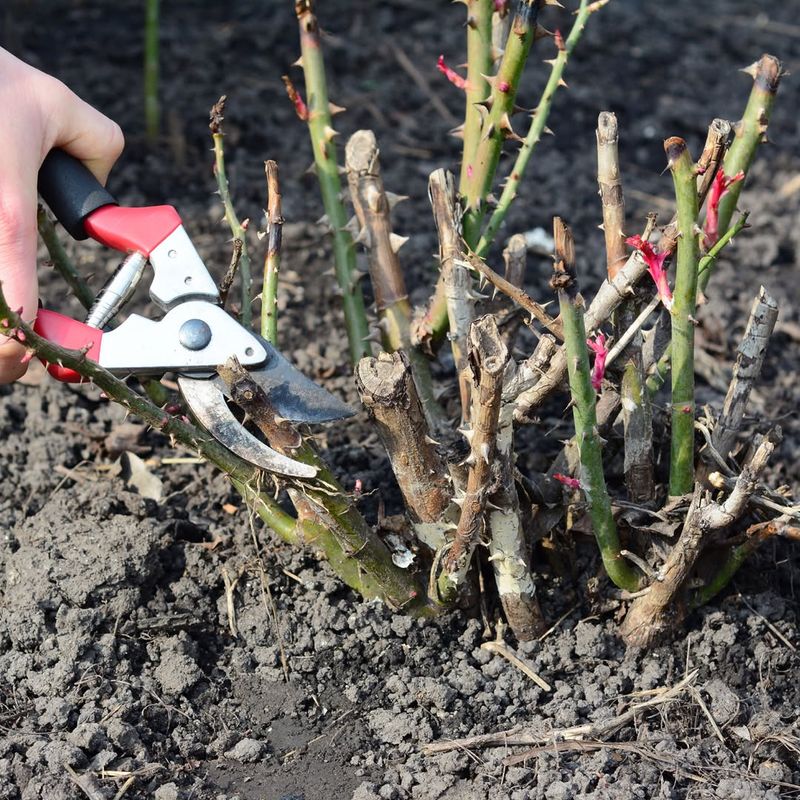
Few gardening tasks transform a rose bush as dramatically as a good pruning session. Early spring is the best time to prune roses in Oregon, typically around late February to early March when you start to see tiny buds swelling on the canes.
Pruning at this time removes weak or damaged wood and directs the plant’s energy into producing strong new growth.
Use sharp, clean pruning shears to make smooth cuts at a 45-degree angle just above an outward-facing bud. This encourages the new cane to grow away from the center of the plant, improving airflow and reducing disease.
Remove any crossing canes or ones that look thin and spindly.
Throughout the growing season, deadheading spent blooms keeps your roses producing new flowers instead of putting energy into forming seeds. For climbing roses common in Oregon gardens, avoid heavy pruning during the first few years so the framework of main canes can establish fully.
Light shaping and the removal of old or unproductive wood is all that is needed. Regular, thoughtful pruning keeps your roses vigorous, shapely, and loaded with blooms from spring through the last warm days of an Oregon autumn.