The Right Way To Prune Oleander In Arizona Without Damaging New Growth
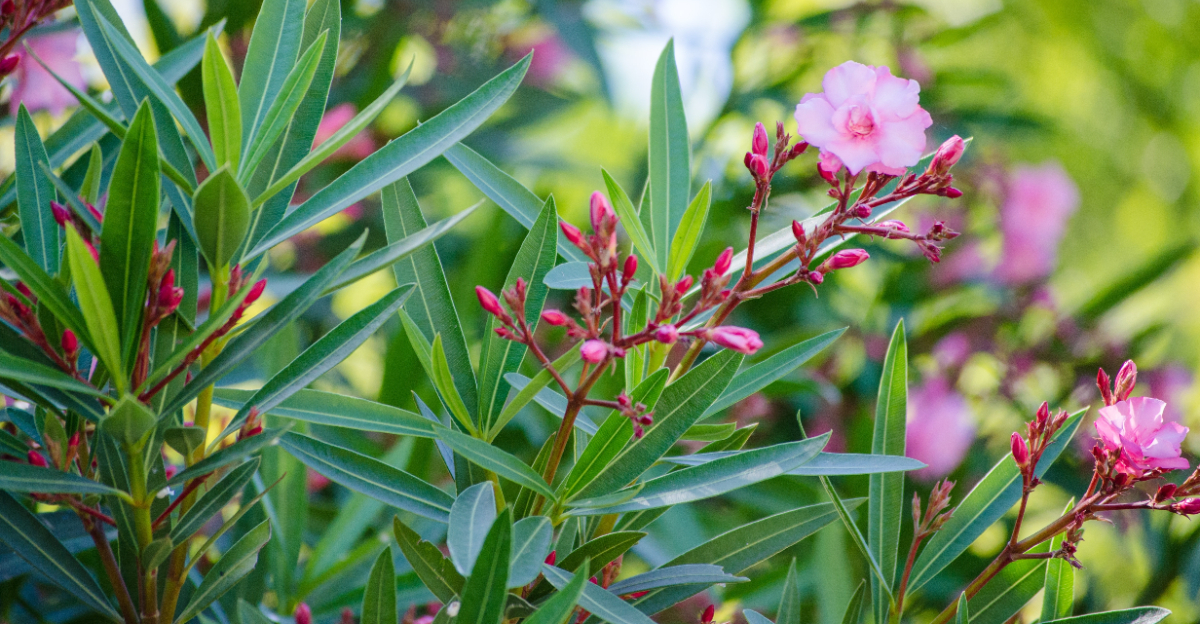
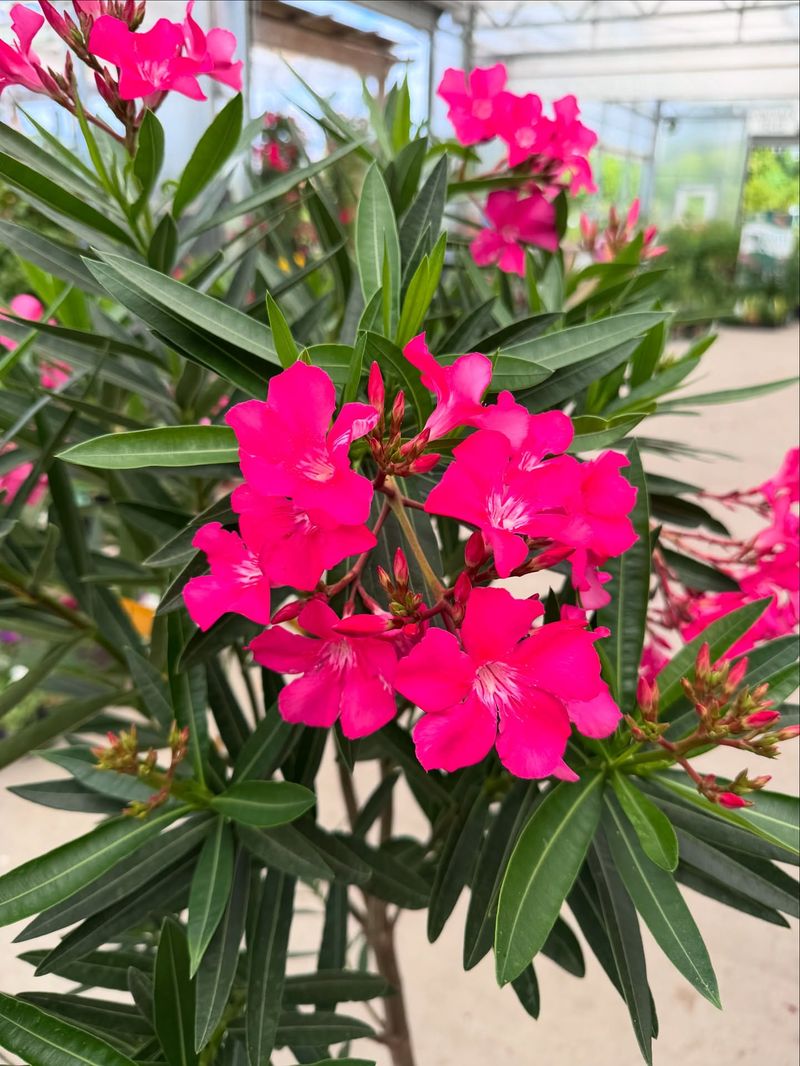
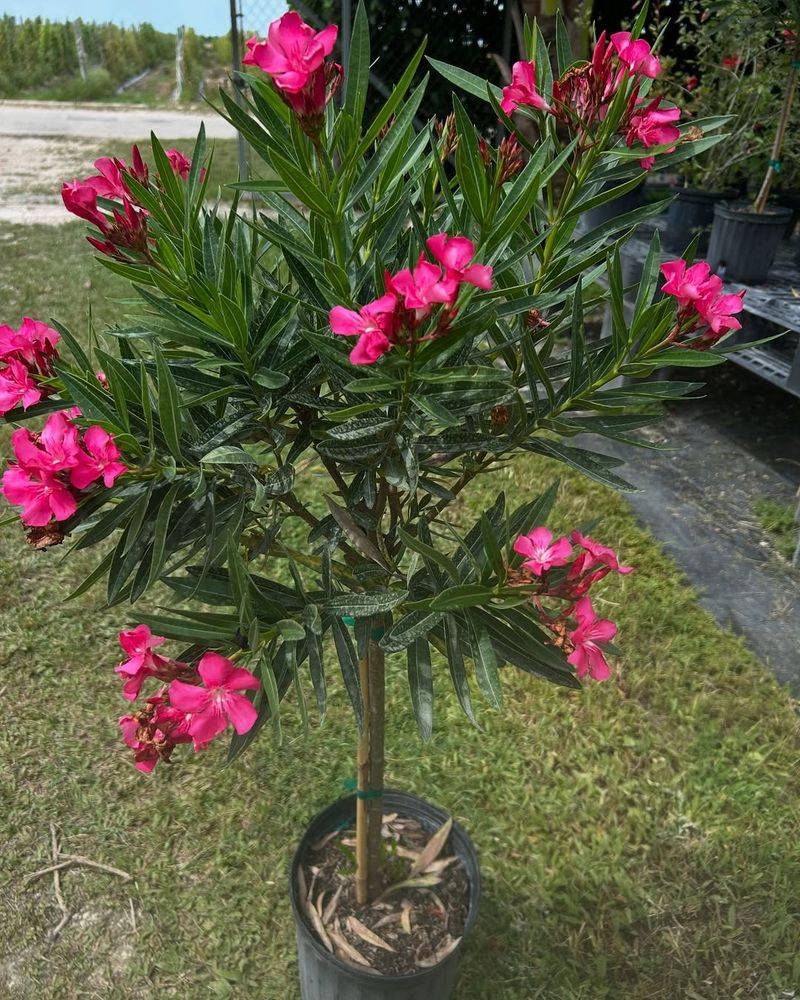
Oleander is one of the most common shrubs in Arizona landscapes, known for handling intense sun, dry air, and long stretches of heat. It grows quickly and can form thick, tall hedges that bring color to yards, streets, and garden borders.
But because oleander grows so vigorously, pruning becomes an important part of keeping it healthy and well shaped. The challenge is knowing how to trim it without damaging the fresh growth that leads to new flowers.
Cutting too aggressively or at the wrong time can slow the plant down and reduce blooming. Many Arizona gardeners find that a few well-timed cuts make a big difference in how full and attractive the shrub looks later in the season.
With the right approach, oleander can stay tidy, strong, and full of blooms while continuing to handle the desert climate with ease.
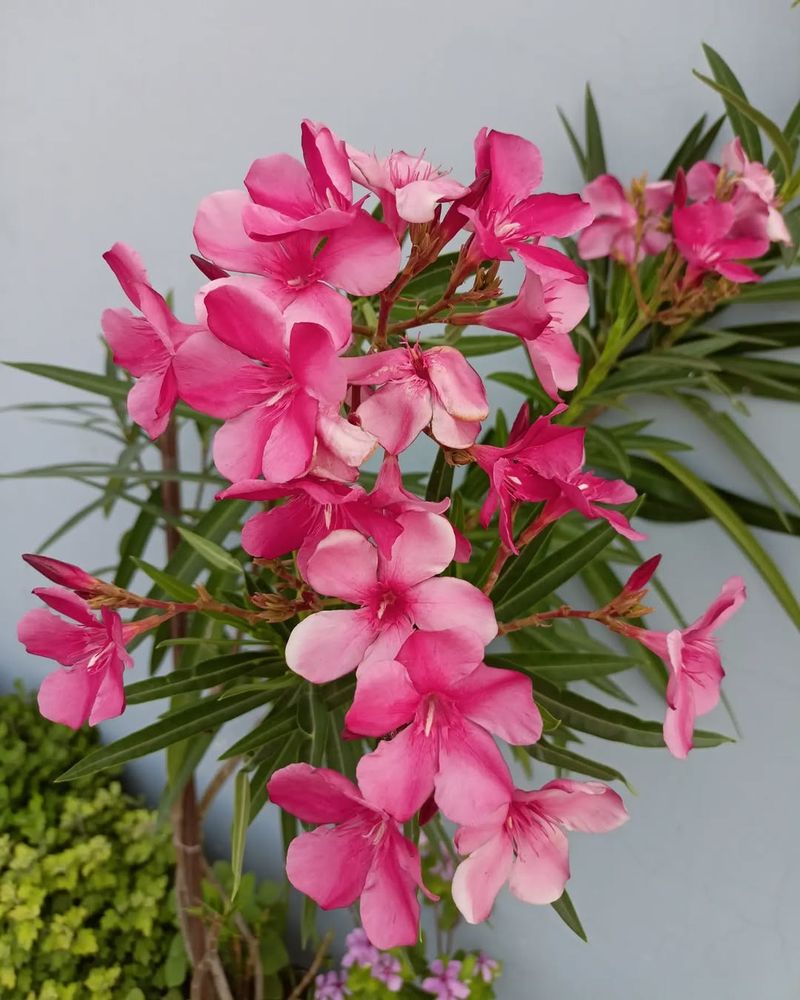
1. Prune Oleander After The Main Flowering Period
Waiting for the right moment to prune is half the battle with oleander. Cutting too early — while flowers are still actively blooming — pulls energy away from the plant and reduces the number of blooms you get to enjoy.
Oleanders in Arizona typically hit their peak bloom in late spring through early summer, so the window right after that flush is your best opportunity to grab the pruners.
Once those flowers start fading and dropping, that’s your green light. Pruning right after the main flowering period lets the shrub redirect its energy into pushing out fresh stems and leaves rather than trying to sustain fading blossoms.
You’ll notice new shoots starting to form fairly quickly in the warm Arizona climate, especially if you water consistently after trimming.
Some gardeners in the Phoenix and Tucson areas also do a light cleanup prune in late winter — around late February to early March — before new growth kicks in.
Both approaches work well, but the post-bloom prune is especially good for shaping and maintaining size without interrupting the plant’s natural cycle.
Avoid pruning in late fall. Cutting then can push the plant to produce tender new growth right before cooler temperatures arrive, and that fresh growth won’t have enough time to toughen up before a cold snap hits.
Timing your pruning with the plant’s natural rhythm keeps stress low and keeps your oleander thriving through Arizona’s long, hot growing season.
2. Remove Tall Or Overgrown Stems First
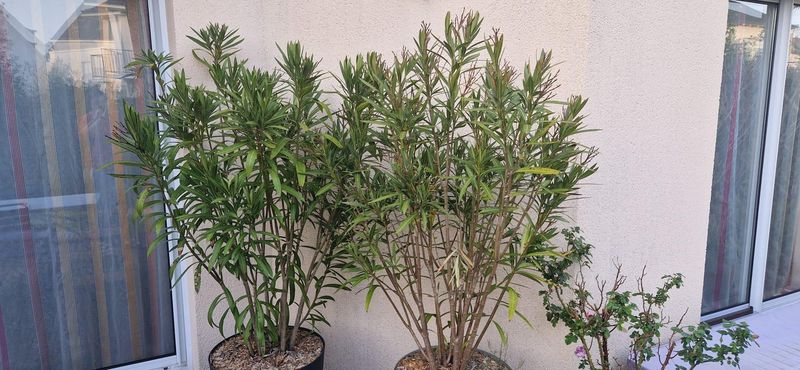
Overgrown stems are the first thing to tackle when you step up to an oleander that hasn’t been pruned in a while.
Tall, leggy branches that shoot way above the rest of the shrub throw off the whole shape and can actually block sunlight from reaching the lower portions of the plant.
In Arizona’s intense sun, that might sound like a good problem to have — but shaded interior branches get weak and stop producing blooms over time.
Start at the top and work your way through. Pick out the tallest canes first and cut them back significantly, but not all the way to the ground unless they’re completely woody and bare.
Leave some green foliage on each stem you cut, because completely bare stems take much longer to recover and push new growth in Arizona’s dry heat.
Loppers work better than hand pruners for thick, tall canes. You want a clean cut without having to hack or saw through the stem, which can tear the tissue and leave ragged edges that are slower to heal.
Sharp loppers give you one clean stroke and that’s it.
Removing the tallest stems first also gives you a clearer view of the rest of the shrub’s structure.
Once those big canes are out of the way, it’s much easier to see which branches are crossing, which ones are weak, and where the natural shape of the plant should be.
Working in order like this saves time and keeps you from over-pruning by accident.
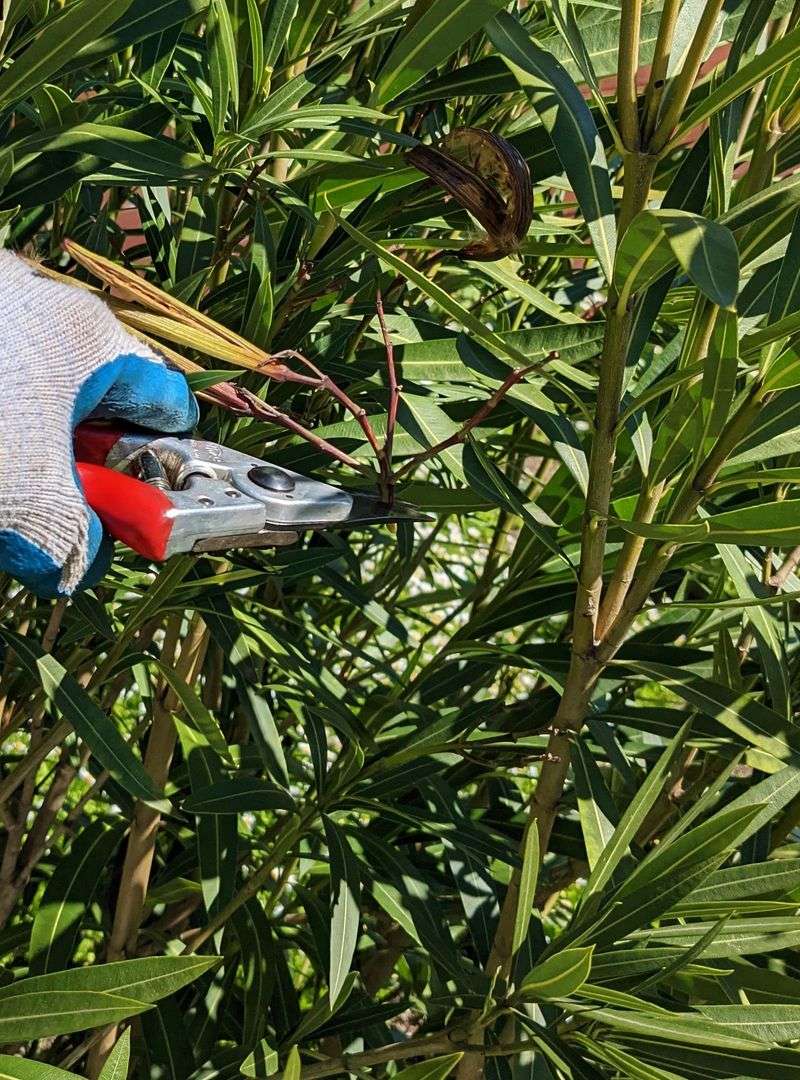
3. Cut Back Stems Just Above A Leaf Node
Where exactly you make your cut matters more than most people realize. Cutting randomly in the middle of a stem — between leaf nodes — leaves a stub that has nowhere to push new growth from.
A leaf node is simply the spot on the stem where a leaf or set of leaves attaches. Just above that point is where the plant has the energy and biology to sprout a new shoot.
Cut about a quarter inch above the node, angling your cut slightly so water runs off rather than pooling on the cut surface. In Arizona’s dry climate, pooling moisture is less of a concern than in humid states, but it’s still a good habit to keep.
You’ll notice that after a correct cut, new growth emerges from right below where you trimmed within a few weeks — sometimes faster during the warm months.
Oleanders in the Phoenix metro area can push new stems surprisingly quickly once temperatures climb, so proper node cuts pay off fast.
If you’re shortening a long branch, look for a node that still has healthy leaves attached below it. Cutting above a strong, leafy node encourages a fuller, bushier regrowth pattern rather than a single spindly shoot.
Consistent node-based cuts across the whole shrub produce a much more even, attractive shape compared to random chopping.
4. Thin Out Crowded Branches To Improve Airflow
An oleander packed with too many branches from the inside out is actually working against itself.
Dense, crowded growth traps humidity near the stems, reduces light penetration to the interior, and creates conditions where pests and fungal issues are more likely to take hold.
Arizona may be dry, but a tightly packed shrub creates its own little microclimate inside that doesn’t behave like the surrounding desert air.
Thinning is different from shaping. Instead of cutting branch tips to control height or width, you’re reaching into the center of the plant and selectively removing entire branches back to their origin point.
Pull out stems that are rubbing against each other, branches growing inward toward the center, and any canes that are clearly too dense relative to their neighbors.
Step back frequently while thinning and look at the overall structure. You want to see some open space between major branches when you look at the plant from the side.
That openness allows air to move through freely, which helps the foliage dry faster after irrigation and keeps the plant’s interior healthier through Arizona’s monsoon season when humidity spikes temporarily.
Don’t strip out too much at once. Removing more than about a third of the total branch volume in a single session stresses the plant and can slow blooming.
Spread heavy thinning over two seasons if the shrub is very overgrown. A gradual approach keeps the plant looking full and attractive while still achieving the open, airy structure that leads to better long-term health and flower production in the Arizona heat.
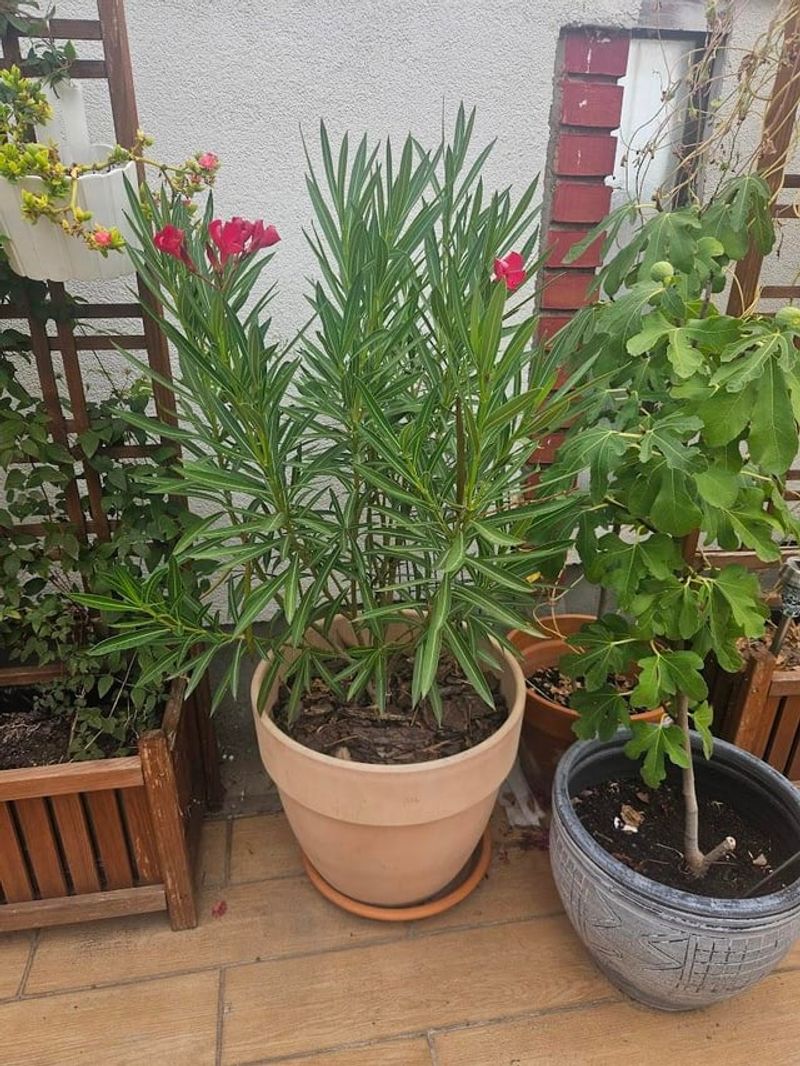
5. Shape The Shrub Gradually Instead Of Heavy Cutting
Heavy, aggressive pruning might seem like the fastest way to get an oleander back under control, but it almost always backfires.
Cutting back more than a third of the plant at once sends it into recovery mode, and instead of producing the full, blooming shrub you were hoping for, you end up with a stressed plant pushing out a tangle of weak, uneven shoots trying to compensate for the sudden loss.
Gradual shaping over several seasons is a smarter approach, especially for mature oleanders that have gotten quite large.
Each pruning session, take off a little more — reduce the overall height by six to twelve inches, clean up the sides, remove a few interior branches.
Over two or three rounds of pruning, you can completely reshape a sprawling shrub without ever shocking it.
In Arizona, where oleanders often grow fast thanks to long warm seasons and regular irrigation, gradual shaping also keeps the plant from producing a burst of extremely tender new growth all at once. Tender growth is vulnerable.
A sudden heat wave, an unexpected cold night, or even a strong dust storm can damage fresh, soft stems more easily than mature, hardened growth.
Light, consistent pruning also means your oleander never looks scraggly or half-finished between sessions. Neighbors driving by won’t see a chopped-up shrub struggling to recover — they’ll see a well-maintained plant that always looks intentional and cared for.
That steady, gradual approach is what separates a healthy, attractive oleander from one that looks like it’s always bouncing back from something.
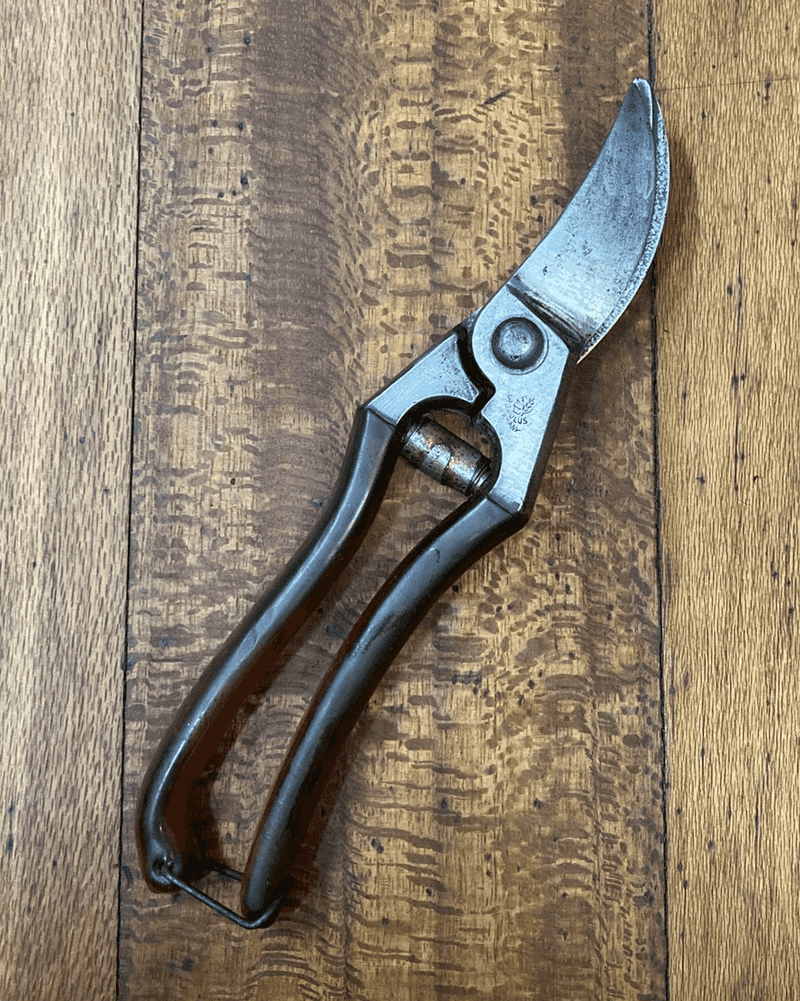
6. Use Clean, Sharp Pruners For Smooth Cuts
Dull pruners do more damage than most people expect. Instead of slicing cleanly through a stem, a dull blade crushes and tears the tissue, leaving a ragged edge that takes longer to seal over.
That damaged tissue is also more vulnerable in the period right after pruning, especially during Arizona’s summer heat when the plant is already working hard to stay hydrated.
Sharp bypass pruners — not anvil-style — are the right tool for most oleander pruning tasks. Bypass blades work like scissors, with one blade sliding past the other for a clean, precise cut.
Anvil pruners press down against a flat surface, which squeezes the stem and often causes more crushing than cutting, particularly on softer green growth.
Cleaning your pruners before and during the job matters too. Oleander sap can build up on blades and make cuts less smooth over time.
A quick wipe with rubbing alcohol between cuts also helps prevent transferring any potential issues from one branch to another. It’s a small step that takes ten seconds and makes a real difference.
Keep a sharpening stone or a pull-through blade sharpener in your gardening kit and touch up your pruners before every major pruning session. Blades that have been sitting in a shed all winter dull faster than you’d think.
In Arizona, where oleander stems can get quite woody and thick by late summer, sharp tools aren’t just about plant health — they also save your hands and wrists from unnecessary strain during a long pruning session.
7. Remove Weak Or Crossing Branches First
Before you start shaping the outside of an oleander, spend a few minutes reading the inside of the plant.
Weak, spindly branches and stems that cross over each other are the first candidates for removal — not because they look bad from the street, but because they’re actively creating problems you can’t always see from a distance.
Crossing branches rub against each other as the plant grows and moves in the wind. Over time, that friction wears away the outer bark and creates open wounds on both stems.
In Arizona’s dust-heavy air and intense UV exposure, those abrasion points can dry out and become entry points for stress. Removing one of the two crossing branches eliminates the problem entirely and cleans up the interior structure at the same time.
Weak branches are easy to spot — they’re noticeably thinner than the surrounding growth, often pale in color, and tend to droop even when they’re not weighed down by flowers or heavy foliage.
These stems rarely contribute much to the overall appearance or health of the shrub.
Pulling them out first opens up space and light for the stronger, more productive branches nearby.
Starting with weak and crossing branches also helps you avoid over-pruning. Once those problem stems are gone, you can step back and honestly assess what else actually needs to come off versus what was just visually cluttered by the weak growth around it.
Many Arizona gardeners find that after clearing out the weak and crossing branches, the shrub already looks significantly better — and far less additional pruning is actually needed.